Hi Everyone!
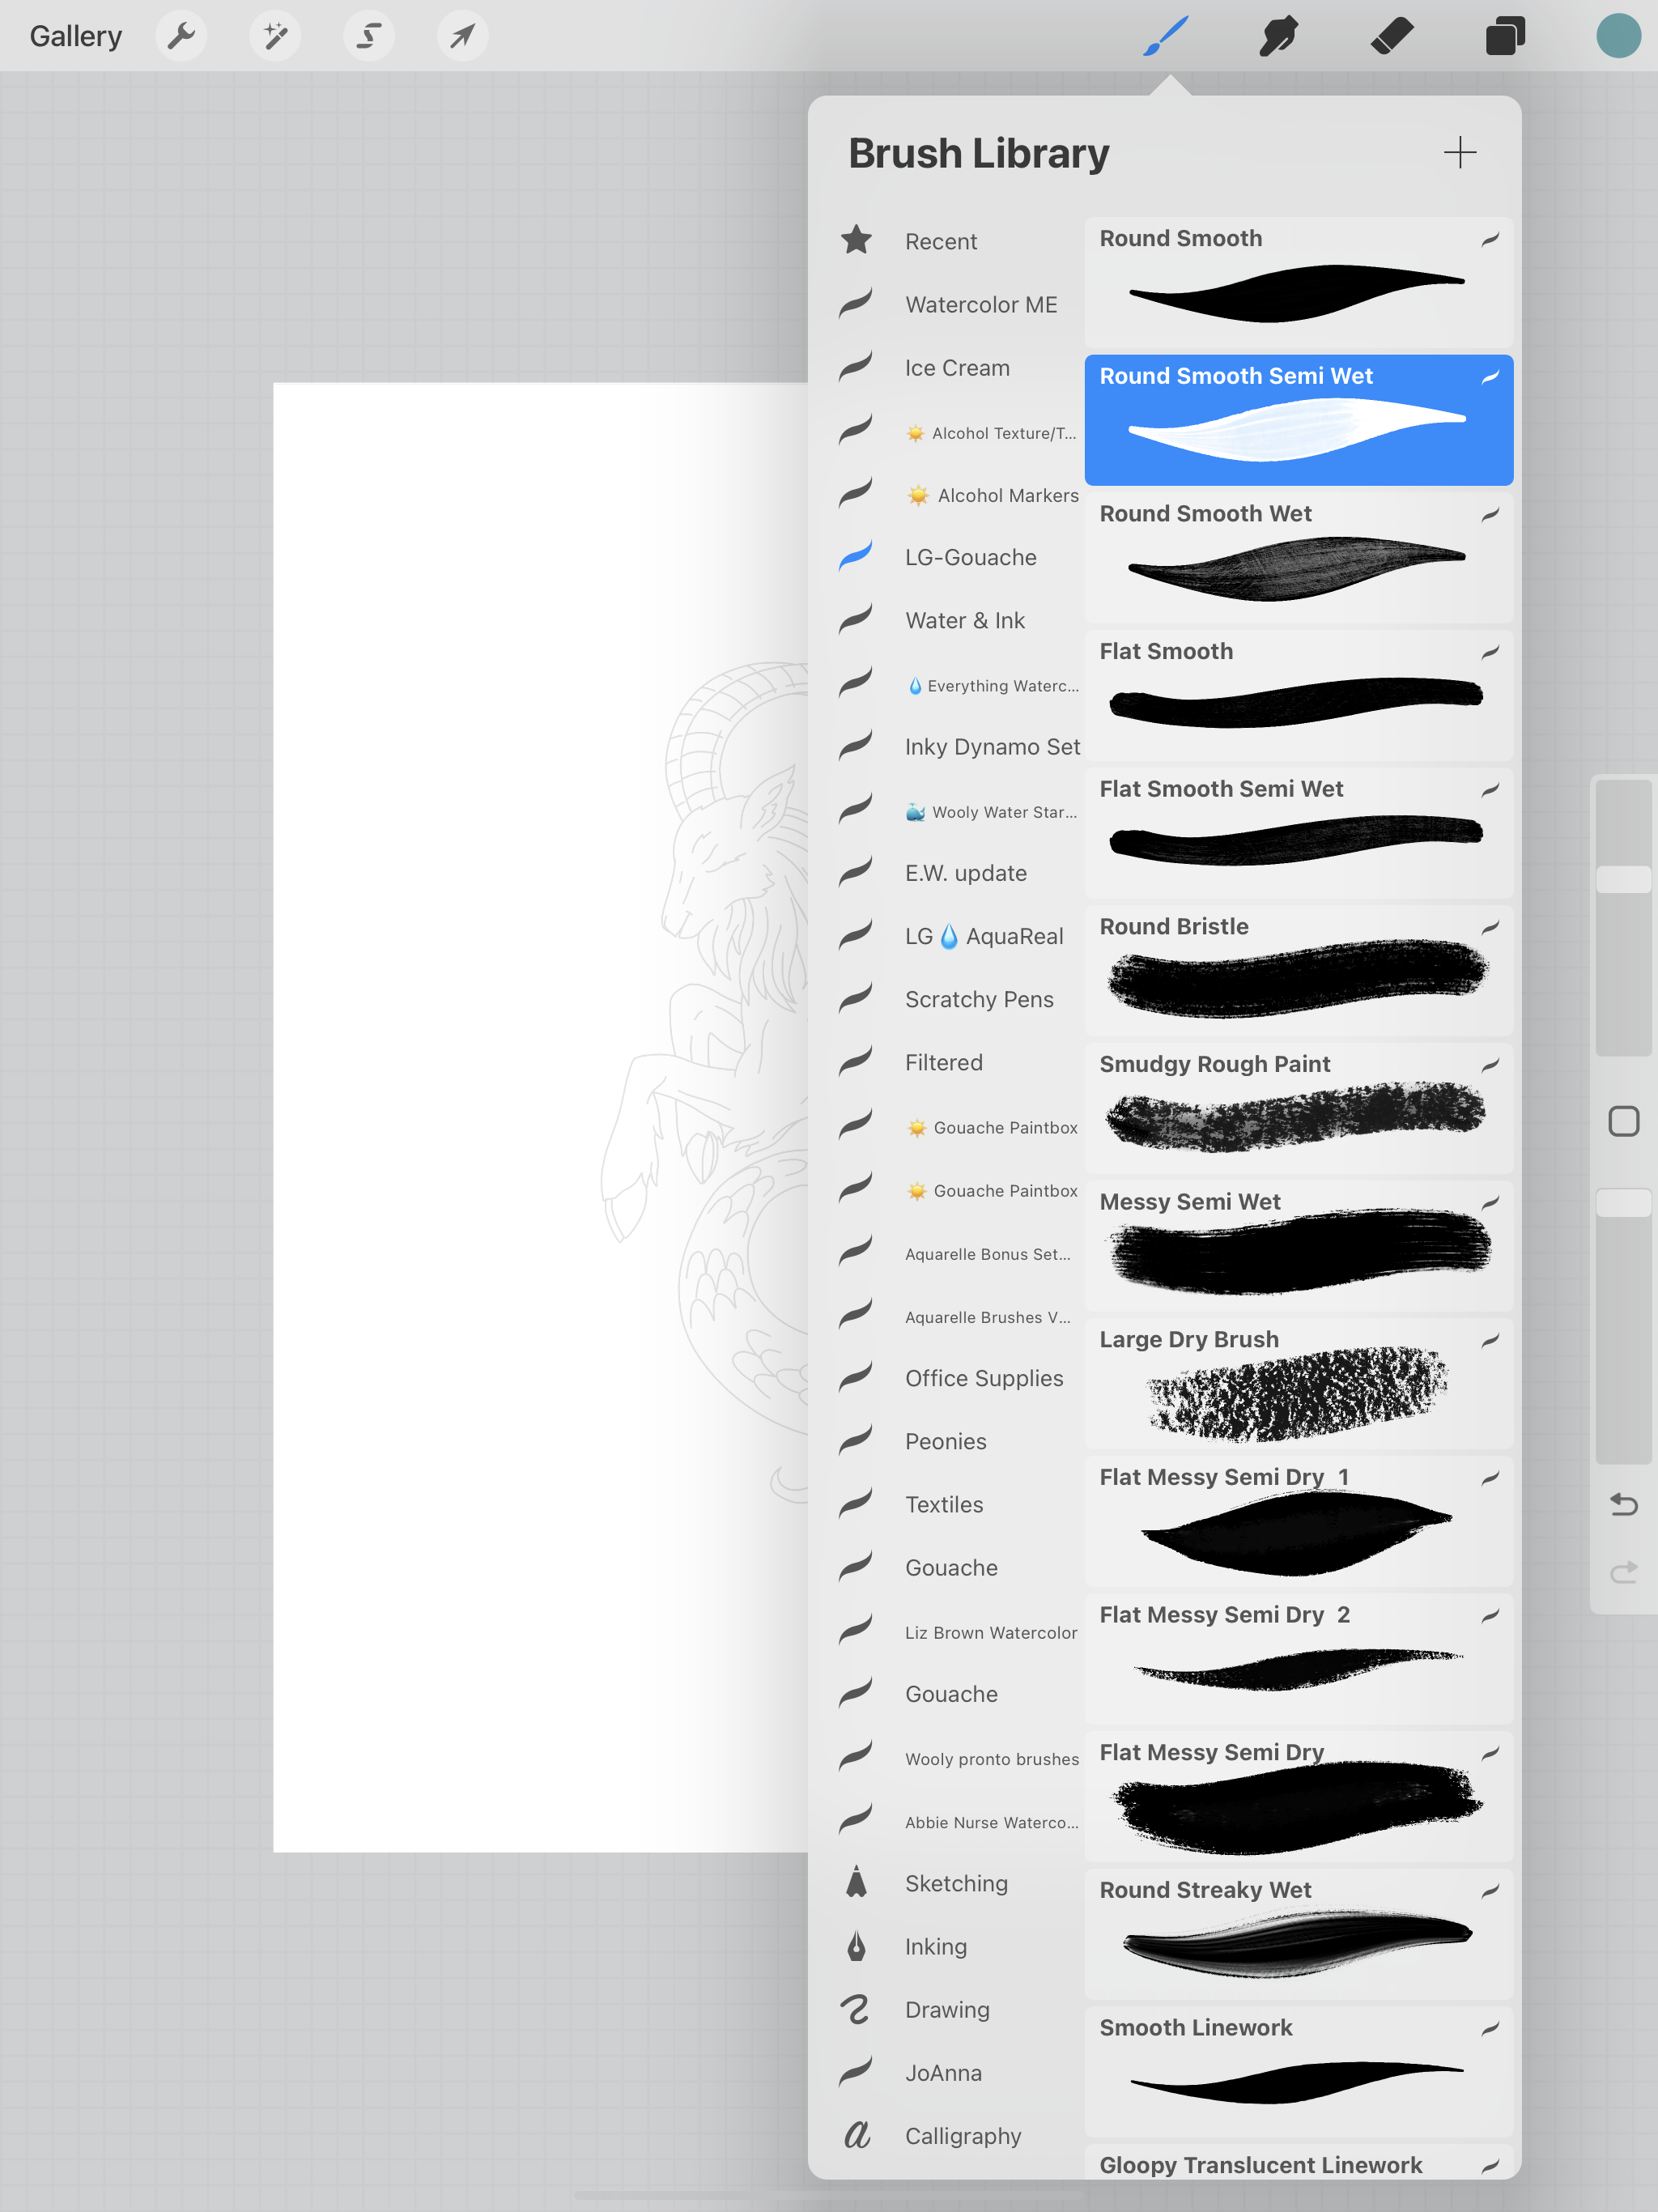
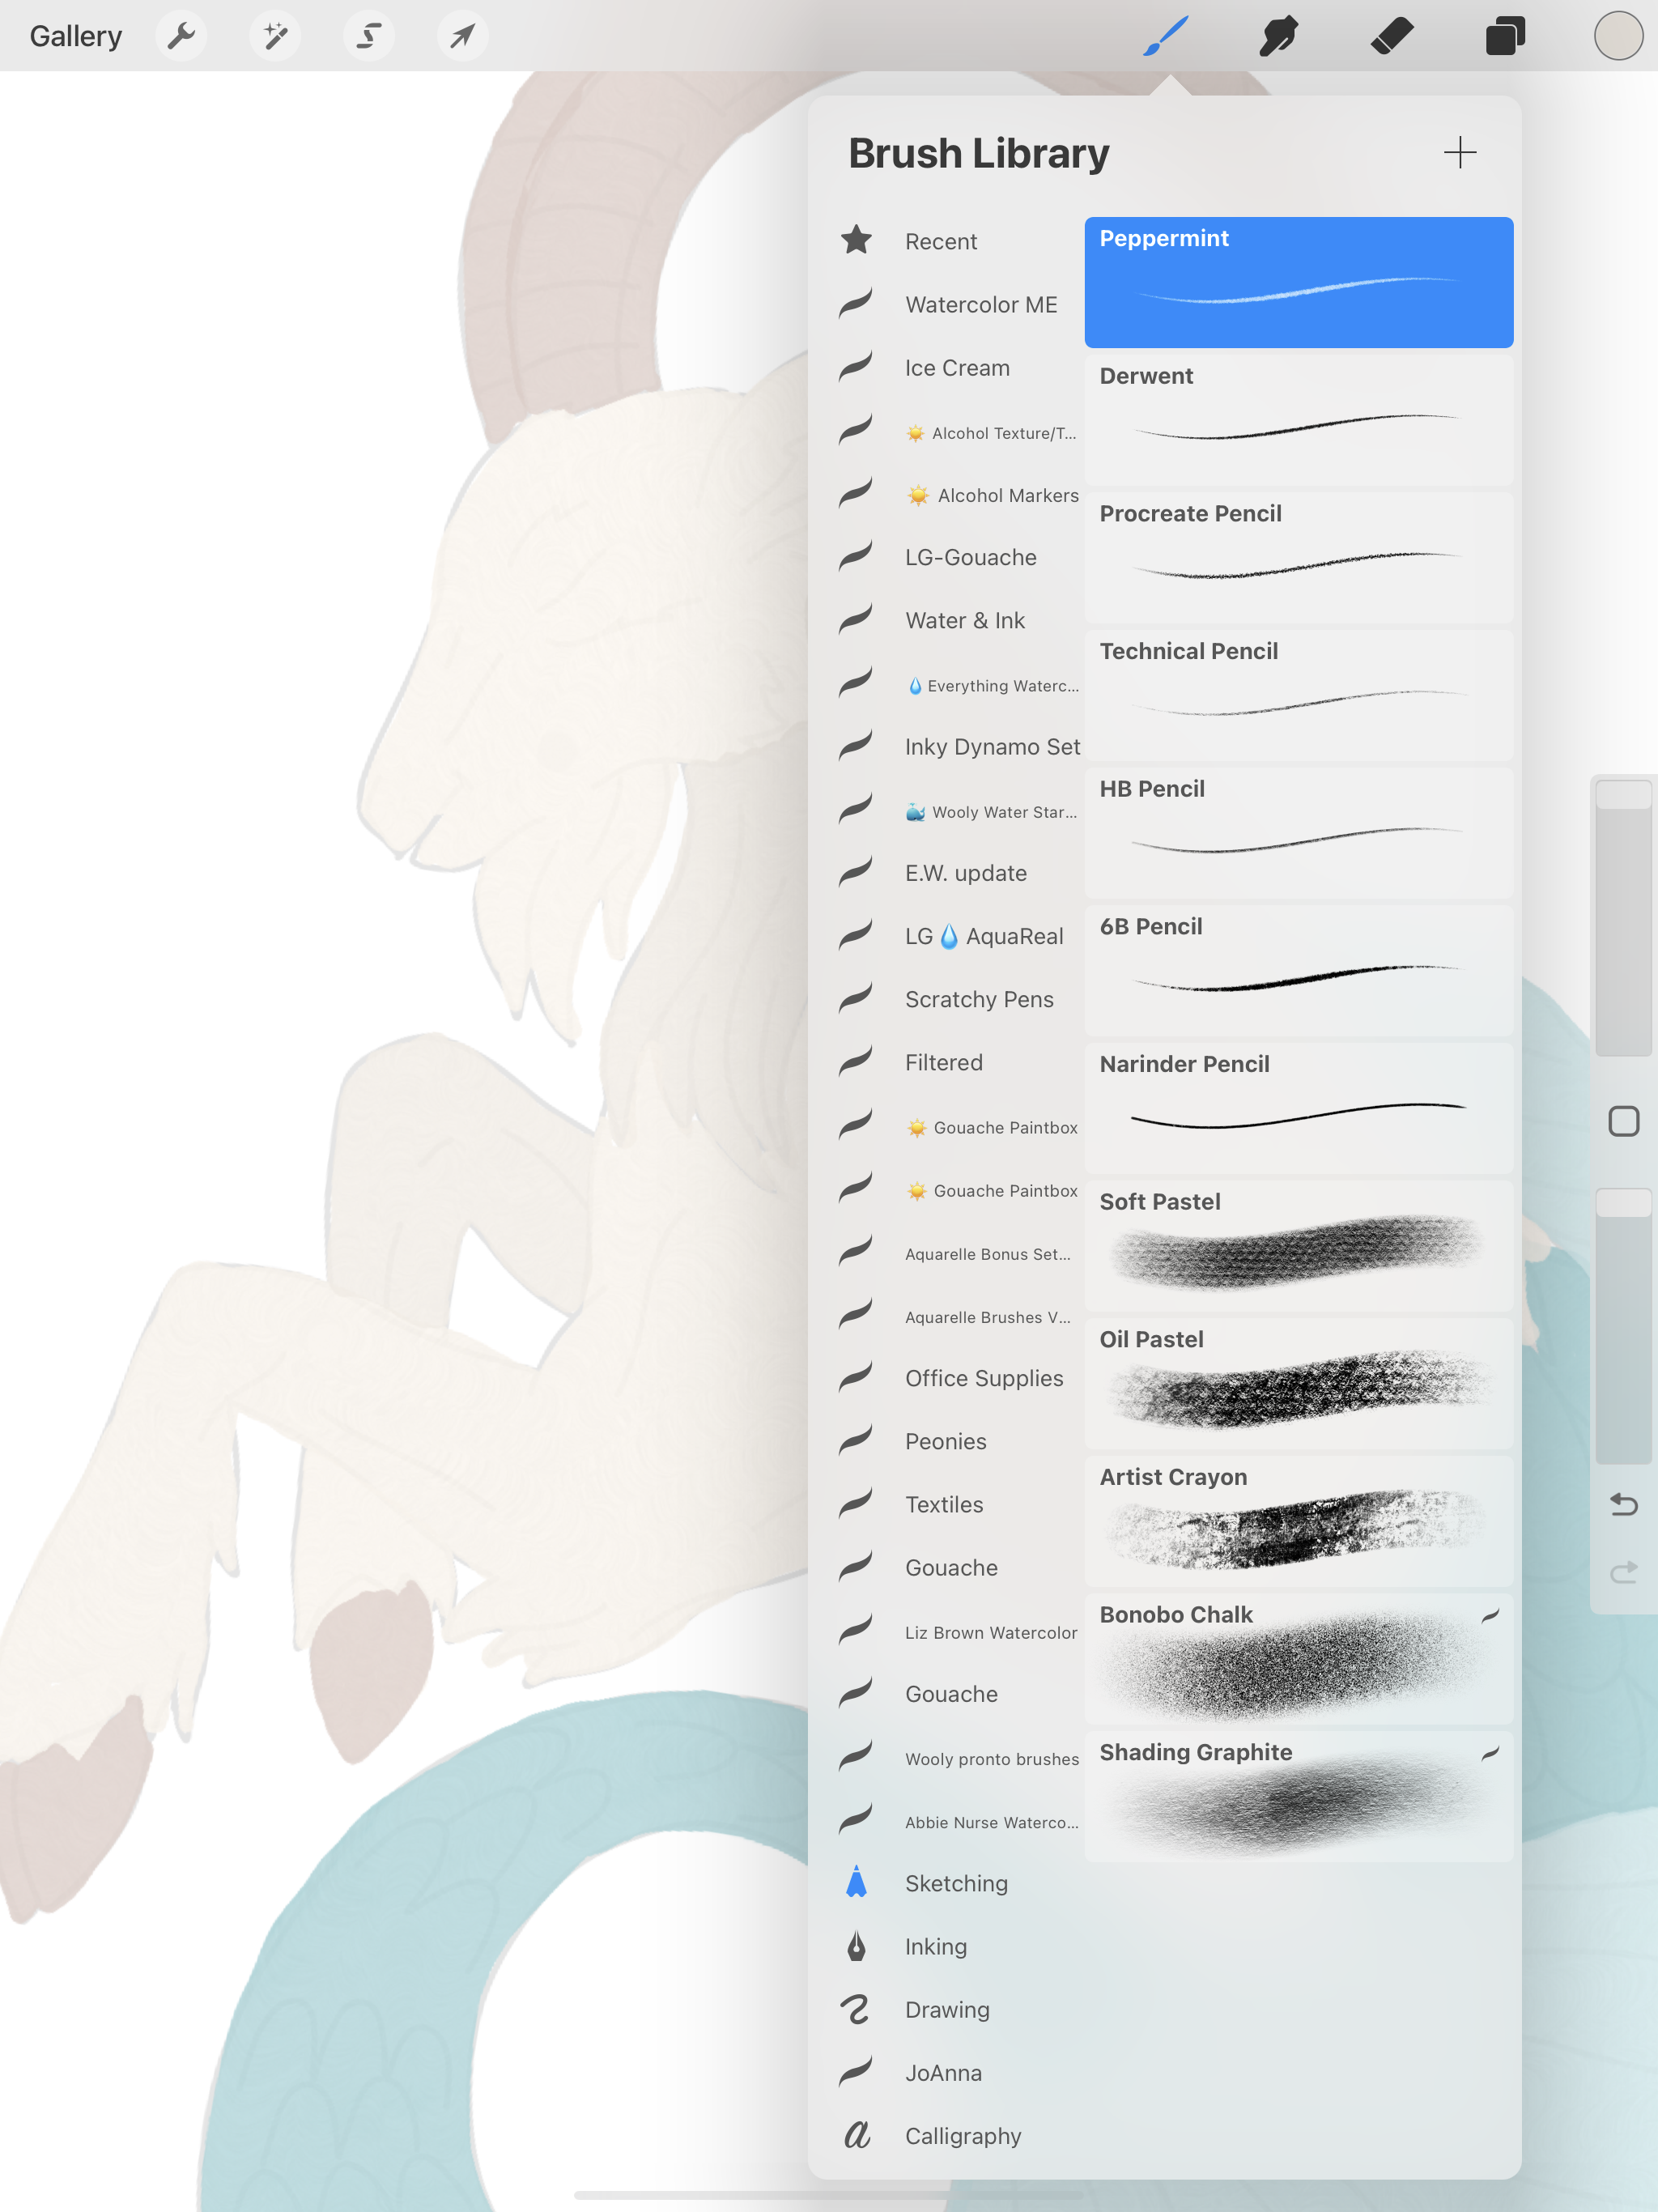
This week I’m going to share another variation of watercolor style clipart in Procreate. I will be using some of the same brushes as last week from the Everything Watercolor brush set by Uproot Brushes. Let’s get started!
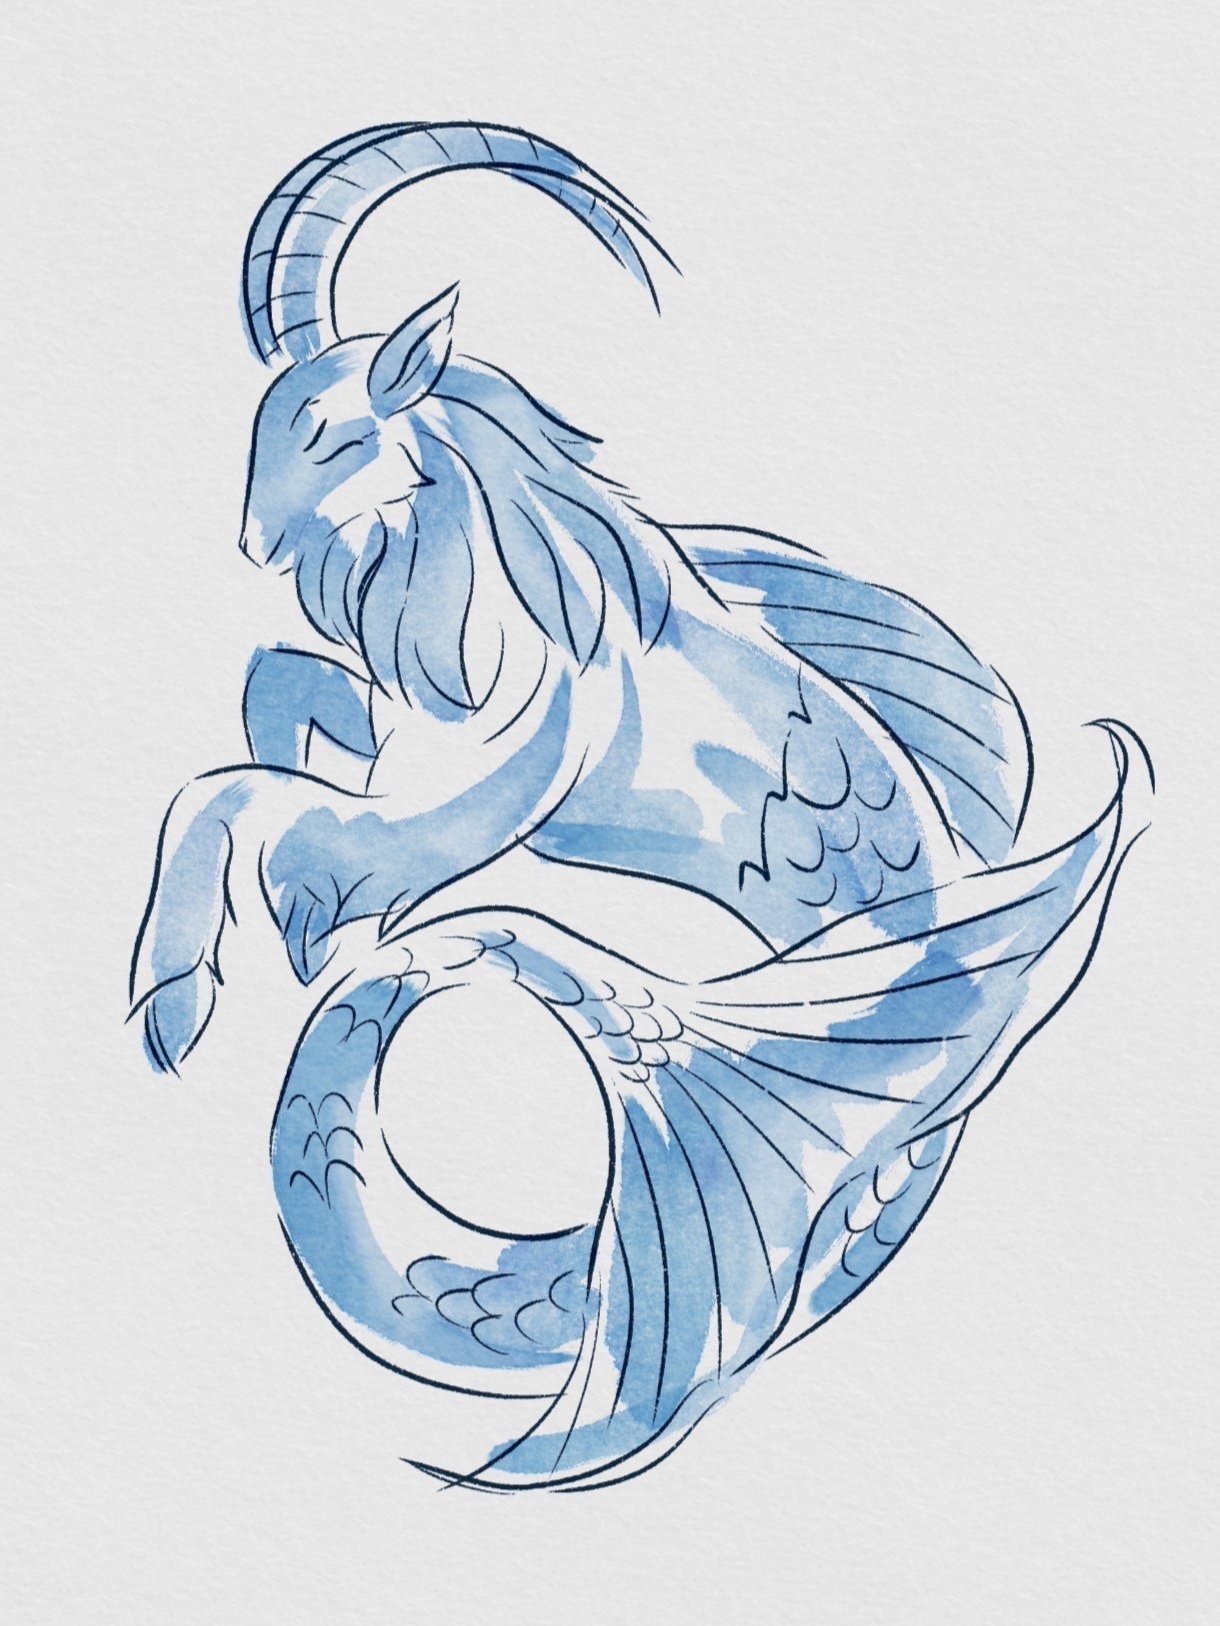
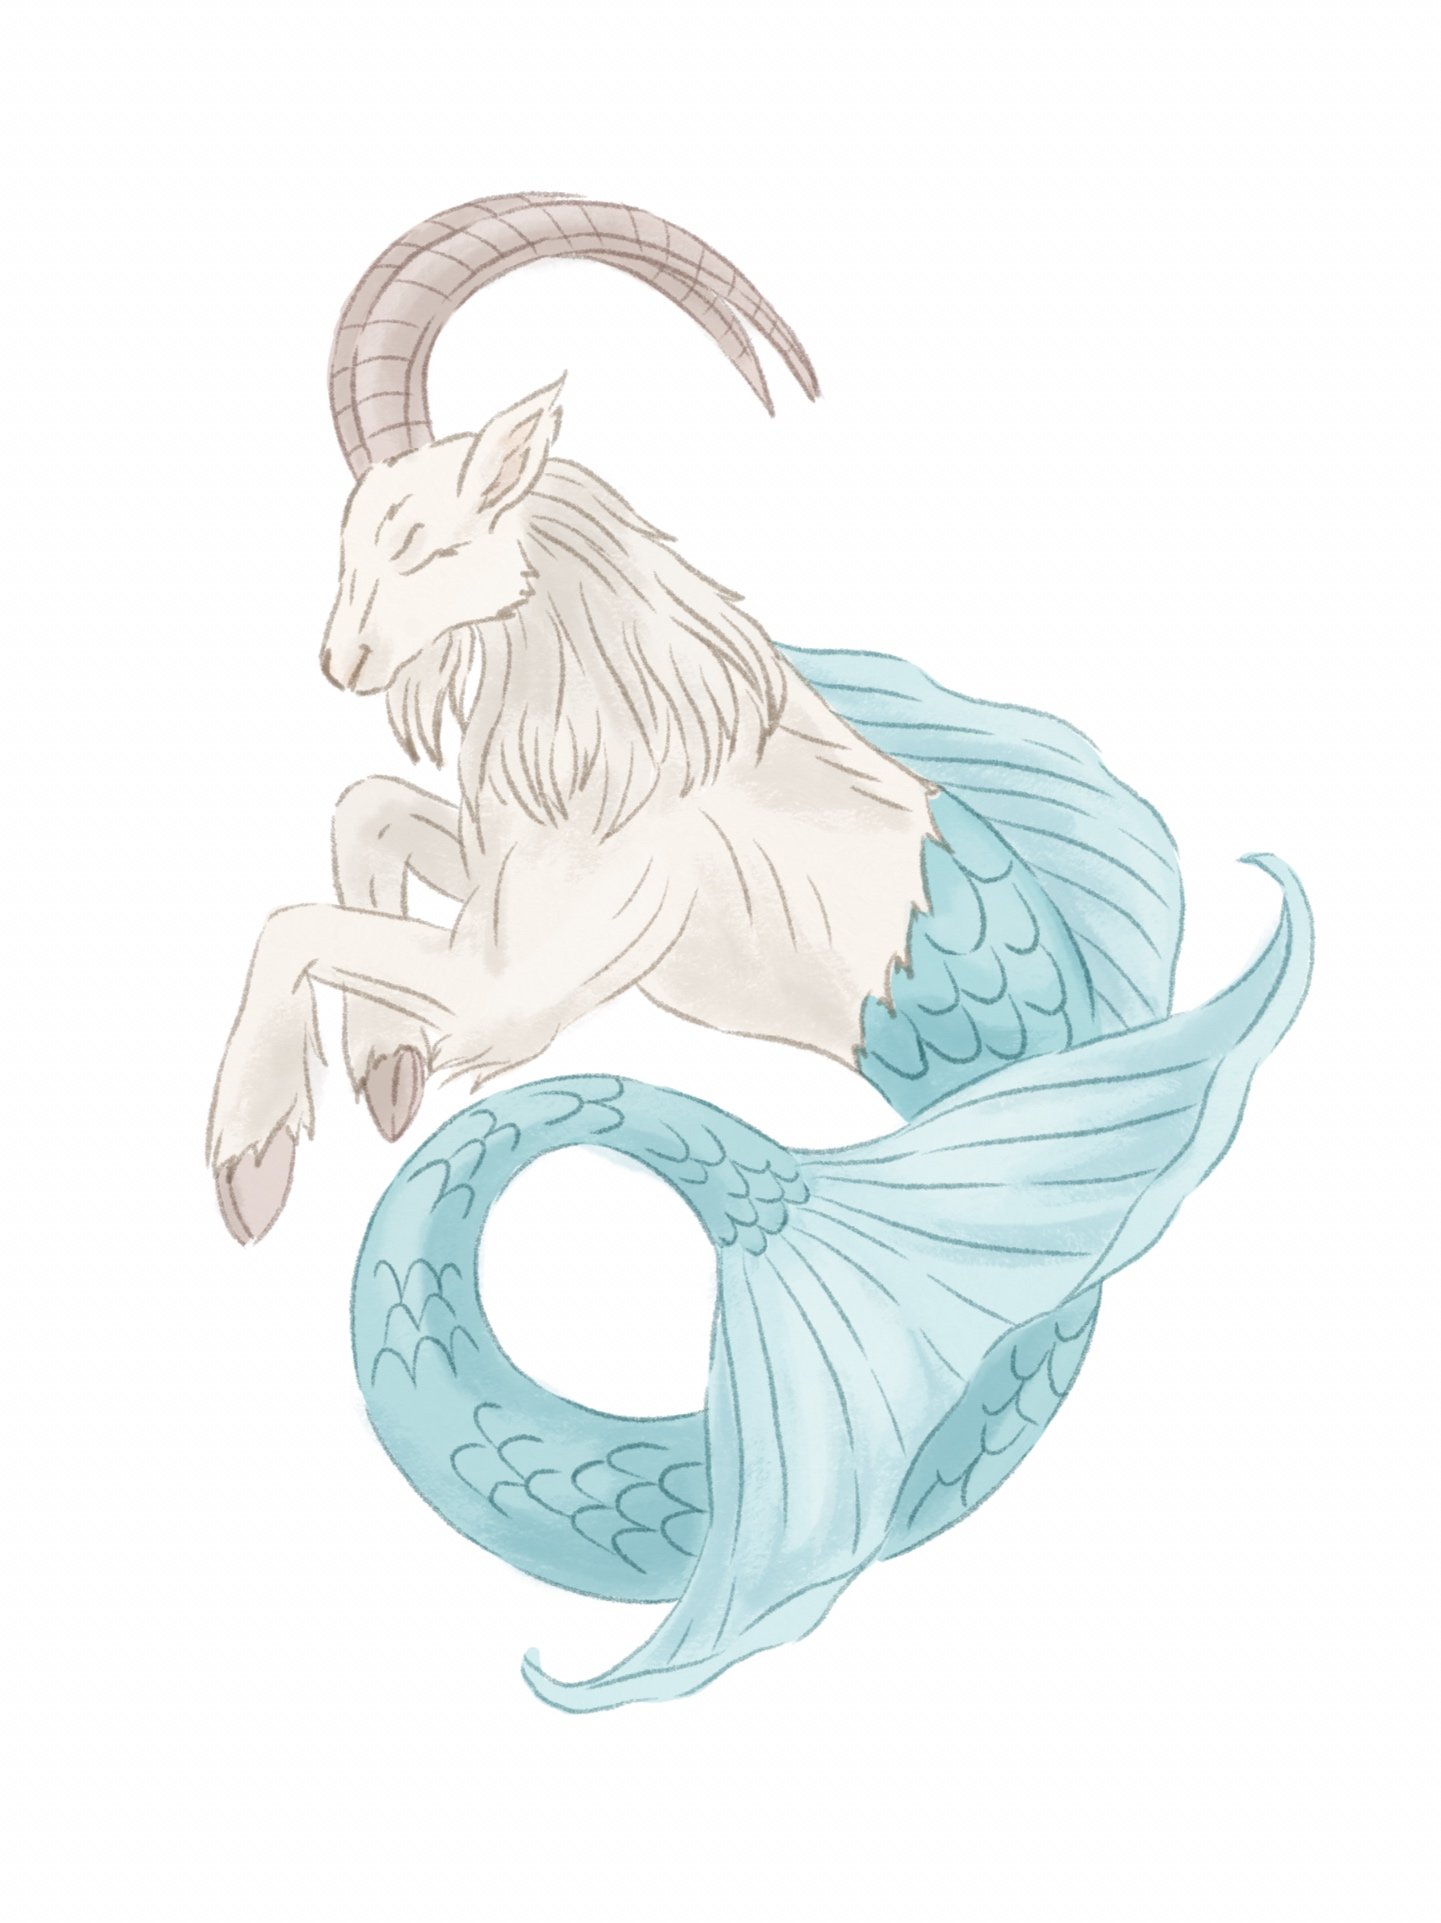
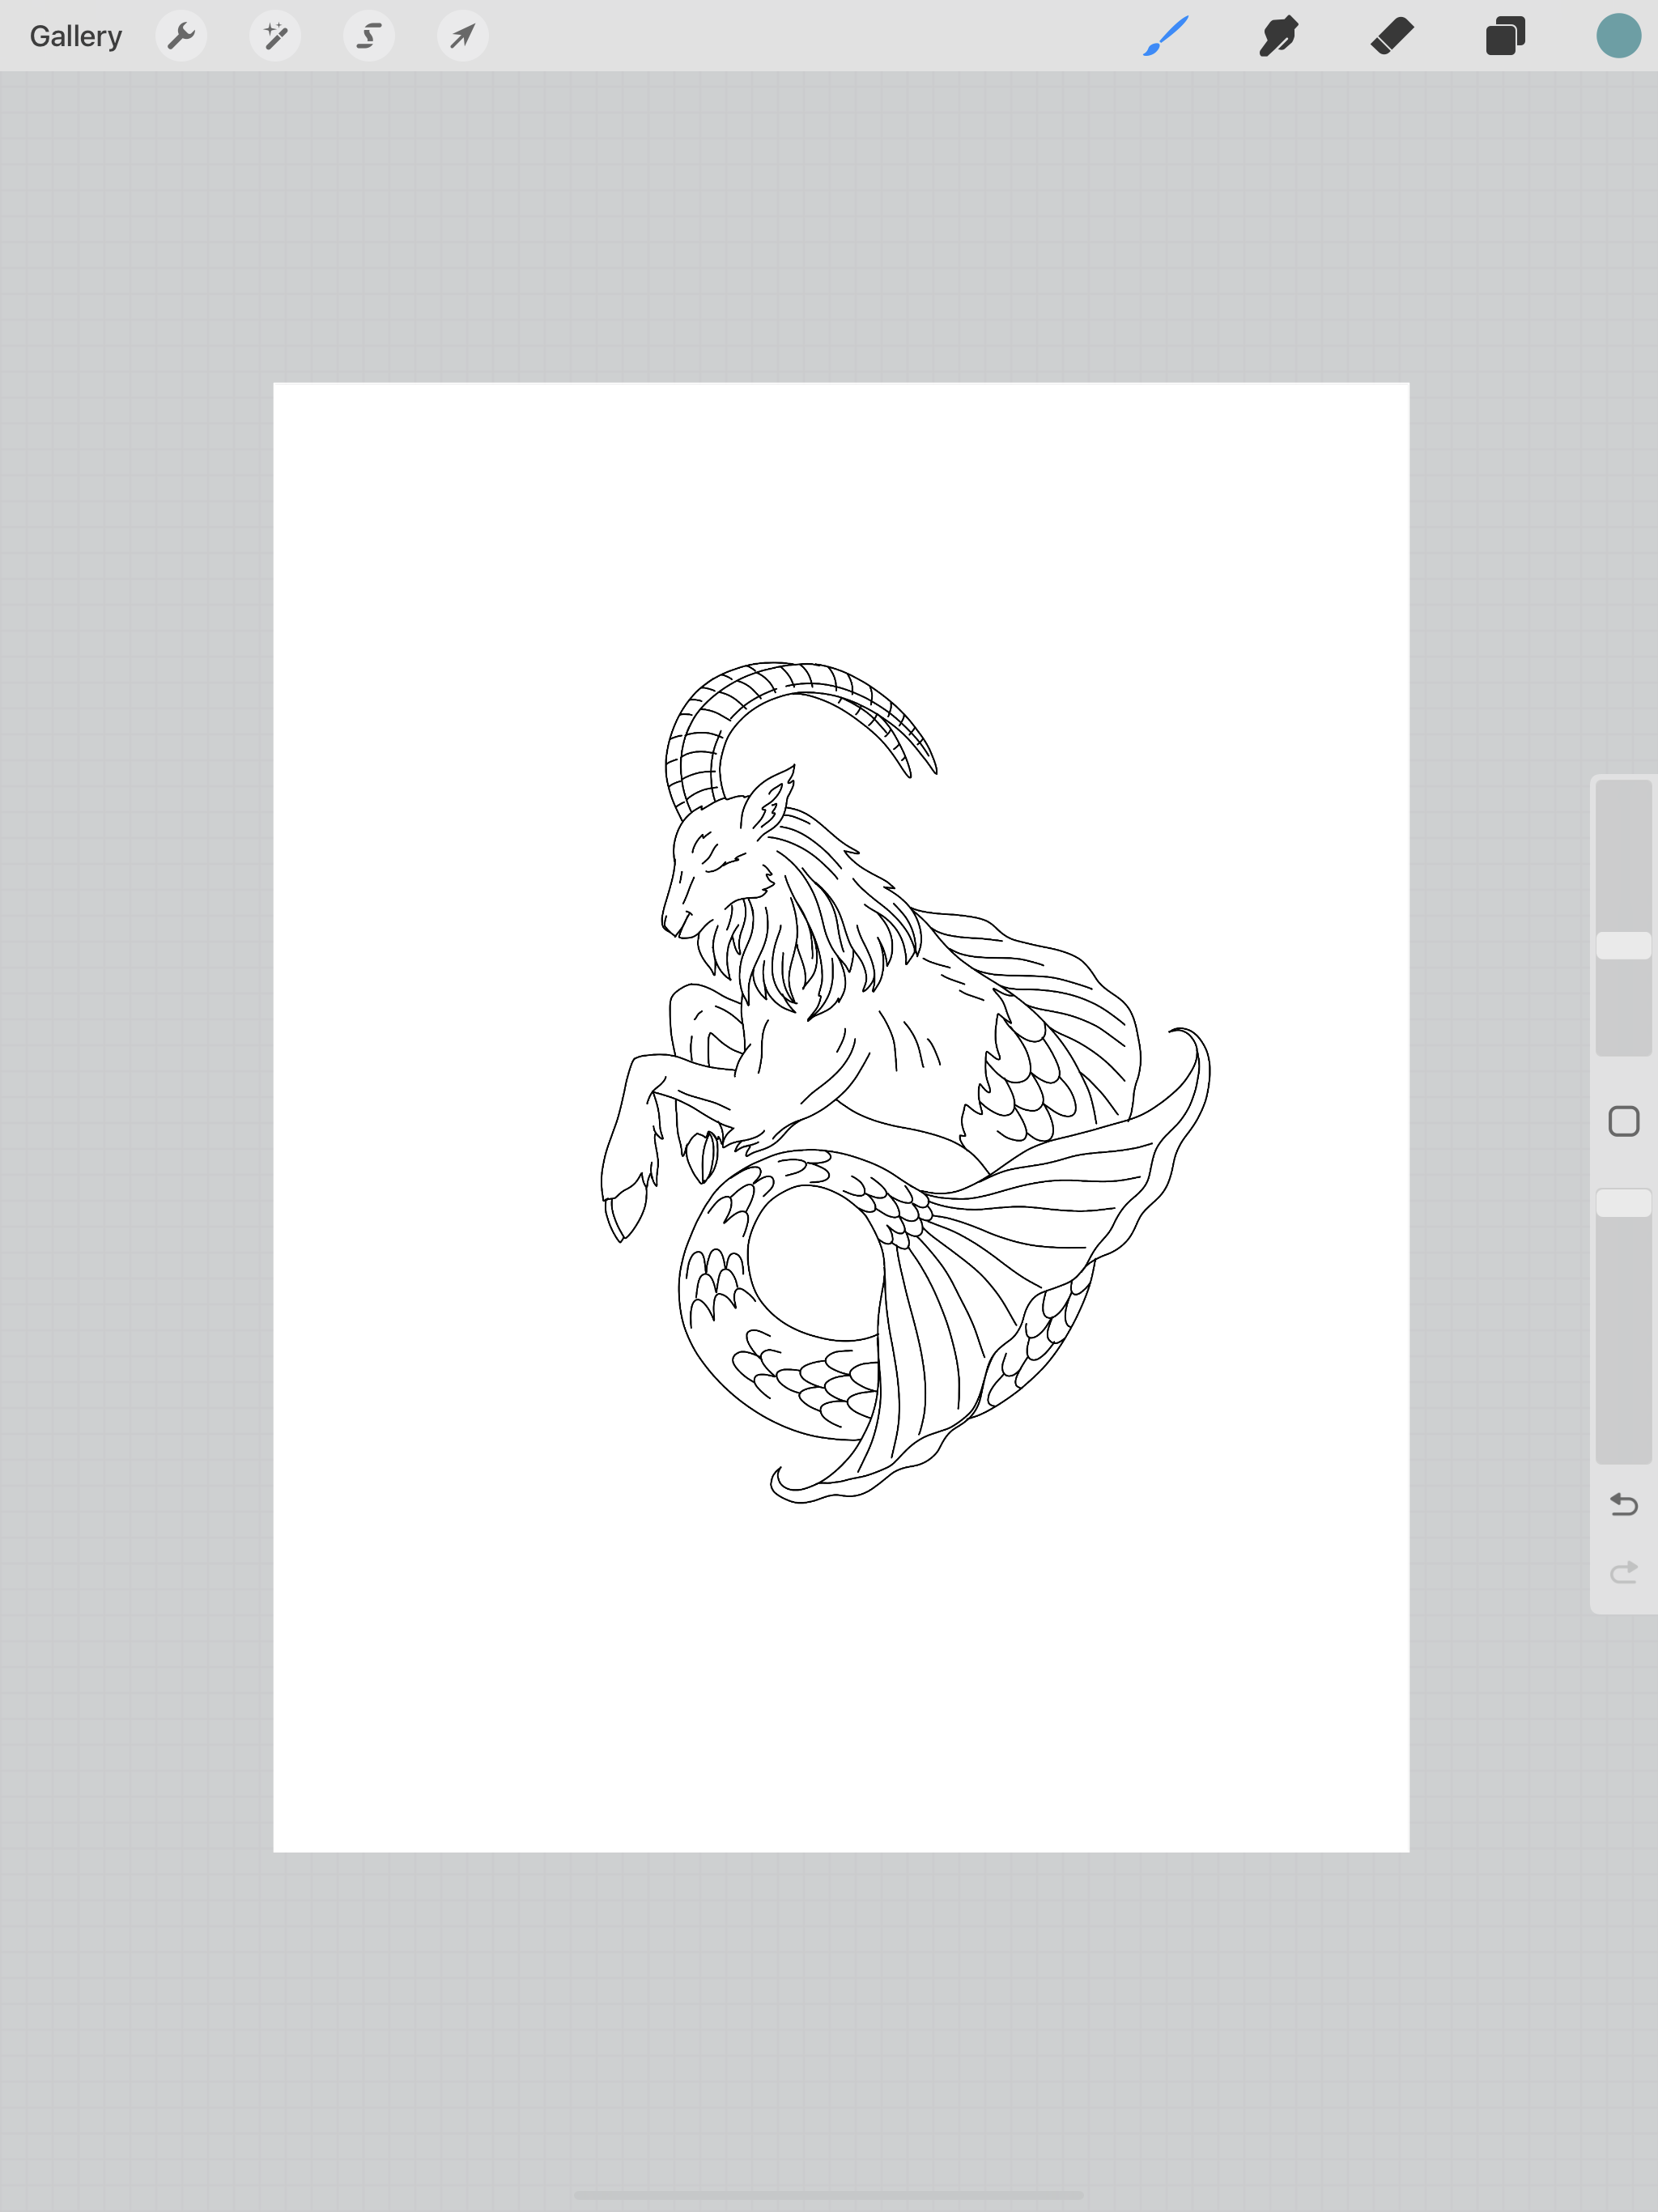
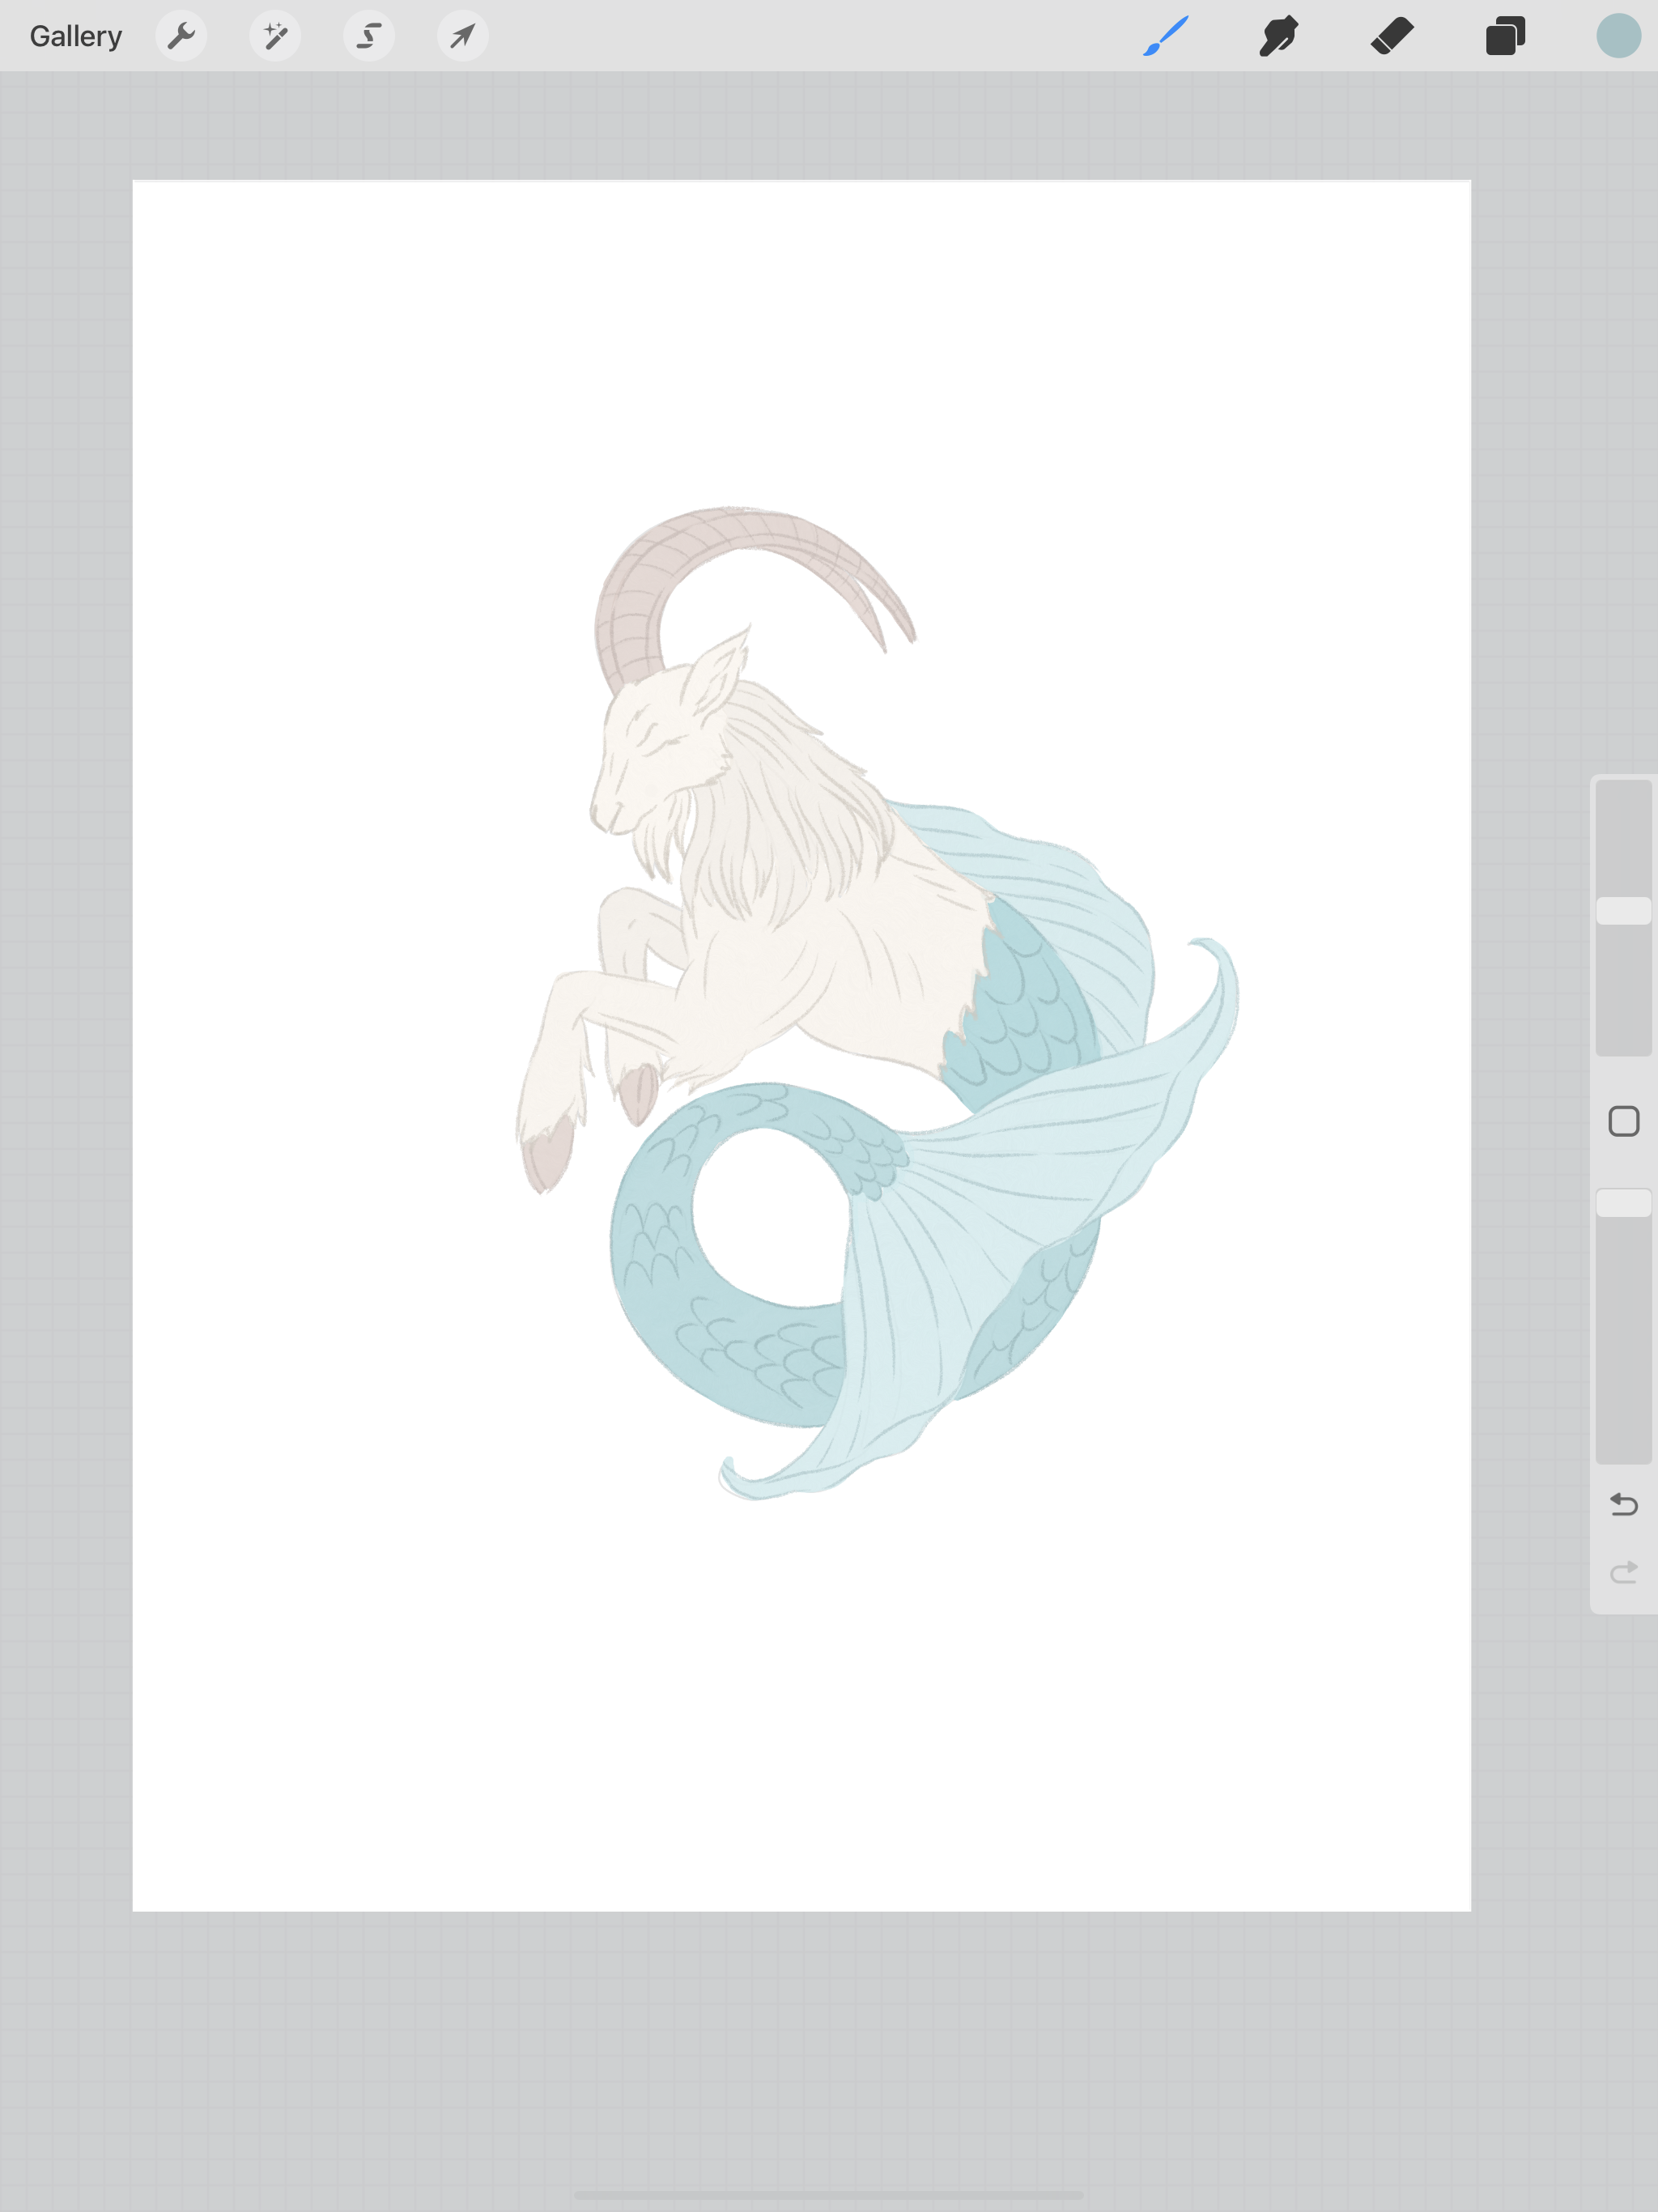
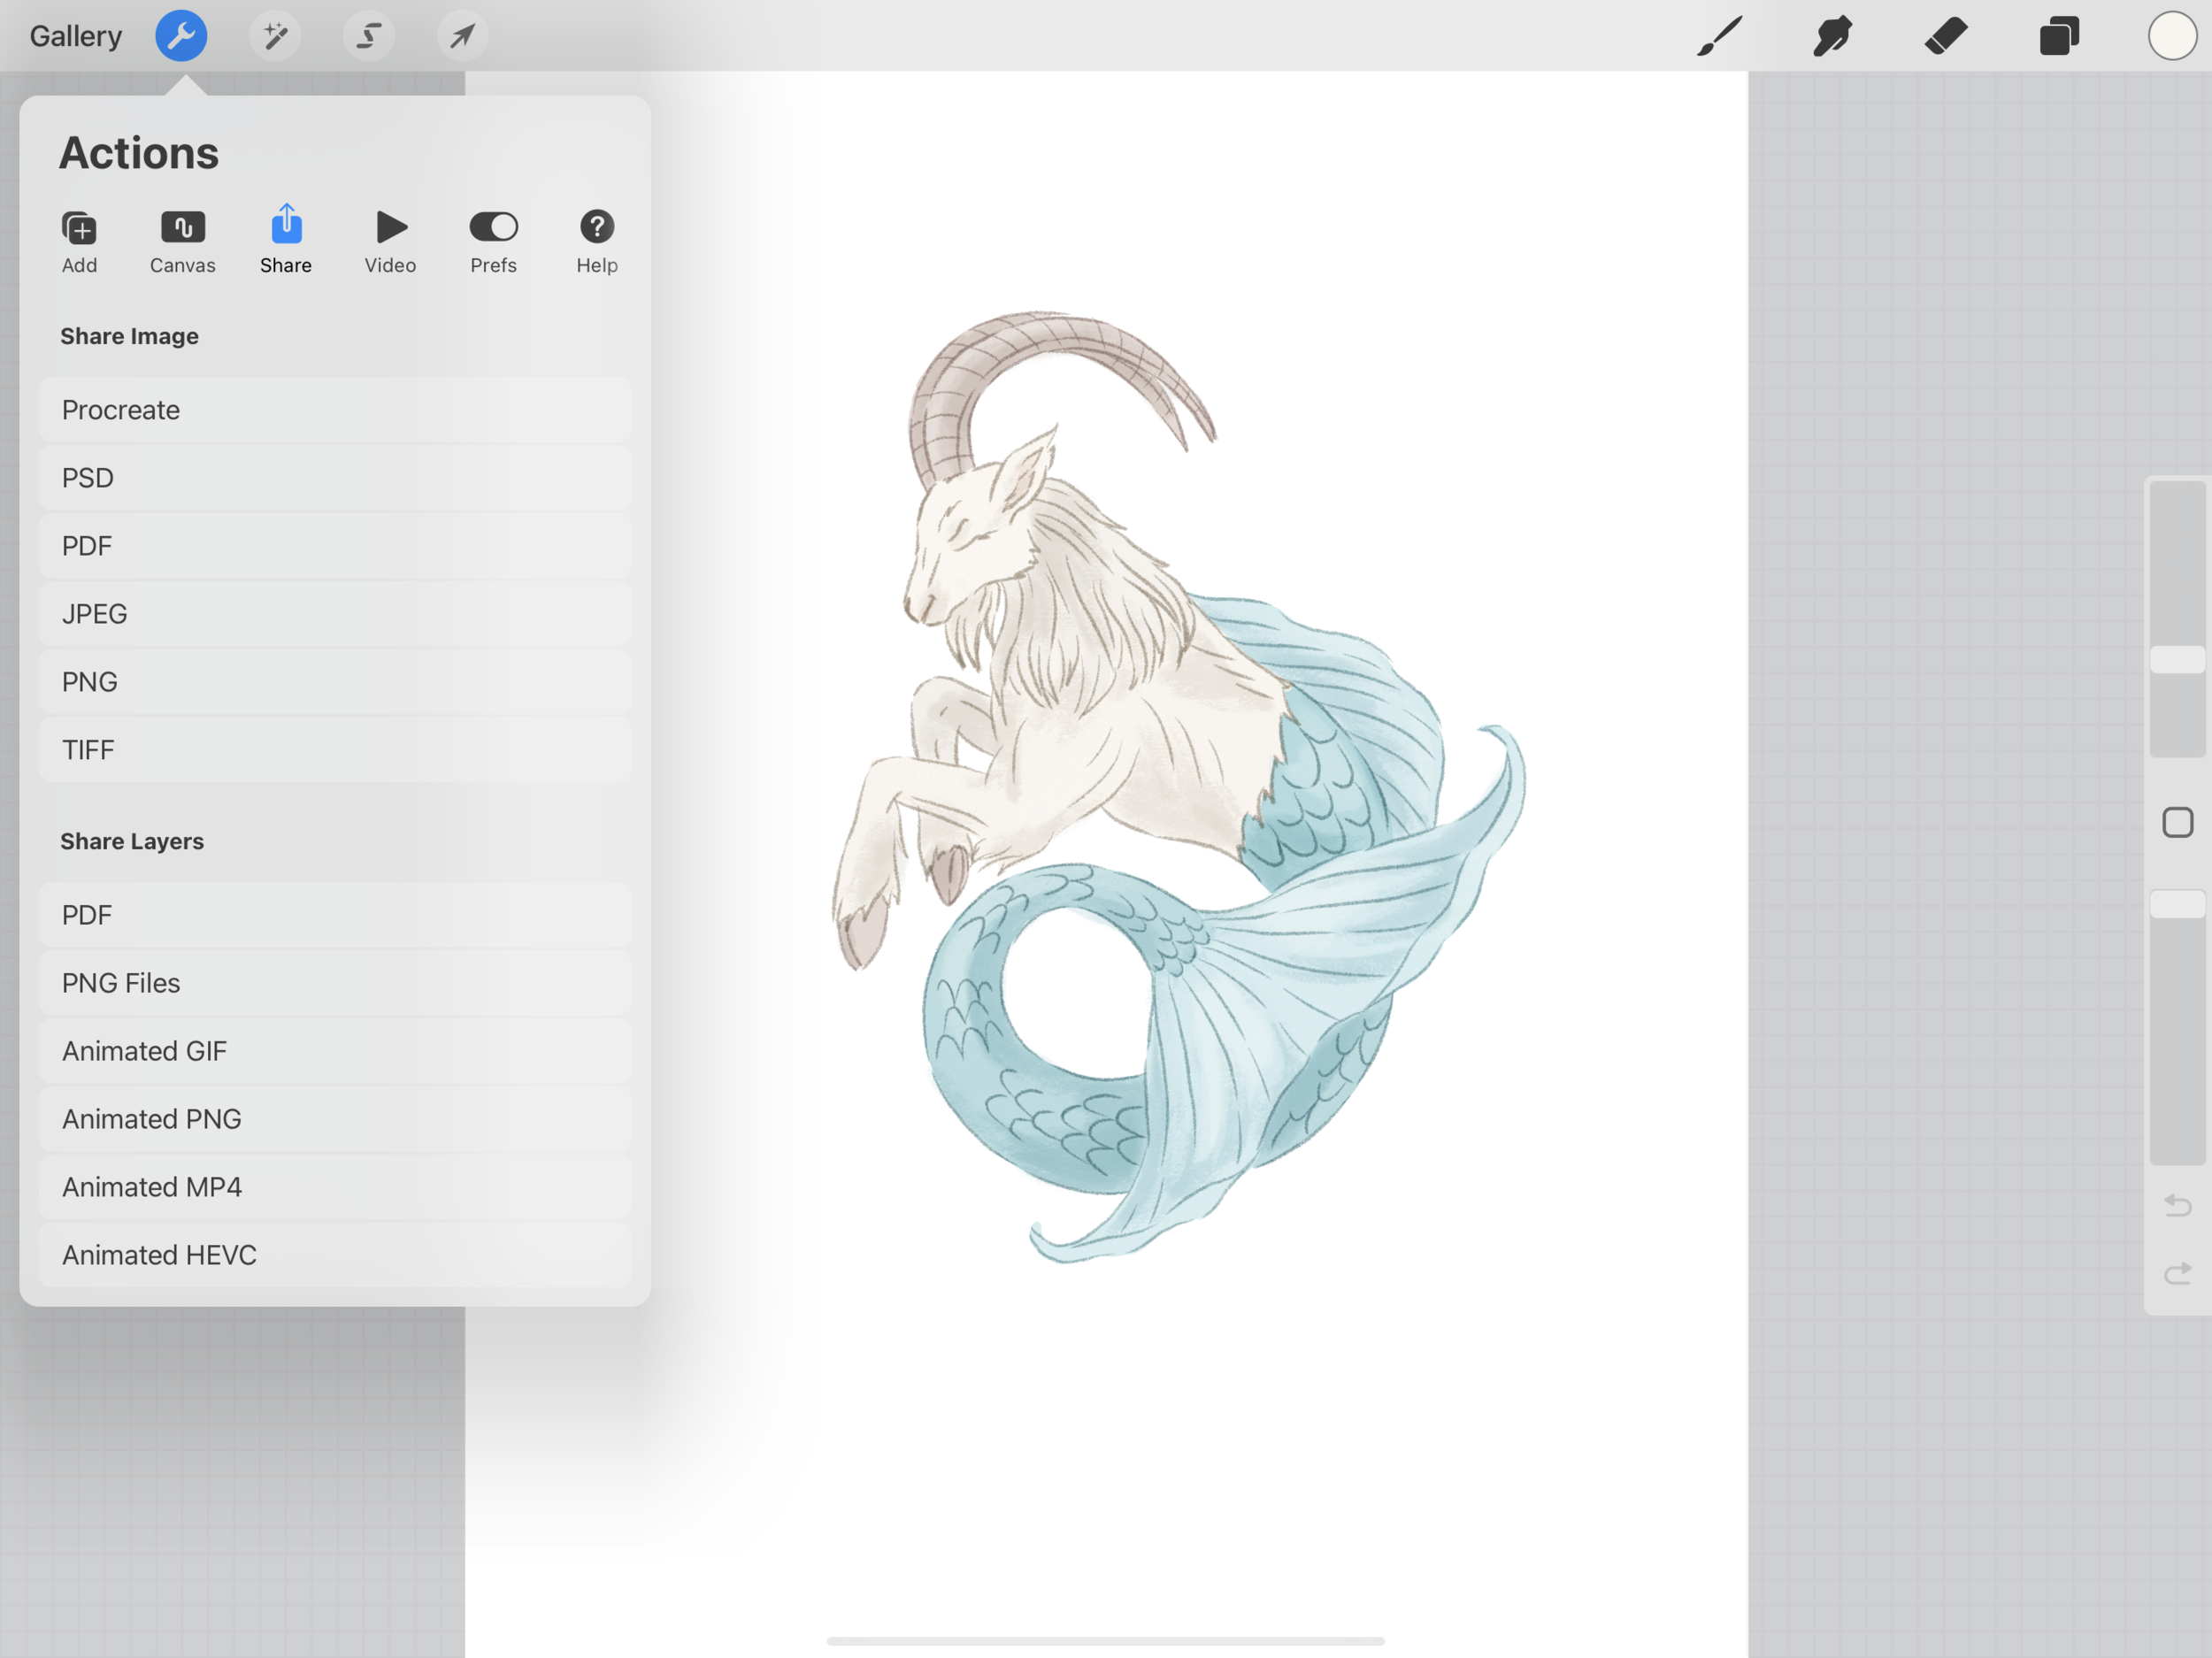
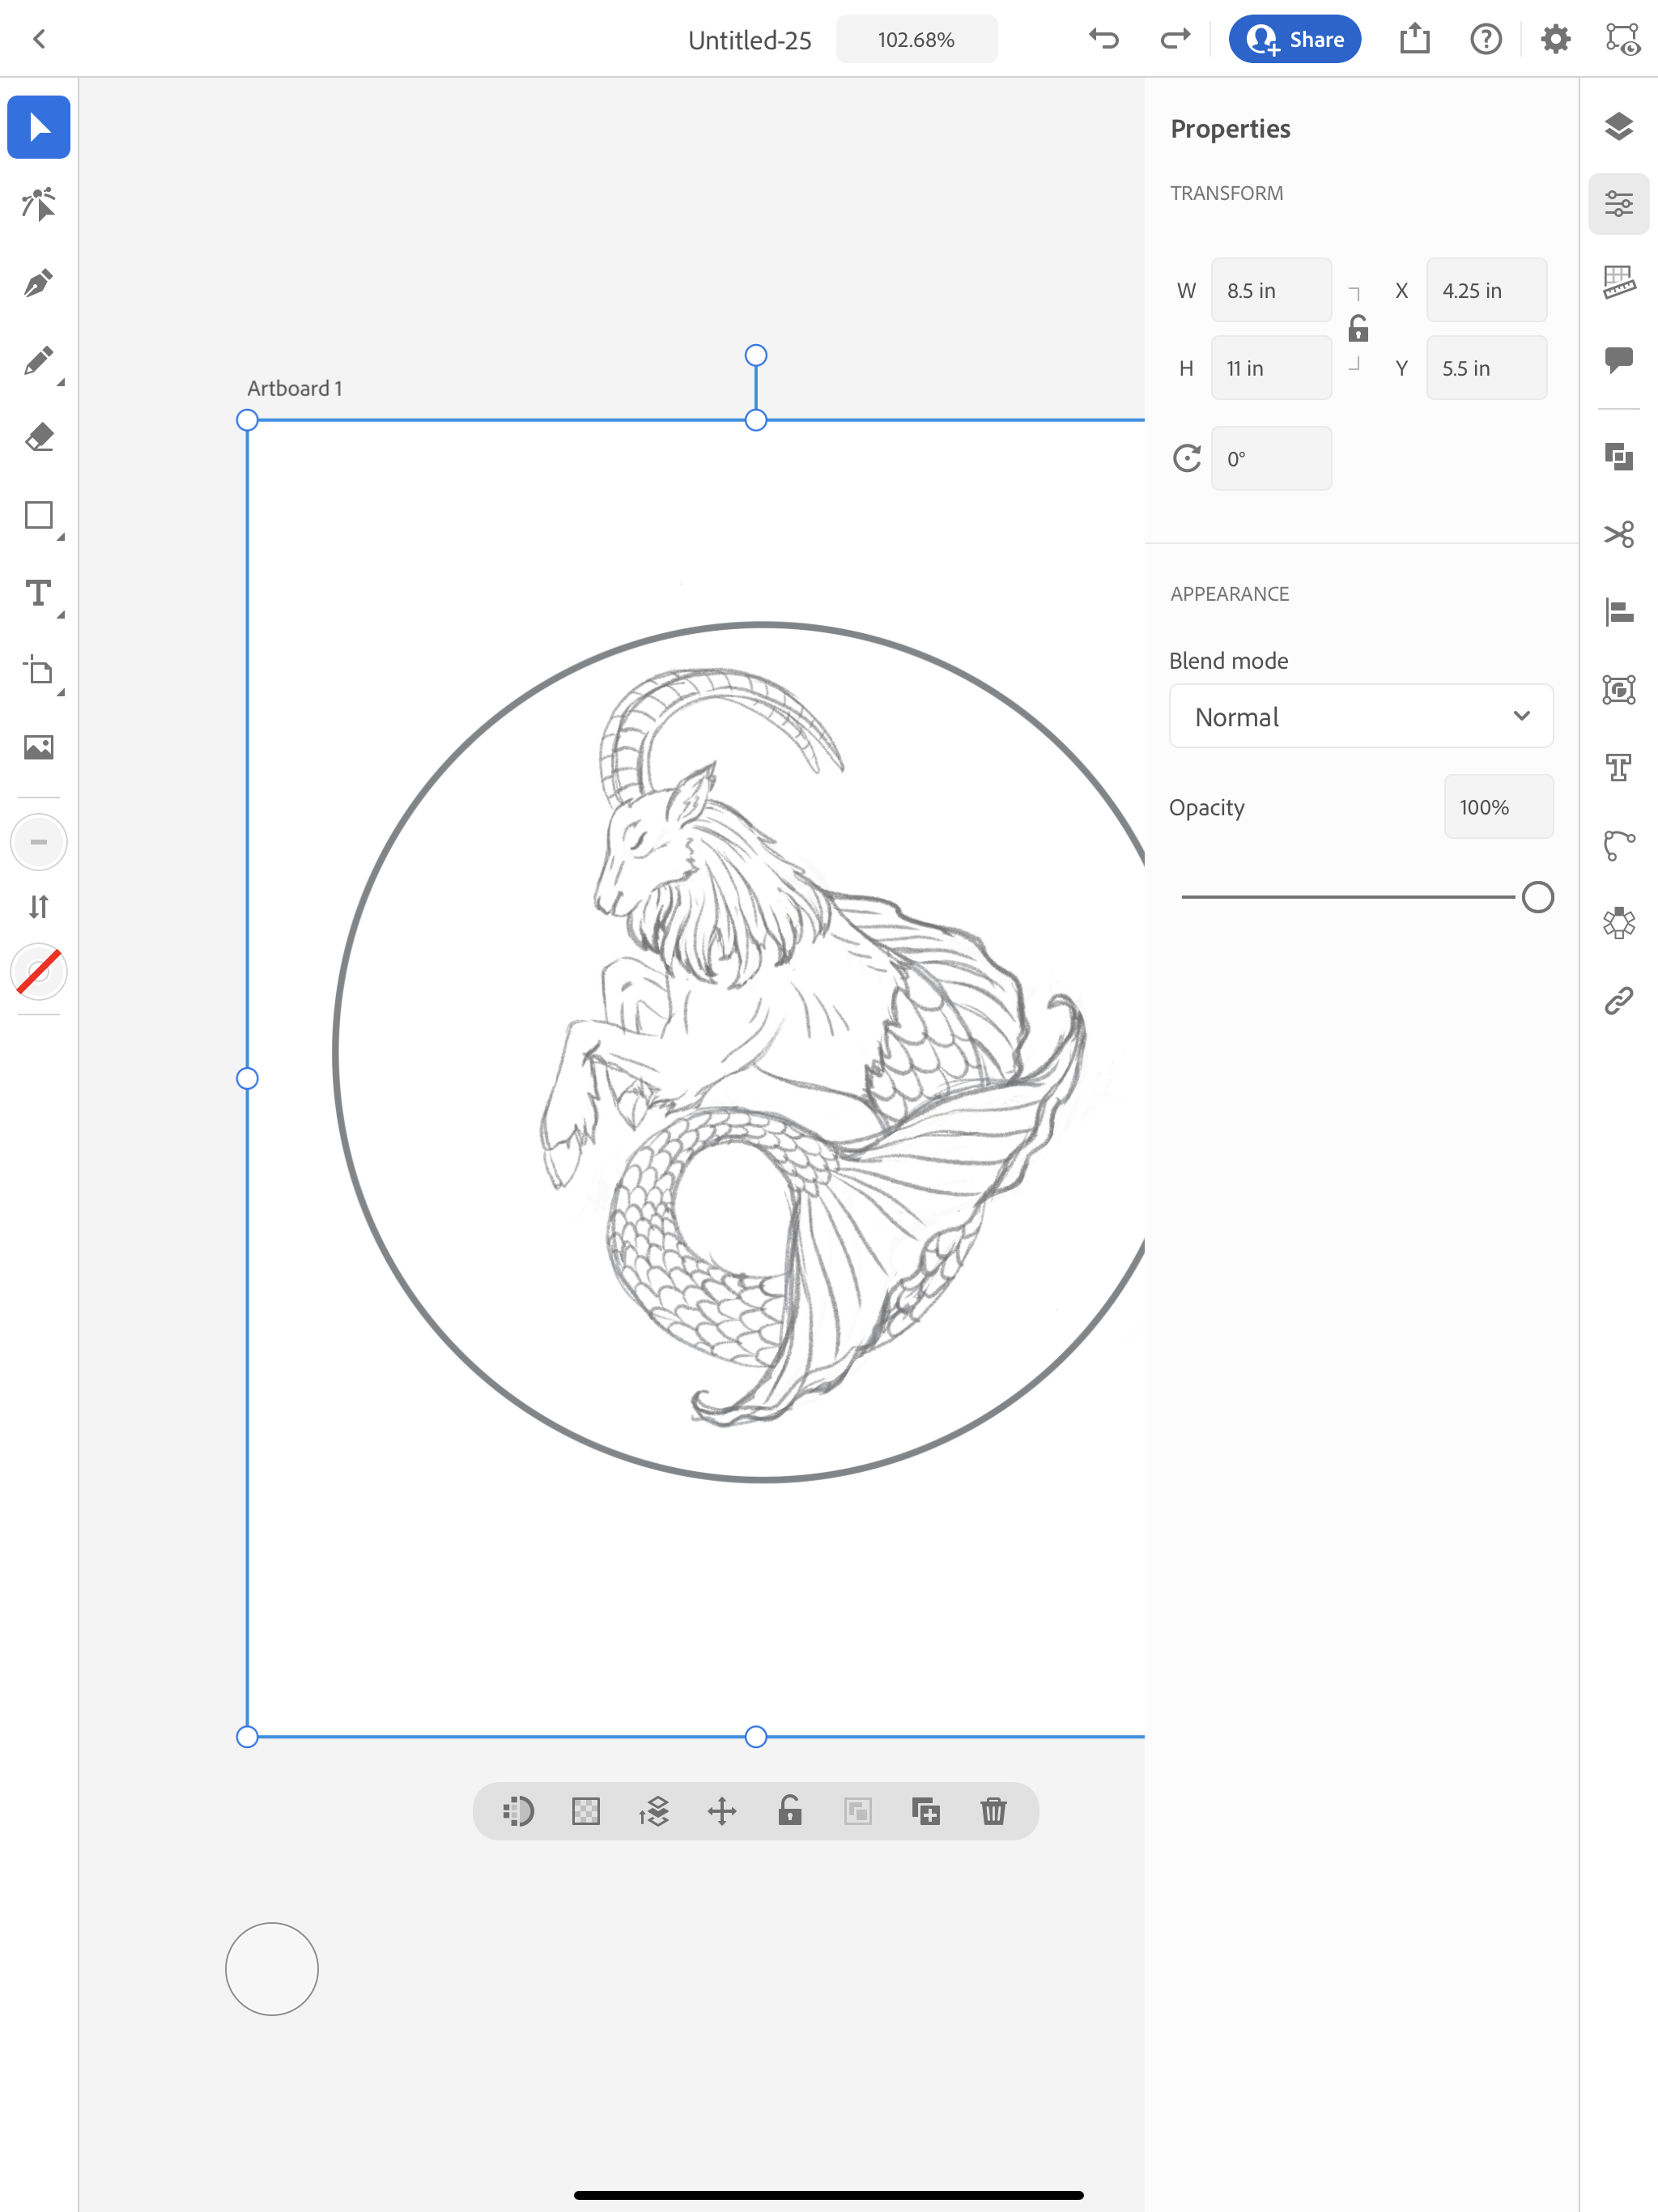
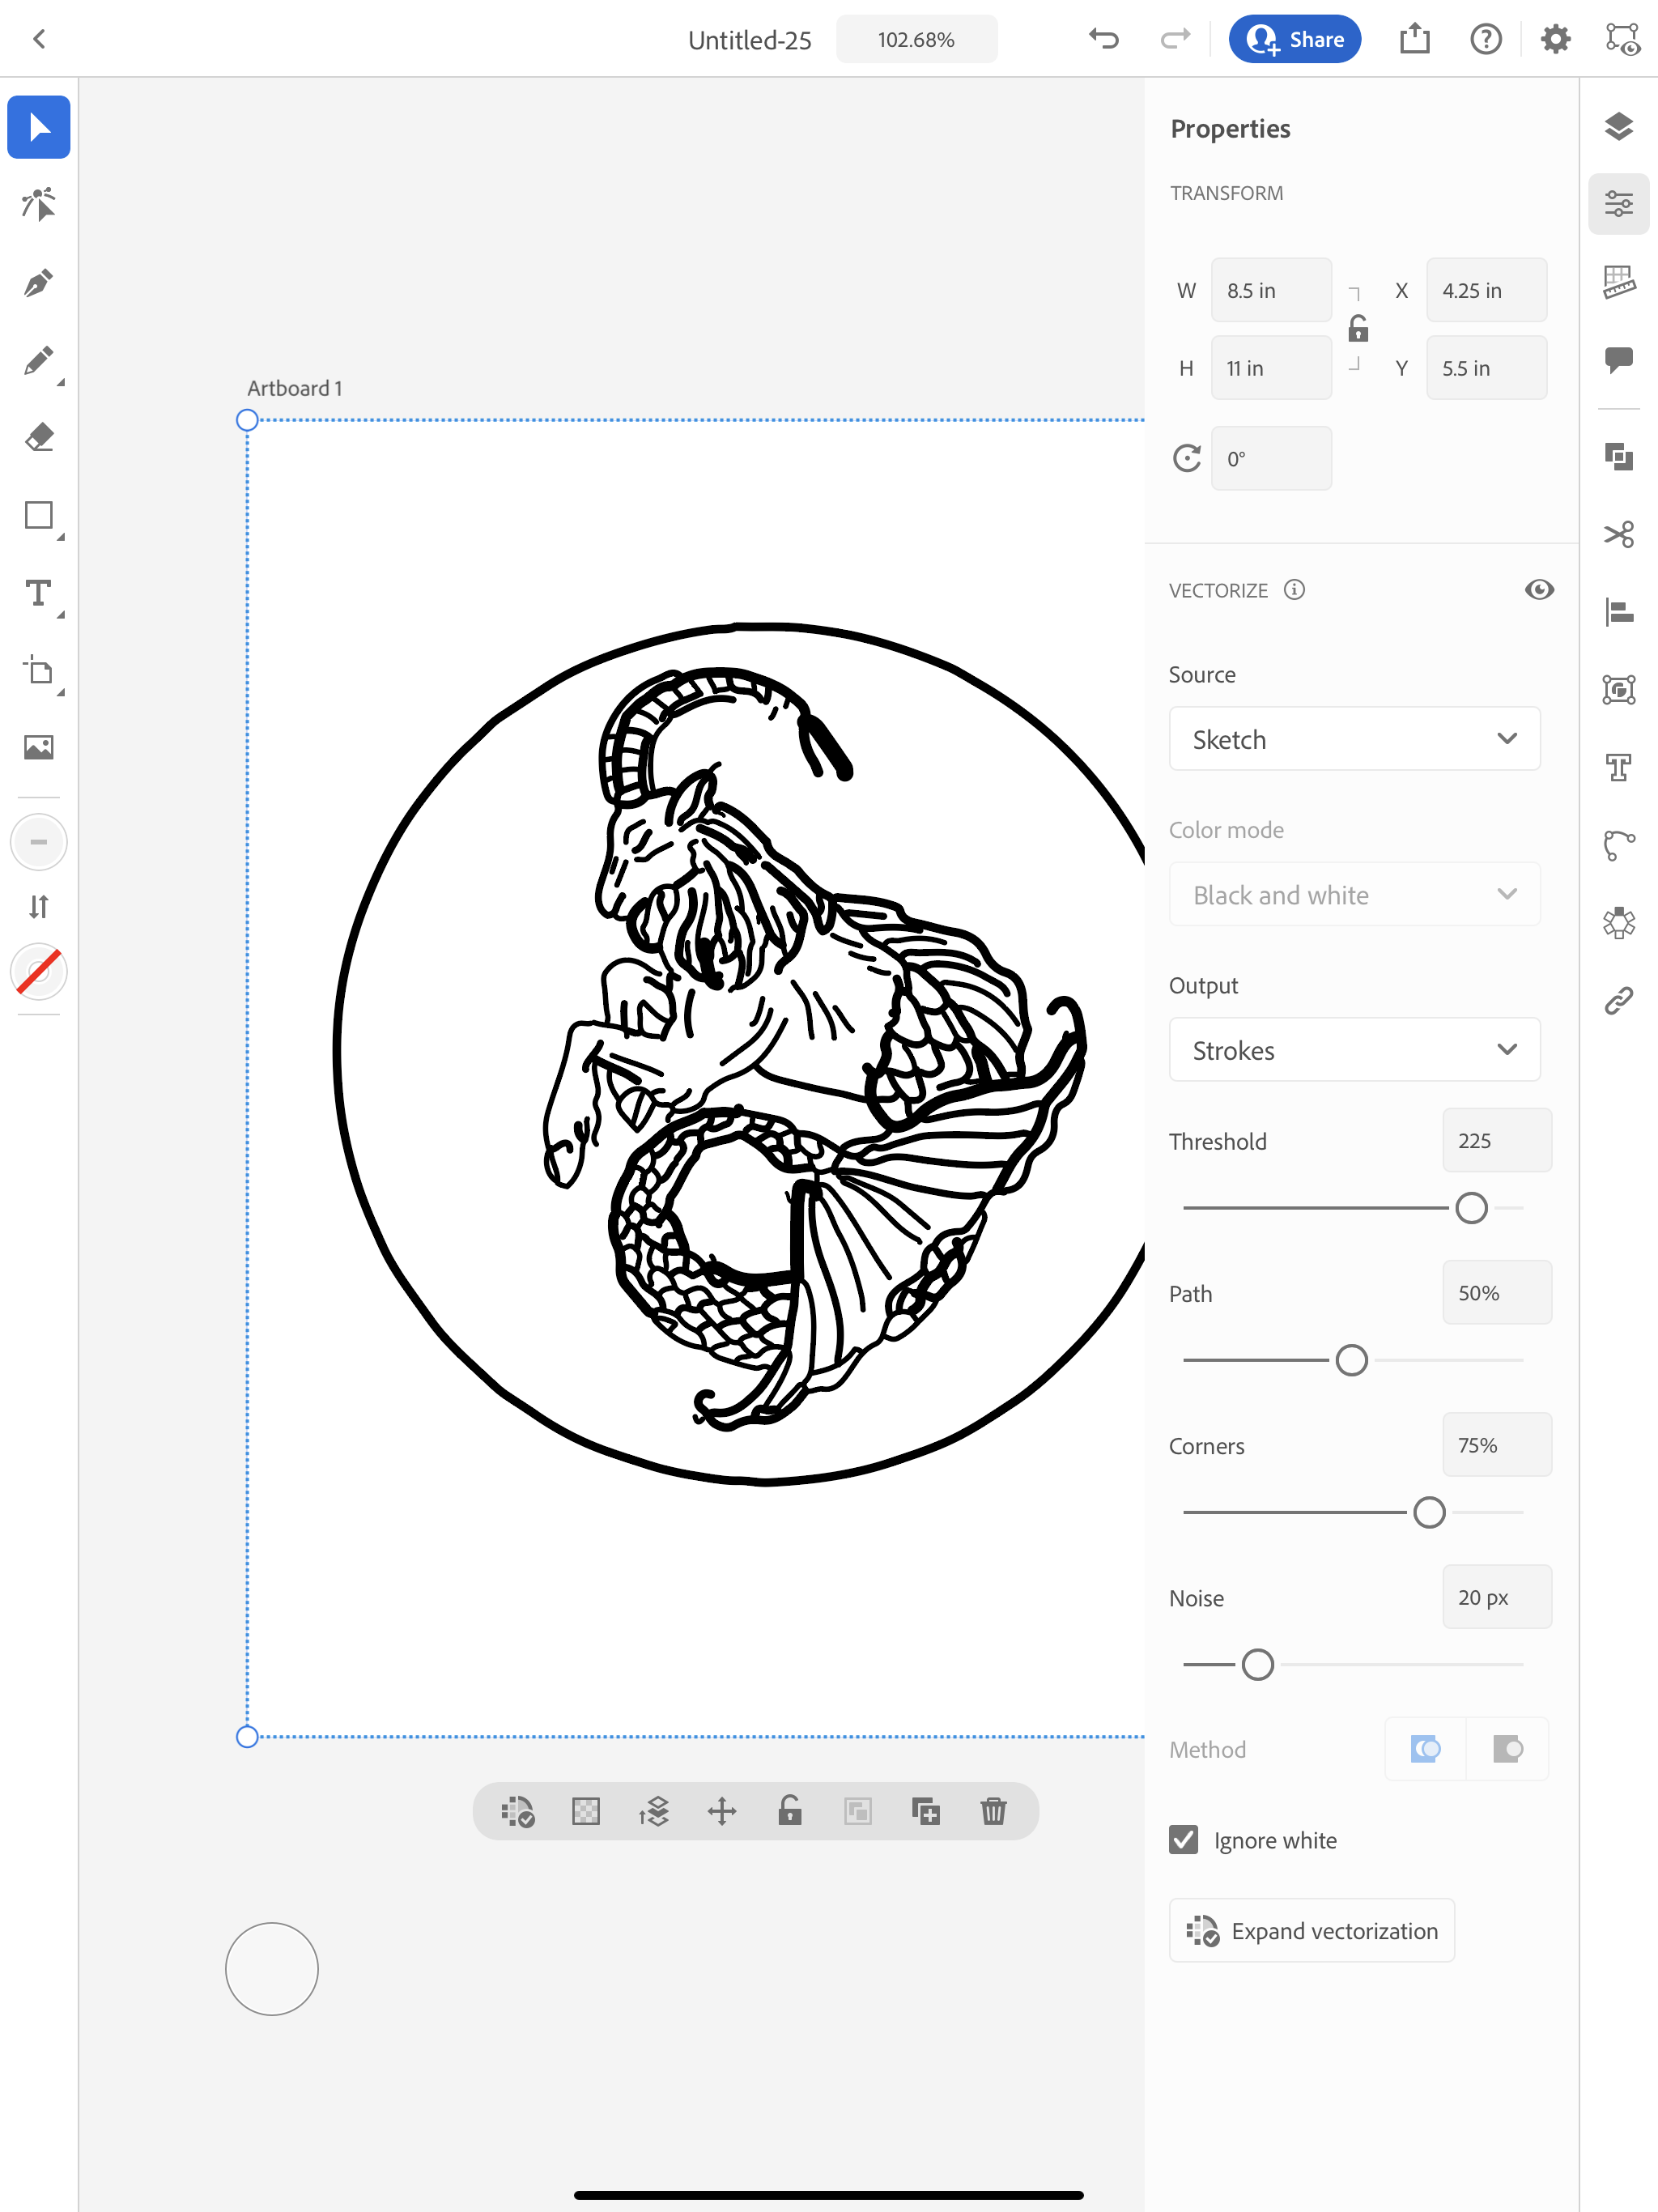
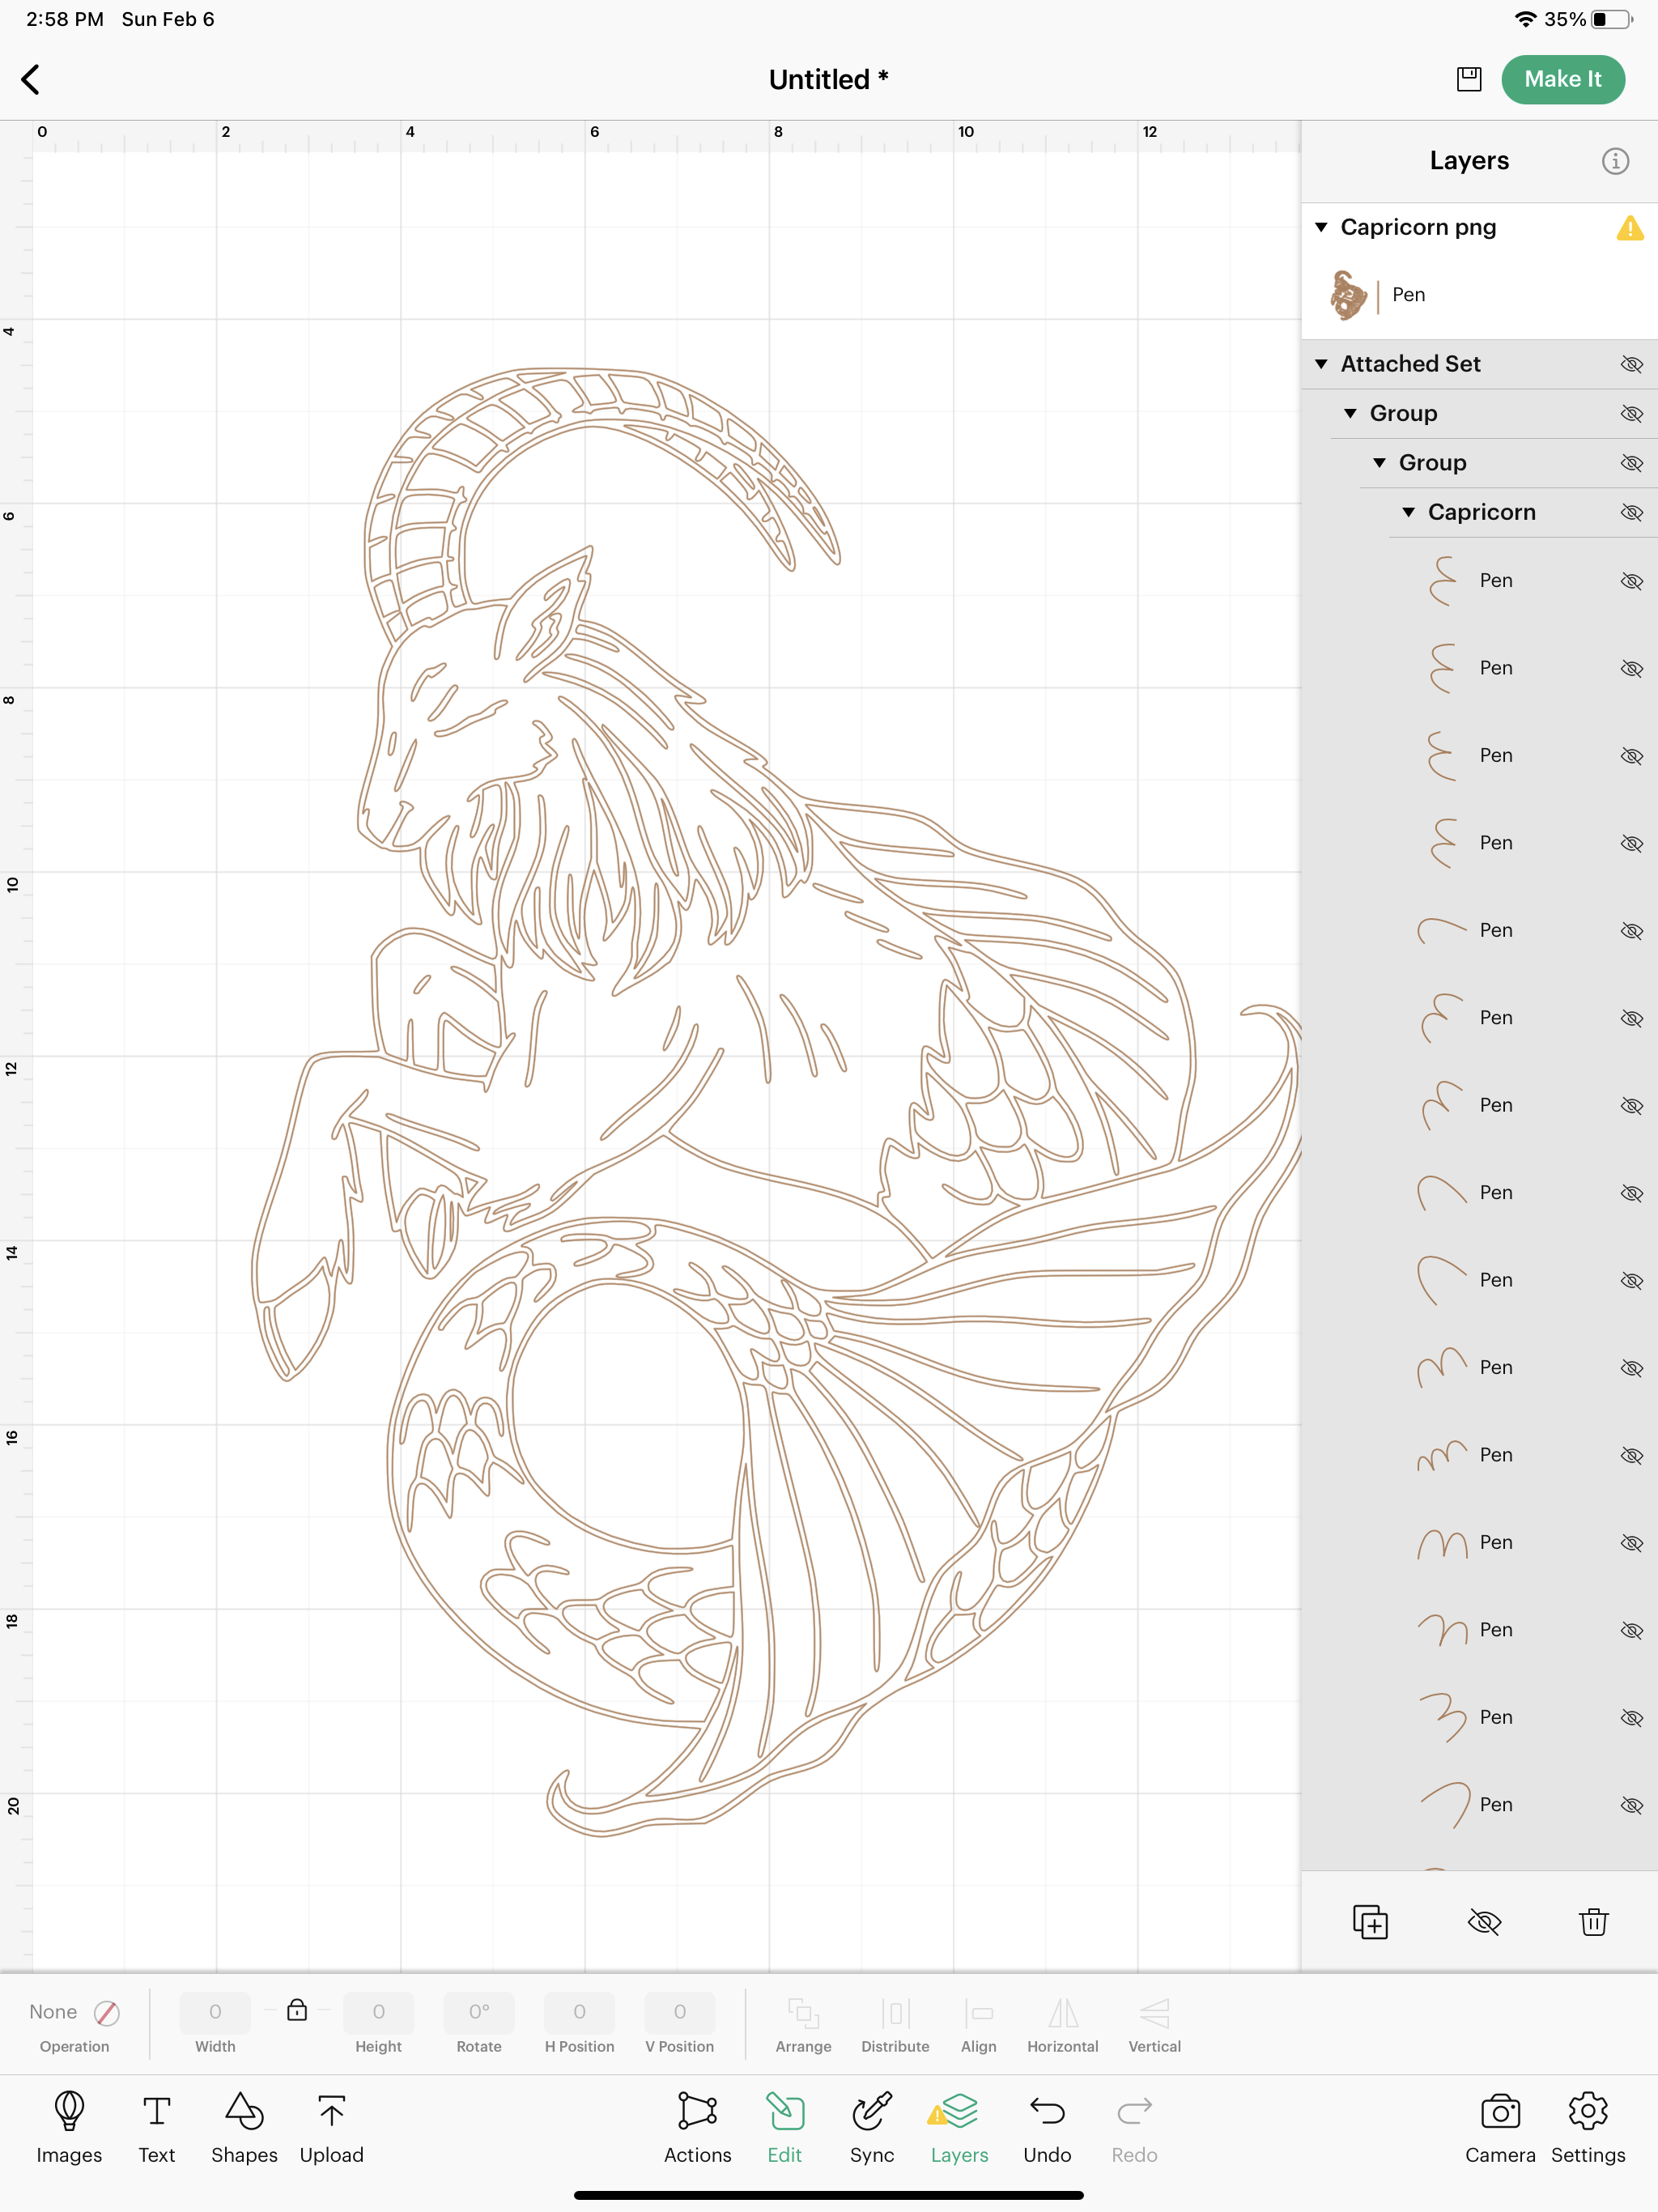
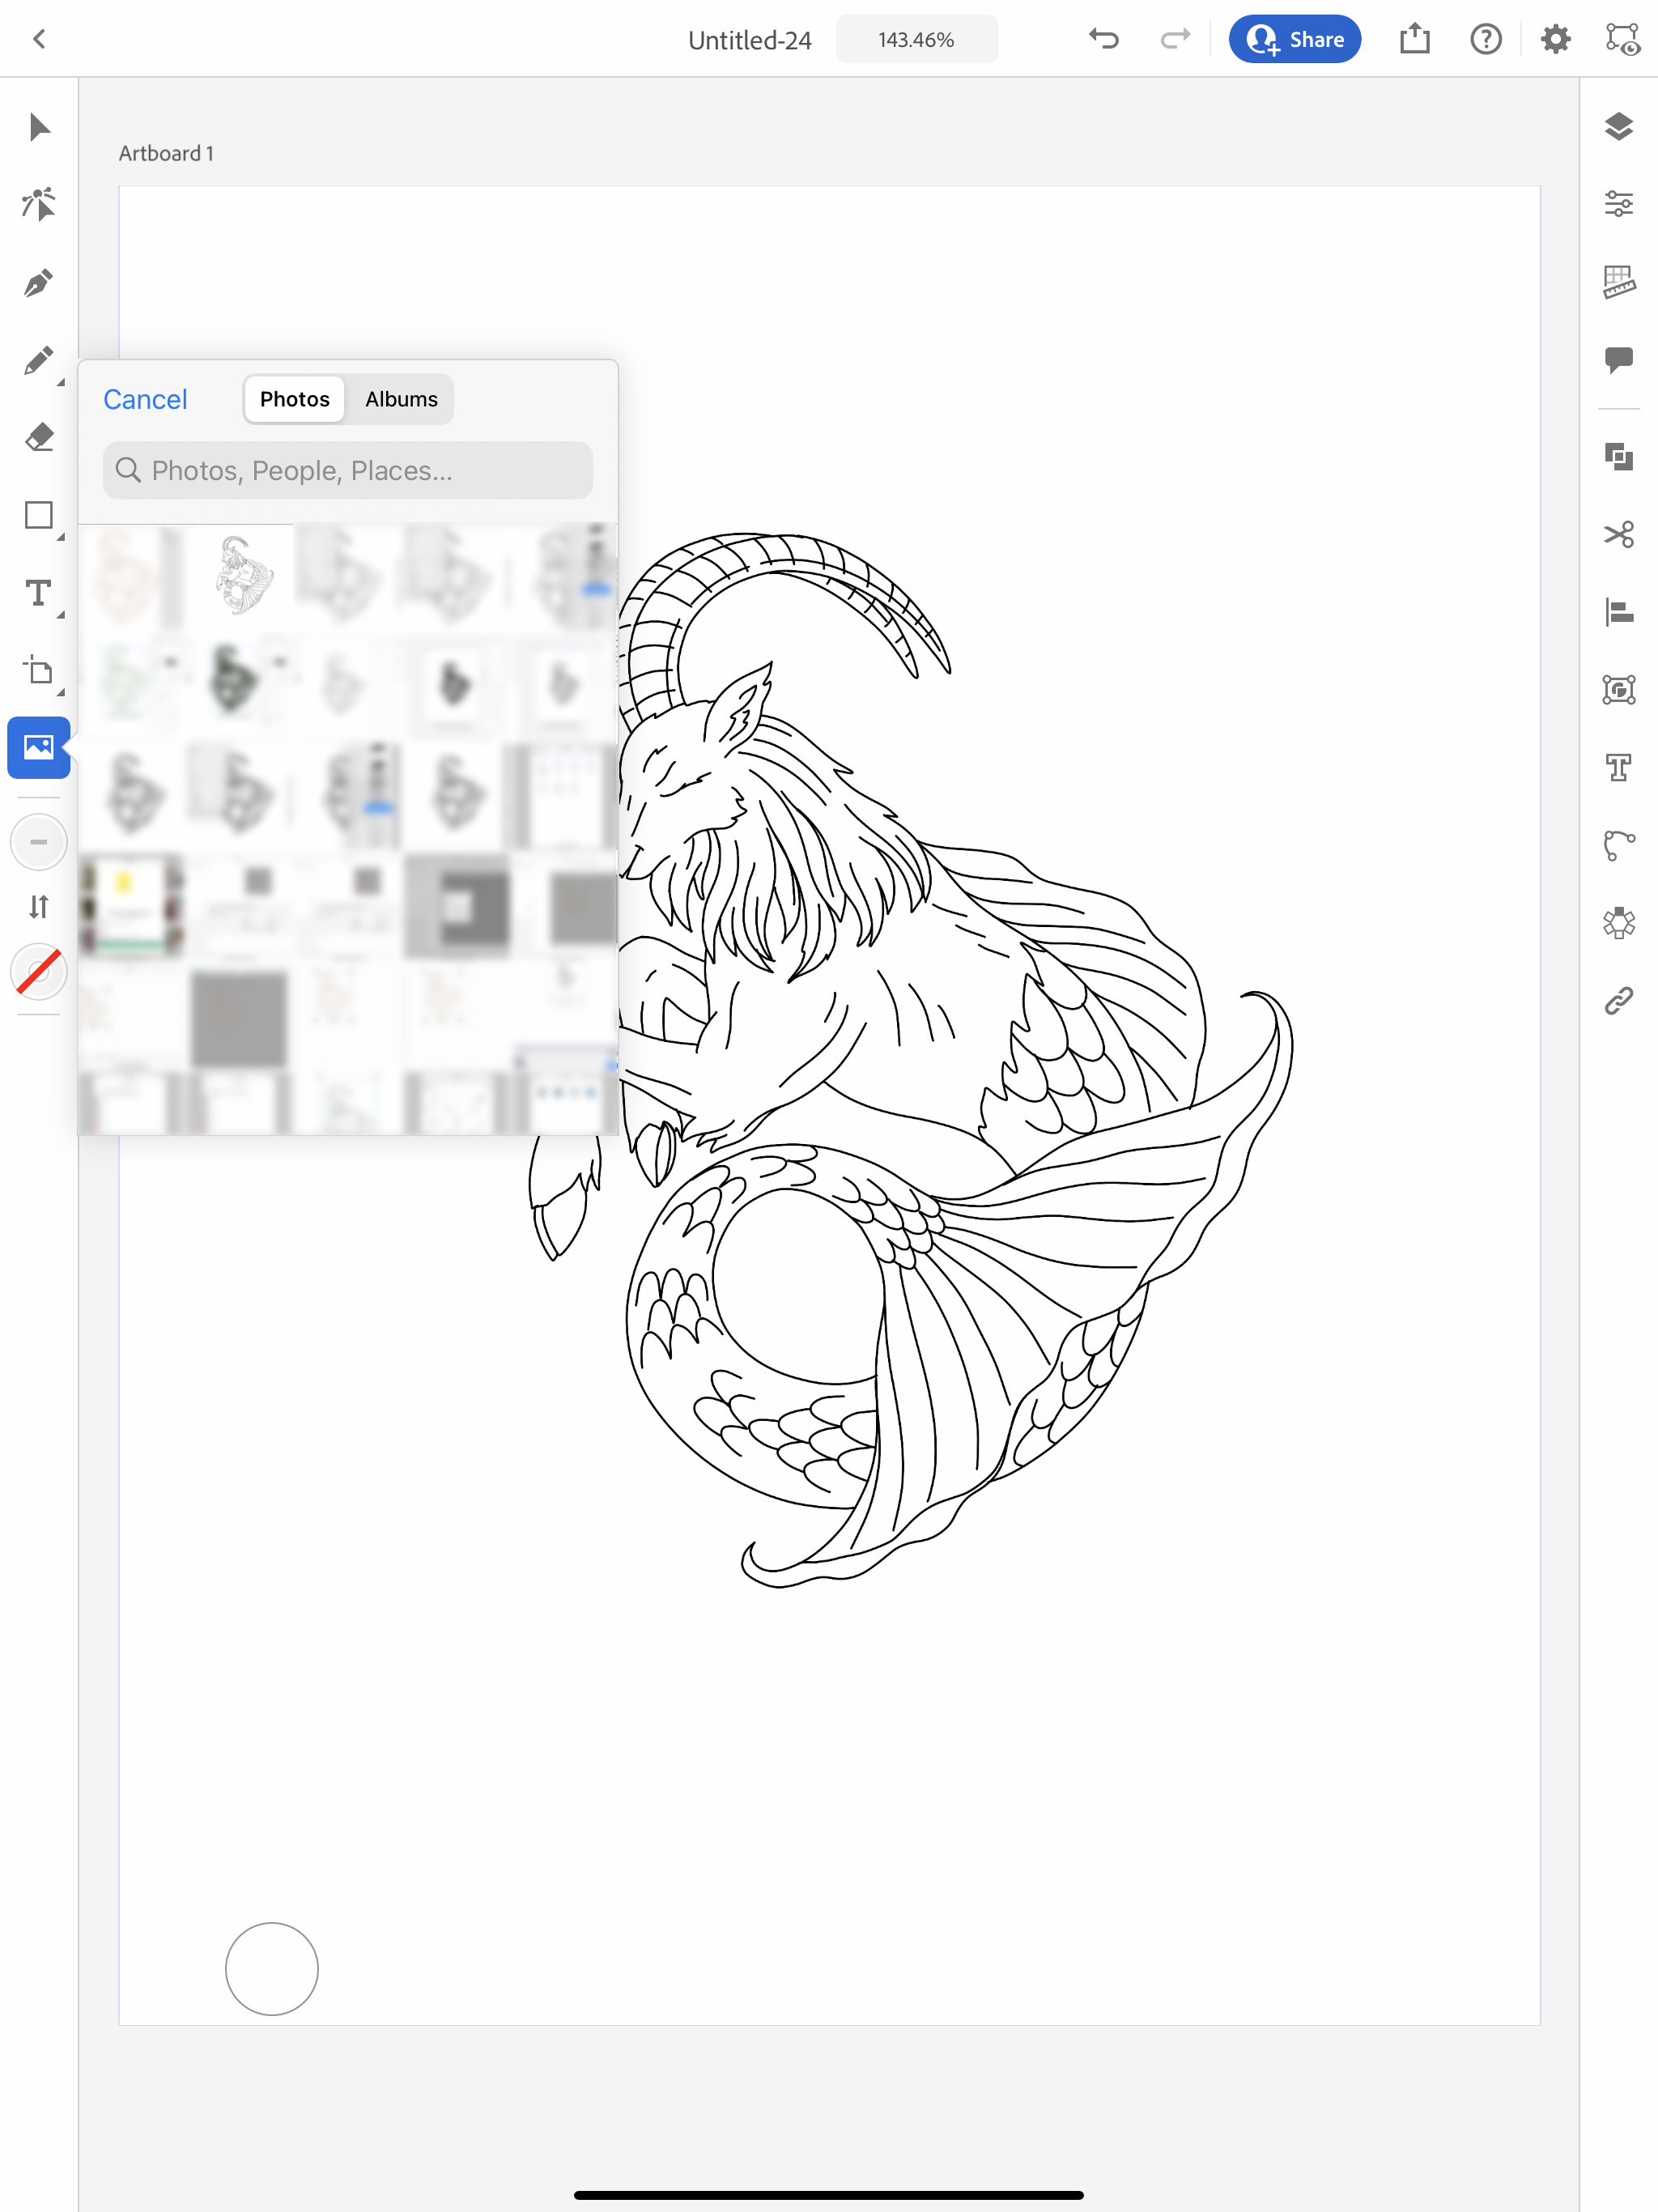
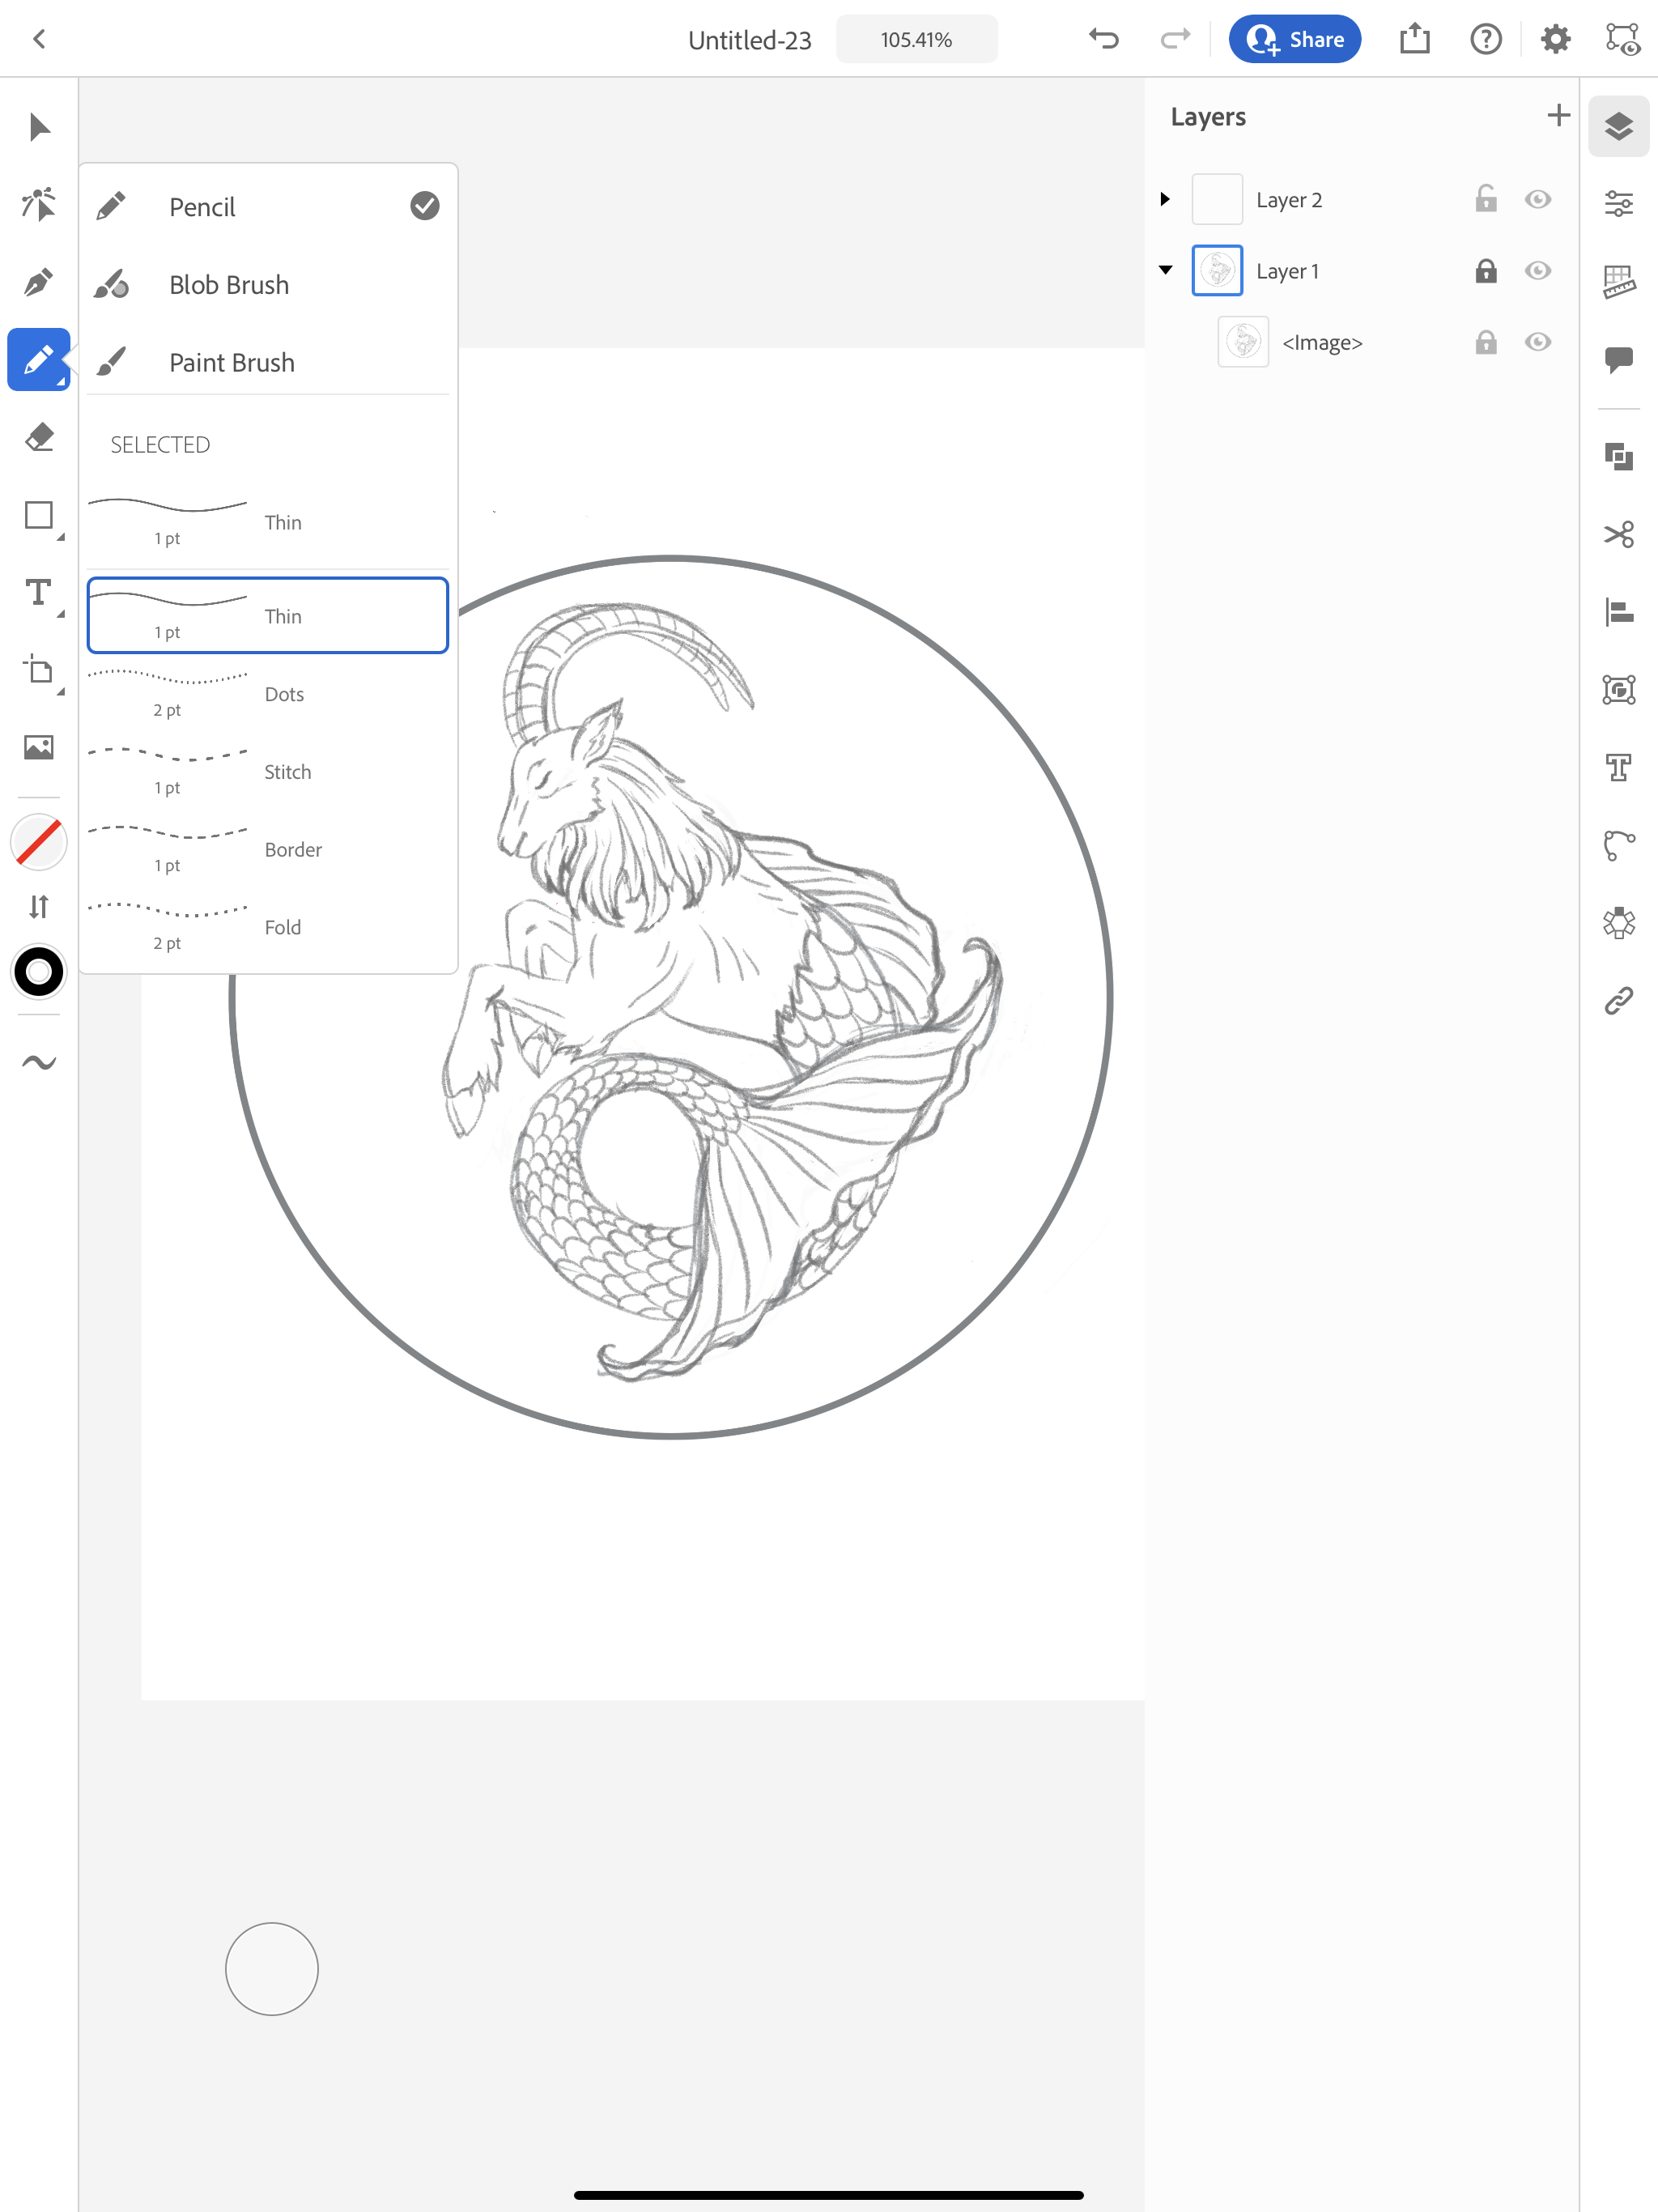
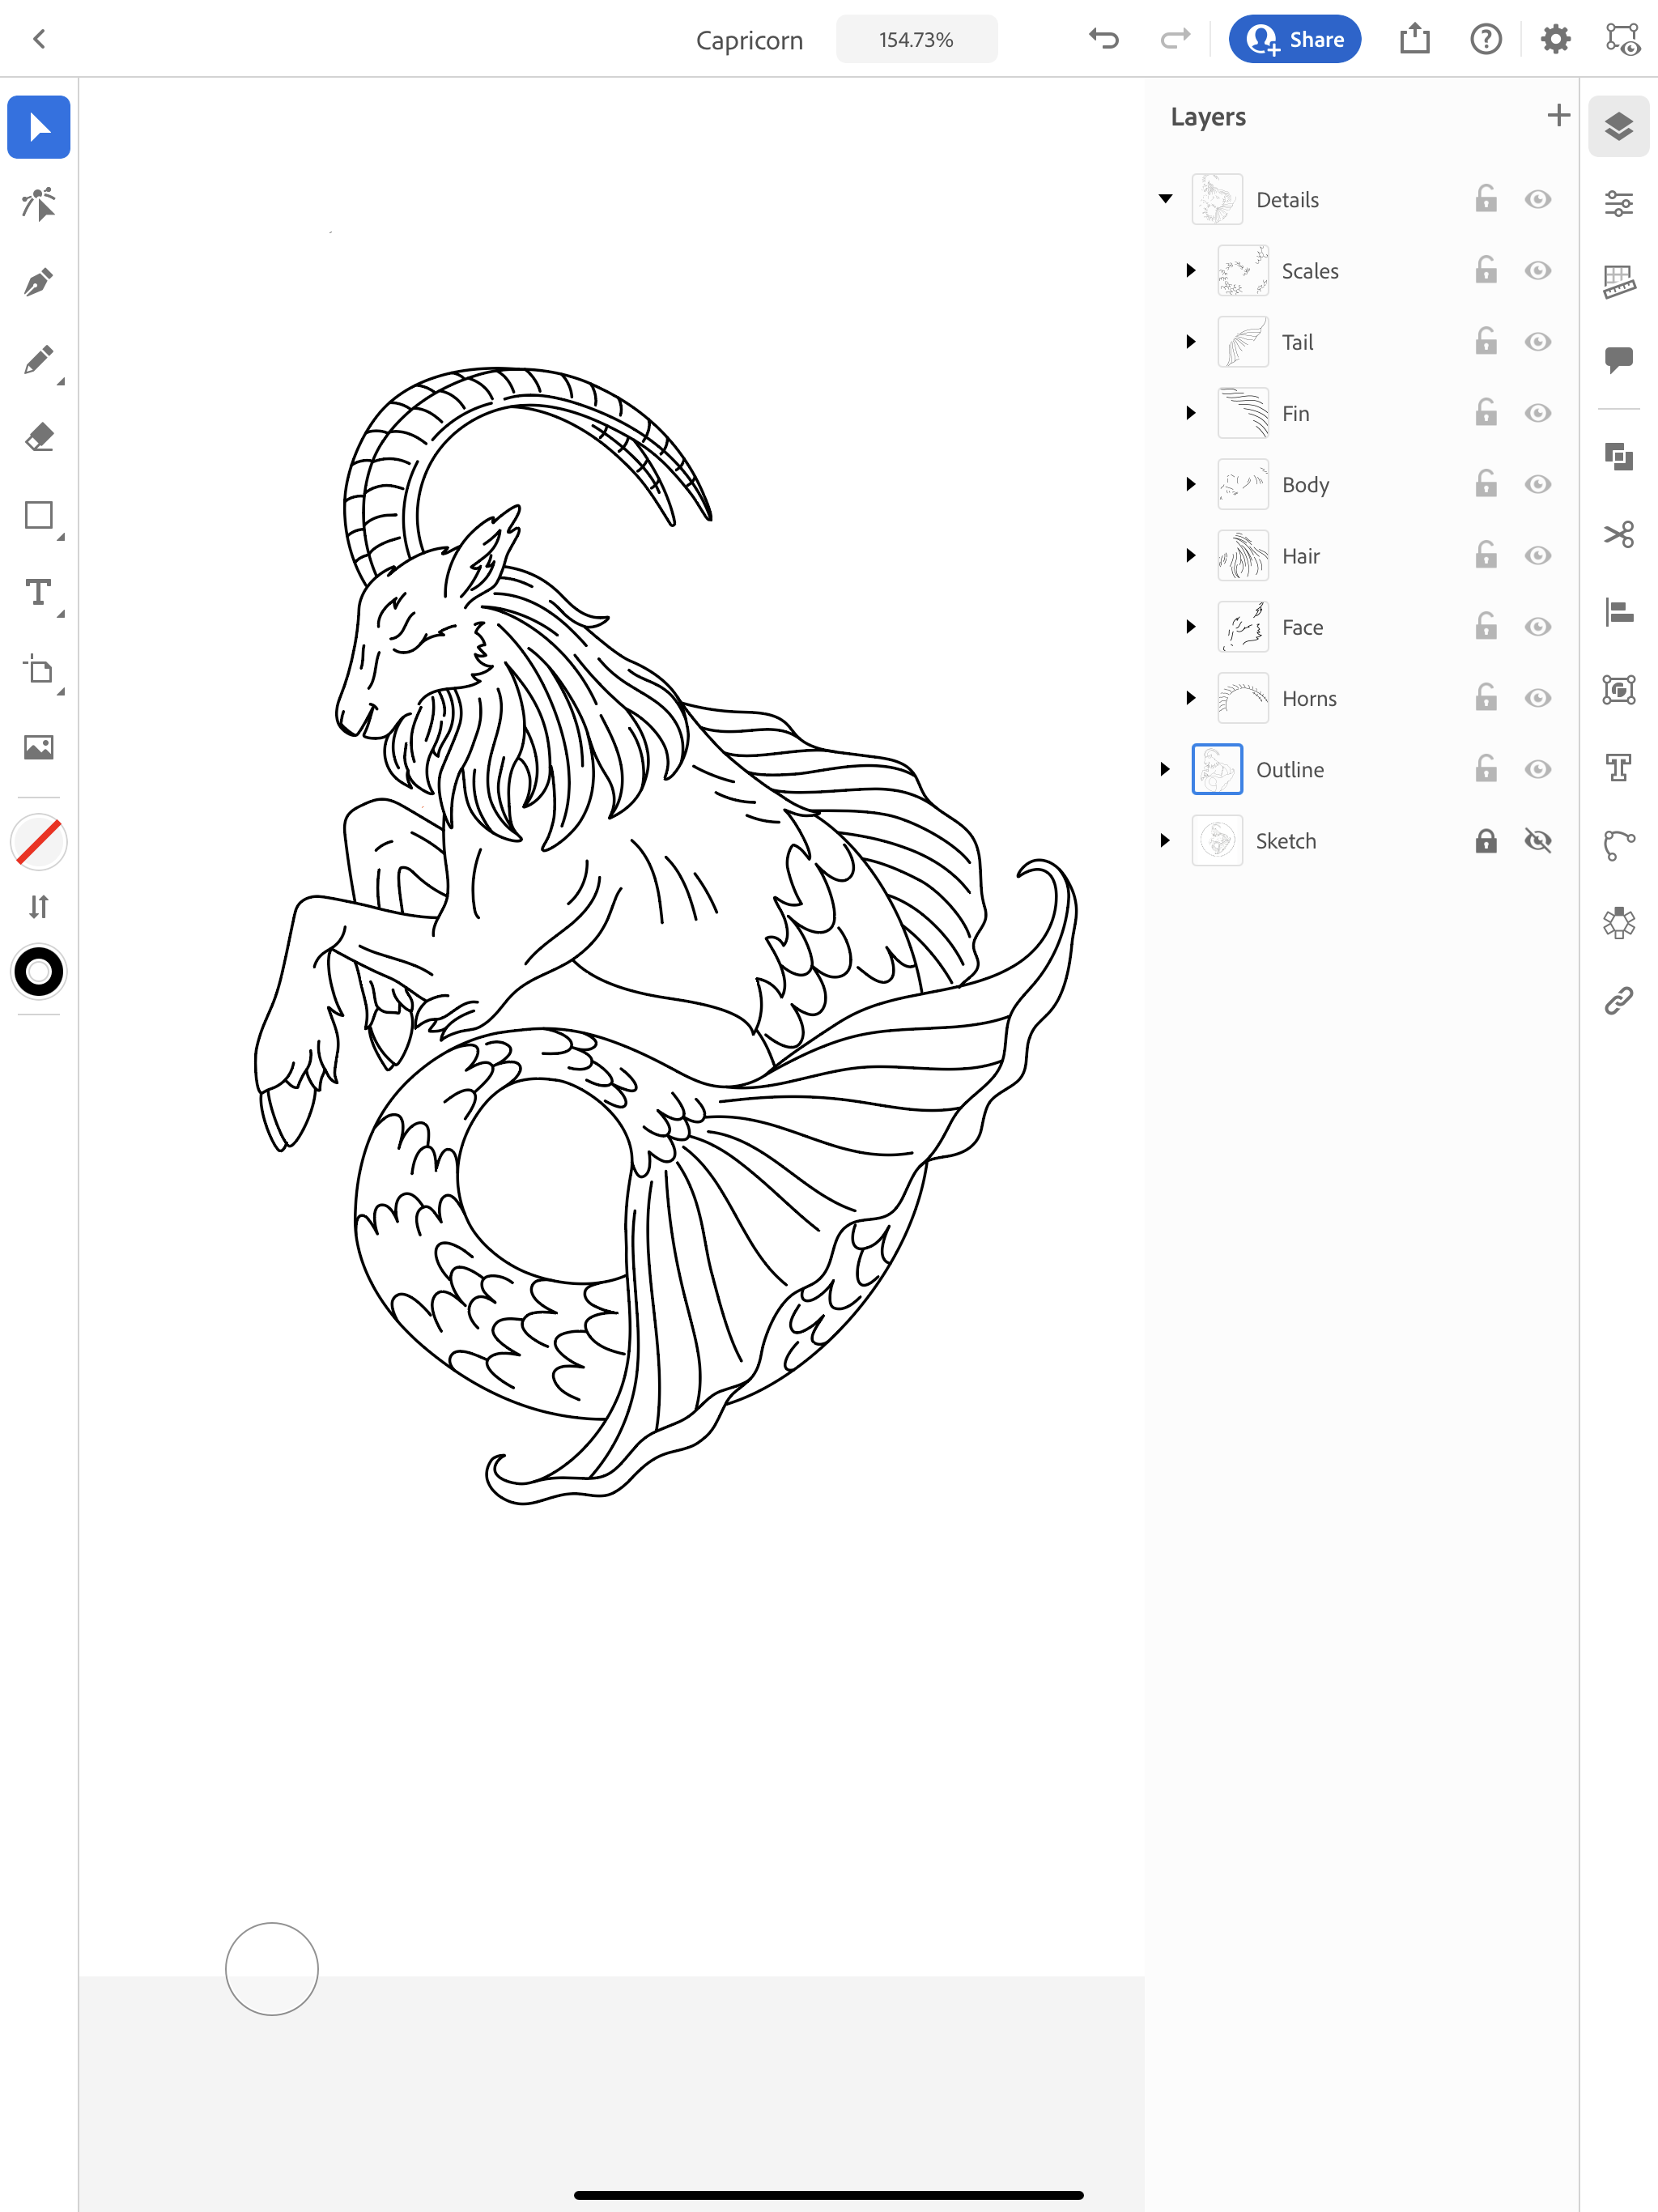
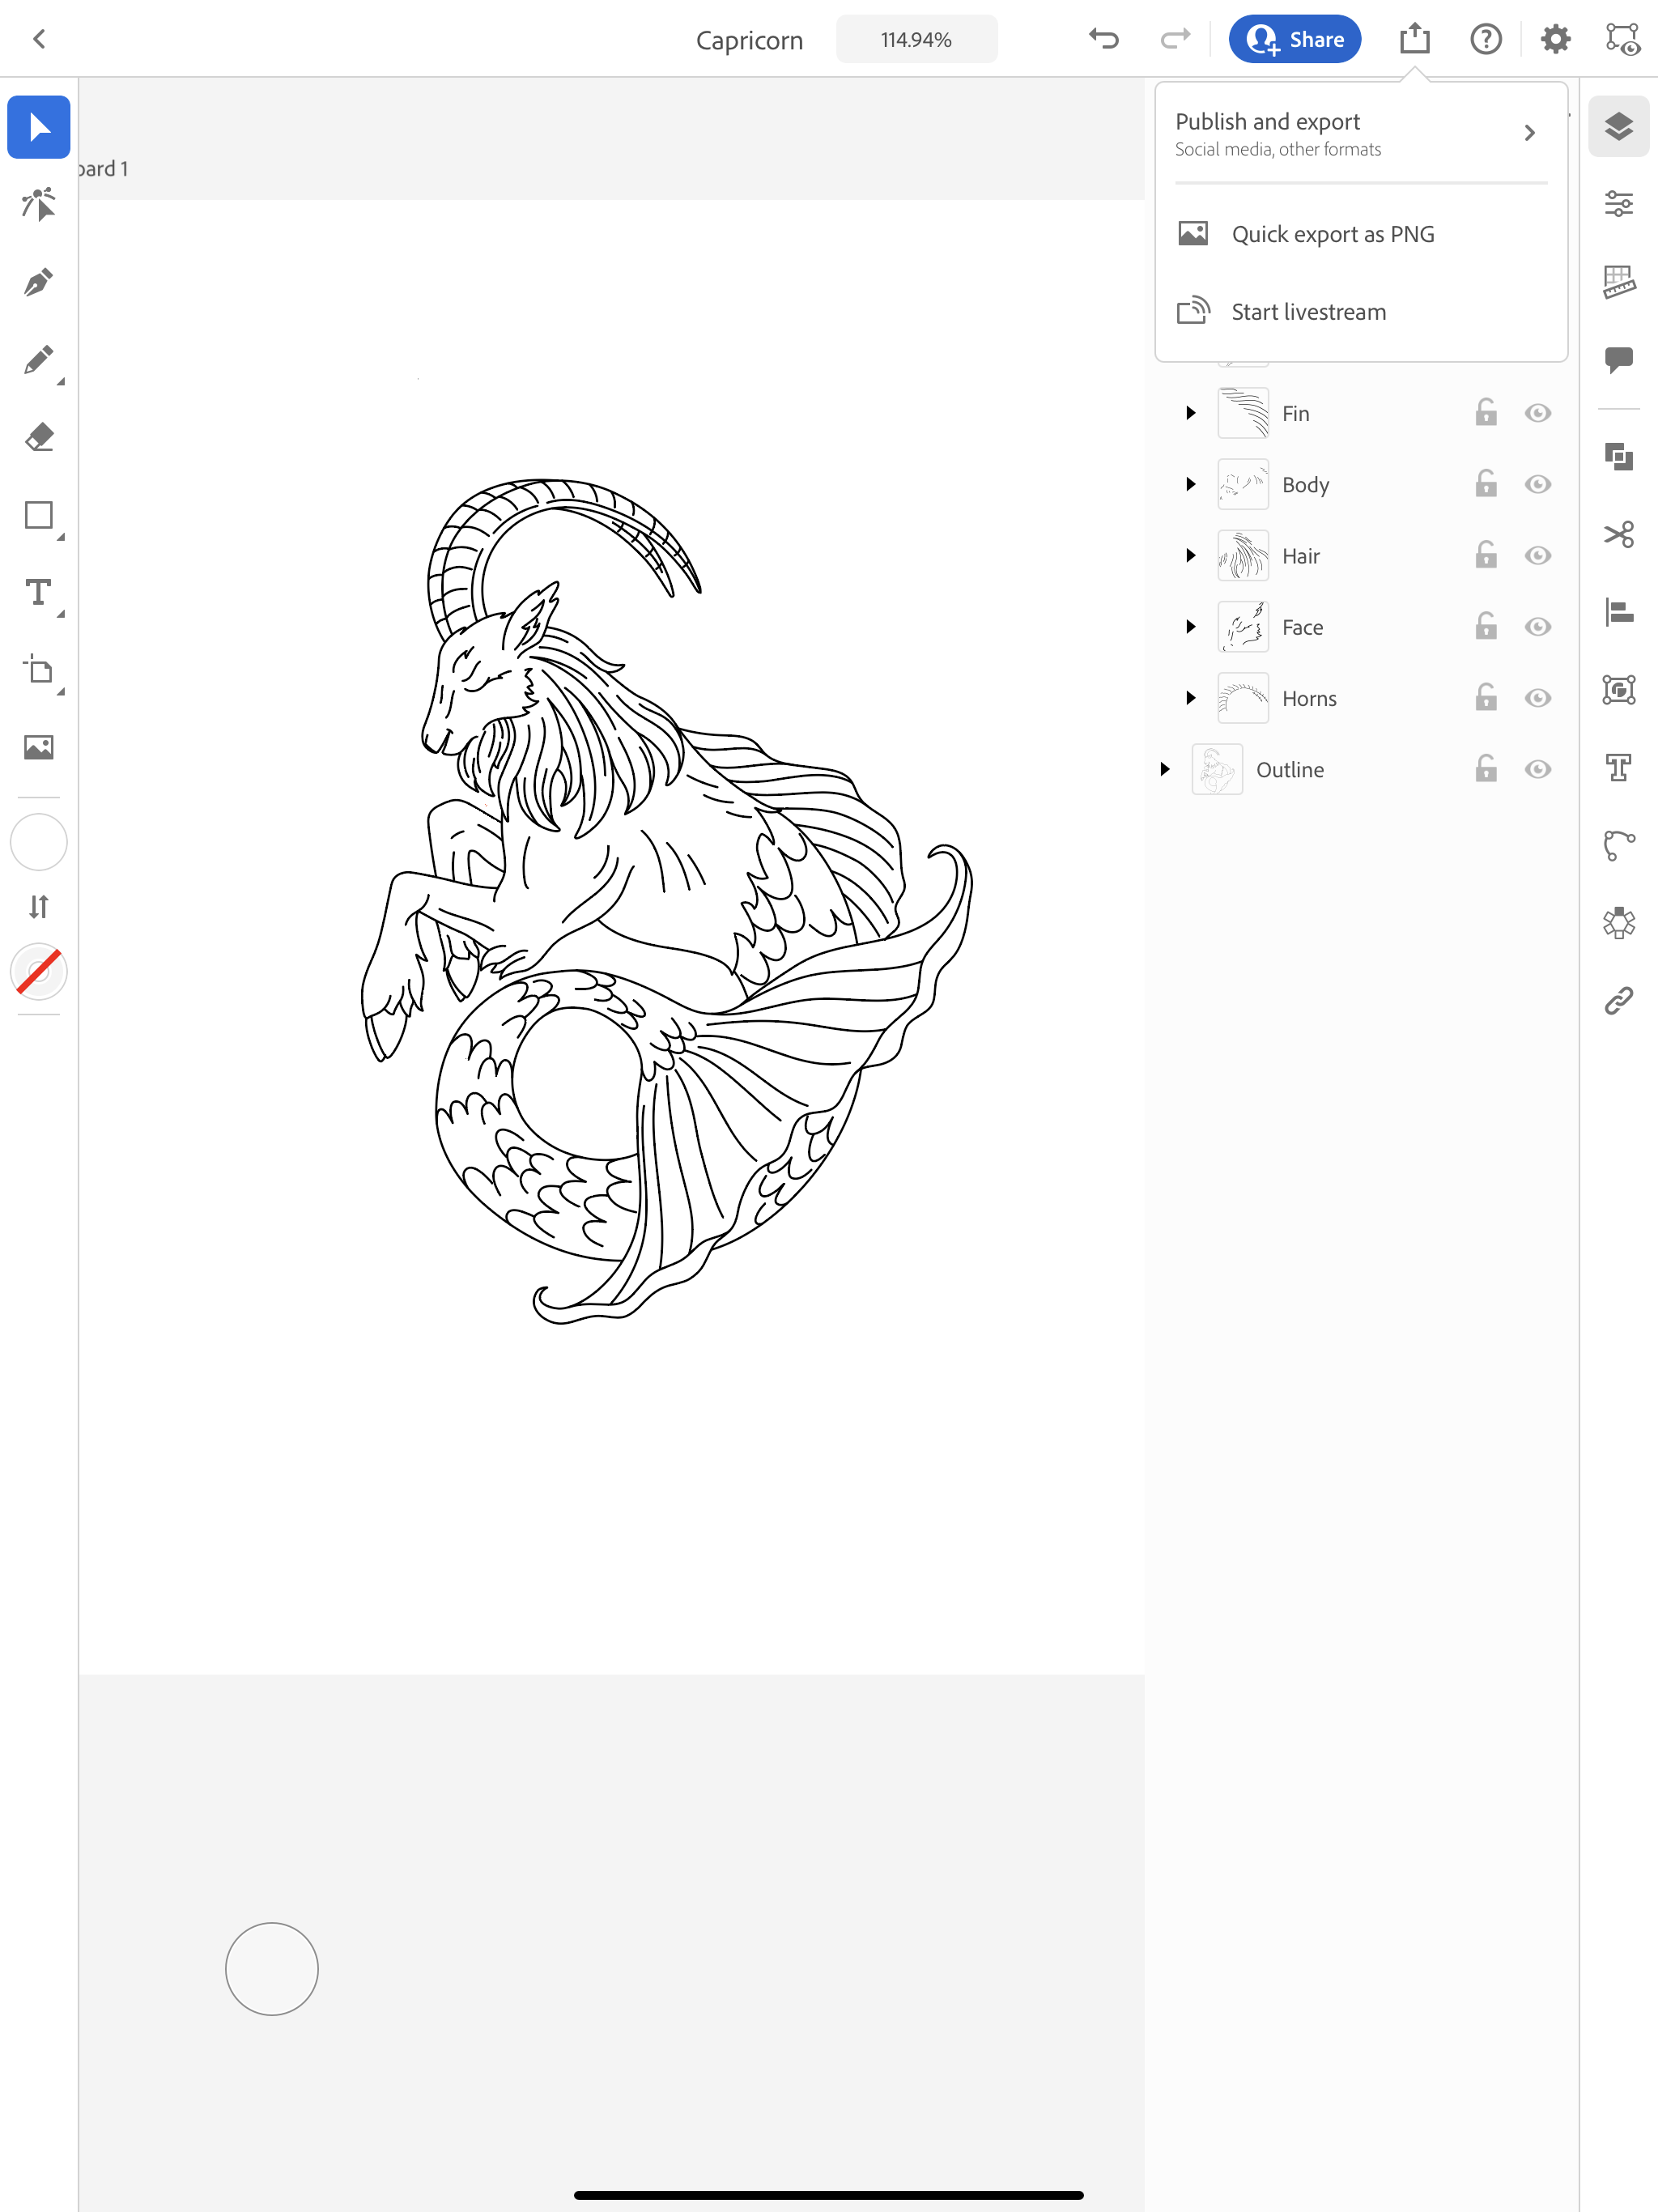
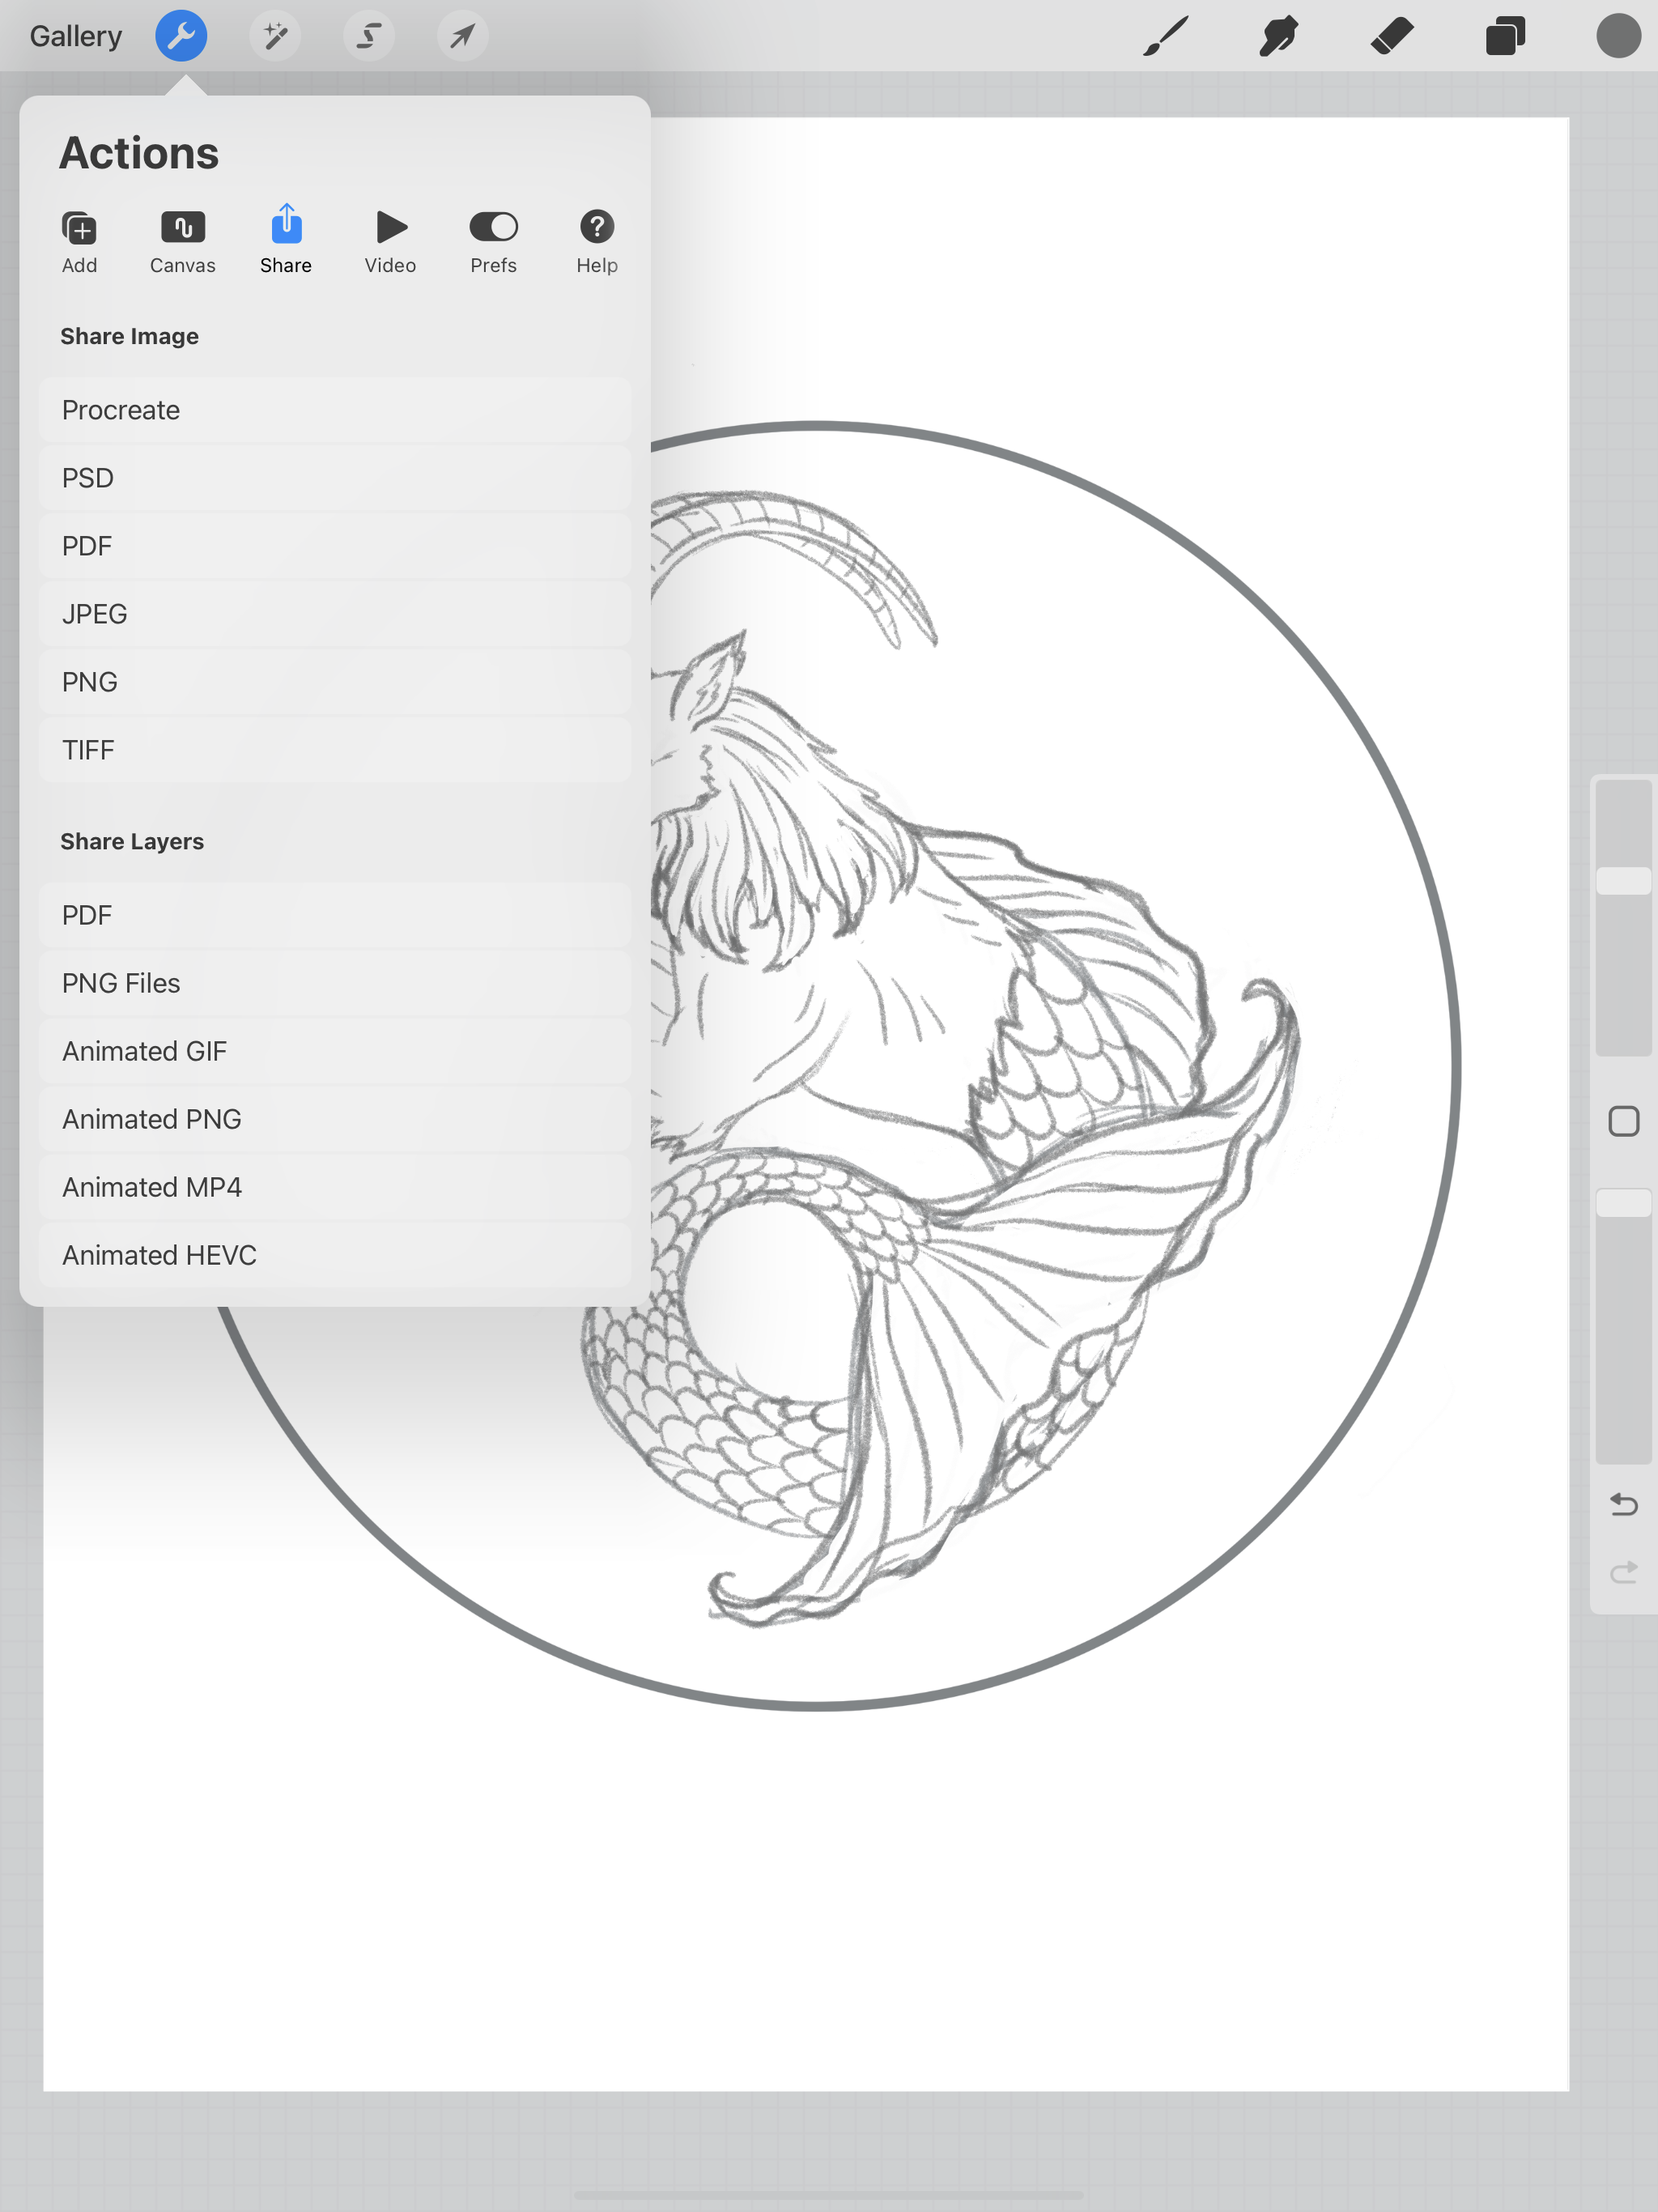
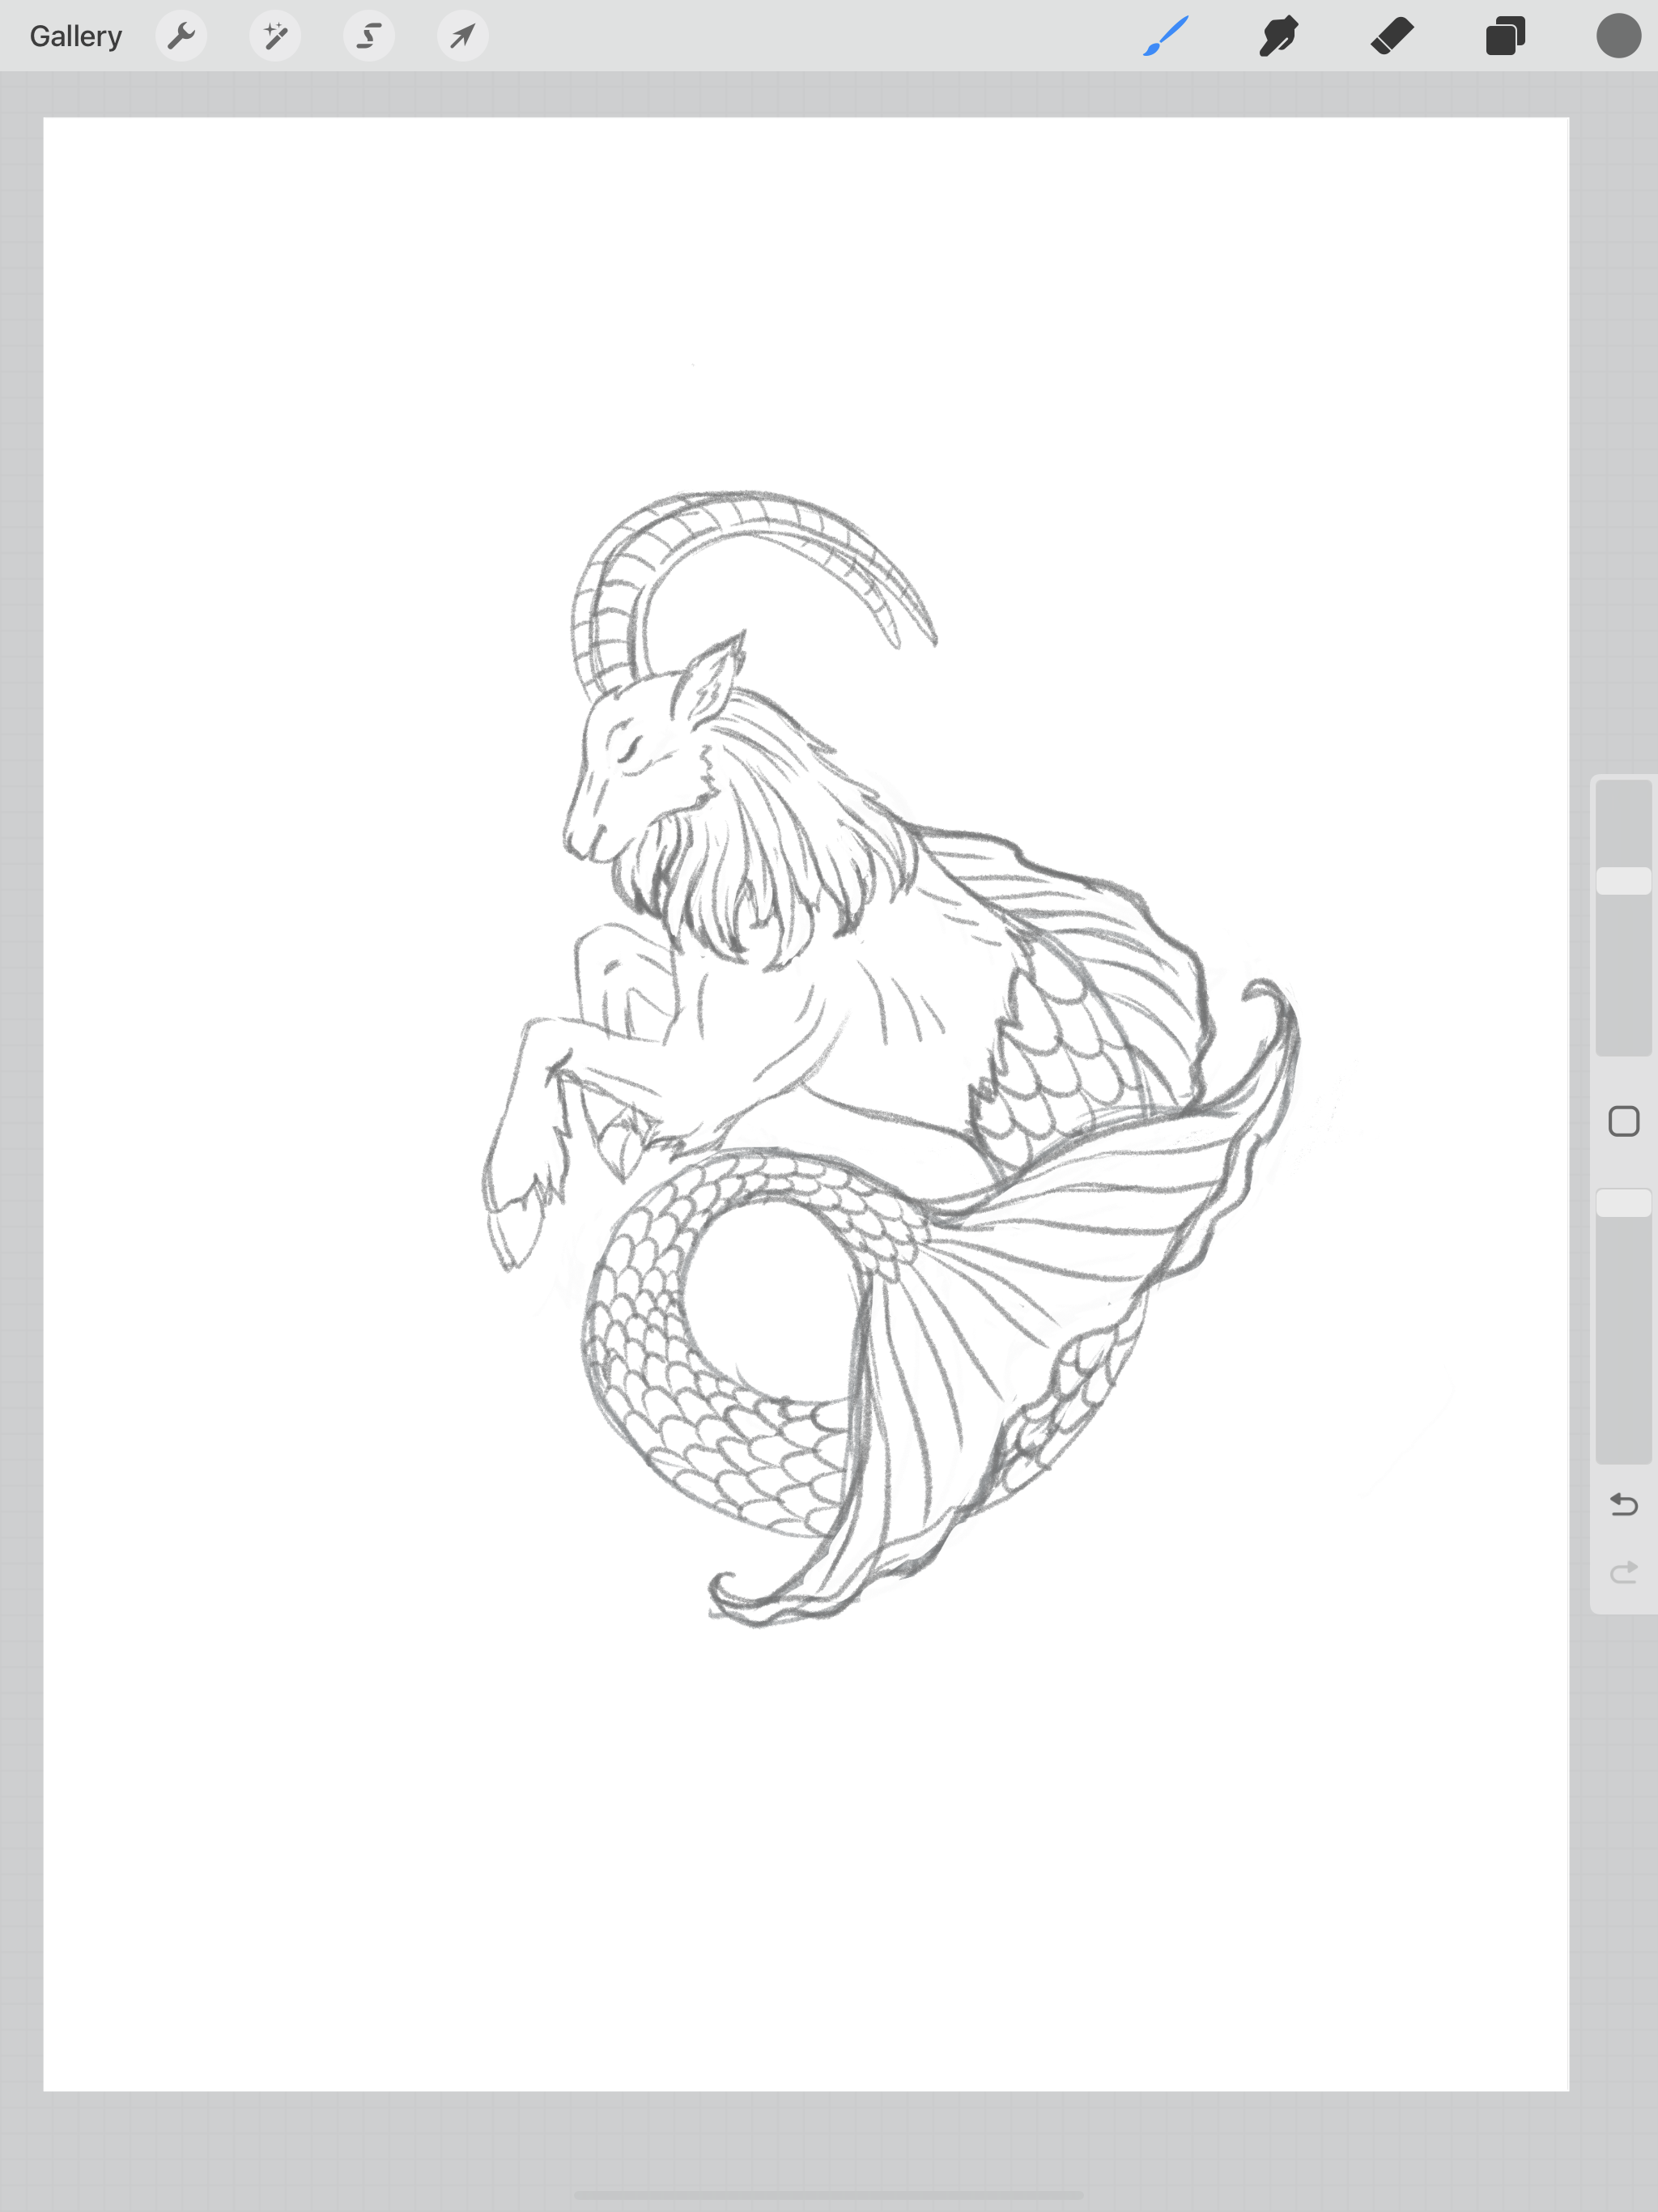
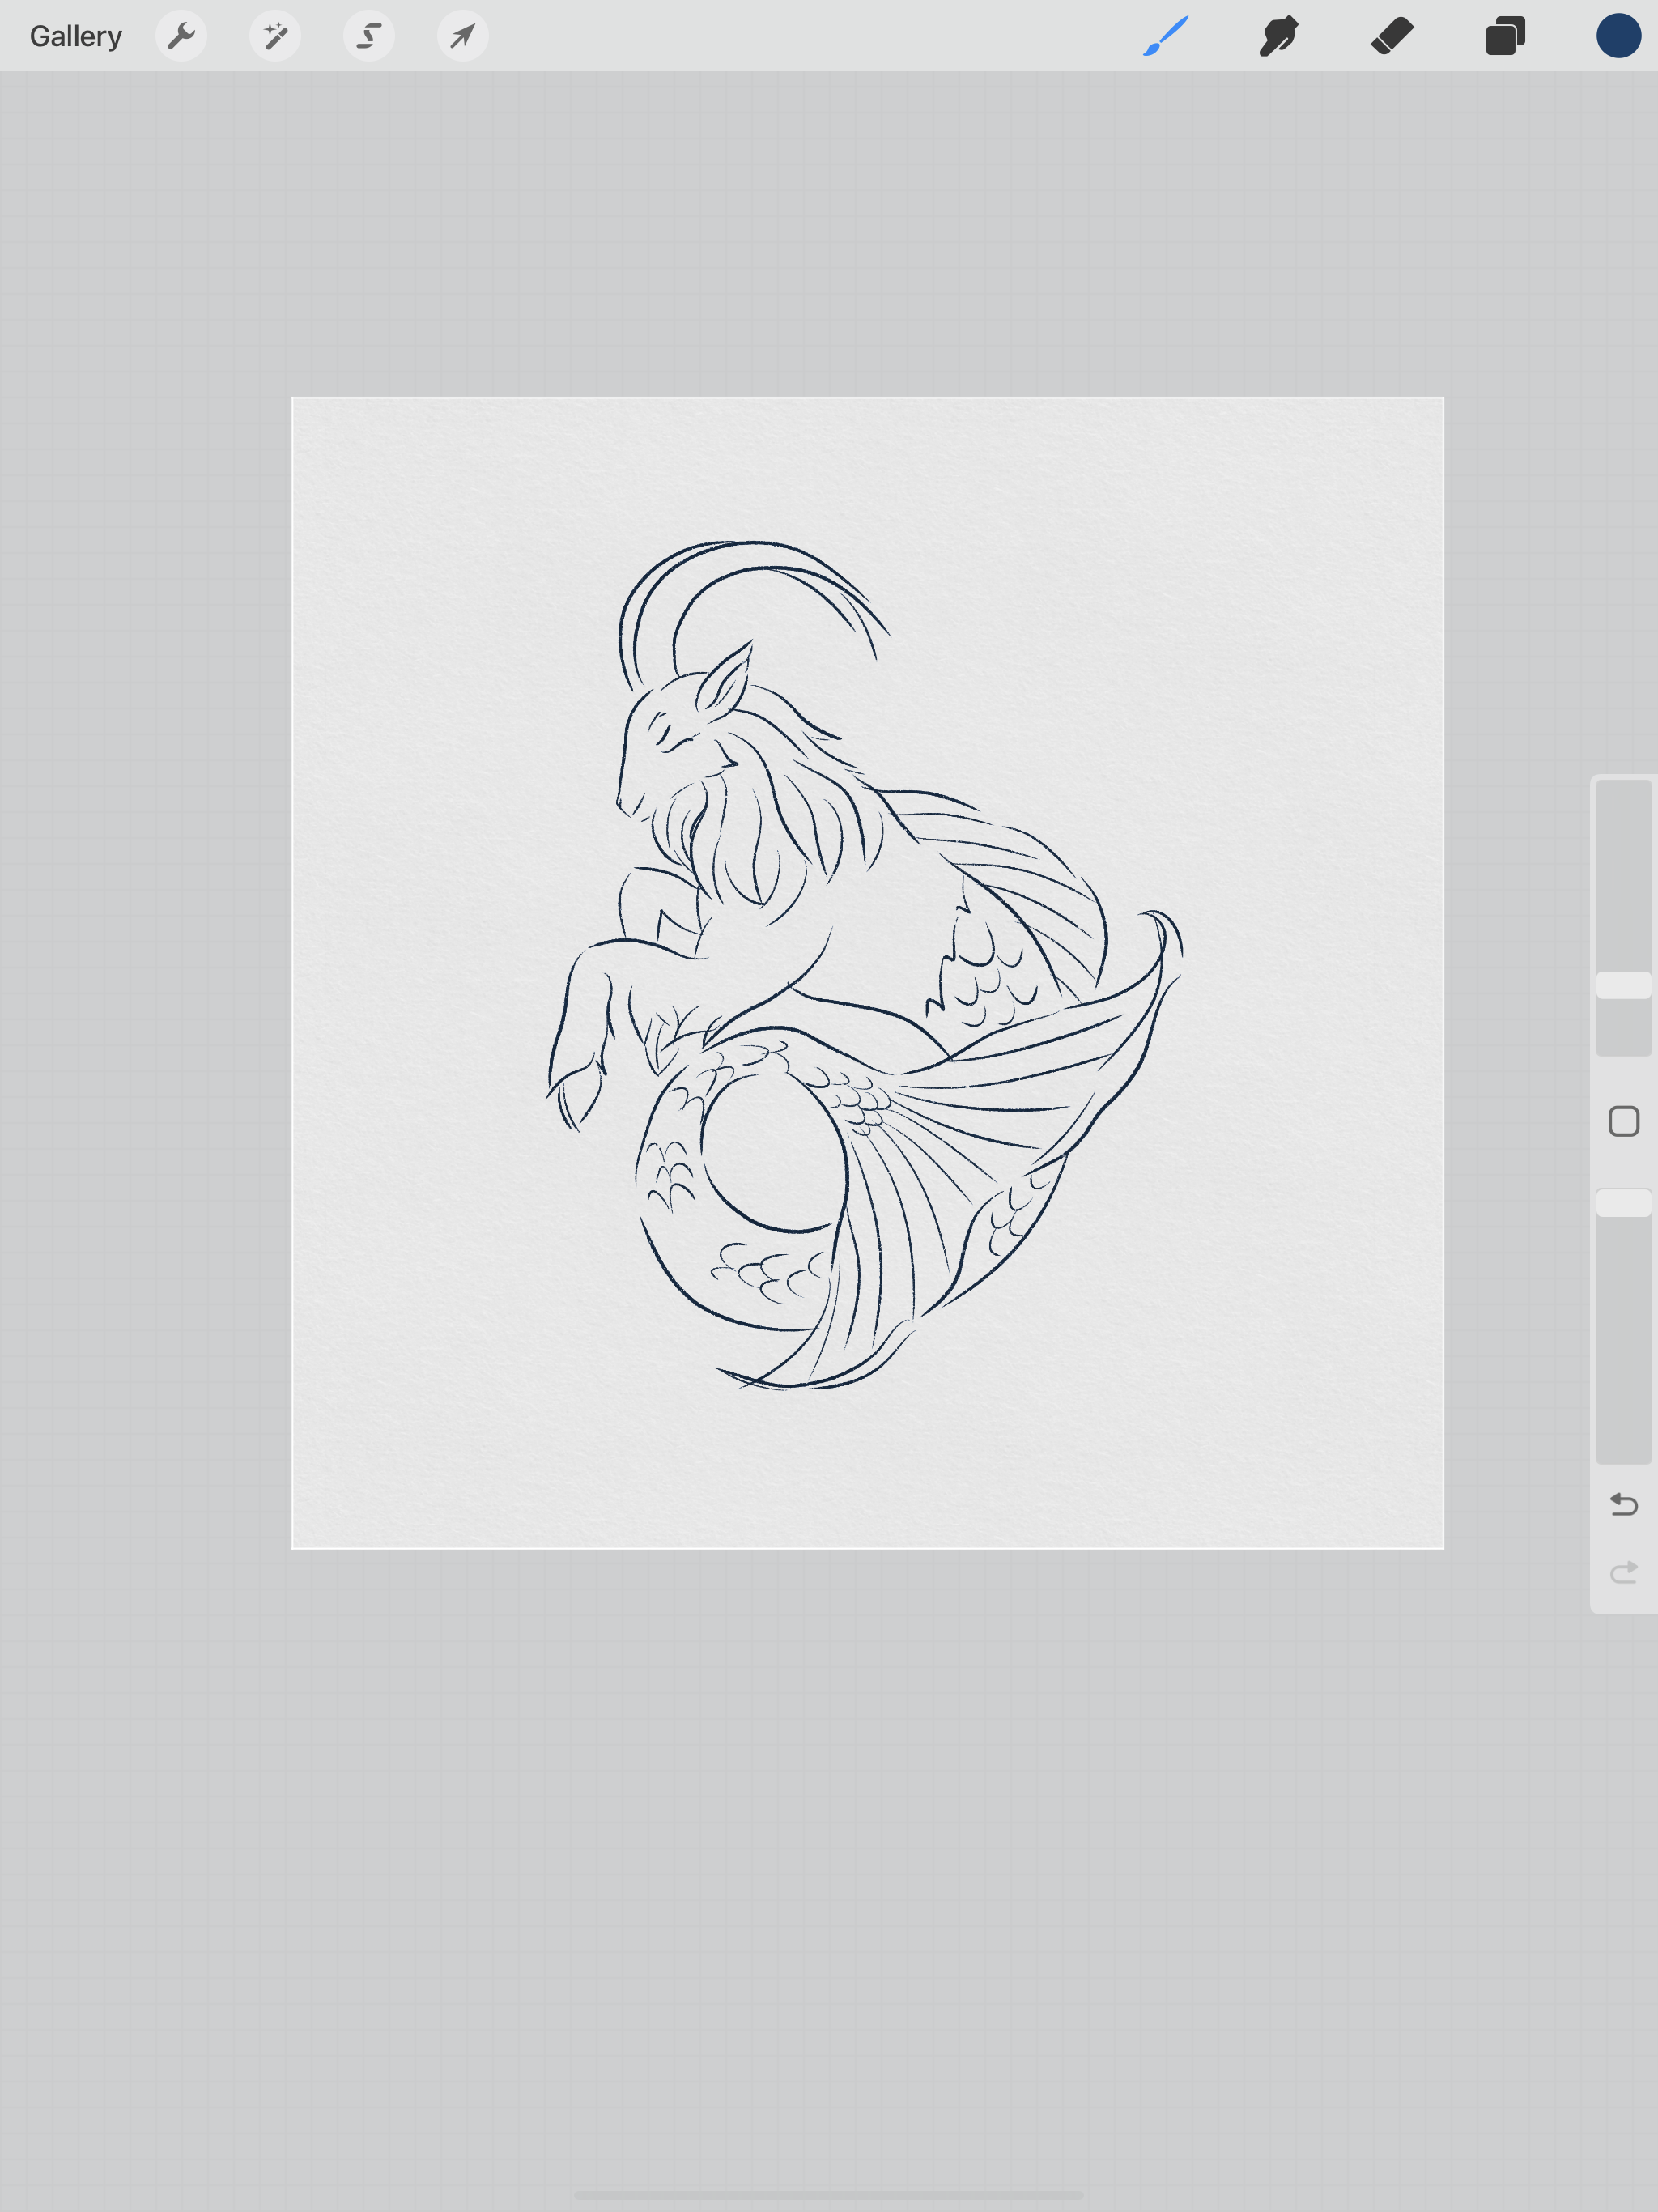
I will be using my same Capricorn line drawing from the past few weeks. At the end of this post you will see all the different ways I’ve used this same base drawing and rendered it different ways.
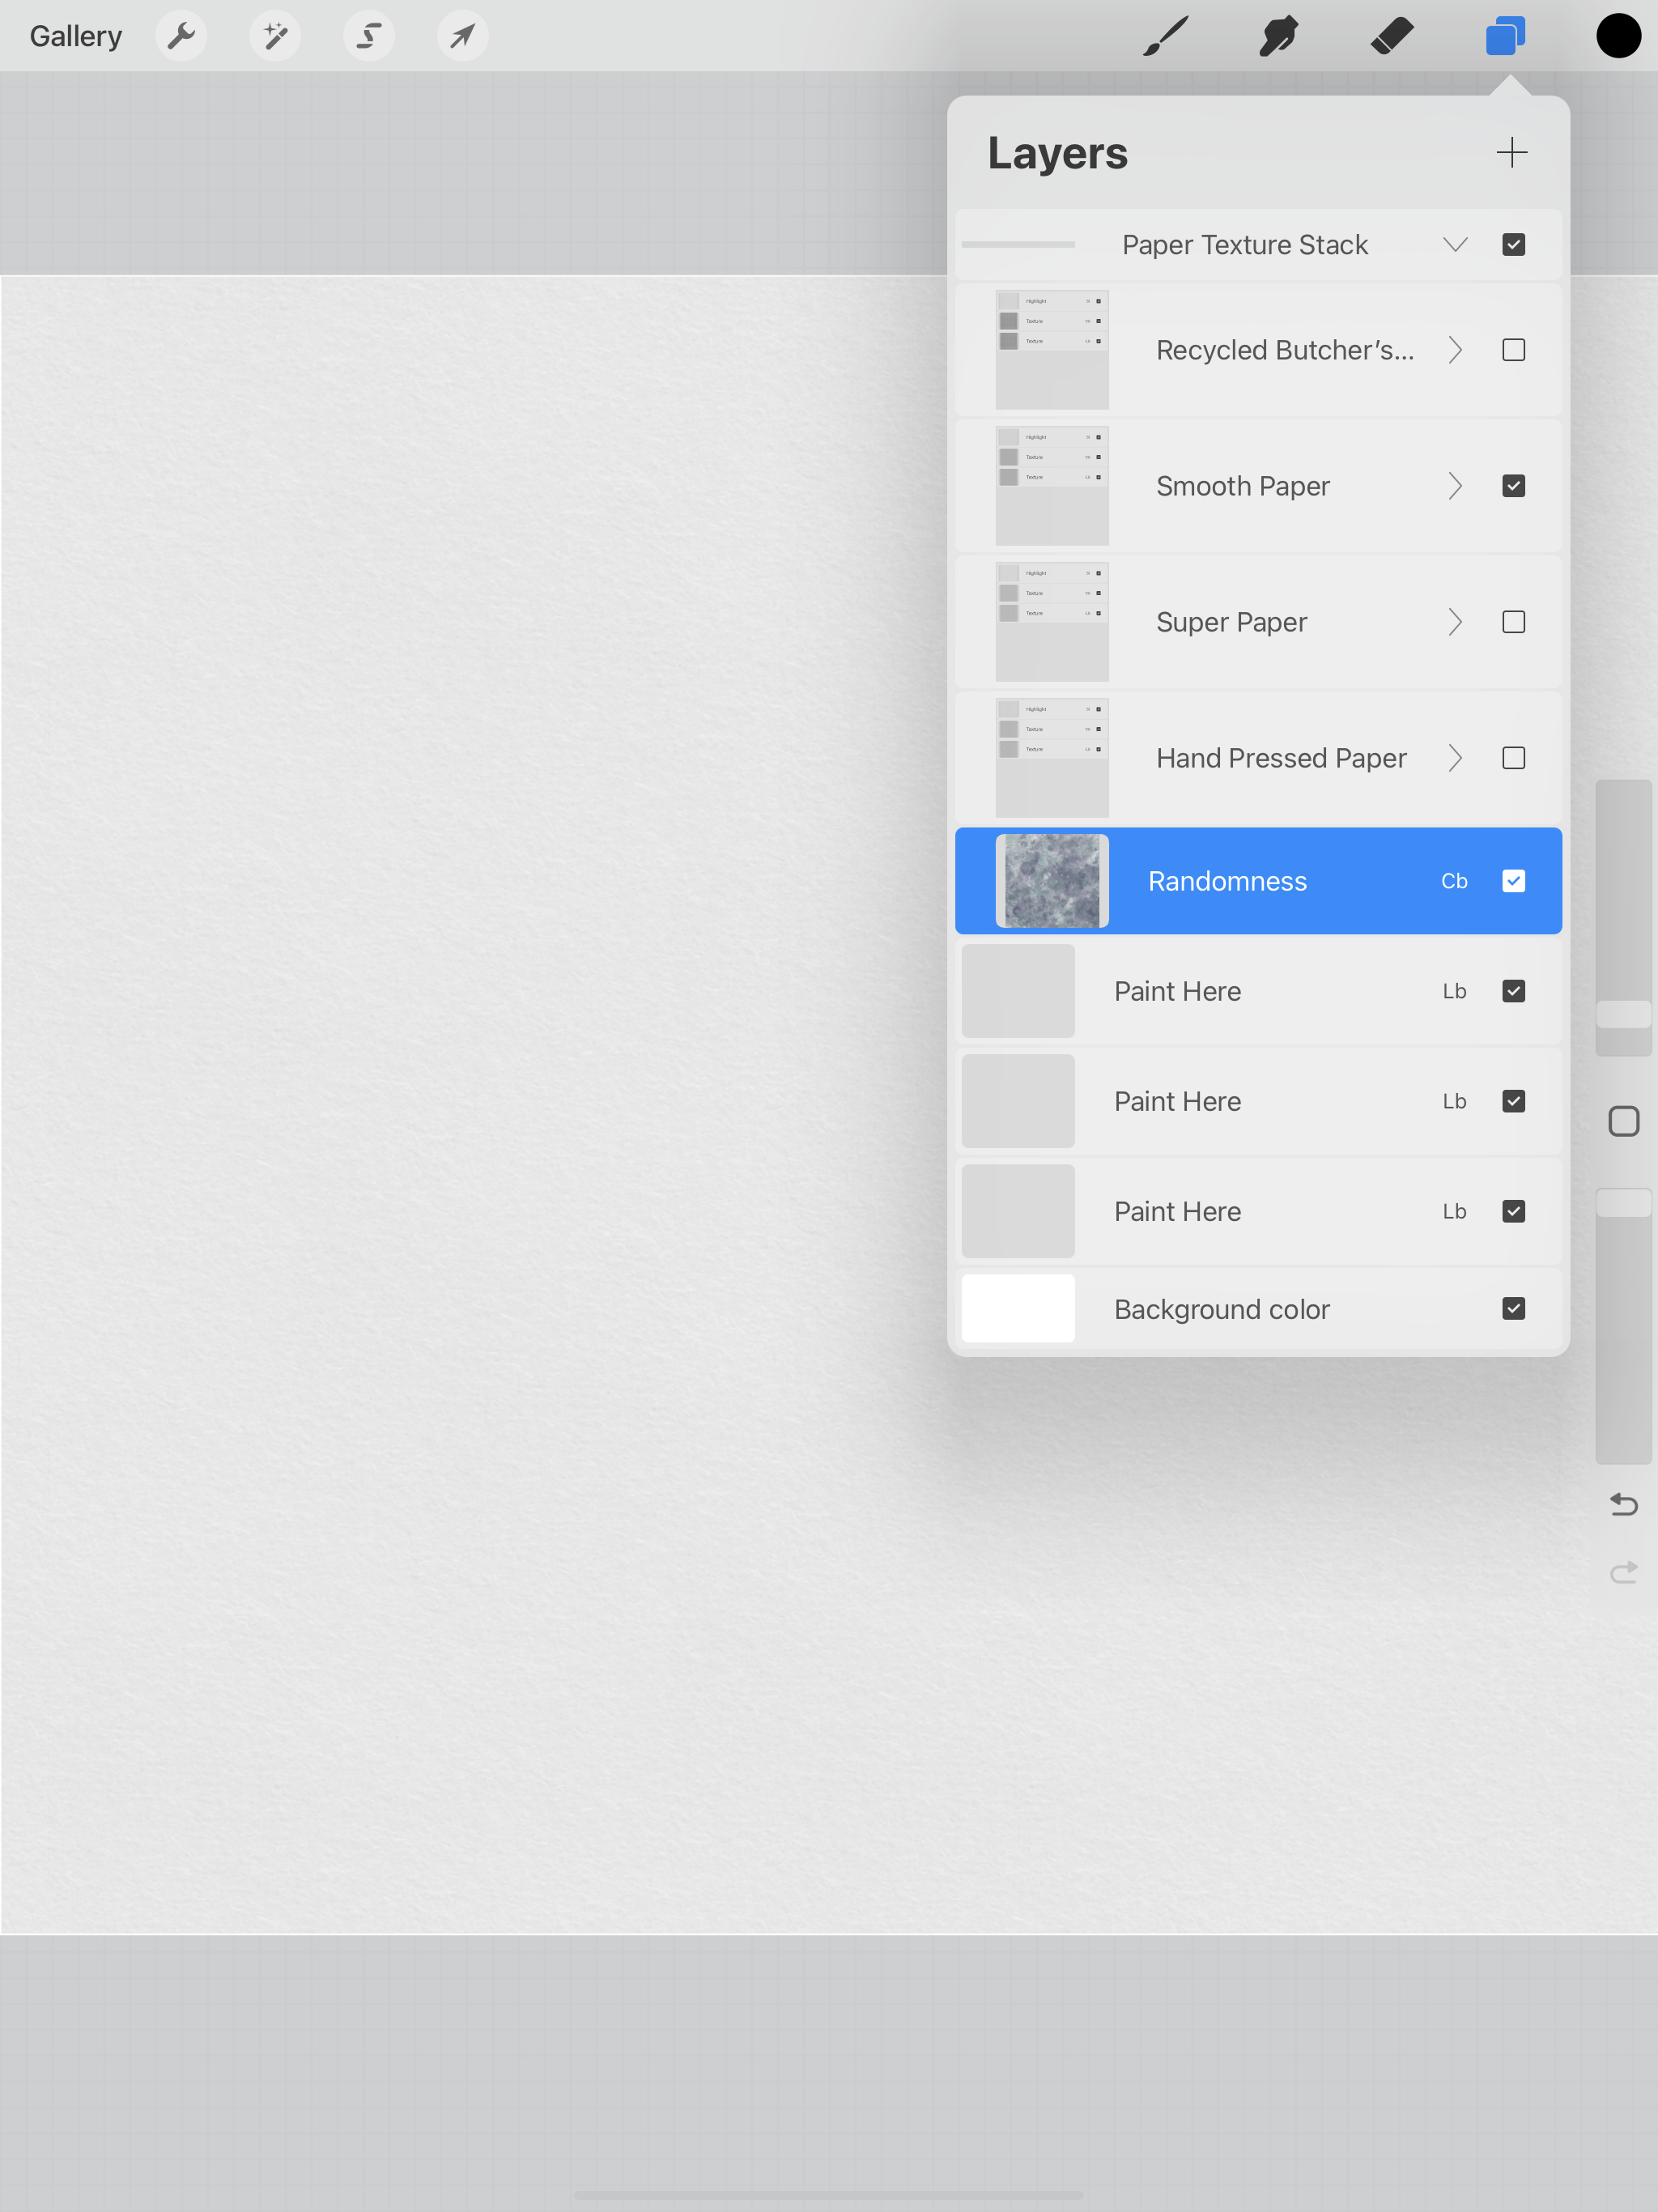
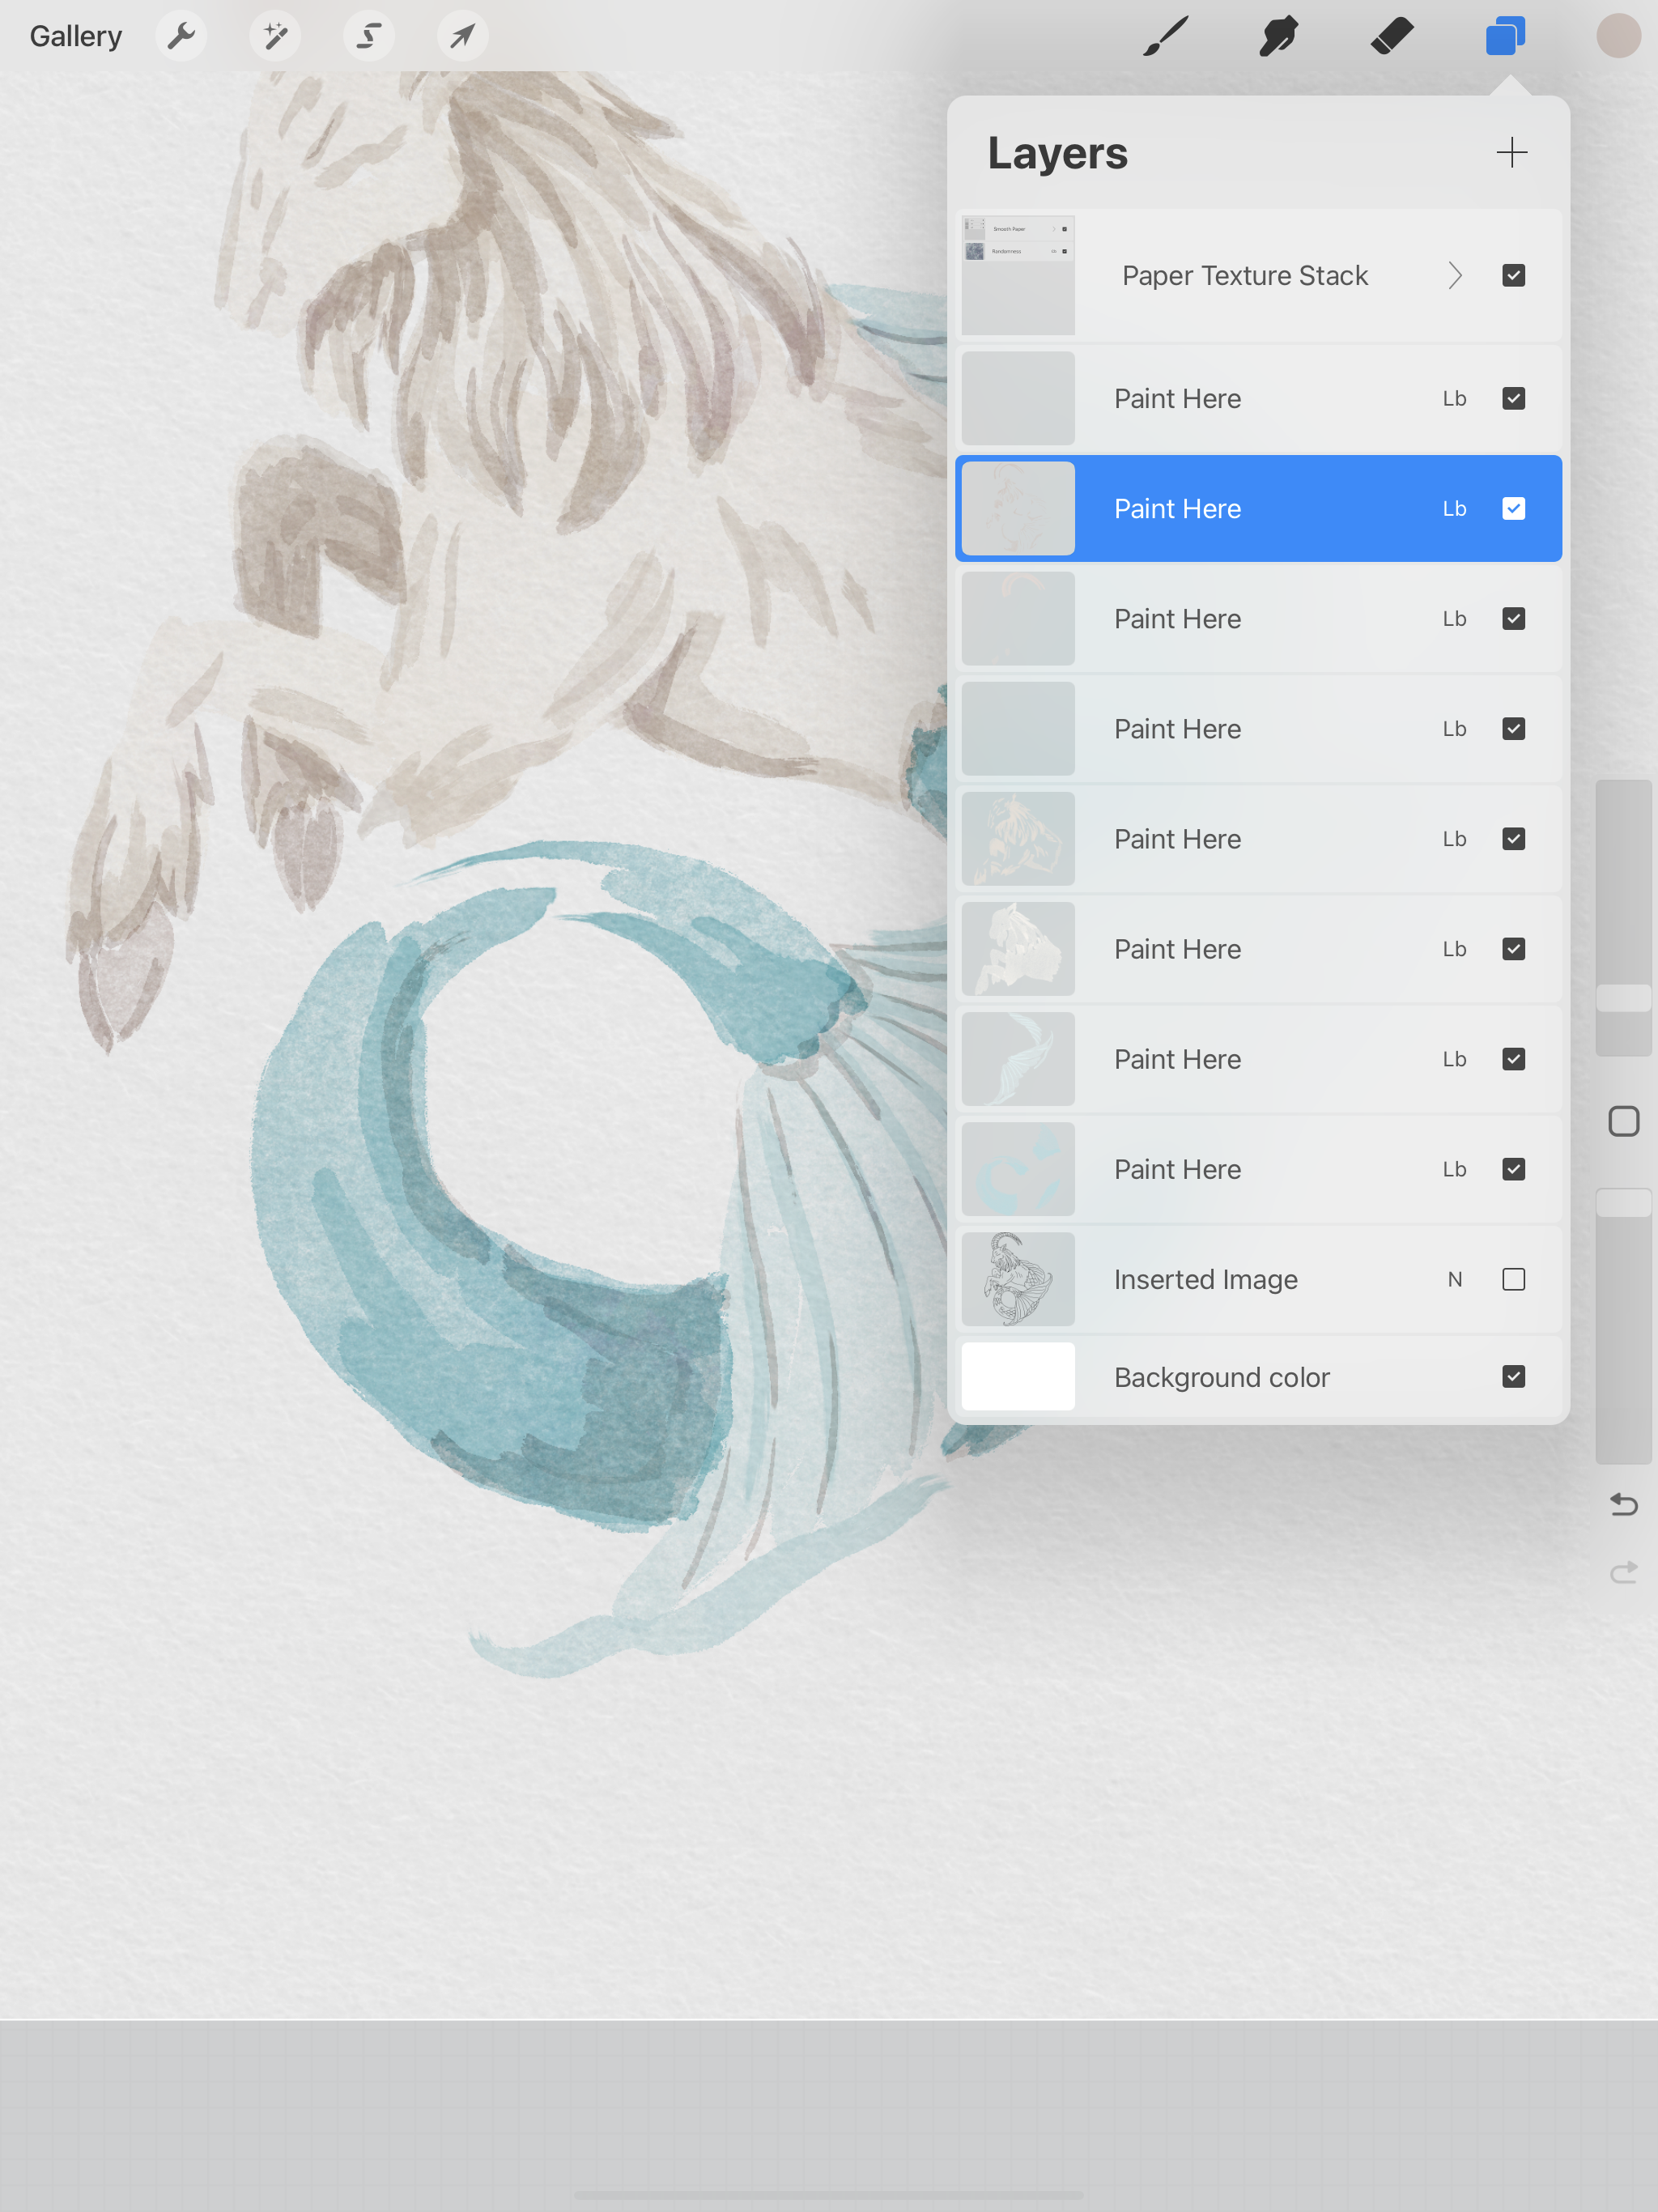
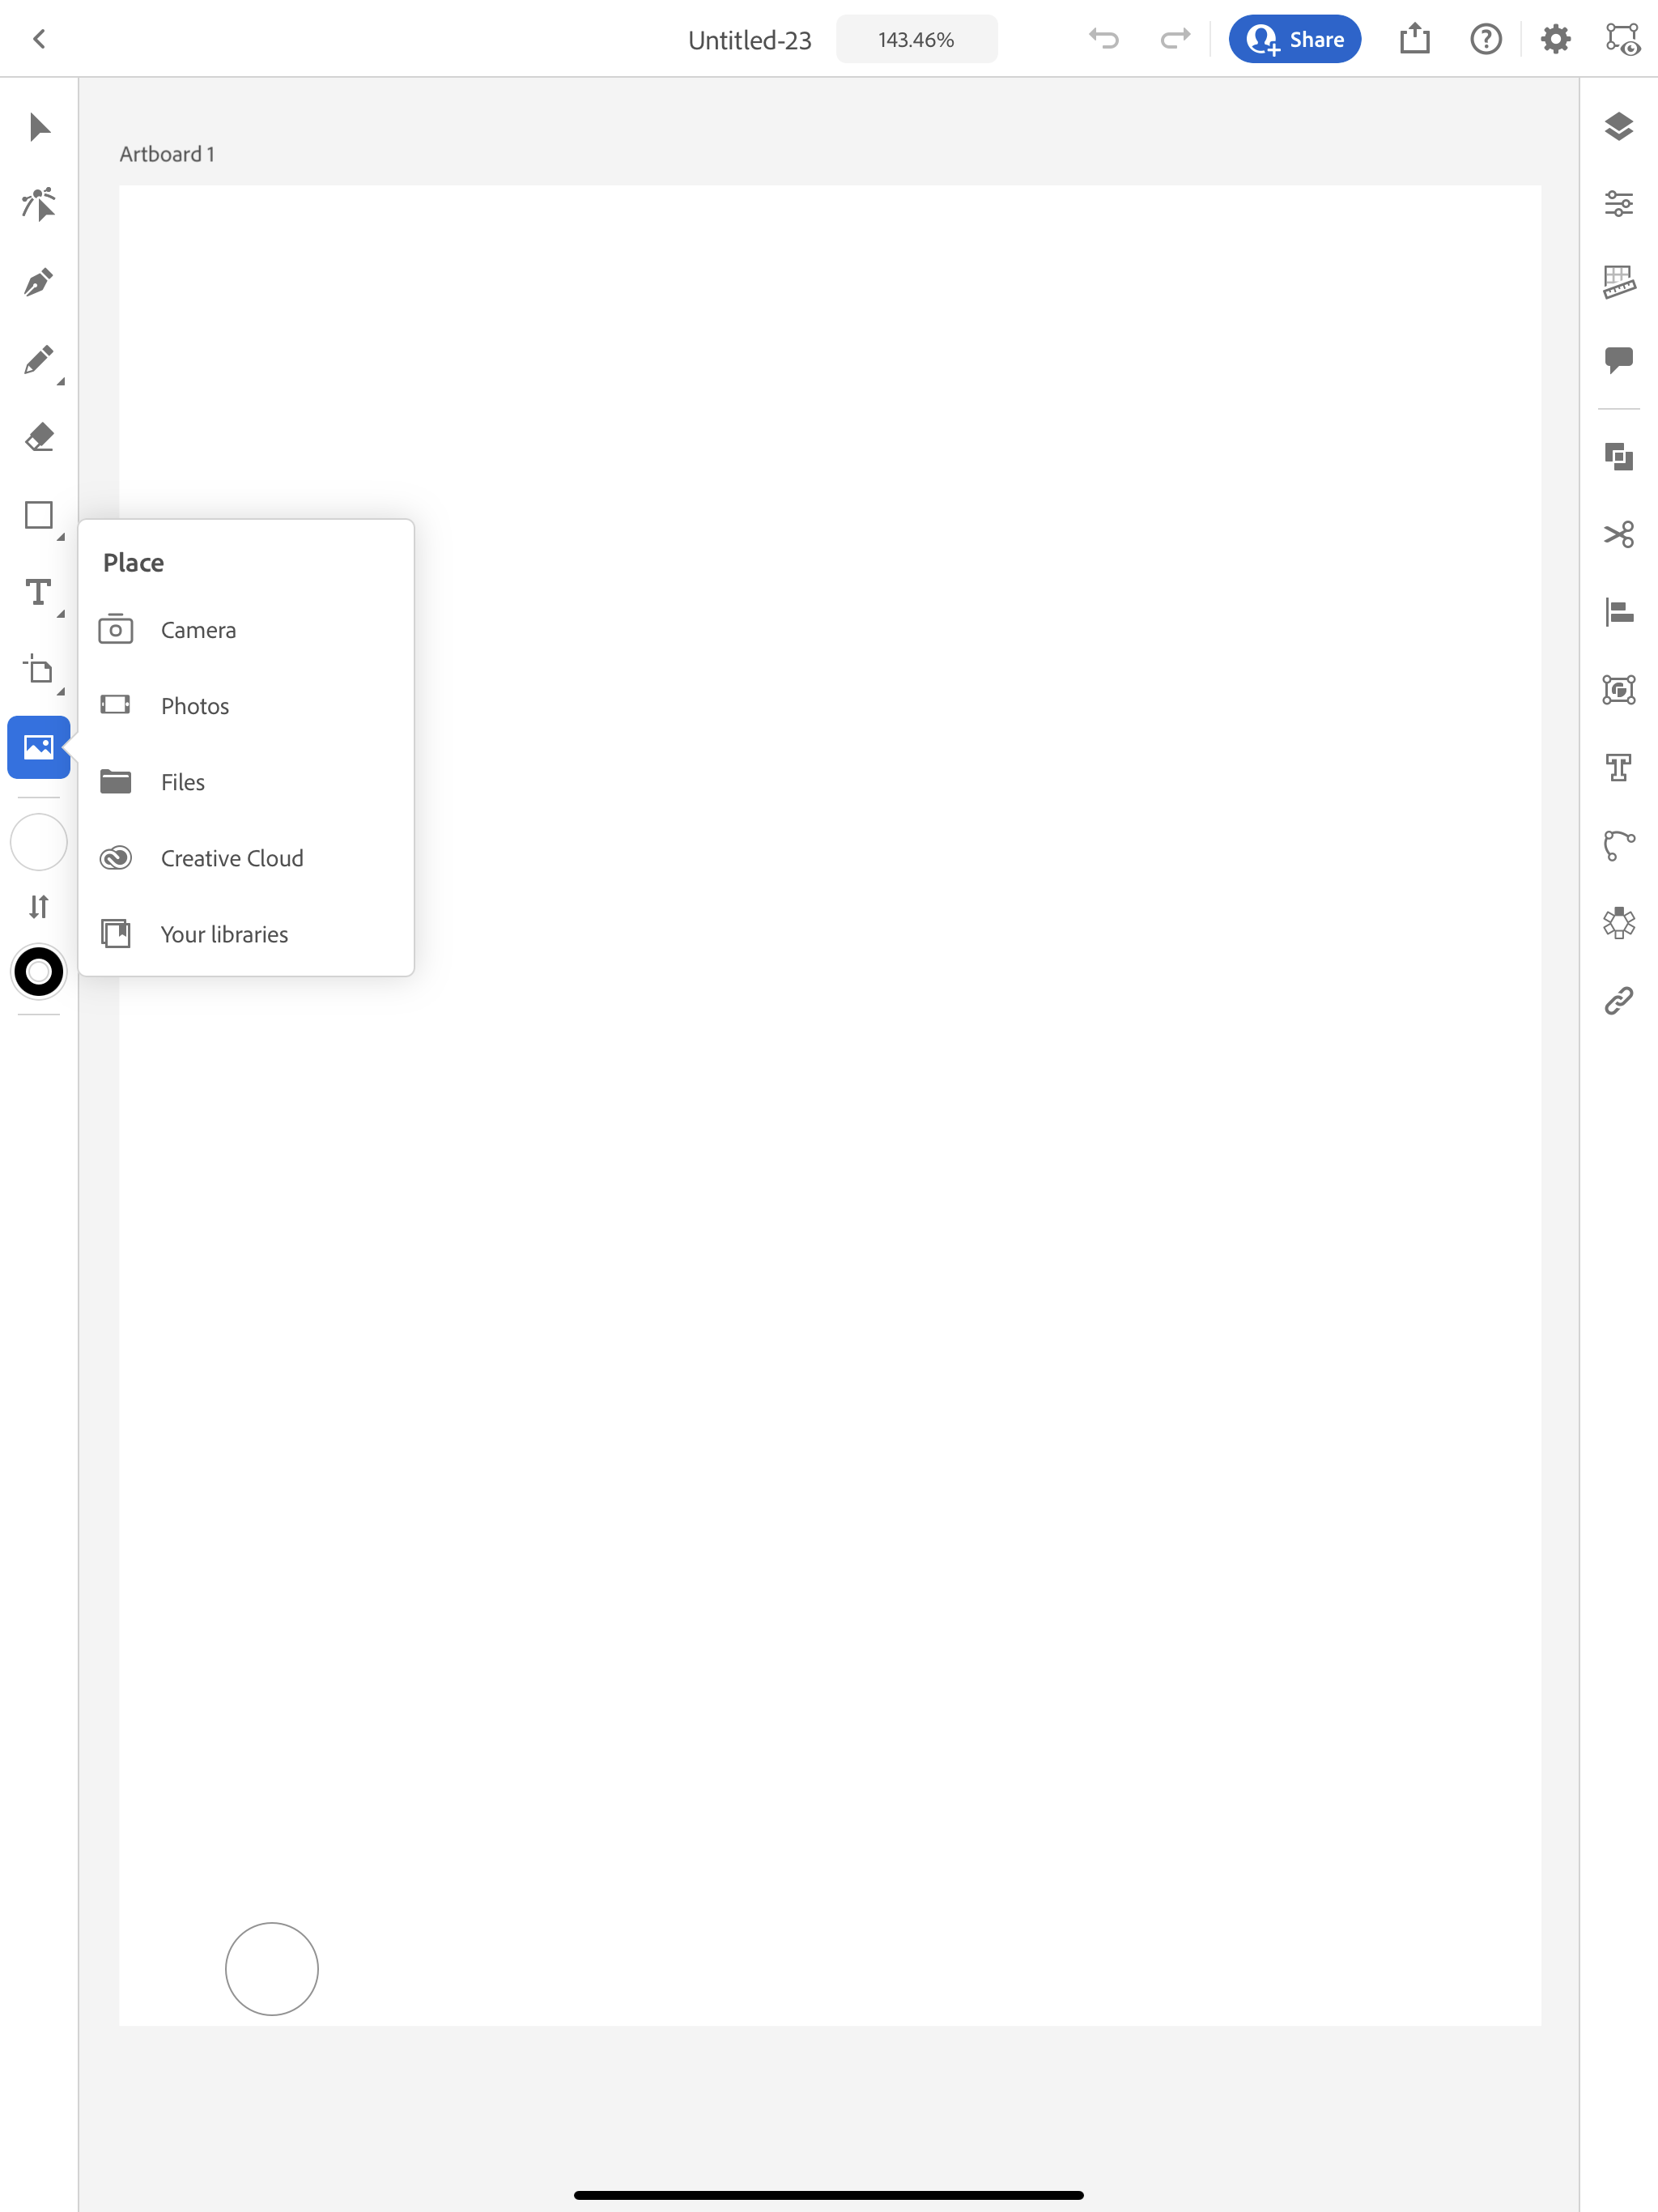
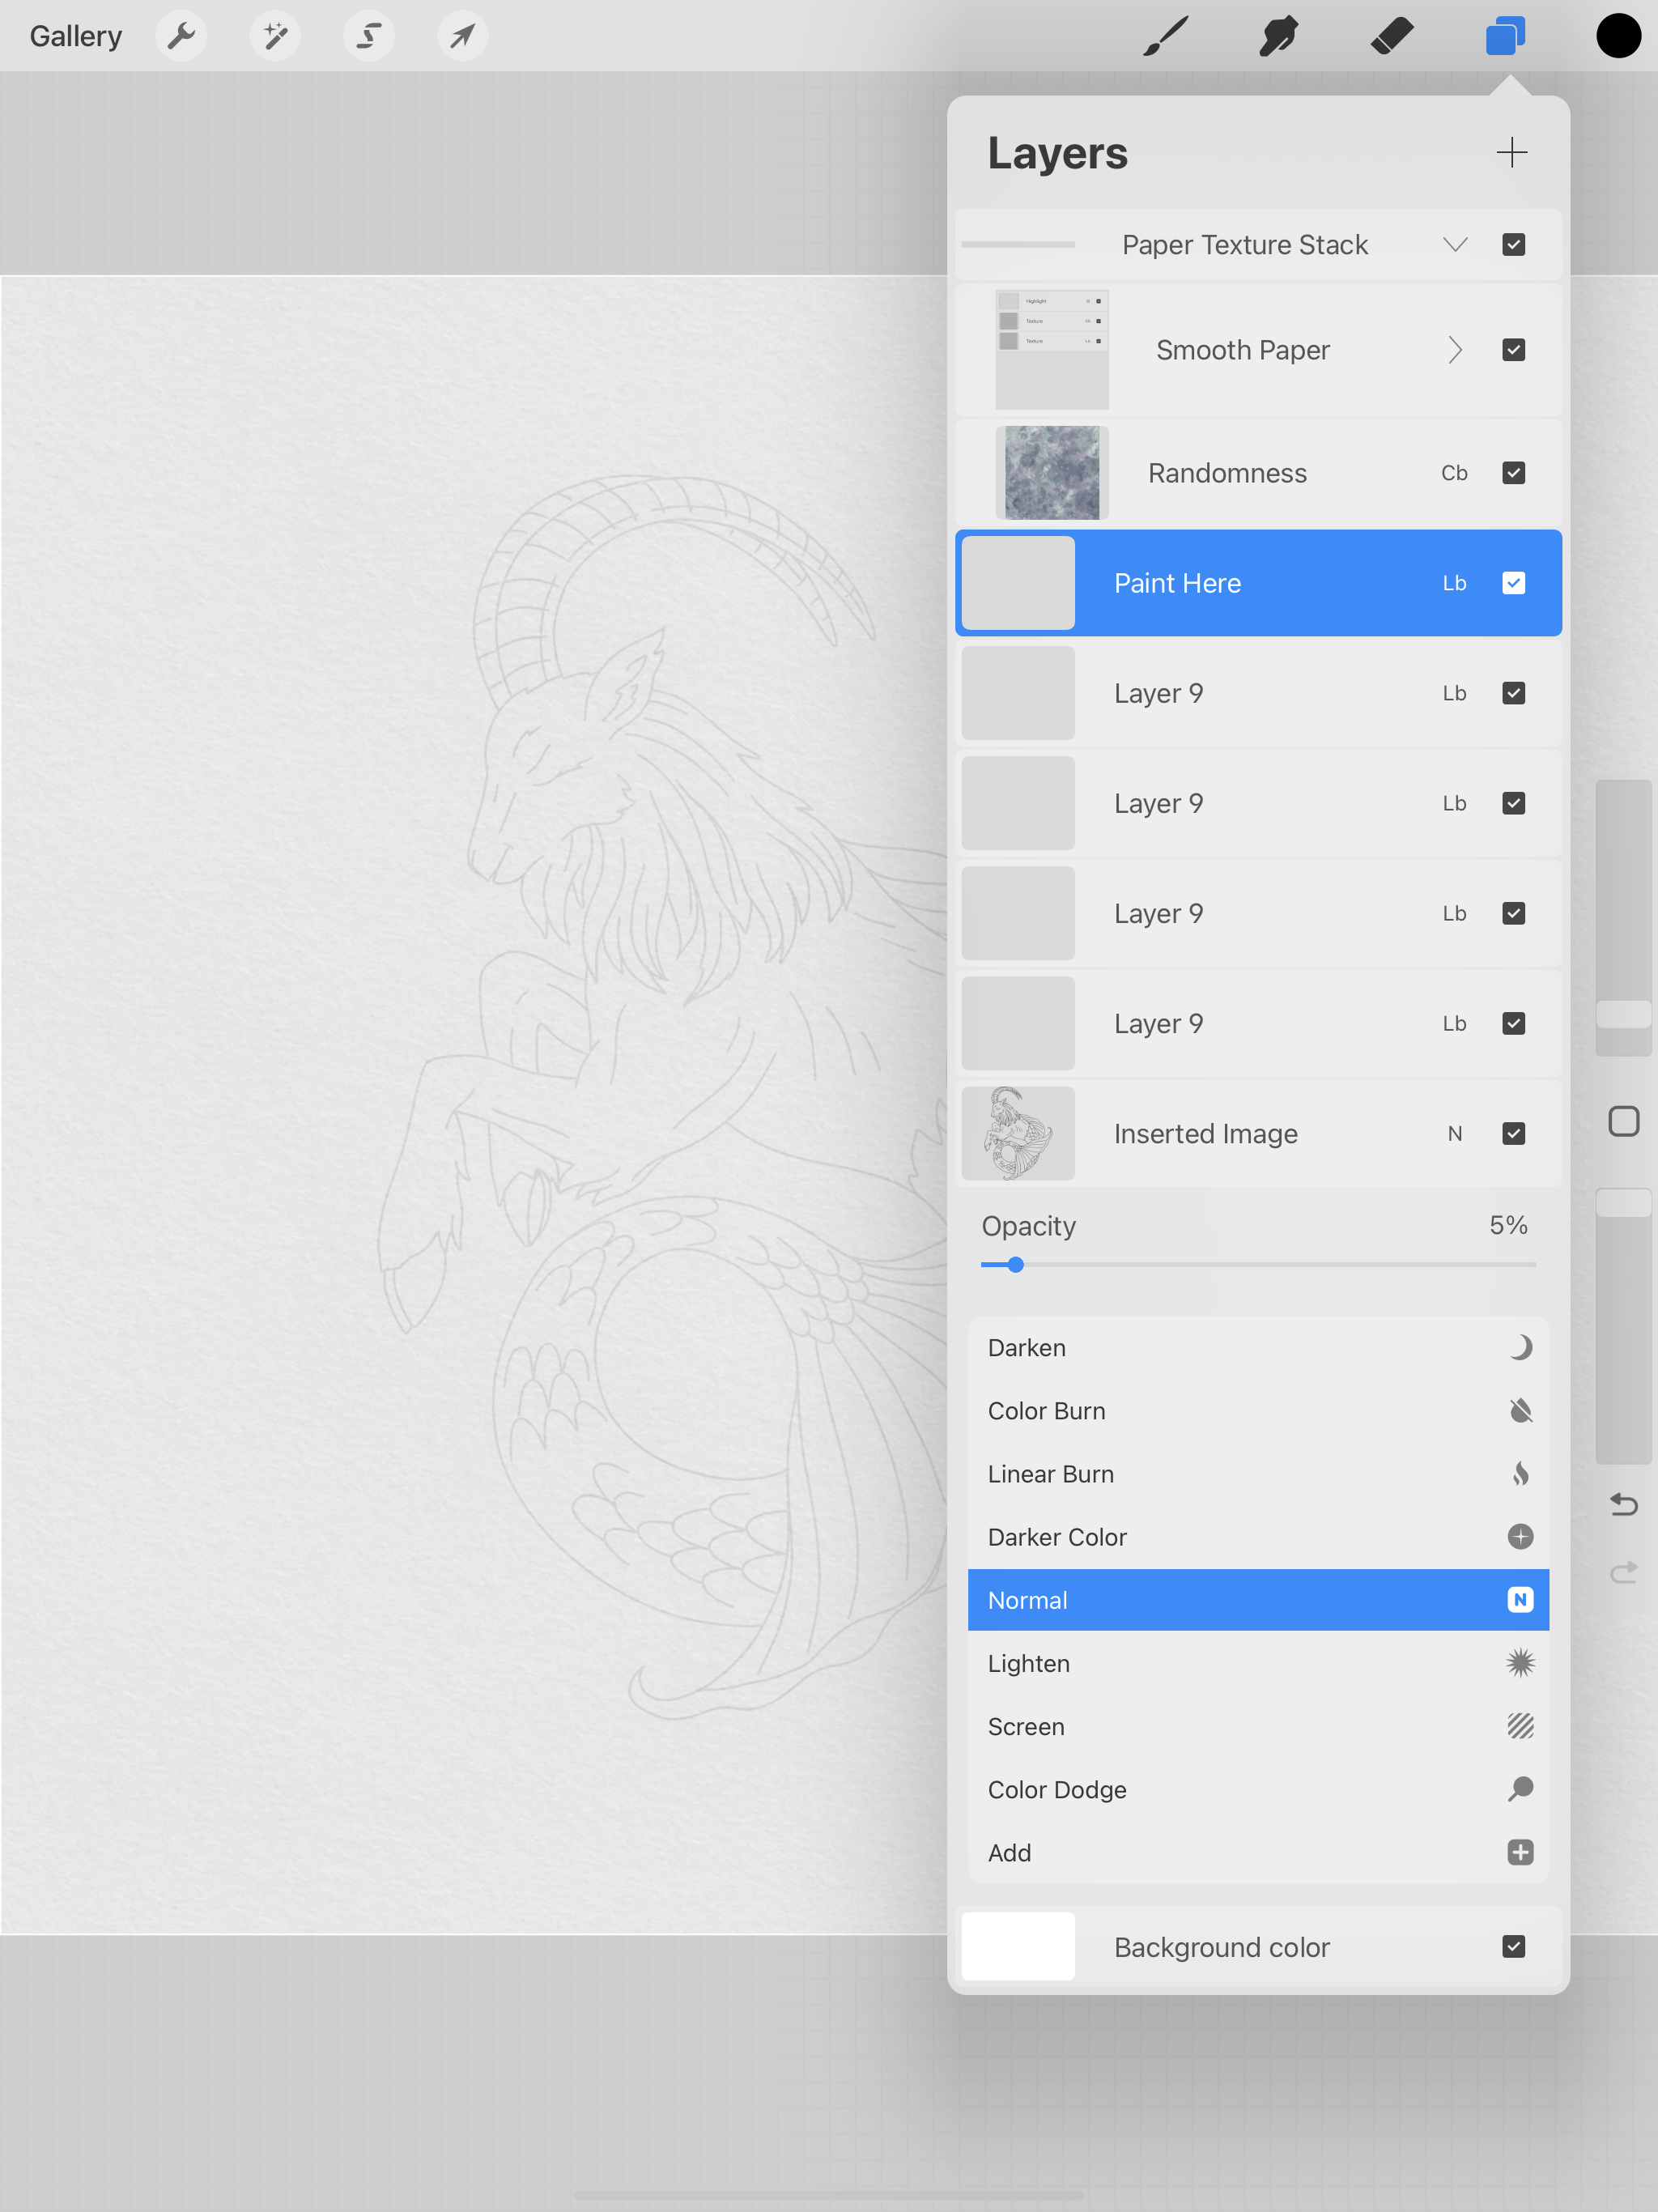
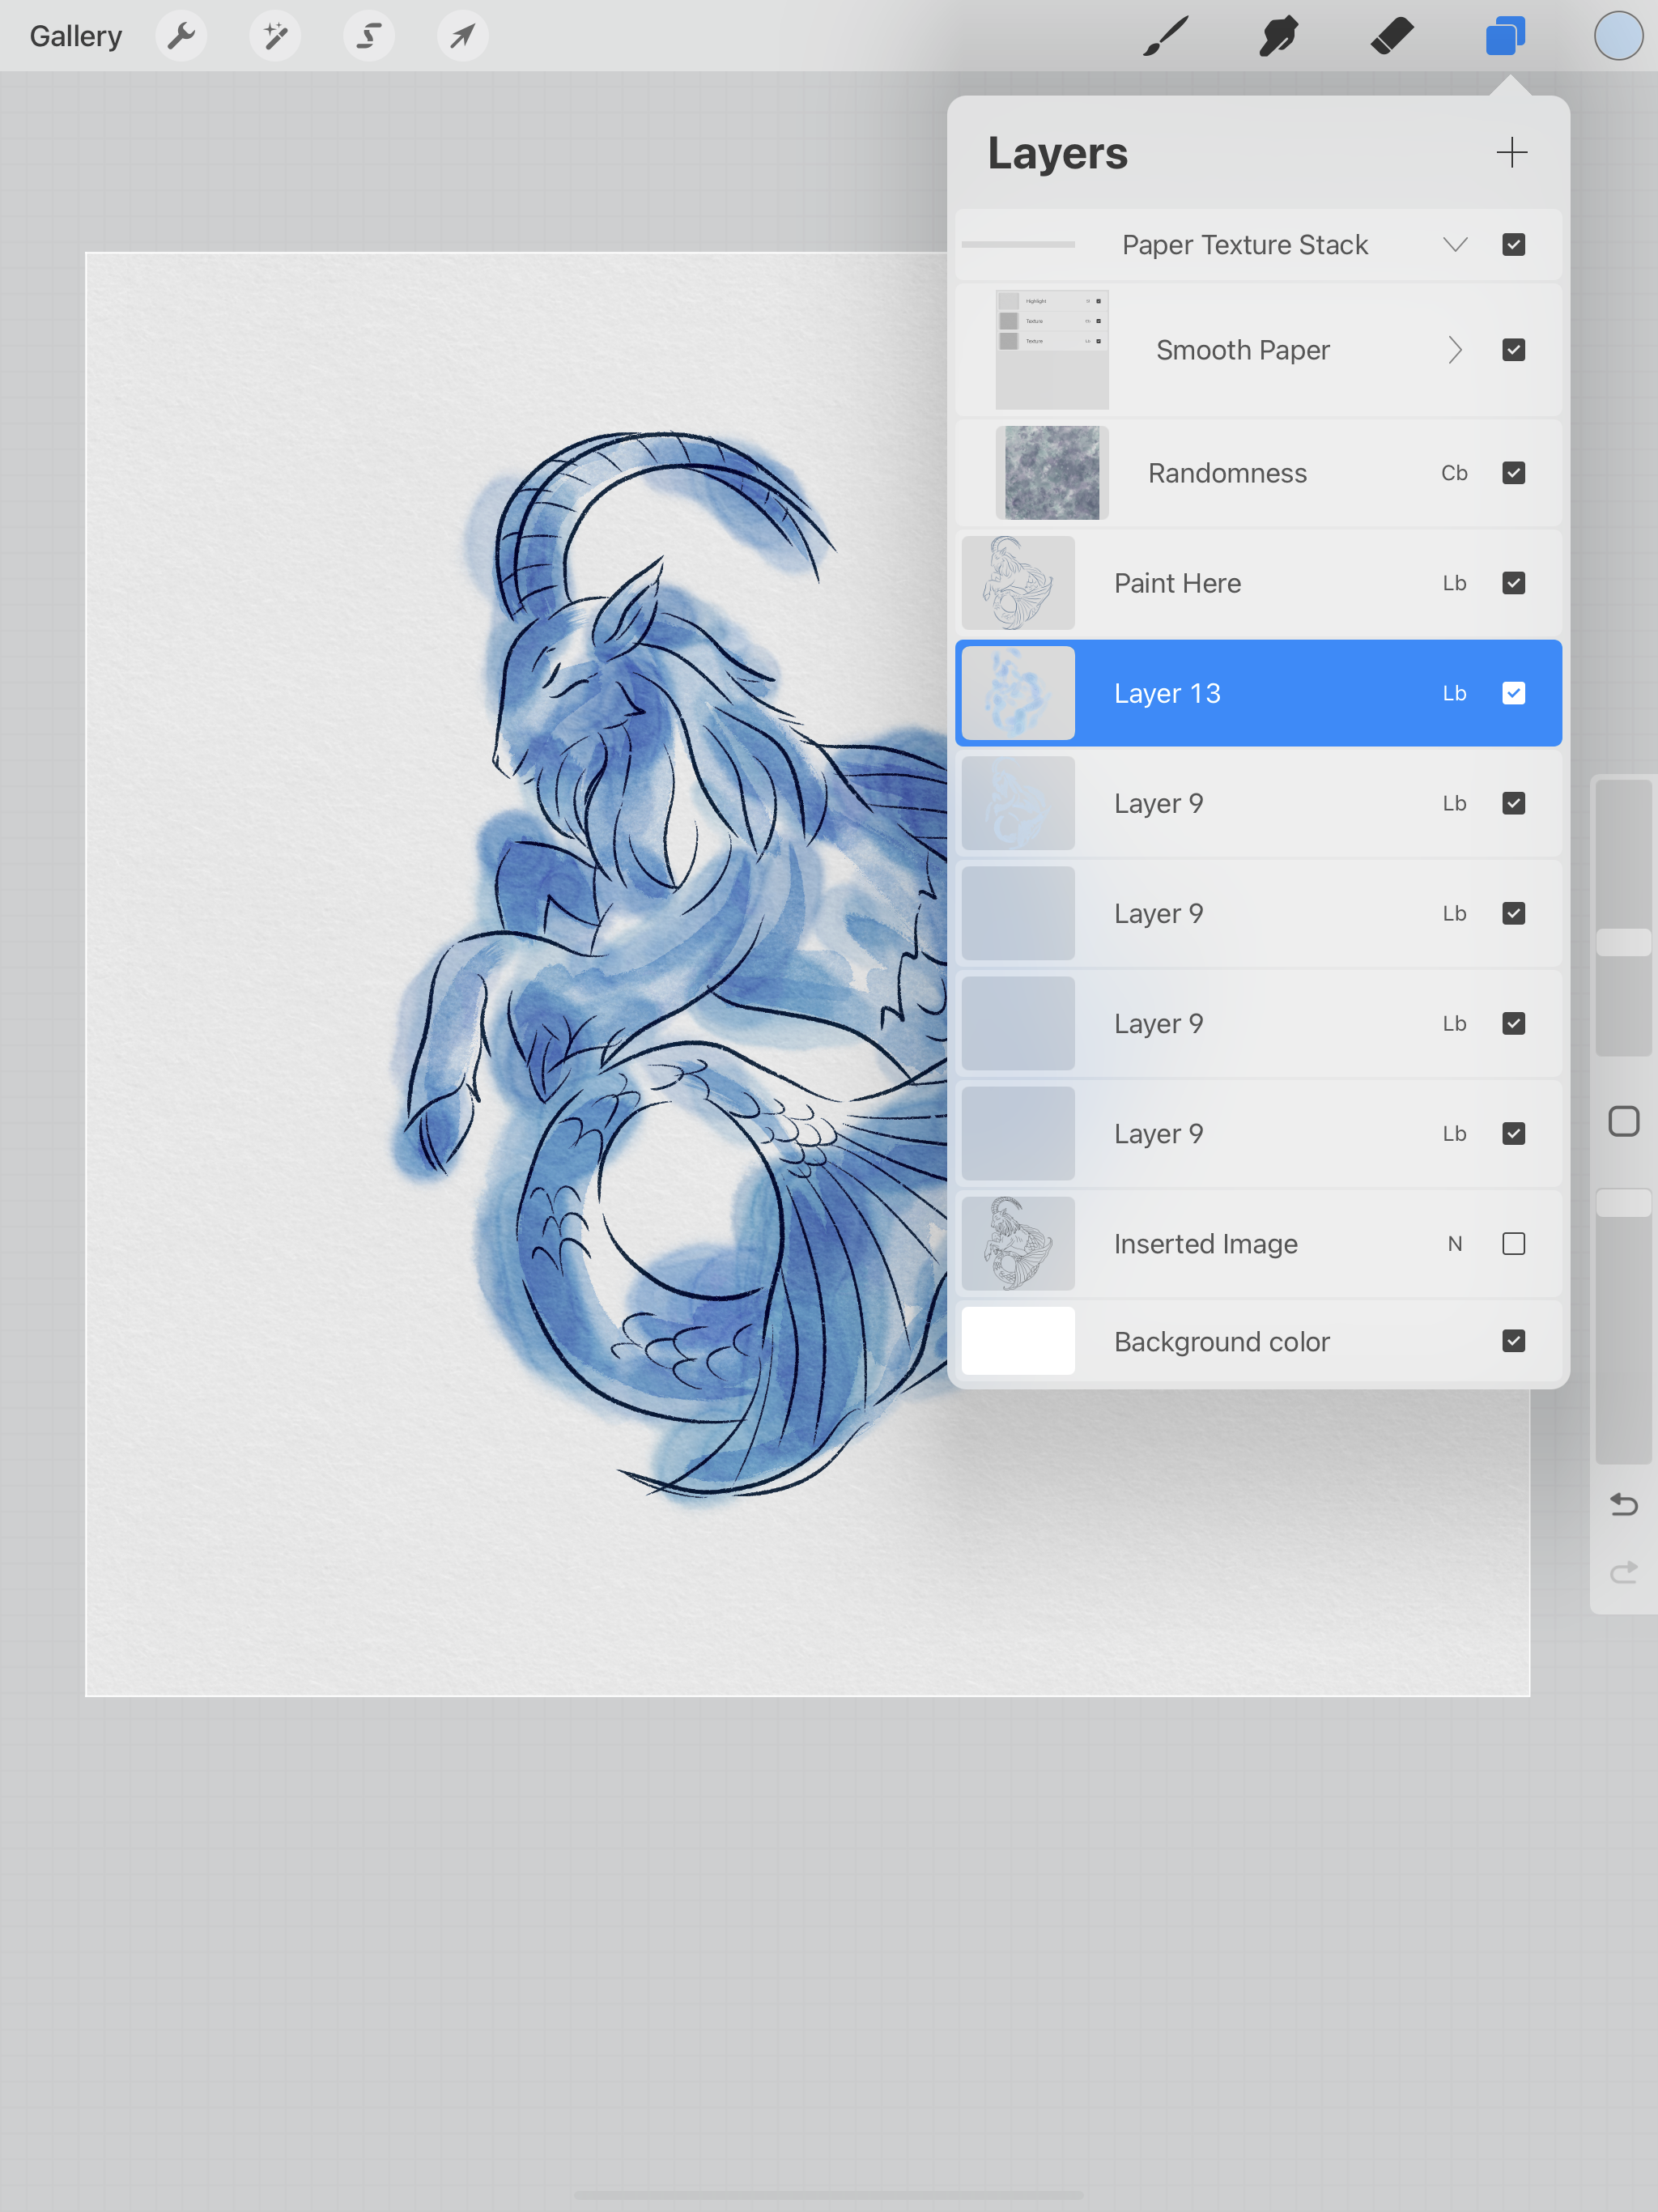
I’m going to be using the Smooth Paper texture canvas that comes with the Everything Watercolor brushes. I will go ahead and delete the others so I can have more layers to work with for my painting.

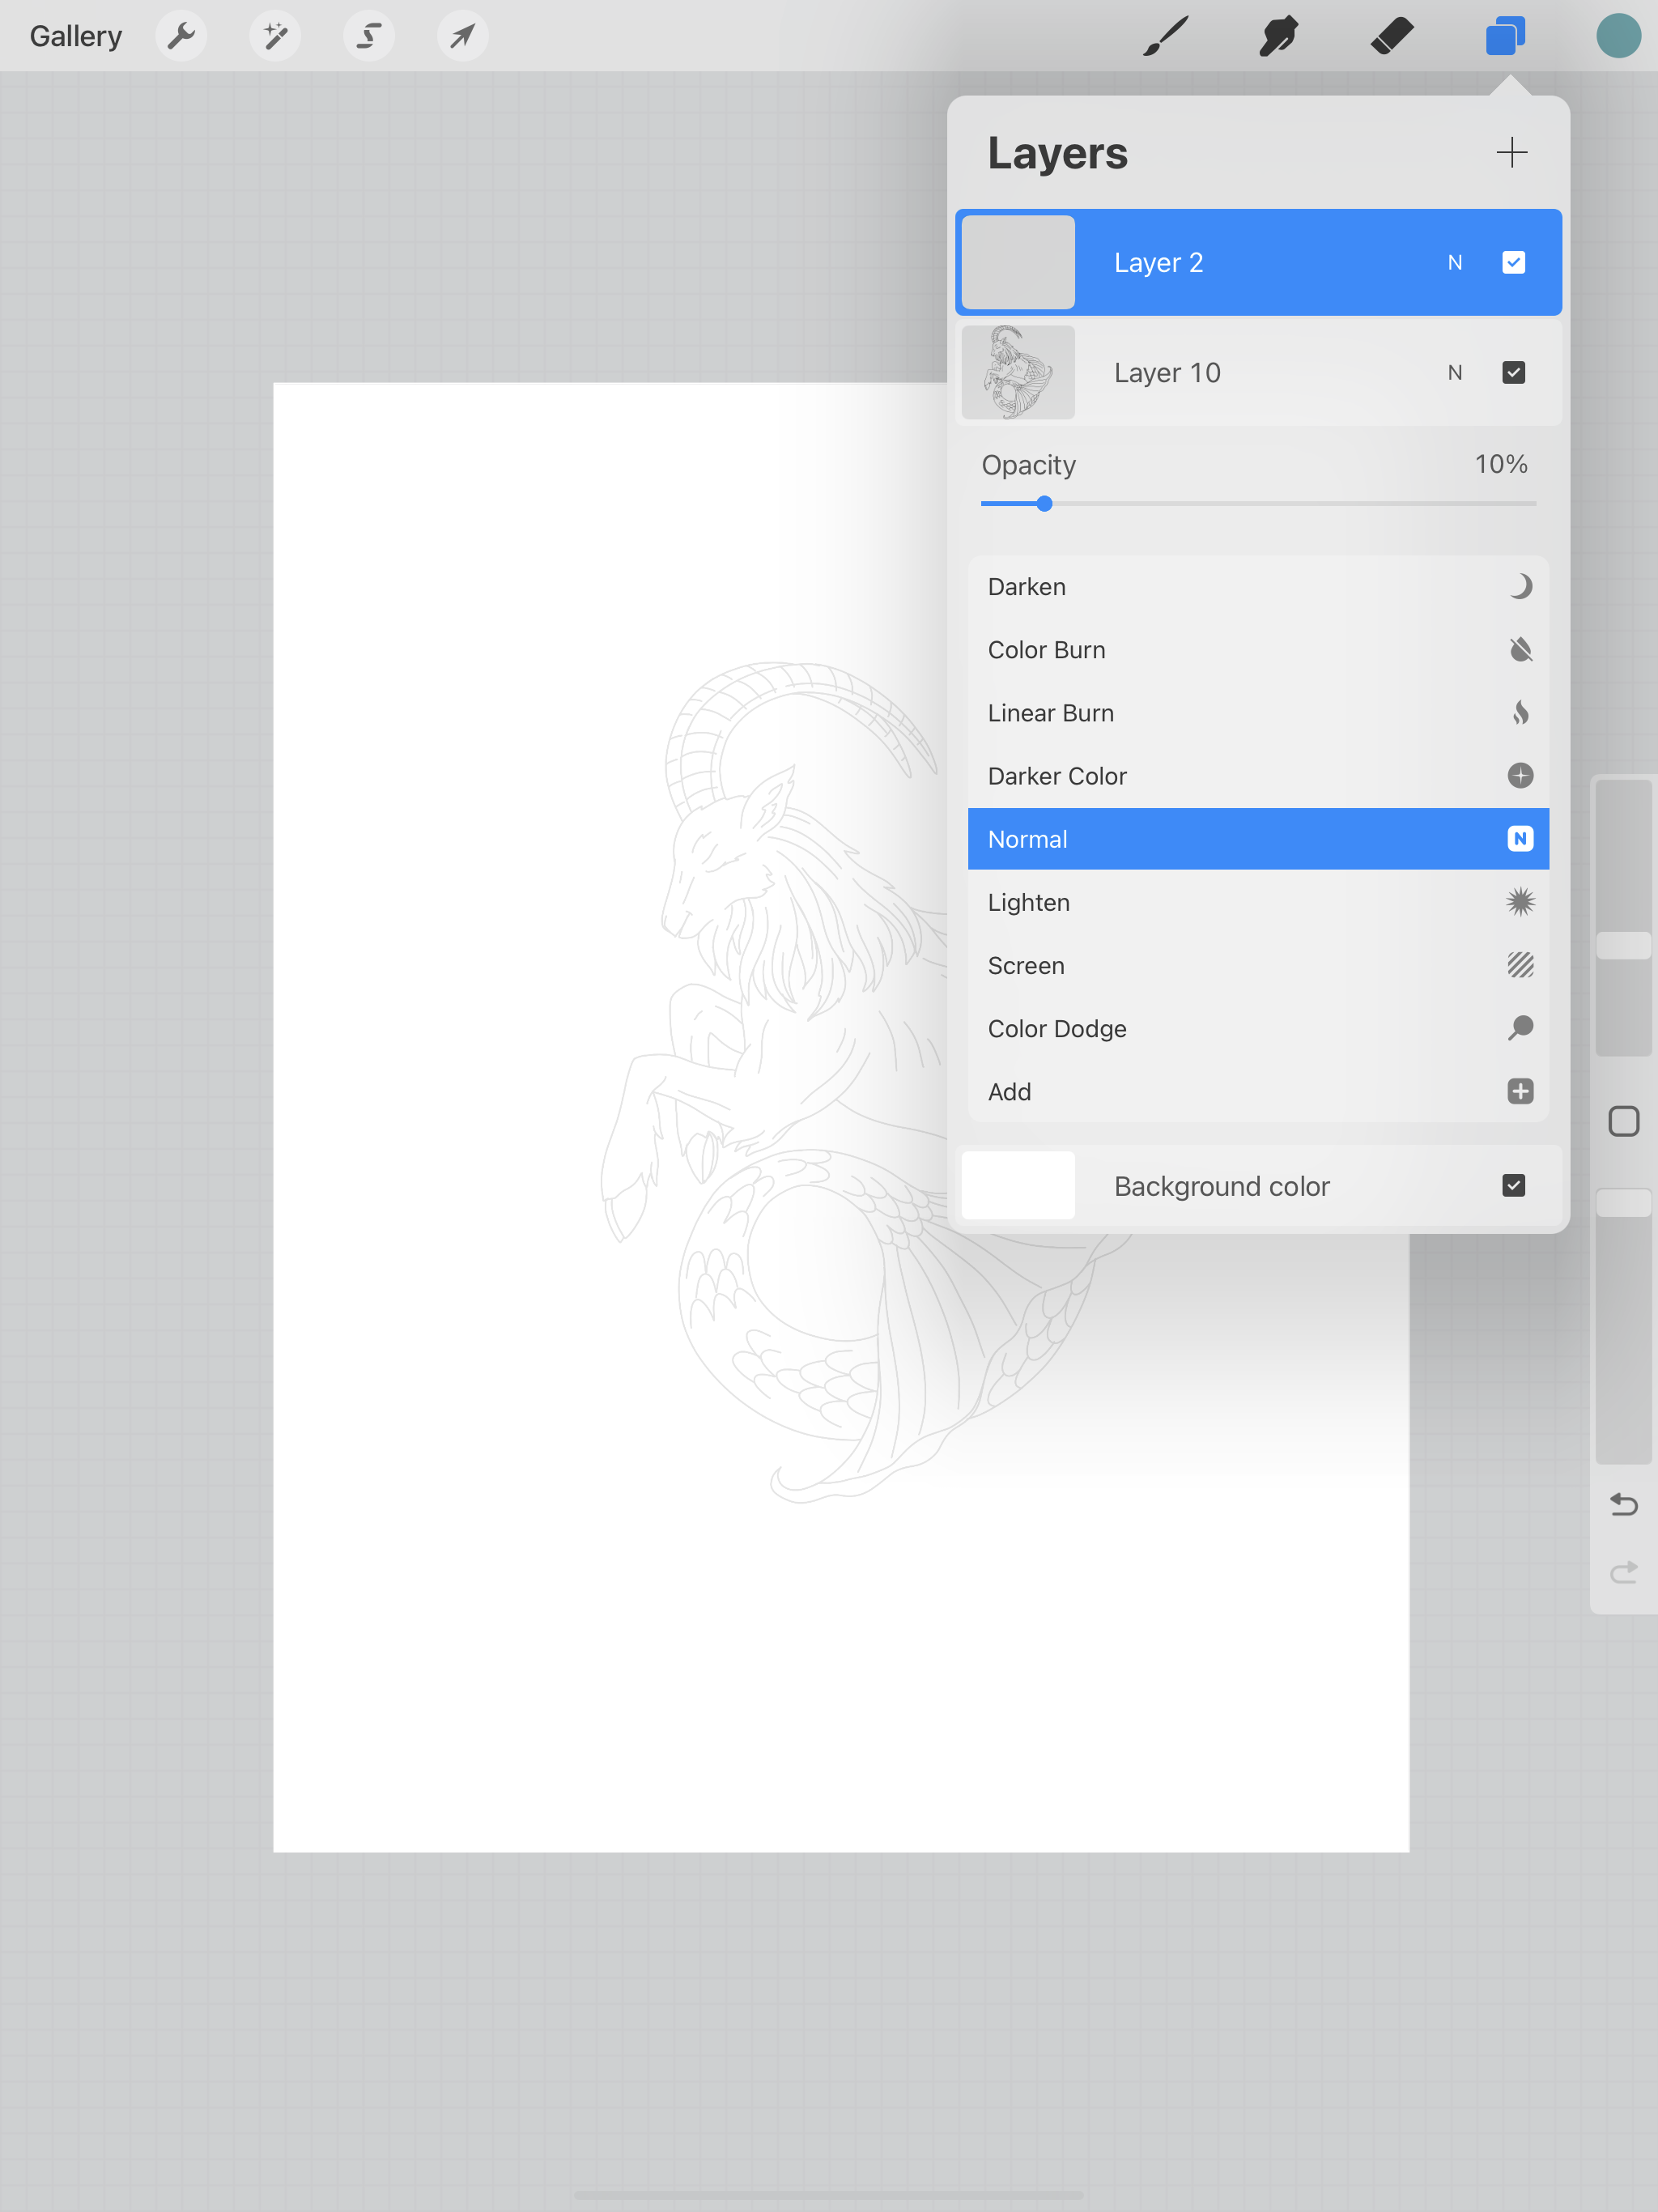
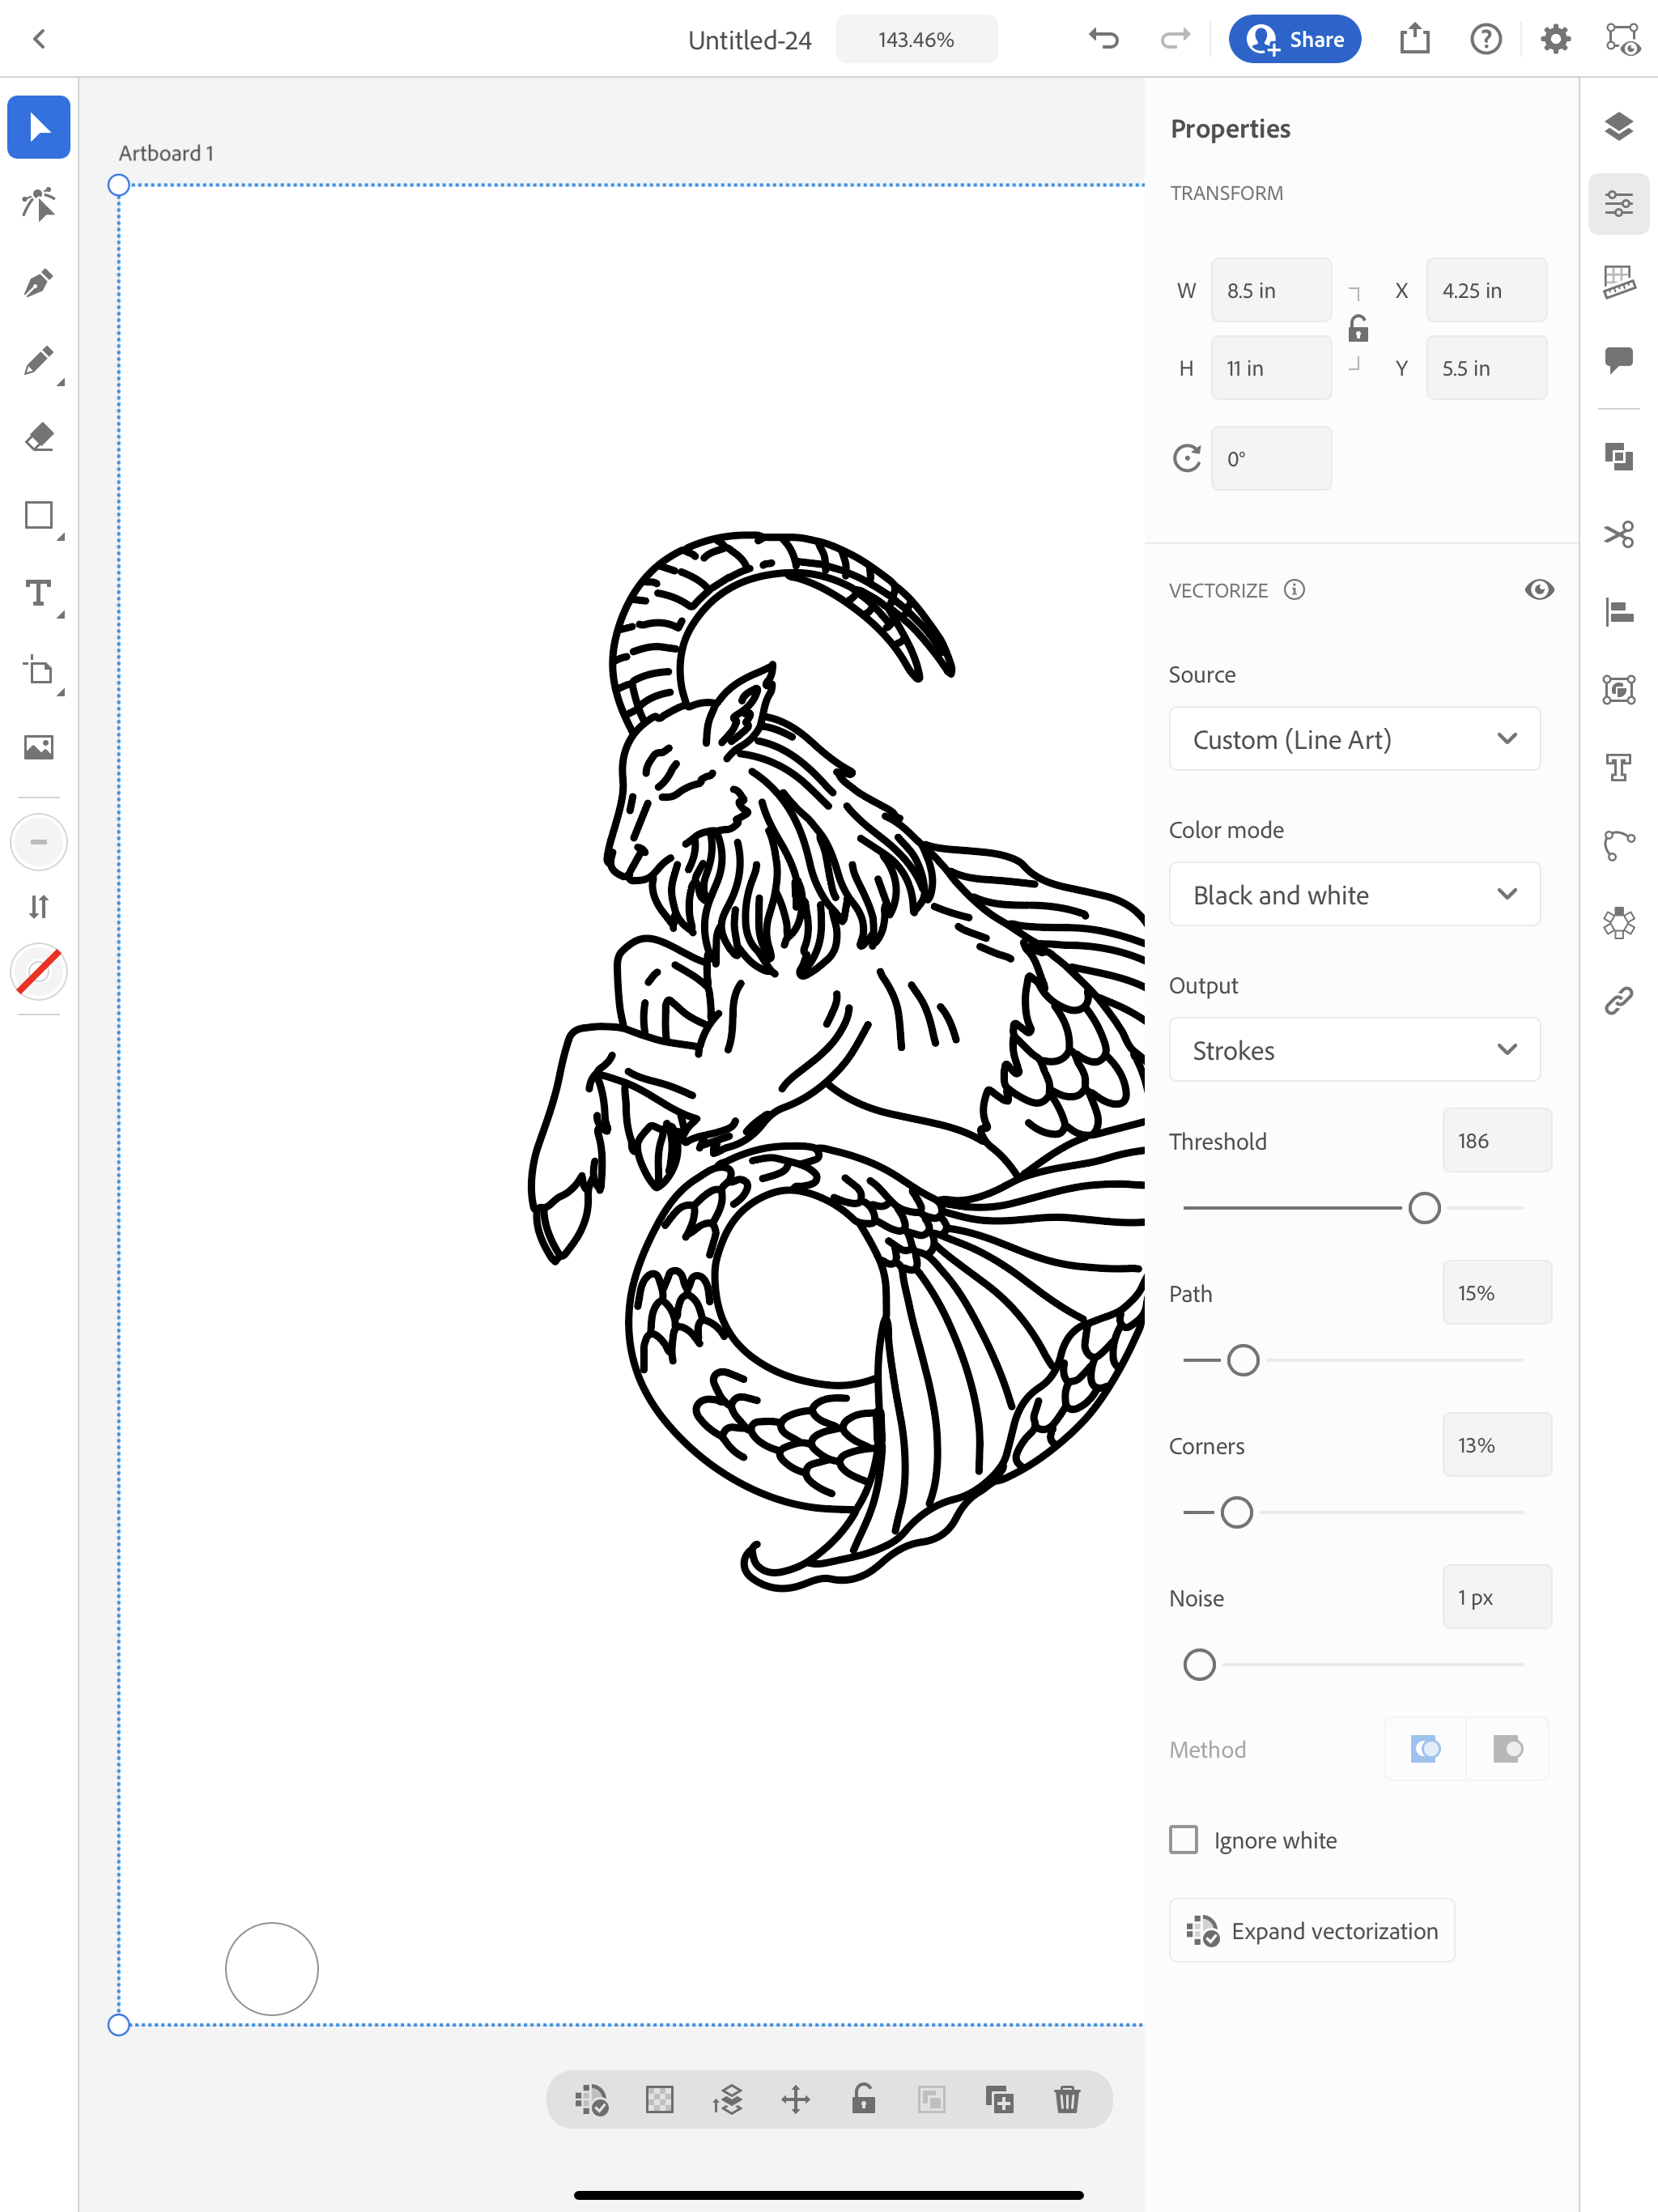
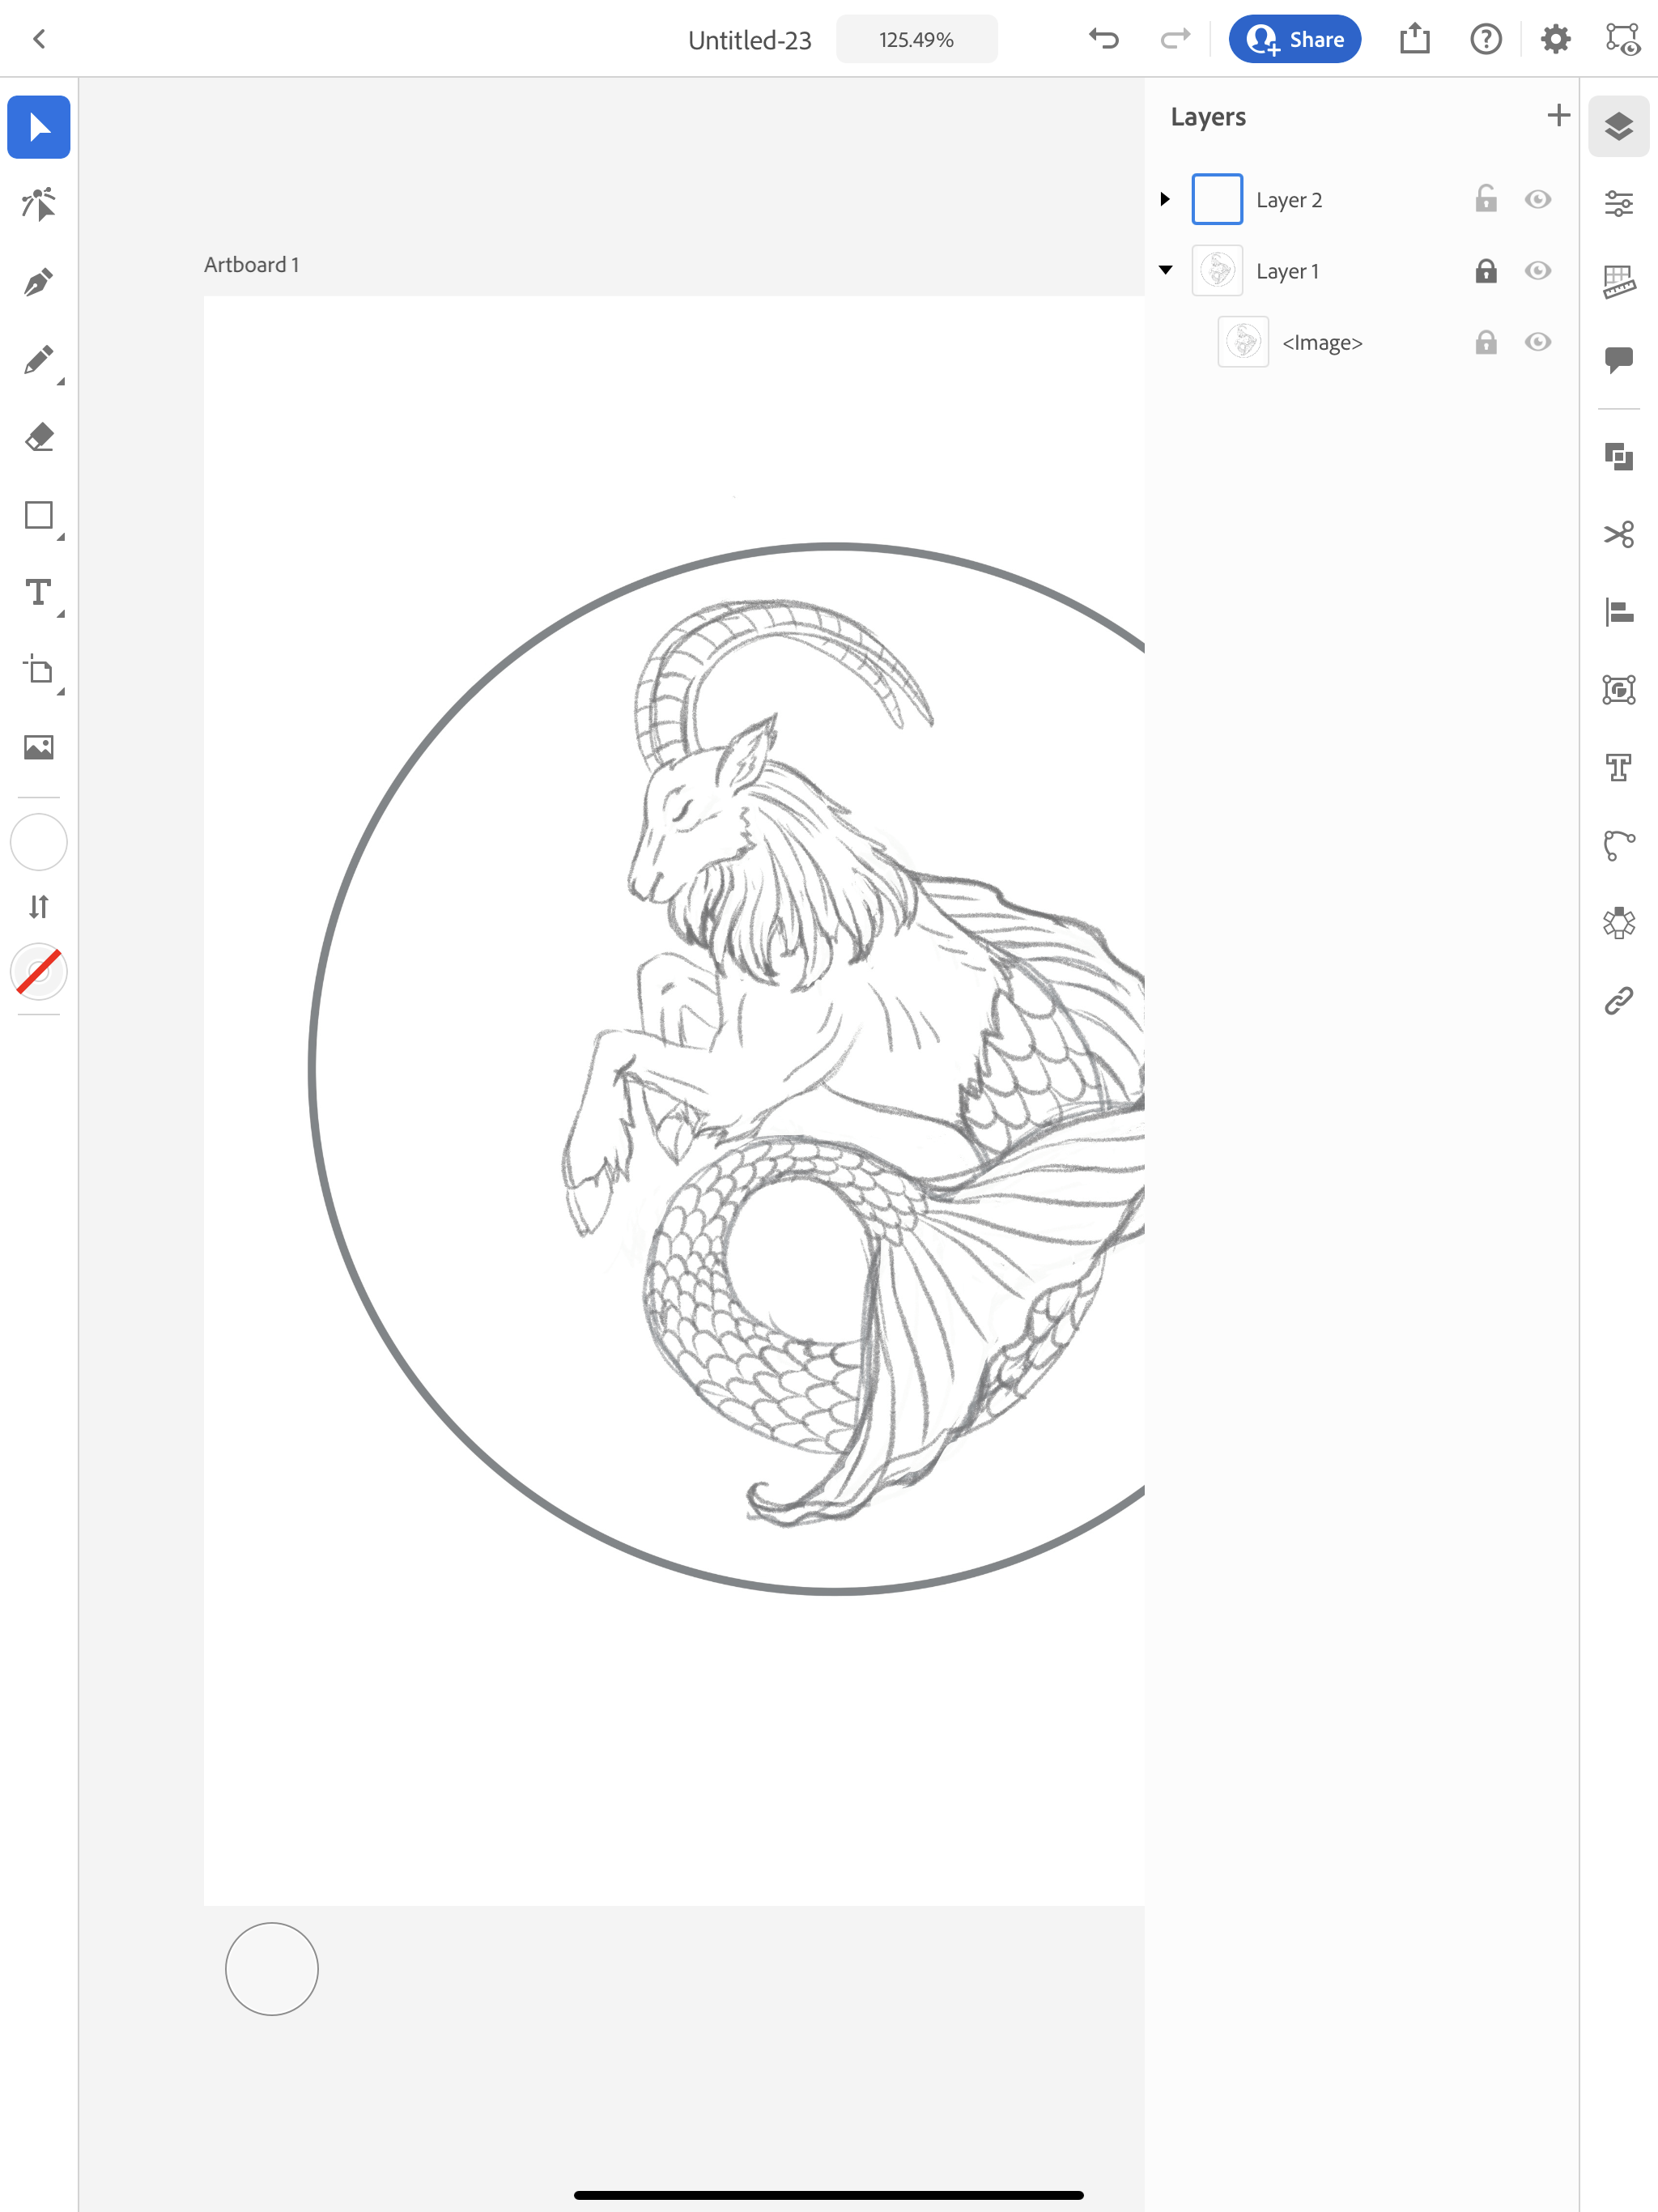
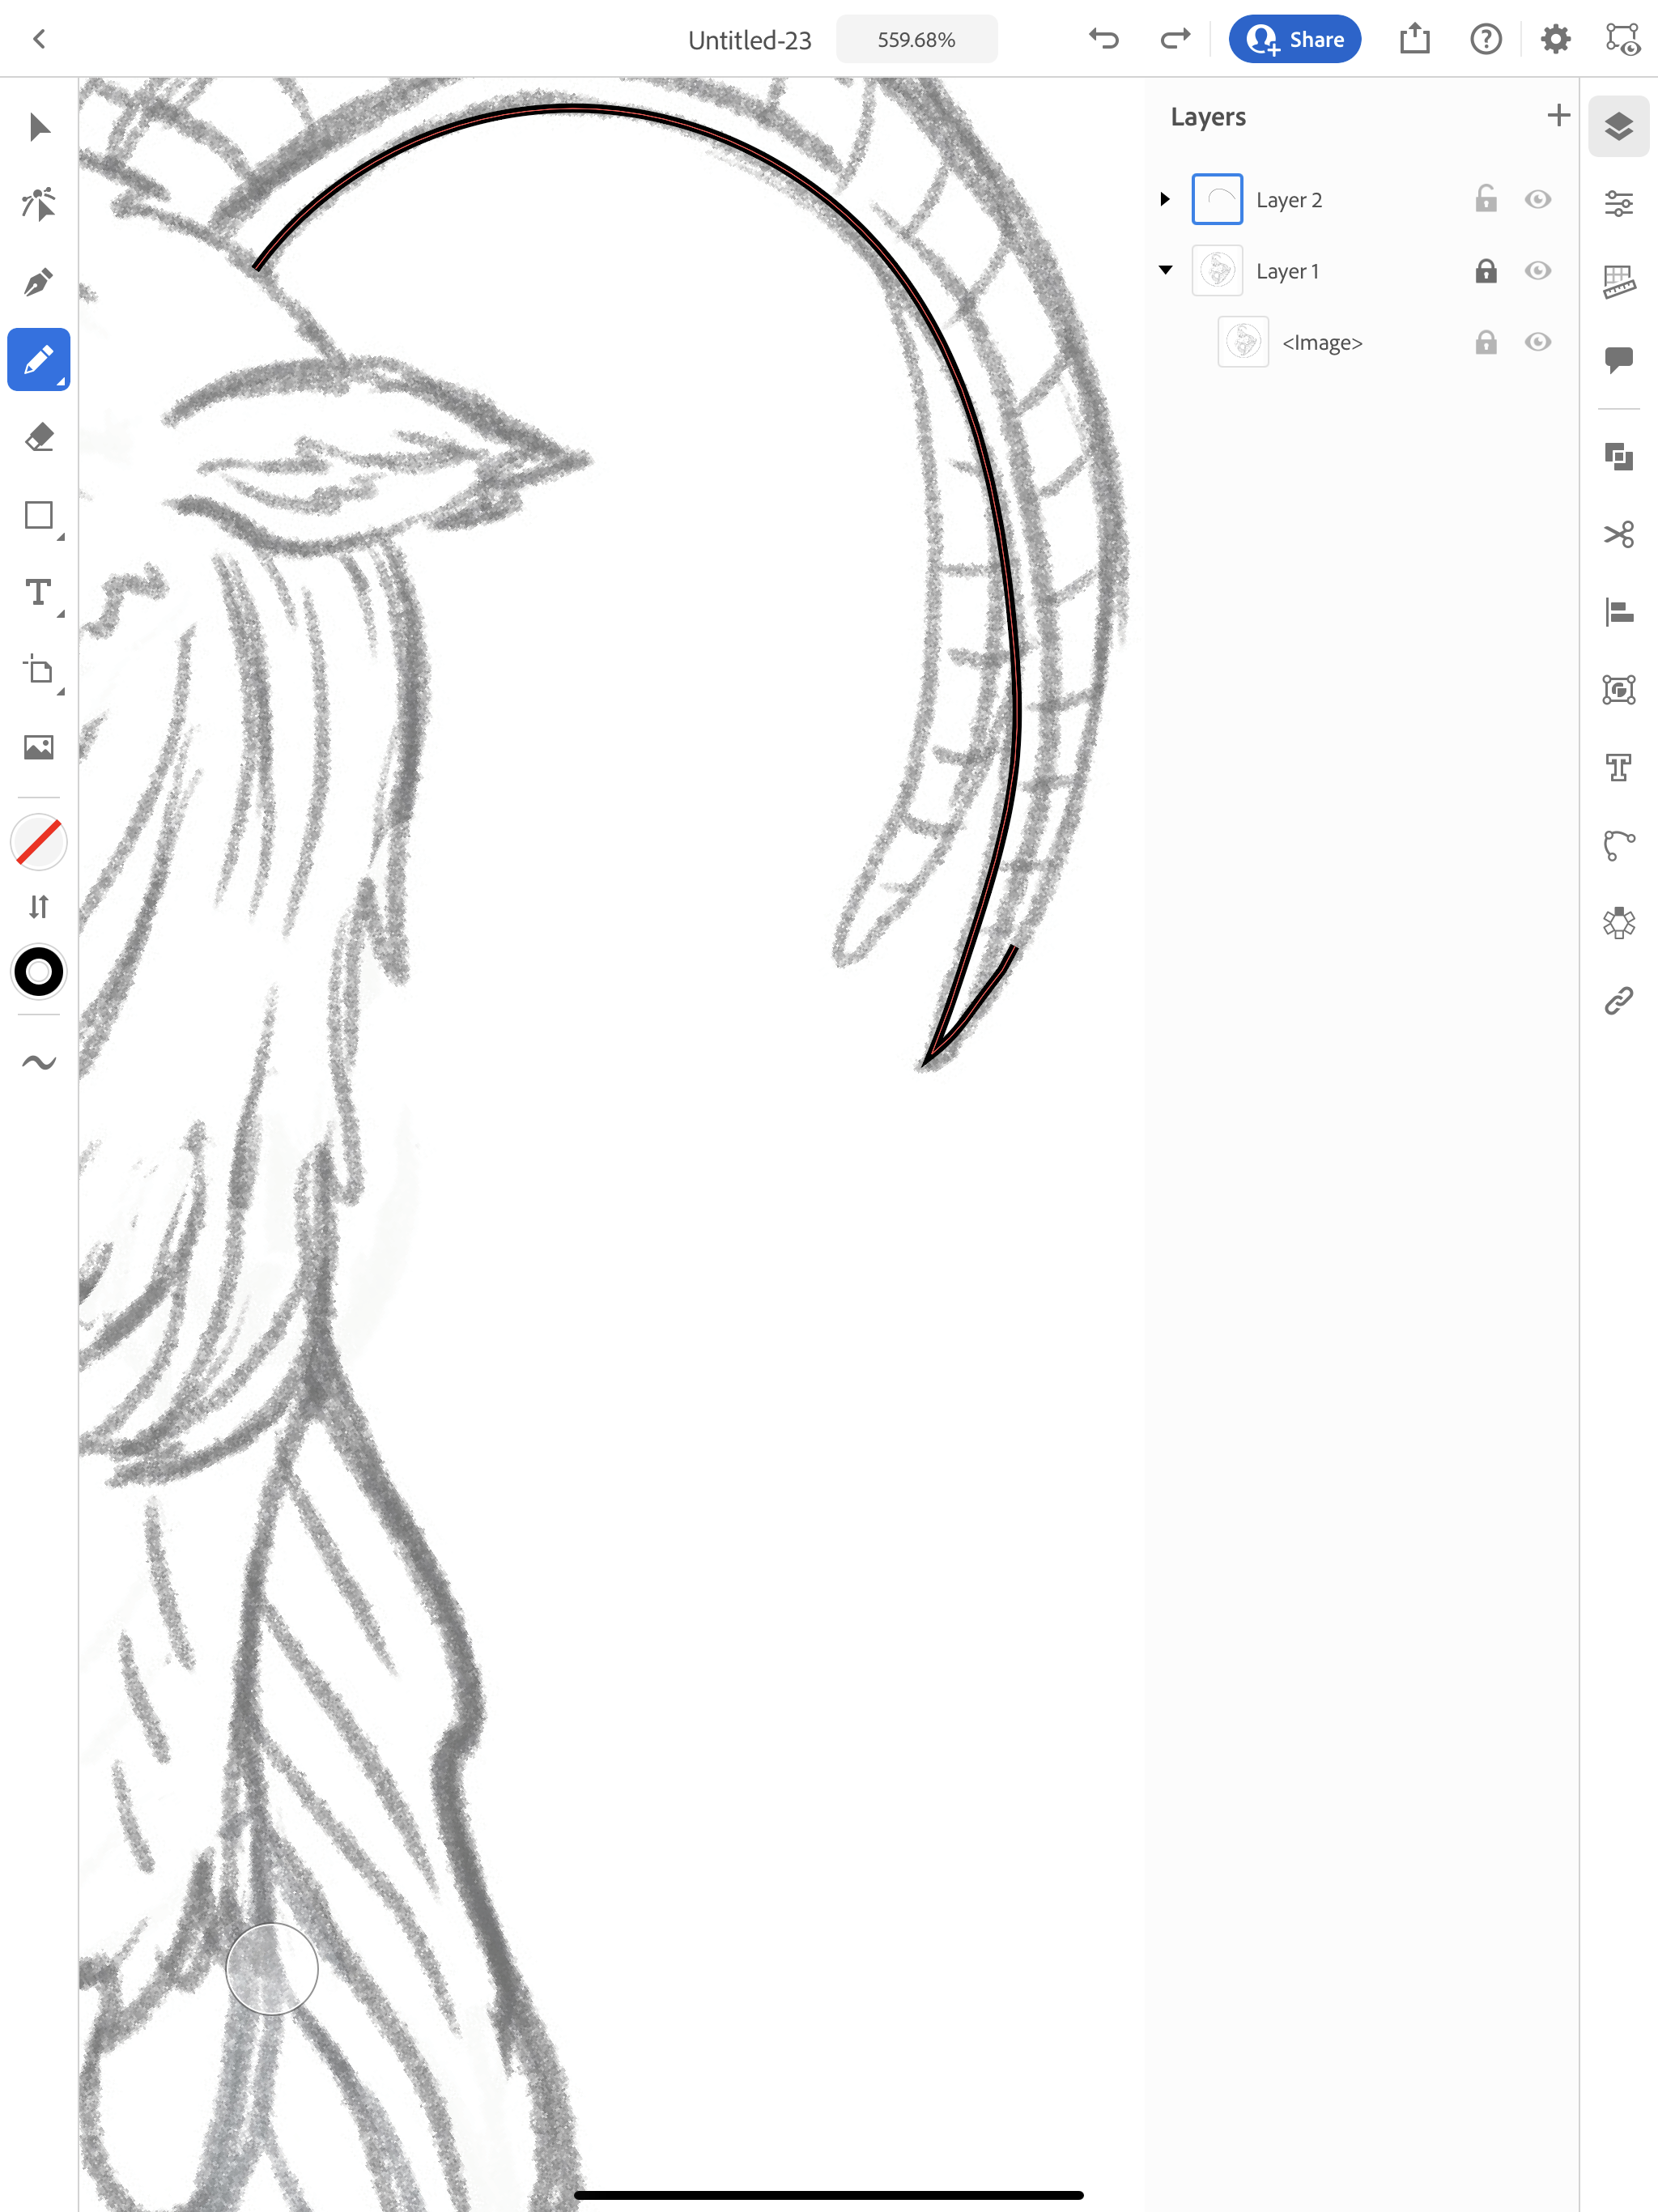
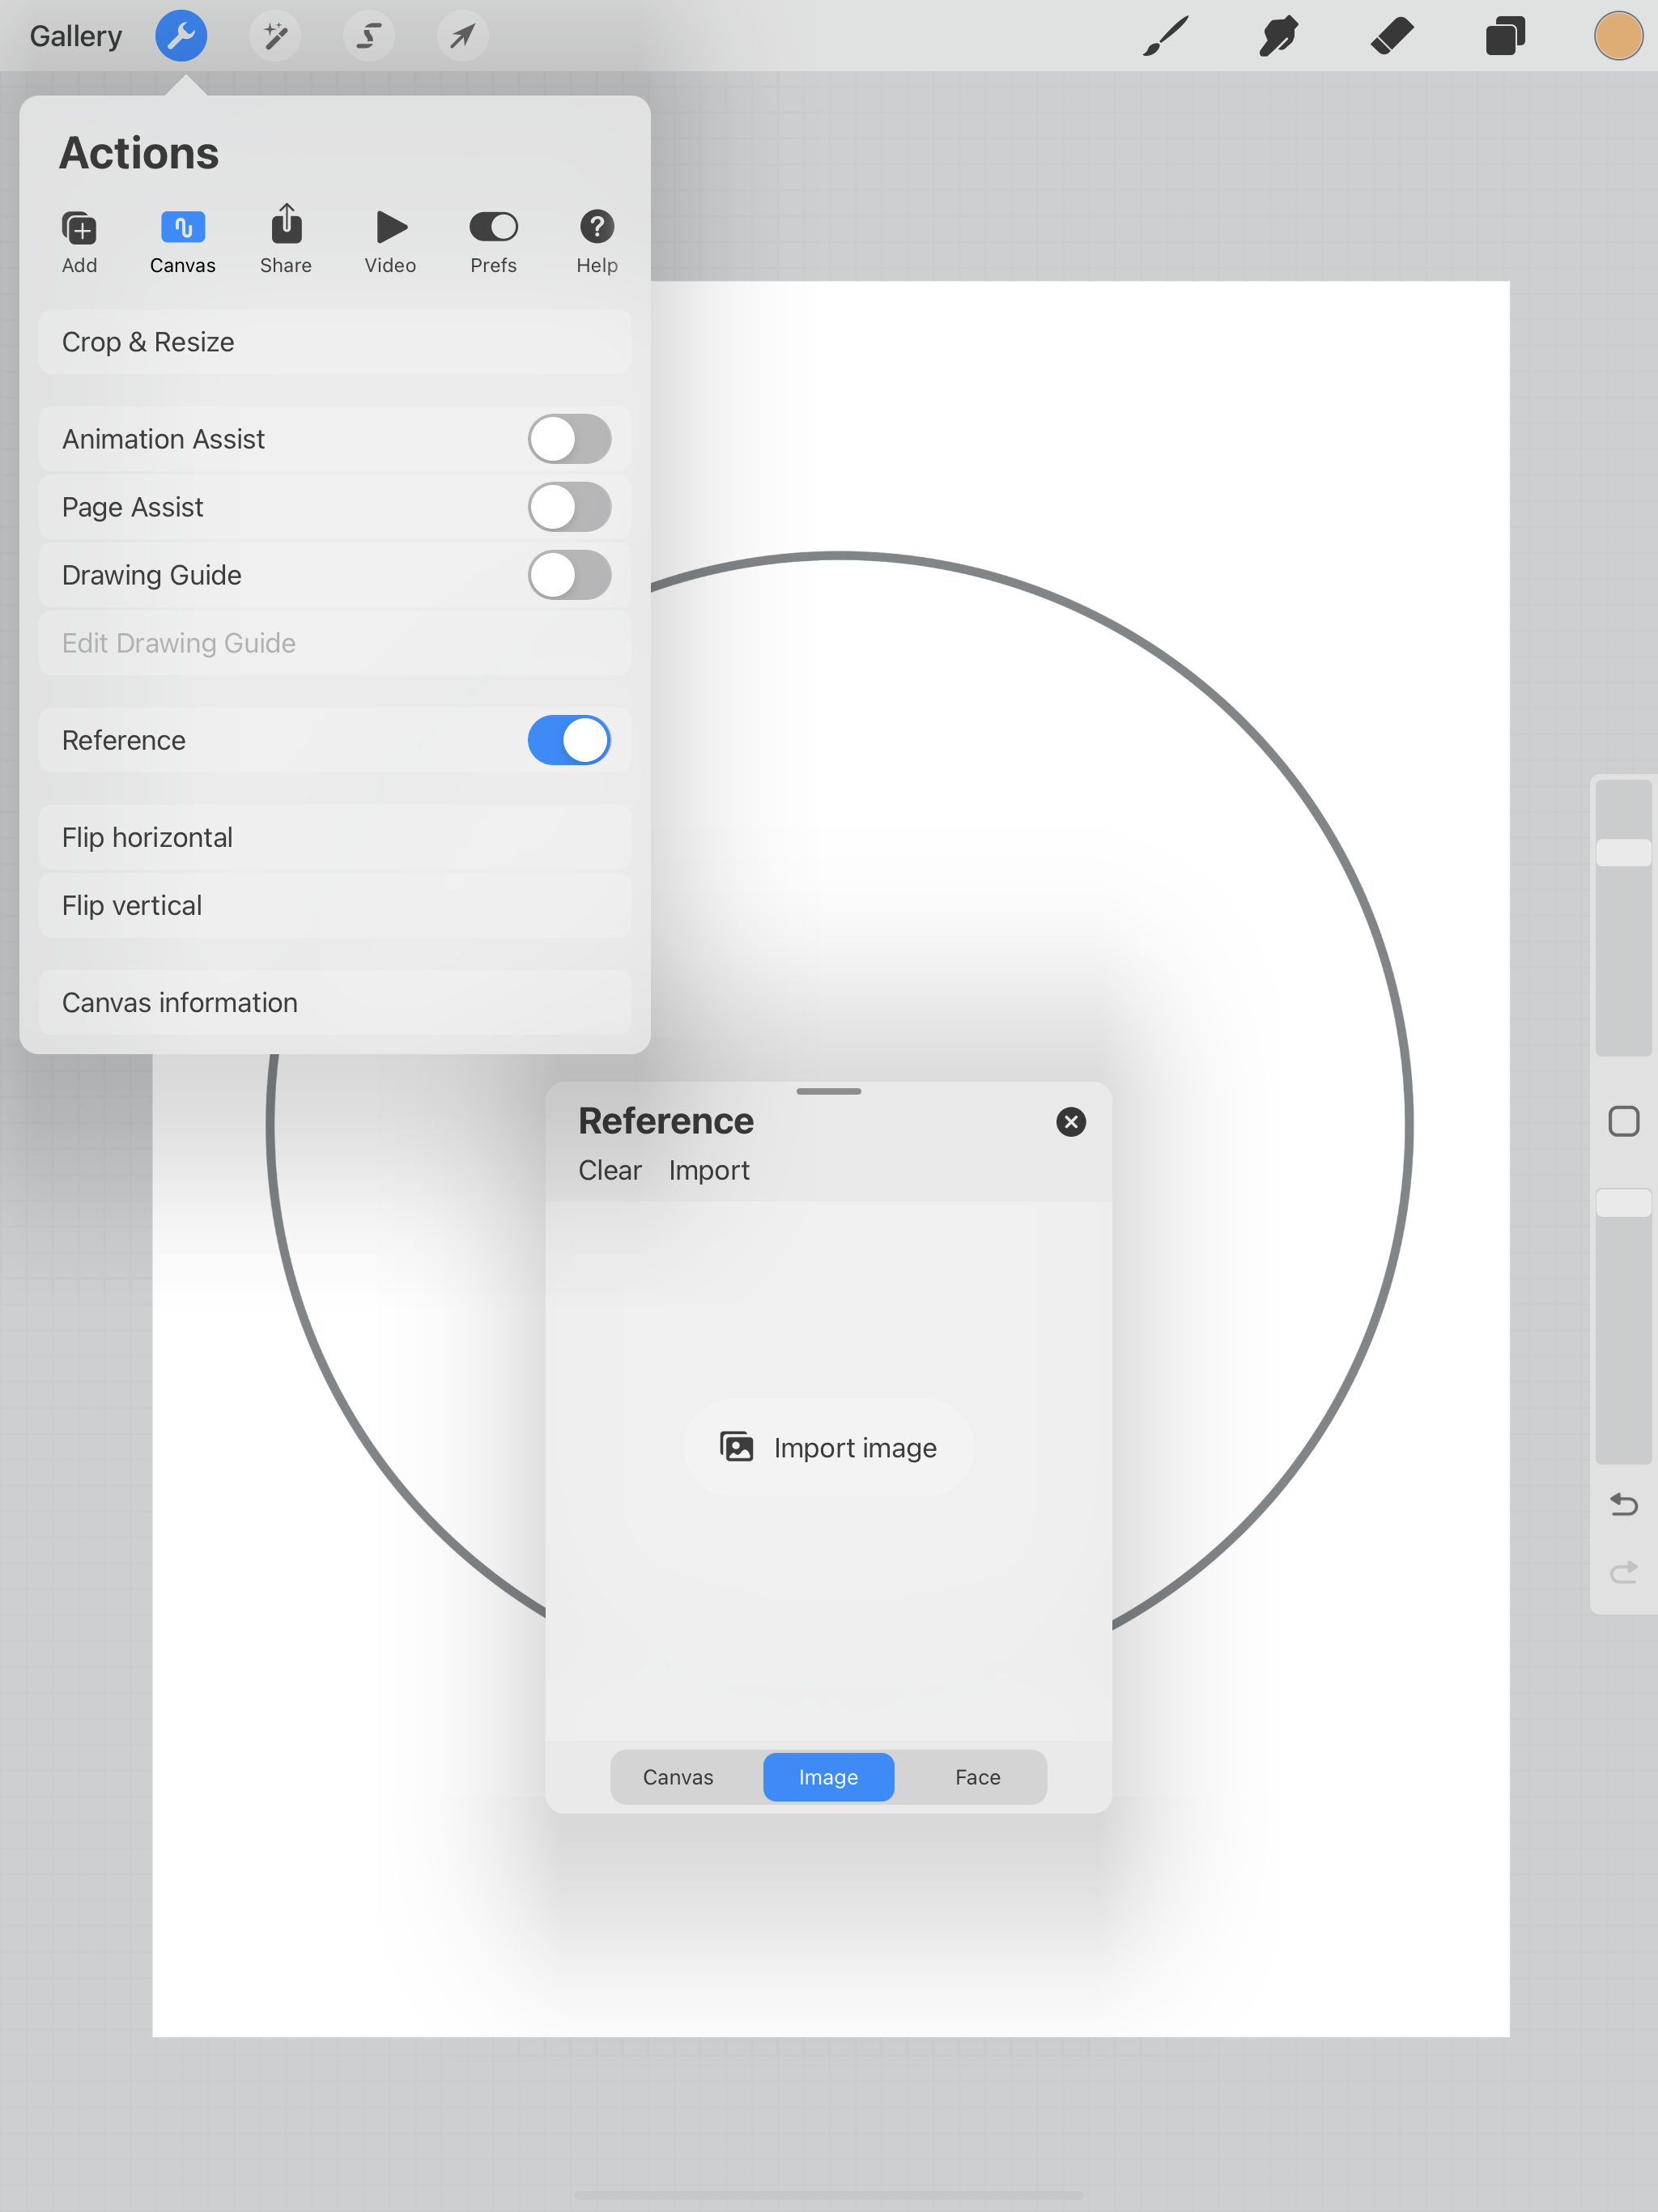
I’ve got my line drawing as the bottom most layer and I have reduced the opacity to 5%, so I can just barely see it. We’re not going to trace it too precisely, this painting is going to be a little looser than the paintings from the last 2 weeks.
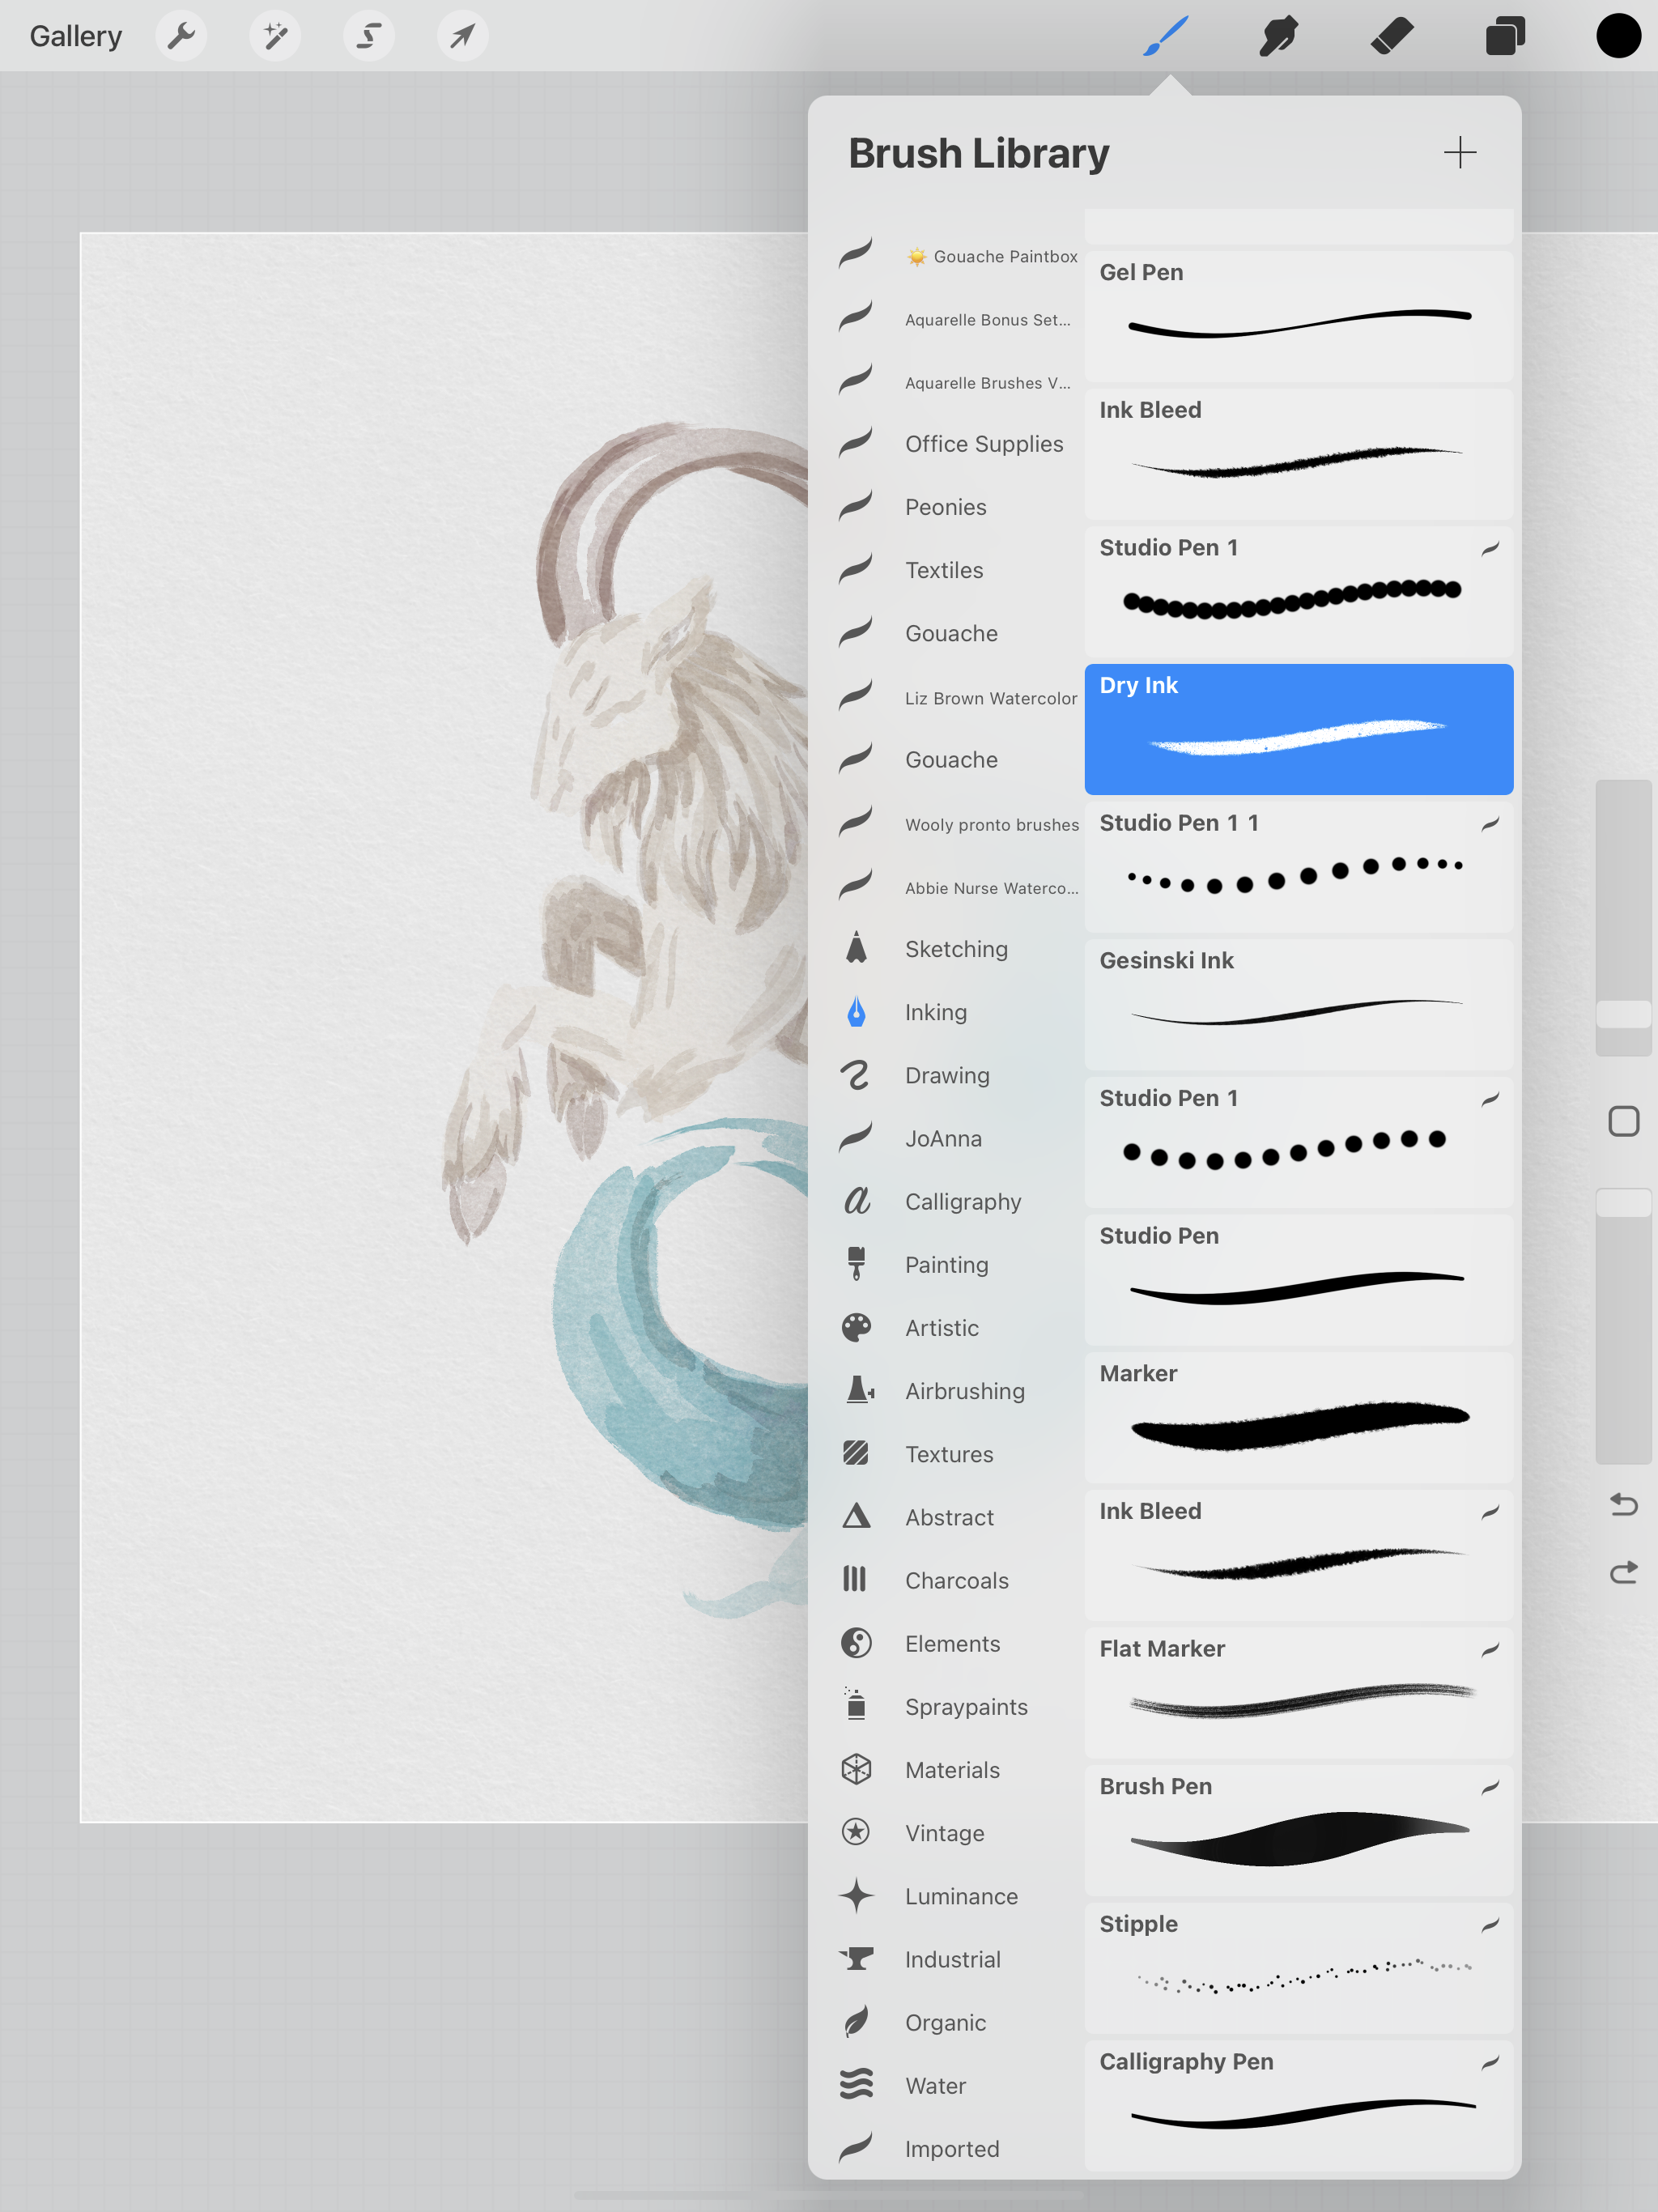
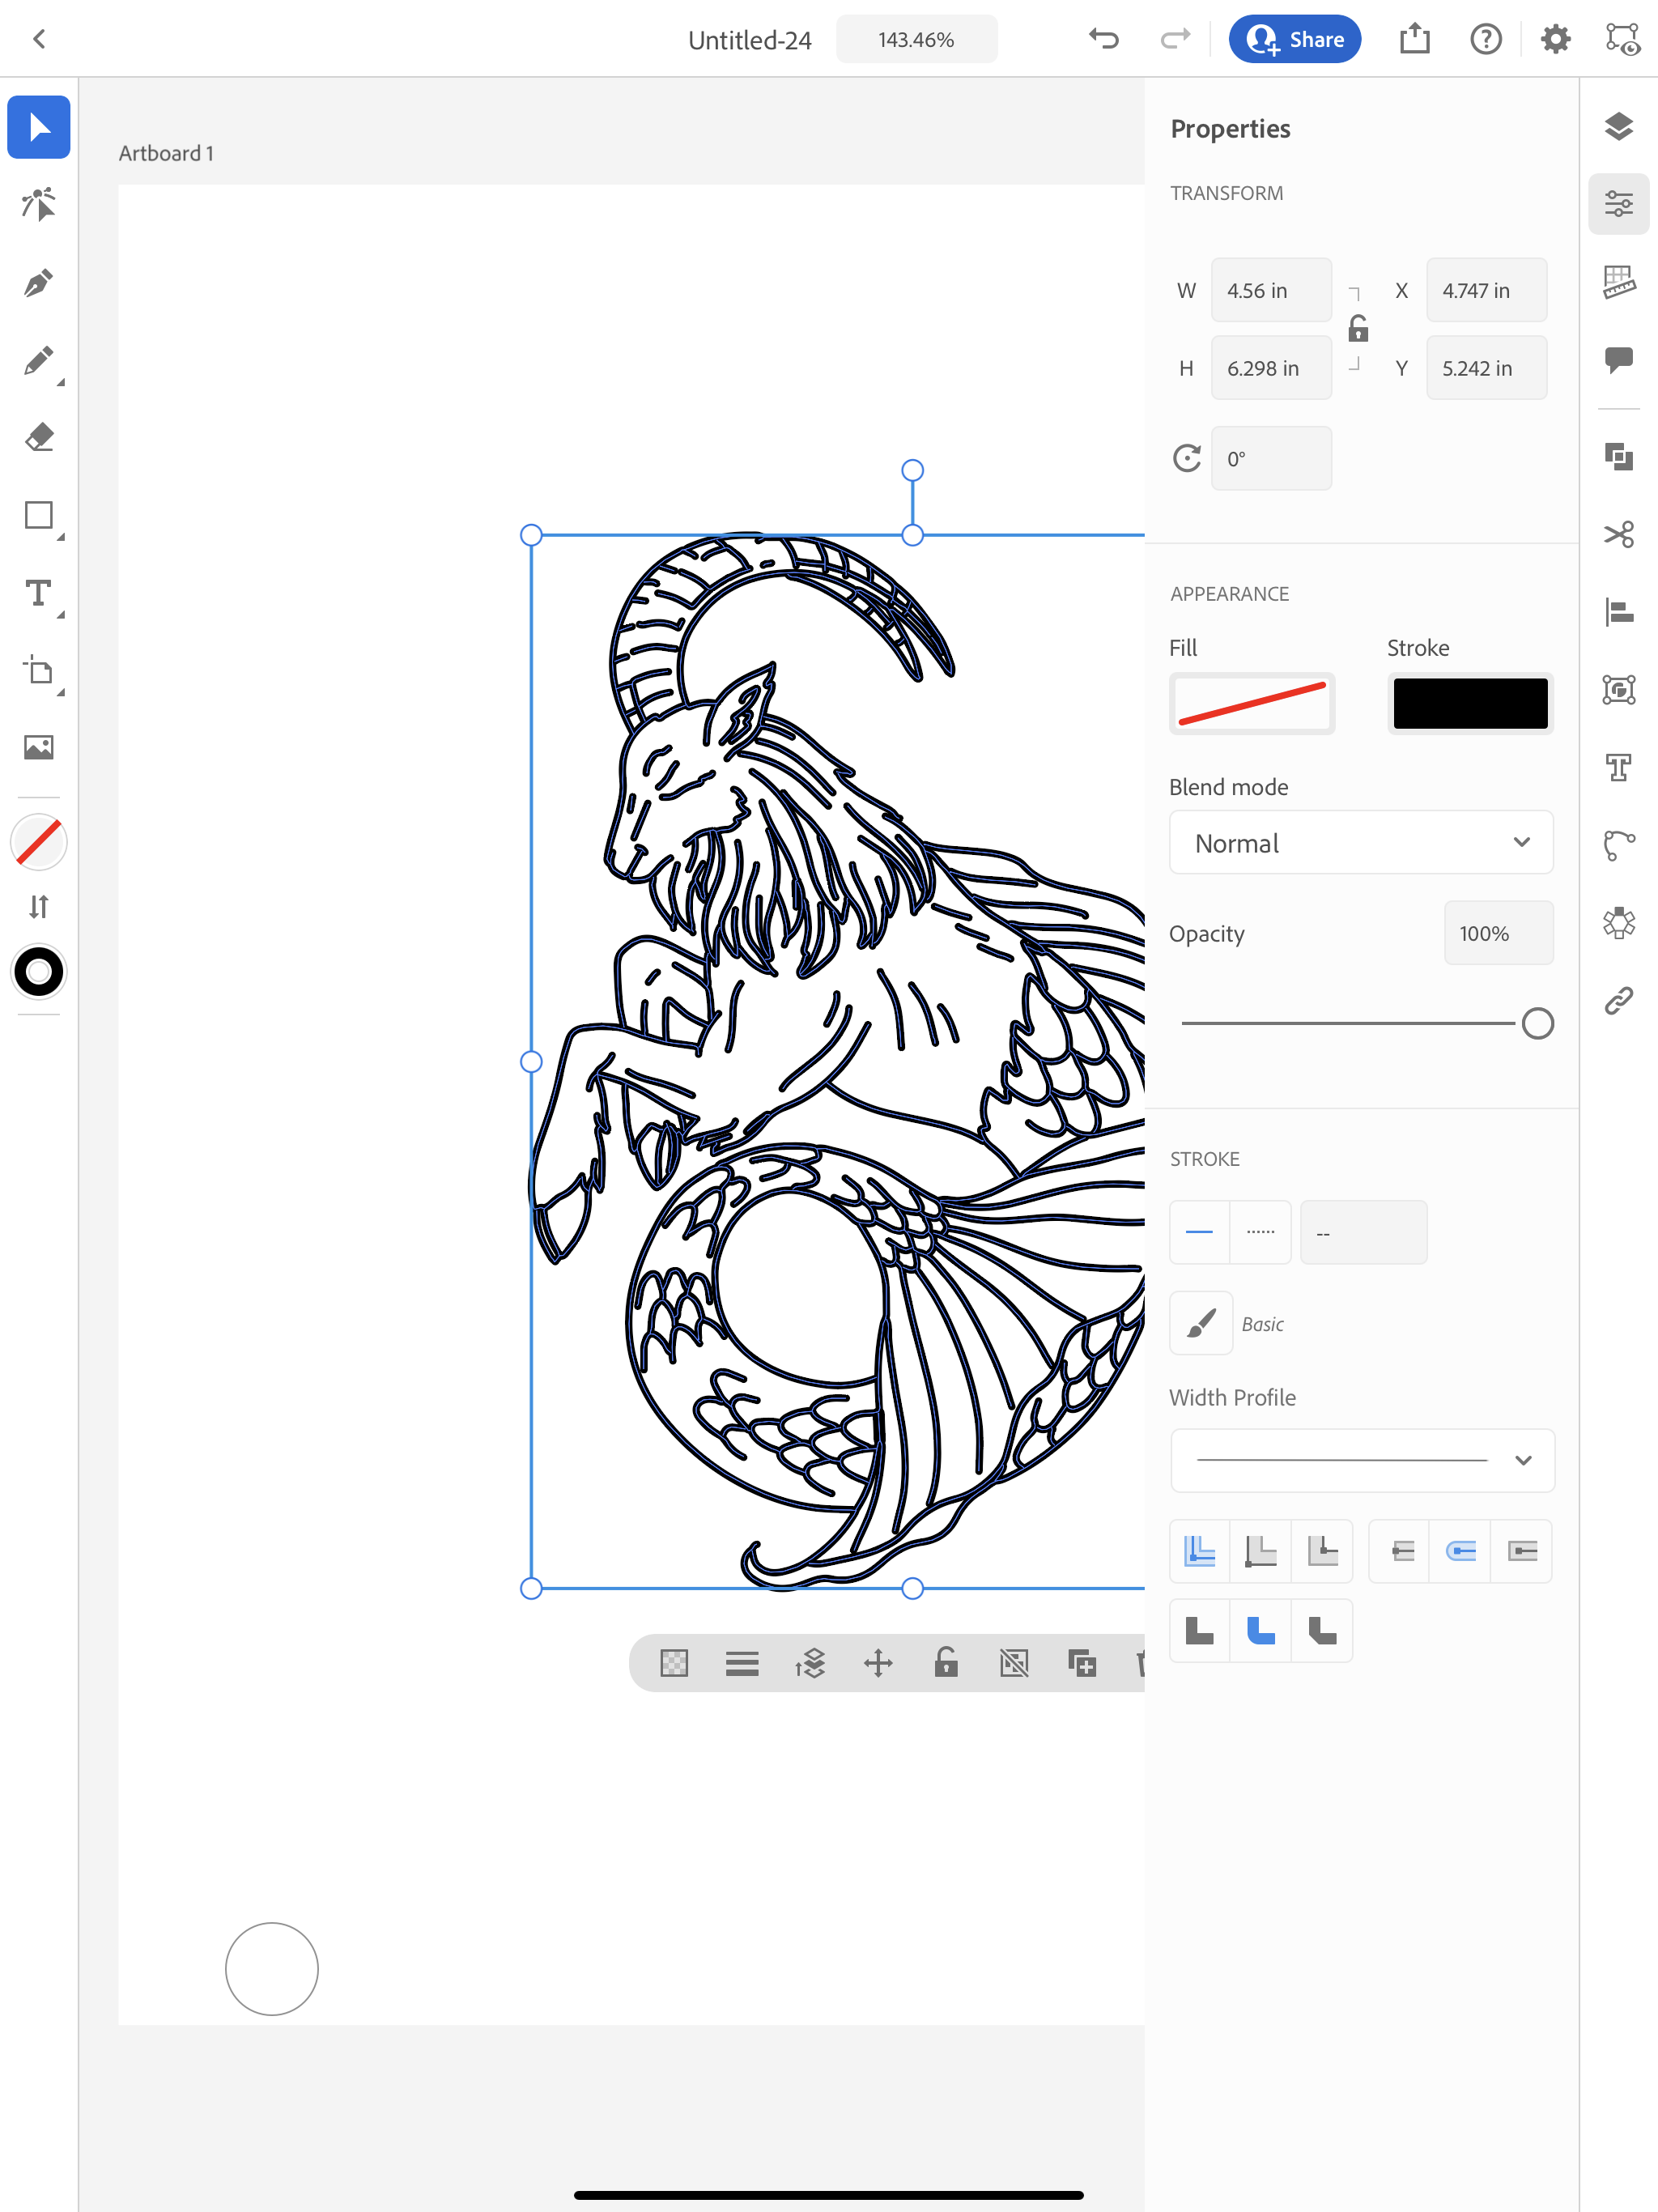
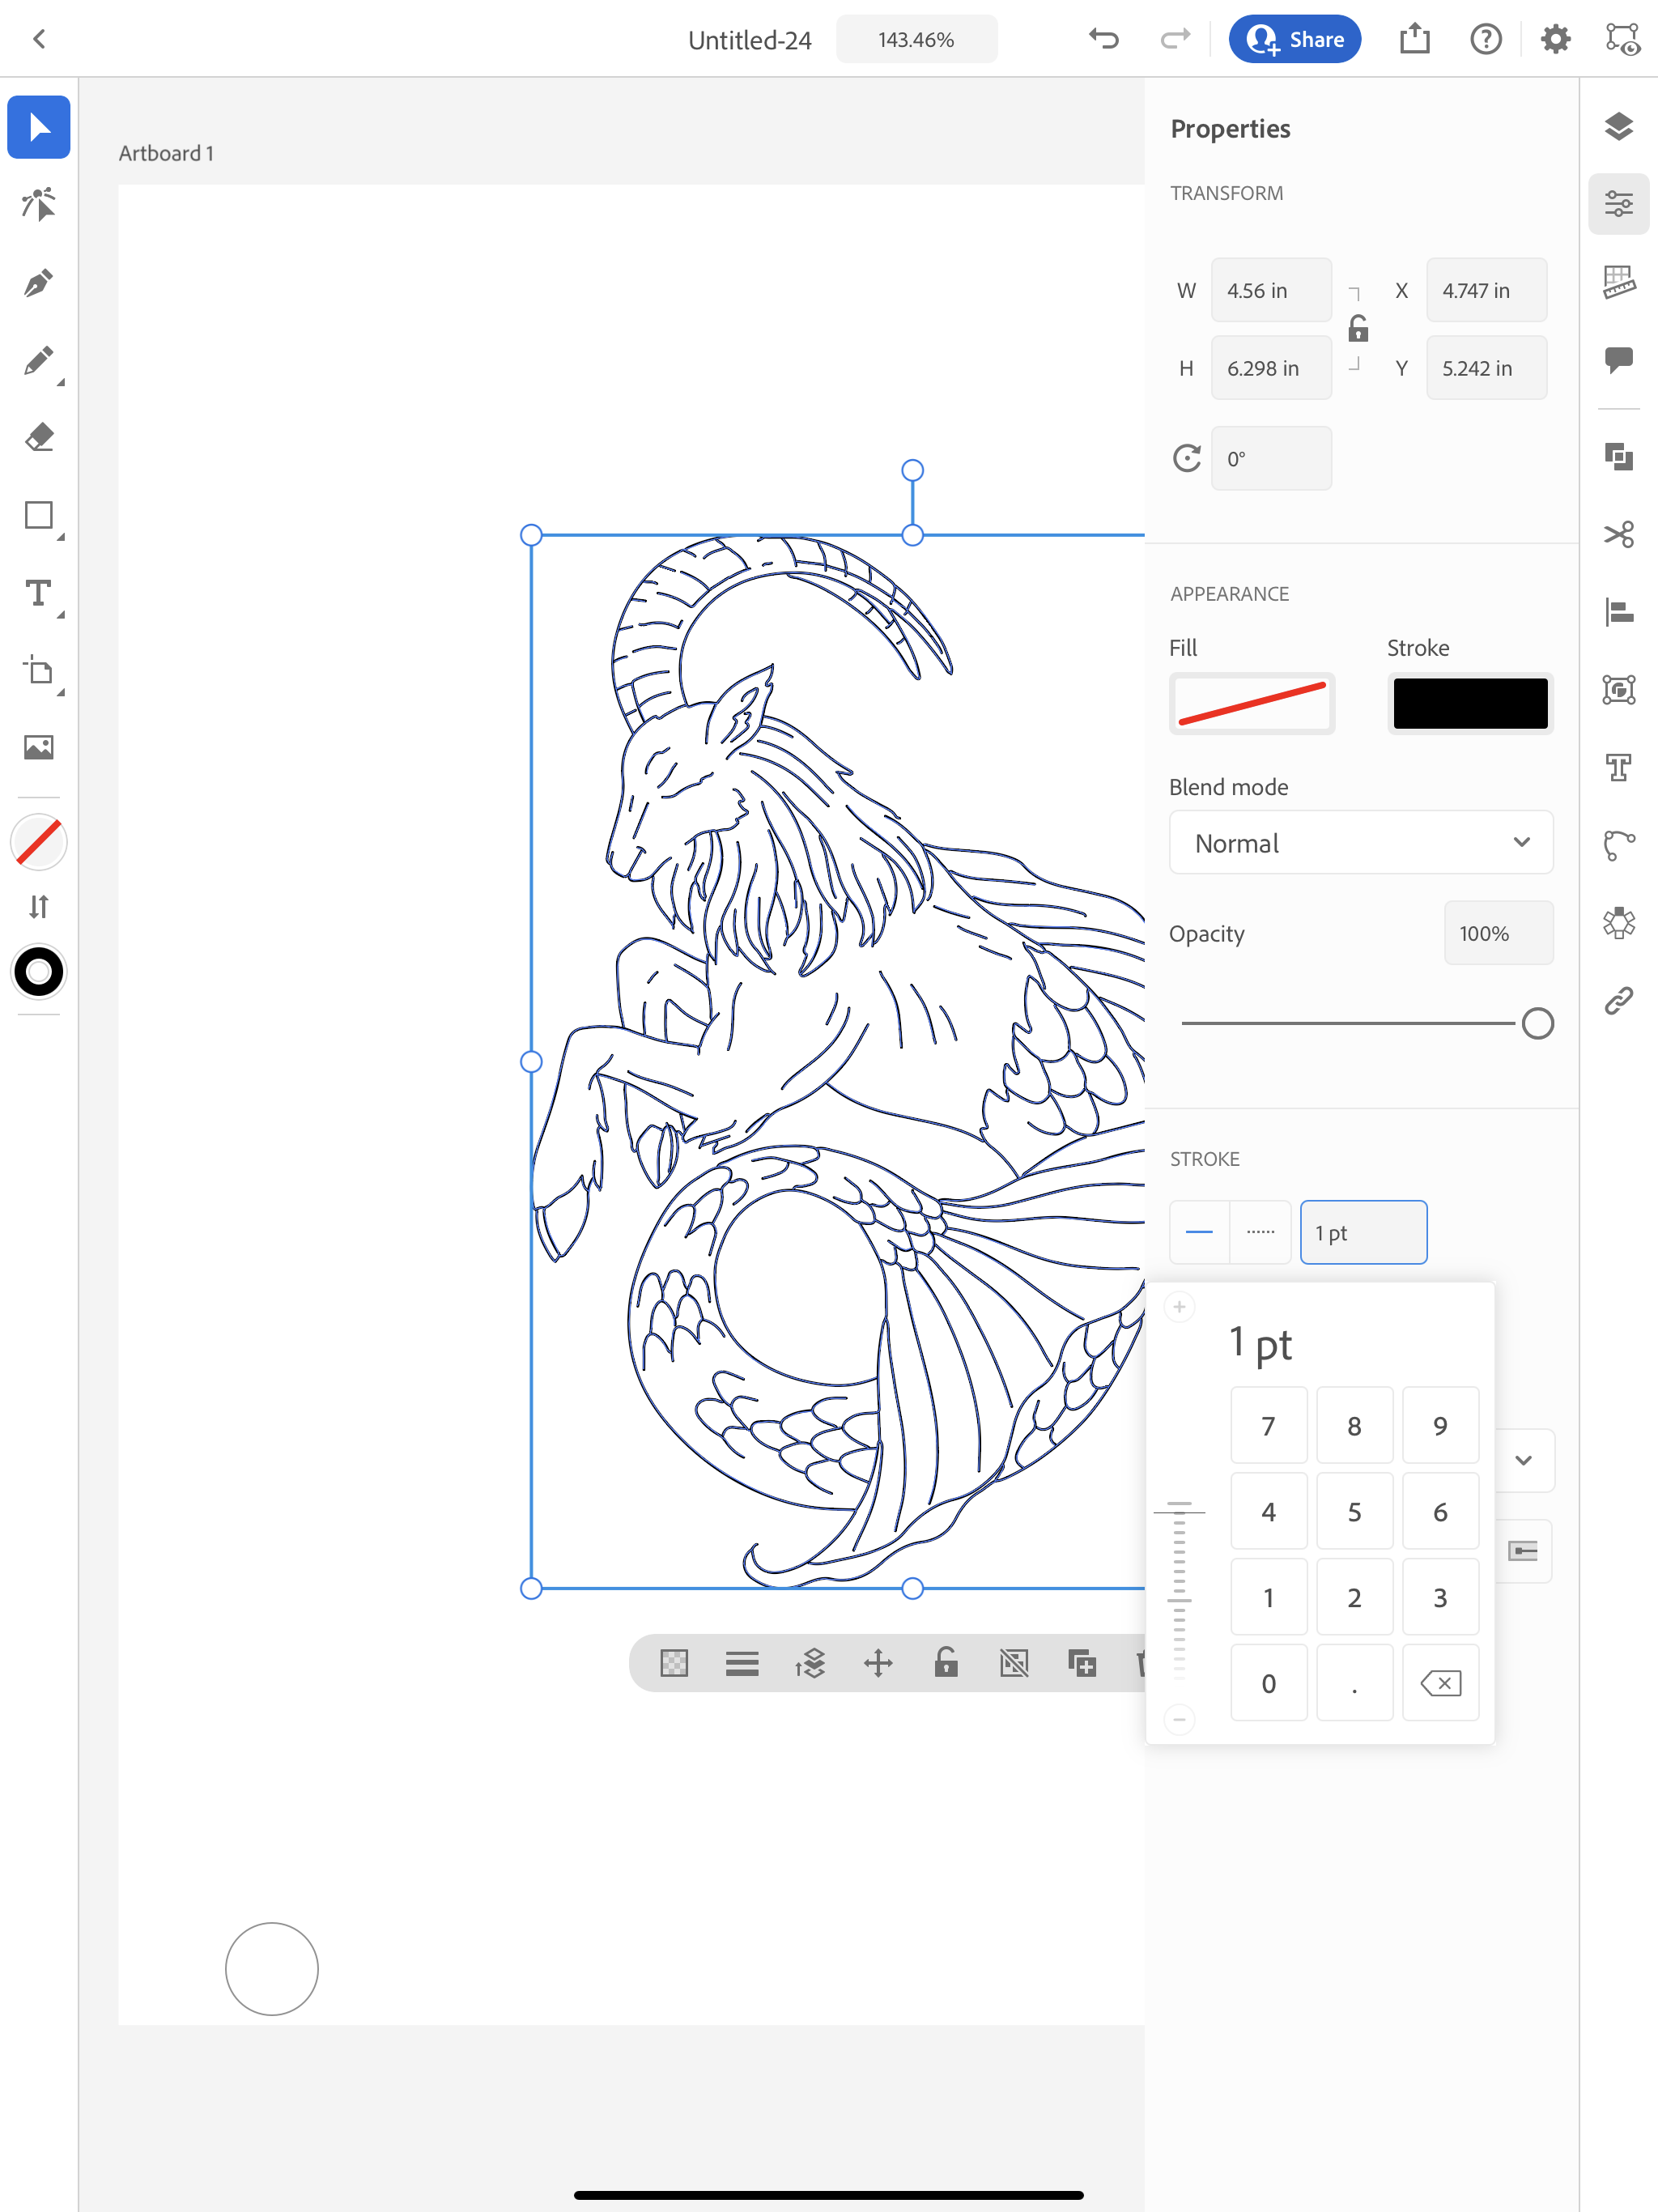
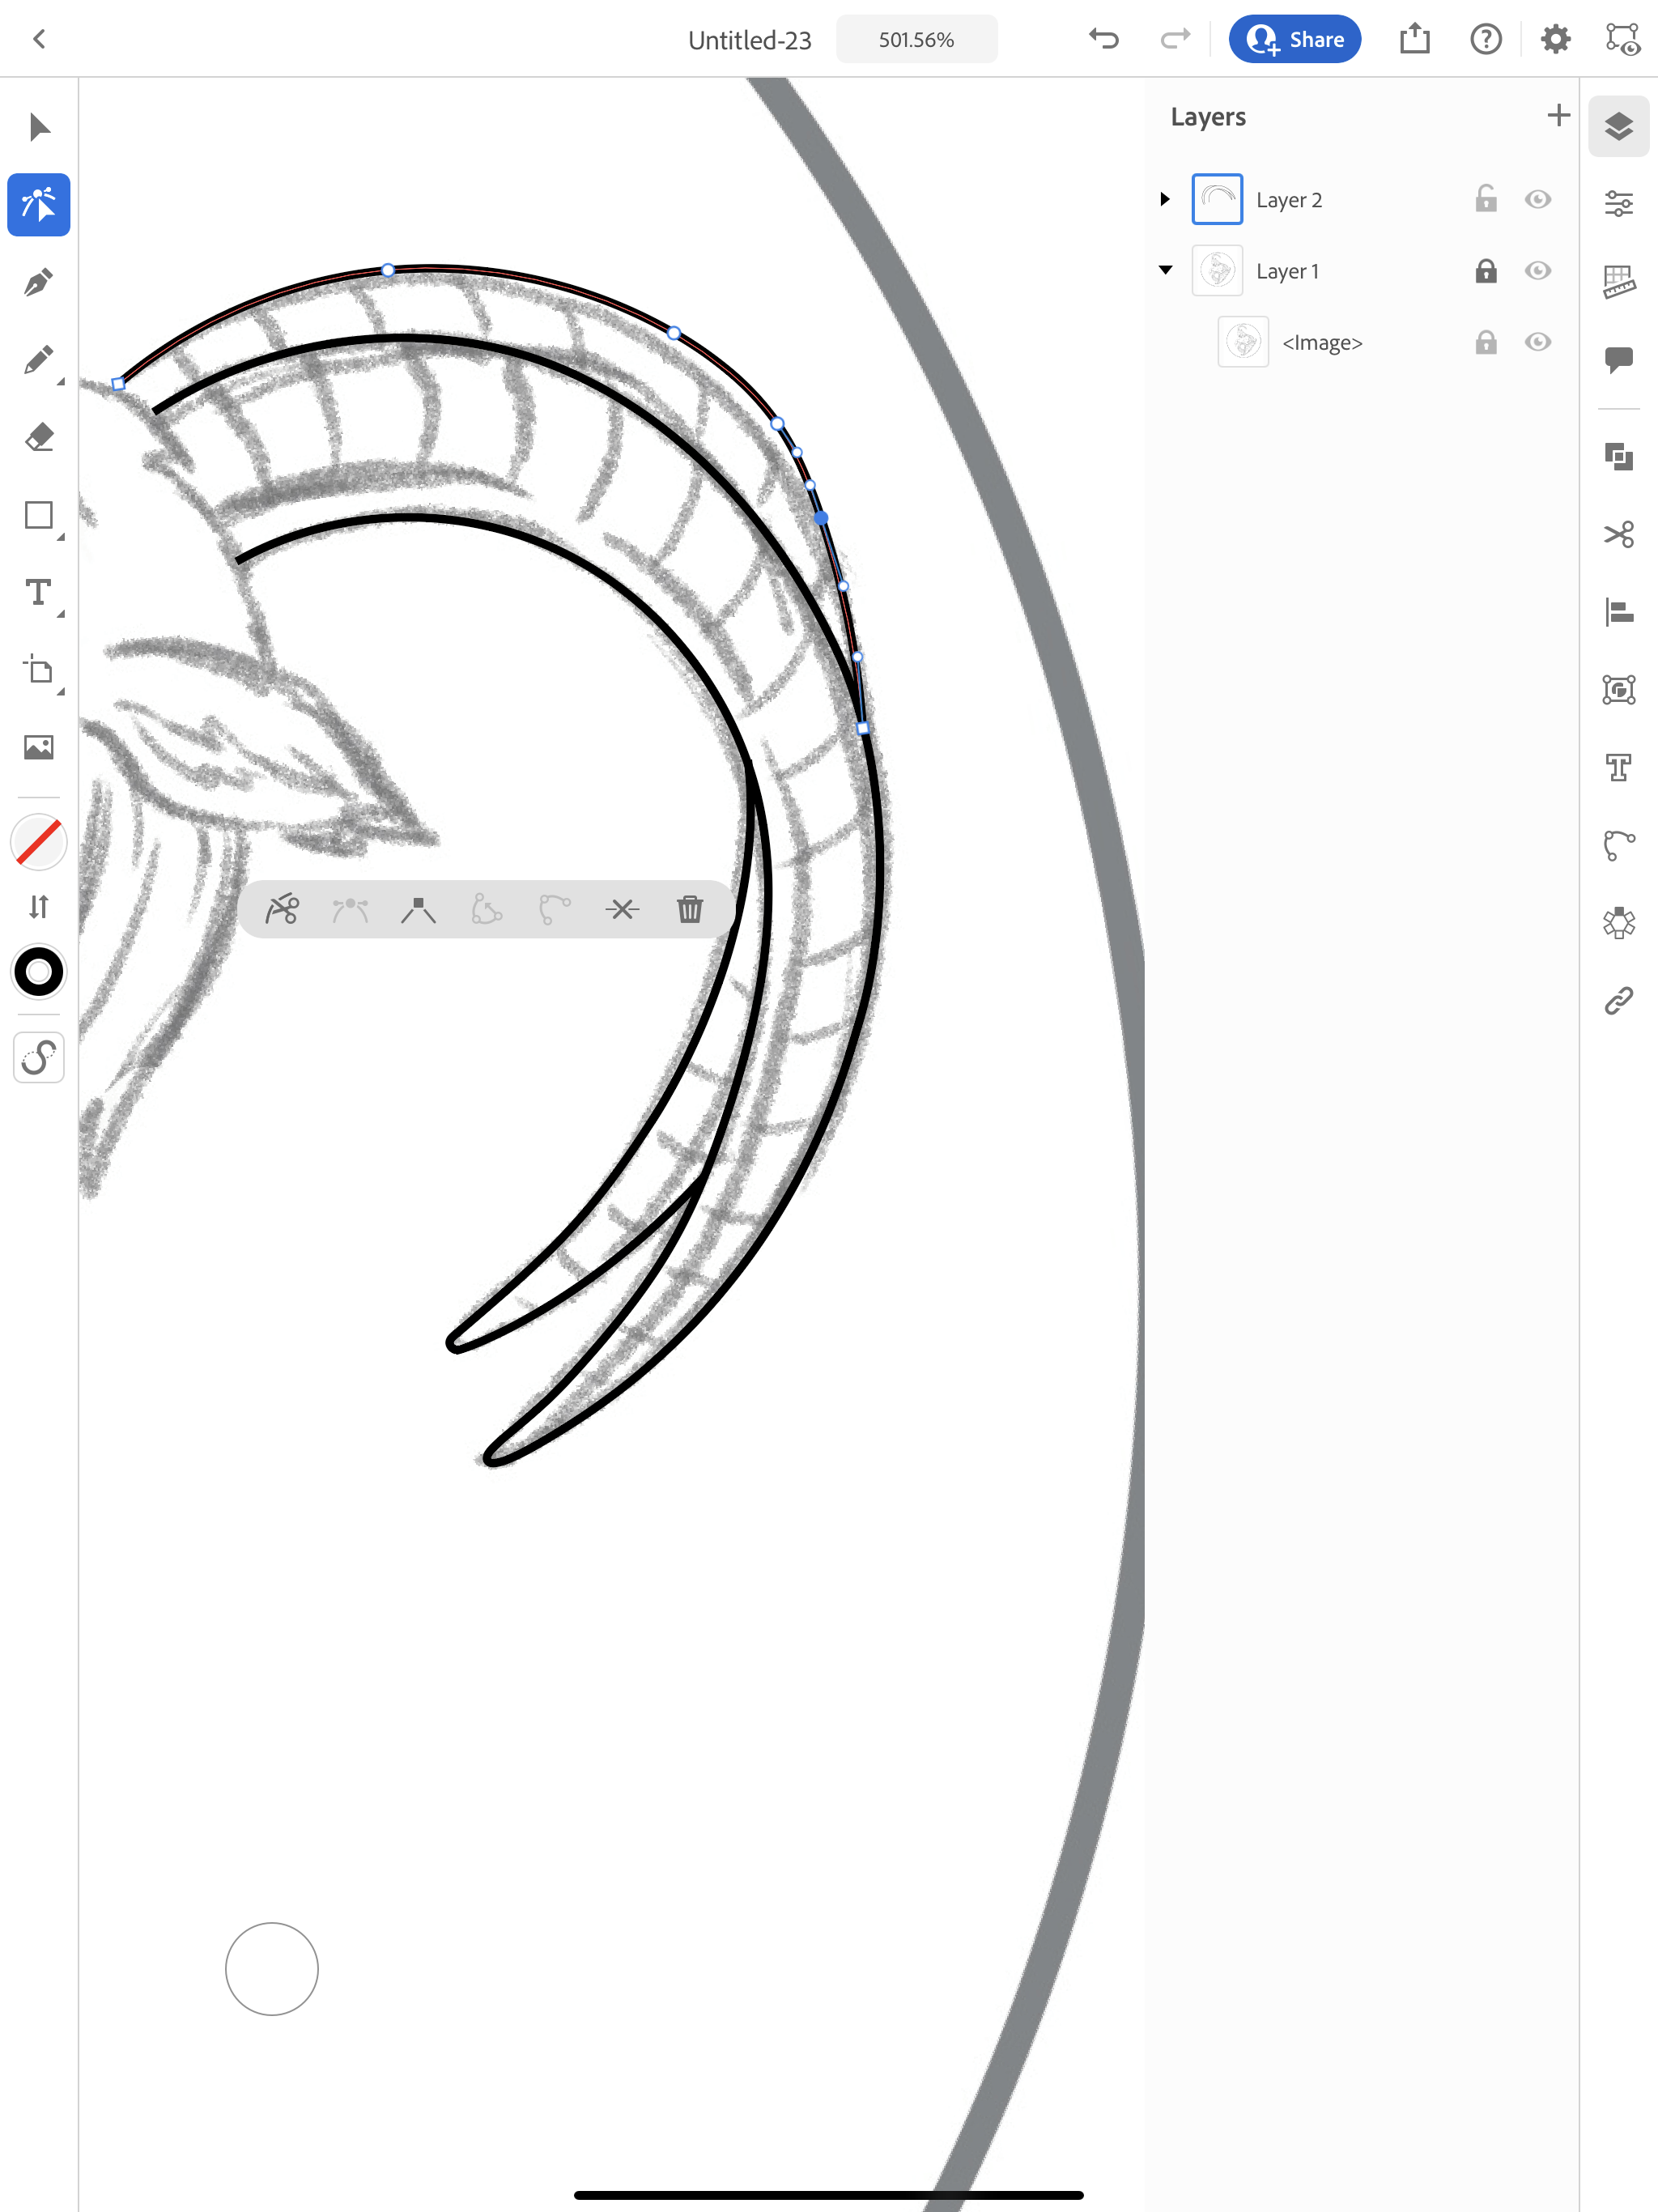
I quickly sketched my lines in a dark navy blue color with the Dry Ink brush that is included with Procreate. You can find it under the Inking brushes.
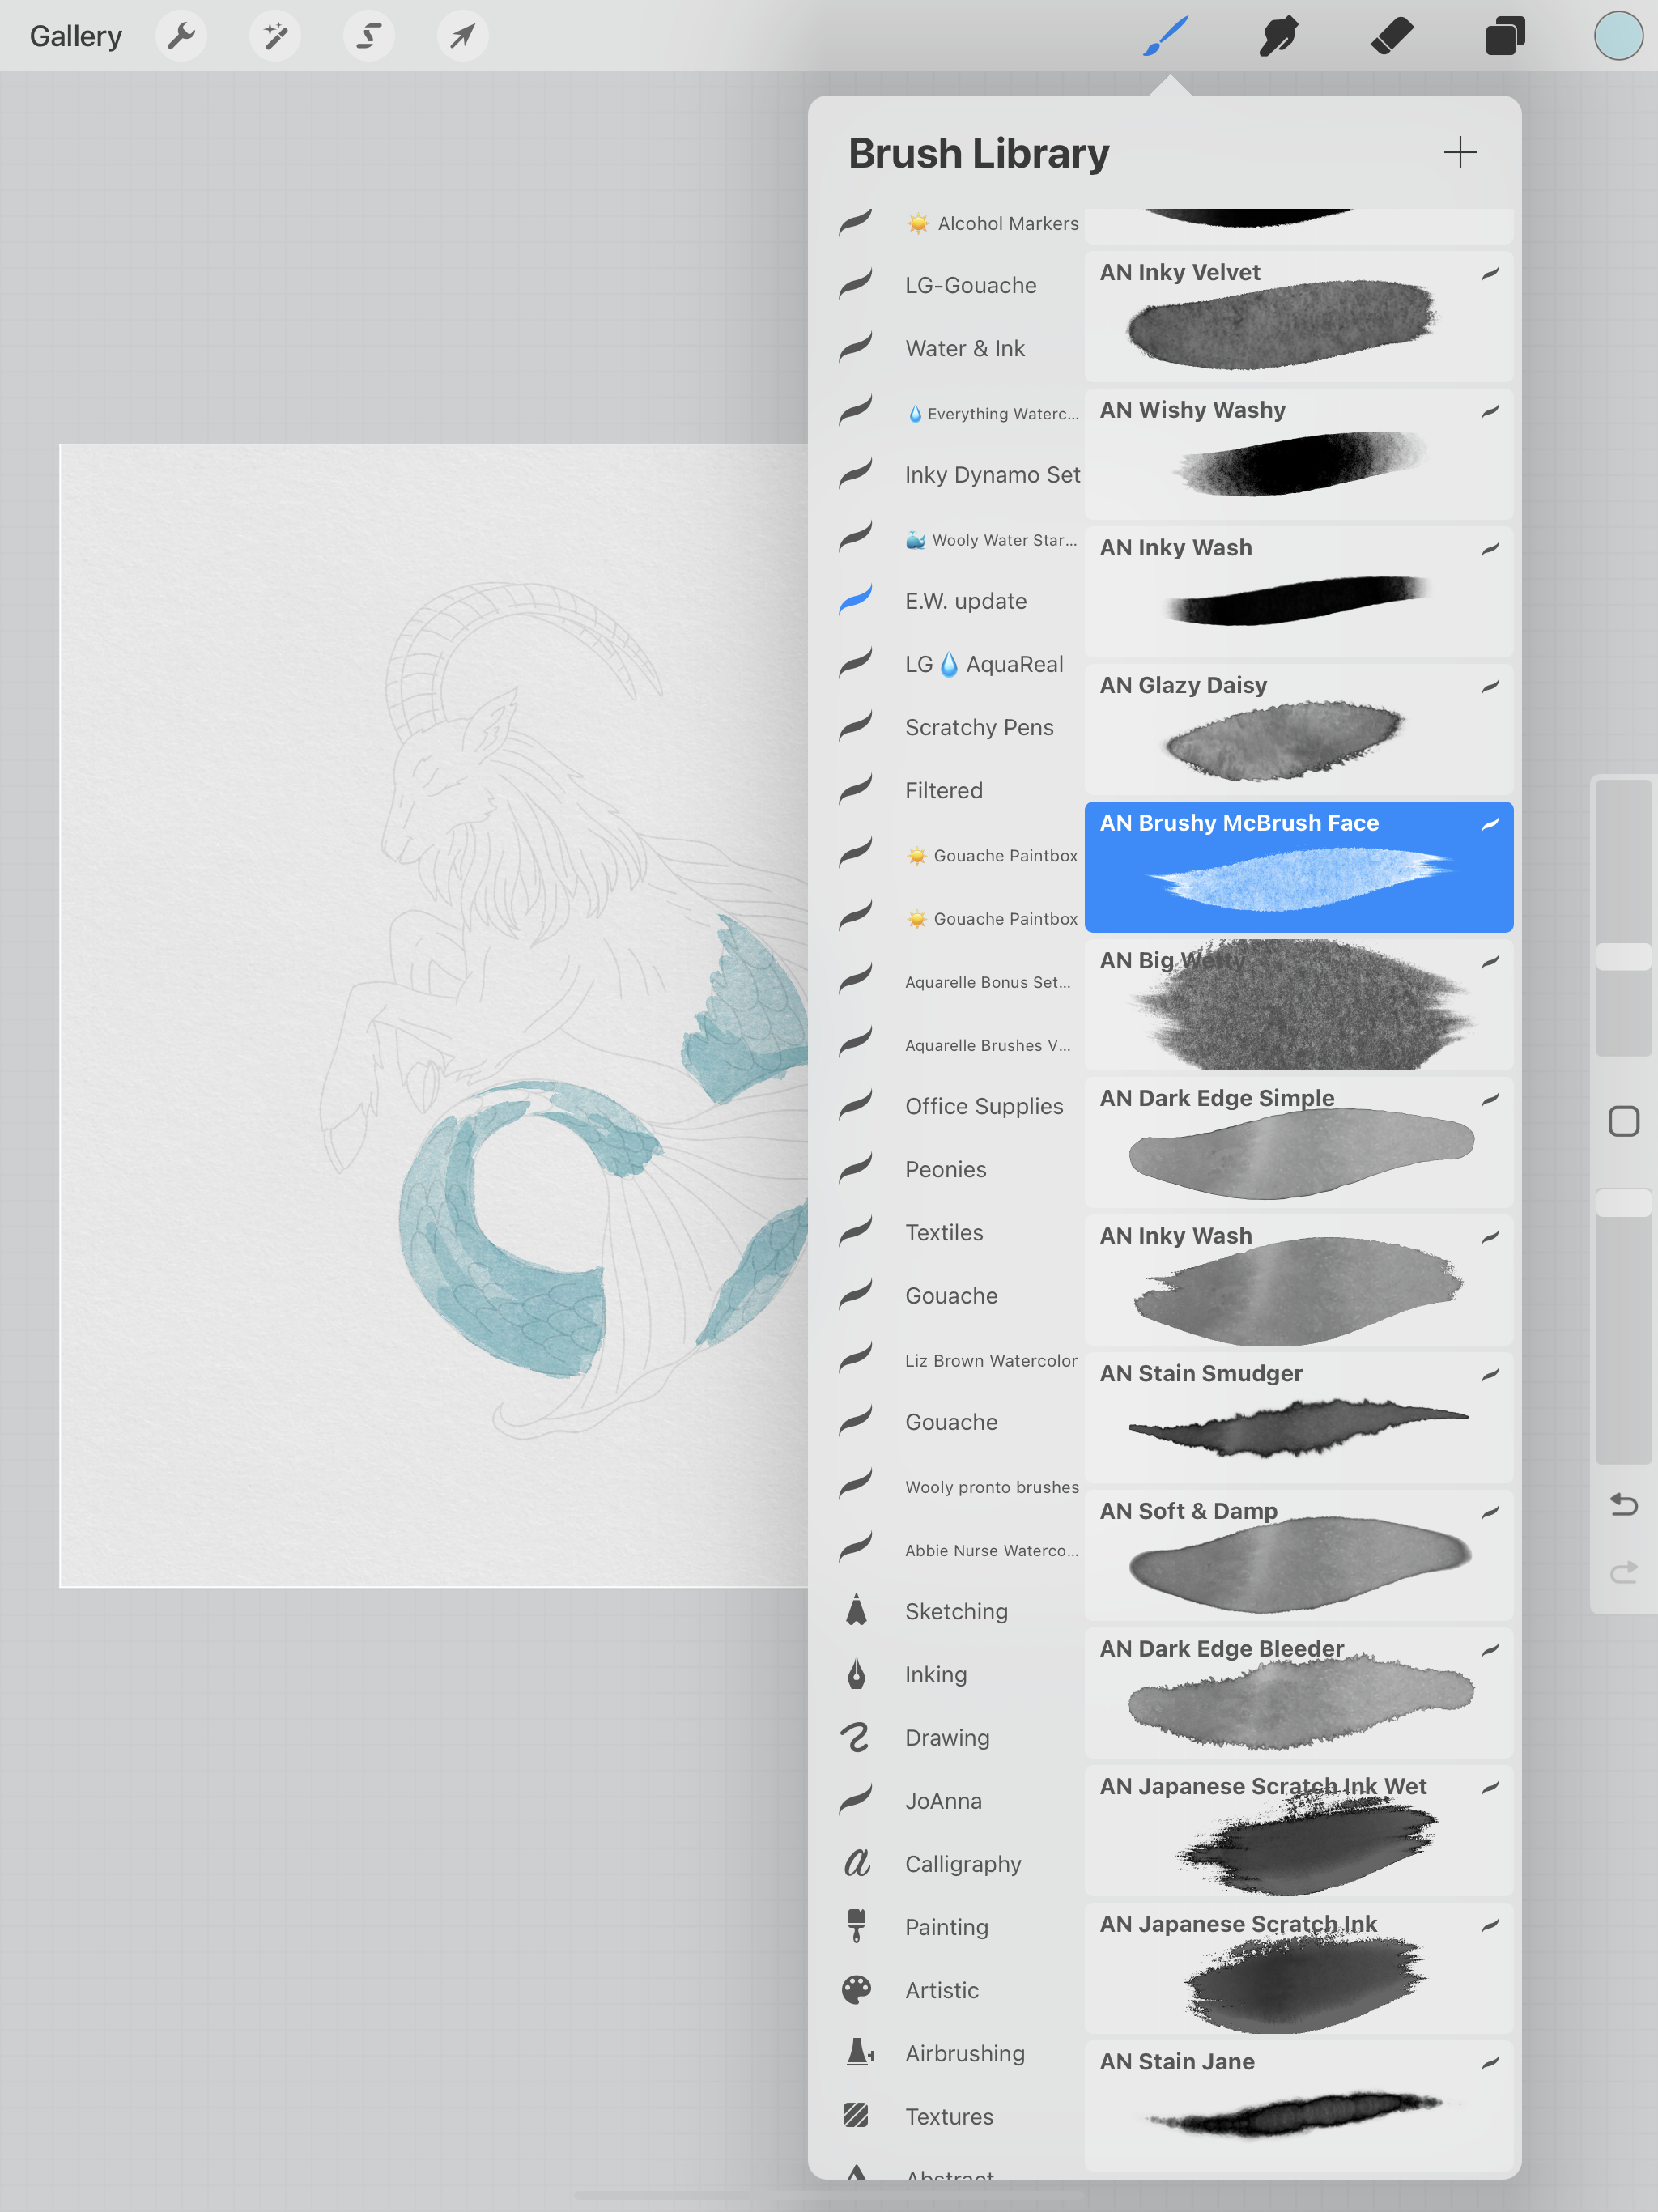
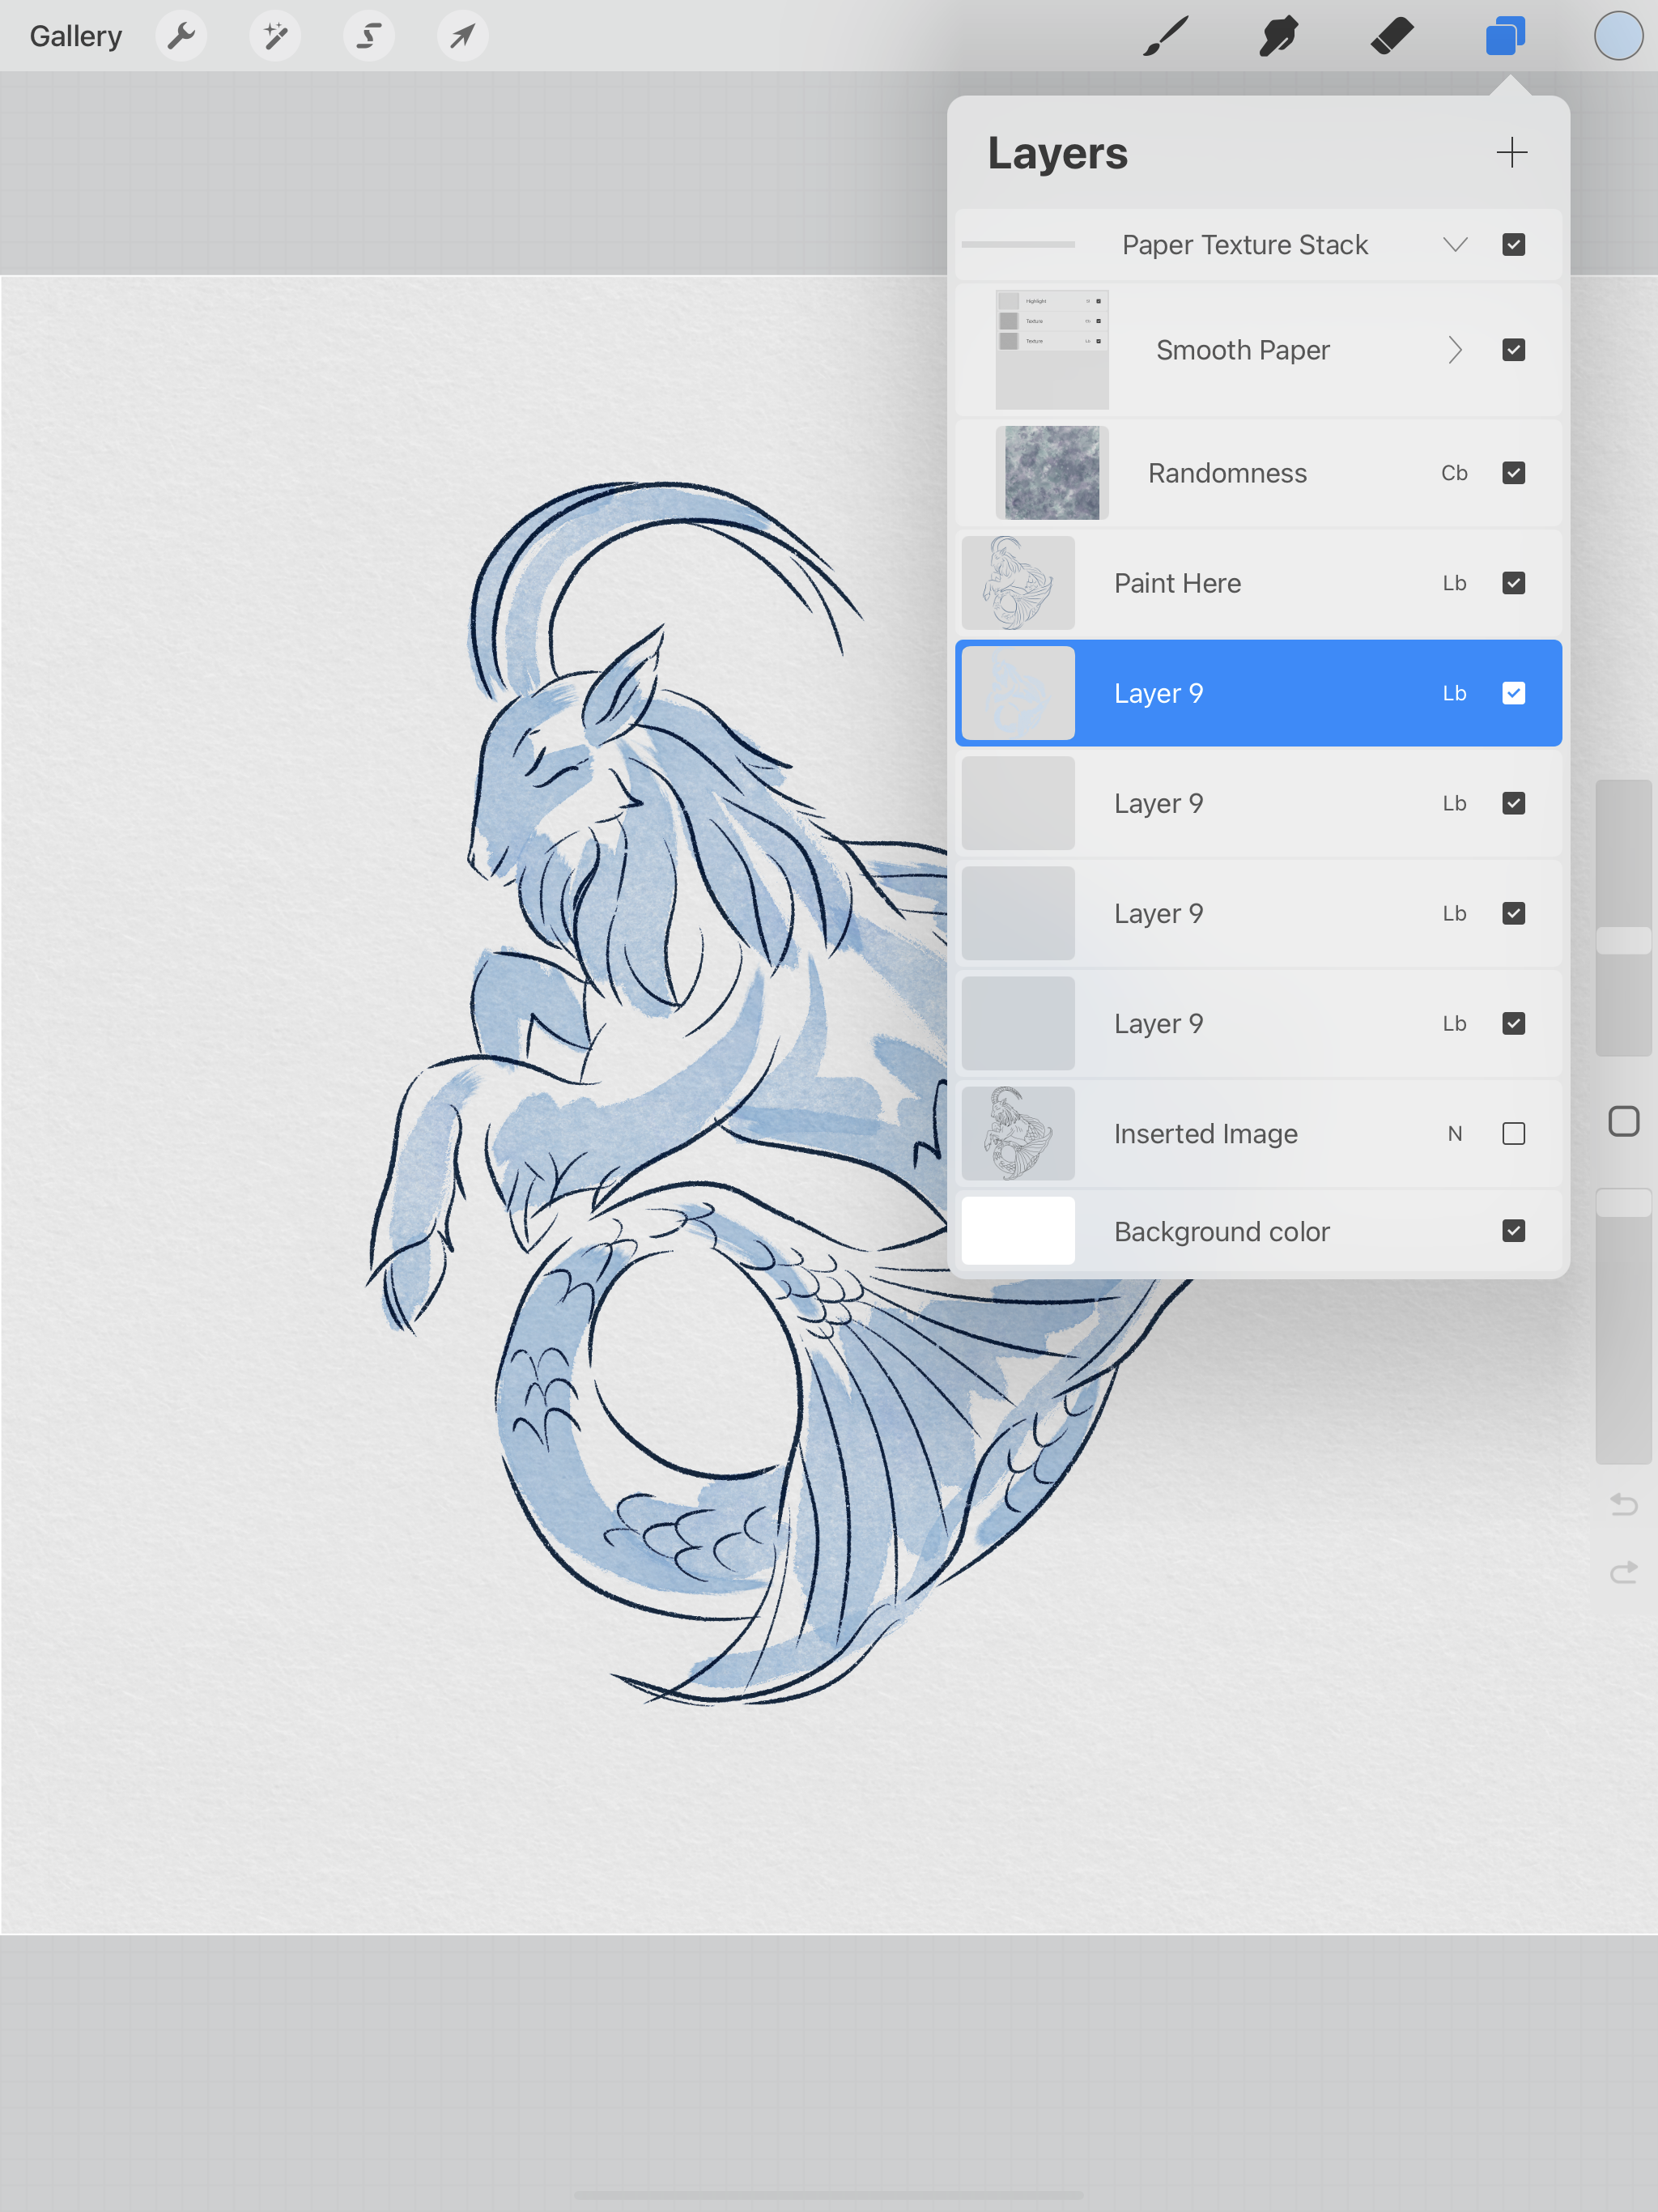
Then I’m going to create a new layer underneath, set it to Linear Burn and use the Brushy McBrush Face from the Everything Watercolor brushes. I’m using a light blue color for the whole painting, I want this version to be more monochromatic.
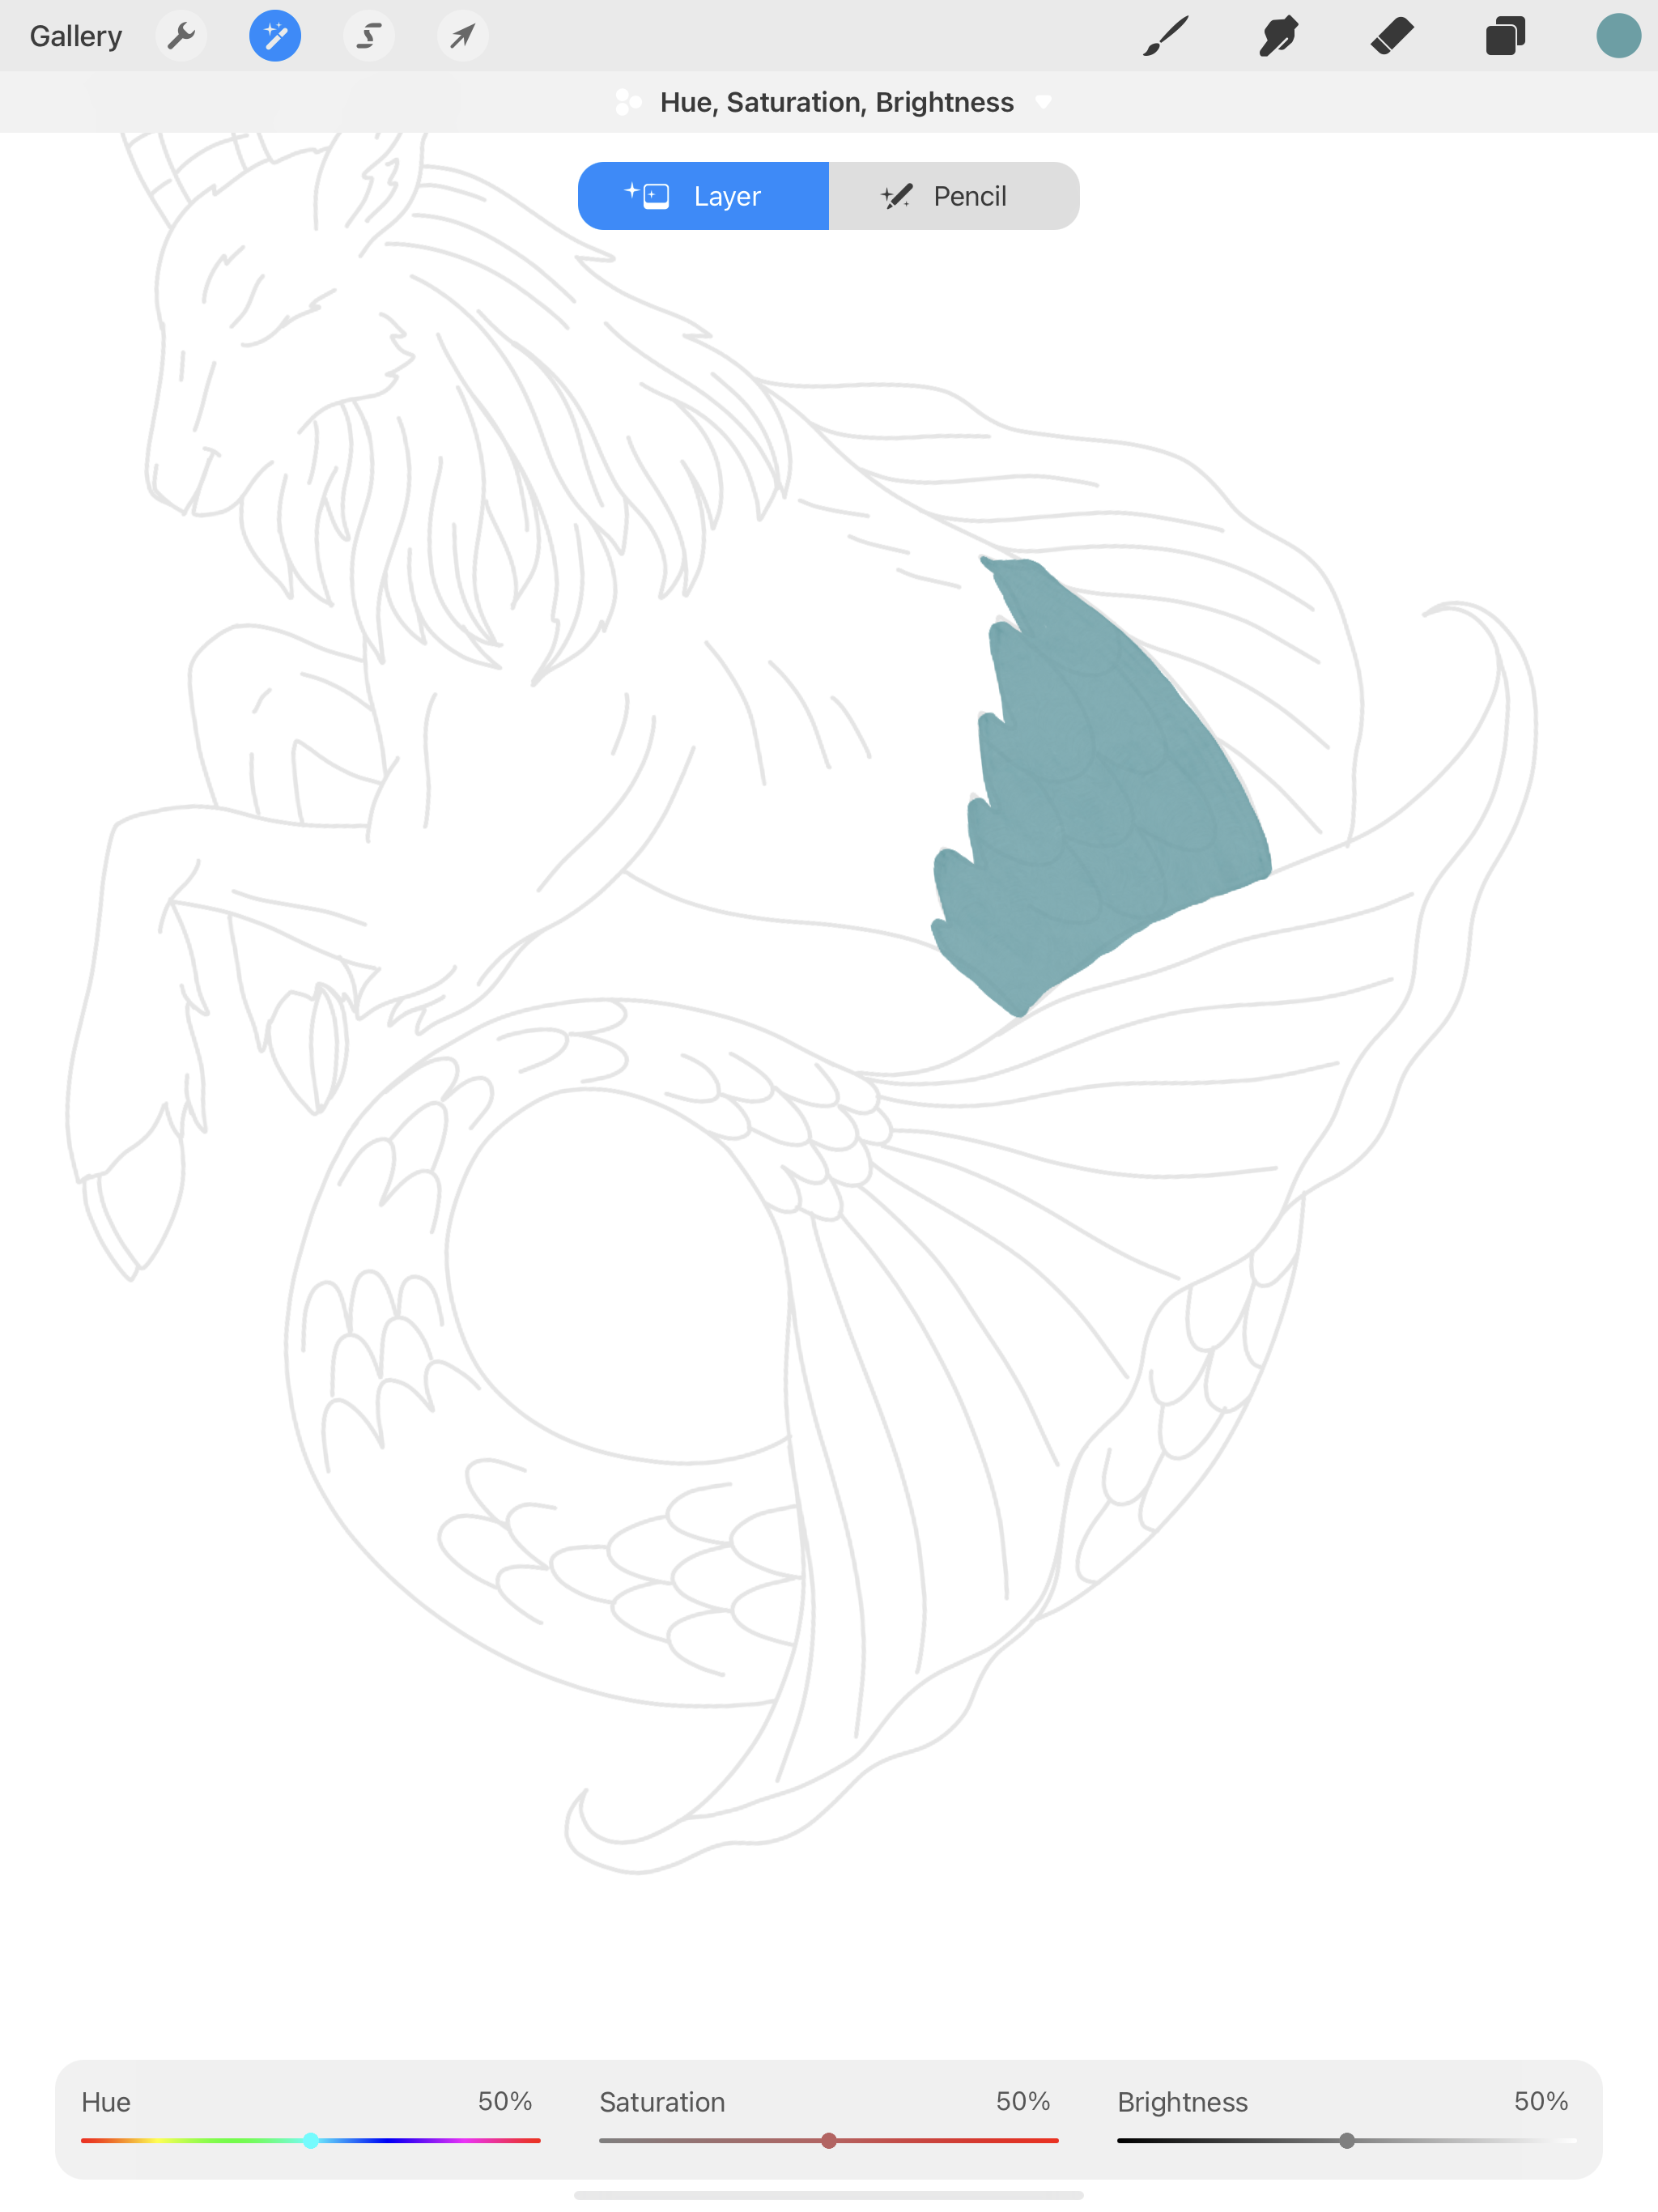
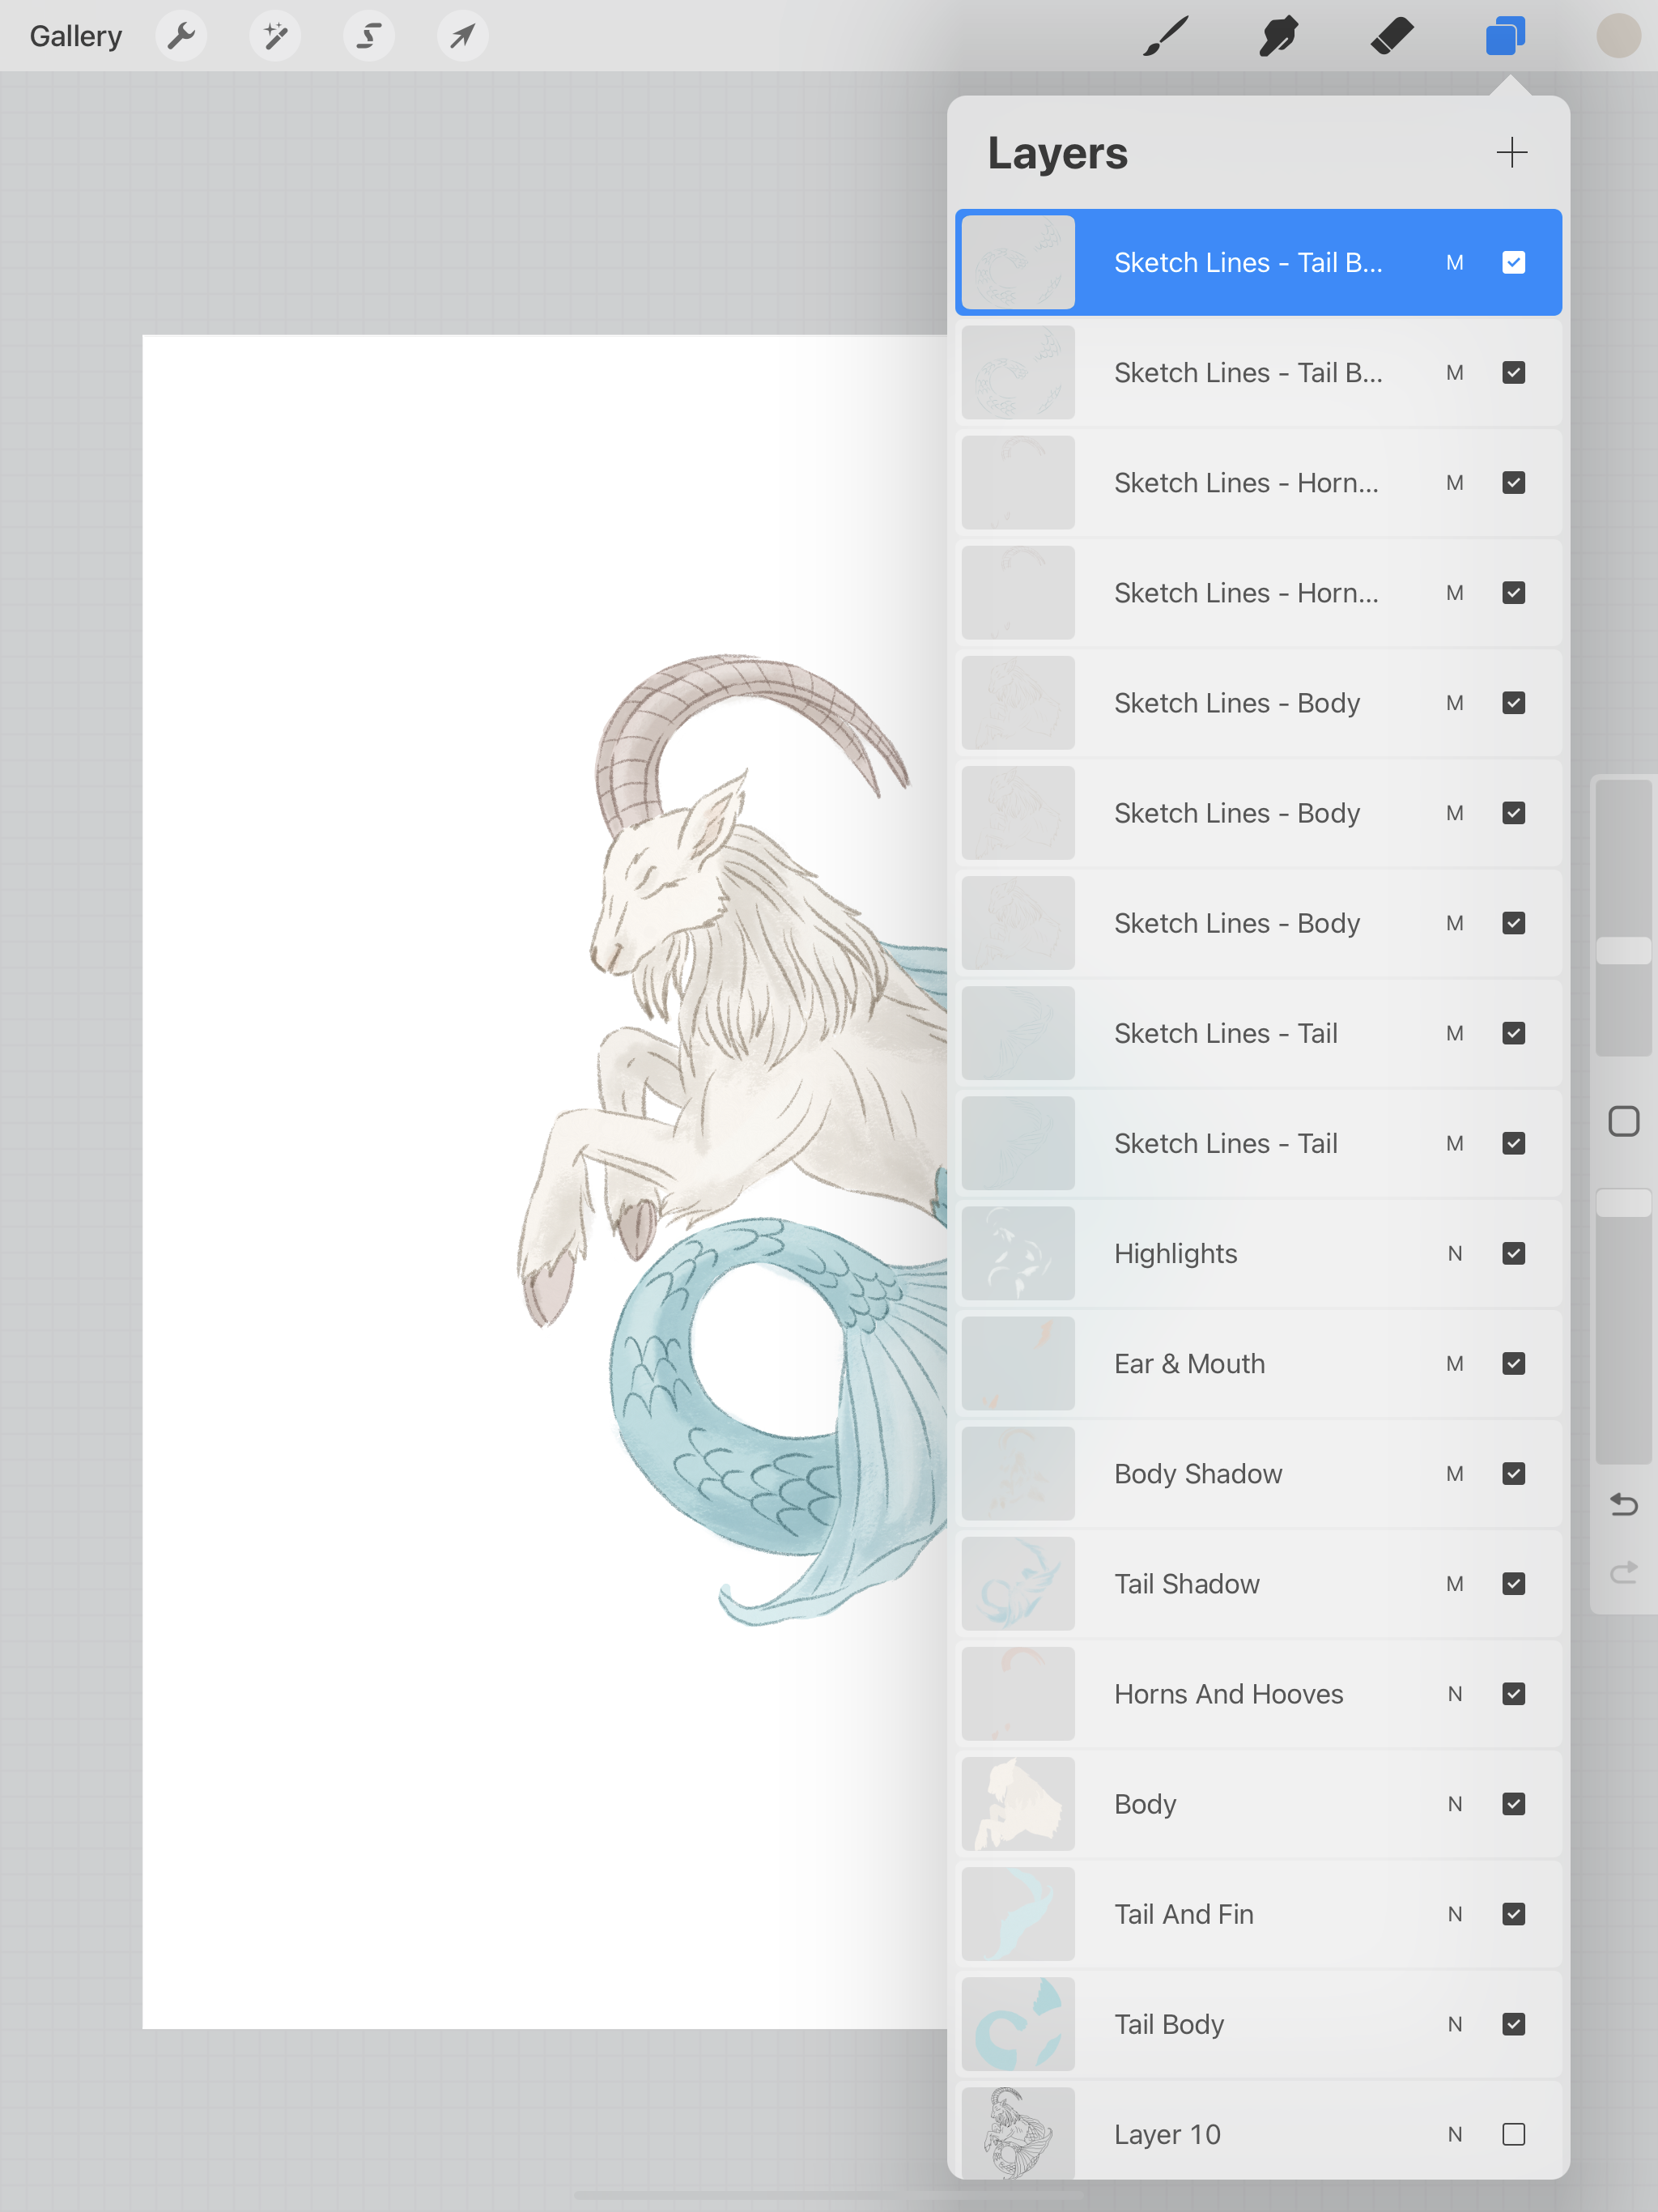
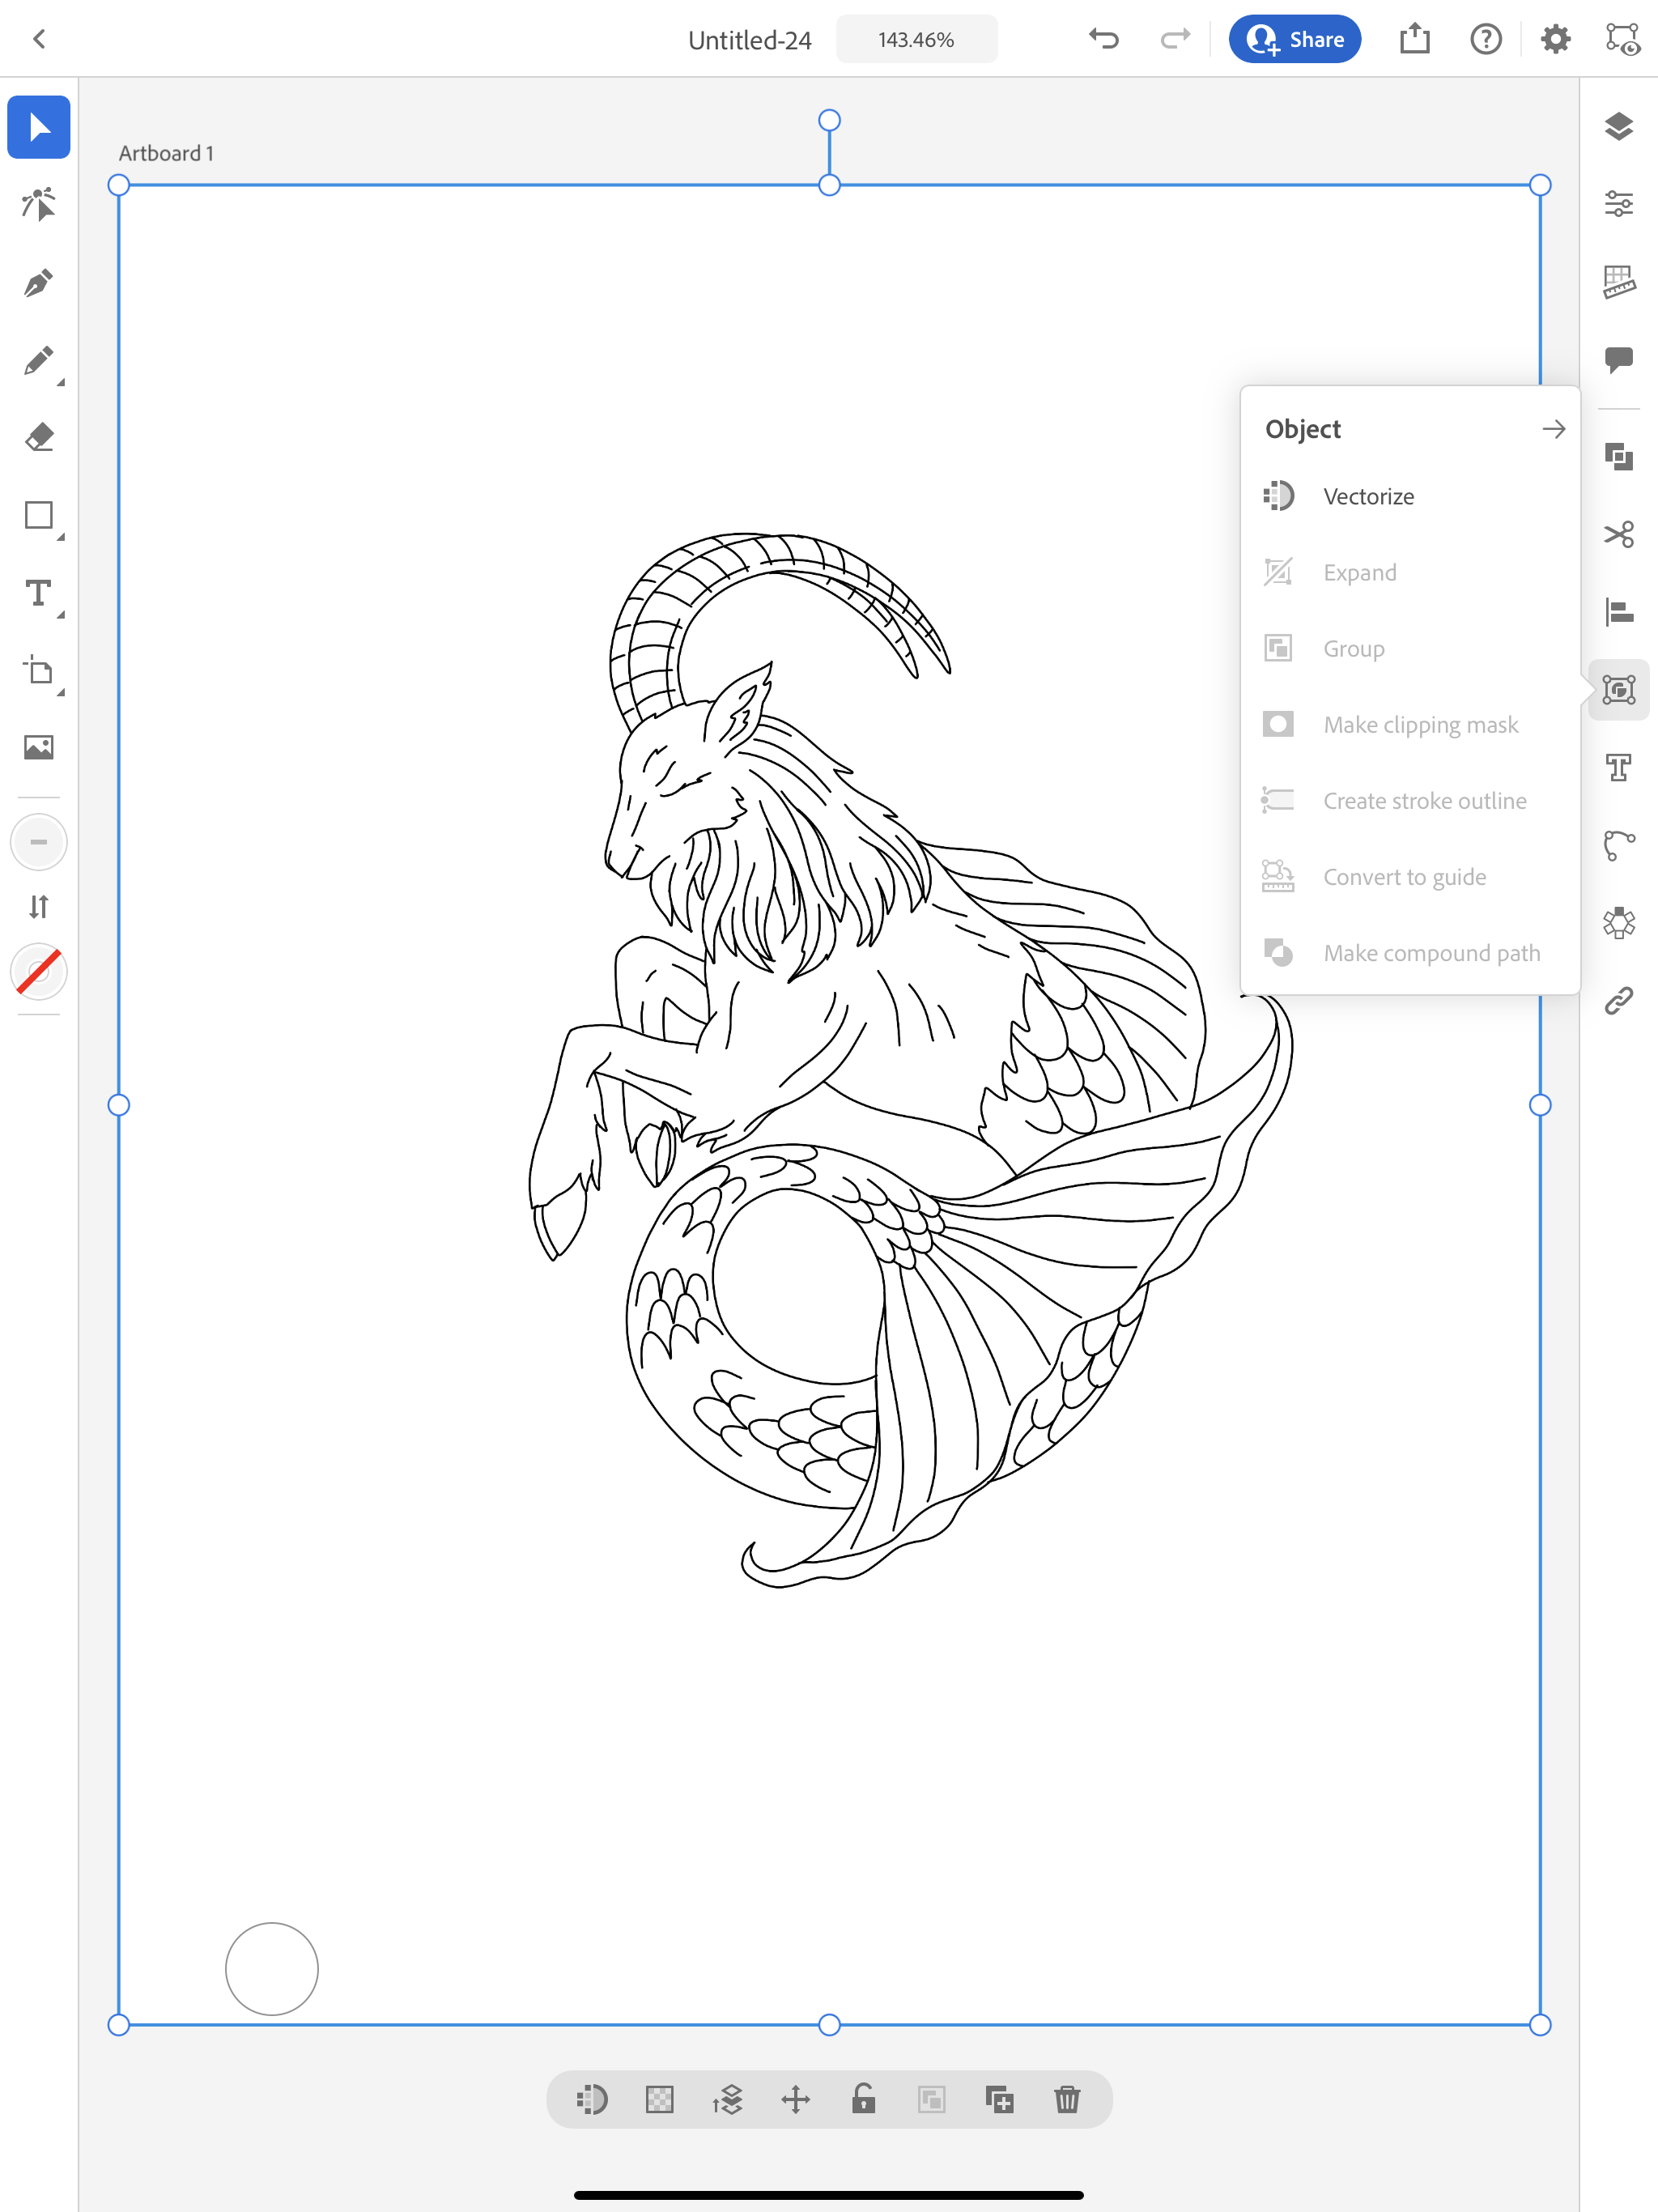
Next, I’m going to add some variation to the light blue. I’ll create another layer, set it to Linear Burn, then I will make this layer a clipping mask. If you tap on the layer, a menu pops up to the left, select Clipping Mask.
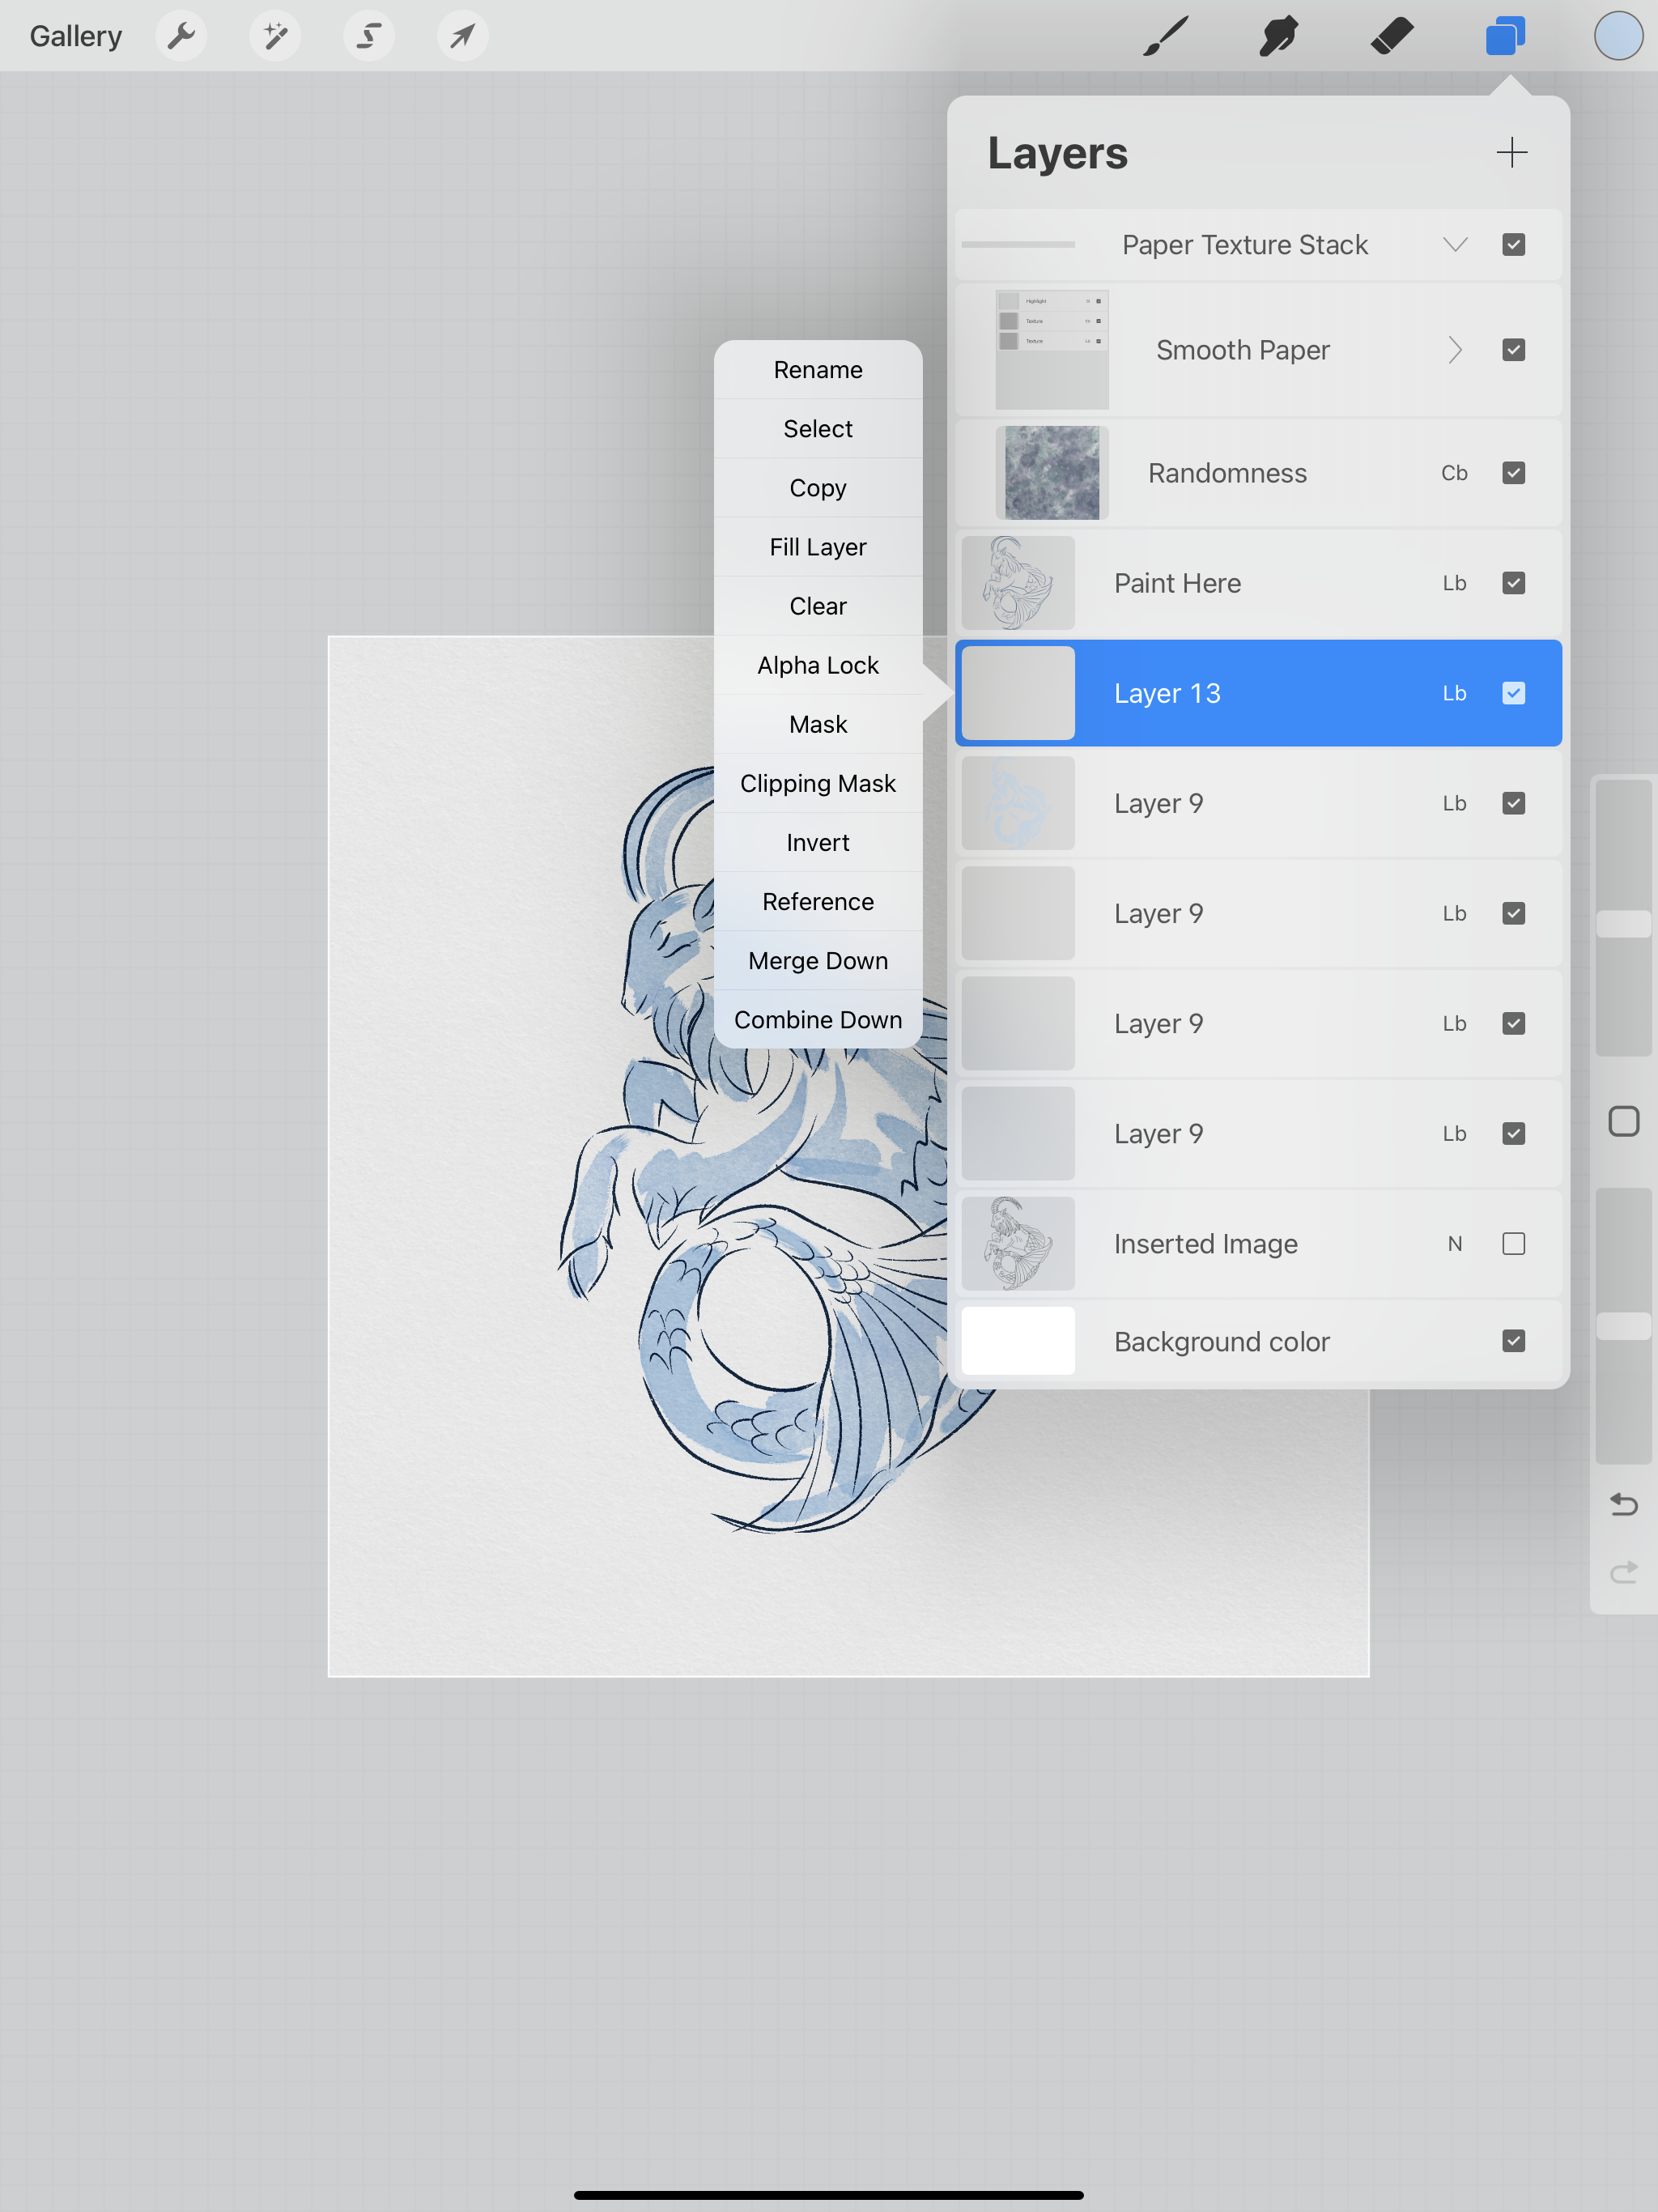
Now I’m going to use the Stain Jane brush from the Everything Watercolor brushes. In the same light blue color I will go around and add some darker blue areas. It will appear darker because my layer is set to Linear Burn. Since this layer is a clipping mask, all of my “painting” stays within the light blue of the original layer I painted. This is a great way to add some of the color variation like you get with real watercolors.
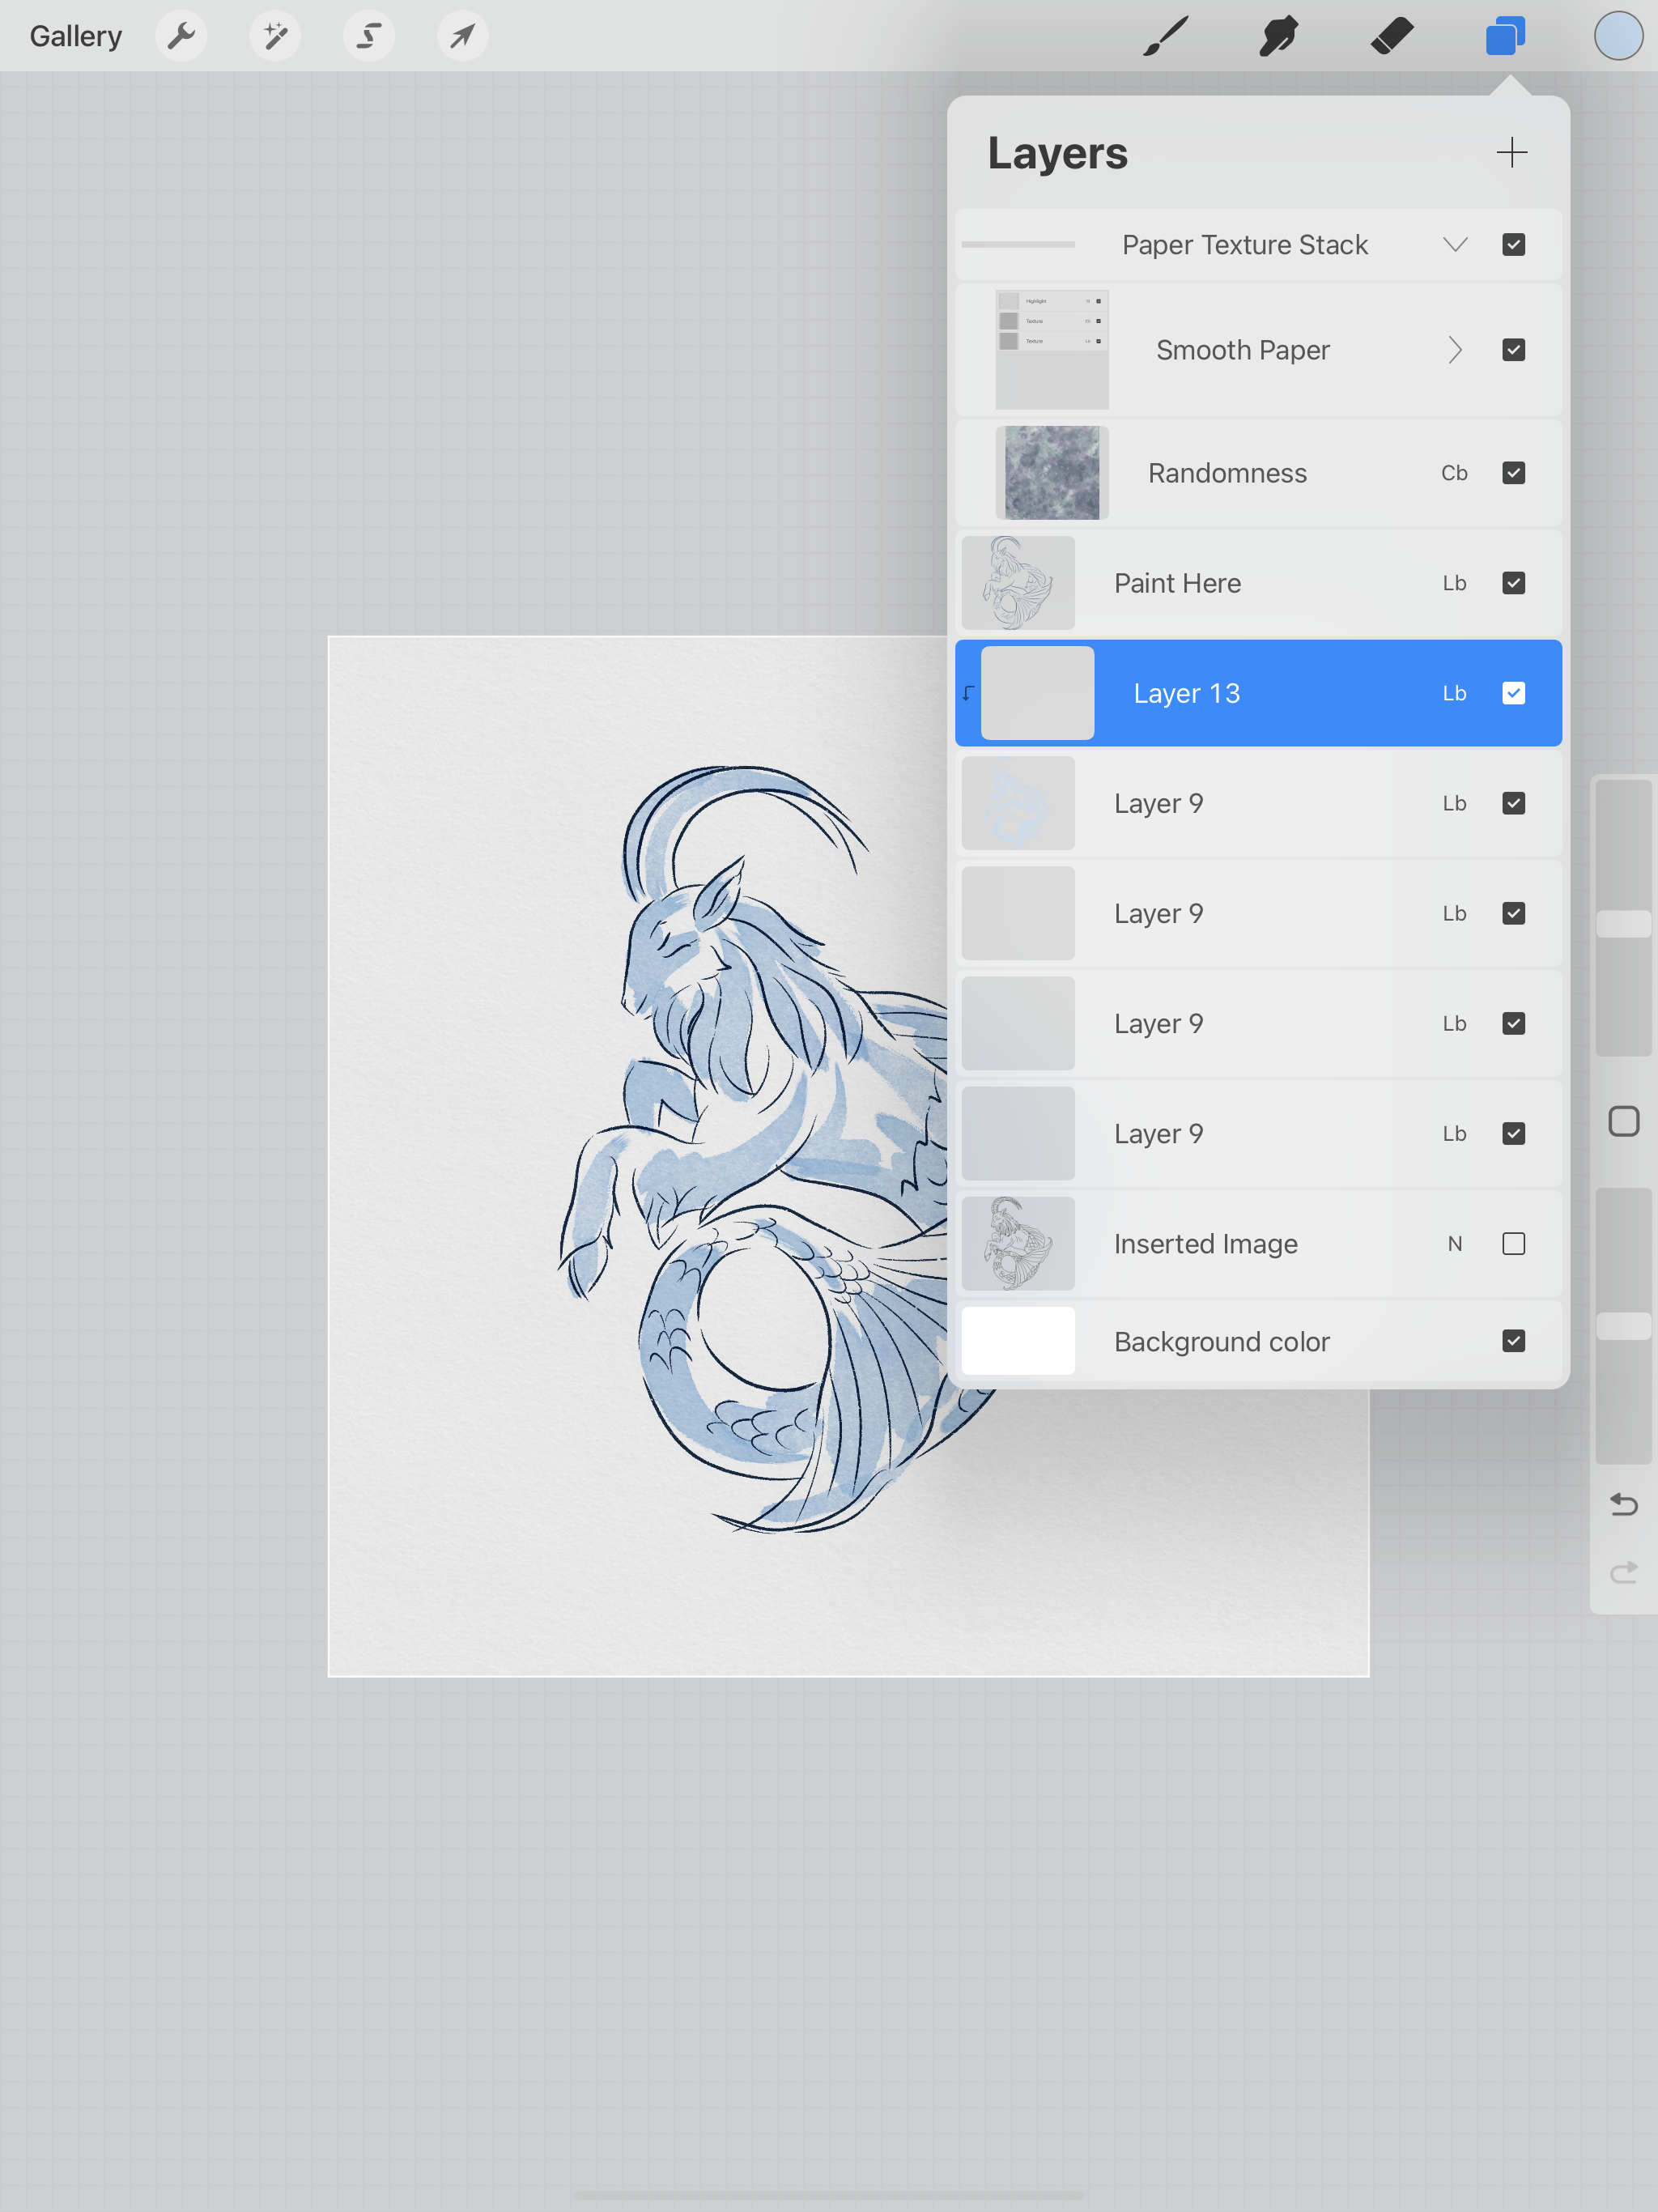
Here’s what it looks like without the clipping mask applied.
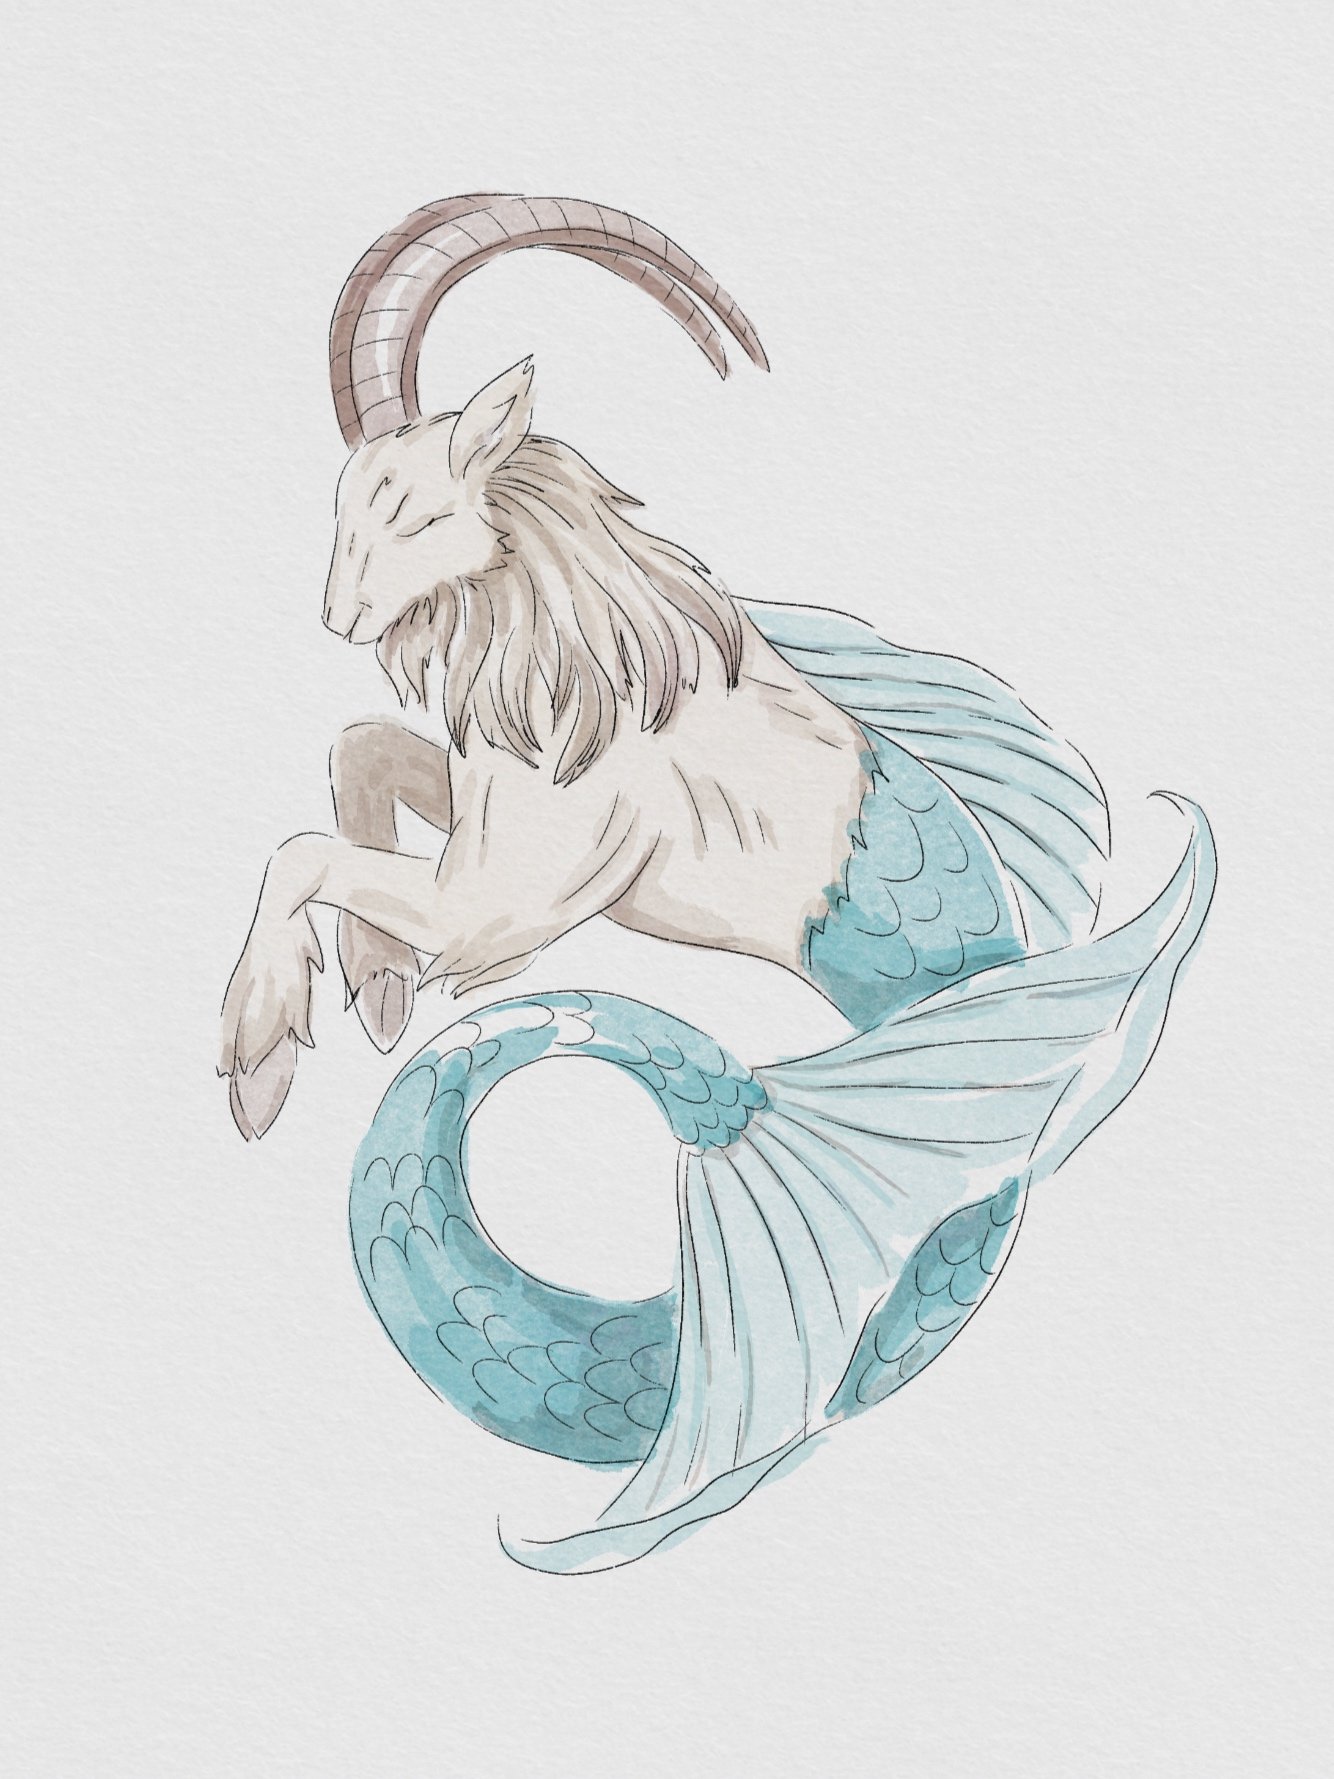
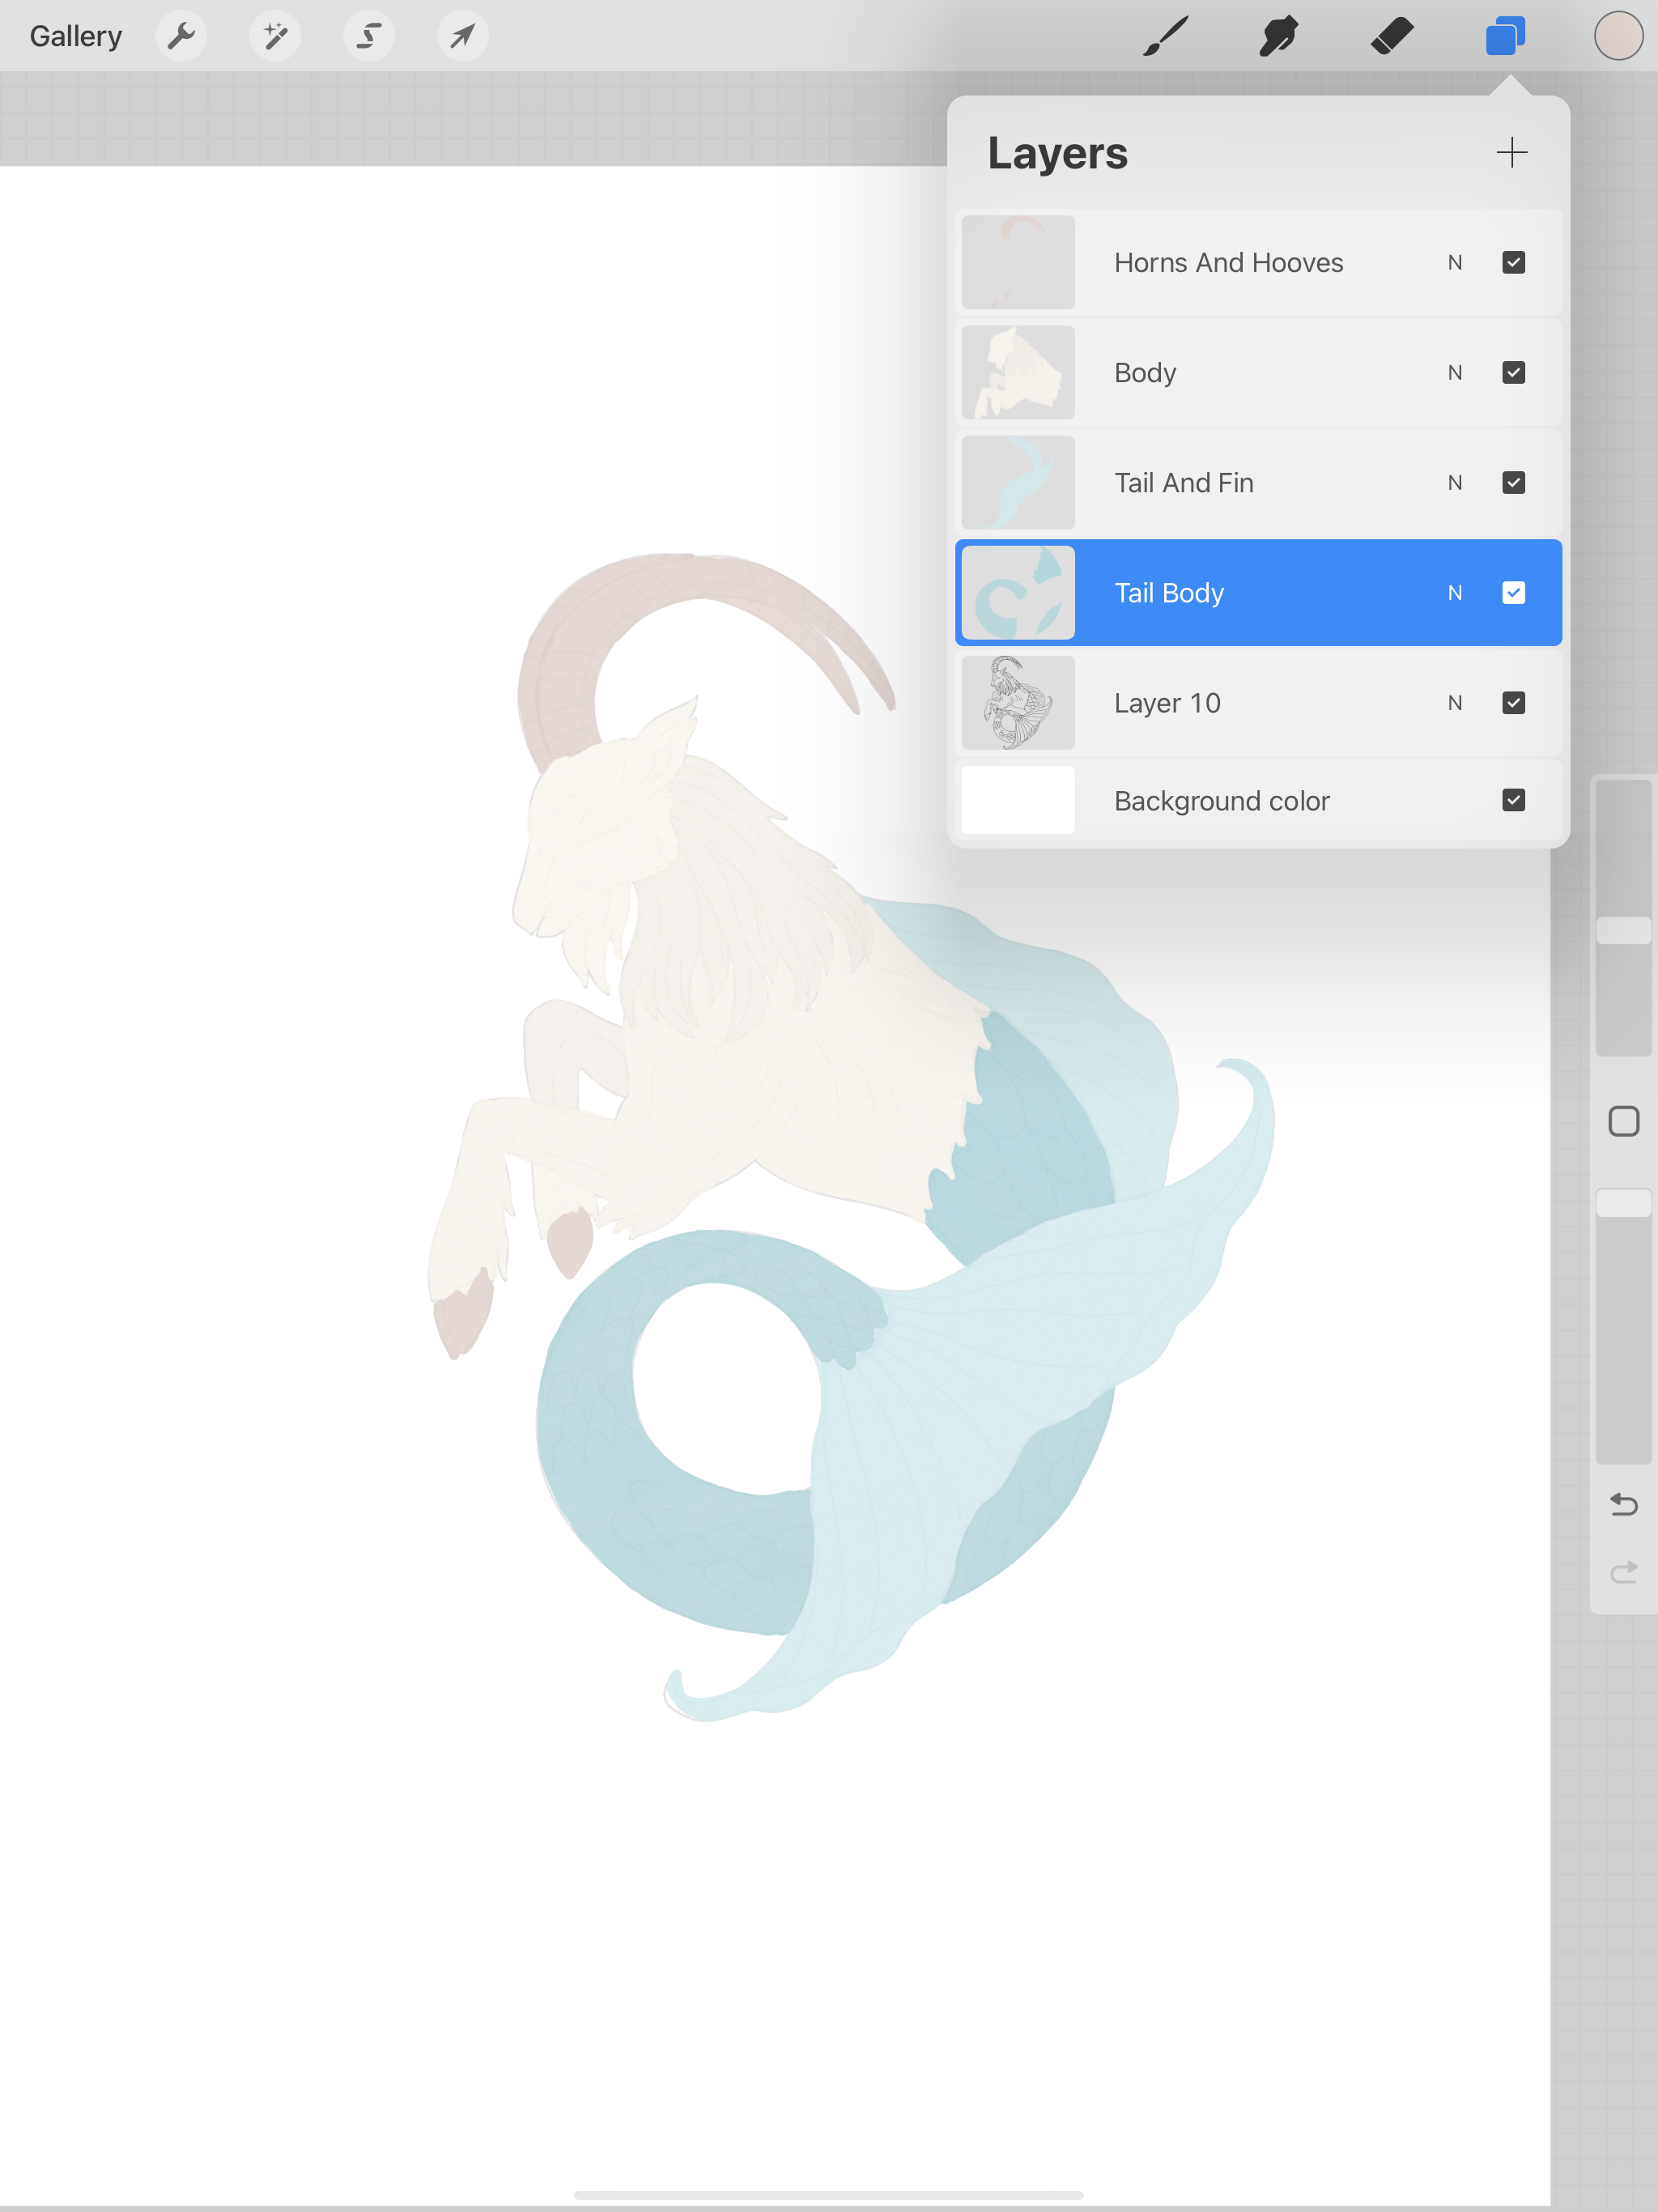
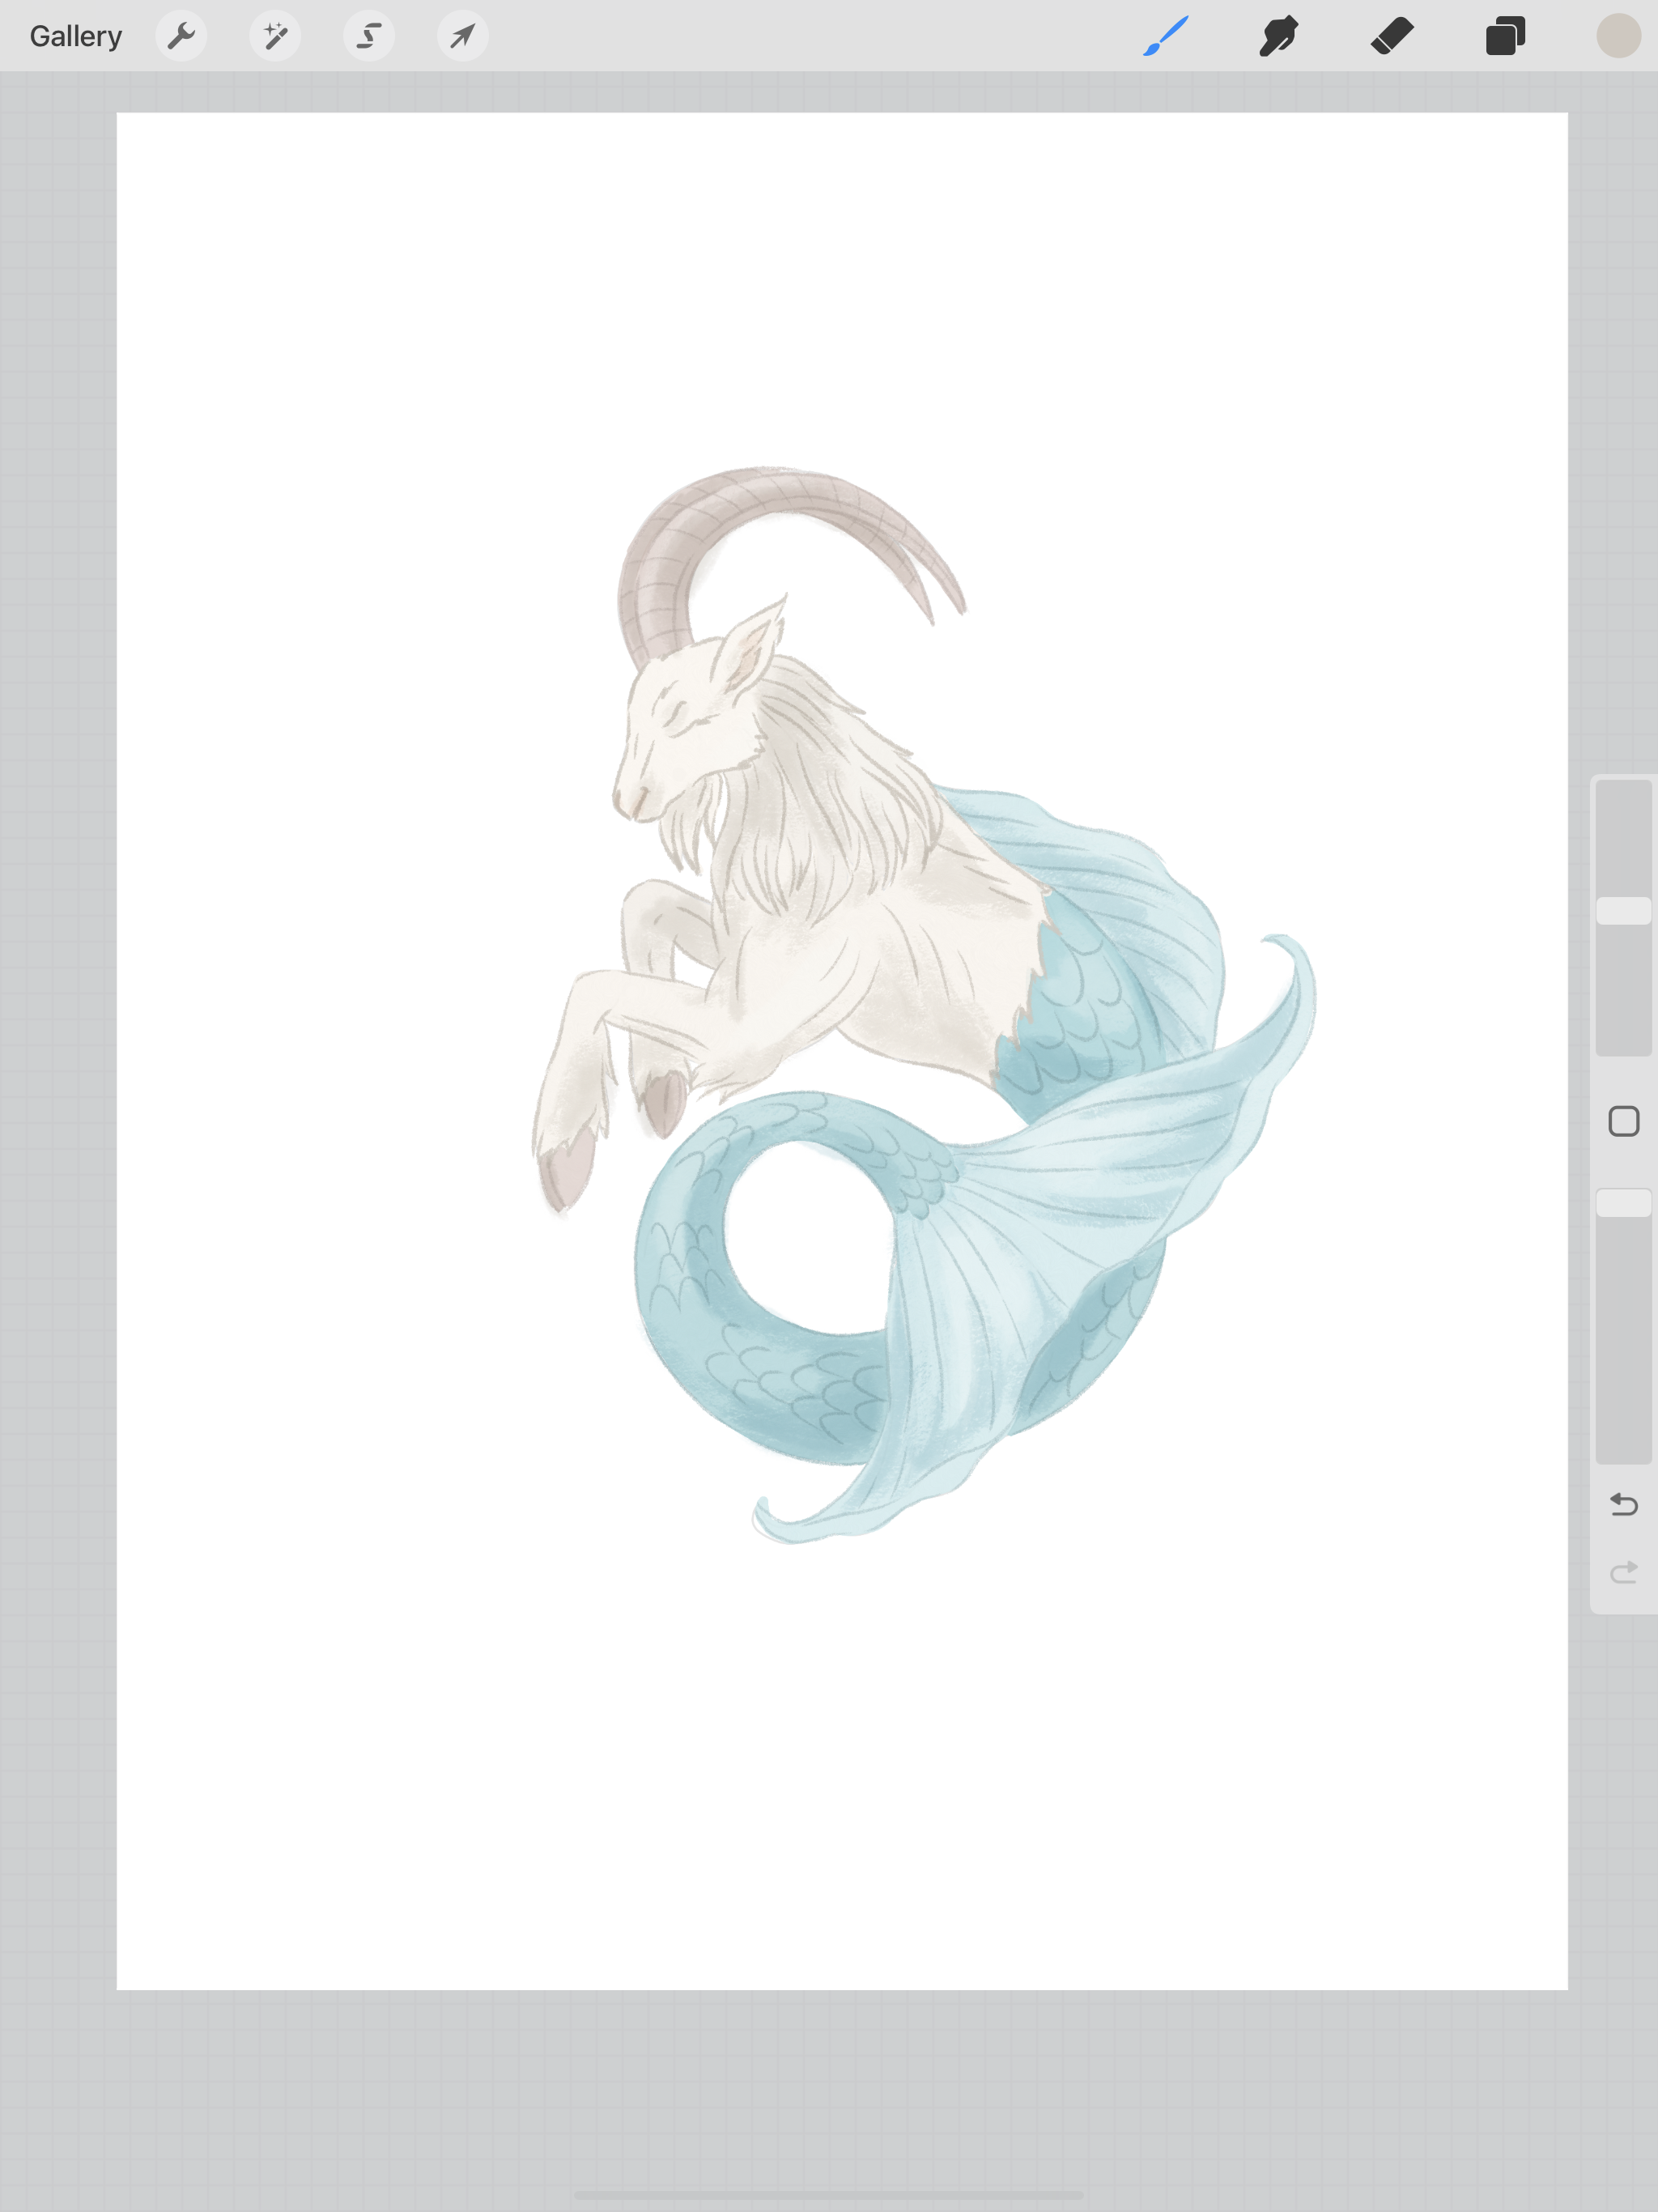
I’m going to lower the opacity of my original light blue layer just a little bit, the blues got a little to dark for my liking. Now it’s finished!
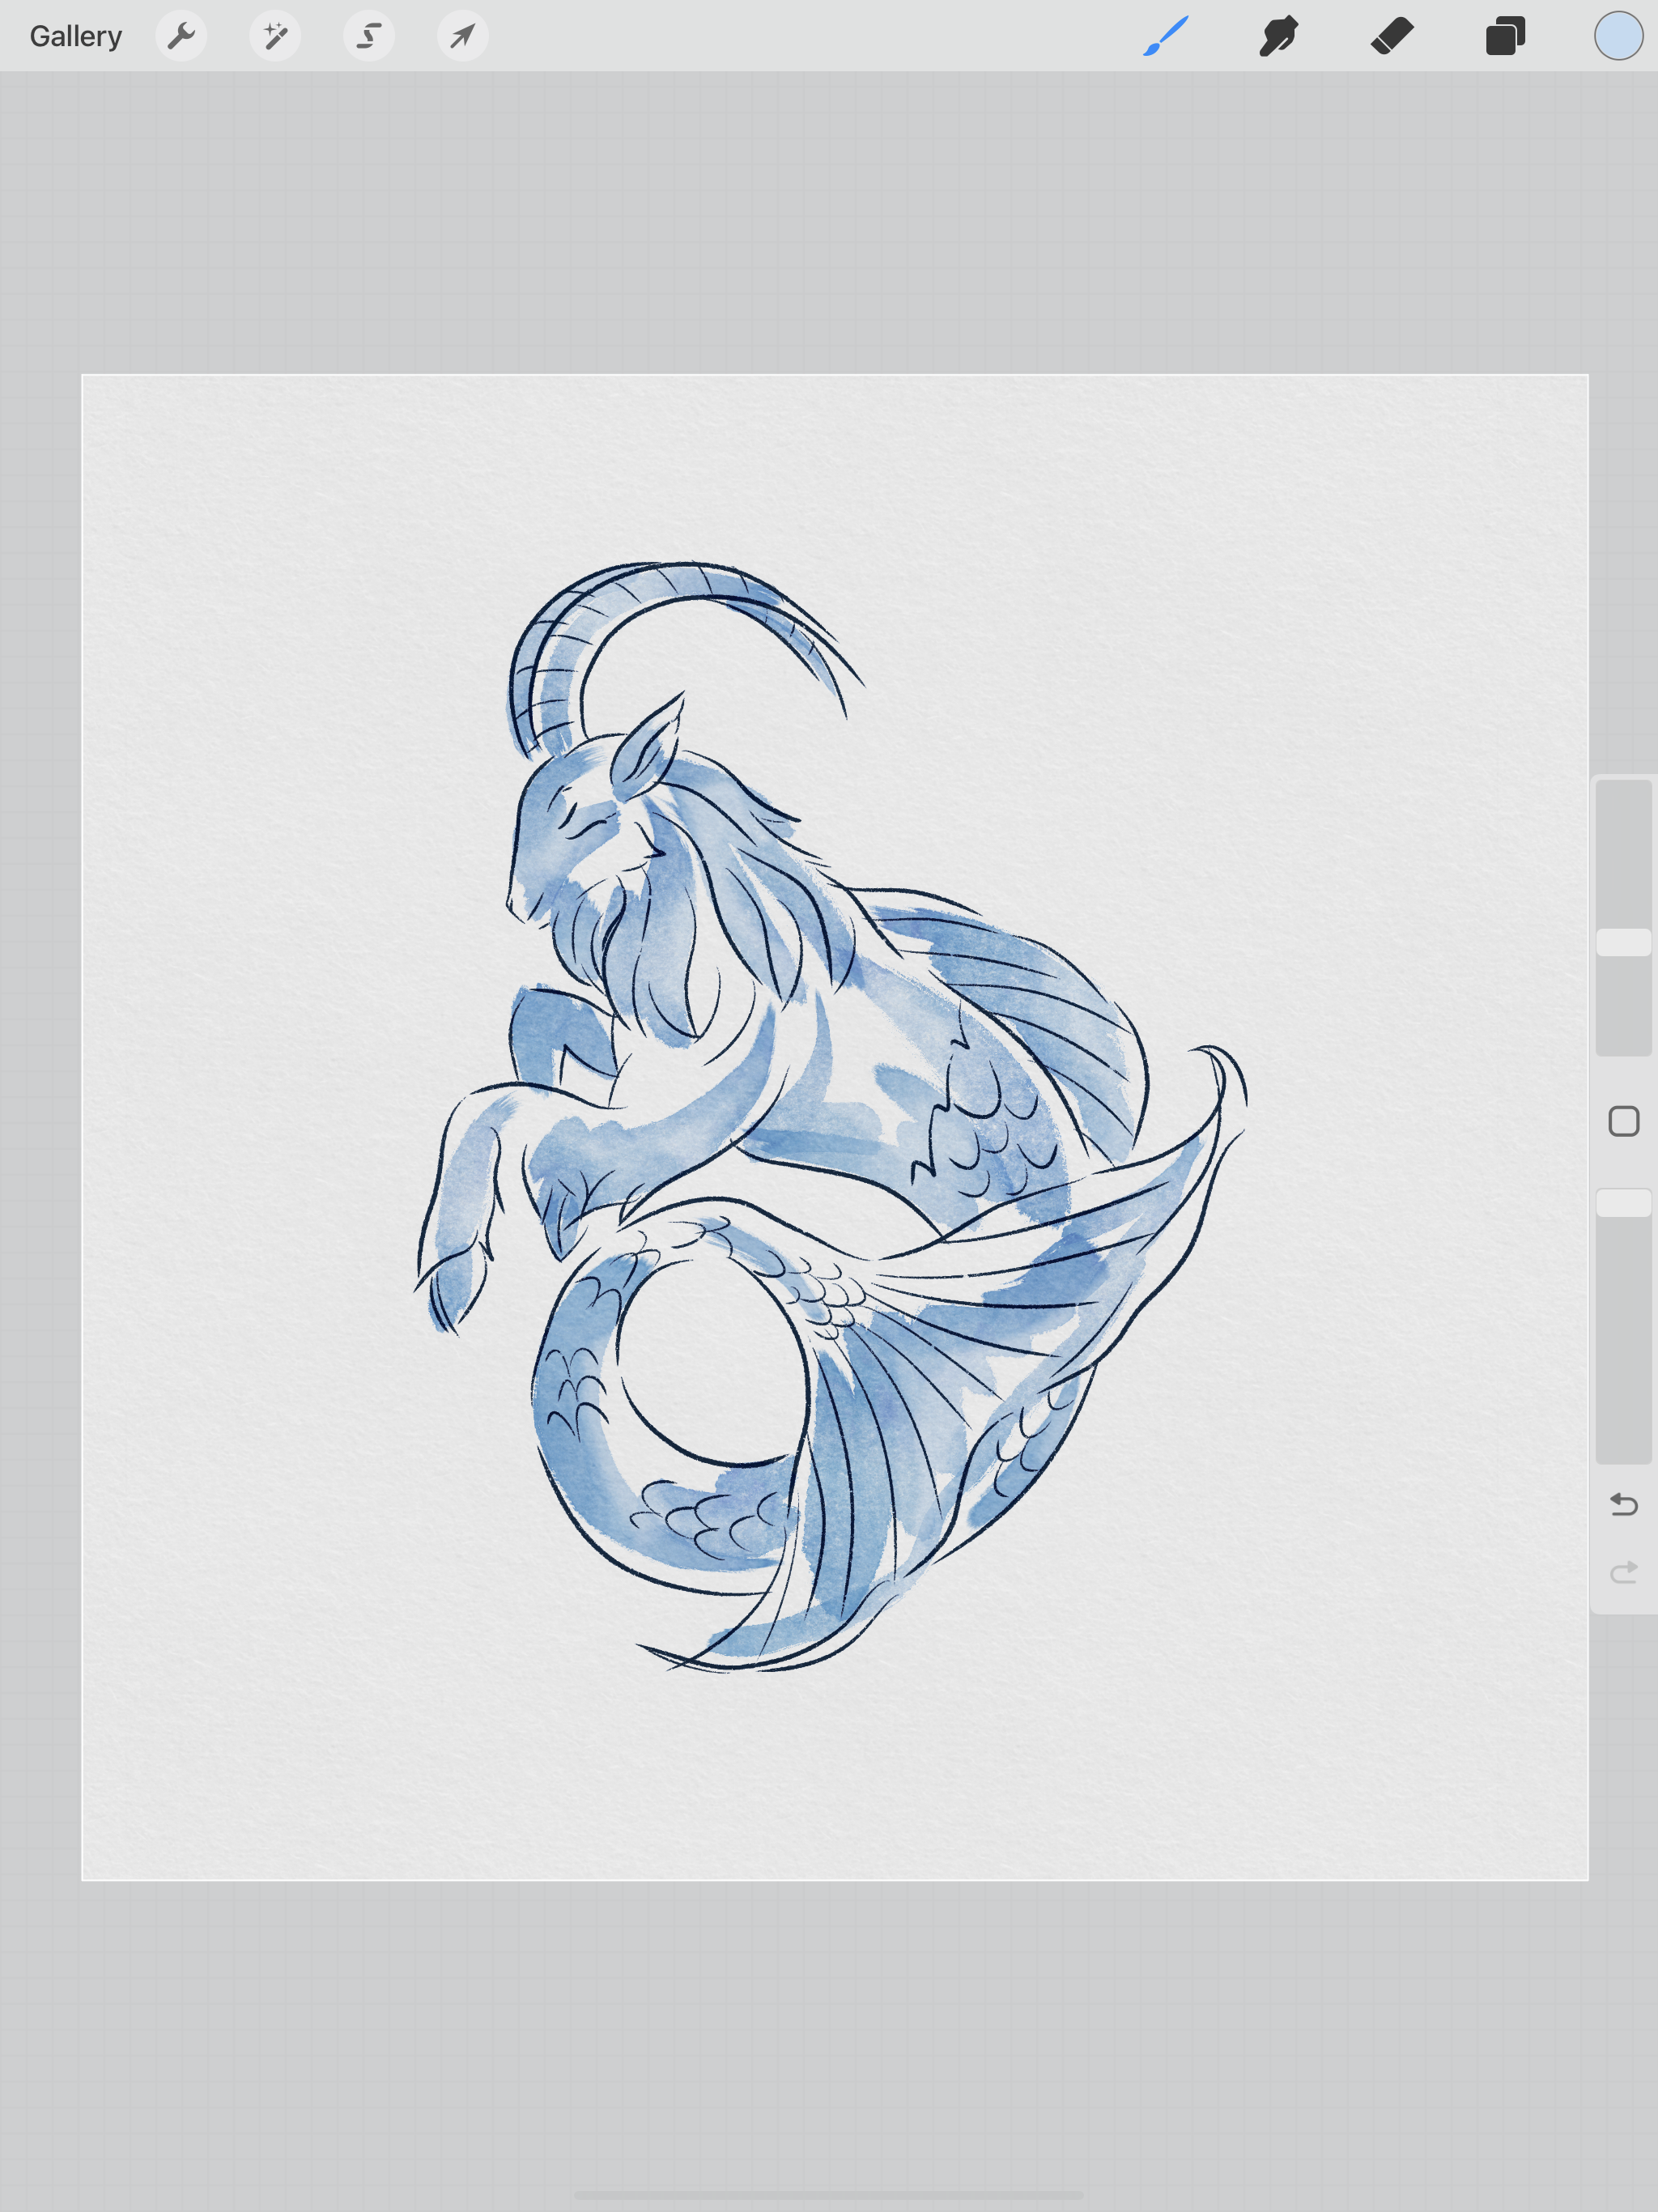
Here it is next to the other paintings from the last 2 weeks. This is a fun exercise if you’re trying to figure out your drawing/ painting style.