Hi Everyone!
The last few weeks I showed you my process for how I create and test my single line SVG files. If single line SVGs aren’t really your thing, for the next few weeks I’m going to share with you some other methods for how I create artwork to use with my Cricut or Silhouette machine.
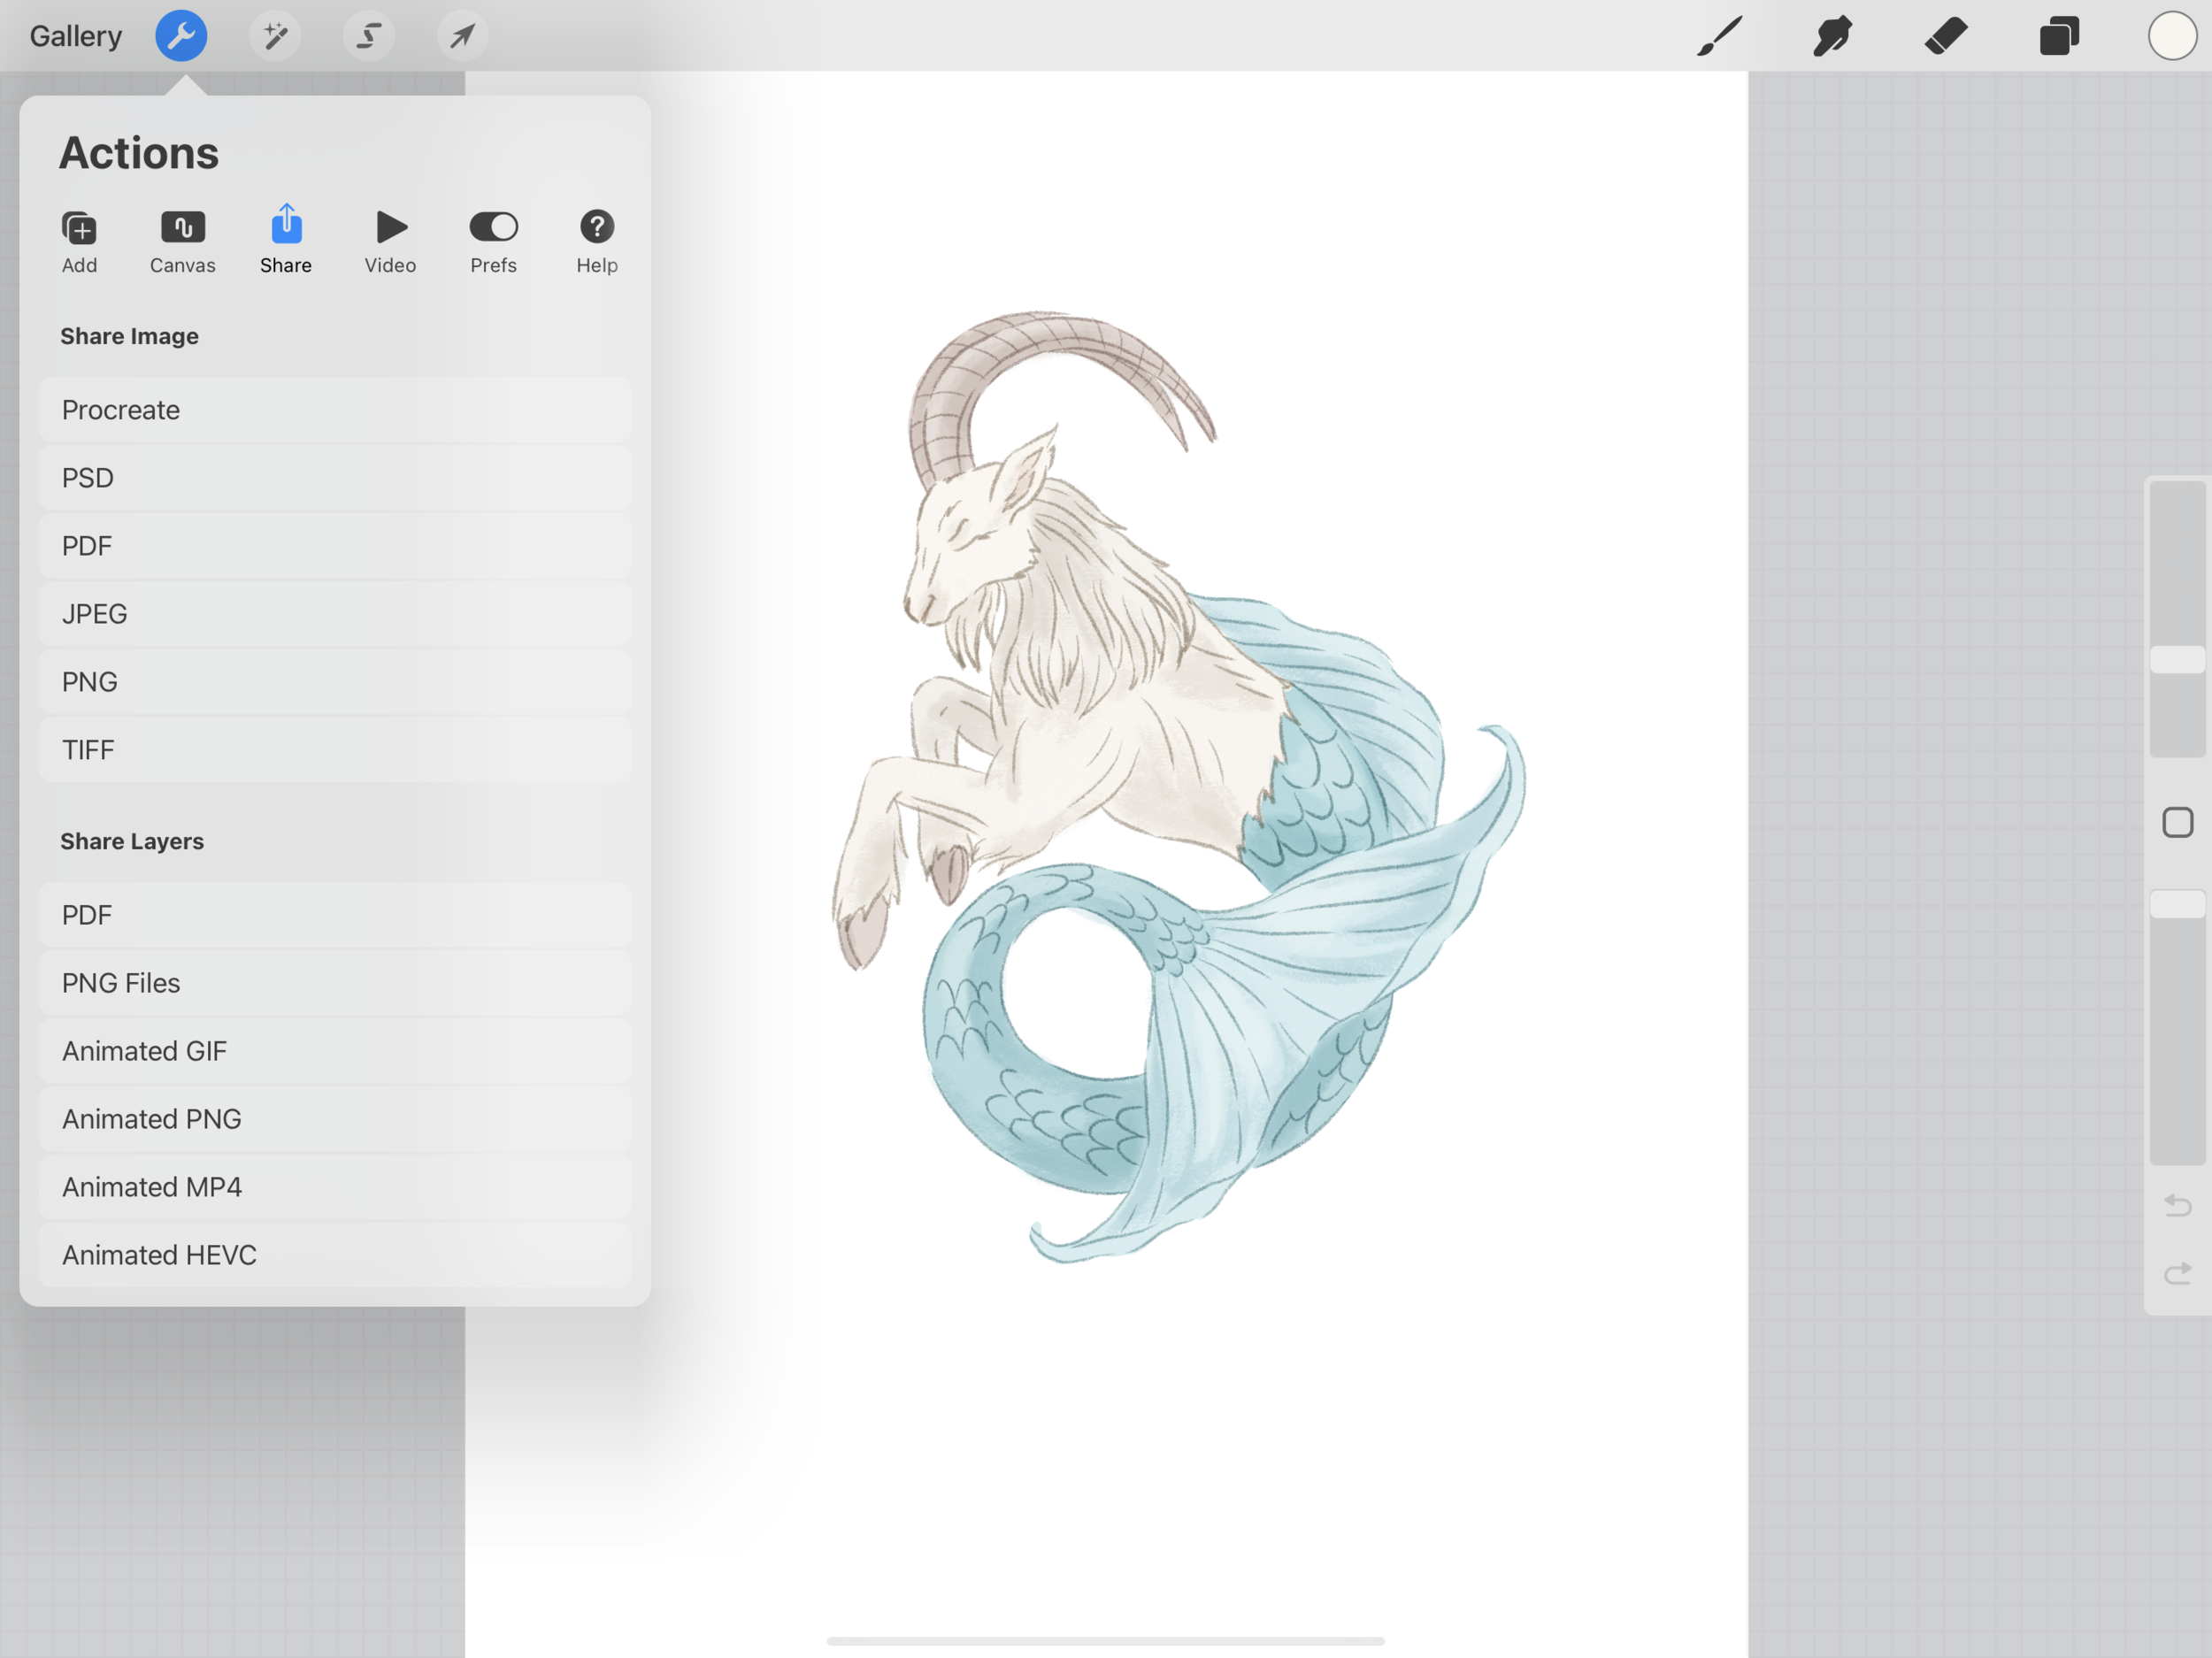
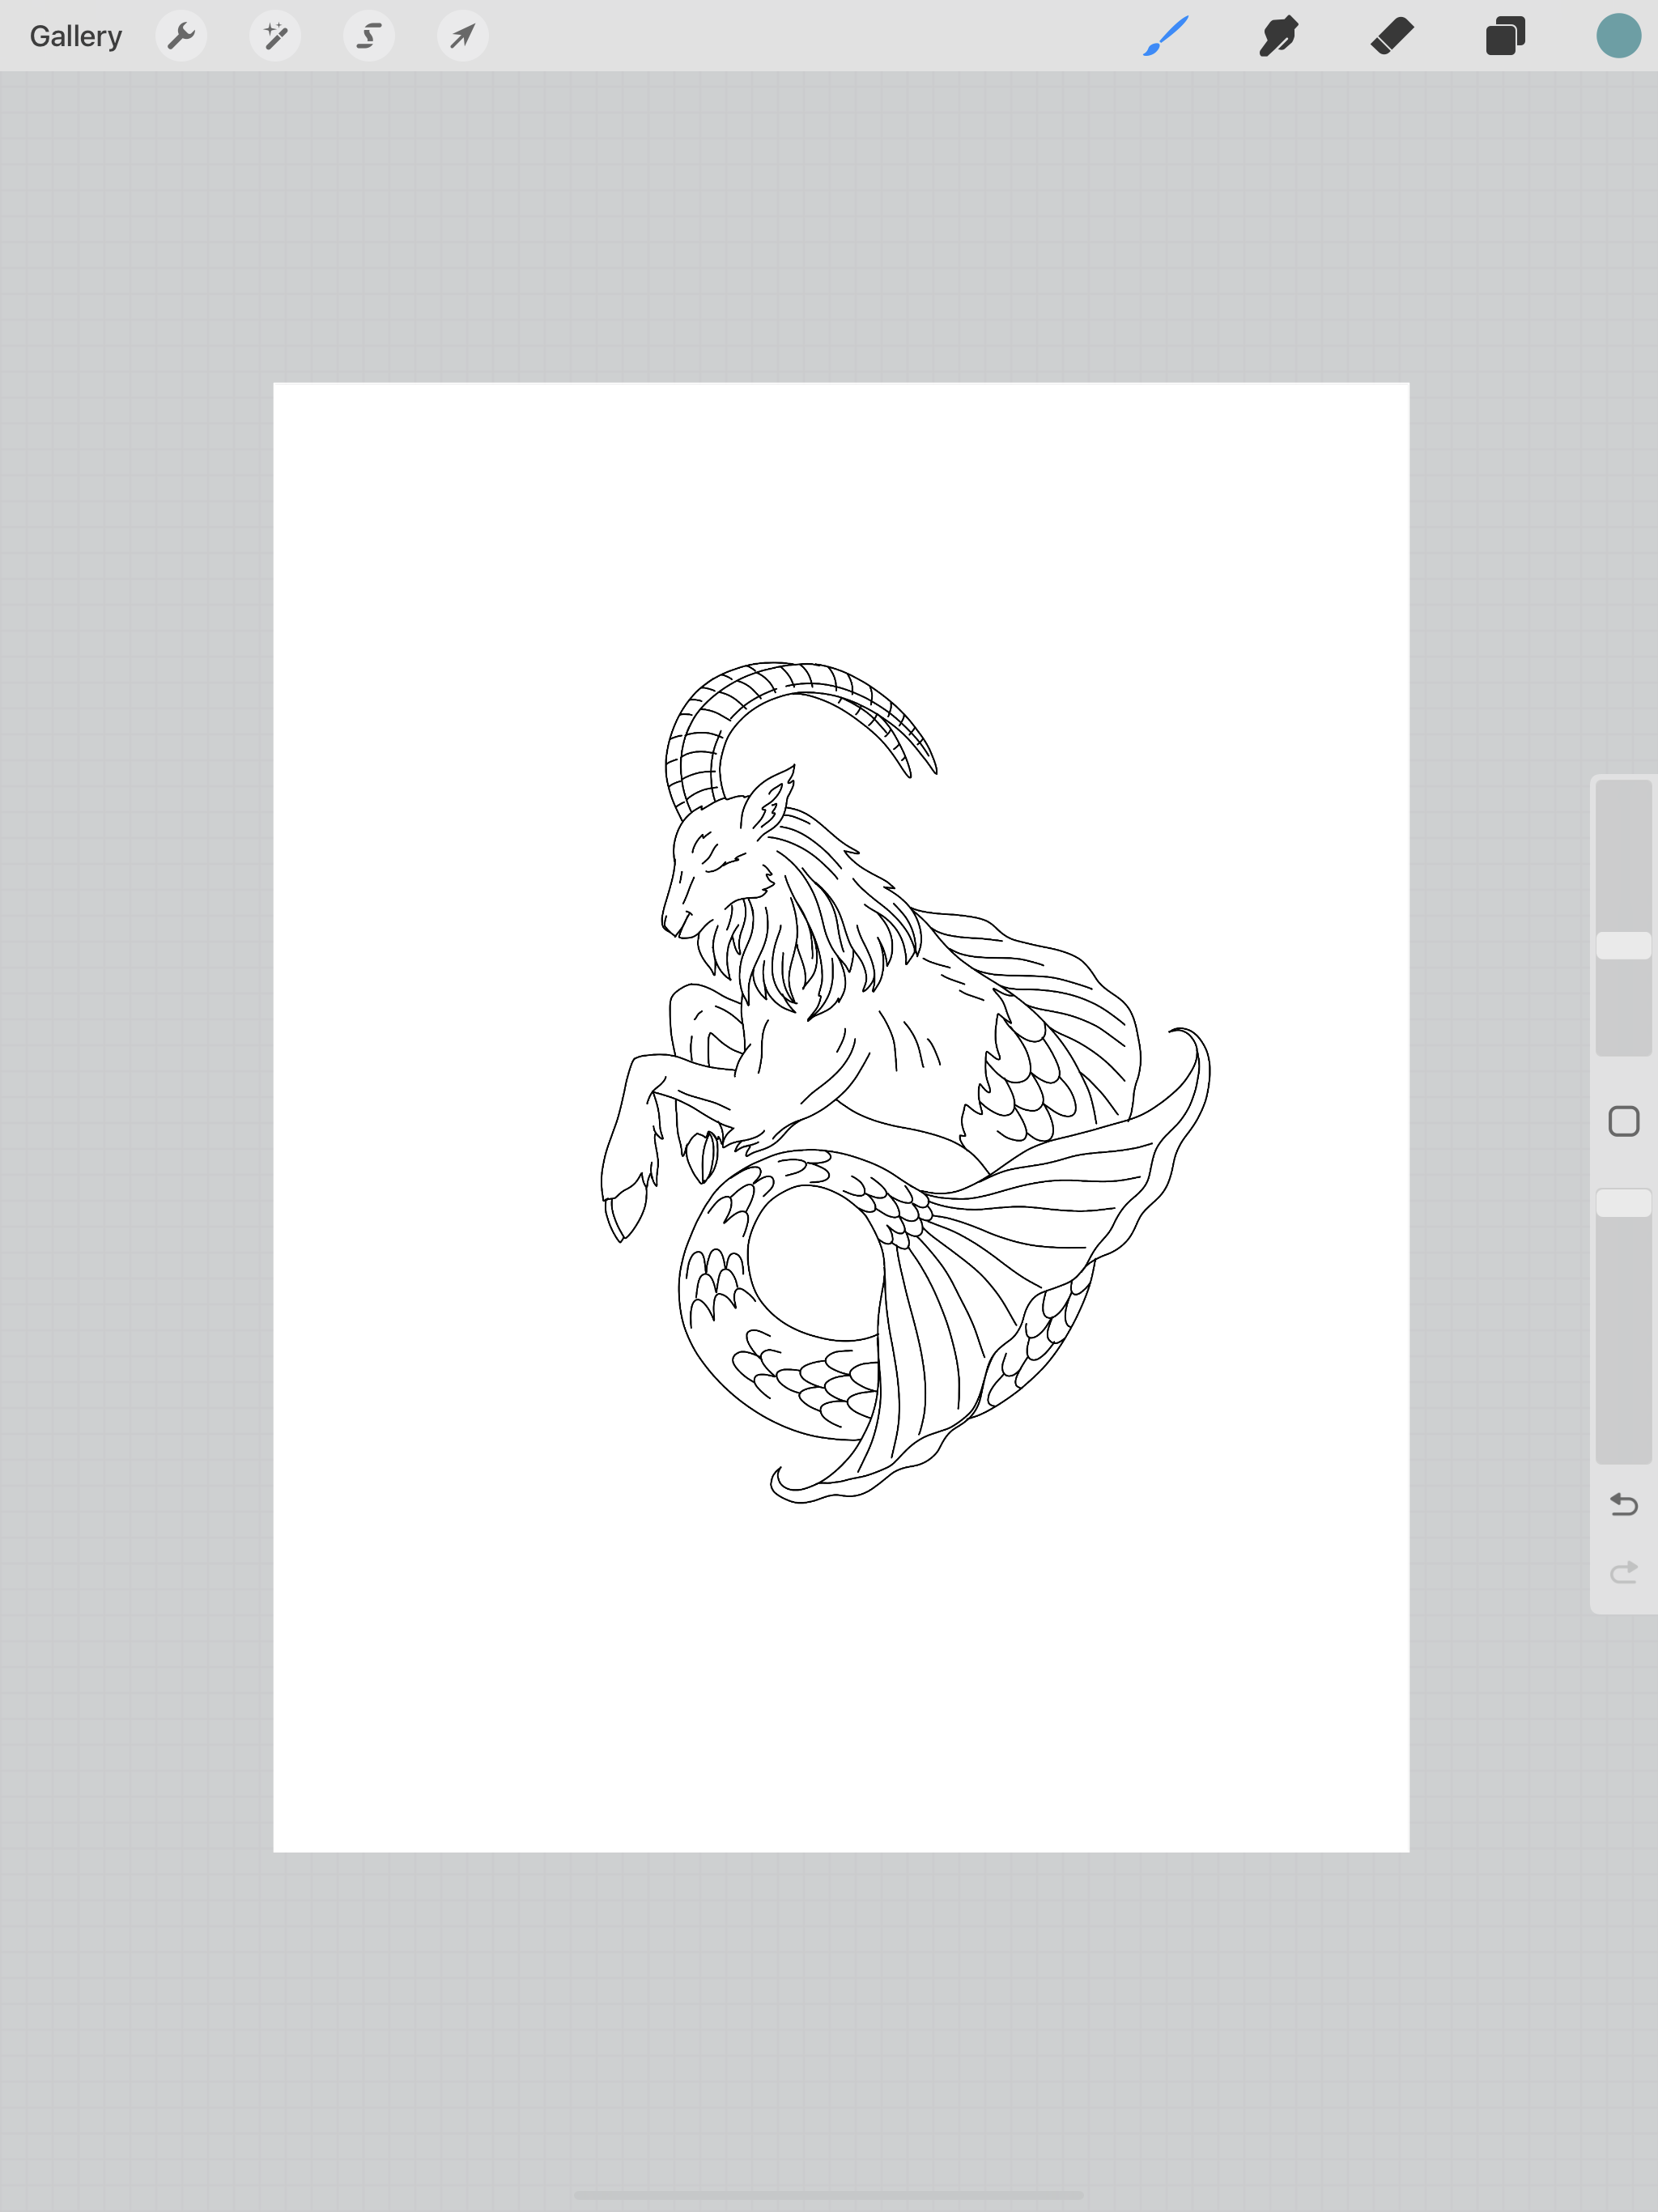
Since I already have this nice outline of my Capricorn, I’m going to use it as a guide to do a full color gouache-style version in Procreate on my iPad Pro. I’ll be able to use my finished artwork as clip art for stickers and other things.
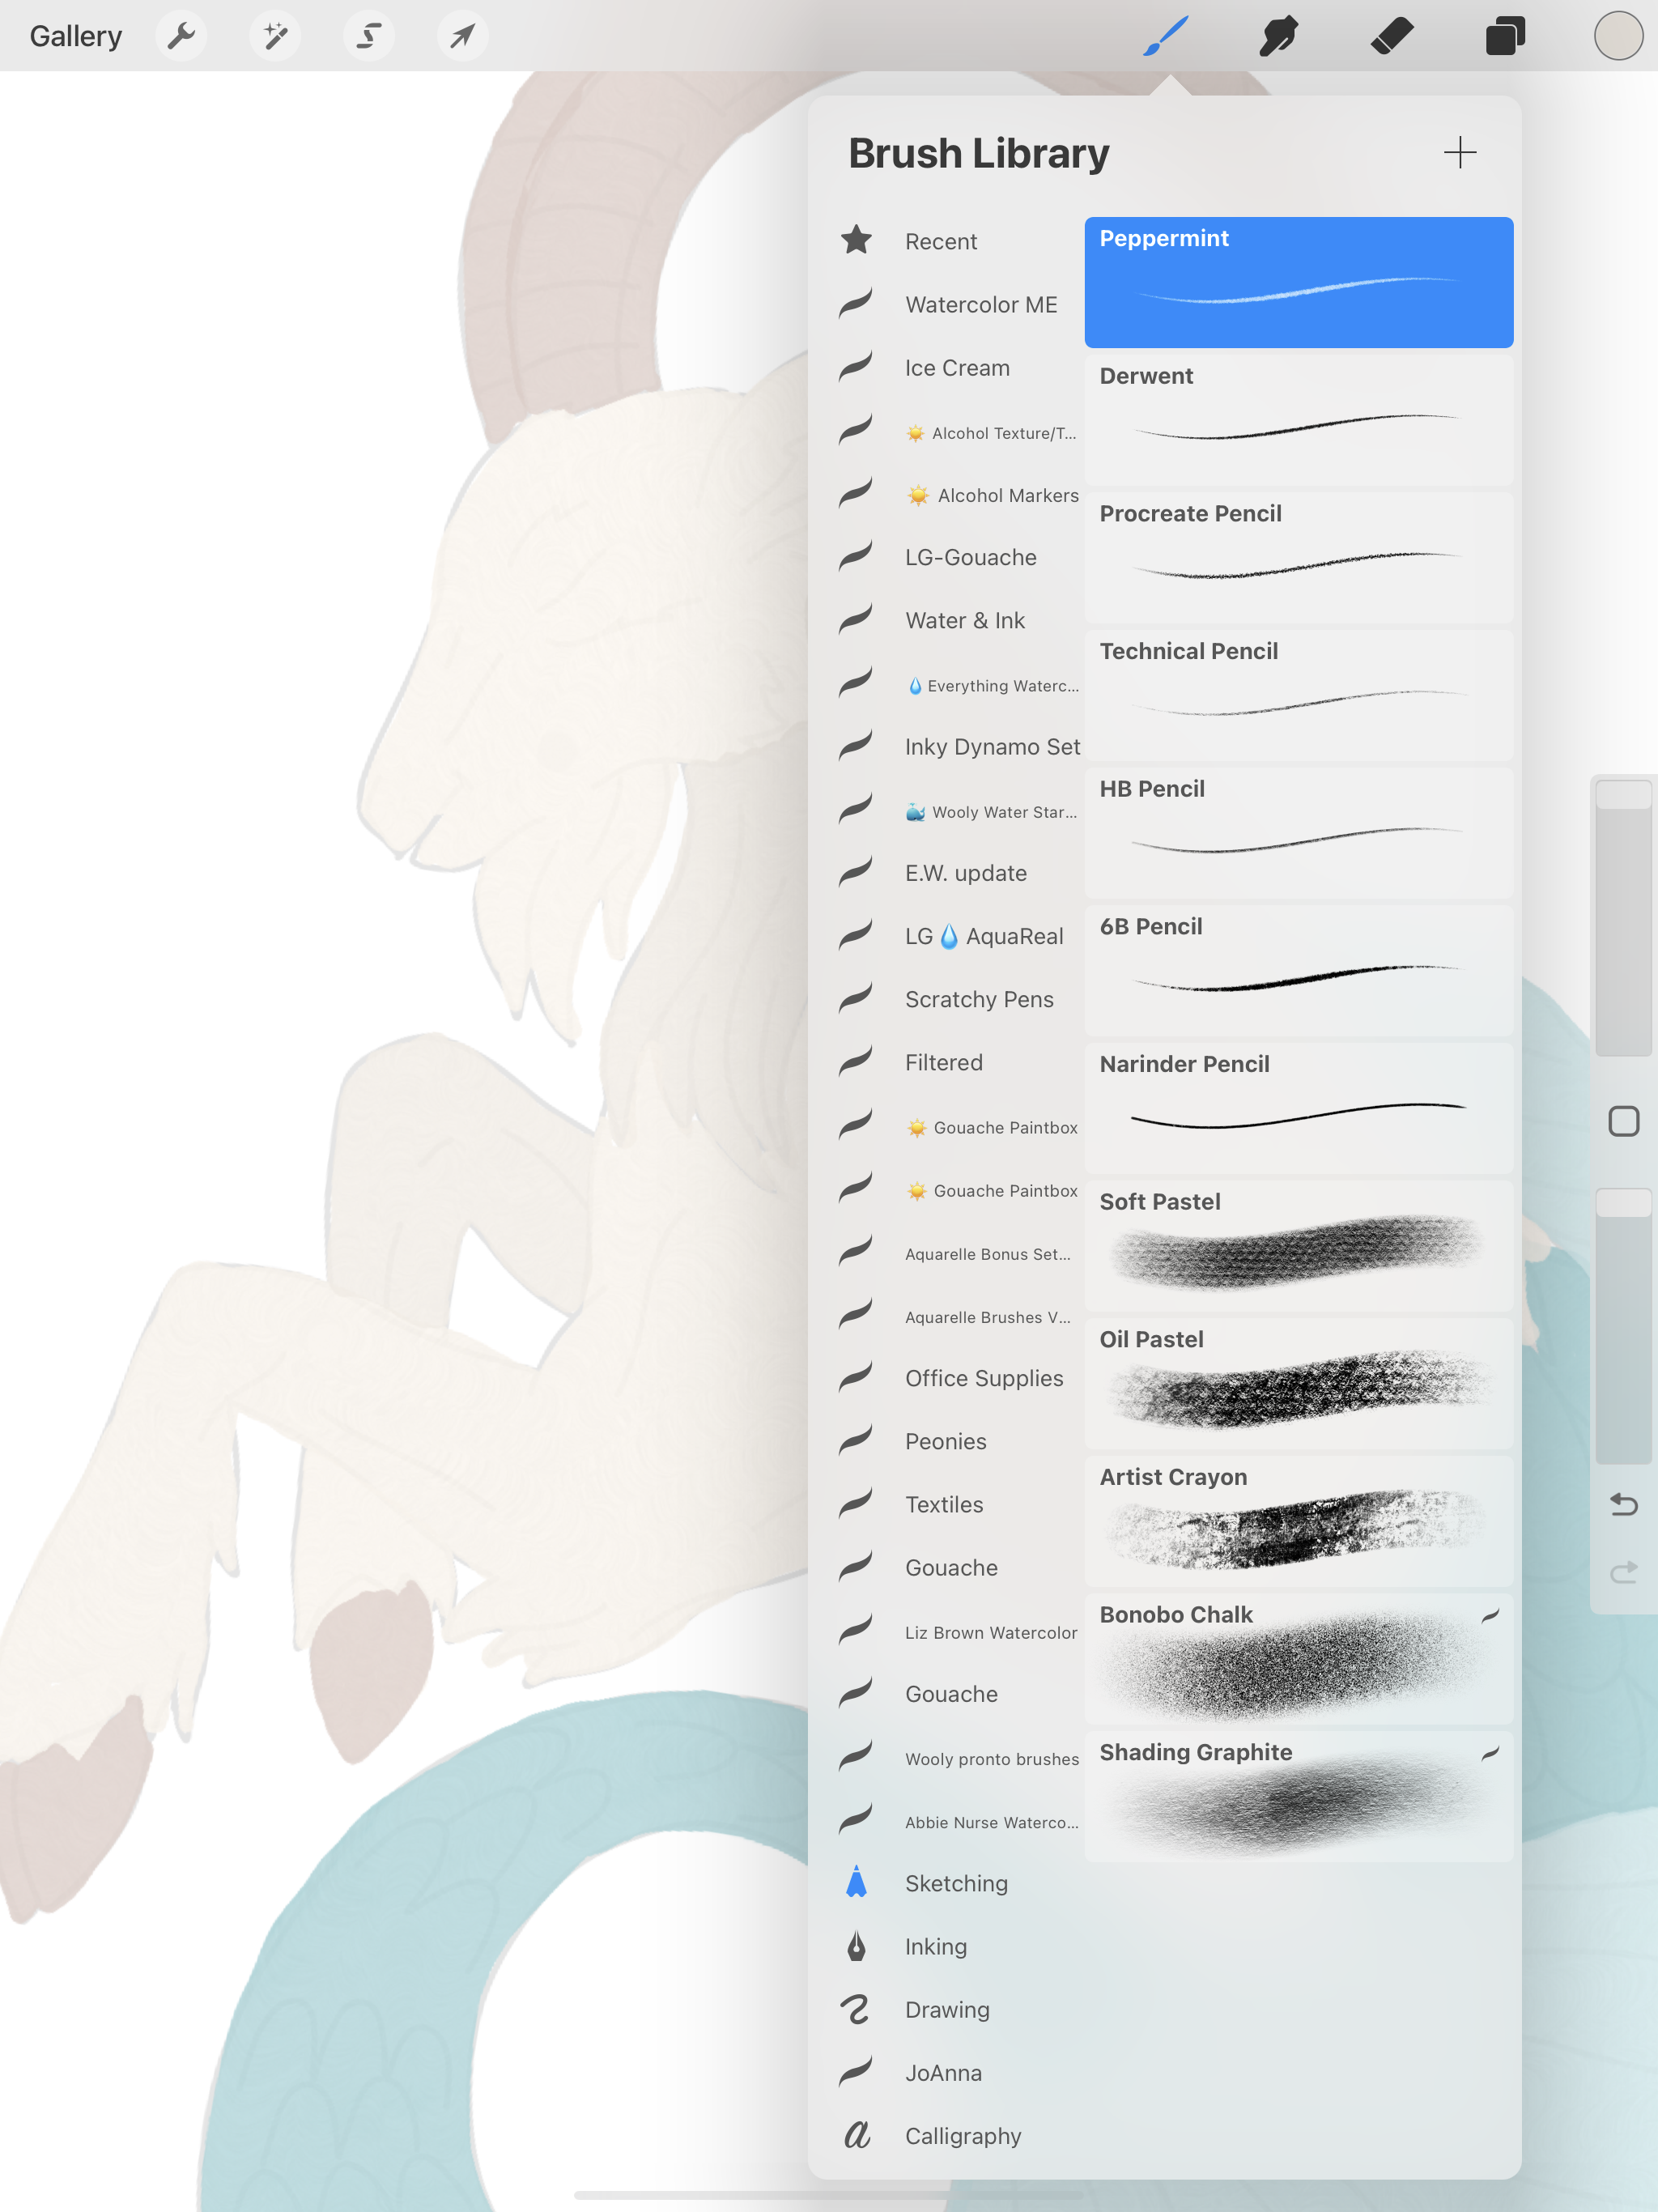
Procreate is one of my absolute favorite apps for the iPad. It is a paid app, but it’s worth every penny in my opinion. It comes with some great brushes already included, there are numerous brush sets you can purchase from other artists, or you can even create you own custom brushes.
Today, I’m going to use a combination of brushes that are included with Procreate and some brushes that I have purchased. But you can absolutely create your own artwork using just the brushes that are already come with Procreate. Let’s get started!
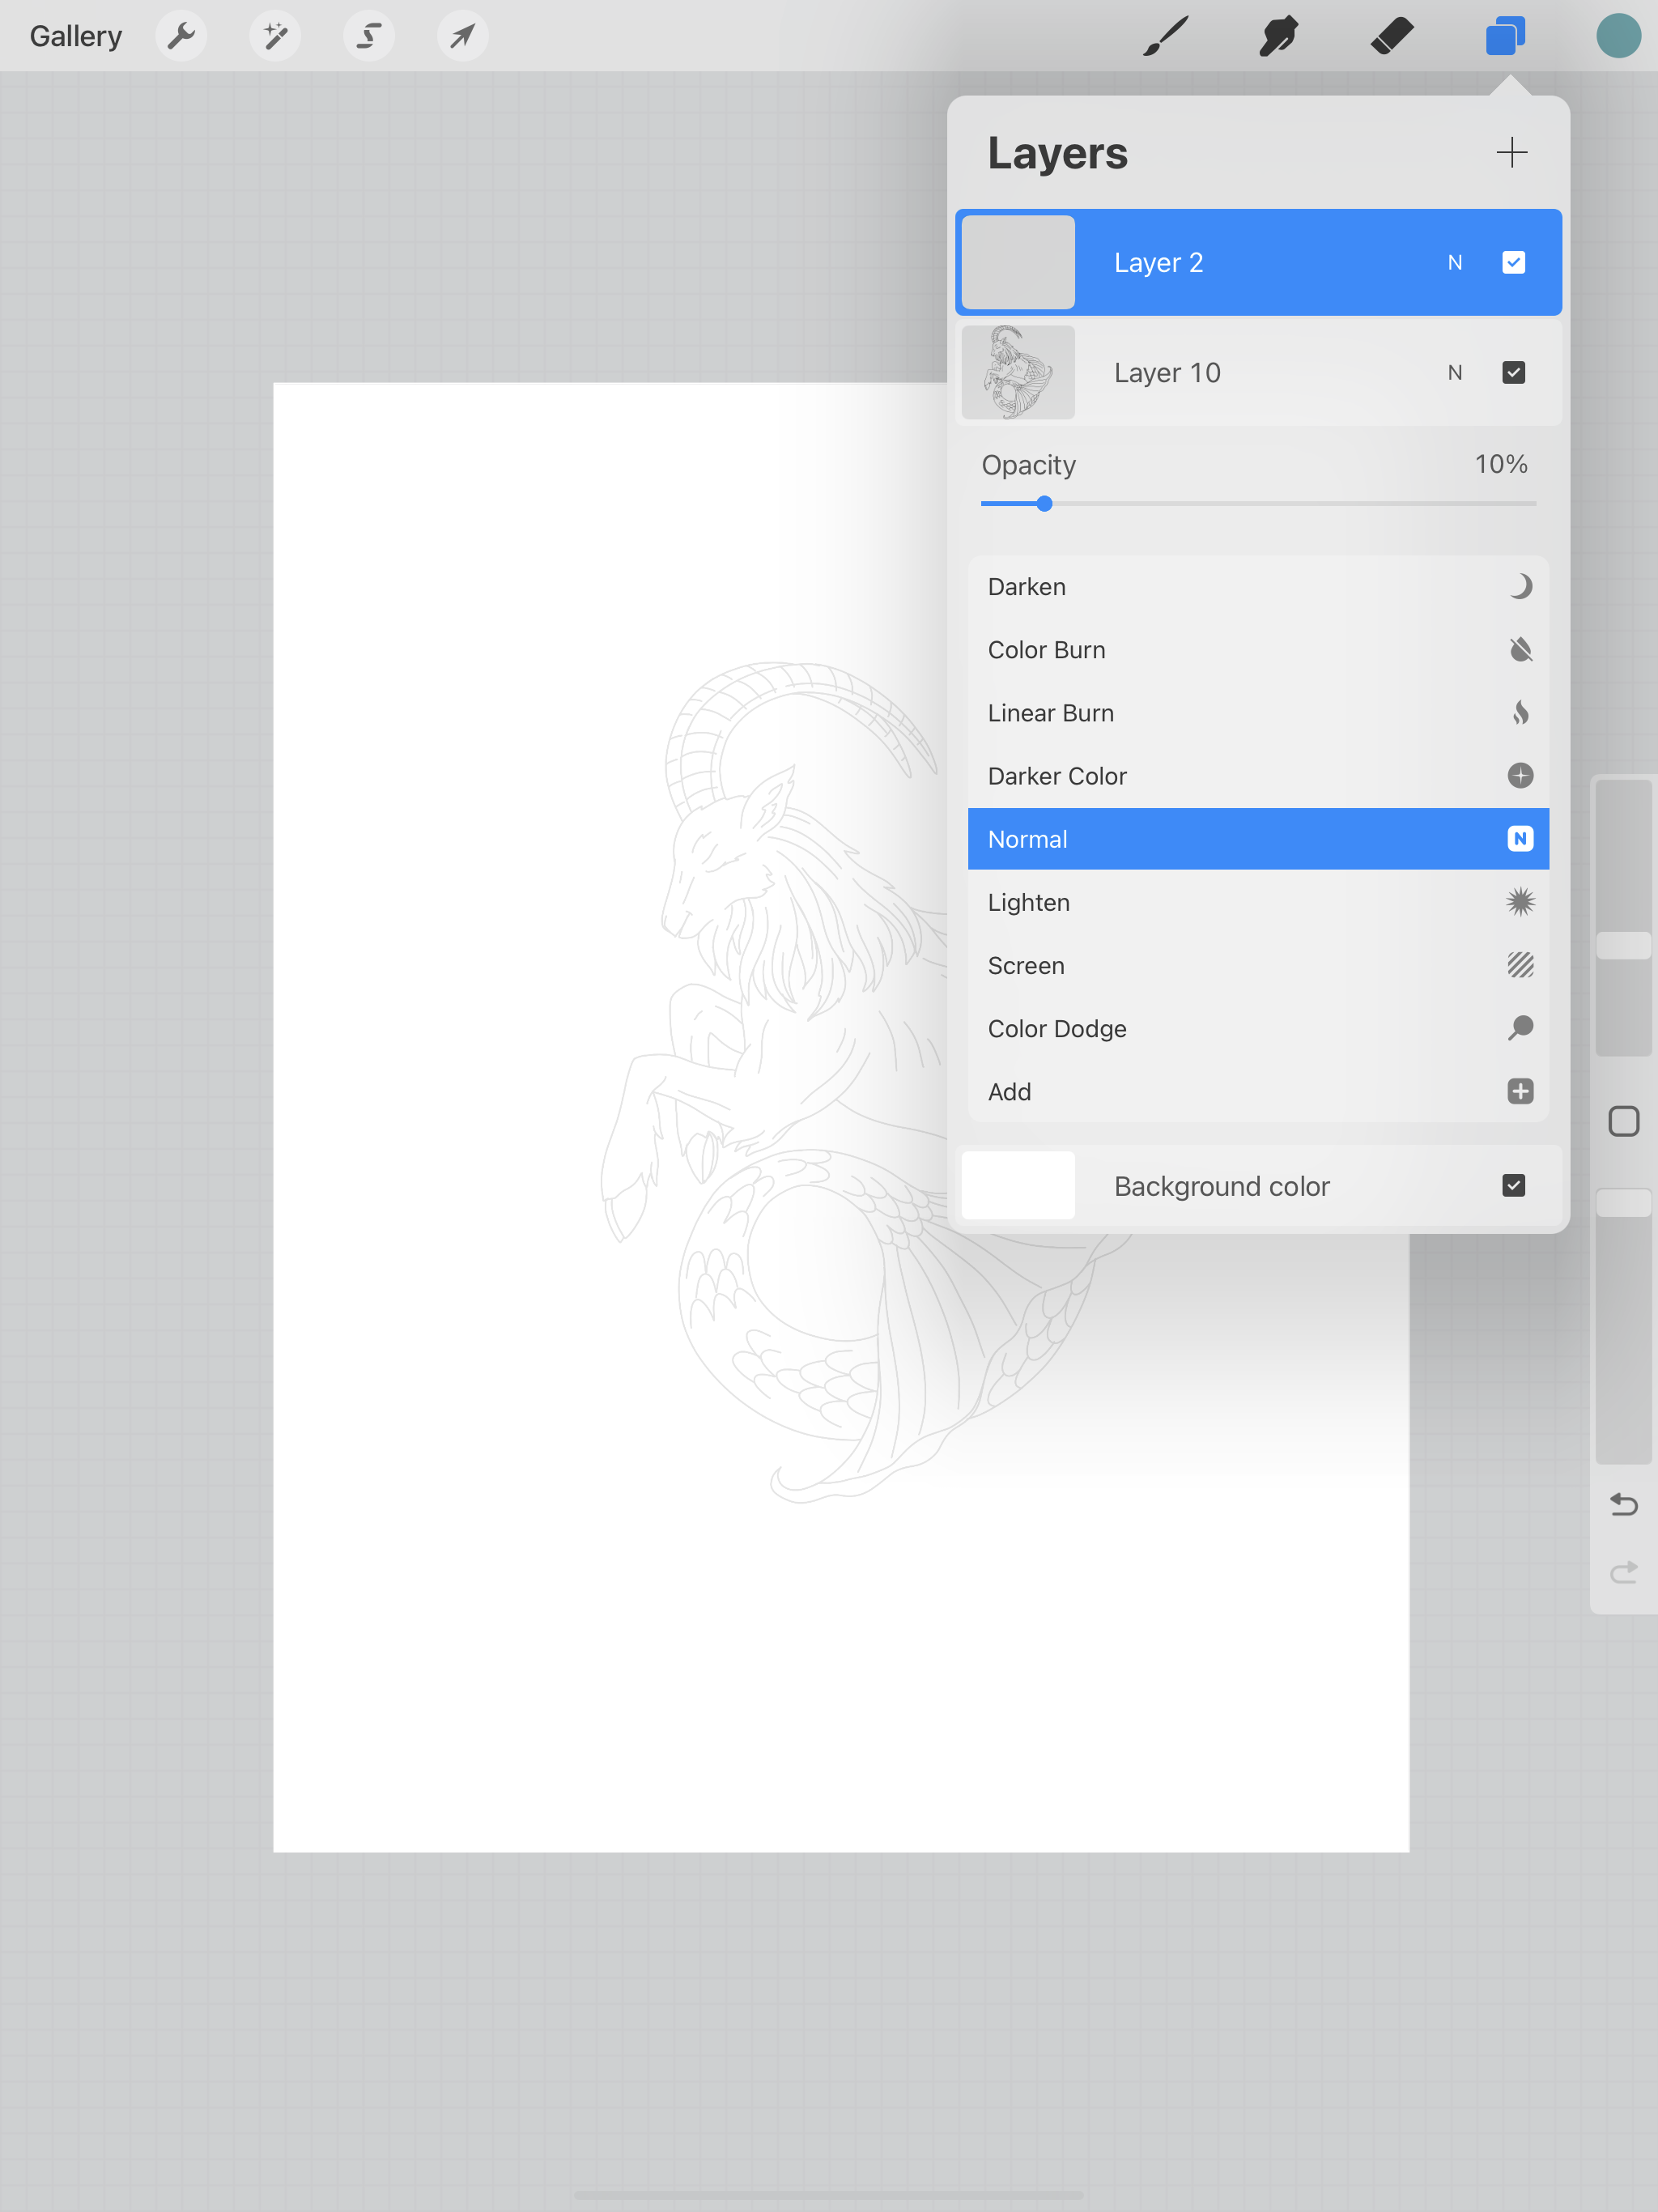
I’m going to open my file that contains my line work for my Capricorn single line file. You can also start with a rough sketch too. I’m going to lower the opacity of this layer to about 10%, it’s visible but won’t interfere with my painting on top too much.
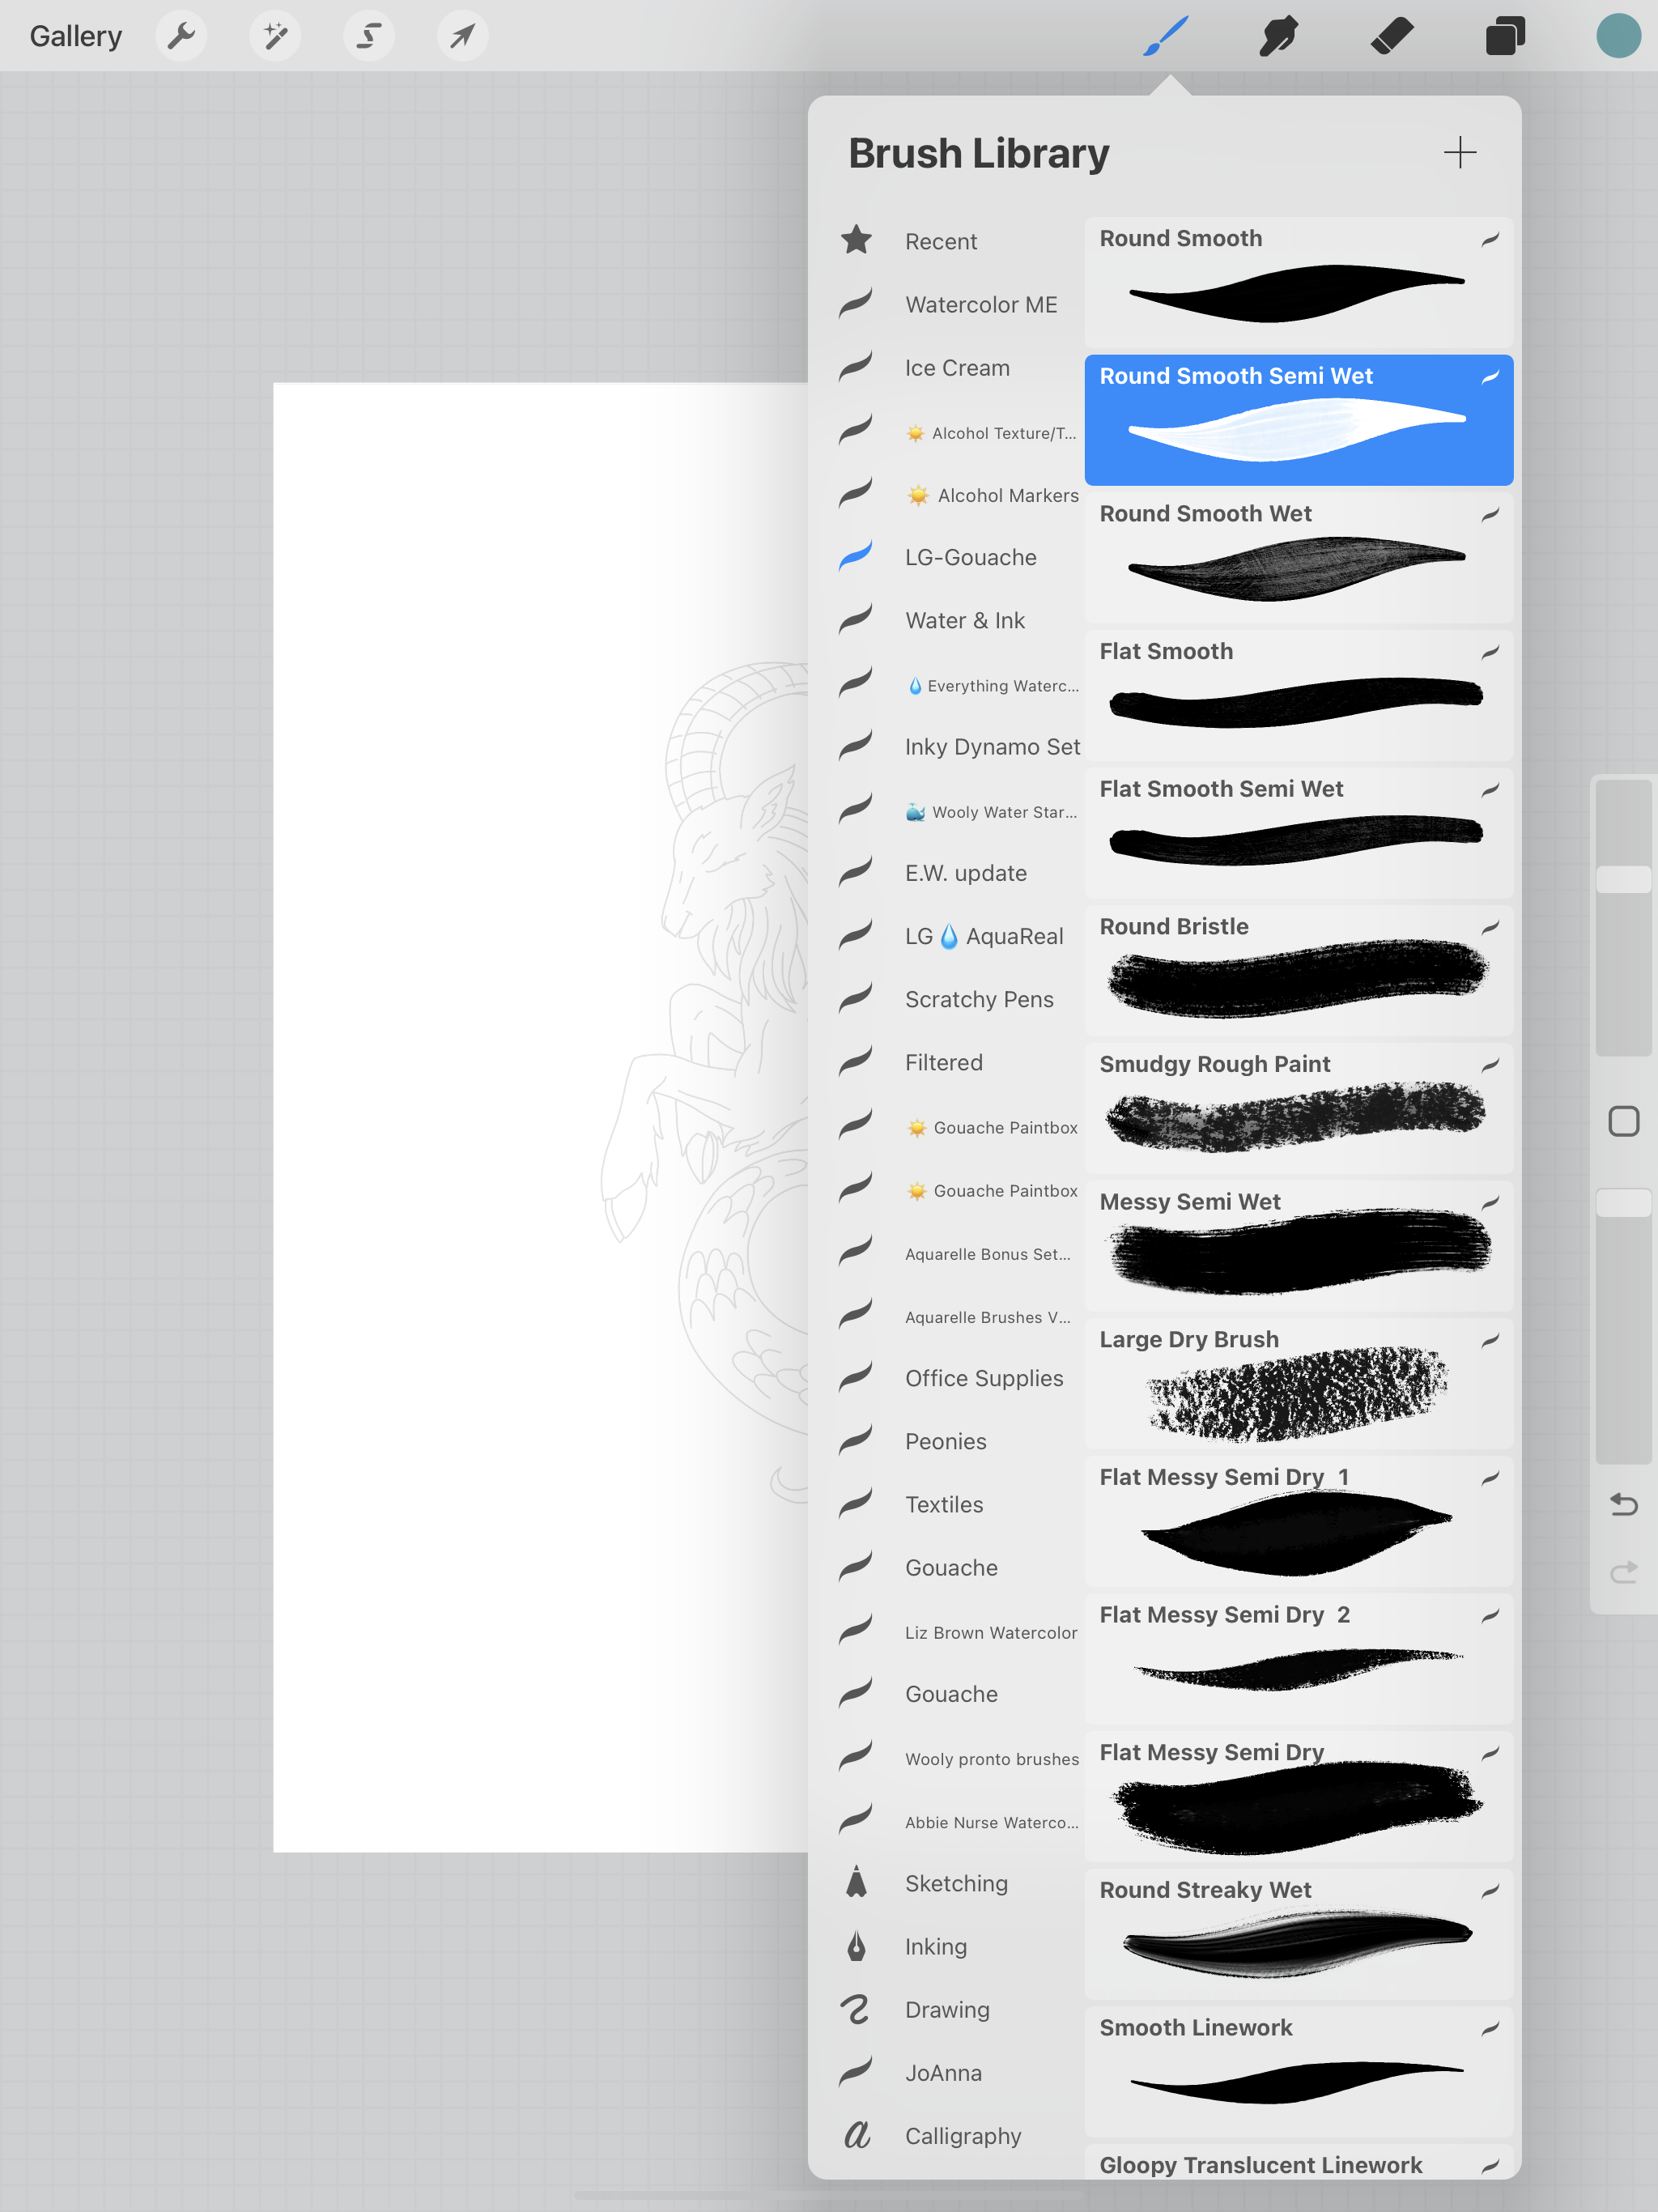
I like to work in a lot of layers, I think it’s easier to make adjustments to individual layers if I need to make any changes the further I get into my drawing or painting. I’m going to start with the tail first and I’m just going to fill in my base layer without any details. I’m using the Round Smooth Semi Wet brush from Lisa Glanz’s Gouache brush set. This is one of my favorite brush sets that I have purchased, I love using these brushes for my gouache style artwork.
The initial color I started with is a litter darker than I wanted, so I’m going to use Hue, Saturation, Brightness to adjust the color to my liking.
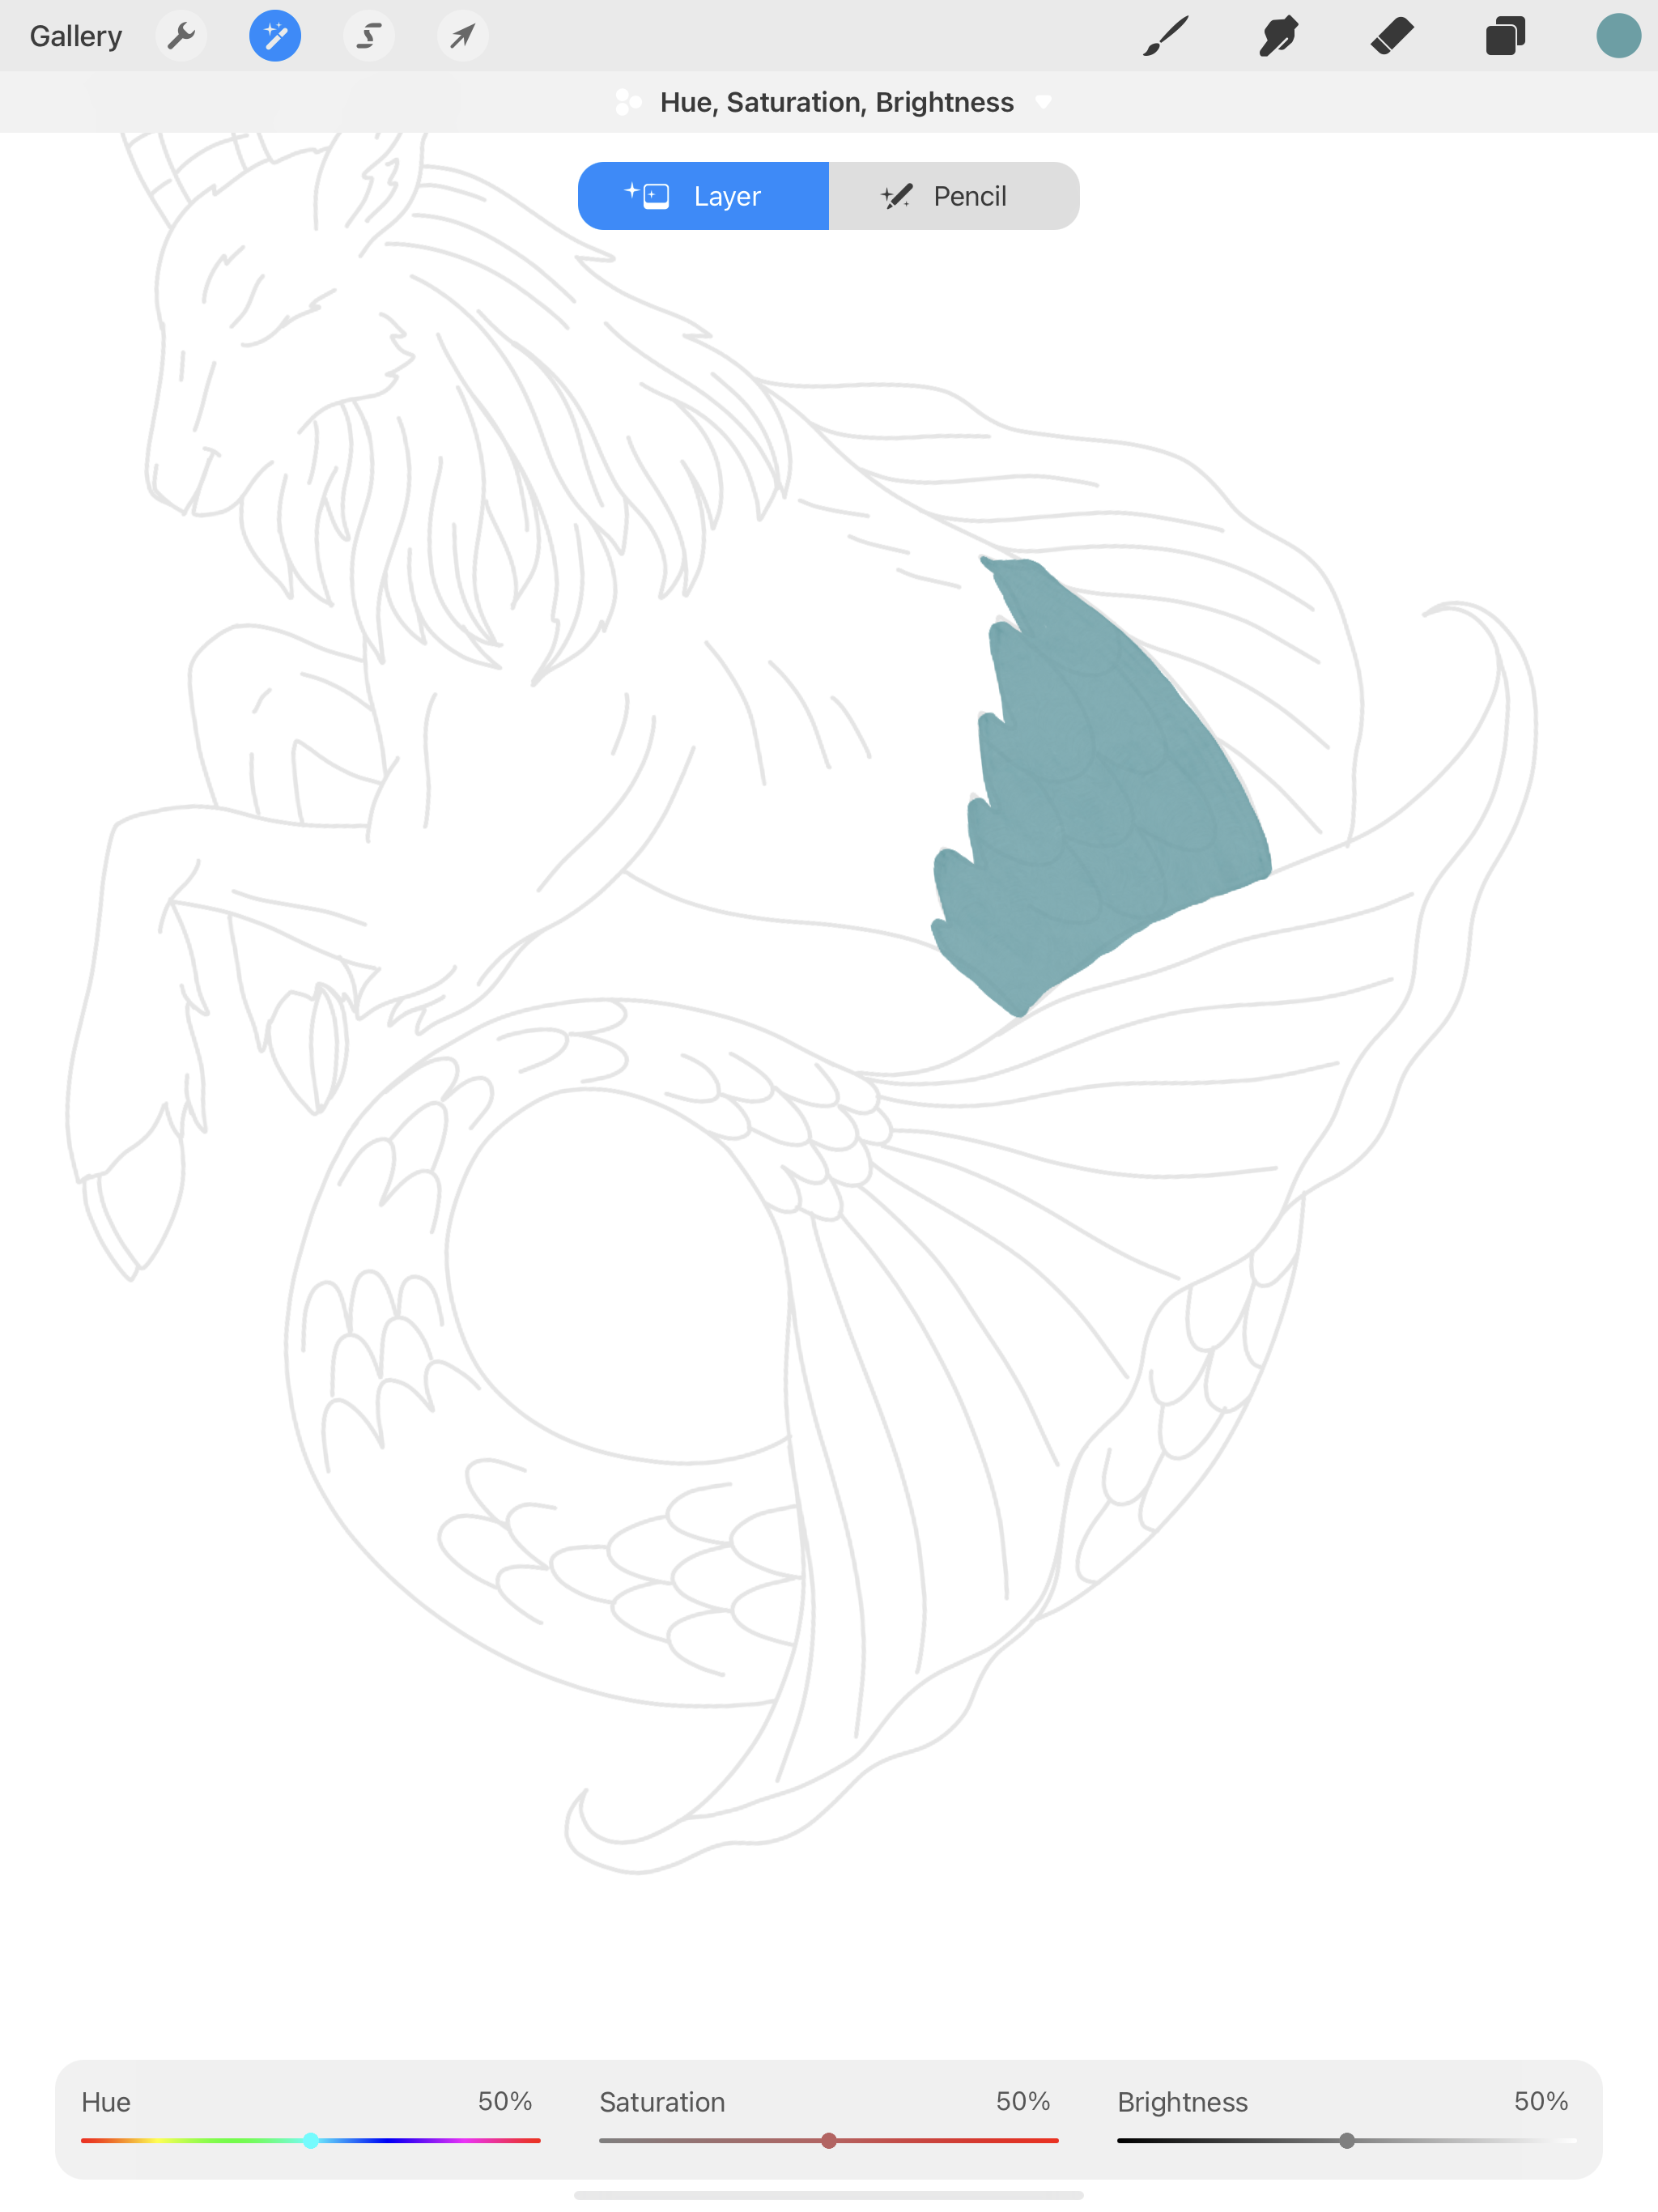
I will use the color picker tool (the little square between the brush sliders) to grab the new adjusted color. Then I will continue to fill in the tail.

I like to have separate layer for each base color. Once I’m finished with the tail, I’m going to fill in the body on it’s own layer.
After the body, I fill in the horns and hooves on their own layer.
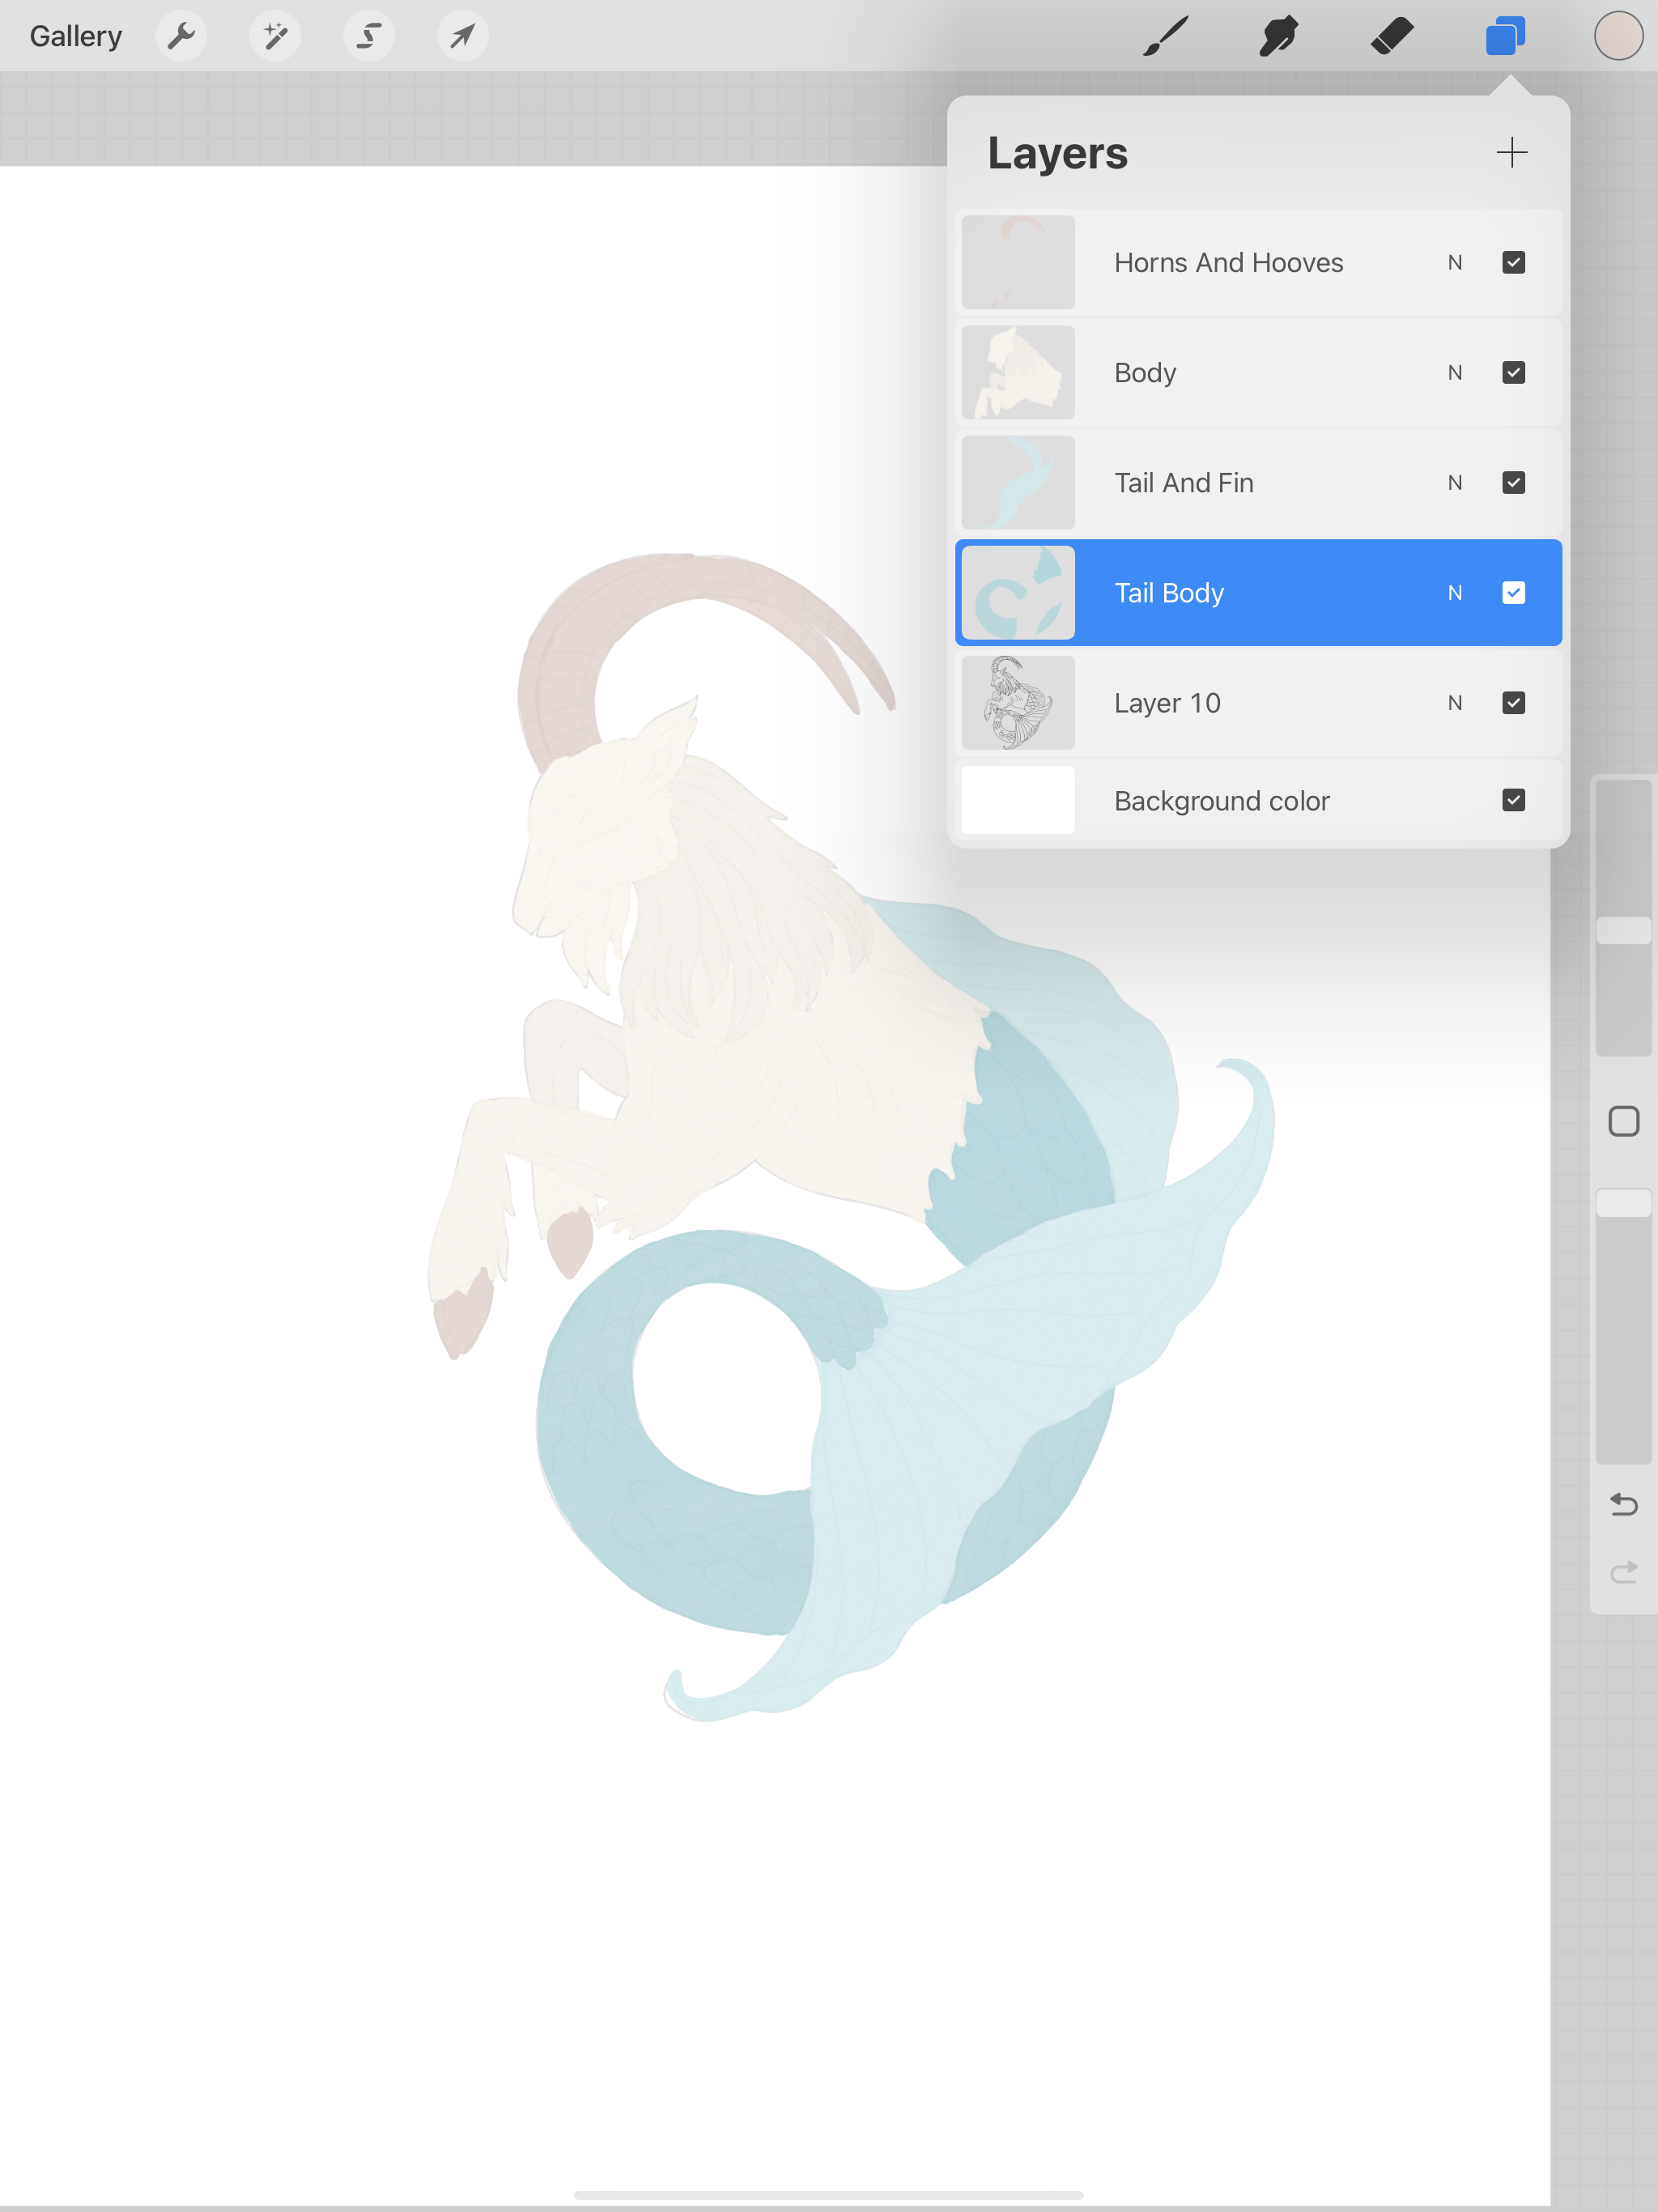
Now I’m going to go in and do some detail work with the Peppermint pencil. This is one of my brushes that is already included with Procreate. The details for the body will be on their own layer and the details for the tail and horns will be on their own layer.
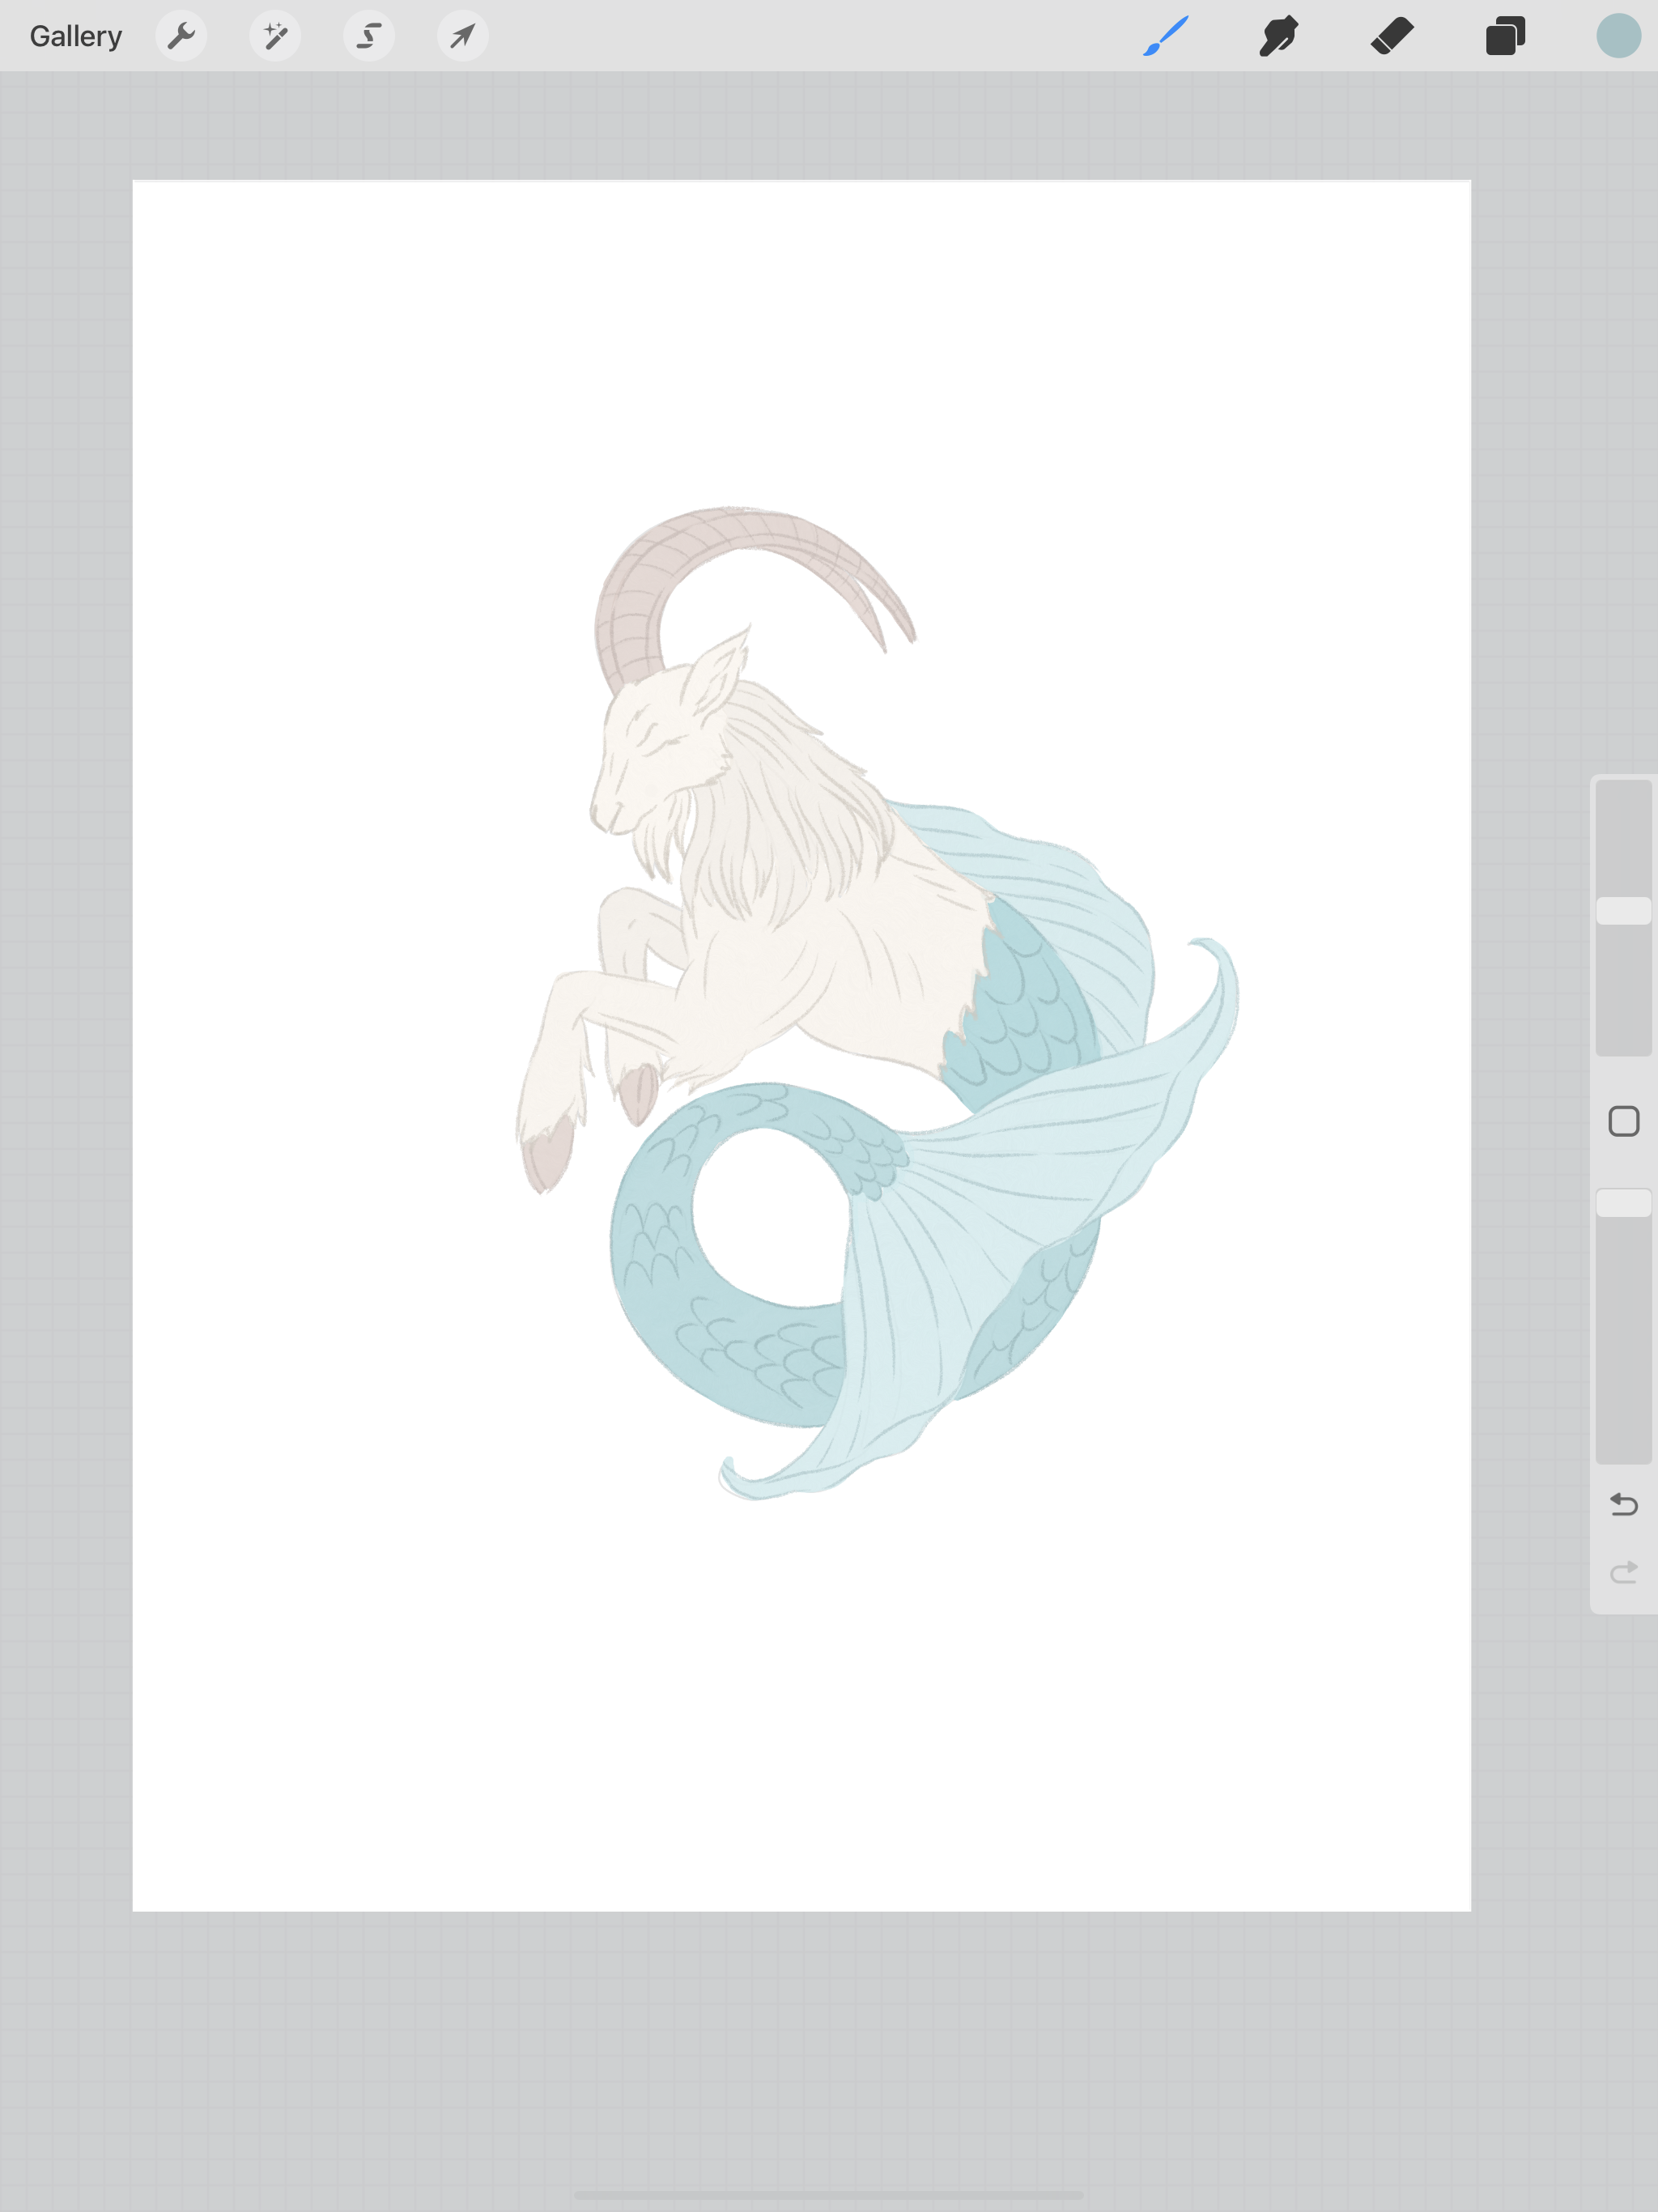
After I’m done with the details, i’m going to go back and add some shadows and highlights with the Thick Sticky brush from Bardot Brushes Gouache Paintbox set. Since I’m working with layers, I can sandwich my shadows and highlight between my pencil details and my base layers.
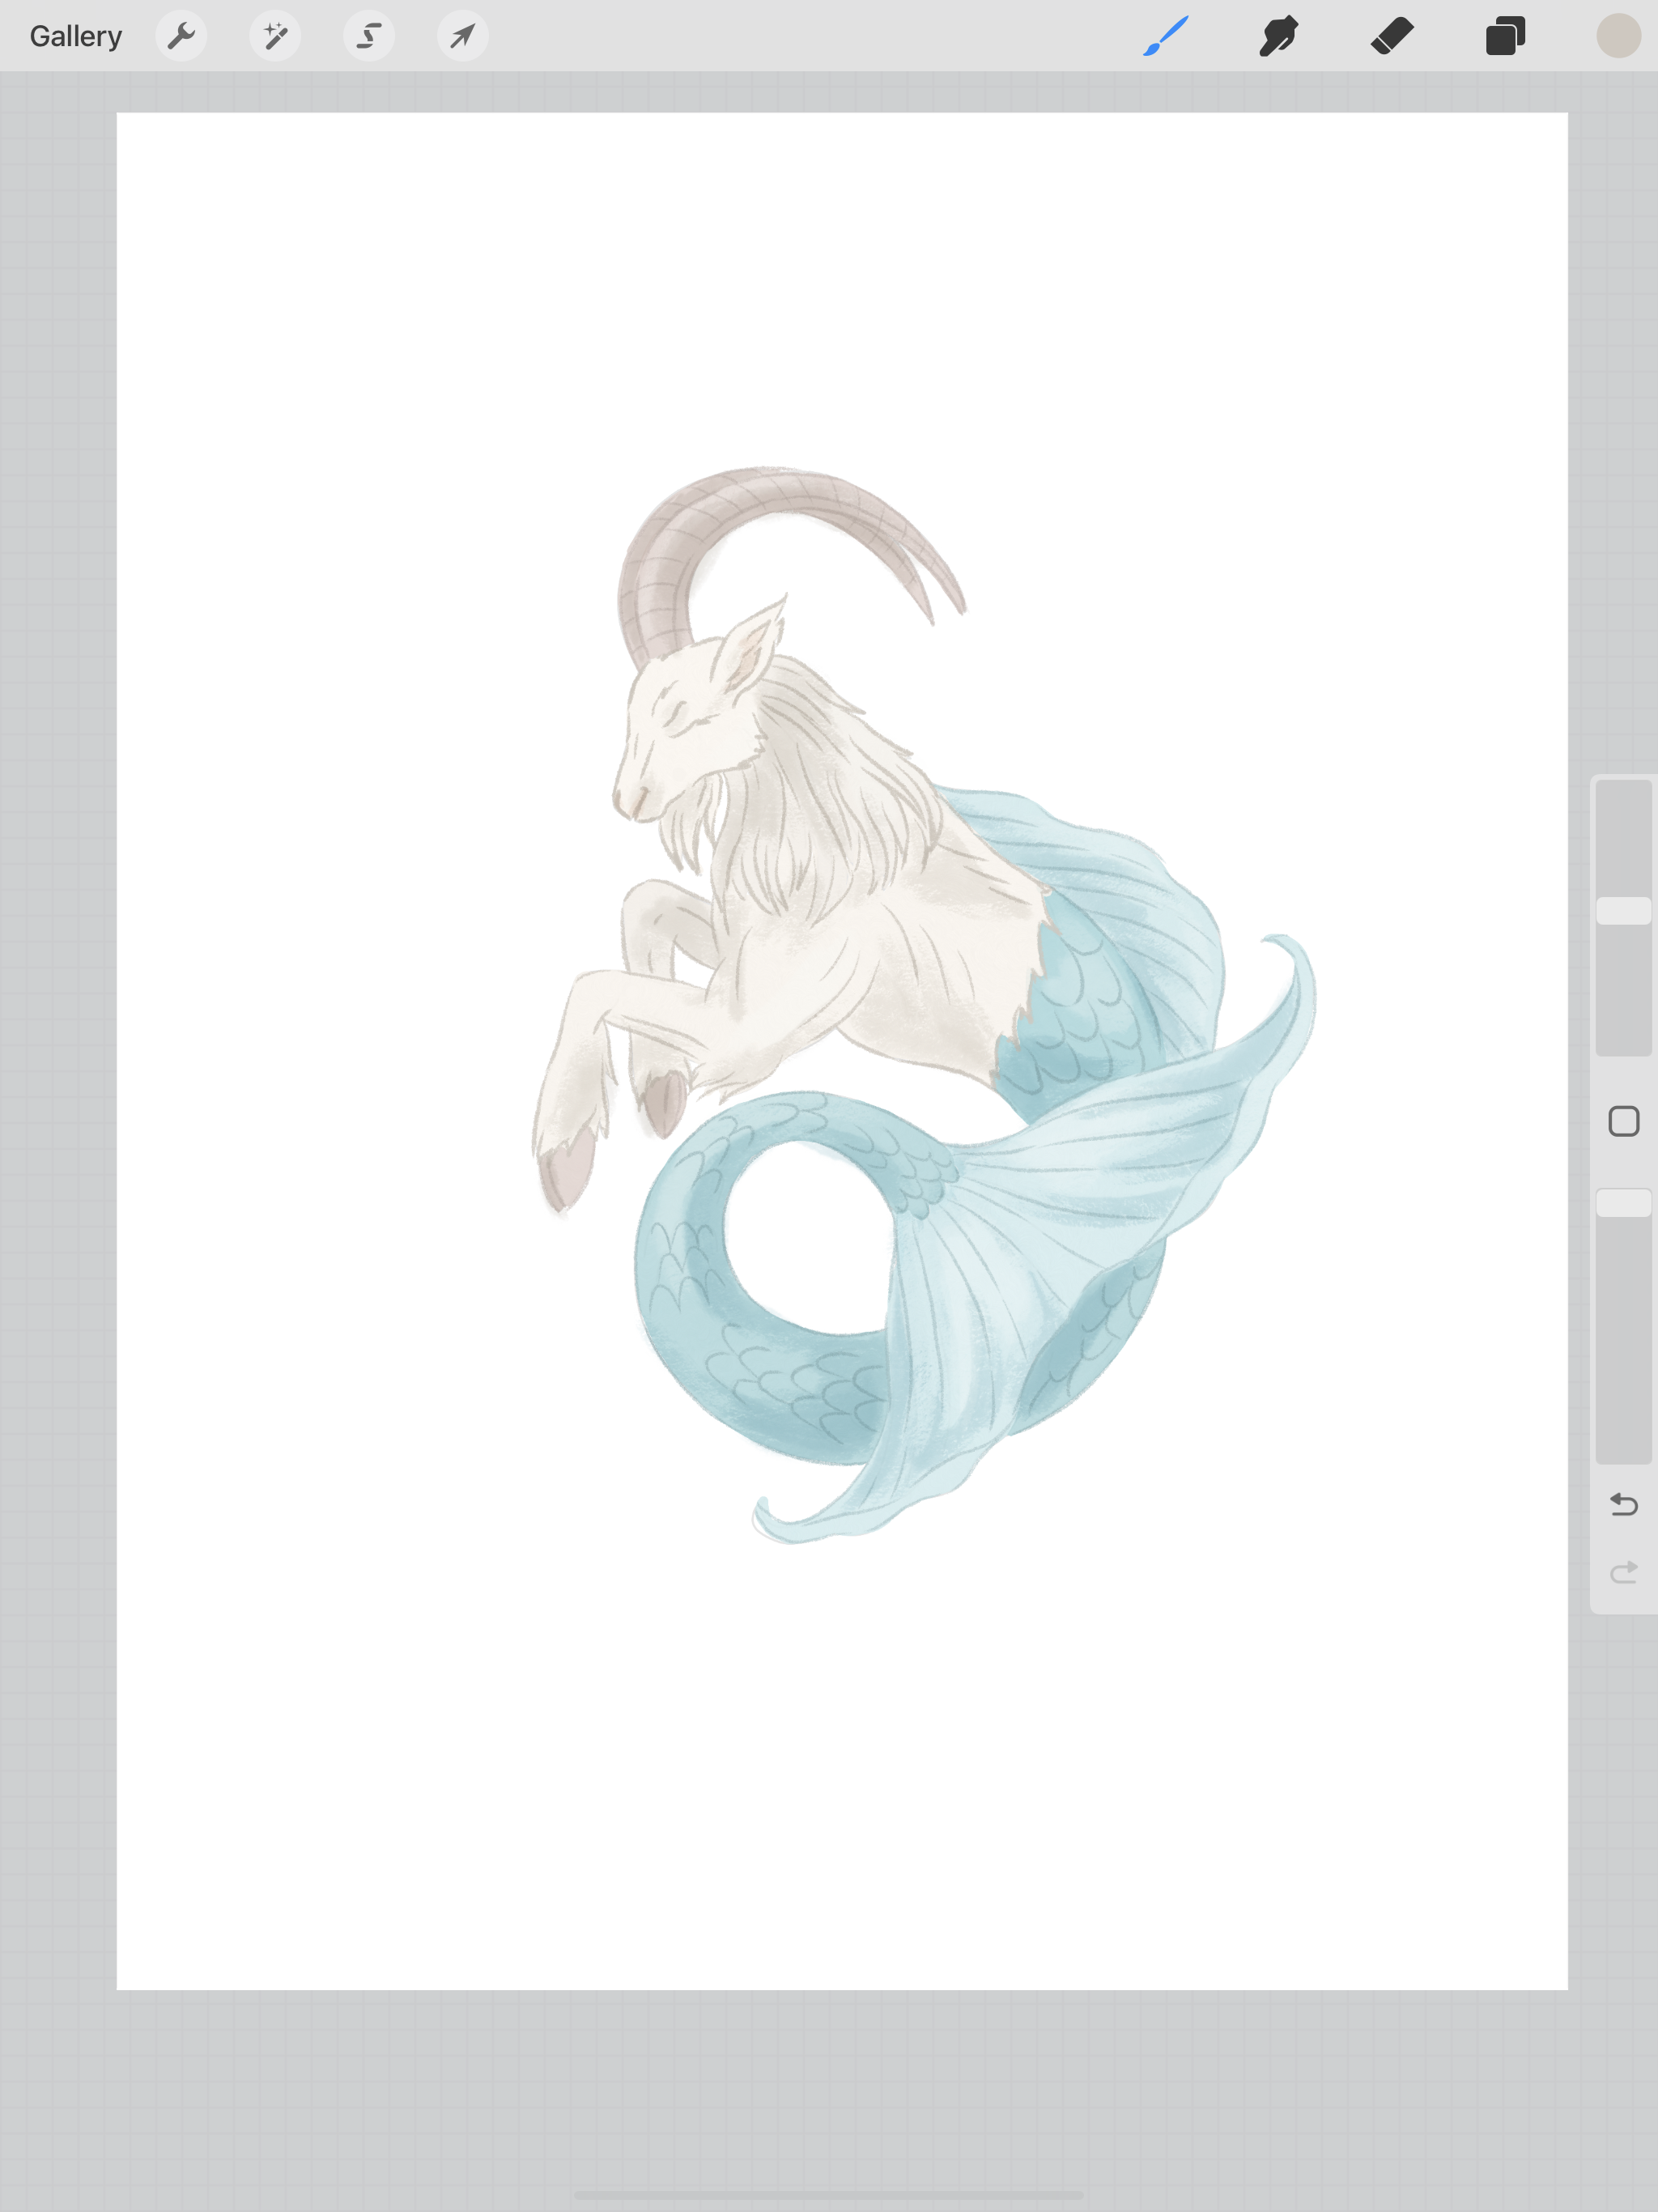
Looking at my drawing/ painting, I want the pencil lines to be a little darker, so I set my layers to Multiply. I still want to to be a little darker, so I swipe left on the layer and duplicate them a few times. Now it’s to my liking!
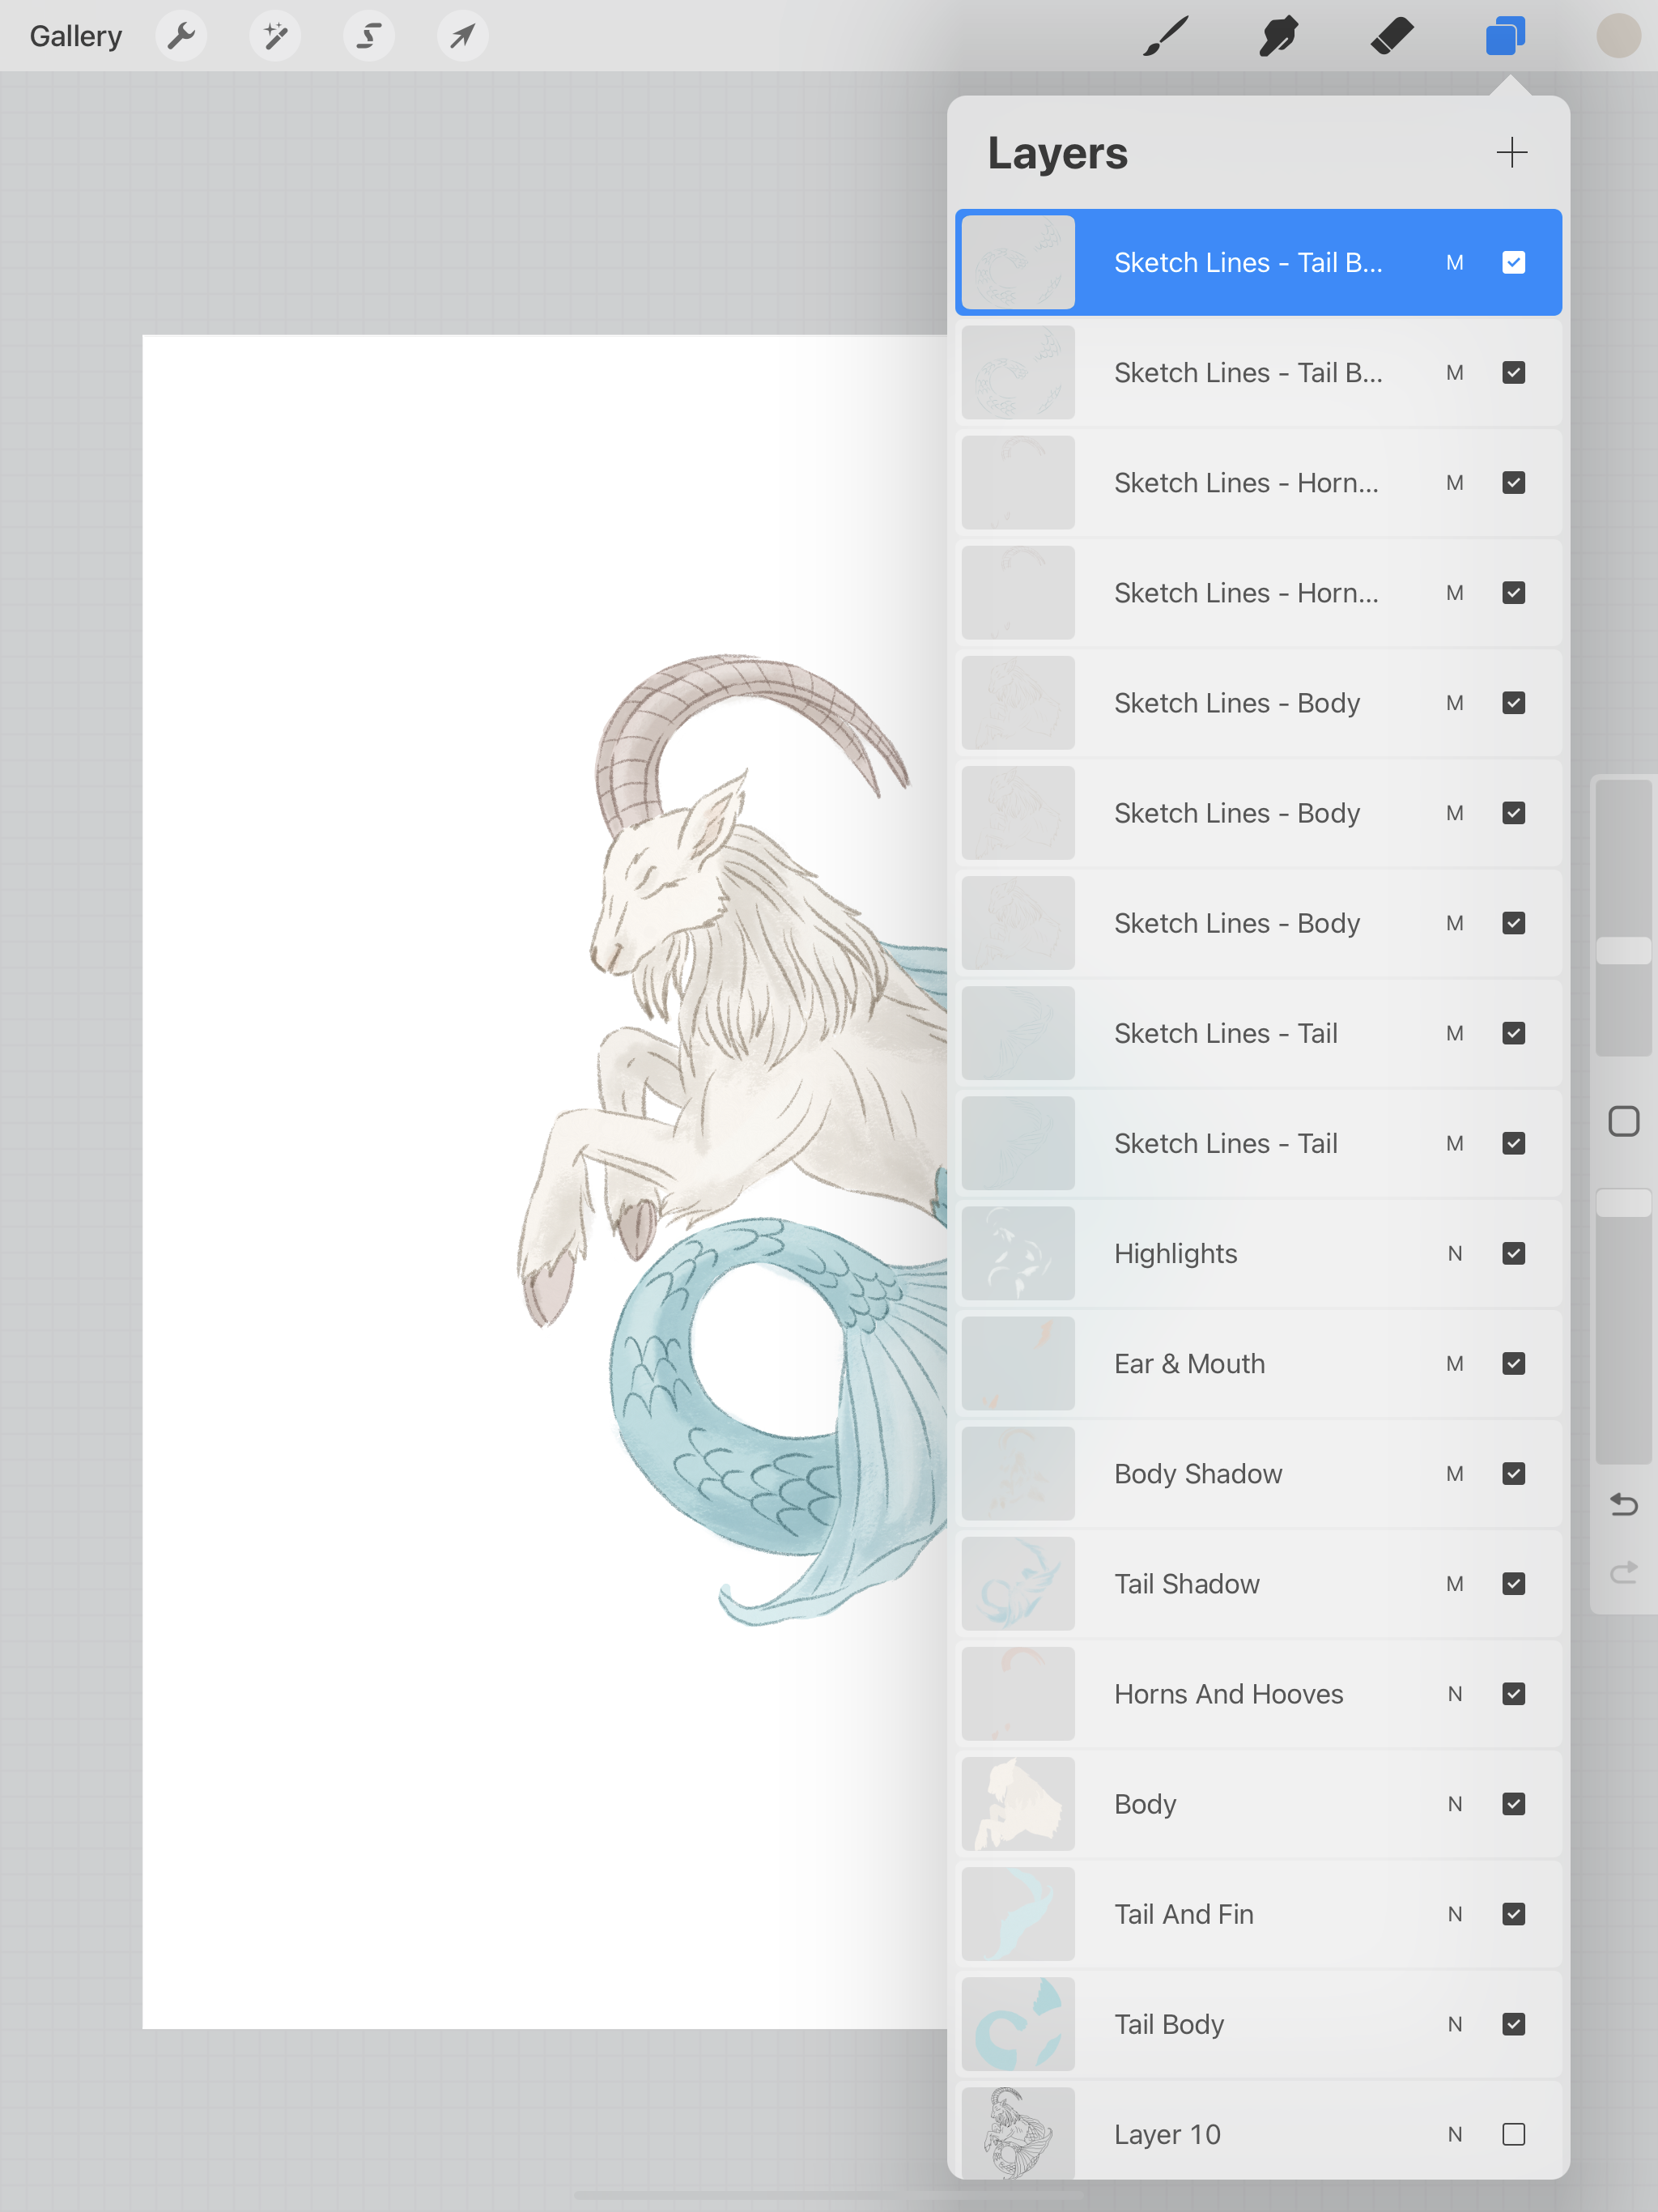
To use this file as a print and cut, I will need to export it as a PNG, this will give it a transparent background and will merge all my layers. If I want to make any color adjustments, I can always go back to my layered file in Procreate and re-export it.