Hi Everyone!
This week I’m going to test the single line SVG file that I created in the Illustrator app last week. I’m going to do this all on my iPad, so I’m going to test it with the Cricut app.
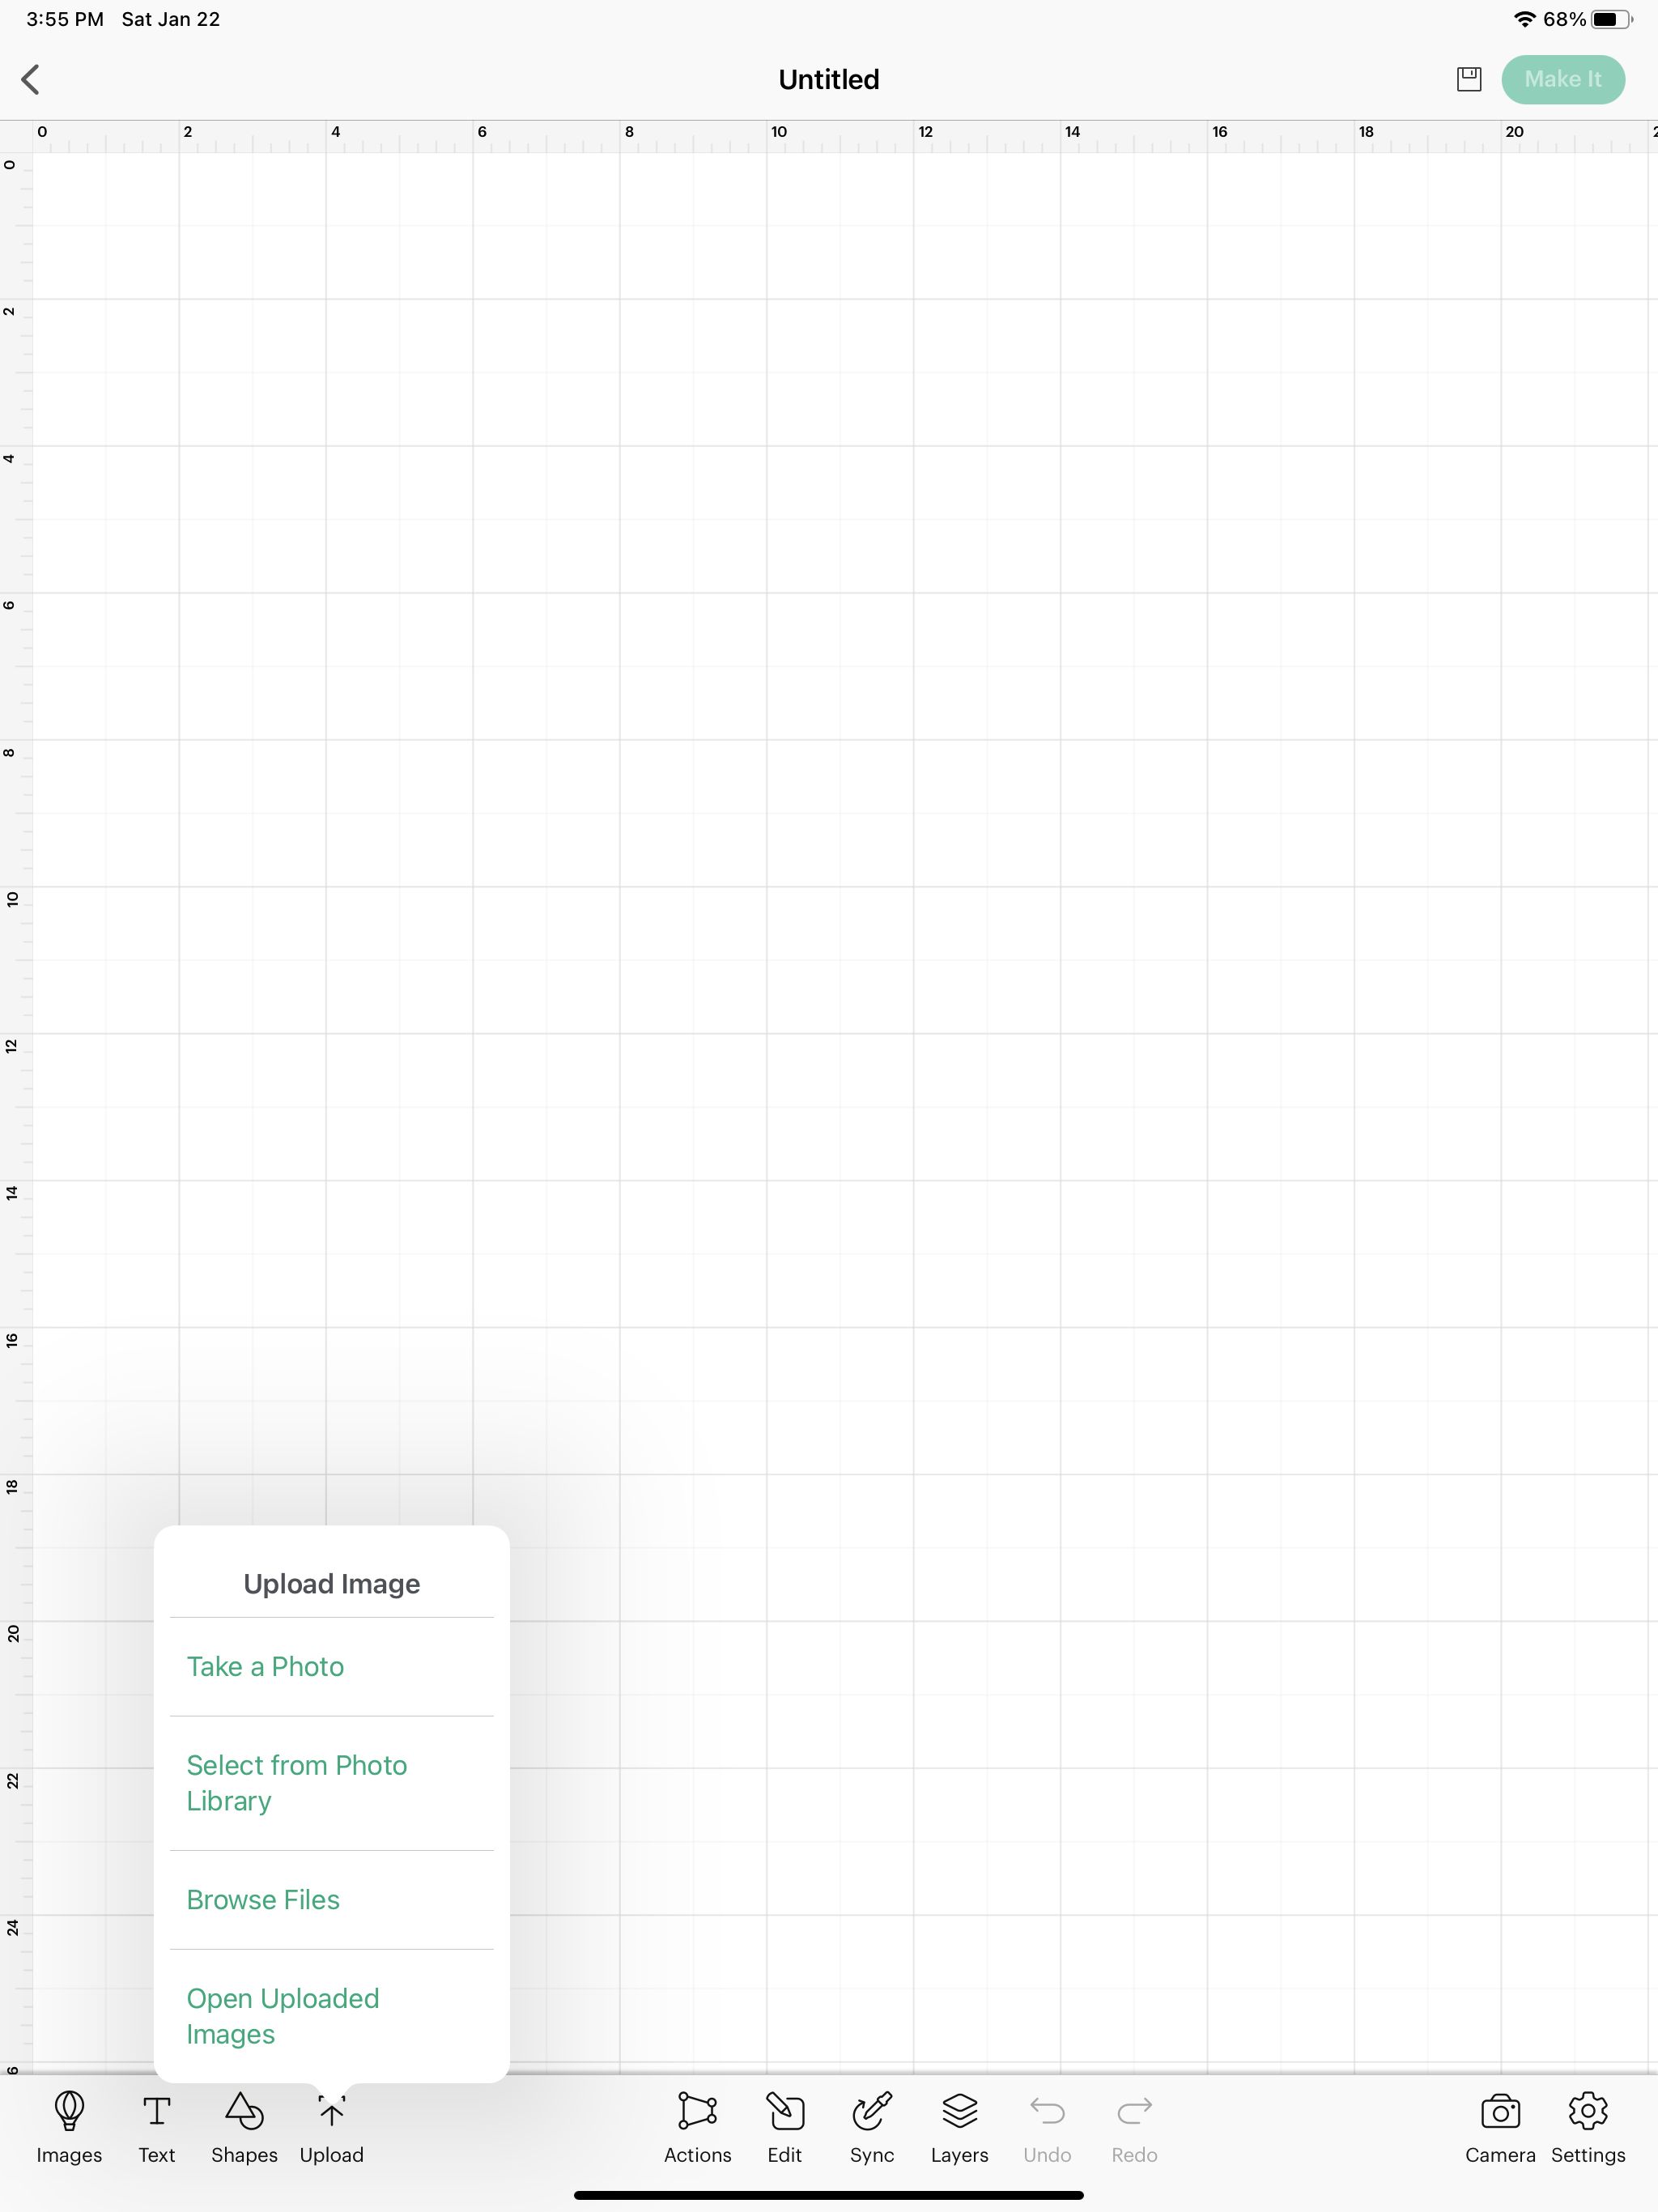
First, I’m going to open the Cricut app and start a new project. Then, down at the bottom of the screen, I’m going to select UPLOAD and BROWSE FILES.
In last week’s tutorial, I saved my design on my iPad as an SVG file. Now. I need to locate that file on my iPad. I saved mine in my Illustrator folder.
Inside the Illustrator folder I select my Capricorn file.
Cricut Design Space will show a preview of the file. It will default to a CUT image. I can’t change it to a DRAW file until it’s uploaded into Design Space. So now, I can name my file and click save in the upper right corner.
After I click save, Design Space will bring up all my uploaded images. I select my Capricorn file and click INSERT down in the bottom right corner.
Now, my file is on my canvas. I’m going to scale it down a little bit, so it fits on the piece of cardstock I will be using to do my test drawing. I’m also going to change this to a DRAW file. Down in the bottom tool bar, select EDIT, then where it says BASIC CUT on the bottom left, select that and change it to DRAW/ Pen.
Here I can change the pen type and color. I’m using my Fine Point Black pen. I’m going to change the color just for visibility purposes in Design Space. My machine cannot determine the actual pen color I’m using, so I can select whatever color I want.
Even though all of my lines are already grouped together, I still need to ATTACH them. Otherwise Design Space will spread them out all weird on the mat when I select Make It. Down in the bottom tool bar I select ACTIONS then I select ATTACH. Now I’m ready to SAVE my file and then select Make It.
I’m going to position my design relative to where I have my piece of cardstock on my actual mat.
Click NEXT and then select my Maker machine.
I’m using a scarp piece of cardstock, so I select Heavy Cardstock as my material. and I load my Black fine point pen and my mat into my machine, and Press GO!!
After my machine is done drawing, I check my design to see if skipped any of my lines. If any parts of your design are missing, try re-uploading your SVG file into Design Space.
It looks like all of my lines are there, now I’m going to try out my design with my WRMK foil quill. I can use my Foil Quill with my iPad because my machine treats it like a pen. I cannot use my Cricut Foil Transfer tool with my iPad, I don’t know why Cricut hasn’t figured that one out yet.
But here it is with silver foil on black cardstock! Now that I’ve tested my file and it works, I can use it for whatever projects I want.


