Procreate clip art

Another Style of Watercolor Clipart in Procreate

Hi Everyone!

This week I’m going to share another variation of watercolor style clipart in Procreate. I will be using some of the same brushes as last week from the Everything Watercolor brush set by Uproot Brushes. Let’s get started!

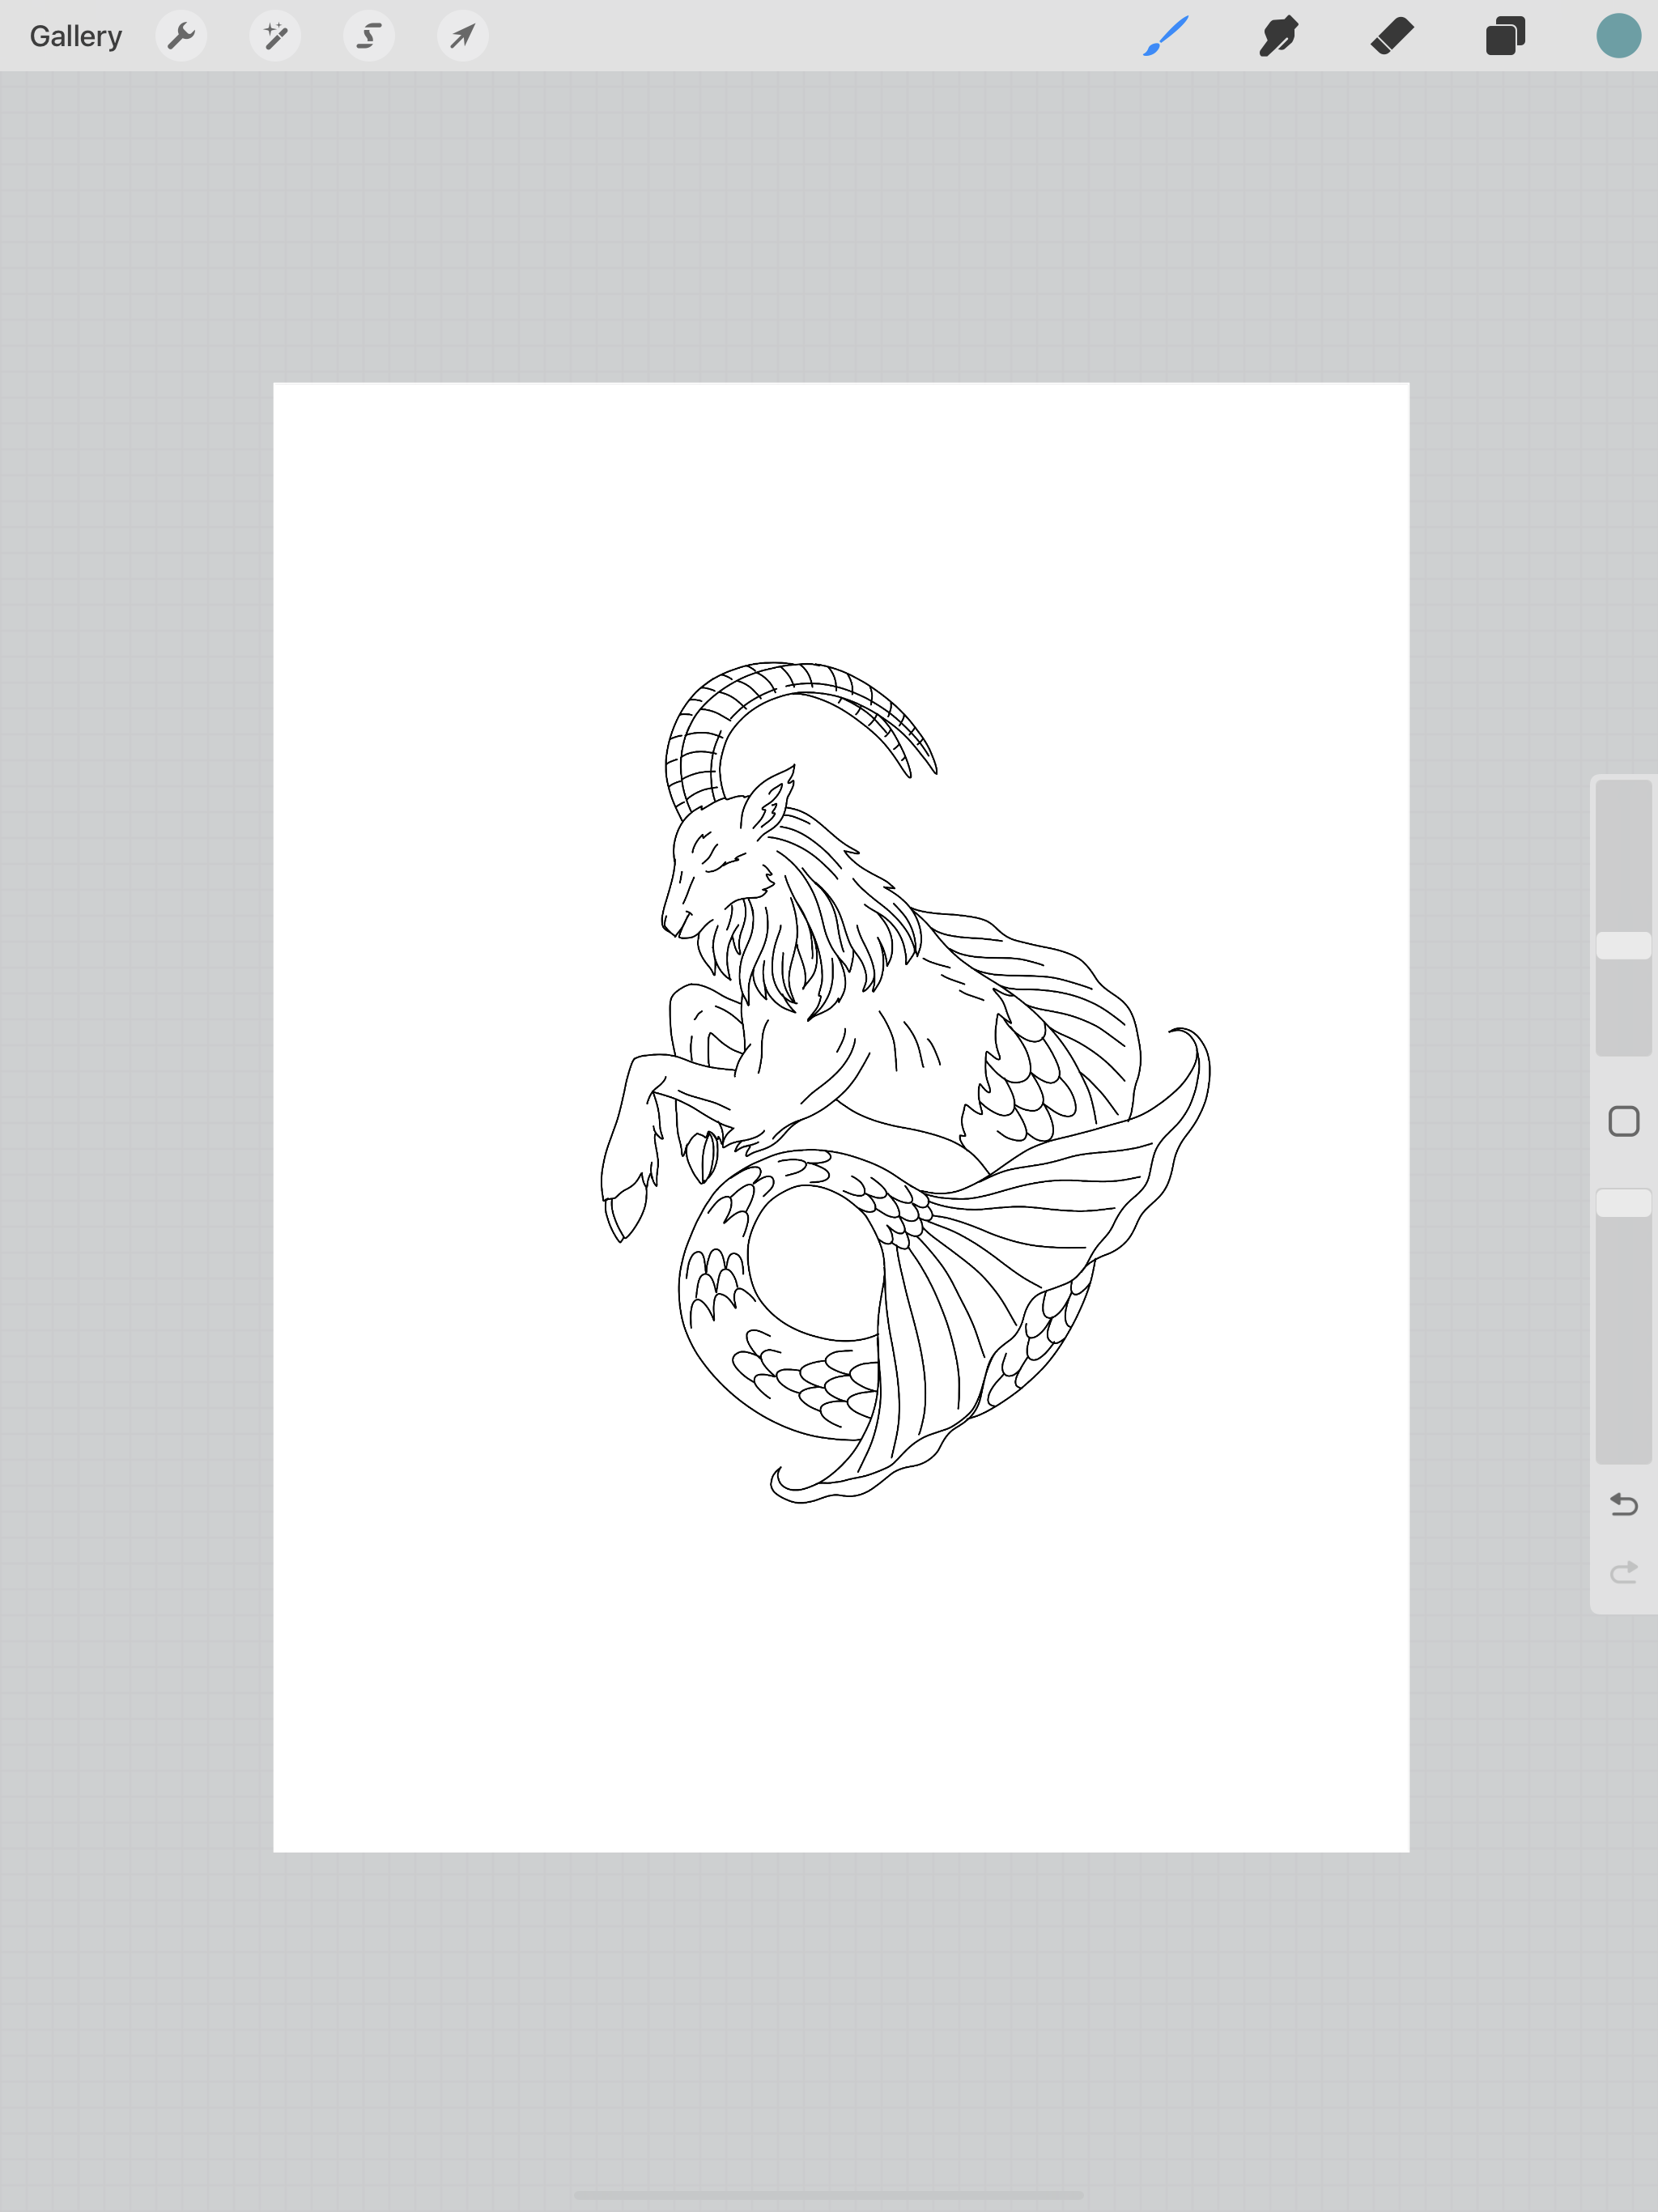
I will be using my same Capricorn line drawing from the past few weeks. At the end of this post you will see all the different ways I’ve used this same base drawing and rendered it different ways.

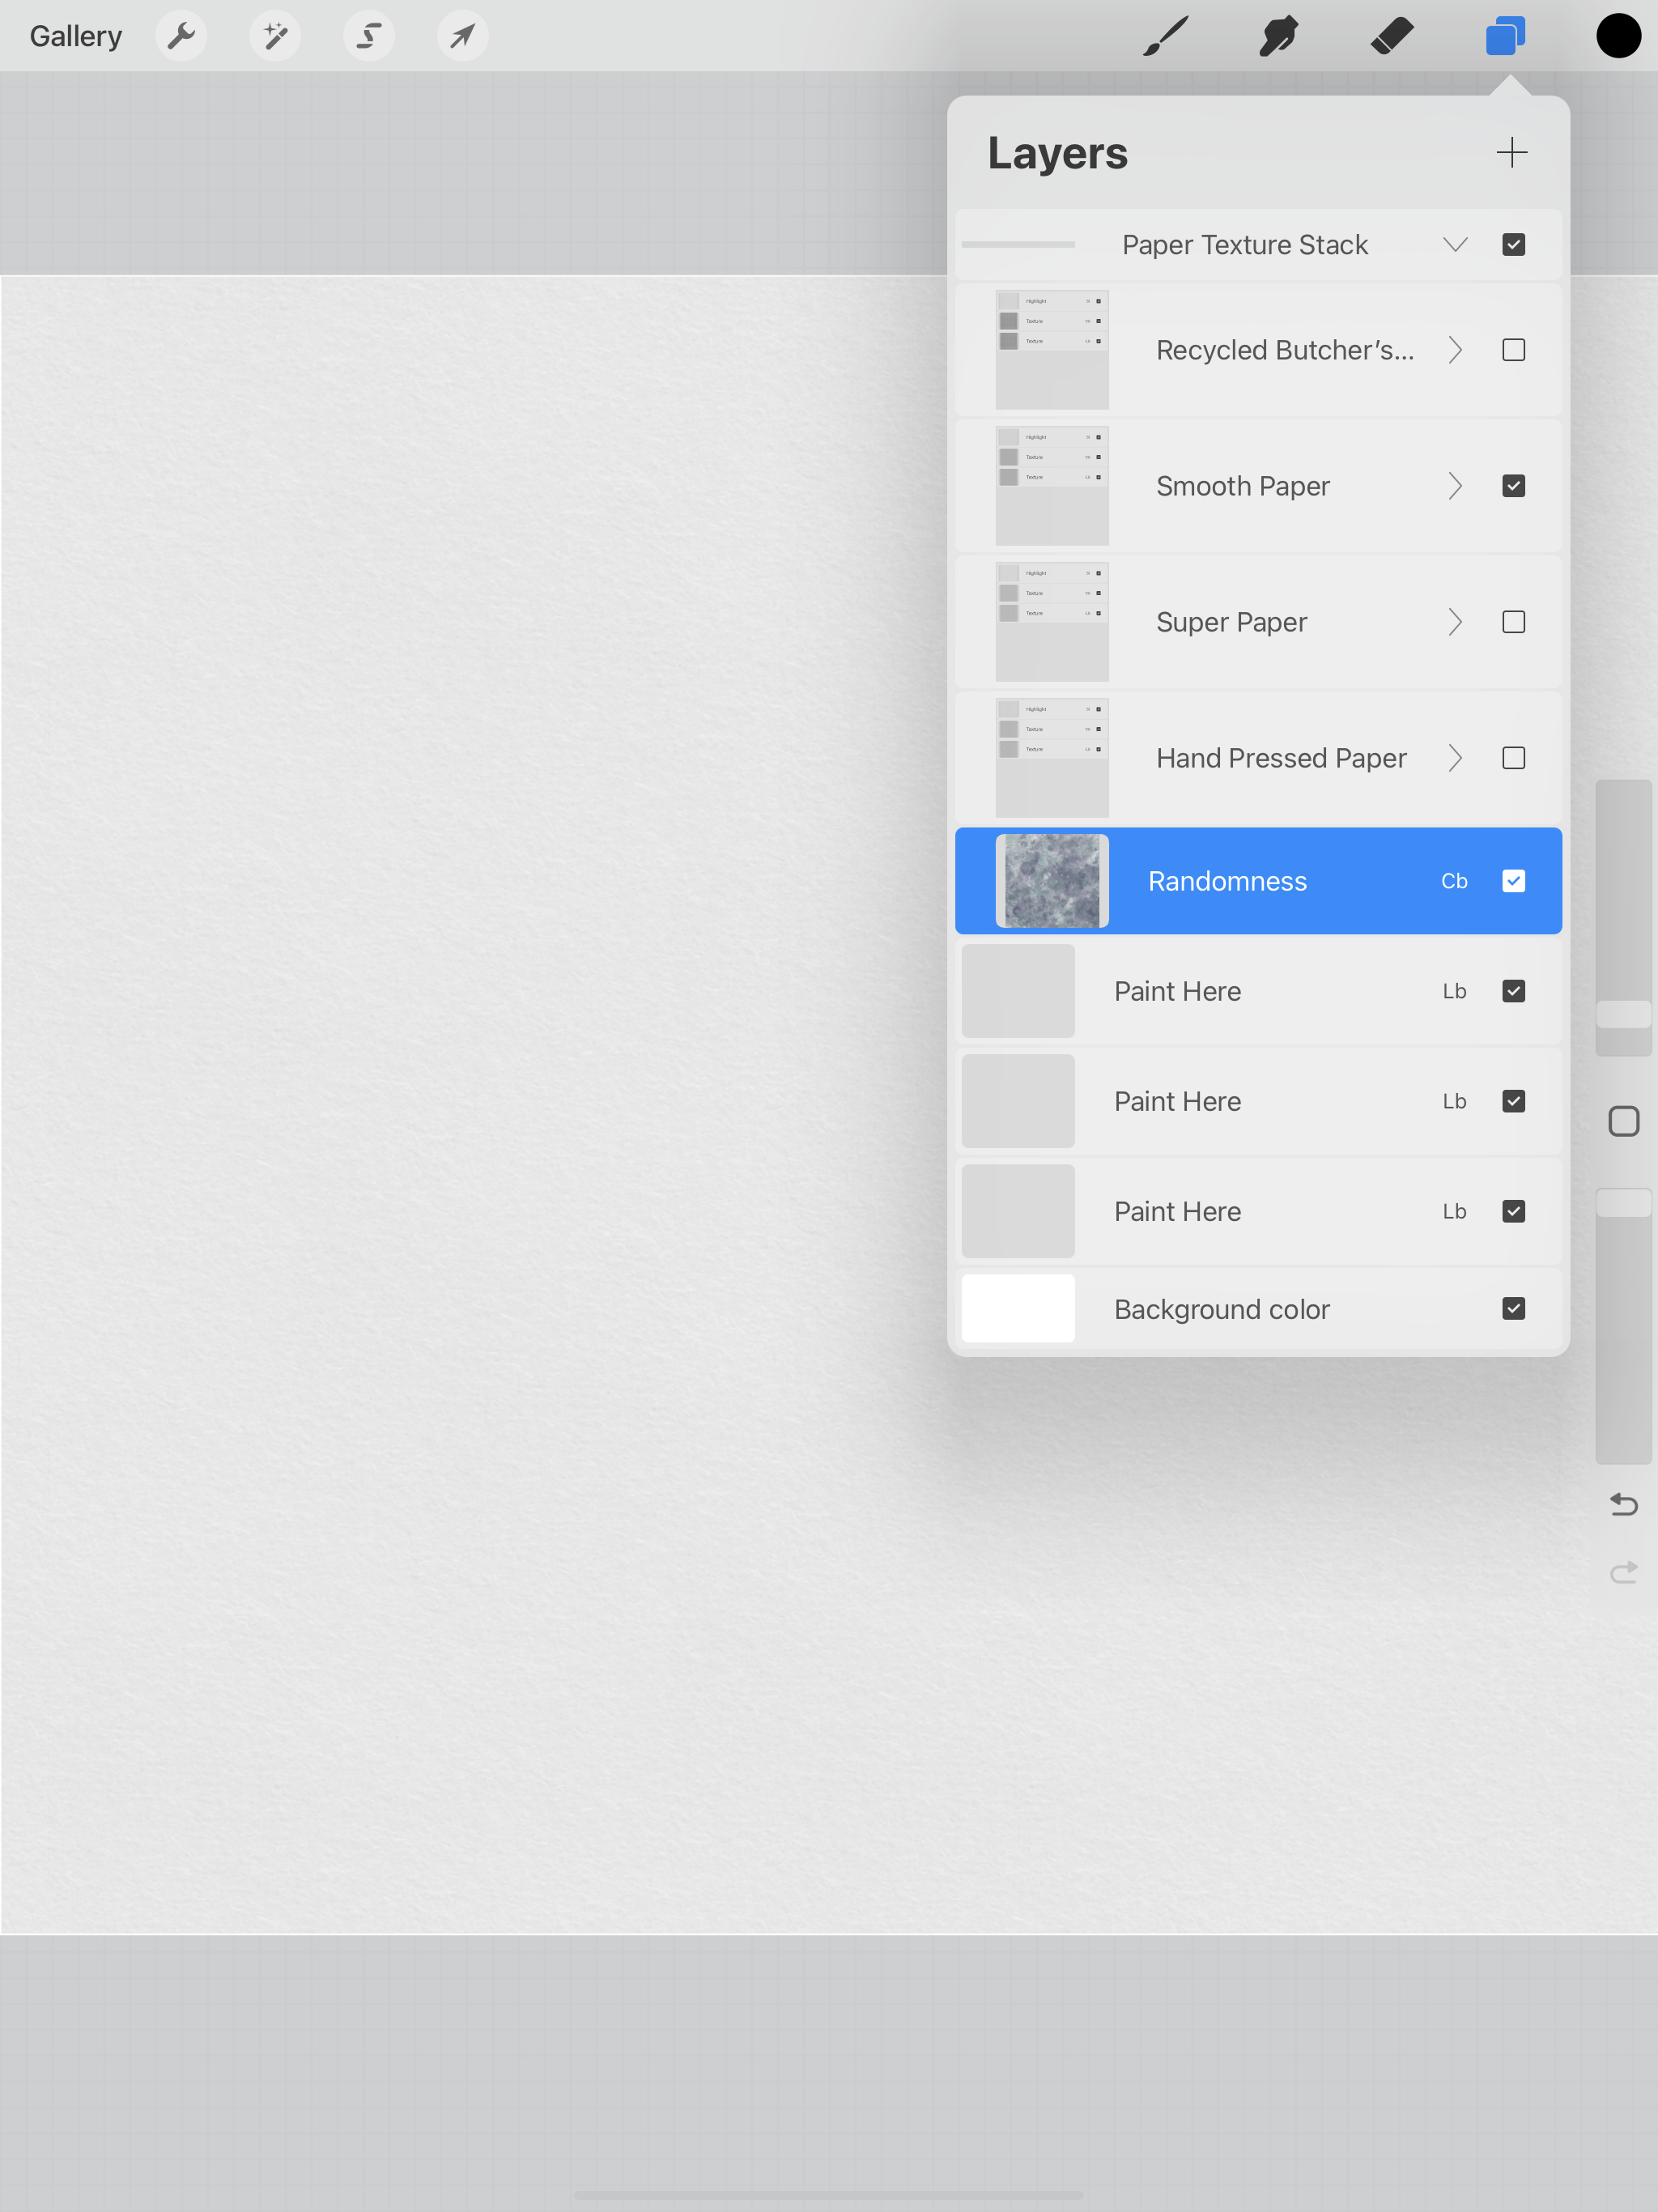
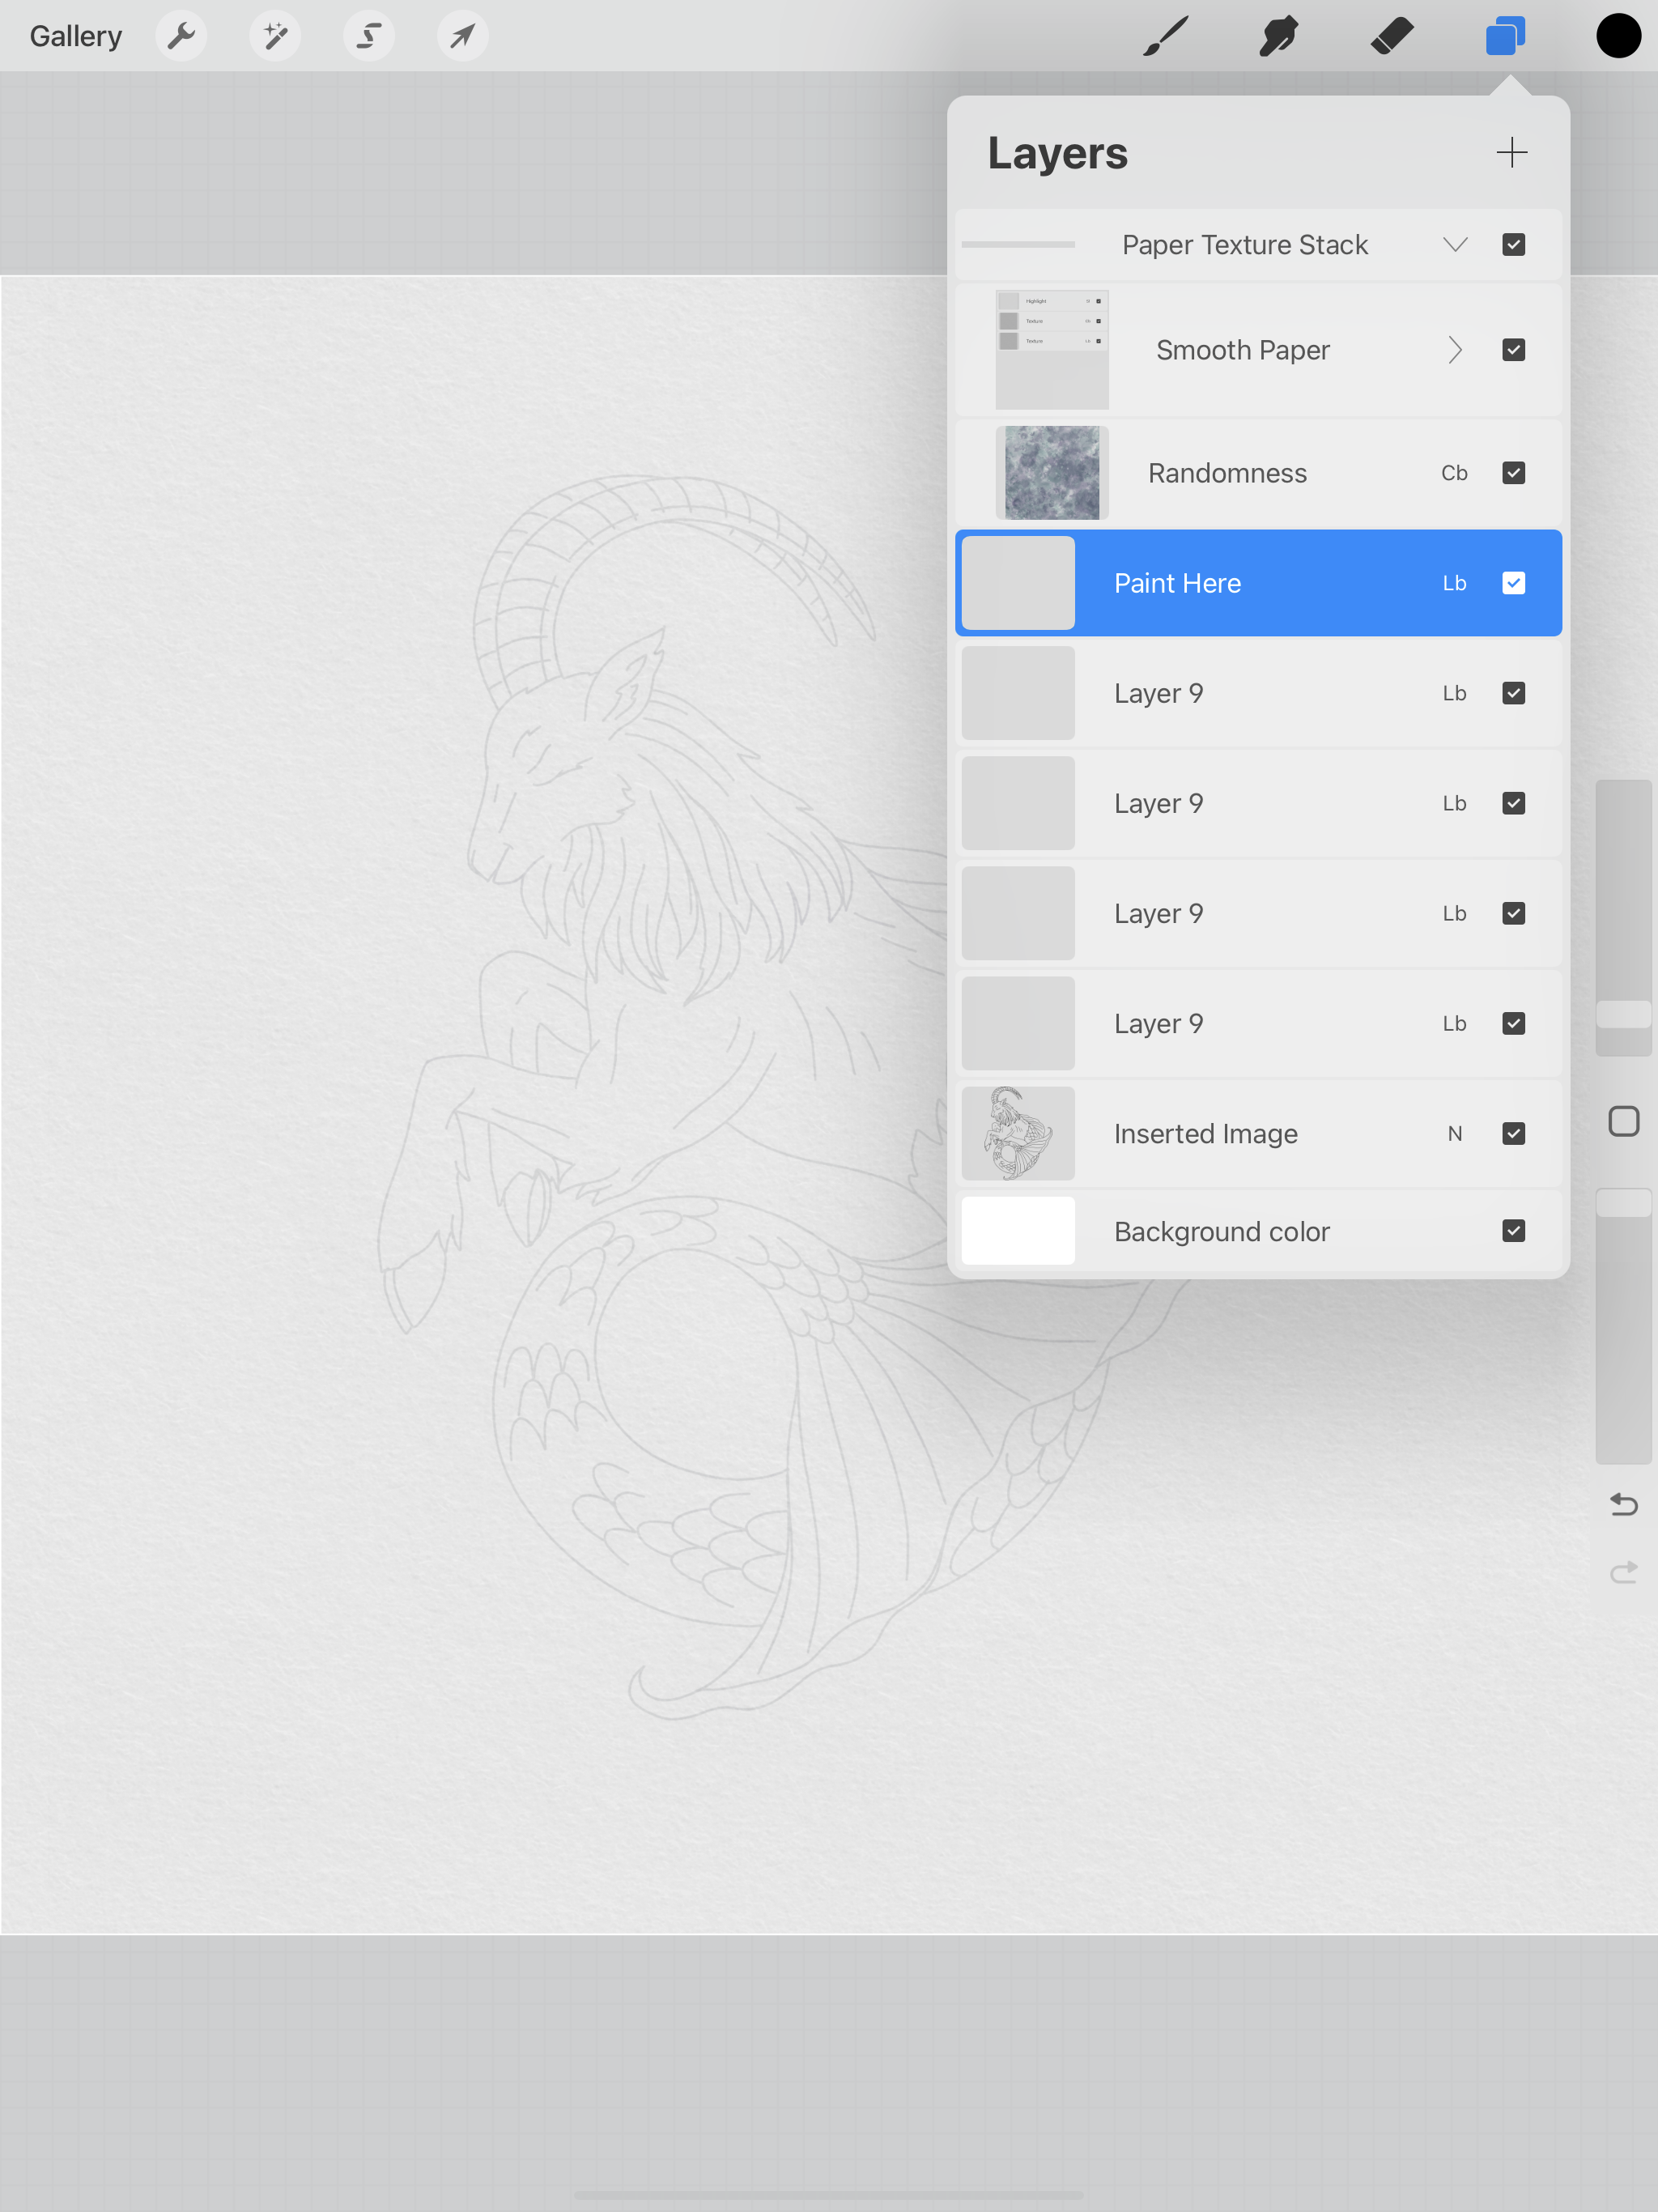
I’m going to be using the Smooth Paper texture canvas that comes with the Everything Watercolor brushes. I will go ahead and delete the others so I can have more layers to work with for my painting.

Watercolor Clipart in Procreate

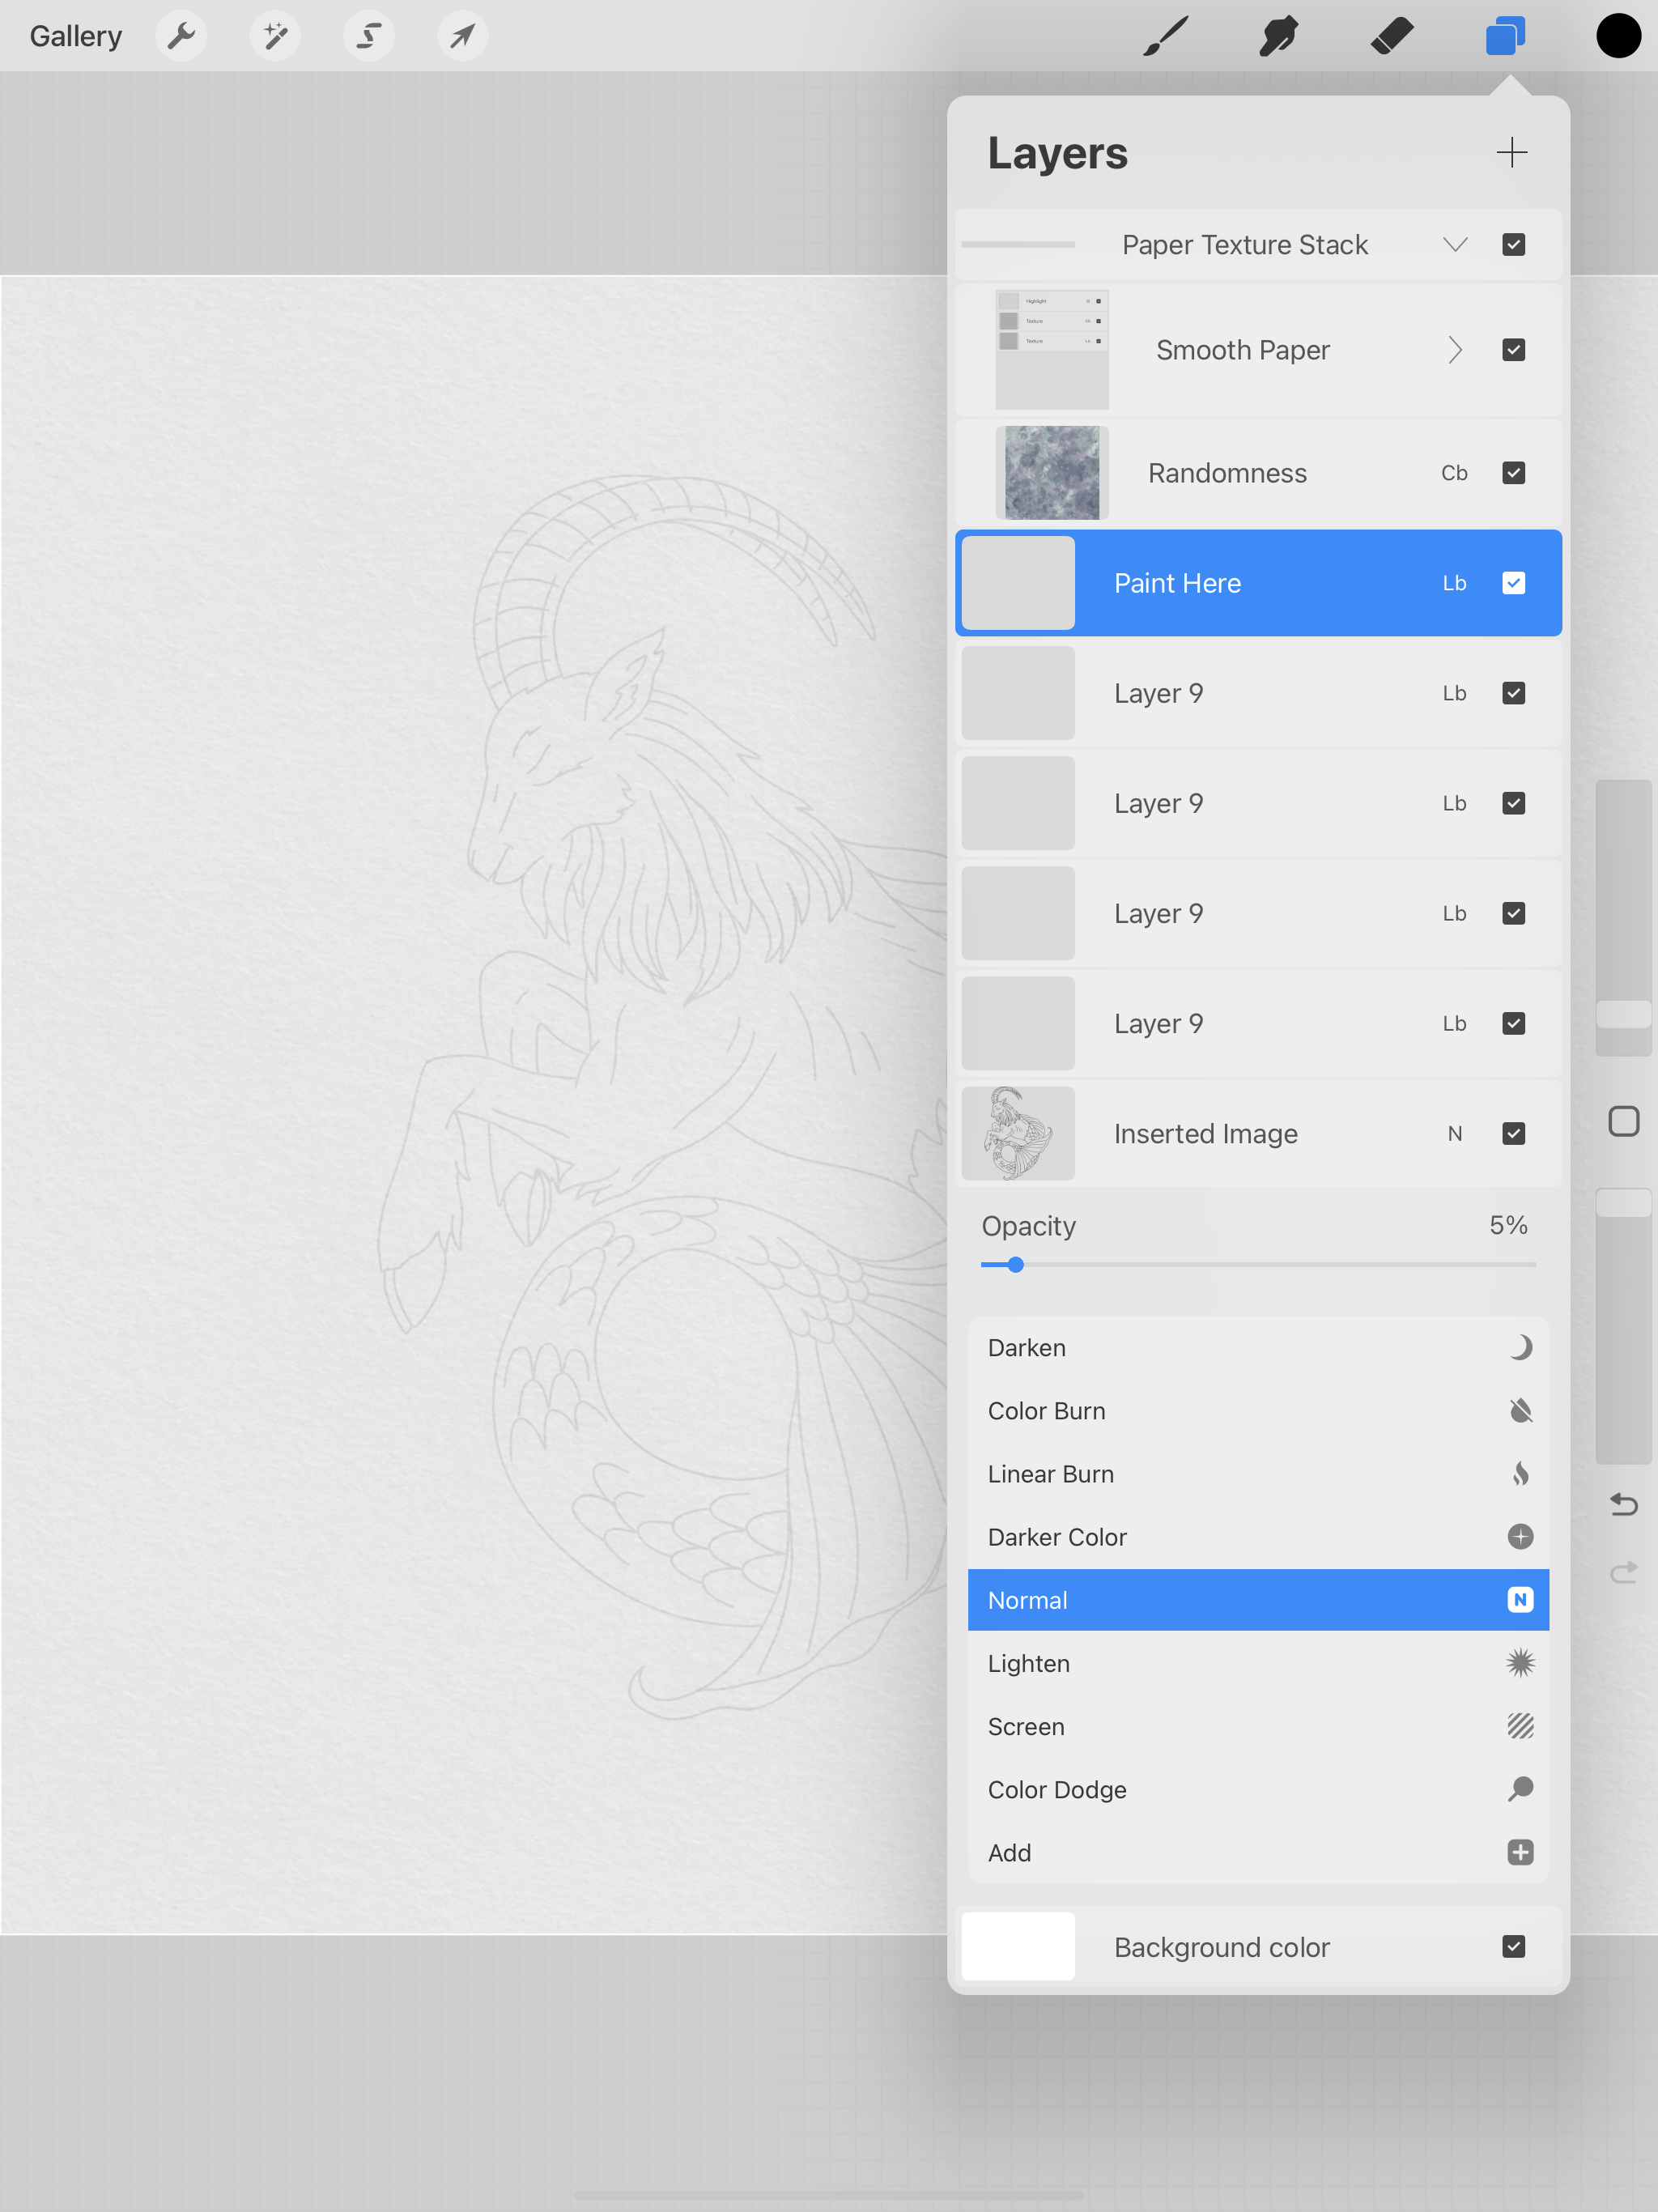
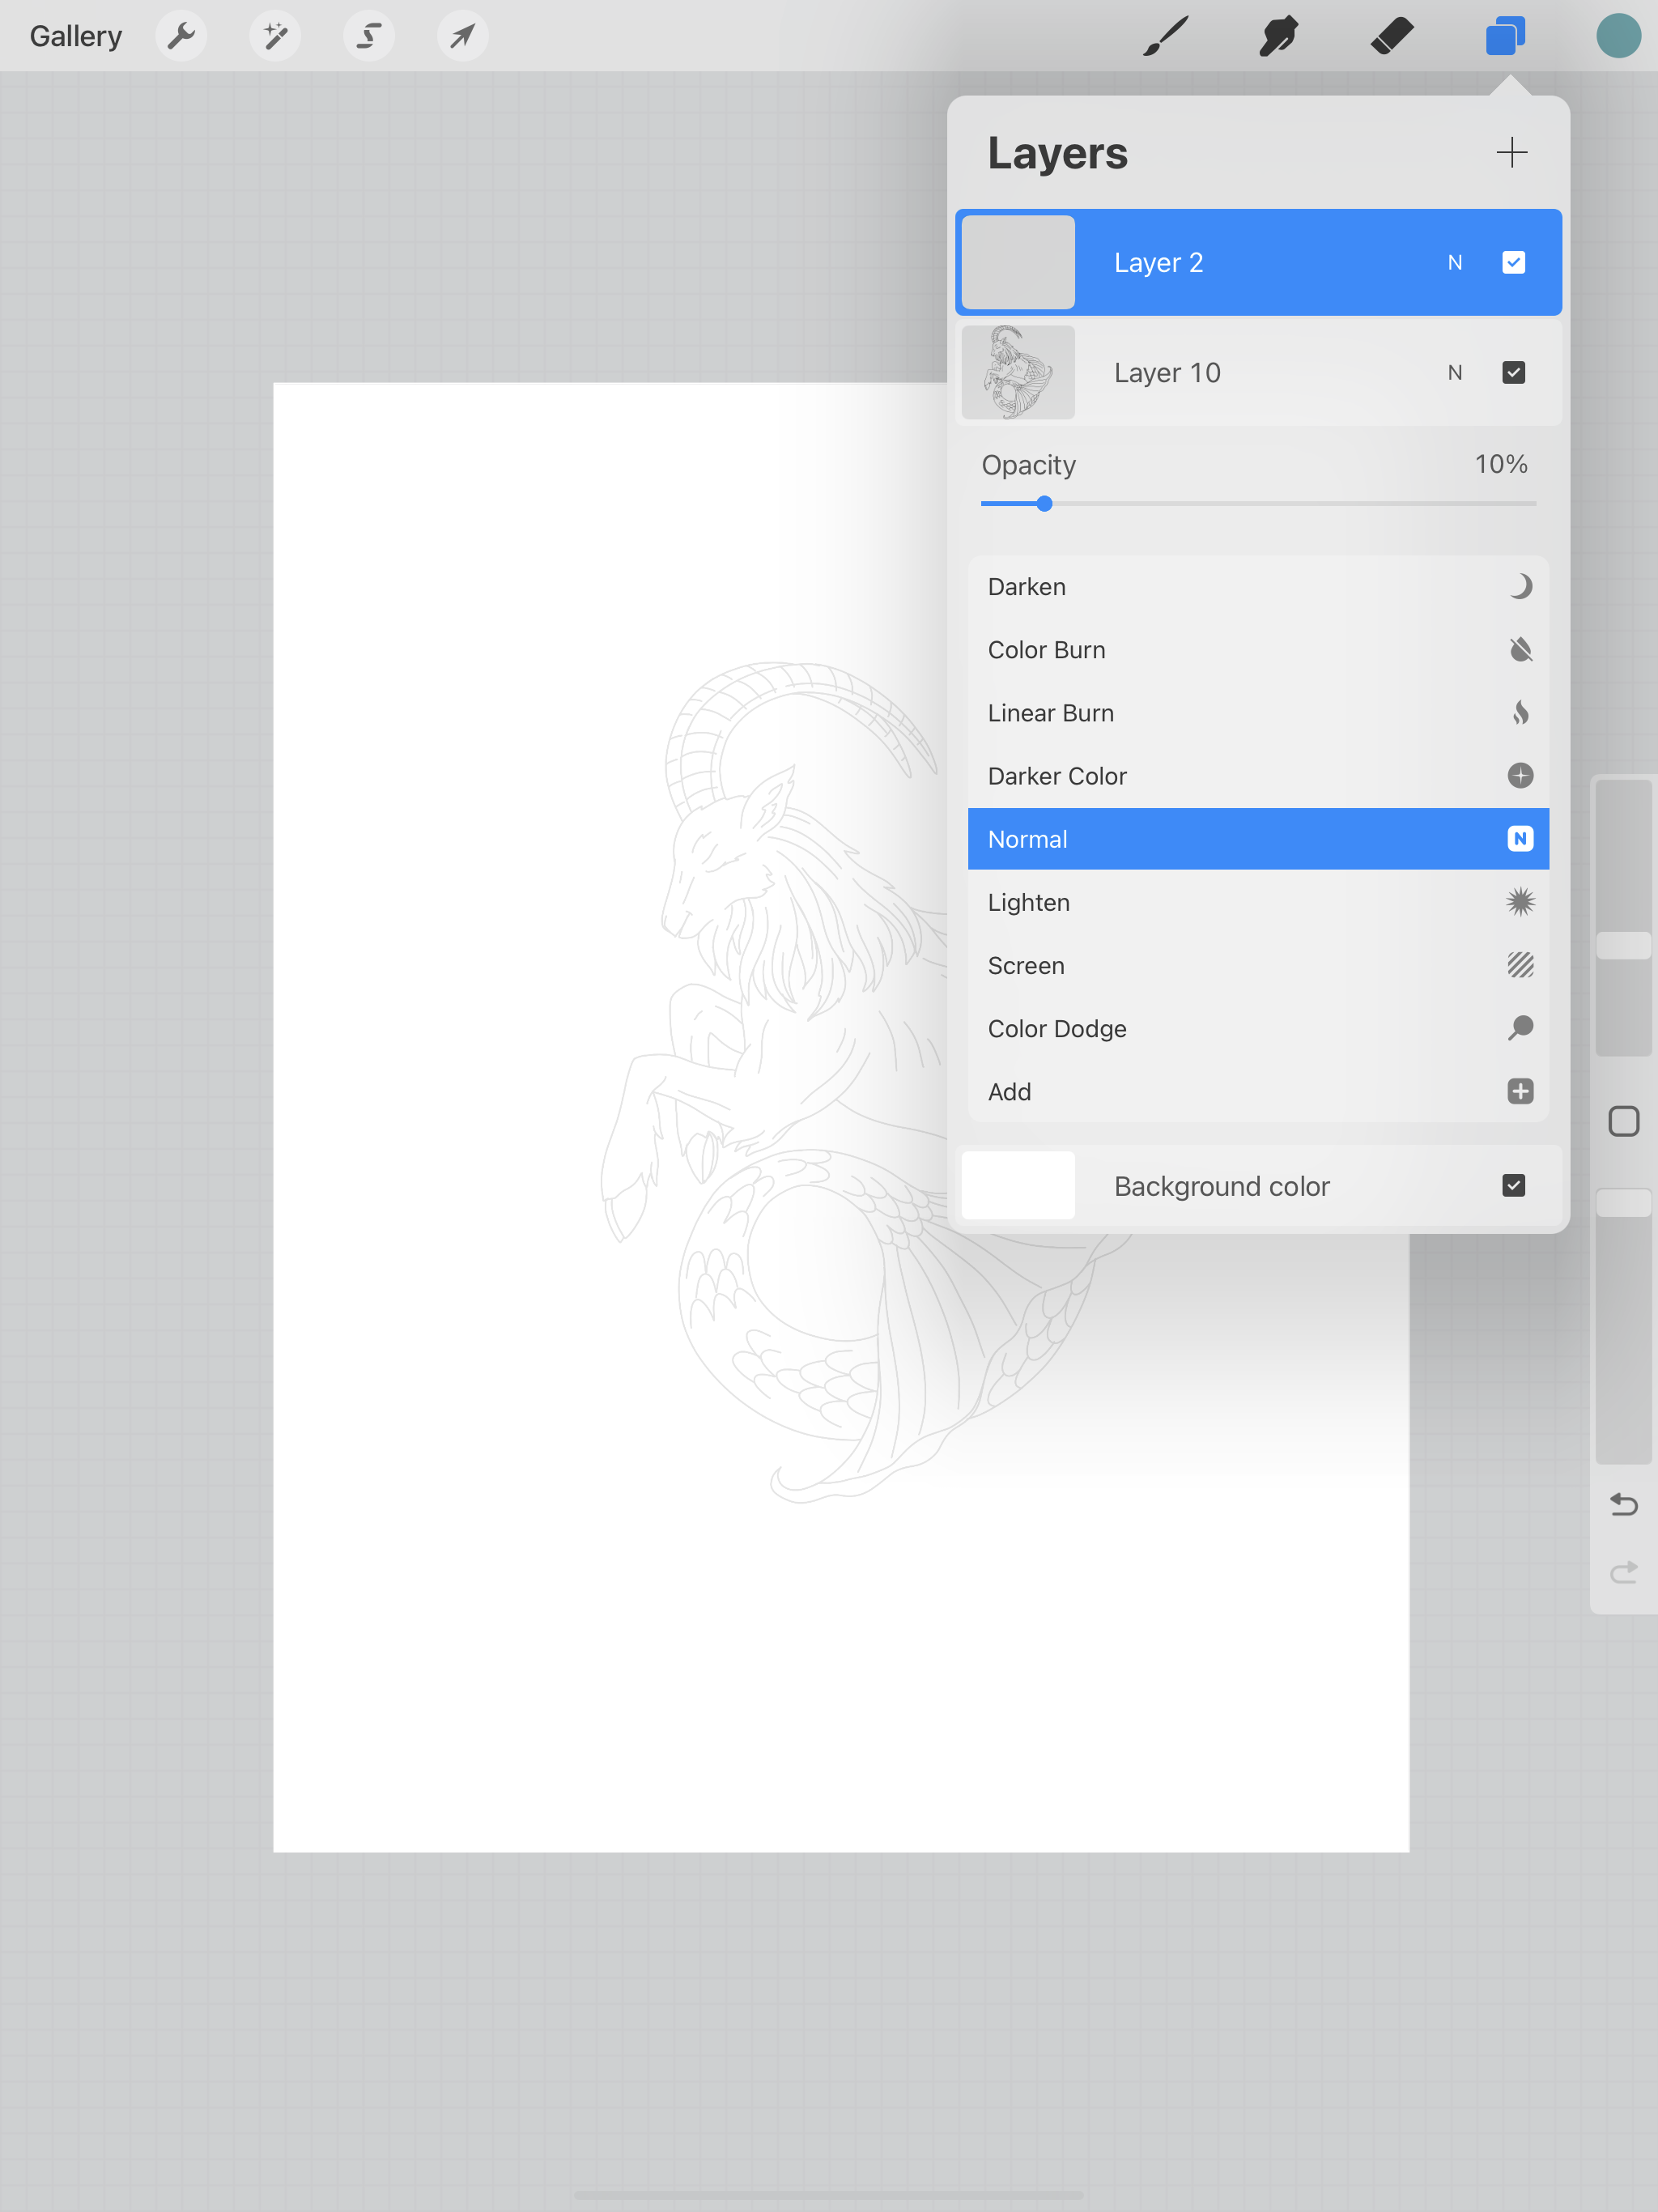
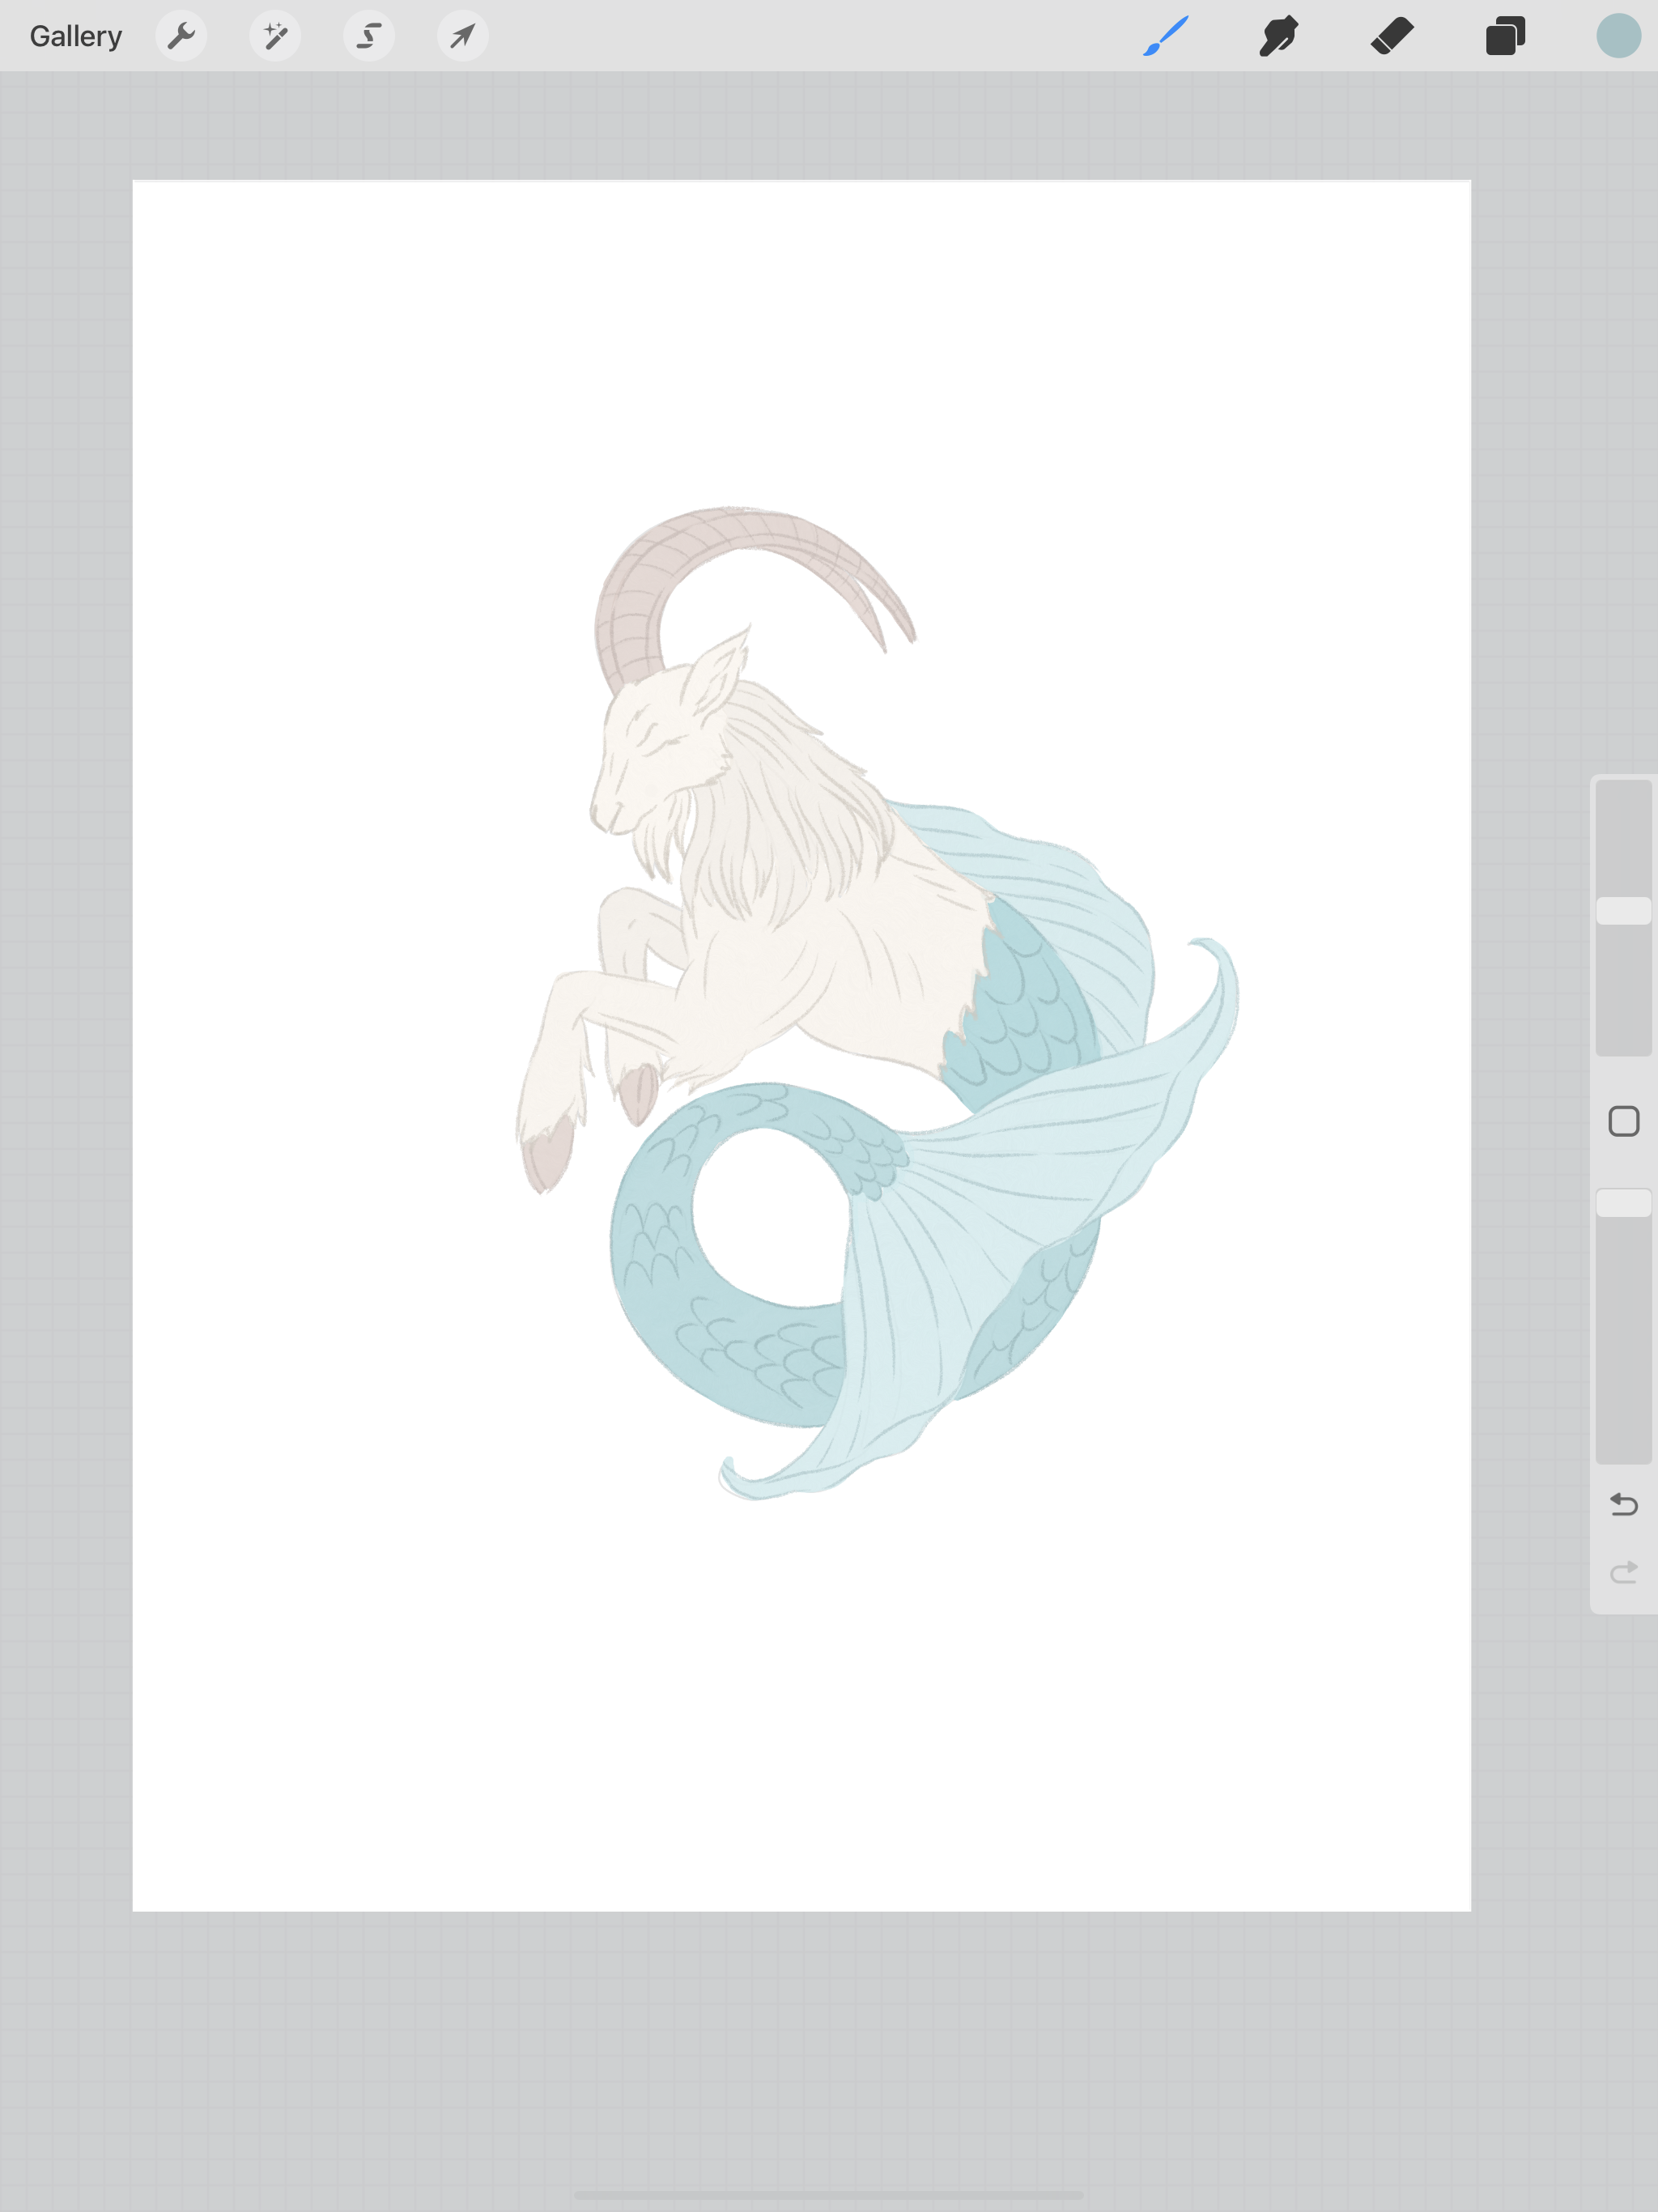
I’ve got my line drawing as the bottom most layer and I have reduced the opacity to 5%, so I can just barely see it. We’re not going to trace it too precisely, this painting is going to be a little looser than the paintings from the last 2 weeks.

Watercolor Clipart in Procreate

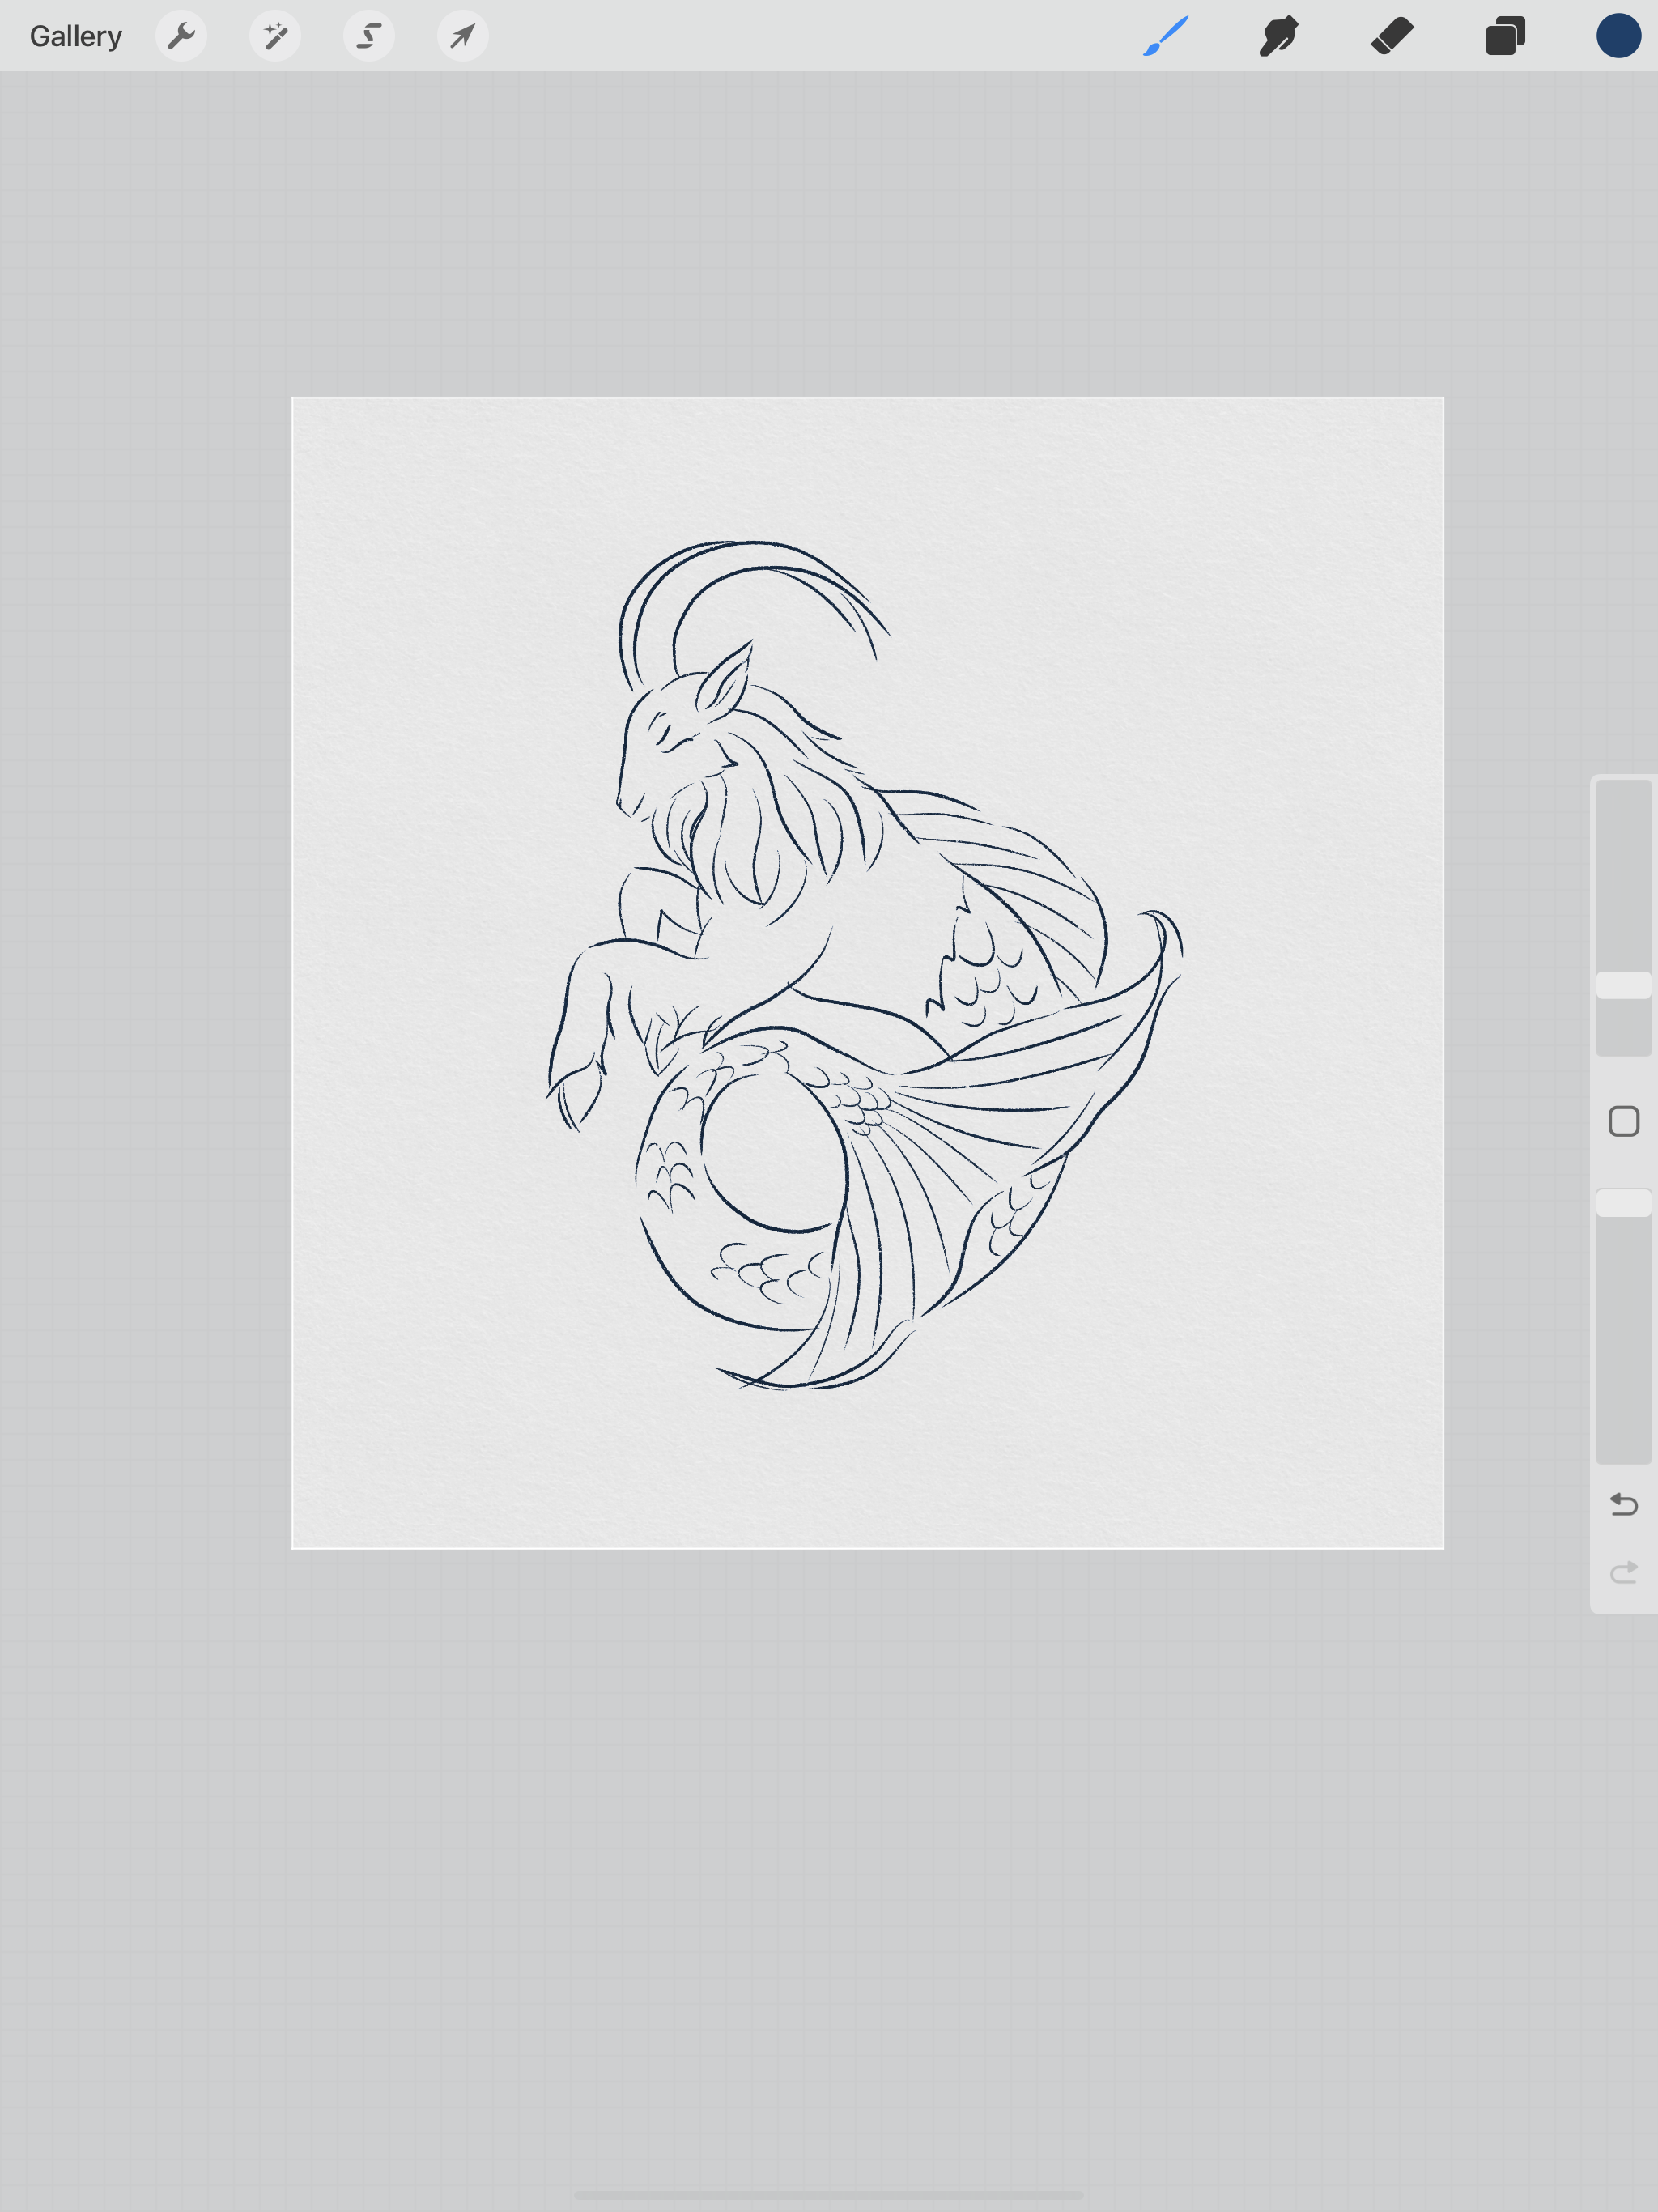
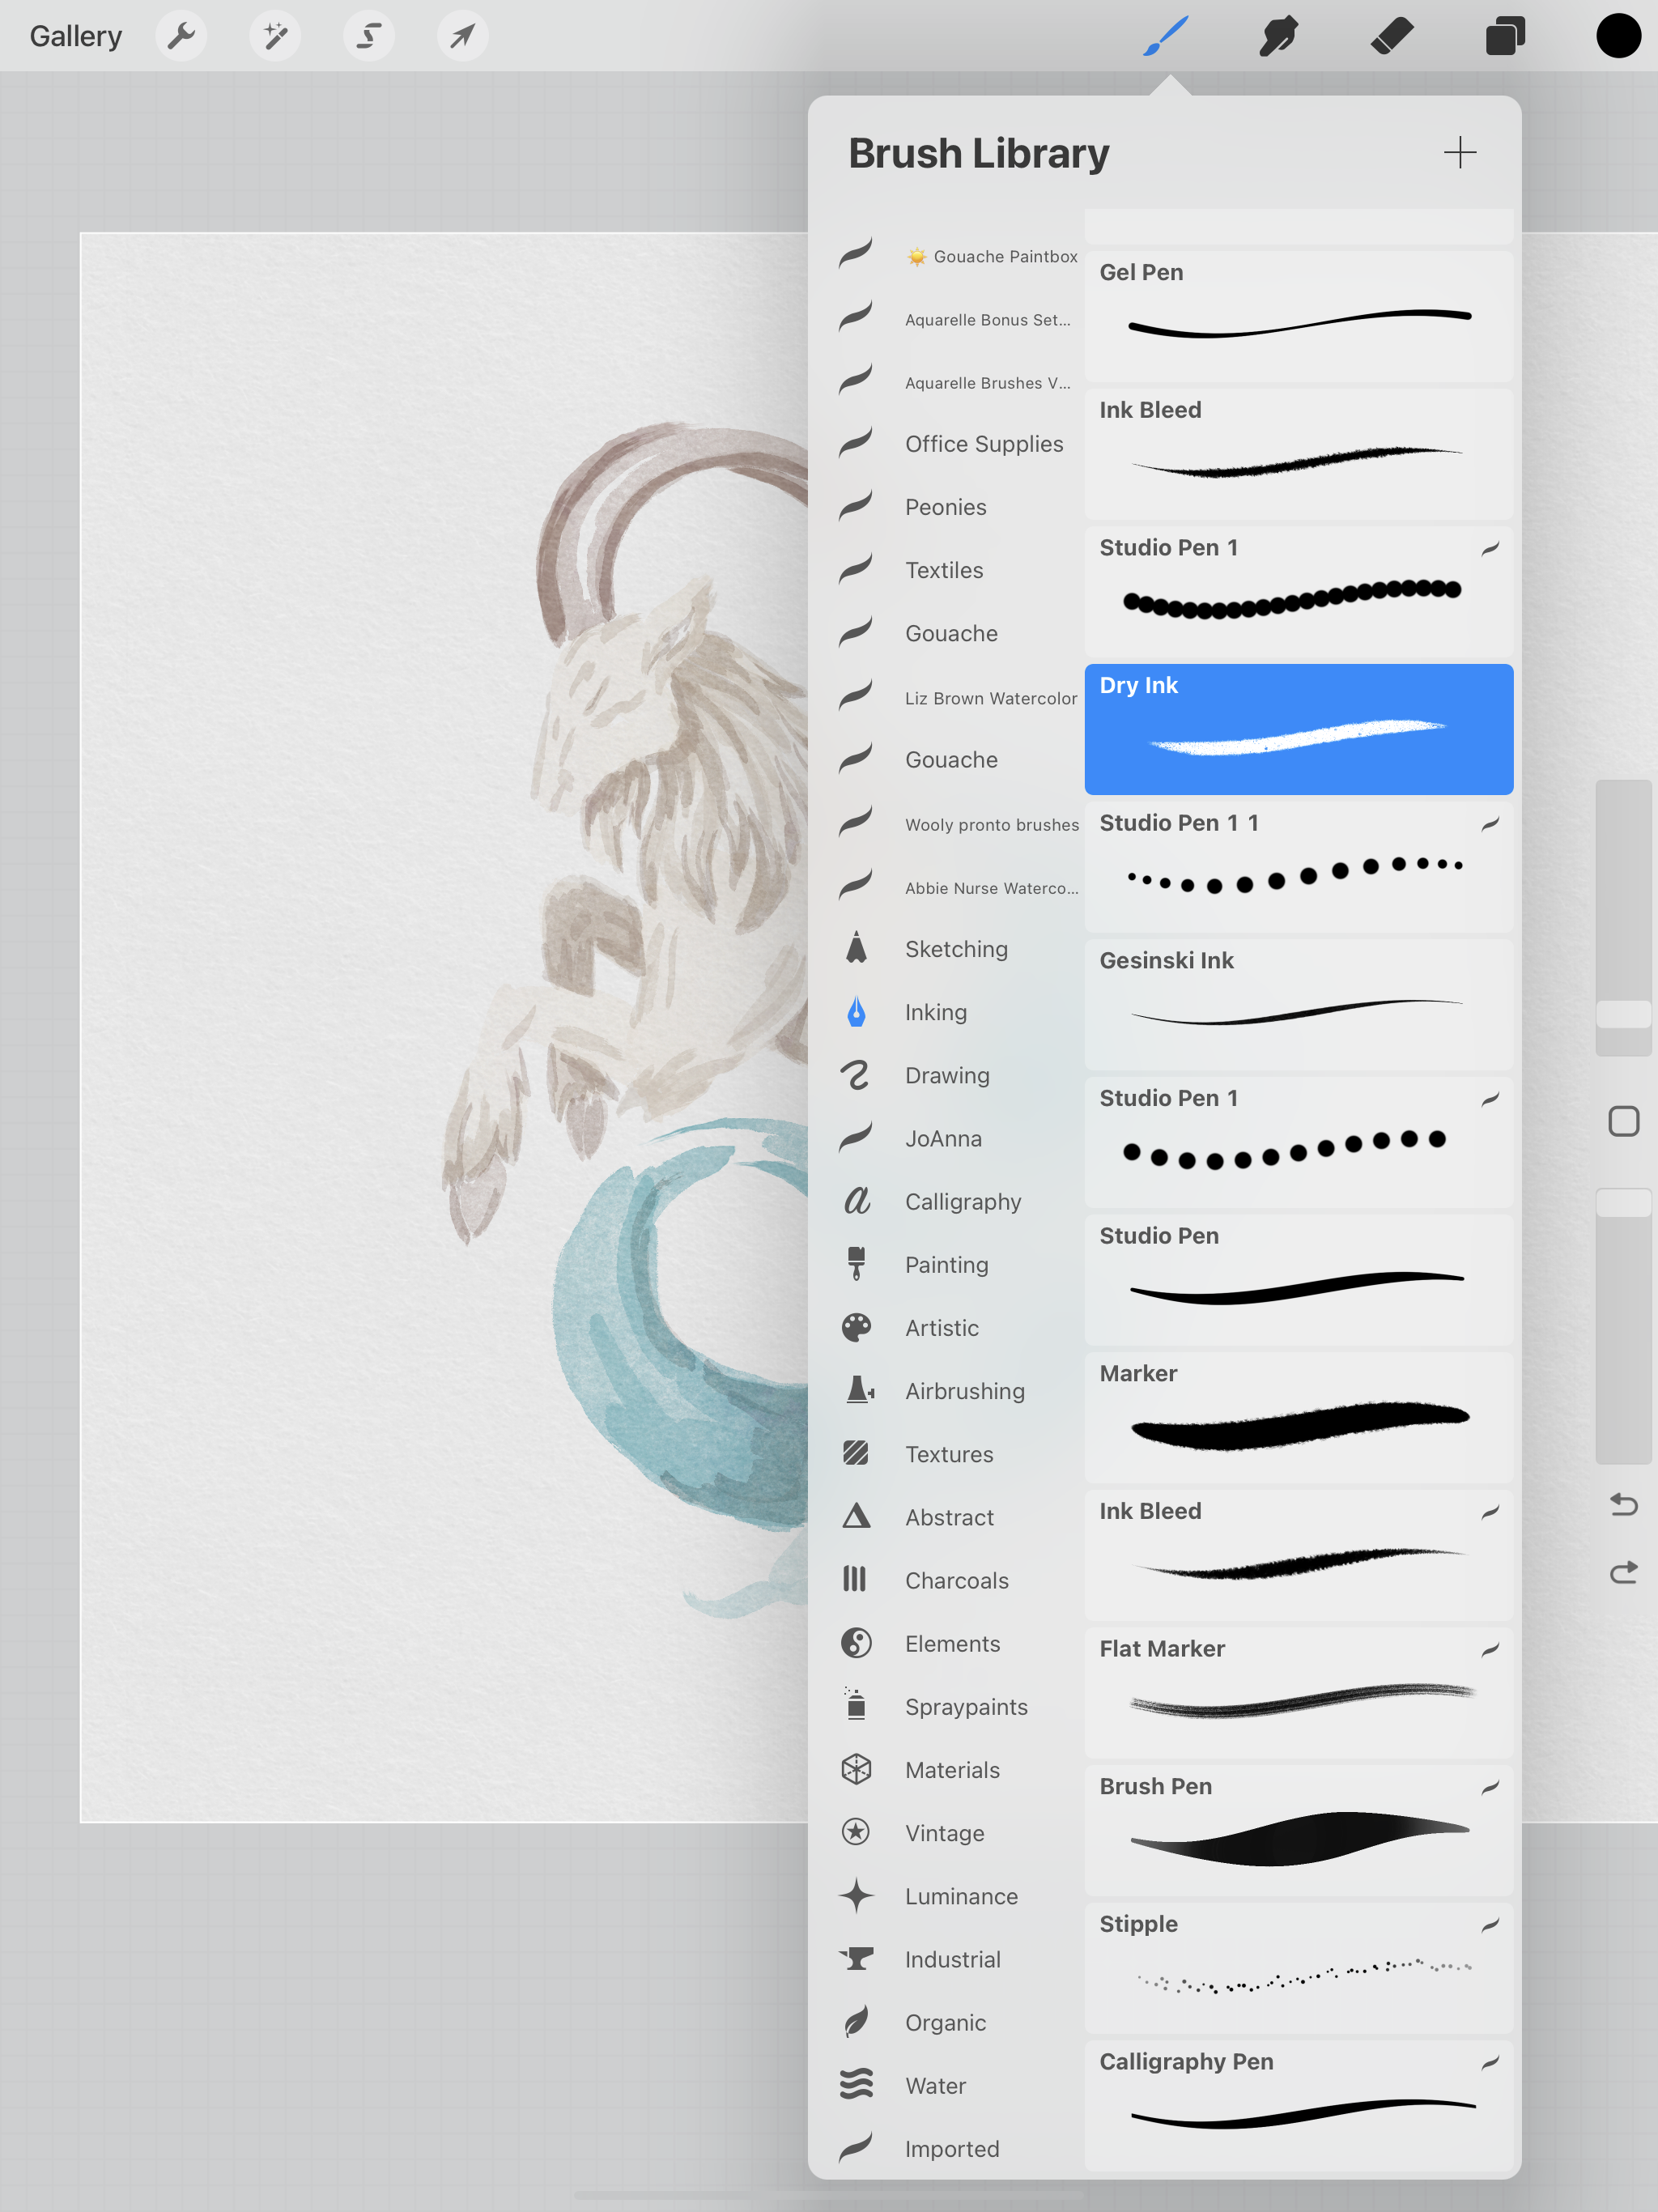
I quickly sketched my lines in a dark navy blue color with the Dry Ink brush that is included with Procreate. You can find it under the Inking brushes.

Watercolor Clipart in Procreate

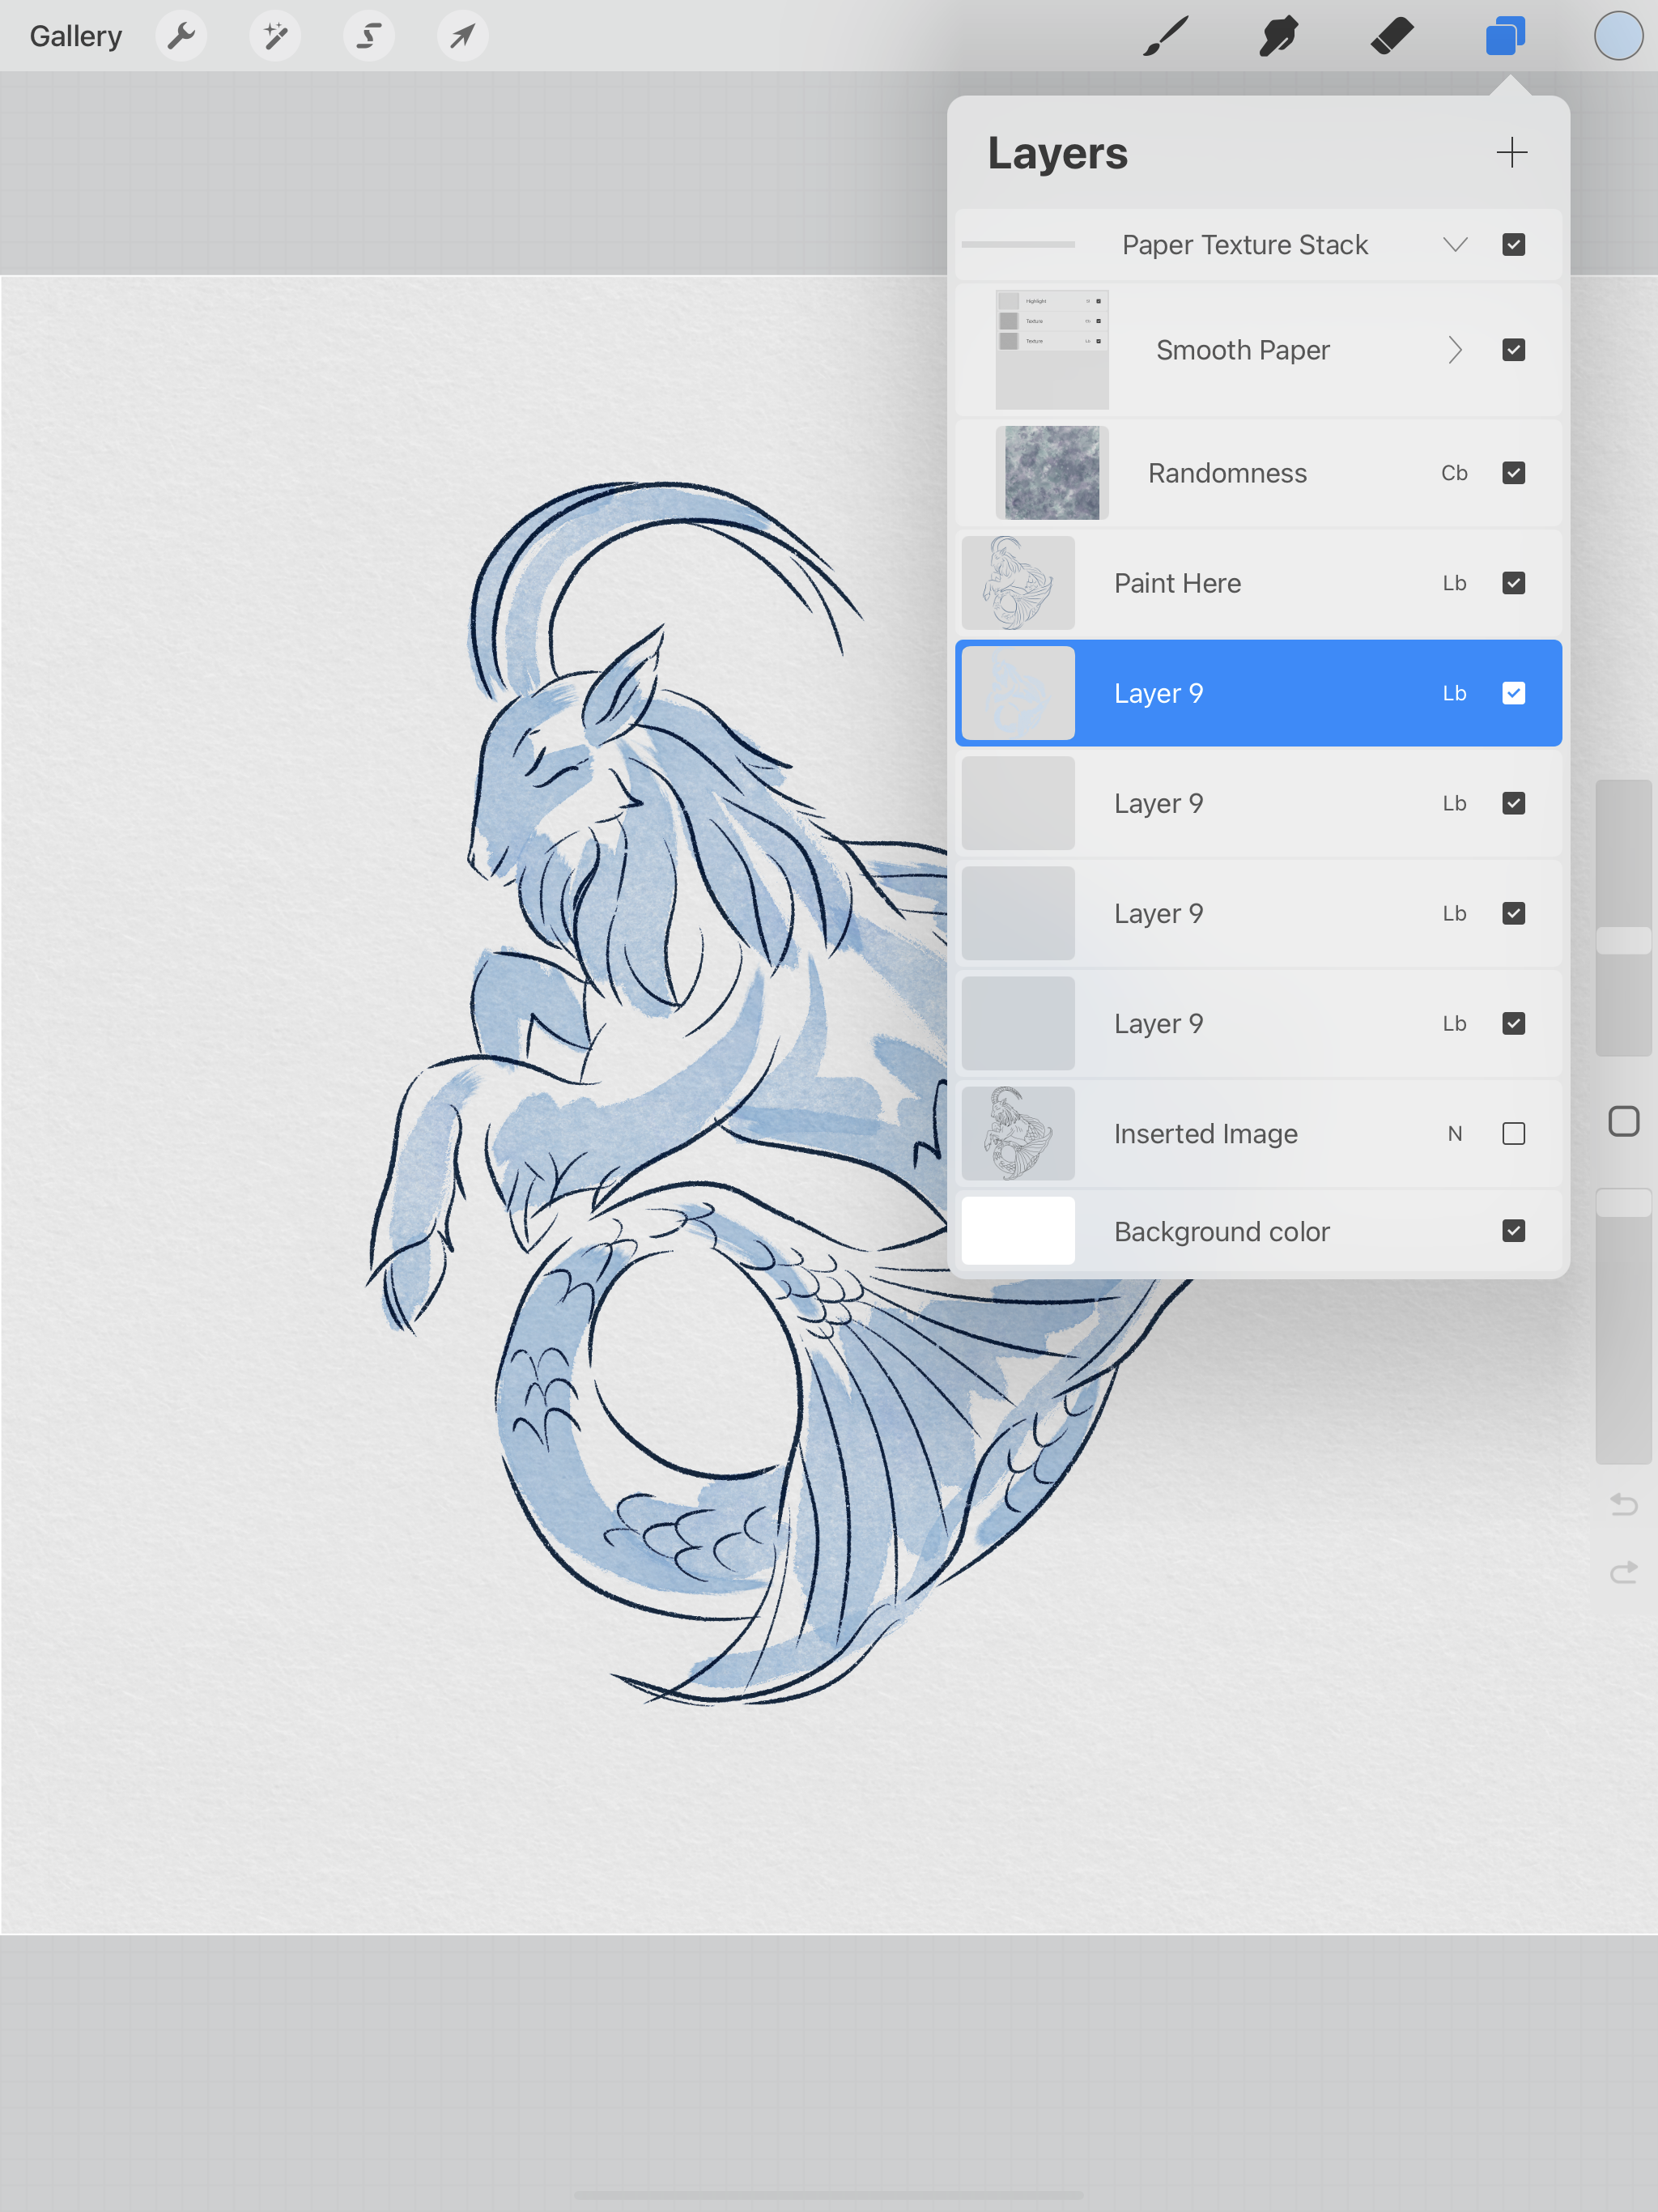
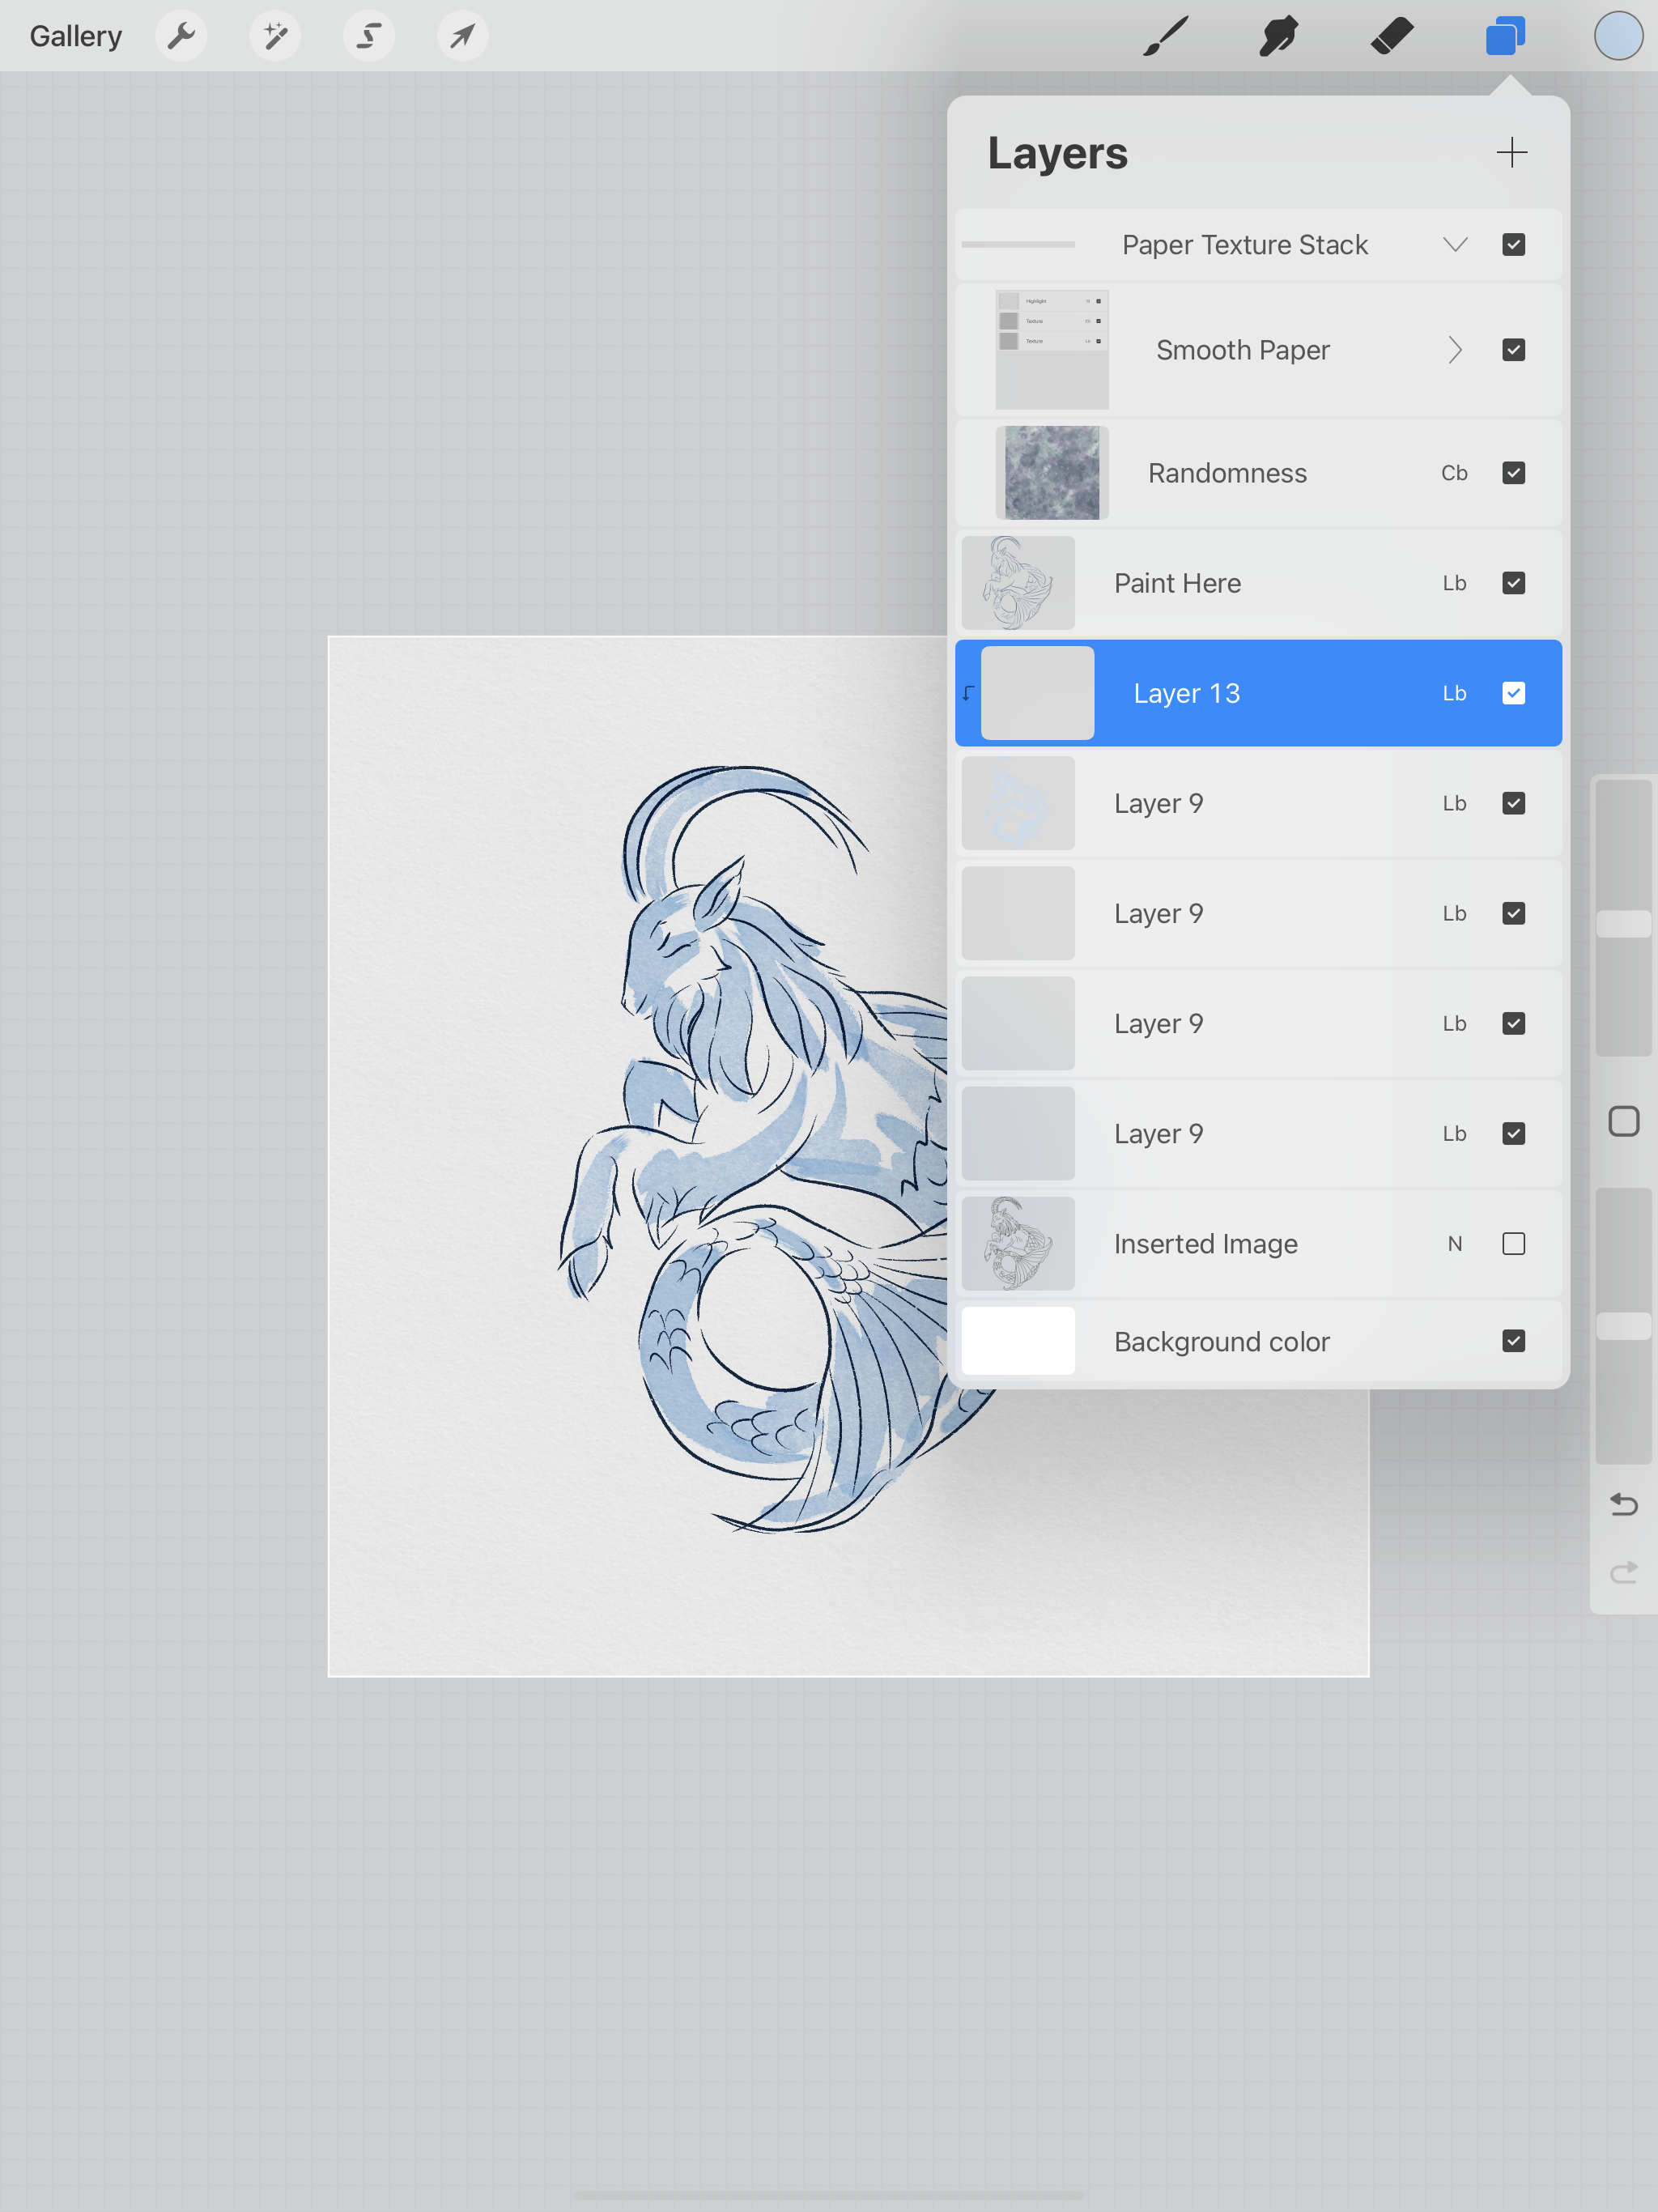
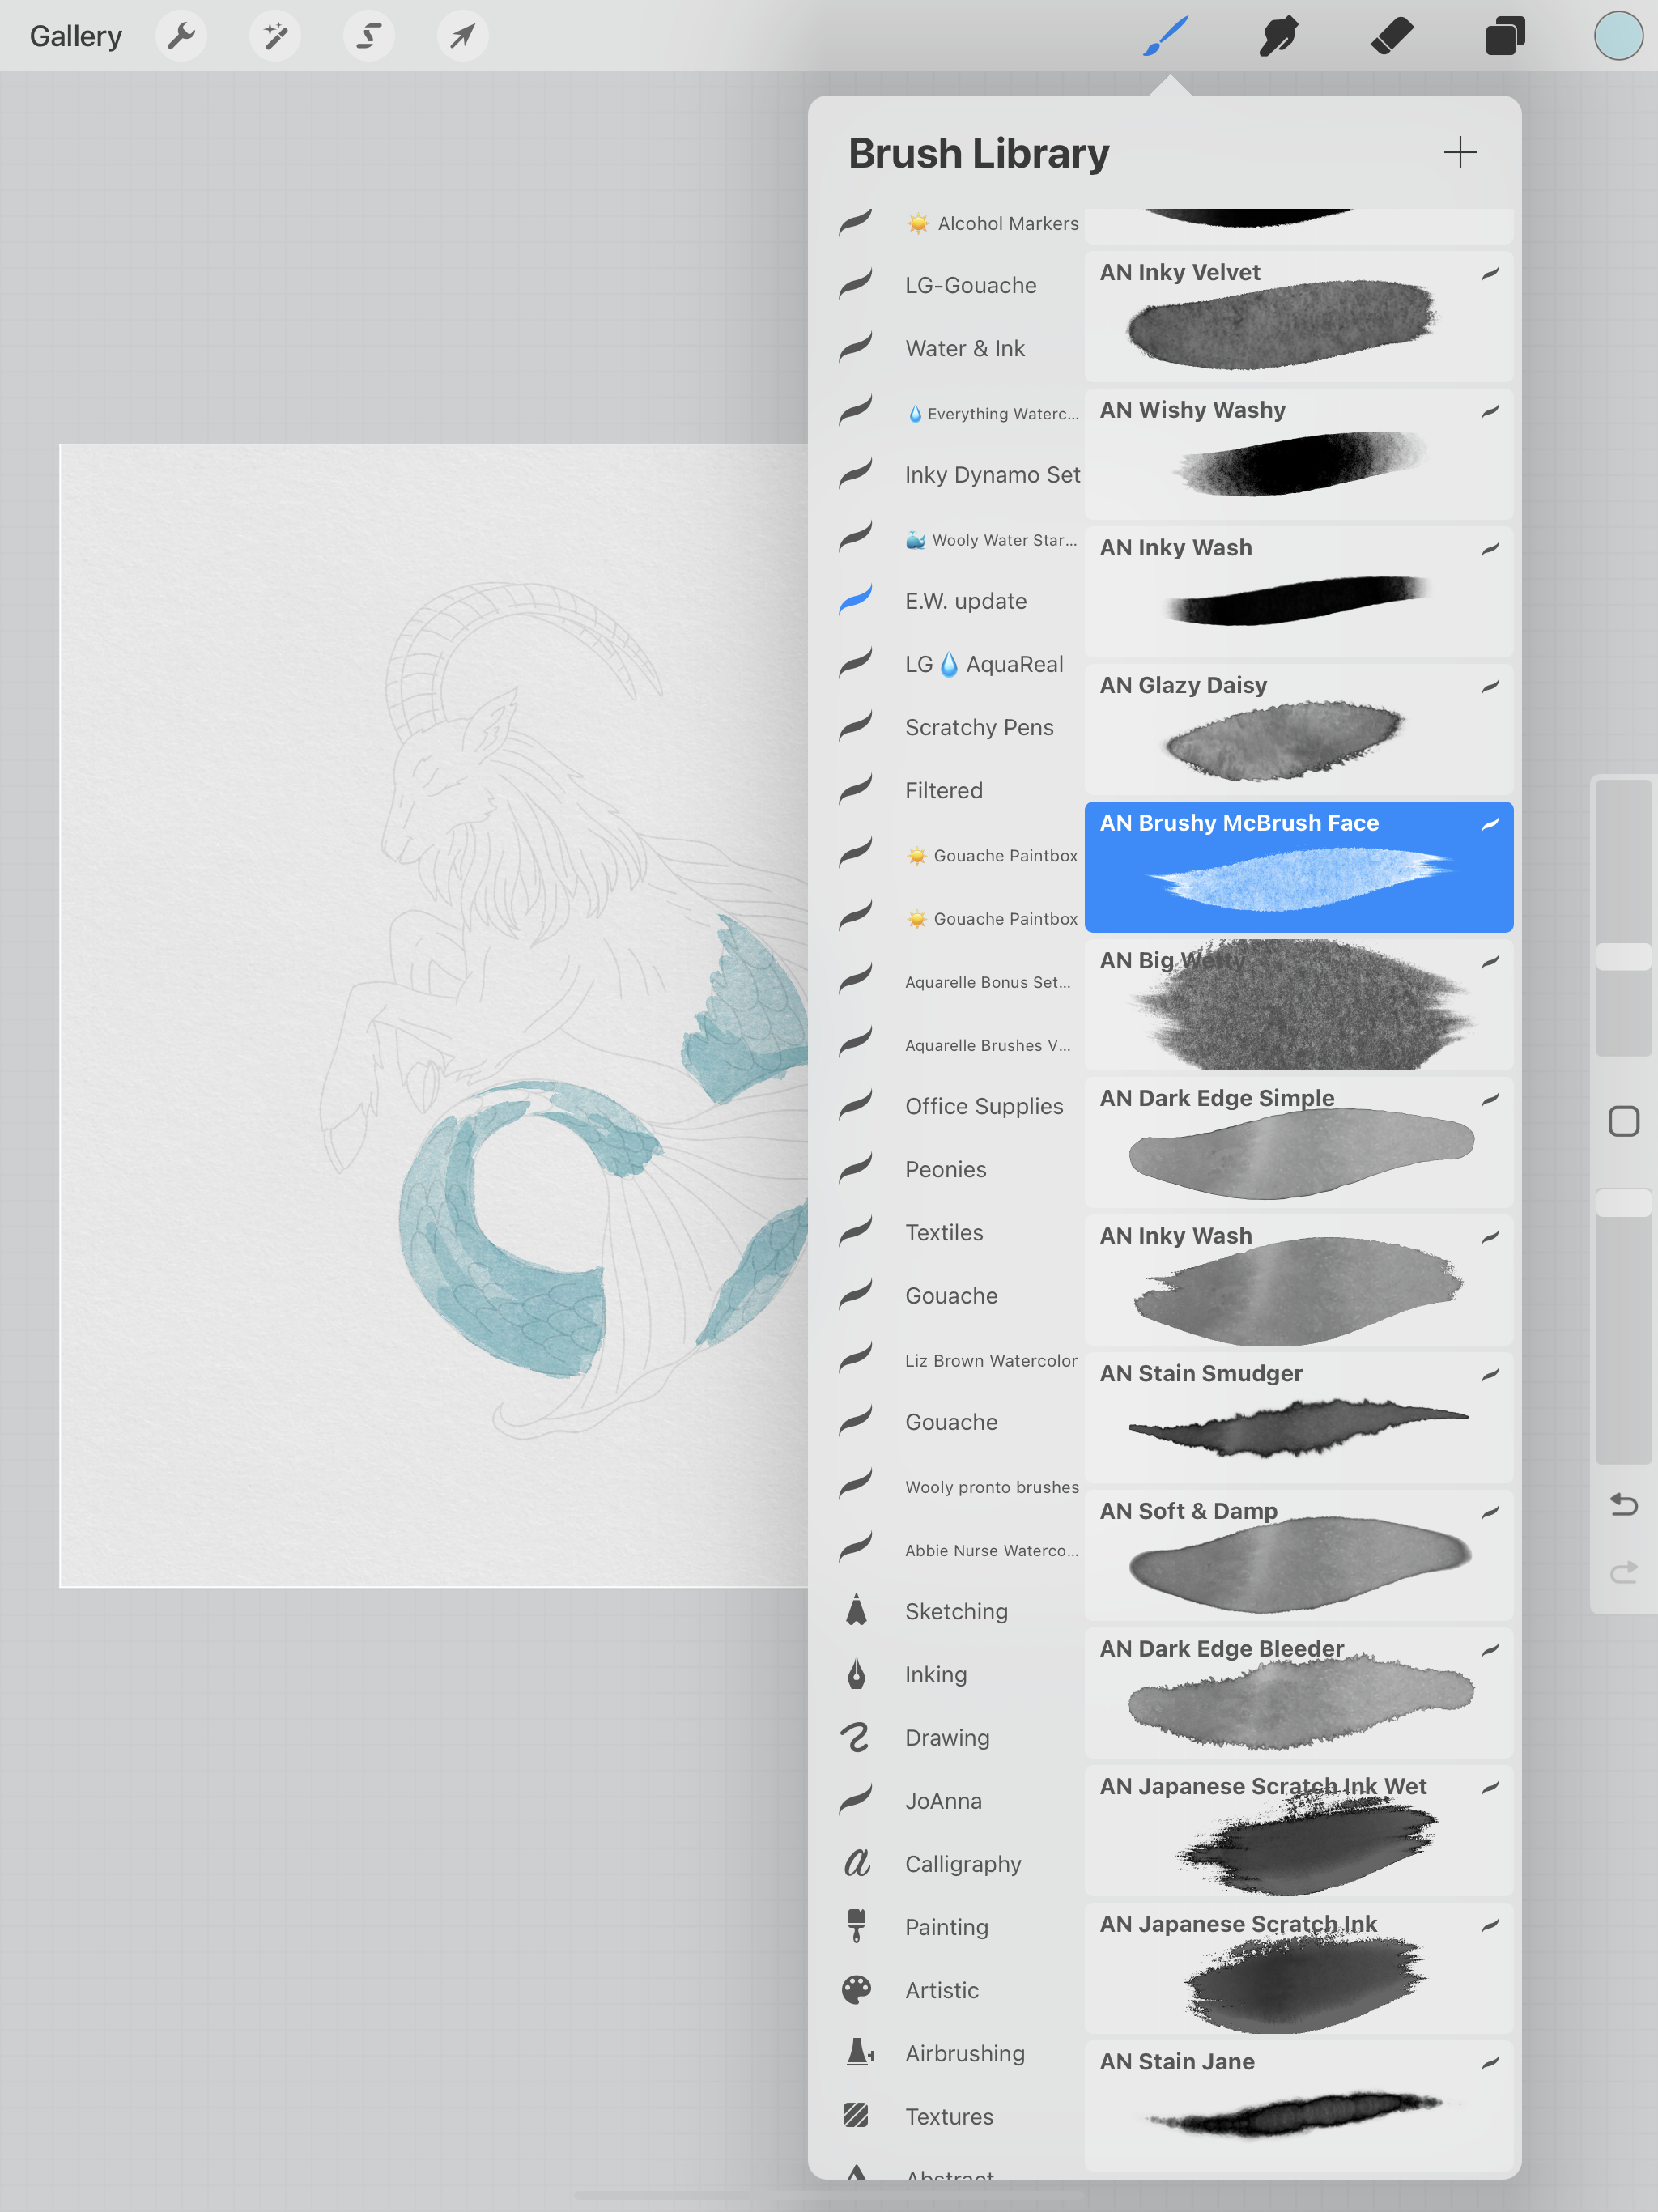
Then I’m going to create a new layer underneath, set it to Linear Burn and use the Brushy McBrush Face from the Everything Watercolor brushes. I’m using a light blue color for the whole painting, I want this version to be more monochromatic.

Watercolor Clipart in Procreate

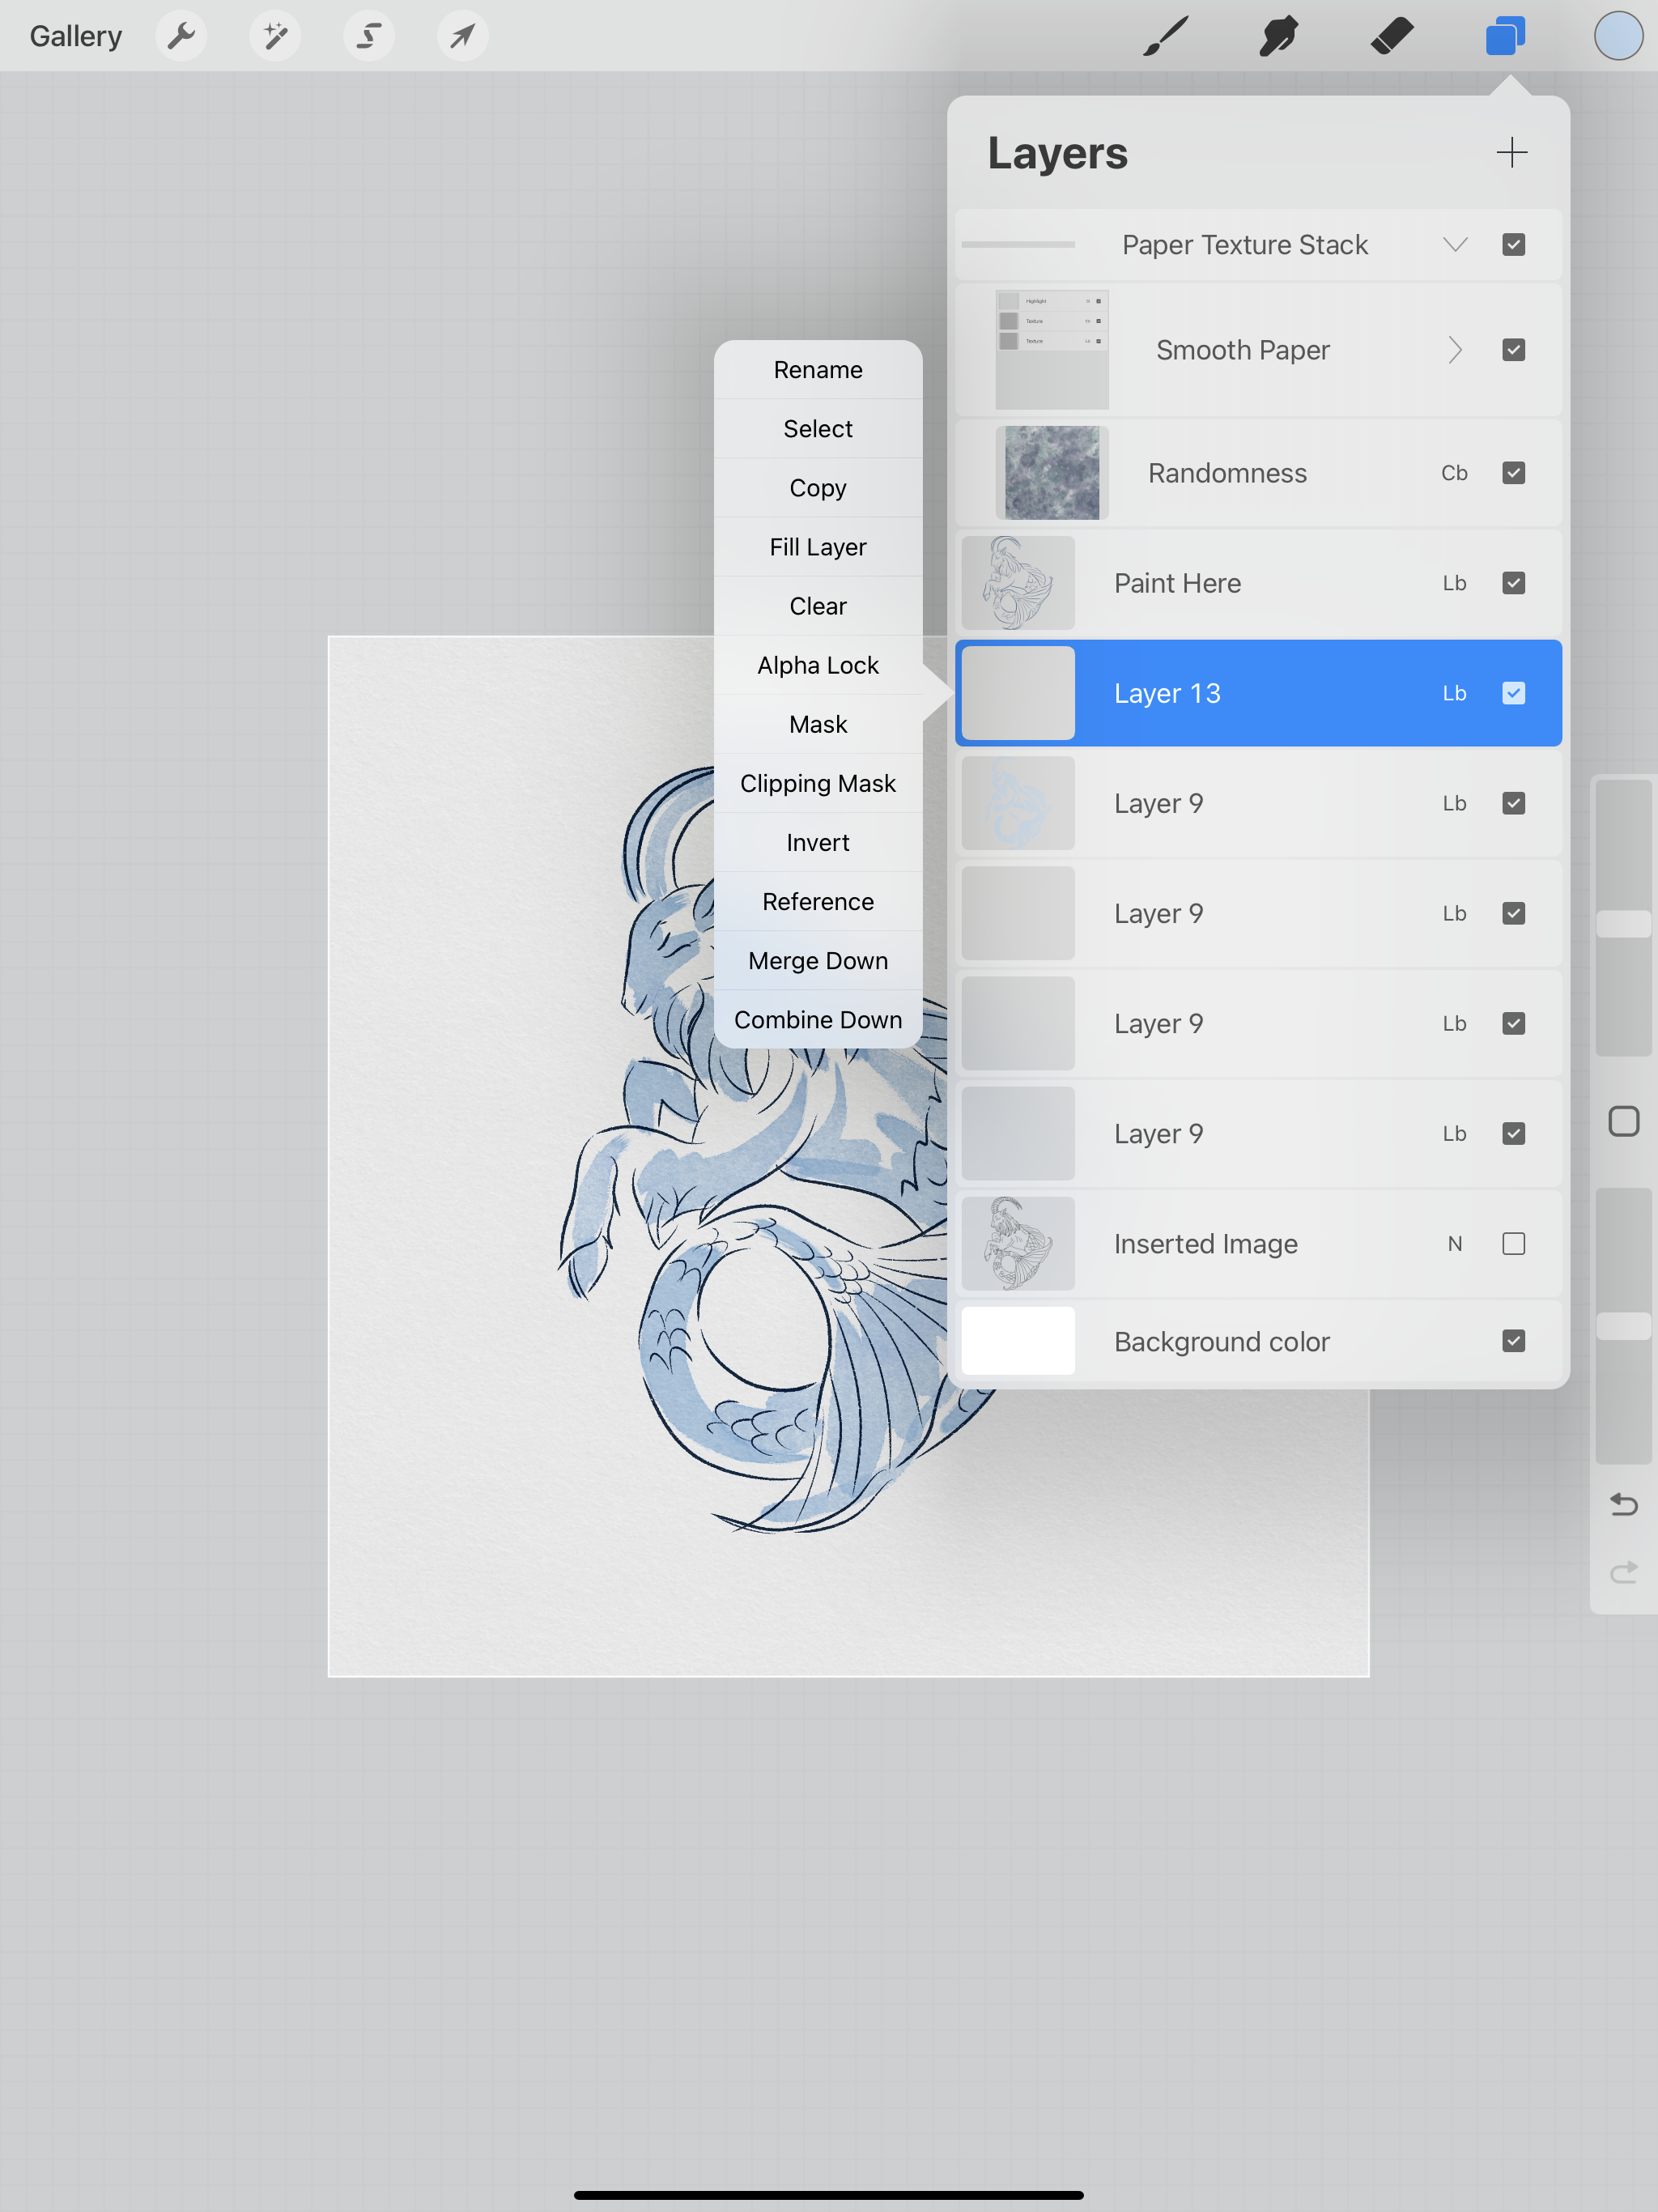
Next, I’m going to add some variation to the light blue. I’ll create another layer, set it to Linear Burn, then I will make this layer a clipping mask. If you tap on the layer, a menu pops up to the left, select Clipping Mask.

Watercolor Clipart in Procreate

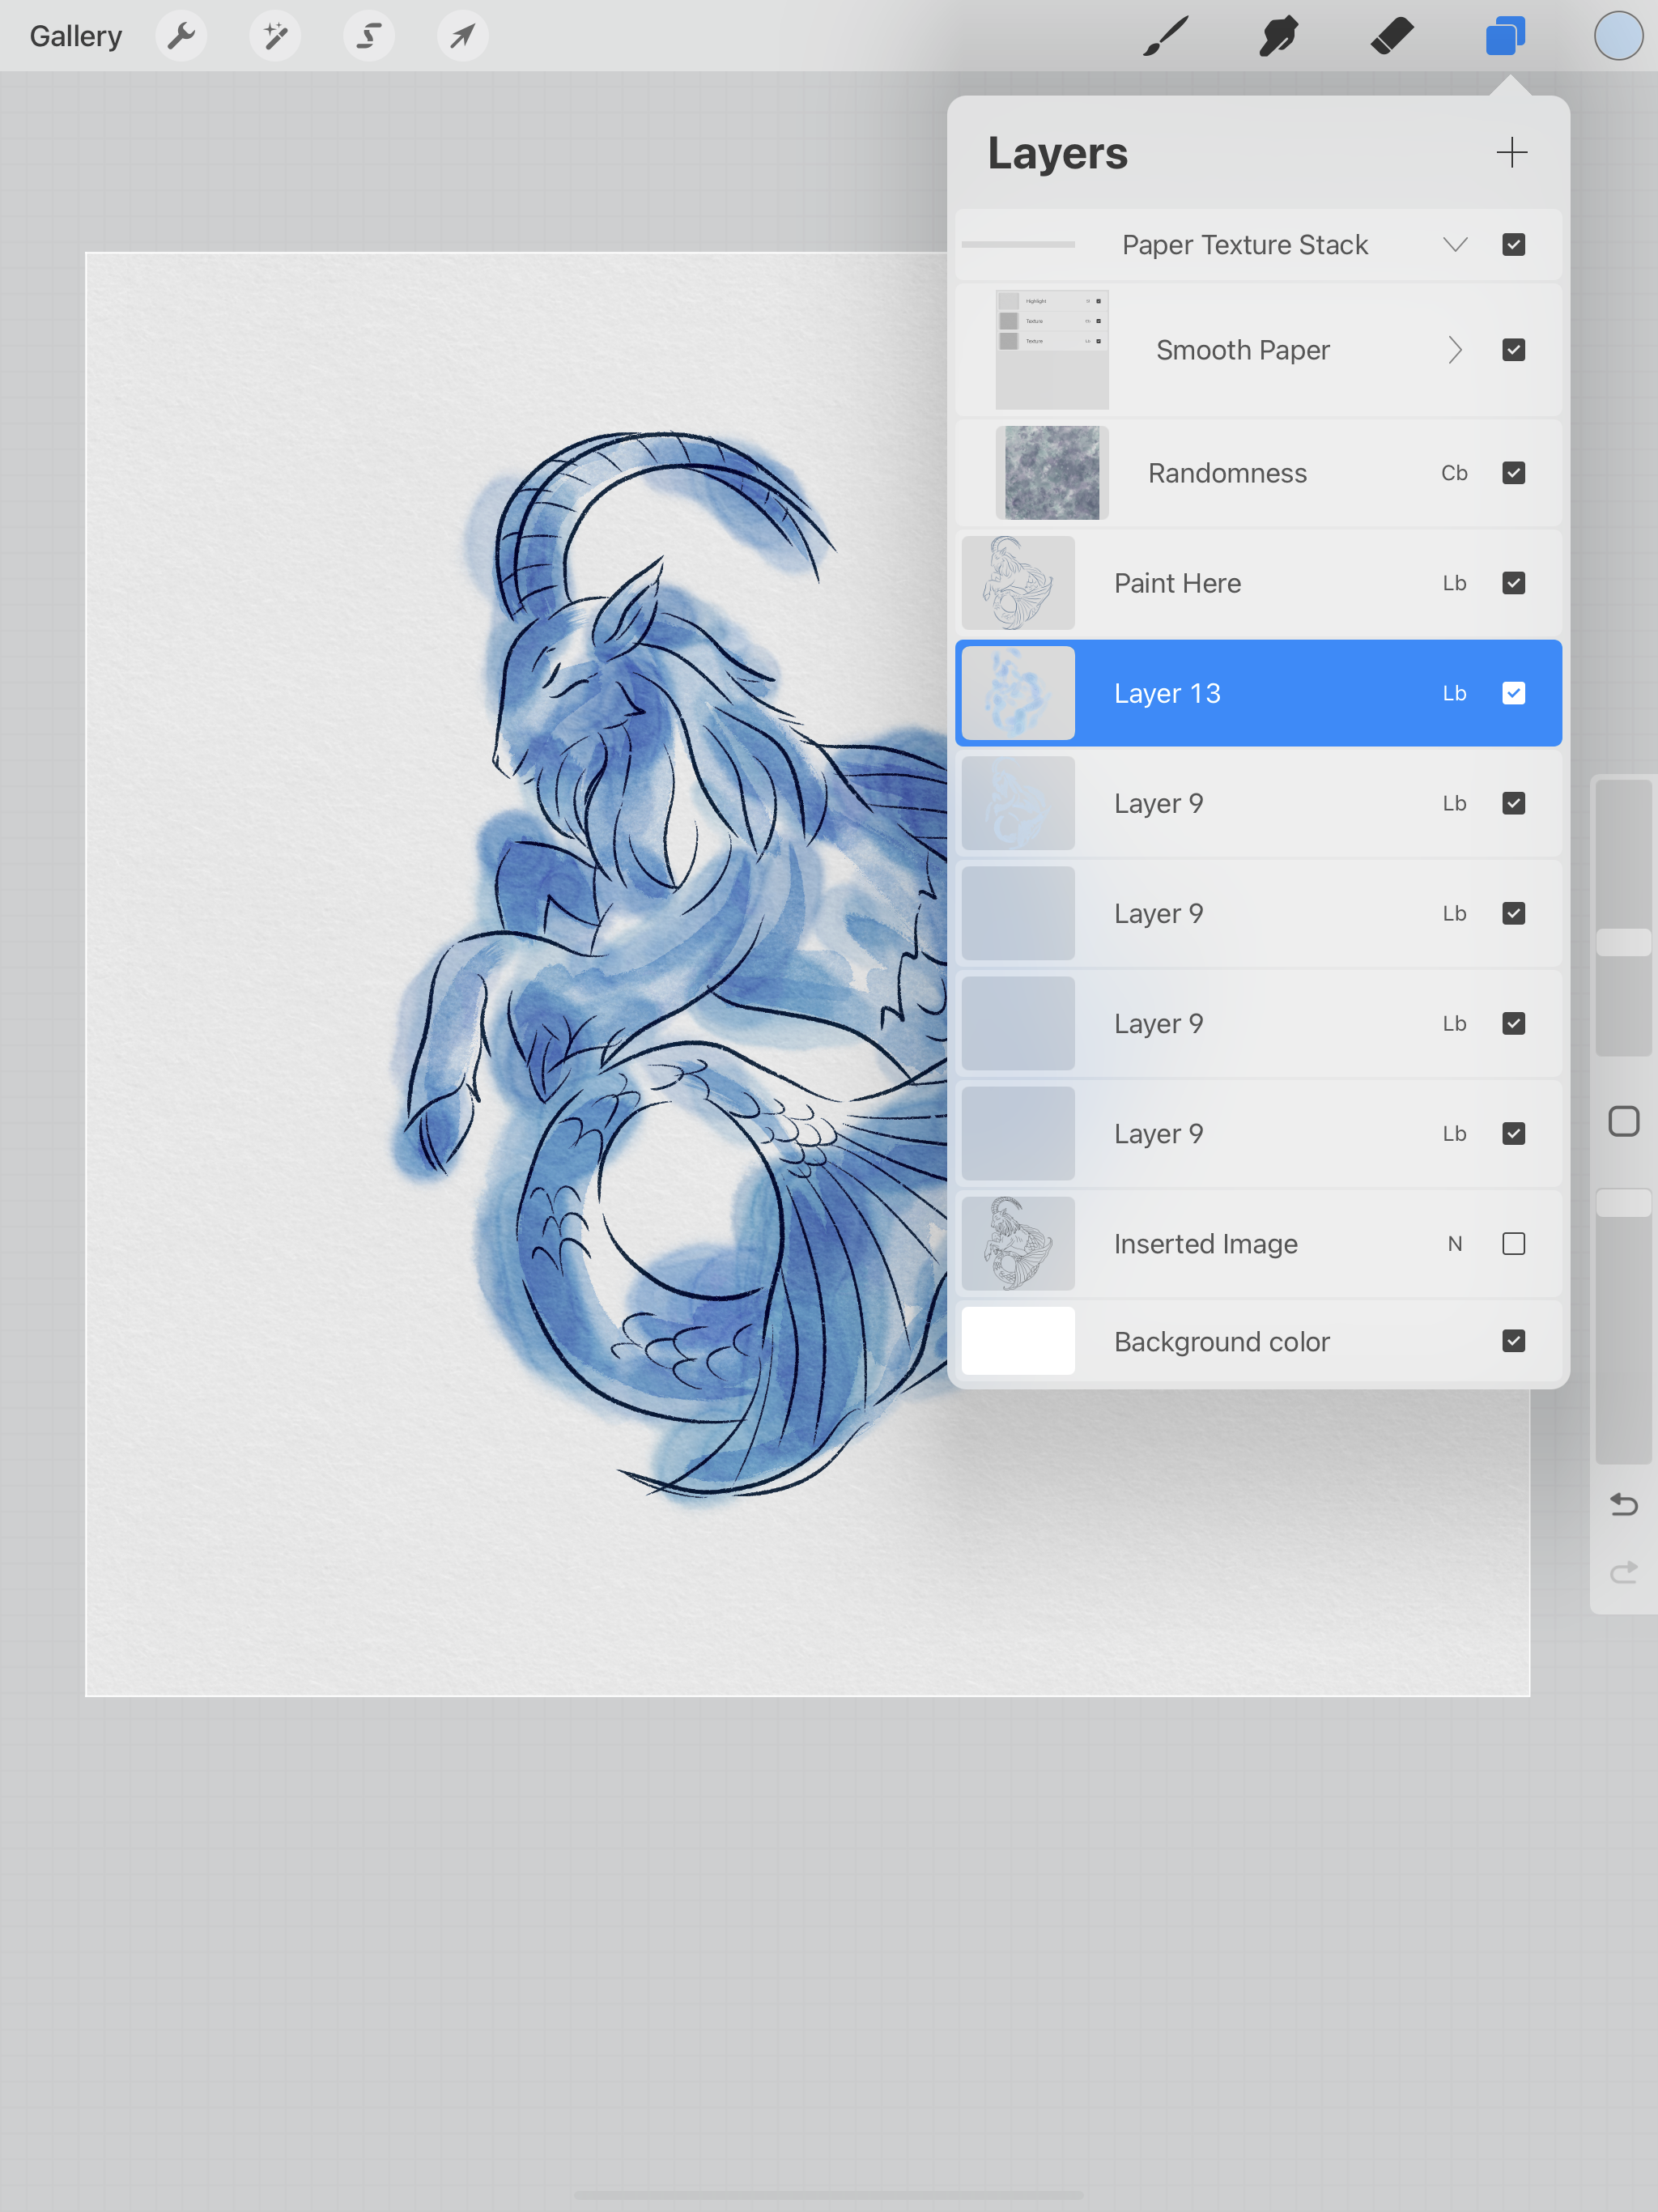
Now I’m going to use the Stain Jane brush from the Everything Watercolor brushes. In the same light blue color I will go around and add some darker blue areas. It will appear darker because my layer is set to Linear Burn. Since this layer is a clipping mask, all of my “painting” stays within the light blue of the original layer I painted. This is a great way to add some of the color variation like you get with real watercolors.

Watercolor Clipart in Procreate

Here’s what it looks like without the clipping mask applied.

Watercolor Clipart in Procreate

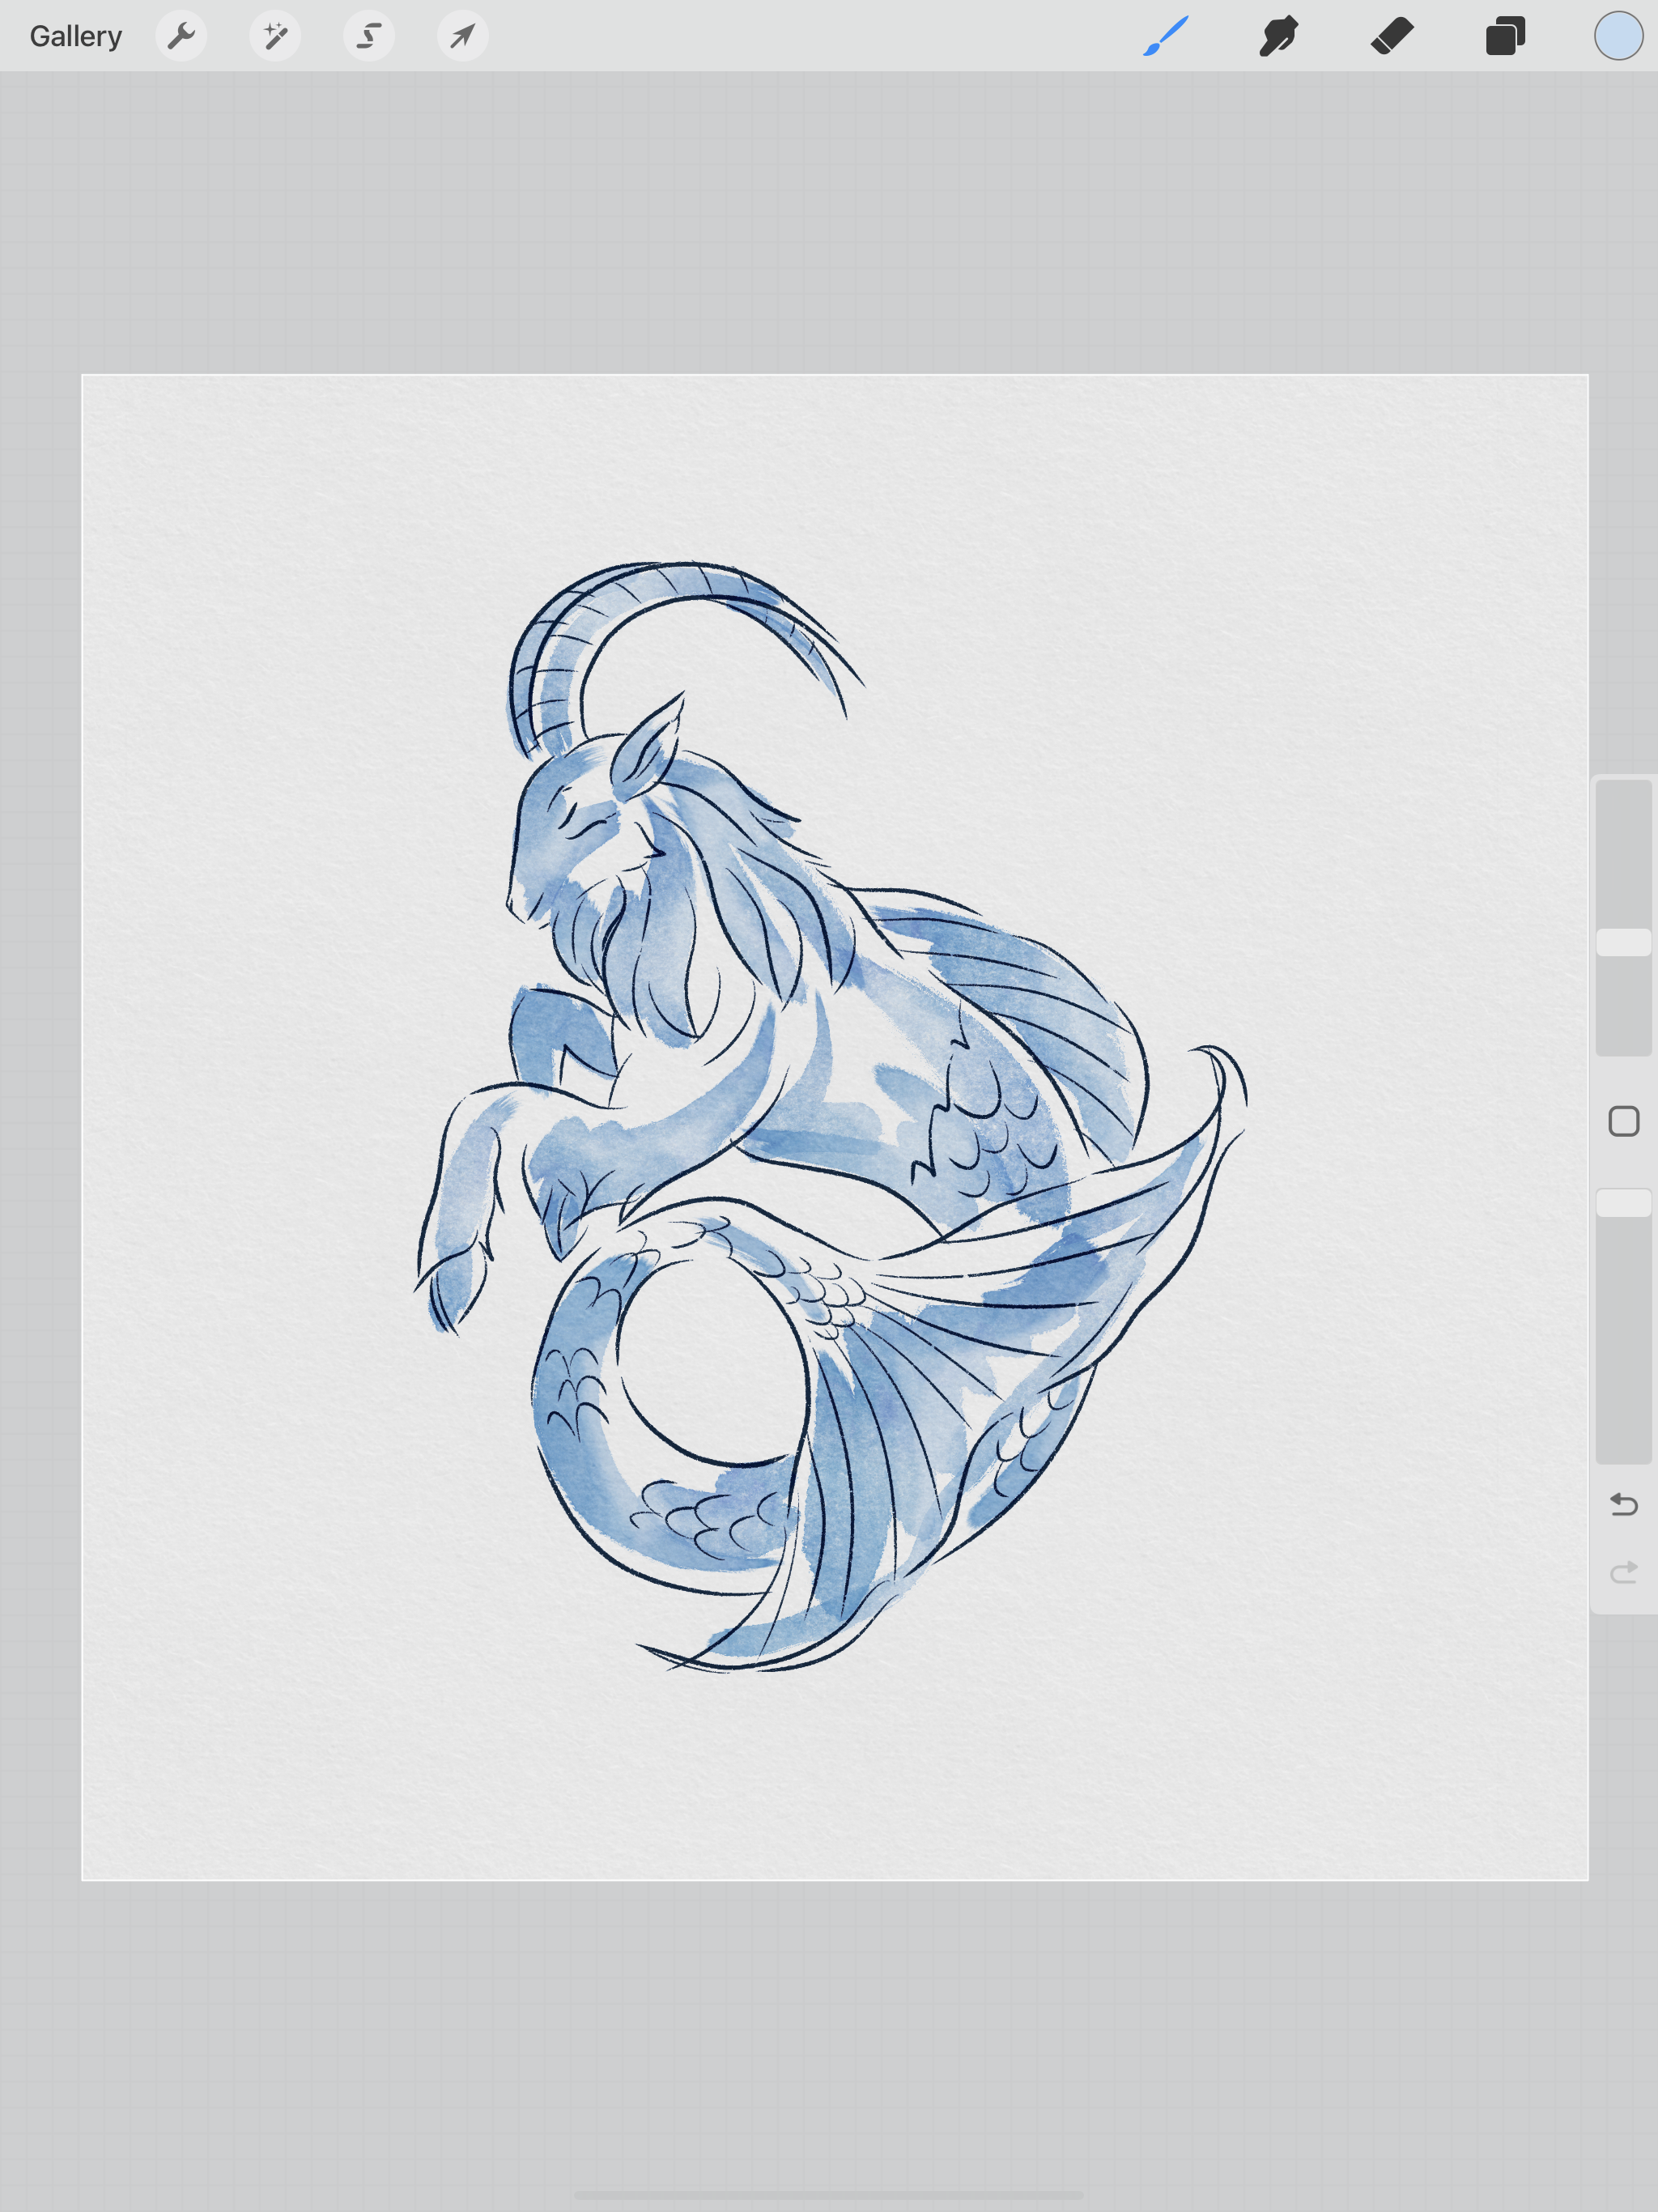
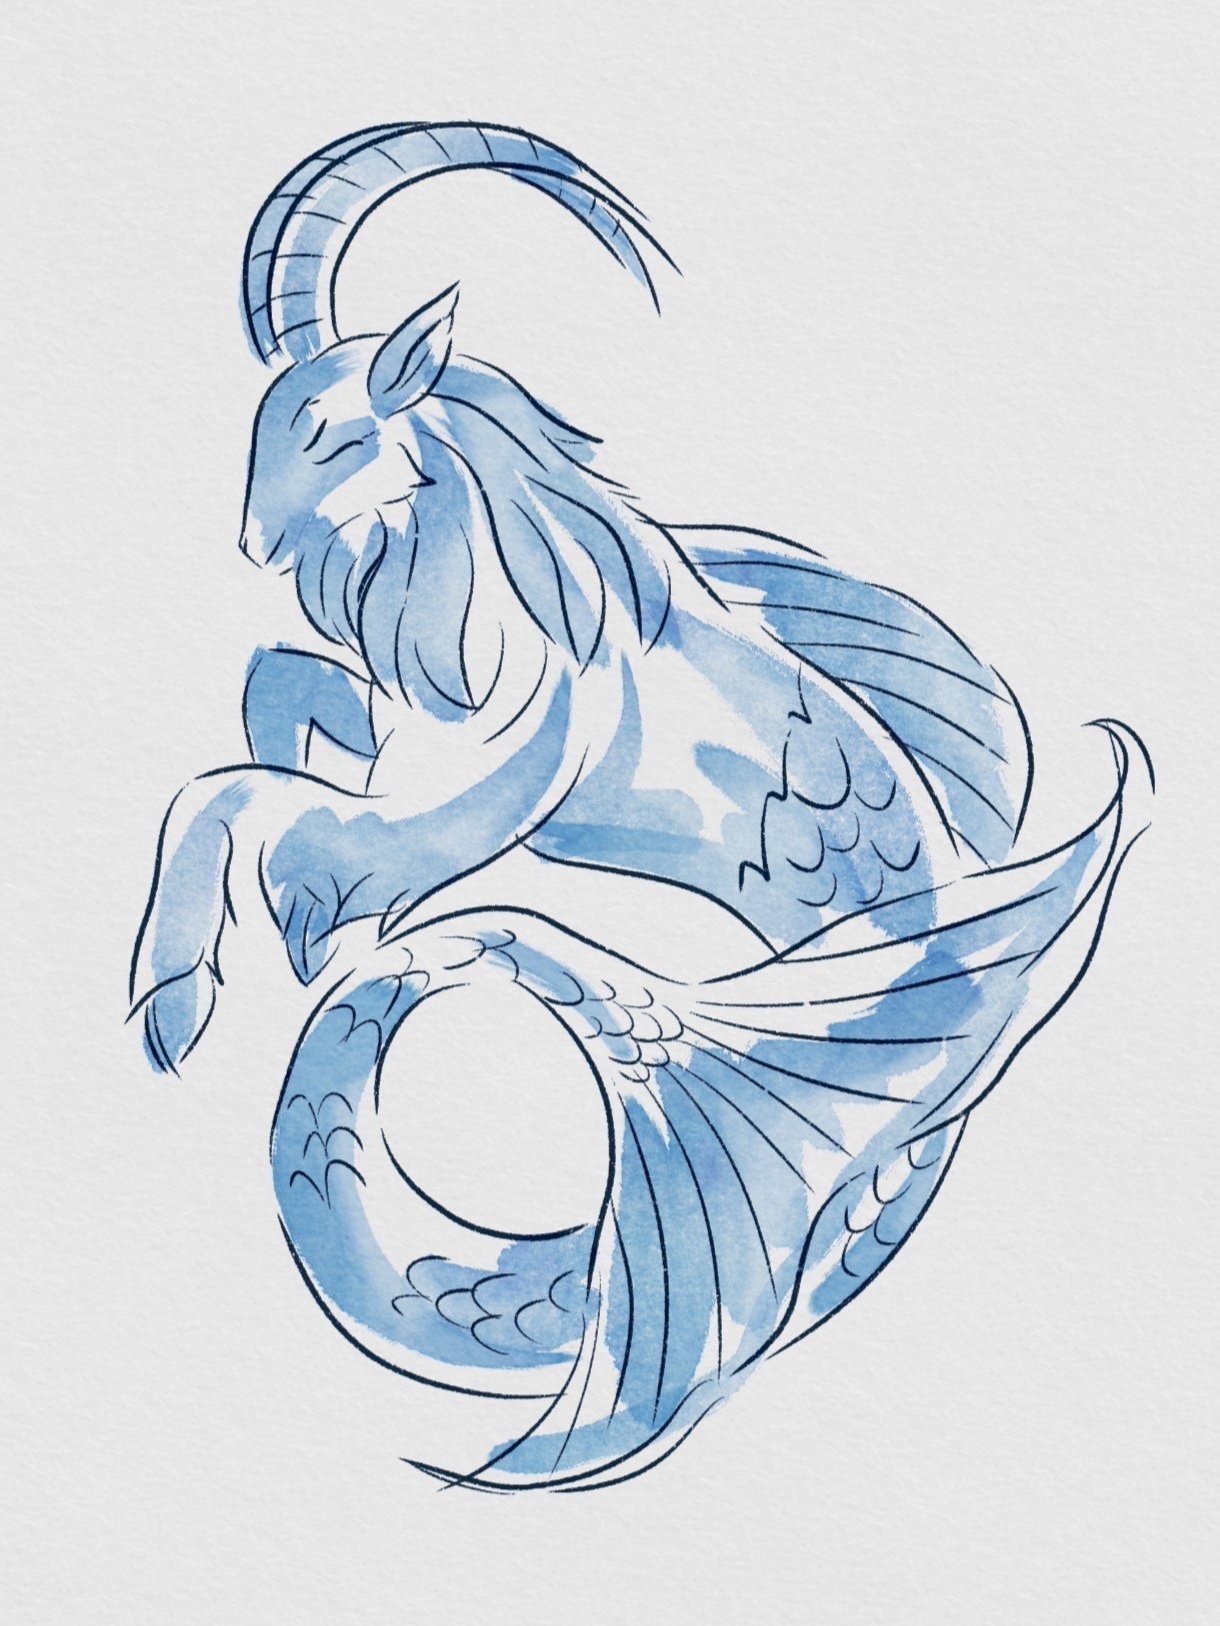
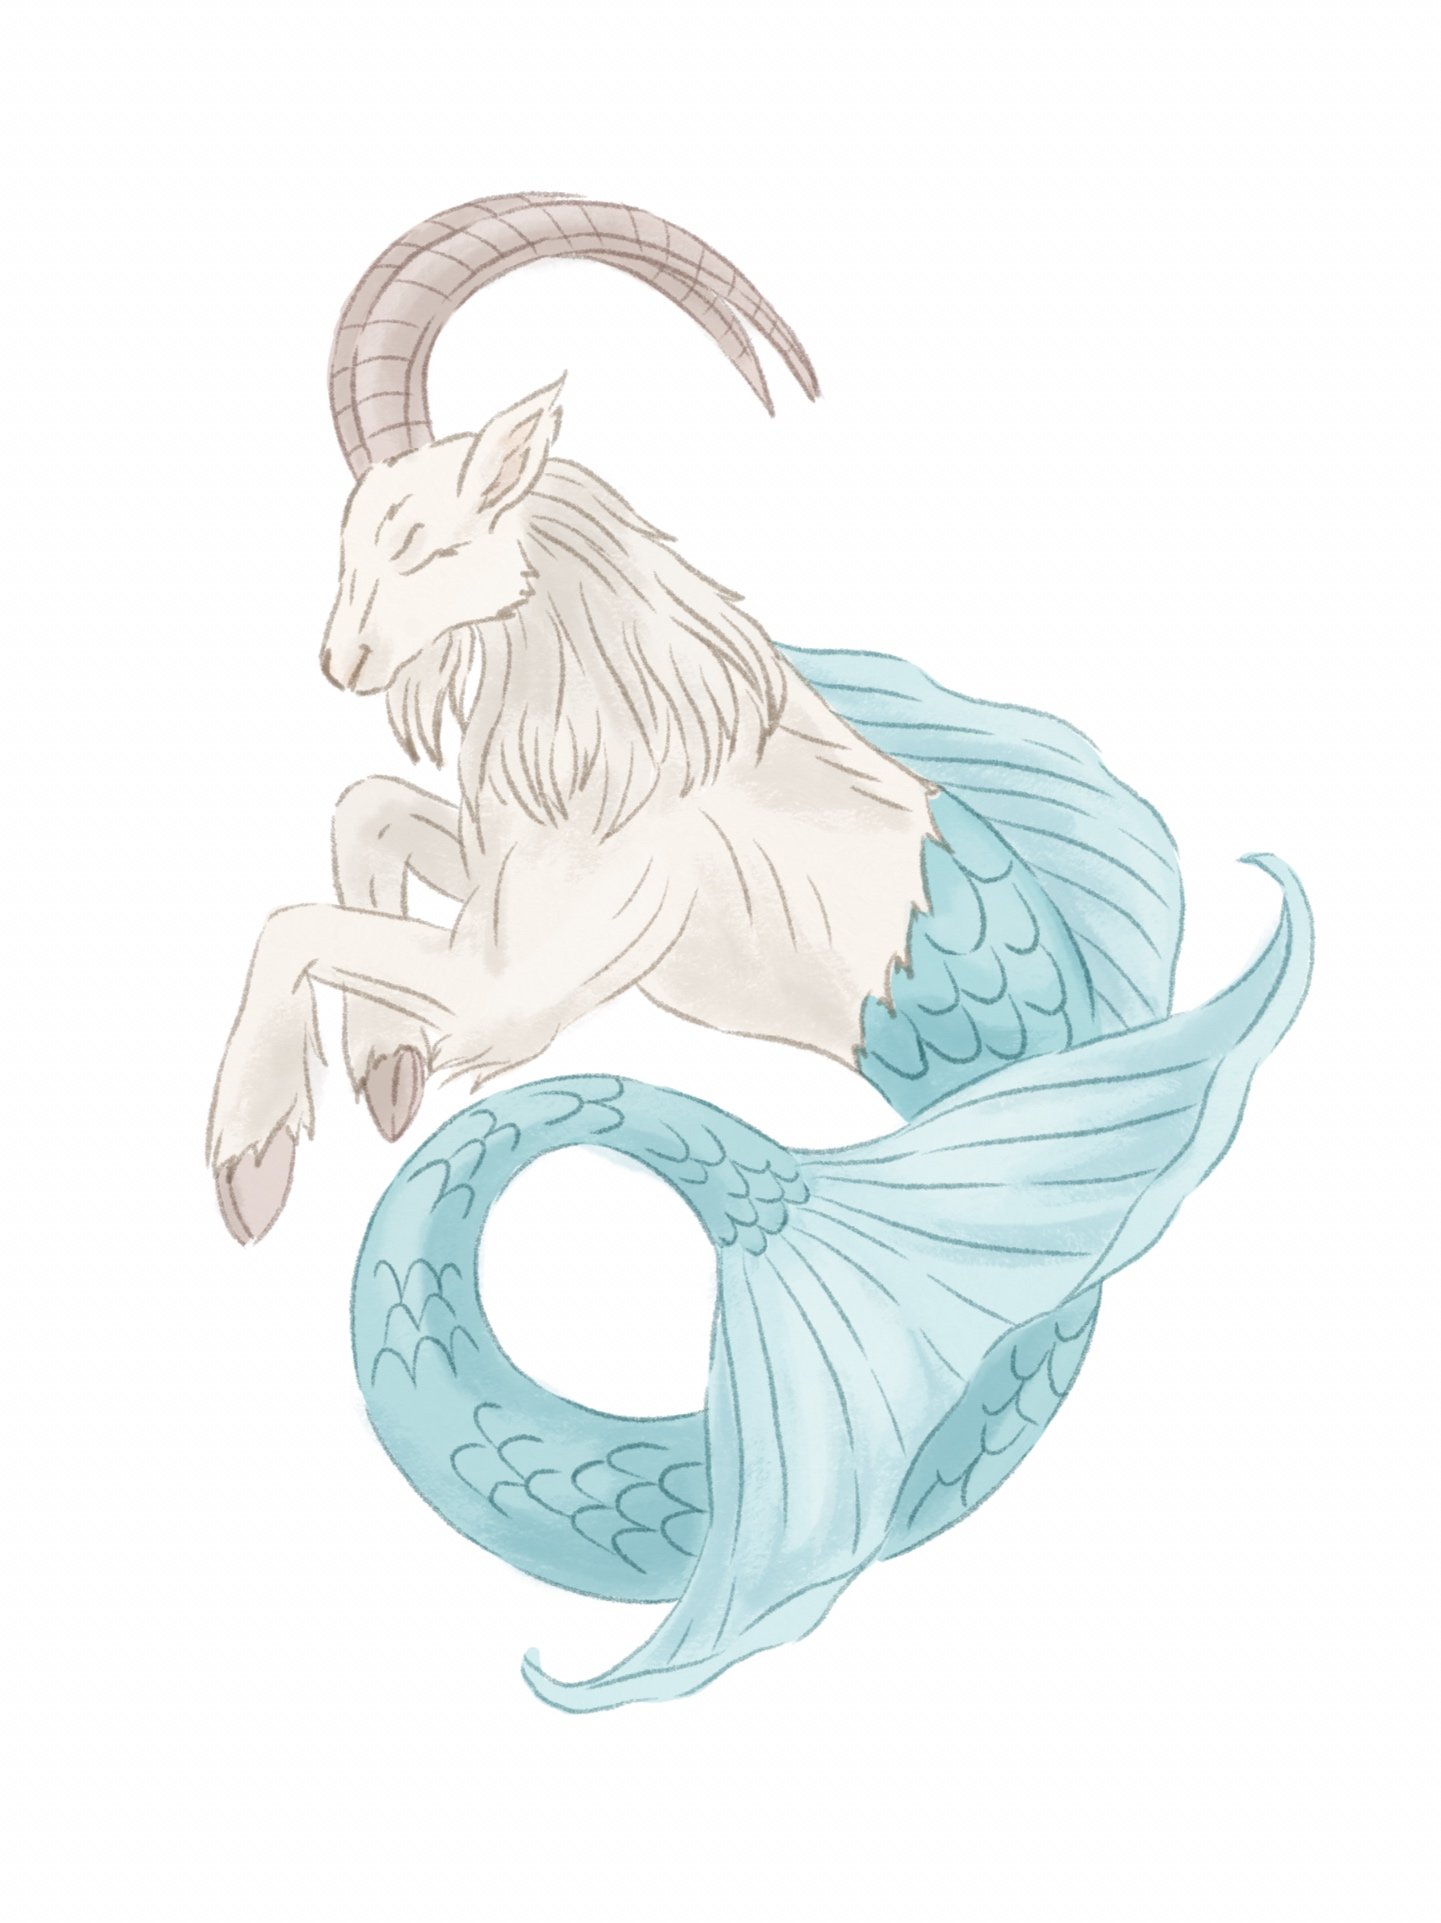
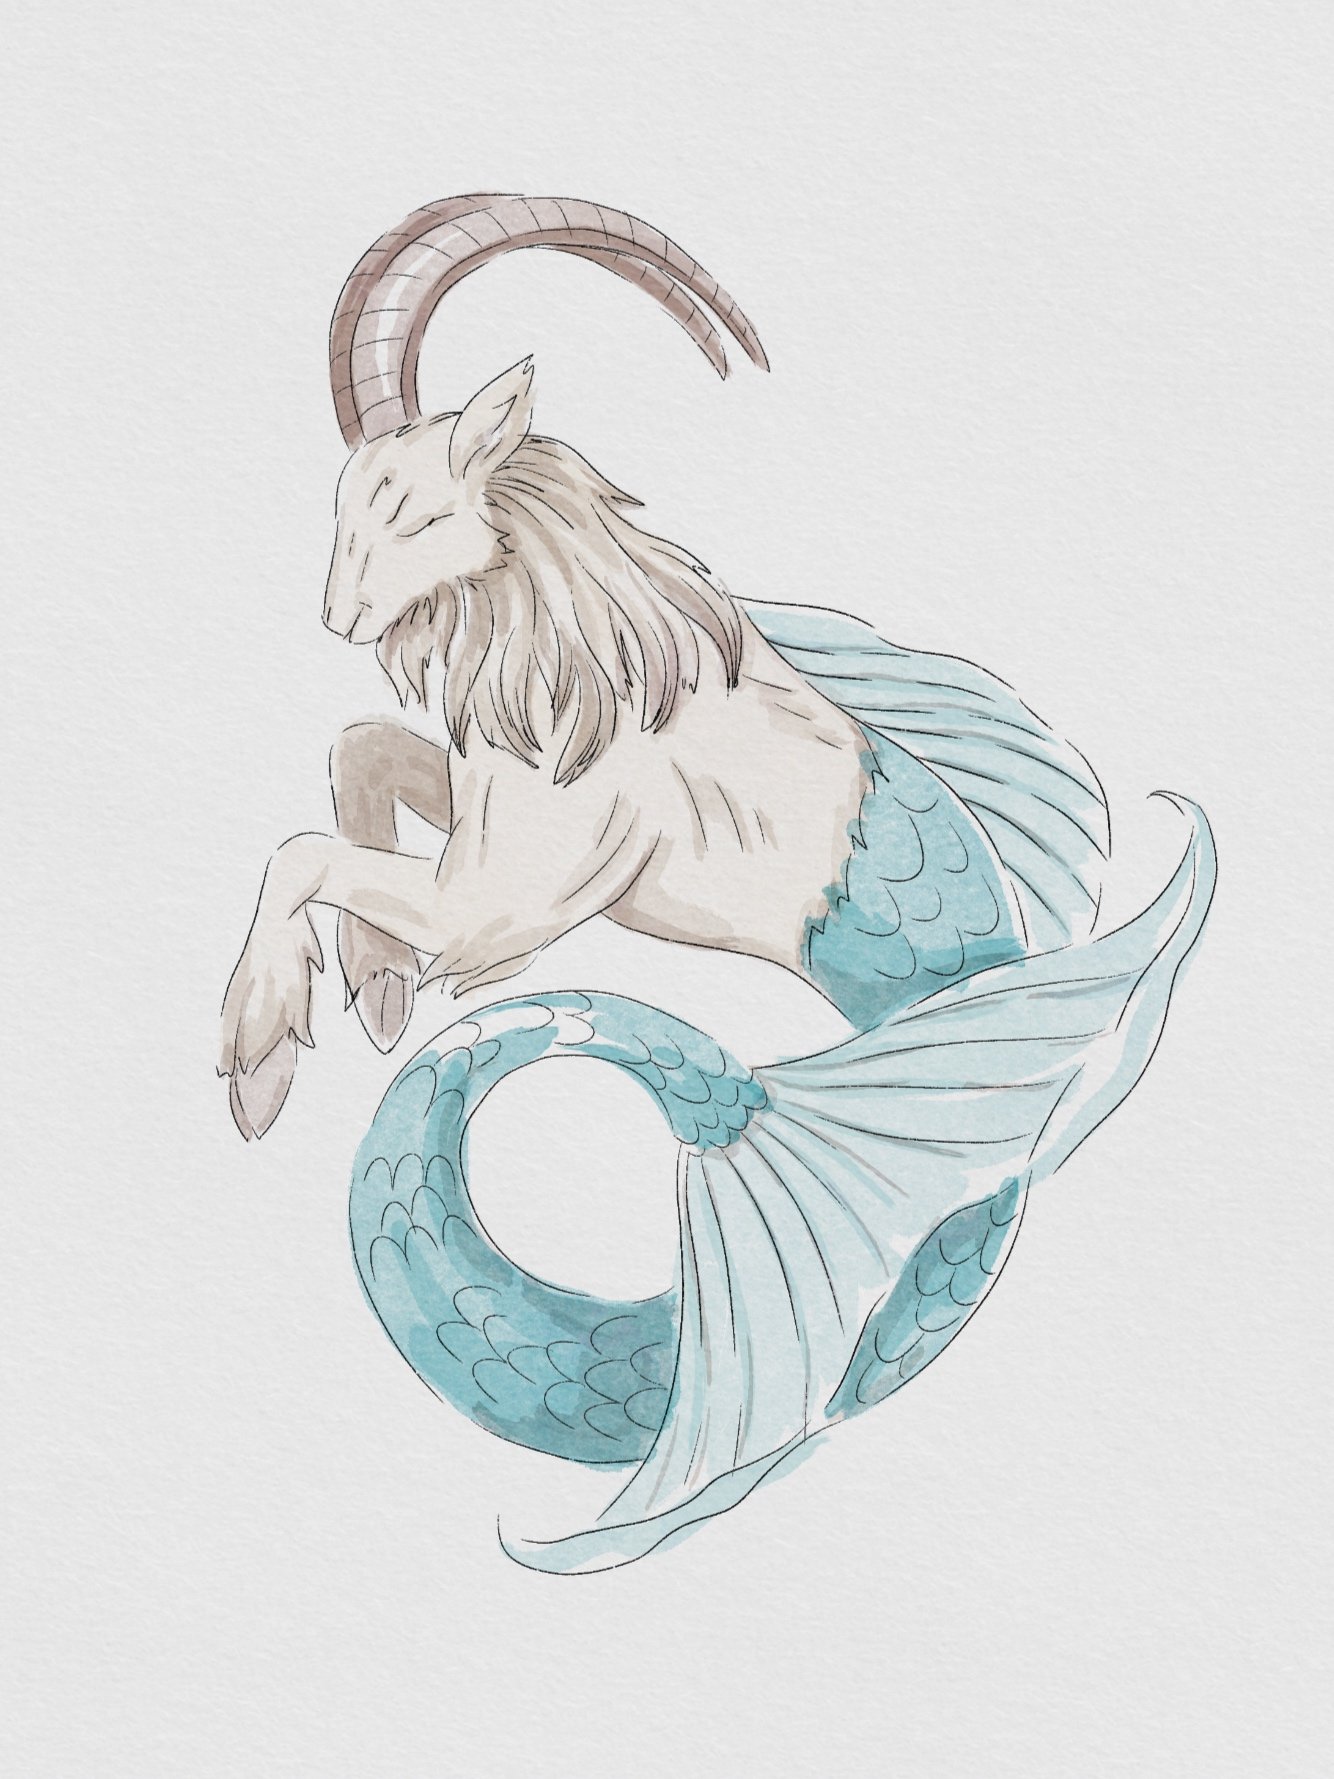
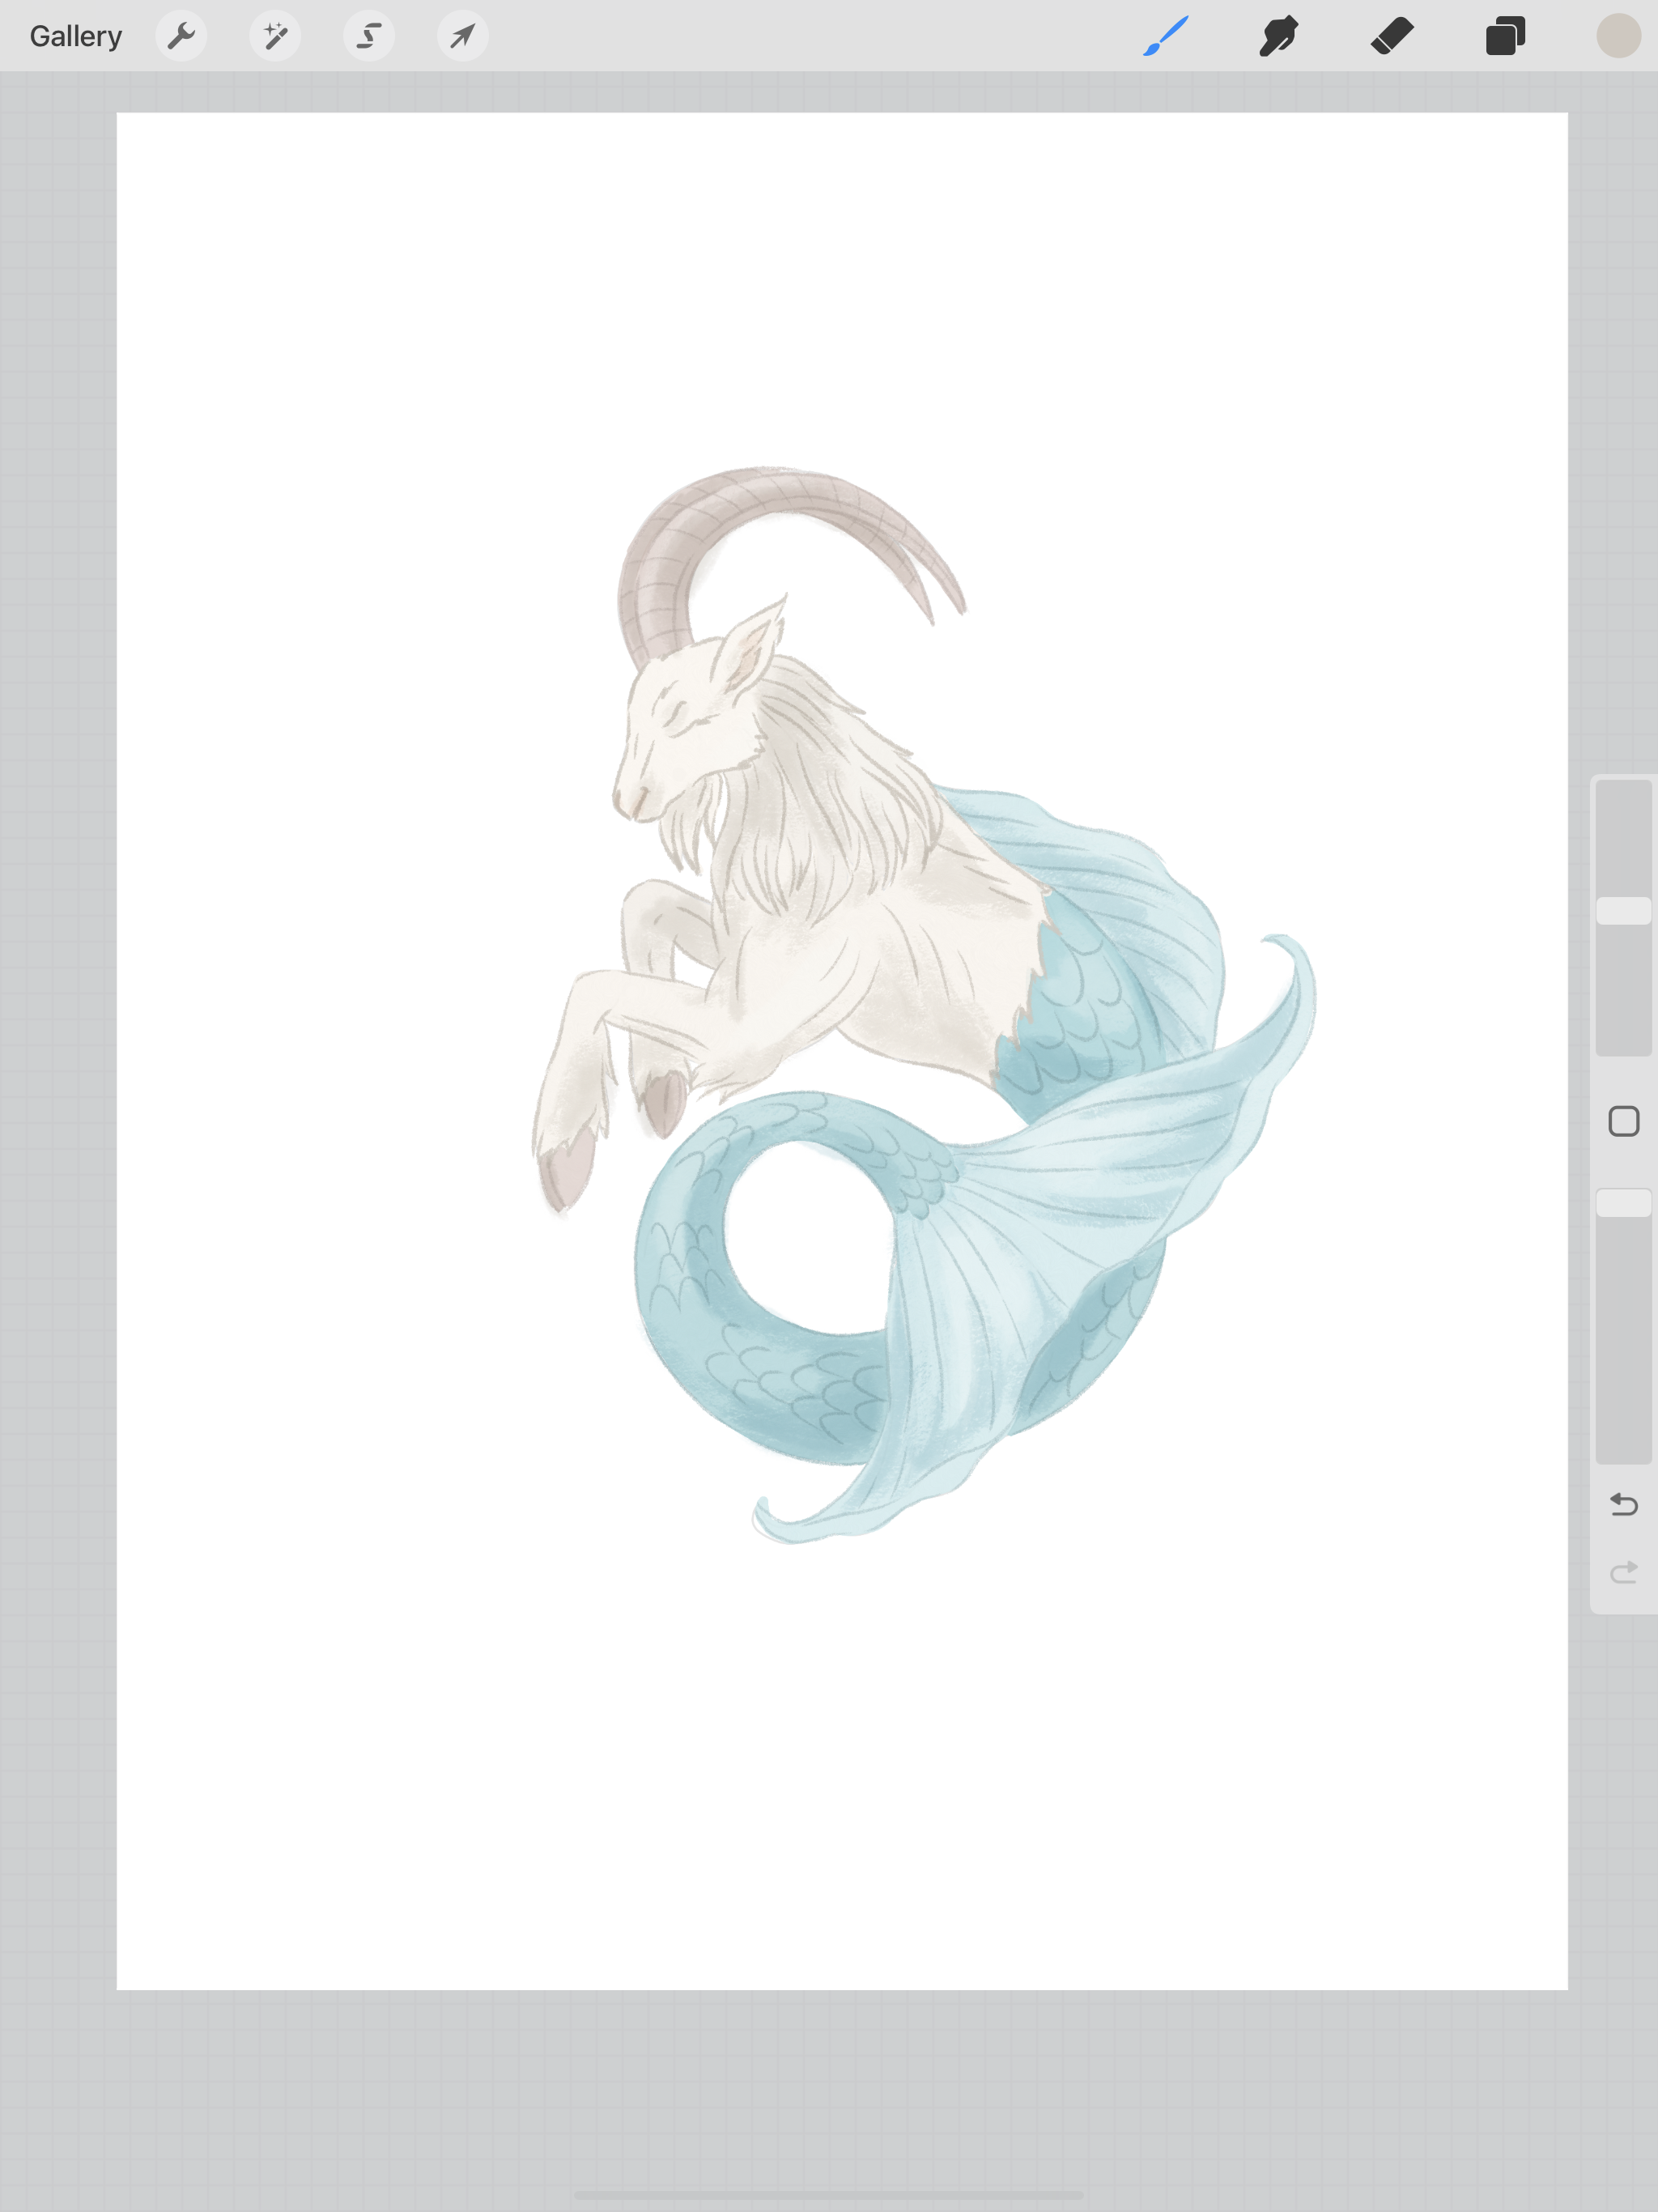
I’m going to lower the opacity of my original light blue layer just a little bit, the blues got a little to dark for my liking. Now it’s finished!

Watercolor Clipart in Procreate

Here it is next to the other paintings from the last 2 weeks. This is a fun exercise if you’re trying to figure out your drawing/ painting style.

Watercolor Clipart in Procreate
Gouache Clipart in Procreate

Creating Watercolor Style Clip Art in Procreate to Use With Your Cricut or Silhouette Machine

Hi Everyone!

This week I’m going to share a watercolor style technique that I like to use in Procreate to make clip art that I can use with my Cricut or Silhouette machine.

I will be using the Brushy McBrush Face brush from the Everything Watercolor brush set from Uproot Brushes. This is a great set of brushes and it also comes with some very nice paper textures. The paper textures make a huge difference when trying to make convincing digital watercolor artwork.

Let’s get started!

I will be using my same Capricorn line drawing from the past few weeks. In the end you will see all the different ways I’ve used this same base drawing and rendered it different ways. This is also a great way to figure out what kind of drawing/ painting style you prefer to use for your own artwork.

I’m going to be using the Smooth Paper texture canvas that comes with the Everything Watercolor brushes. I will go ahead and delete the others so I can have more layers to work with for my painting.

Watercolor style clip art in Procreate - paper texture

I copy and pasted my Capricorn line drawing and put it underneath the paper texture. I also lowered the opacity of my drawing to where I can barely see it. The paper texture always needs to stay on top, you painting and drawing layers will always be below the texture stack.

Watercolor style clip art in Procreate - sketch layer

There are already some layers labeled “Paint Here”, I’m going to go head and duplicate these while they’re still empty, but you can always add more later.

For simplicity, I’m going to use the same colors that I did last week, and I’m going to start with the tail again. I select my Brushy McBrush Face brush and start painting on one of the “Paint Here” layers. With this brush, once you lift your pencil off the screen, when you draw/ paint over the same area again it will get darker.

I really love the ends and edges of this brush, they’re a little rough so it looks like i’m painting with an actual brush.

This brush also layers very nicely, once I’ve got my base layer down I can go back in and make some darker areas like with real watercolor.

Watercolor style clip art in Procreate - brushes

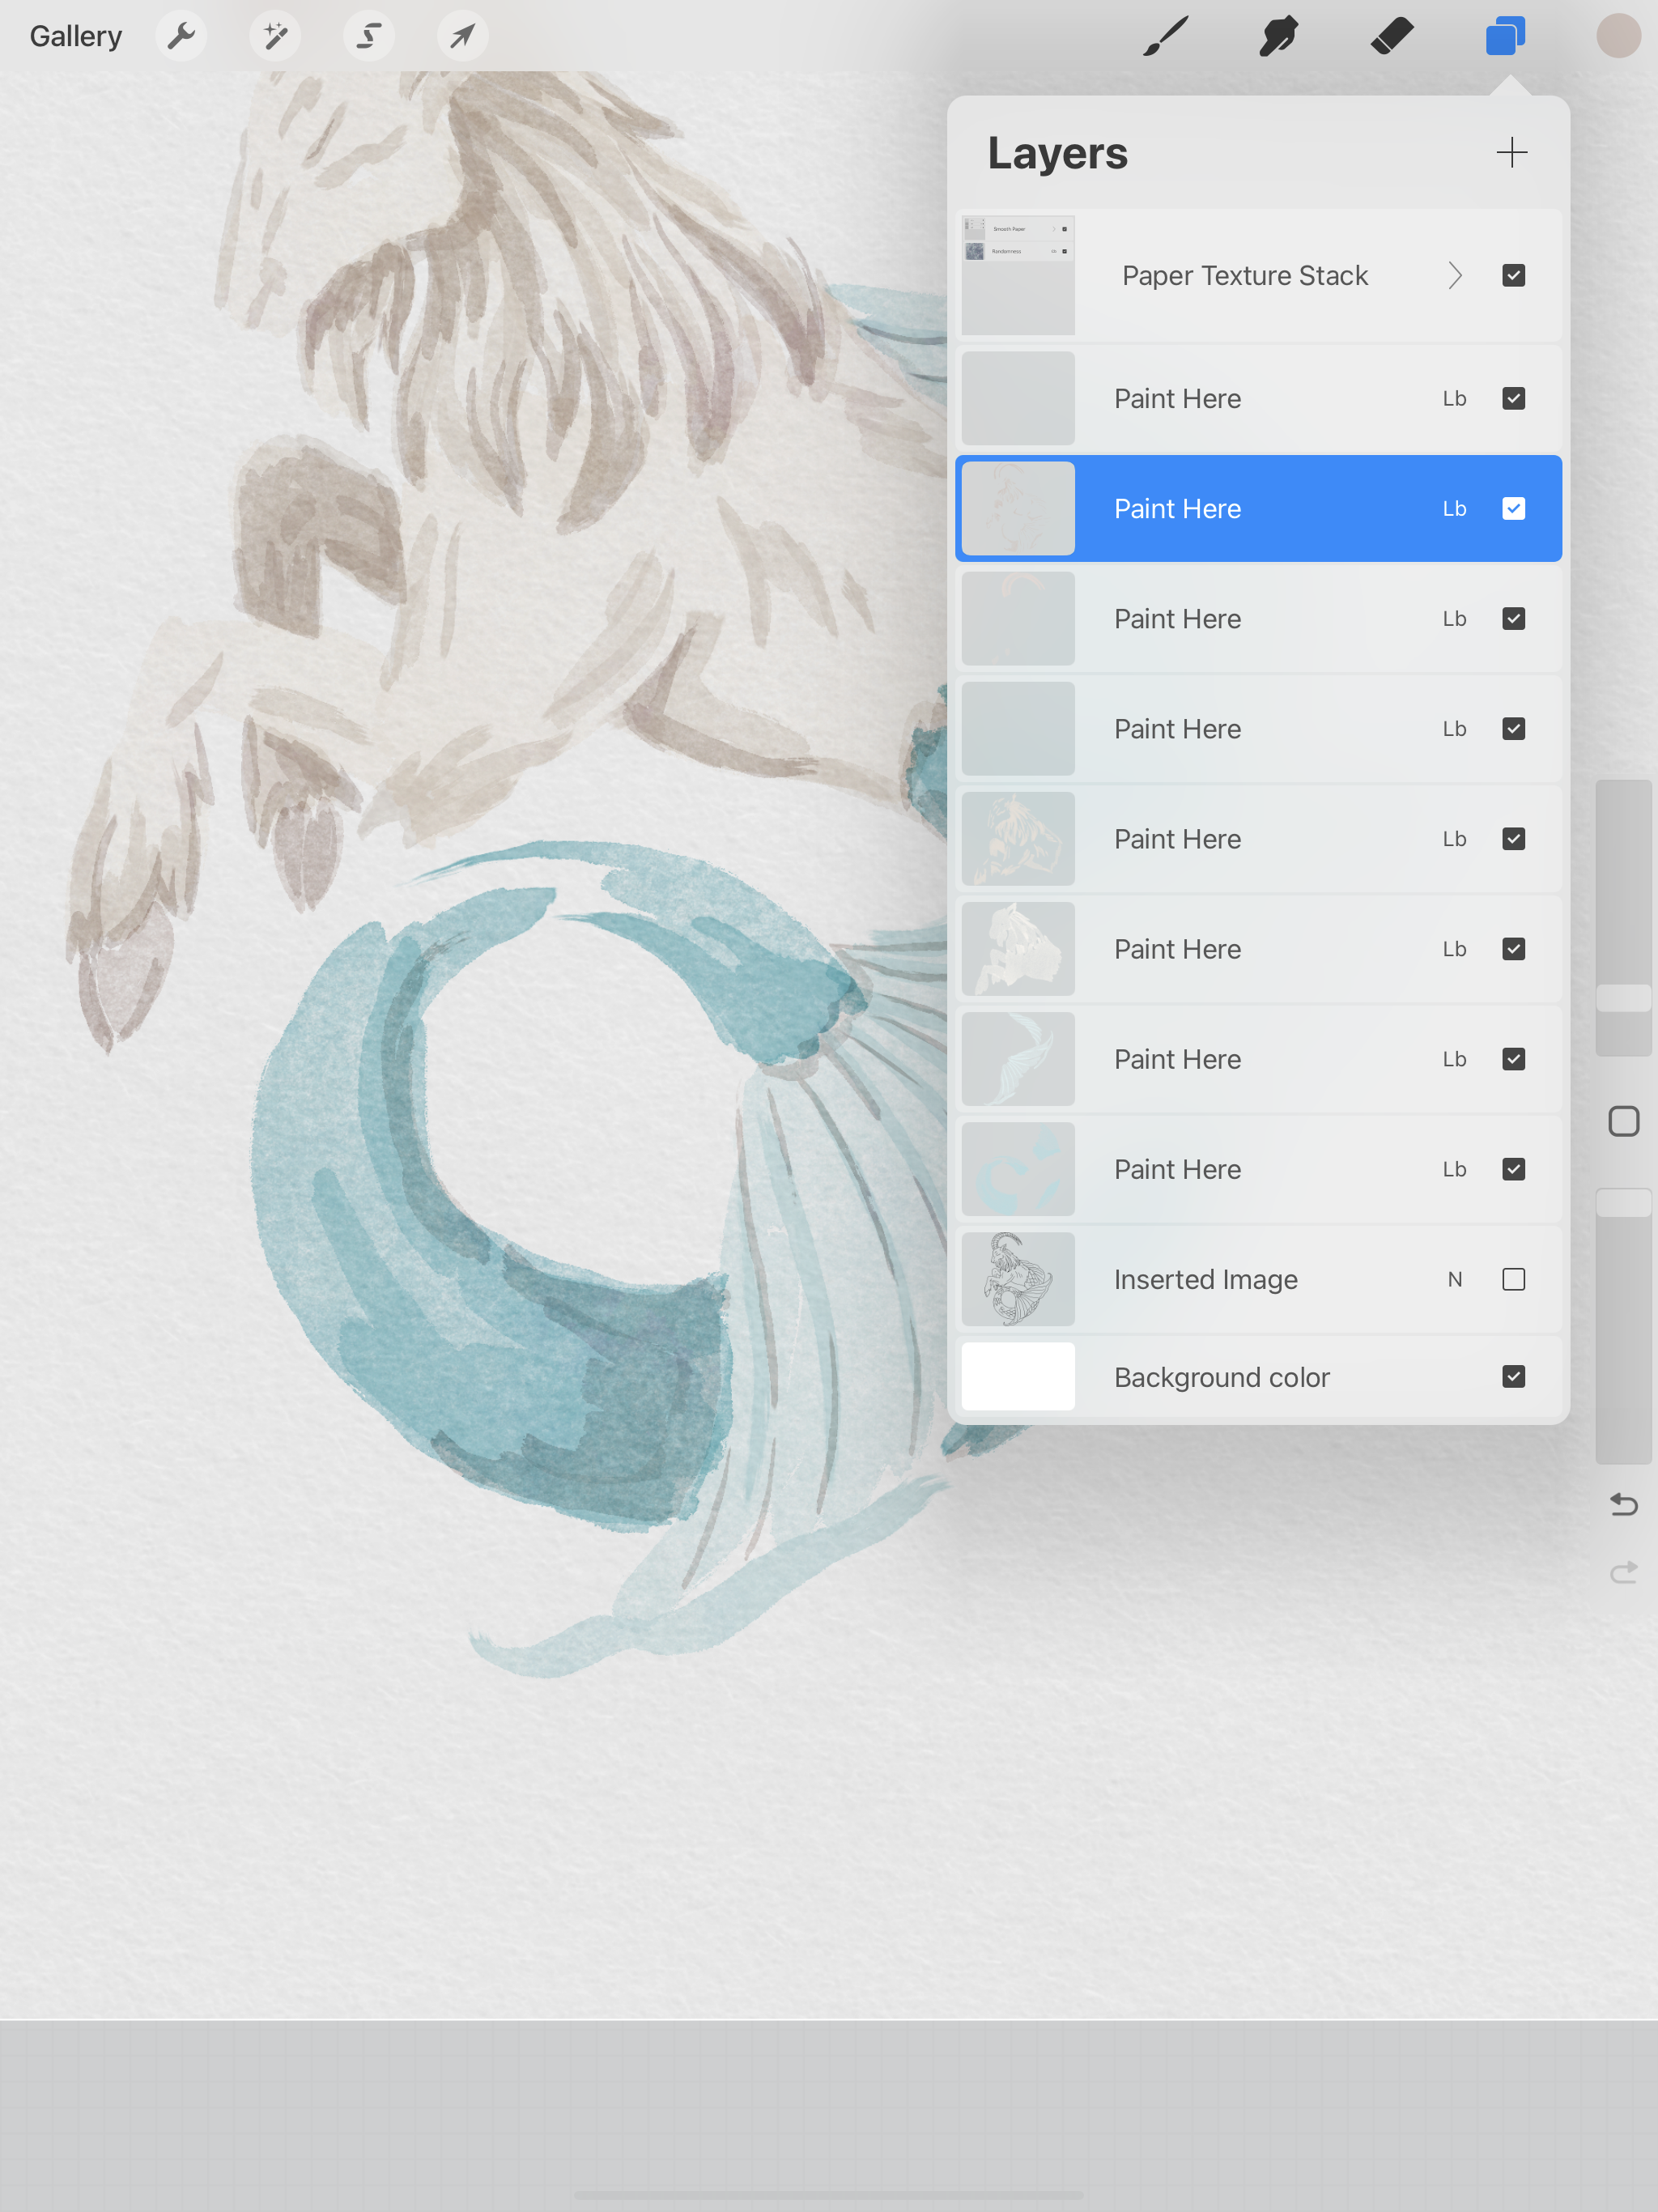
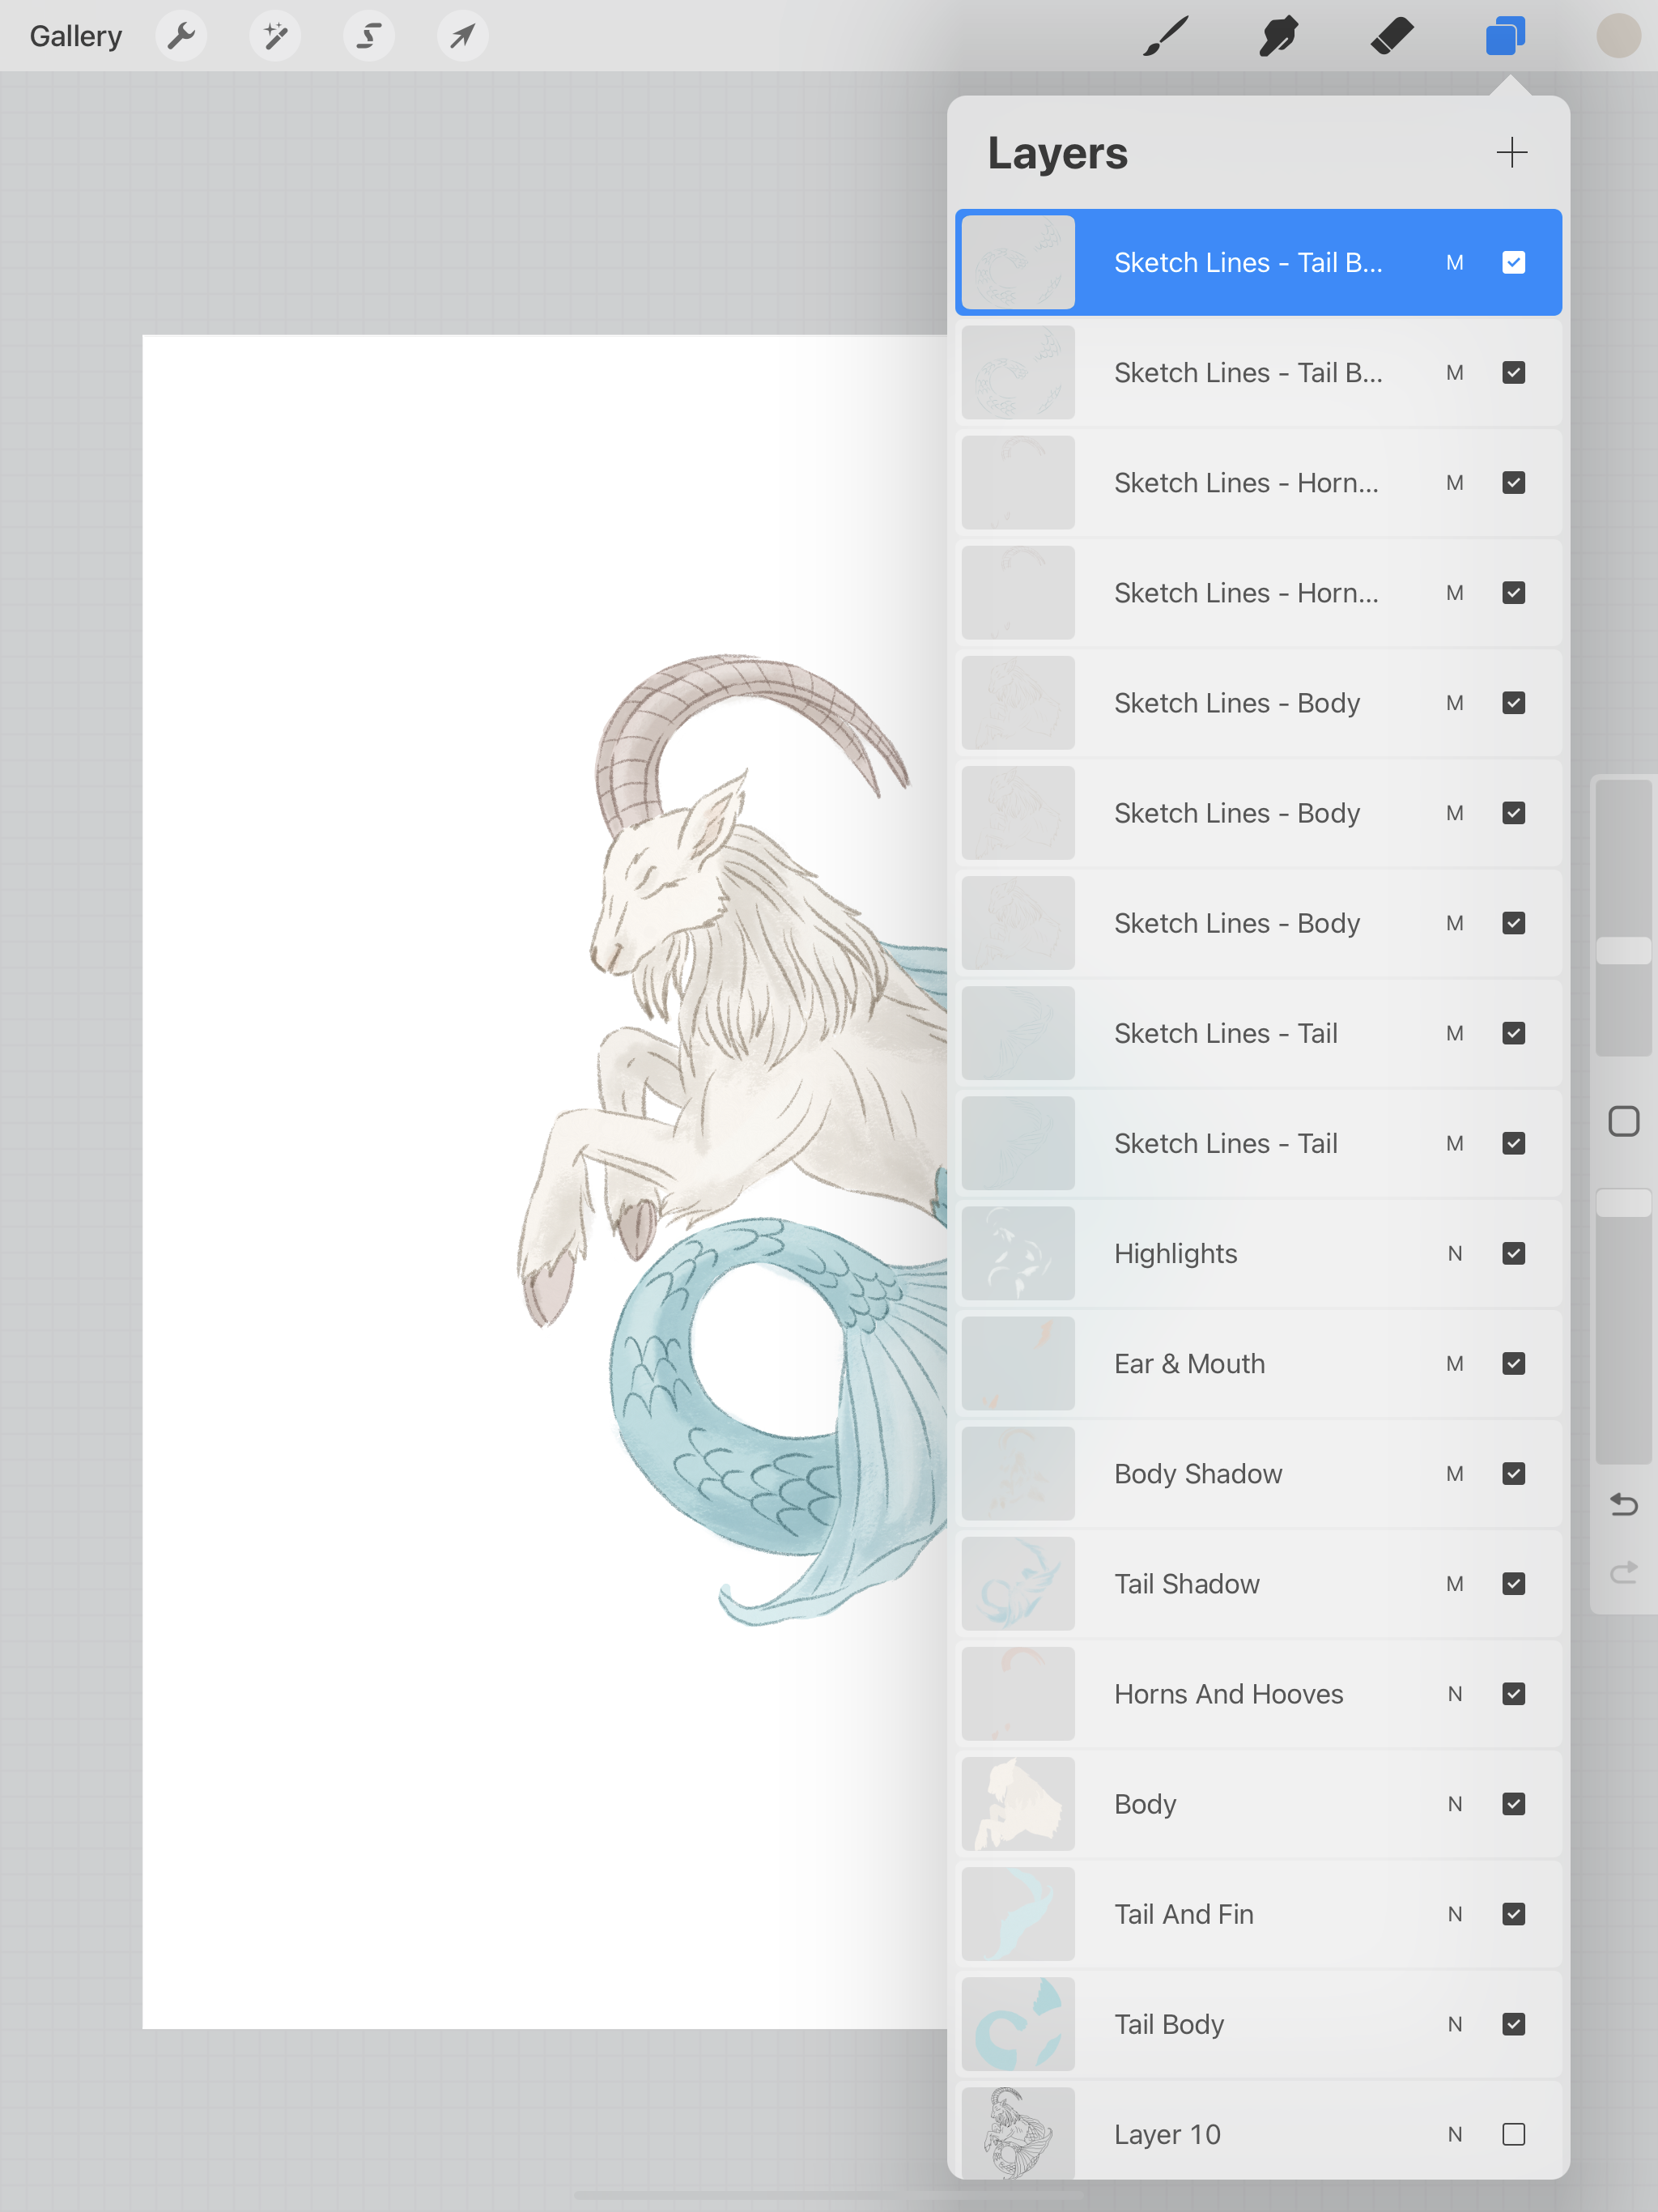
I still like to keep all of my colors on separate layers, so it’s easier for me to go back and make any color adjustments if needed.

Once I’ve got my base colors down, I’m going to add some more shadows. The color I started out with was little dark, but I ended up adjusting my layer opacity to 50%.

Watercolor style clip art in Procreate - layers

Now for my finishing touch, I’m going to use the Dry Ink pen that comes with Procreate (you can find it in the Inking brushes) I want this to look like I quickly went around it with an old Micron pen. I’m going to loosely trace around my original one drawing, but I’m not going to worry about being too precise. I want this illustration to have a looser feel than my gouache style painting from last week.

Watercolor style clip art in Procreate - ink pen

Now it’s finished, and here’s a side by side with my painting from last week. I can use these painting as clip art for stickers and I also plan to make some repeating patterns once I have finished all the zodiac signs.

Watercolor style clip art in Procreate - finished design

Watercolor style with black ink details

Gouache style clip art in Procreate

Gouache style with pencil details

Creating Gouache Style Clip Art in Procreate to Use With Your Cricut or Silhouette Machine

Hi Everyone!

The last few weeks I showed you my process for how I create and test my single line SVG files. If single line SVGs aren’t really your thing, for the next few weeks I’m going to share with you some other methods for how I create artwork to use with my Cricut or Silhouette machine.

Since I already have this nice outline of my Capricorn, I’m going to use it as a guide to do a full color gouache-style version in Procreate on my iPad Pro. I’ll be able to use my finished artwork as clip art for stickers and other things.

Creating Clip Art in Procreate

Procreate is one of my absolute favorite apps for the iPad. It is a paid app, but it’s worth every penny in my opinion. It comes with some great brushes already included, there are numerous brush sets you can purchase from other artists, or you can even create you own custom brushes.

Today, I’m going to use a combination of brushes that are included with Procreate and some brushes that I have purchased. But you can absolutely create your own artwork using just the brushes that are already come with Procreate. Let’s get started!

I’m going to open my file that contains my line work for my Capricorn single line file. You can also start with a rough sketch too. I’m going to lower the opacity of this layer to about 10%, it’s visible but won’t interfere with my painting on top too much.

Creating Clip Art in Procreate - Layer Opacity

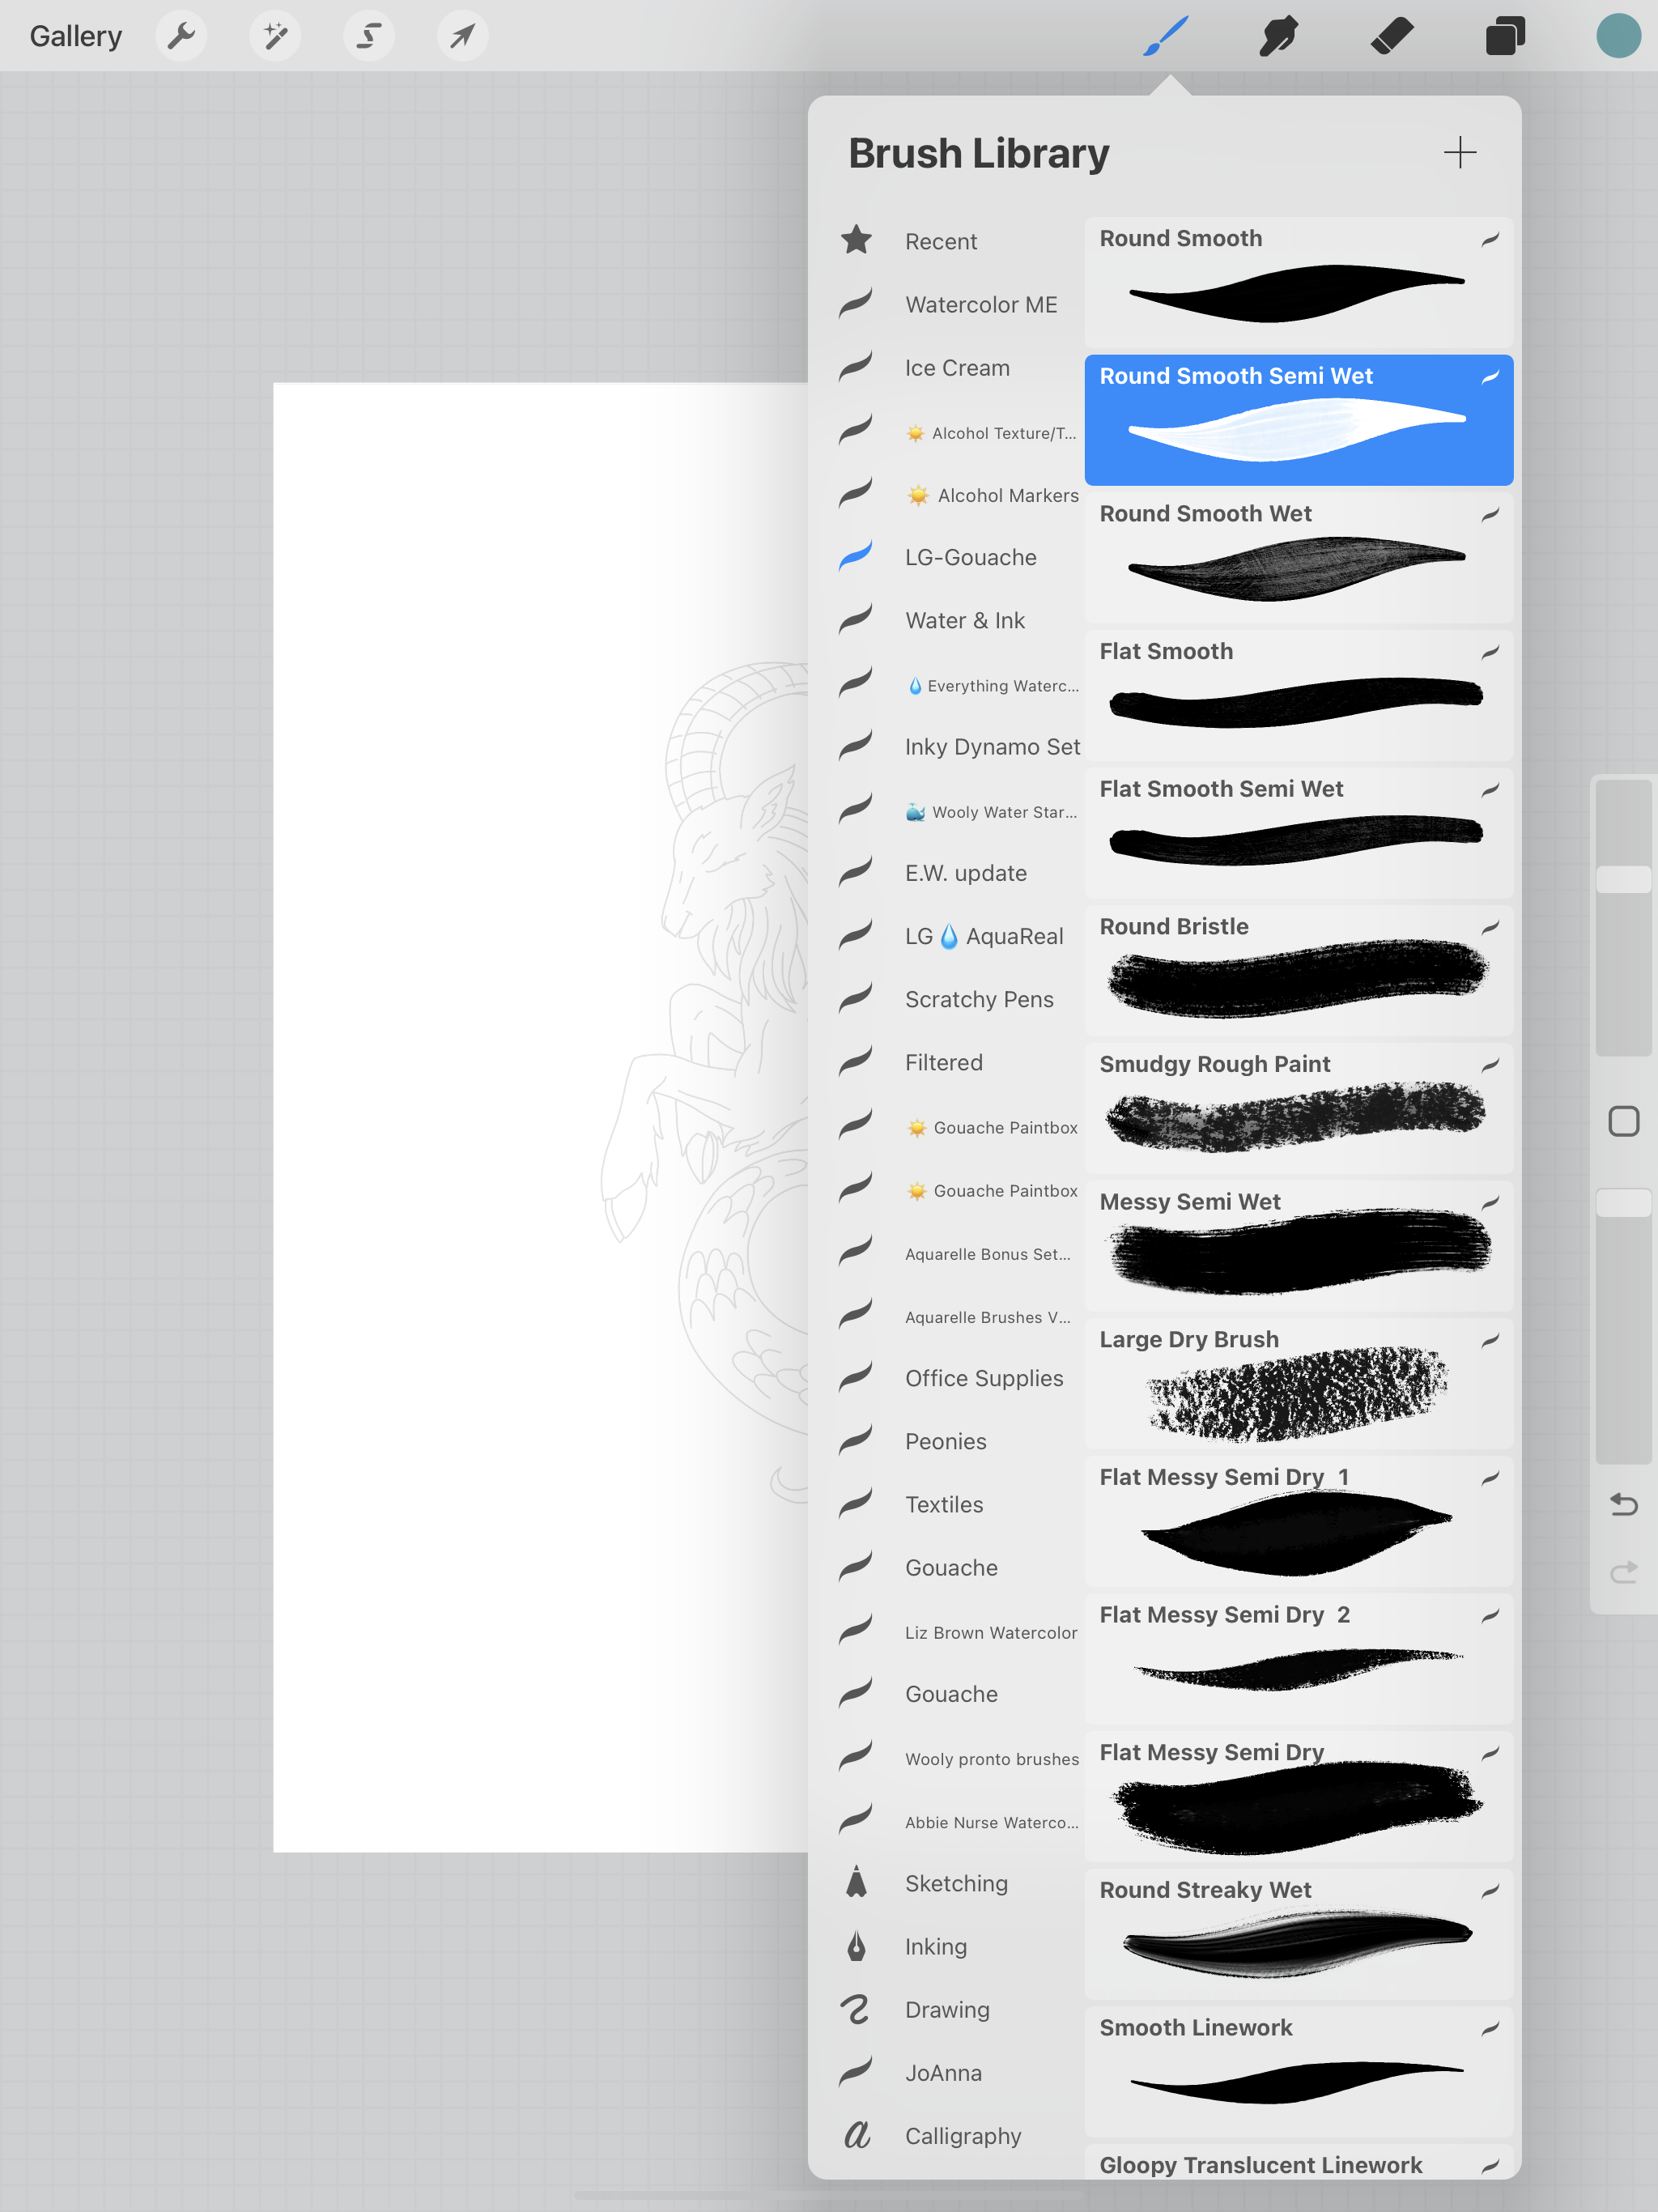
I like to work in a lot of layers, I think it’s easier to make adjustments to individual layers if I need to make any changes the further I get into my drawing or painting. I’m going to start with the tail first and I’m just going to fill in my base layer without any details. I’m using the Round Smooth Semi Wet brush from Lisa Glanz’s Gouache brush set. This is one of my favorite brush sets that I have purchased, I love using these brushes for my gouache style artwork.

Creating Clip Art in Procreate - Brushes

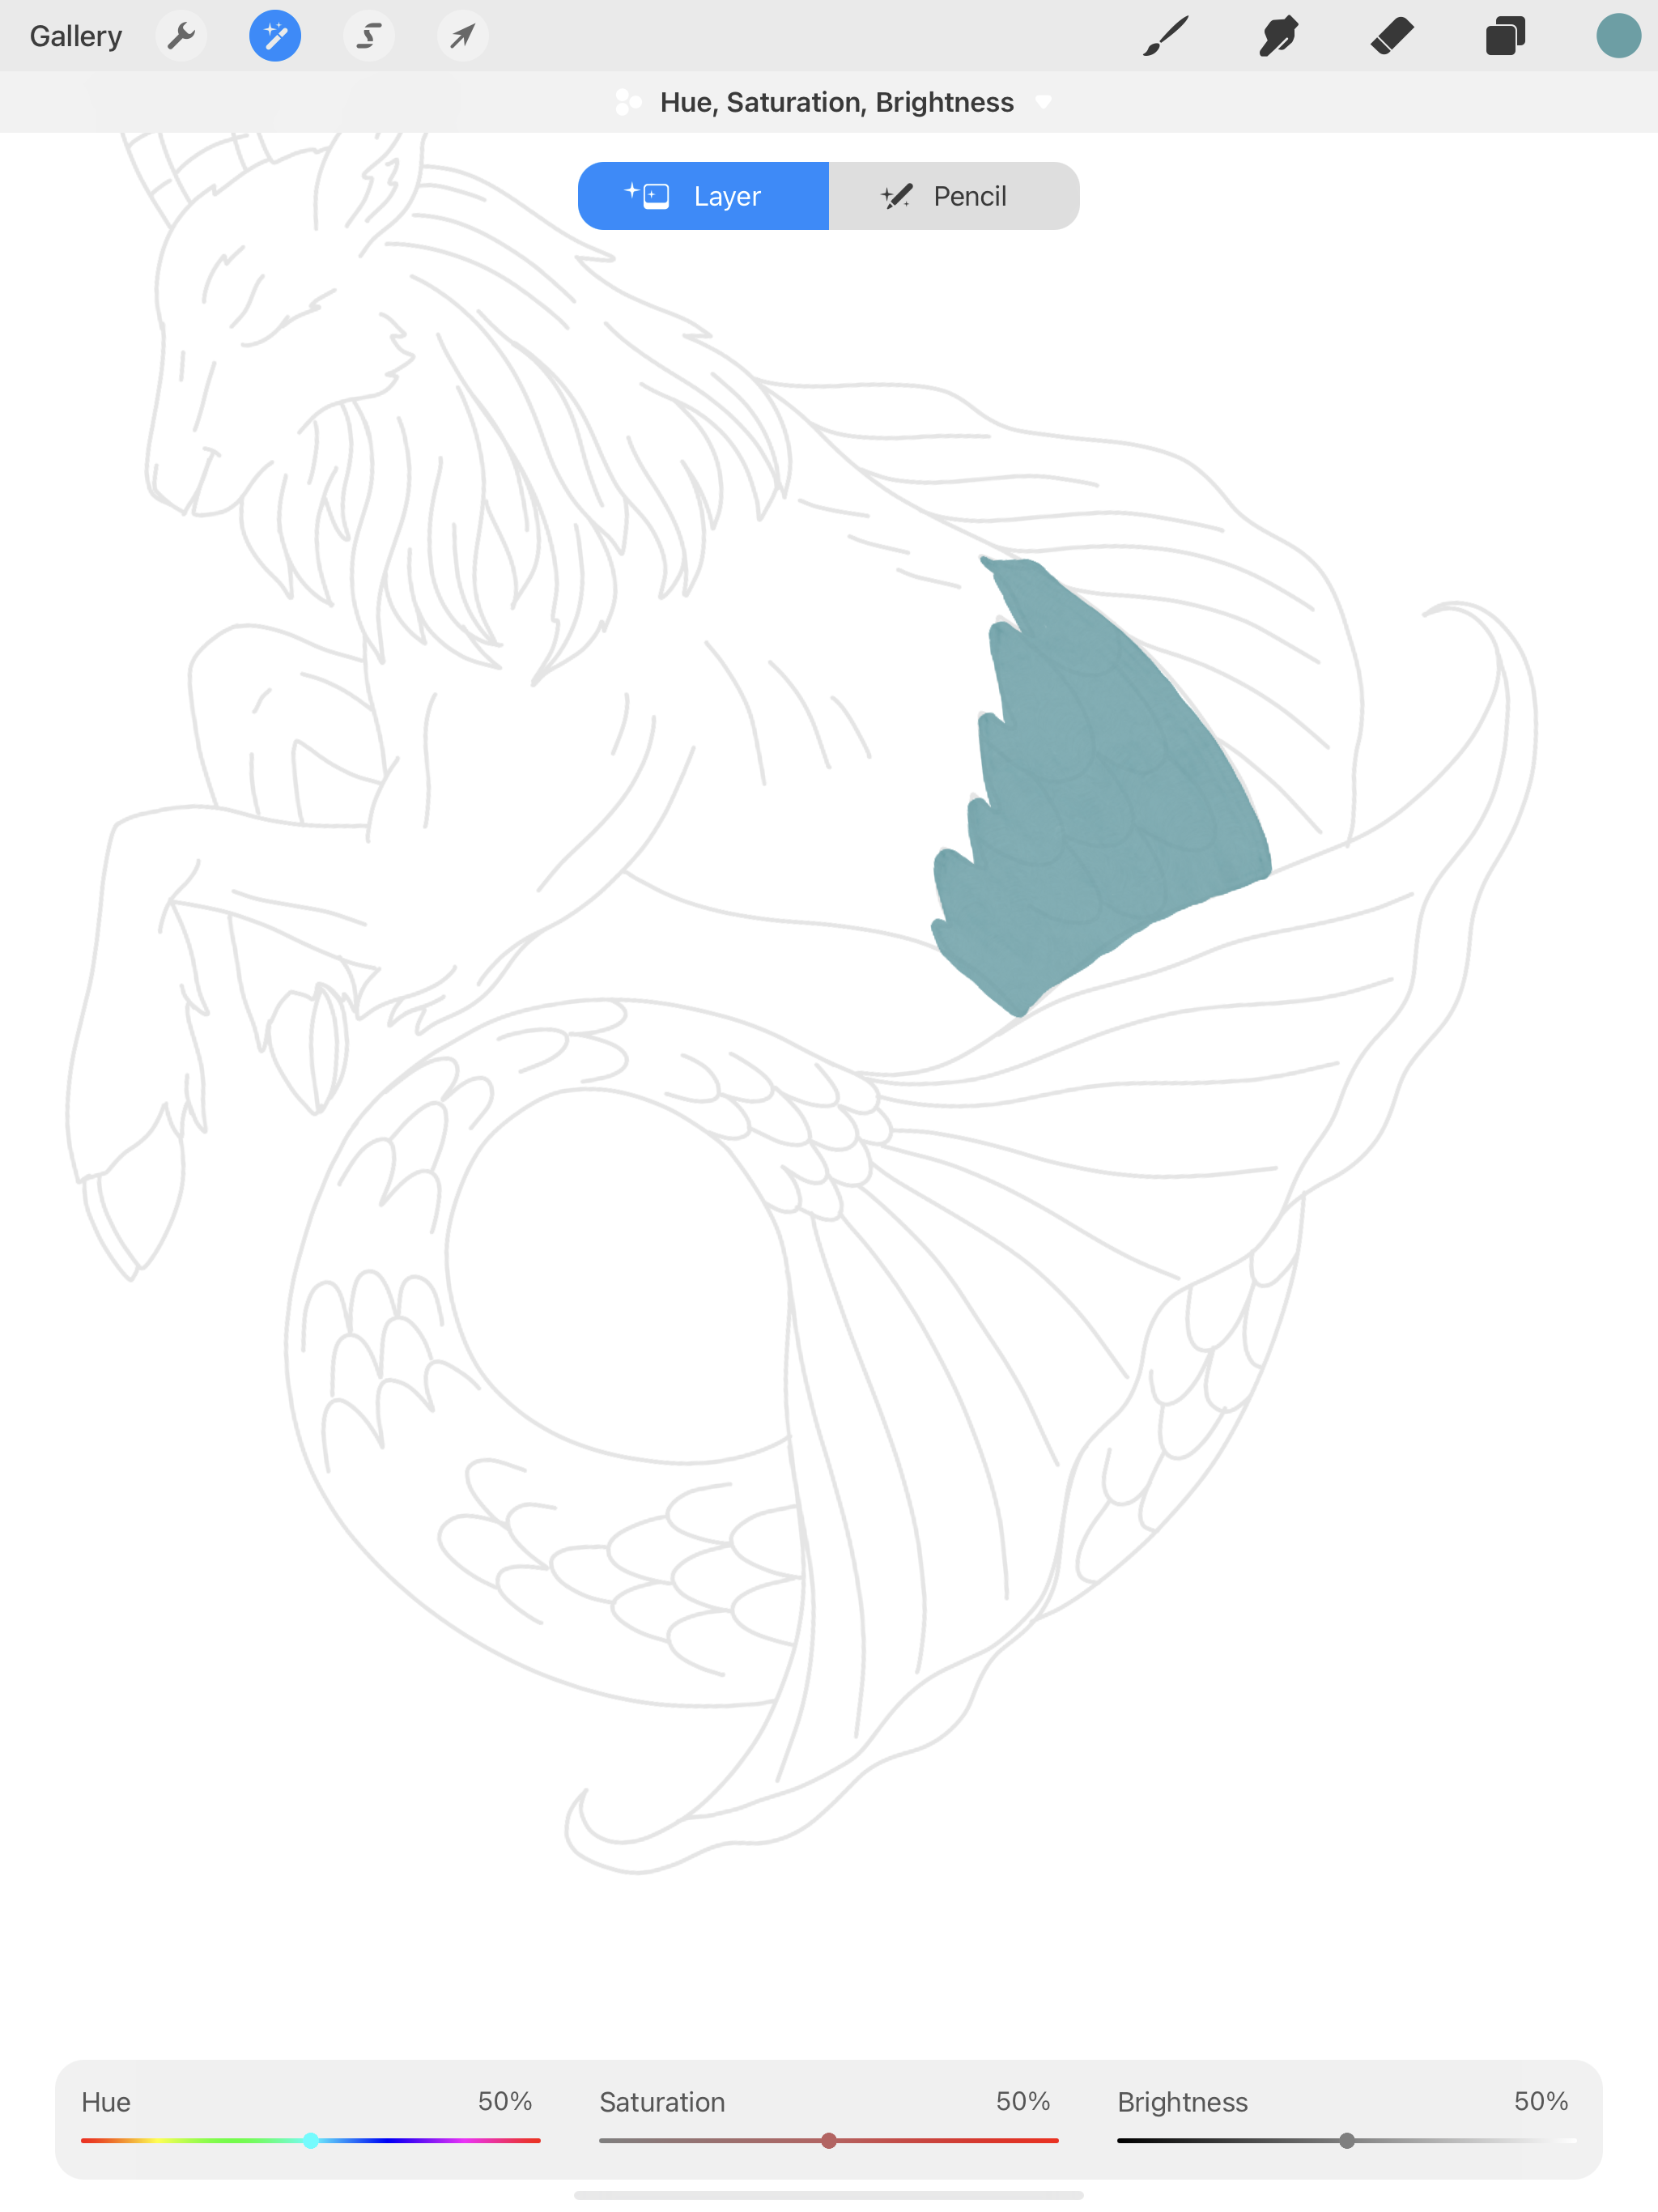
The initial color I started with is a litter darker than I wanted, so I’m going to use Hue, Saturation, Brightness to adjust the color to my liking.

Creating Clip Art in Procreate - Hue Saturation

I will use the color picker tool (the little square between the brush sliders) to grab the new adjusted color. Then I will continue to fill in the tail.

Creating Clip Art in Procreate - Color Picker

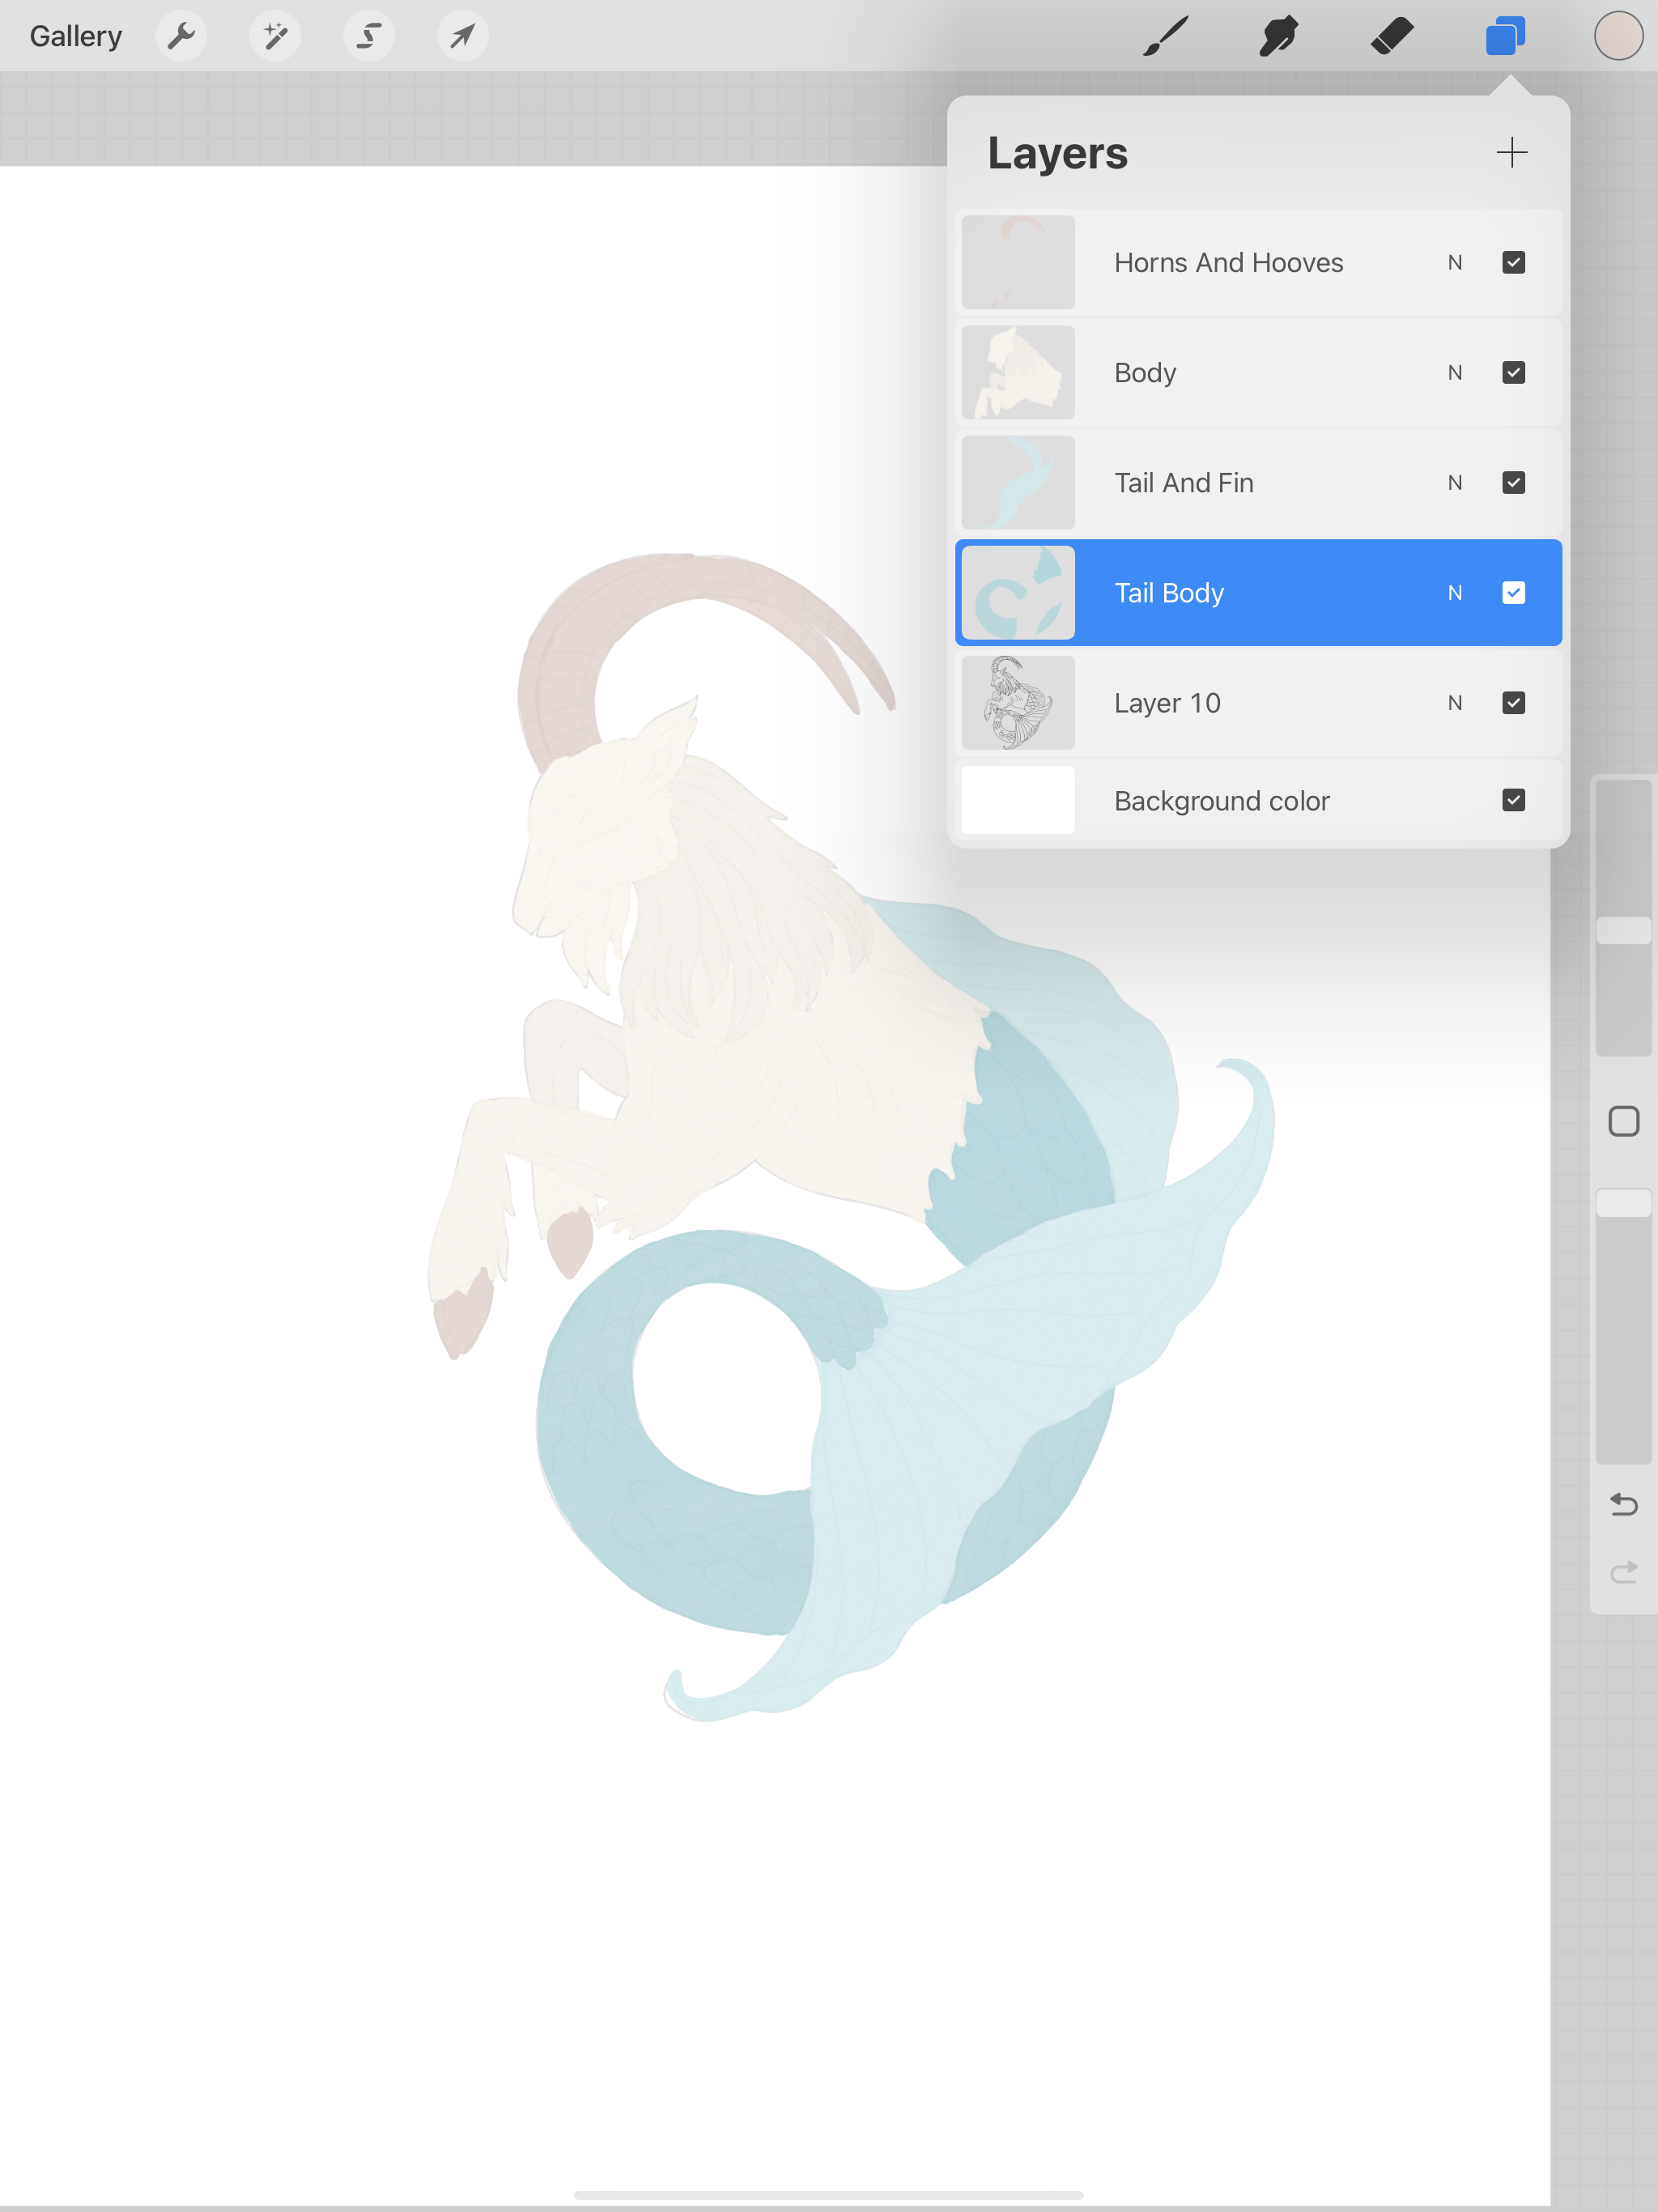
I like to have separate layer for each base color. Once I’m finished with the tail, I’m going to fill in the body on it’s own layer.

After the body, I fill in the horns and hooves on their own layer.

Creating Clip Art in Procreate - Base Layers

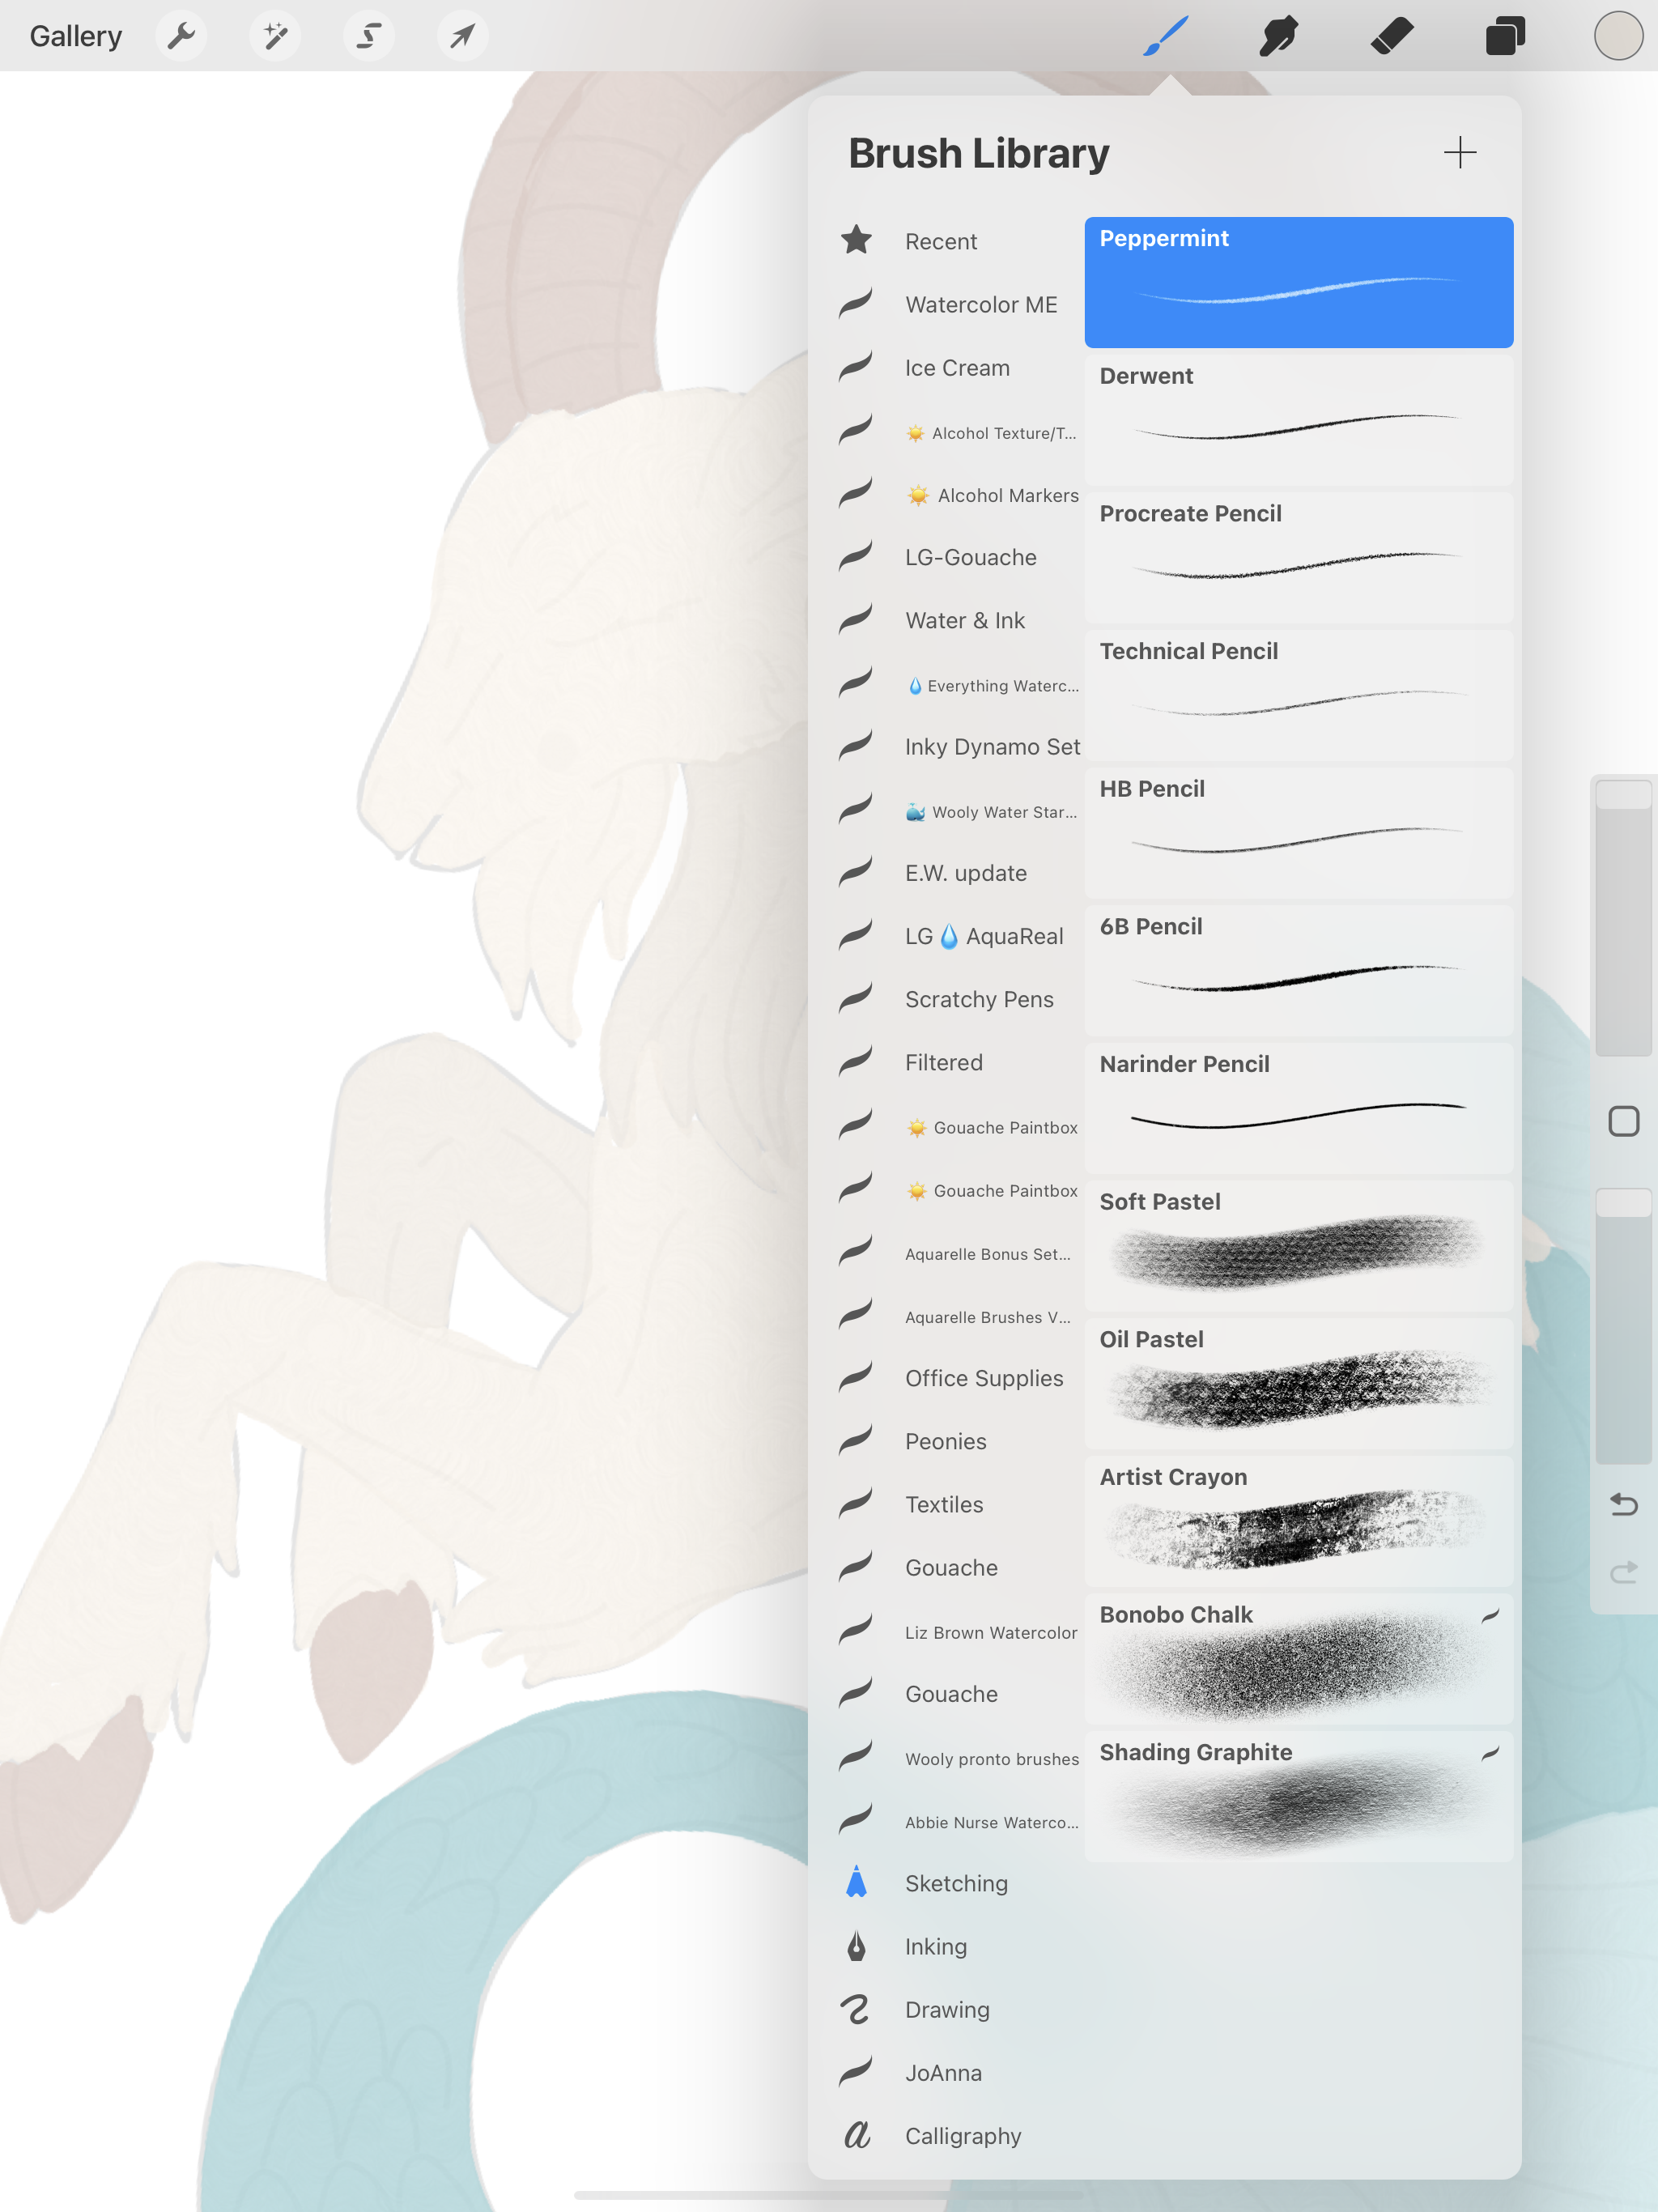
Now I’m going to go in and do some detail work with the Peppermint pencil. This is one of my brushes that is already included with Procreate. The details for the body will be on their own layer and the details for the tail and horns will be on their own layer.

Creating Clip Art in Procreate - Peppermint Pencil
Creating Clip Art in Procreate - details

After I’m done with the details, i’m going to go back and add some shadows and highlights with the Thick Sticky brush from Bardot Brushes Gouache Paintbox set. Since I’m working with layers, I can sandwich my shadows and highlight between my pencil details and my base layers.

Creating Clip Art in Procreate - shadows and highlights

Looking at my drawing/ painting, I want the pencil lines to be a little darker, so I set my layers to Multiply. I still want to to be a little darker, so I swipe left on the layer and duplicate them a few times. Now it’s to my liking!

Creating Clip Art in Procreate - multiply and duplicate layers

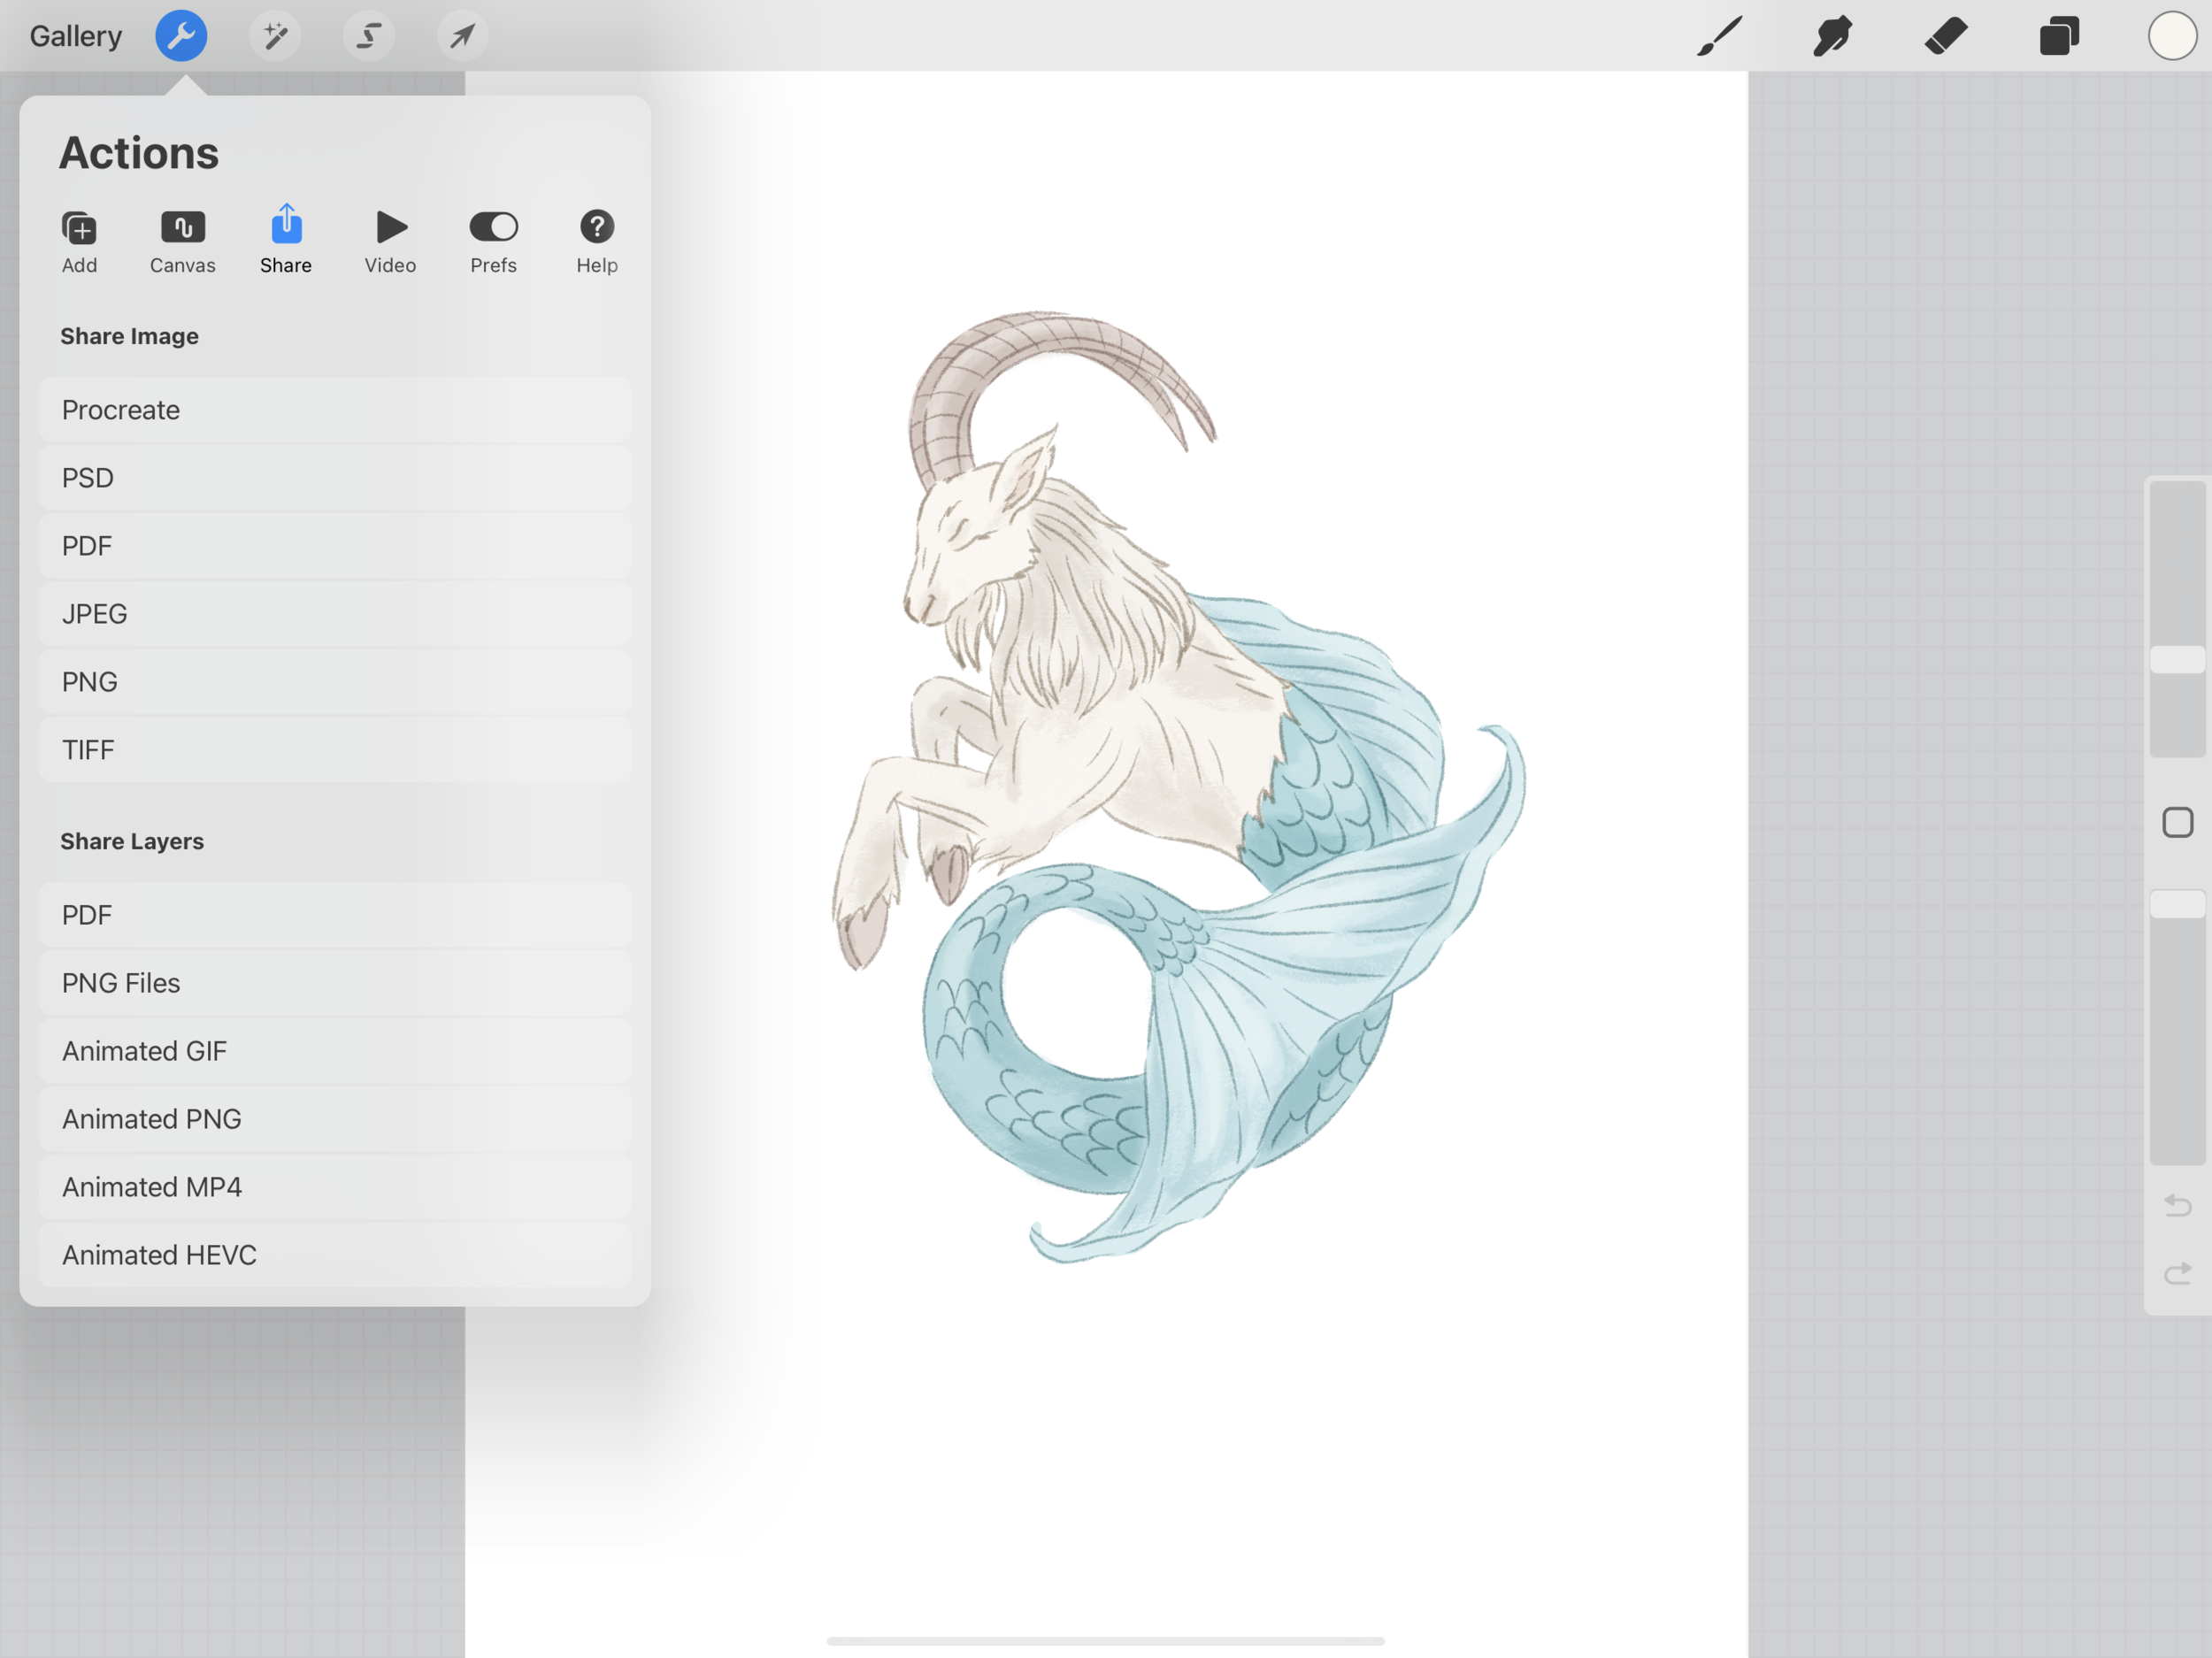
To use this file as a print and cut, I will need to export it as a PNG, this will give it a transparent background and will merge all my layers. If I want to make any color adjustments, I can always go back to my layered file in Procreate and re-export it.

Creating Clip Art in Procreate - export as png