zodiac symbol SVG

Creating a Single Line SVG File in the Adobe Illustrator App Using Vectorize

Hi Everyone!

This week I wanted to share another method you can use to create your single line SVG file in the Illustrator App using the Vectorize tool.

One great thing about the Illustrator App is they continue to improve it. I’m not sure when they came out with the vectorize tool, but I stumbled upon it when I was tracing my sketch manually with the pencil tool.

Initially, I tried it out with my rough sketch, and the results weren’t great.

Vectorize a sketch in Illustrator app

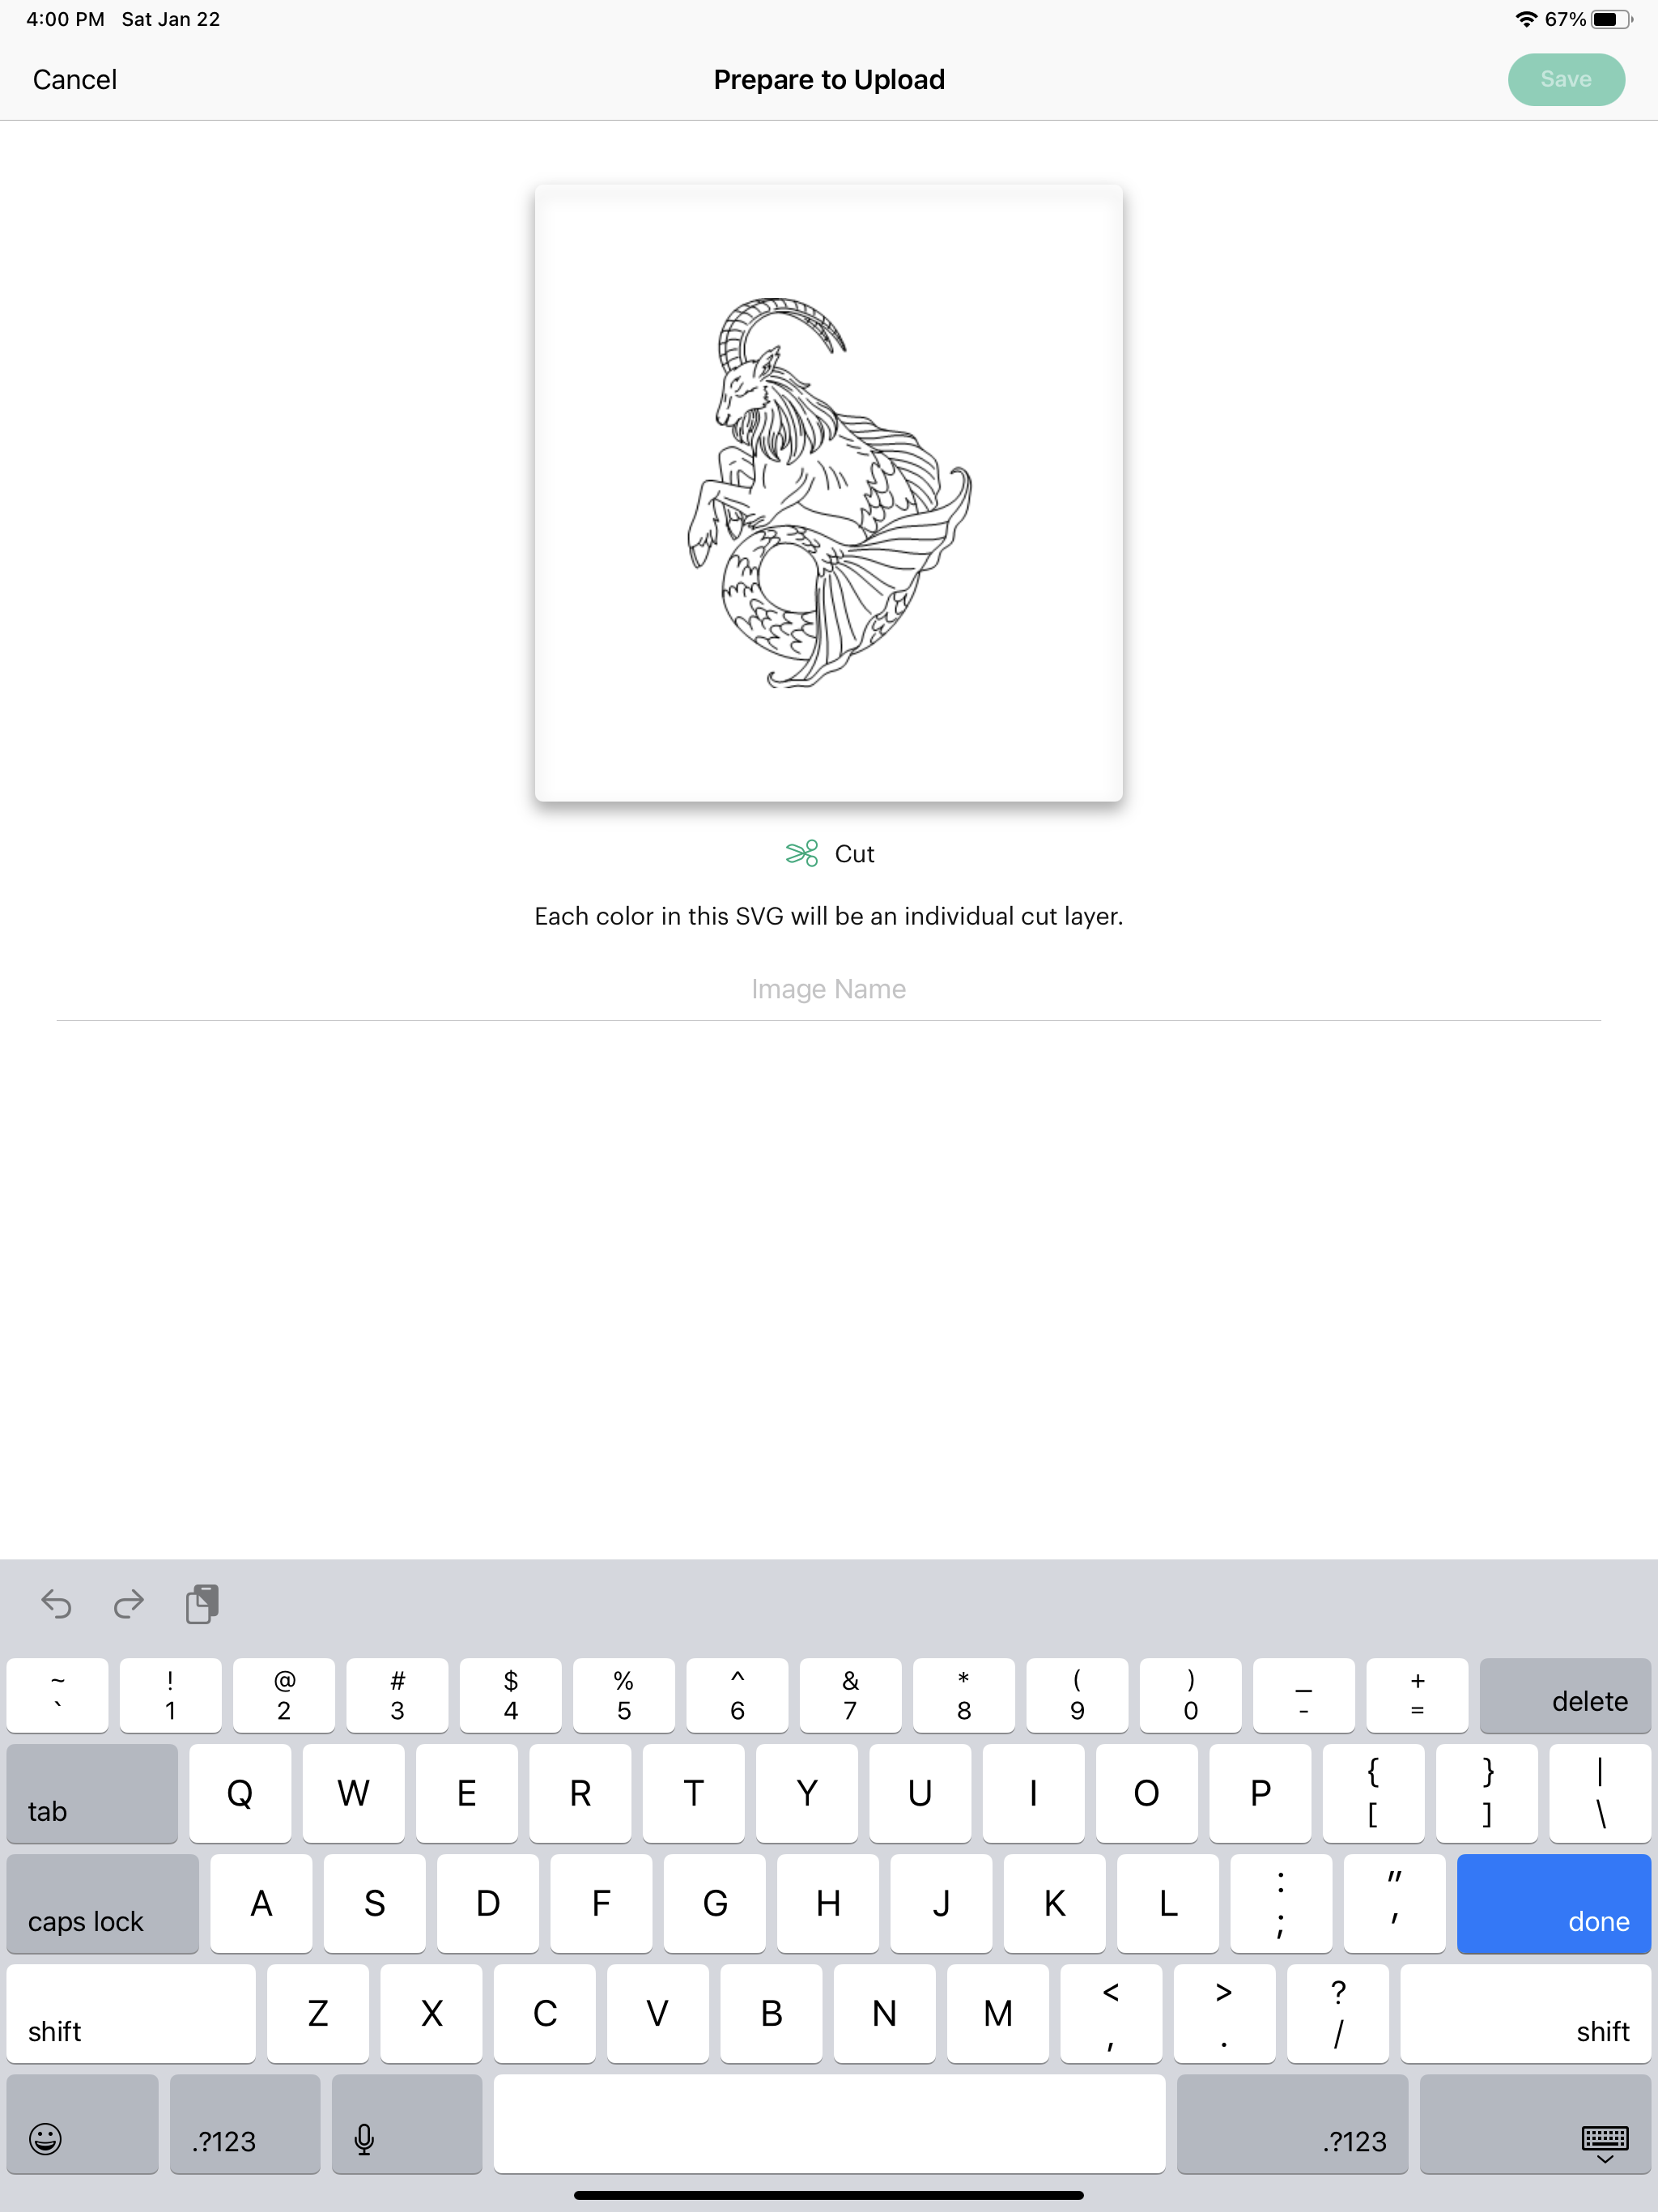
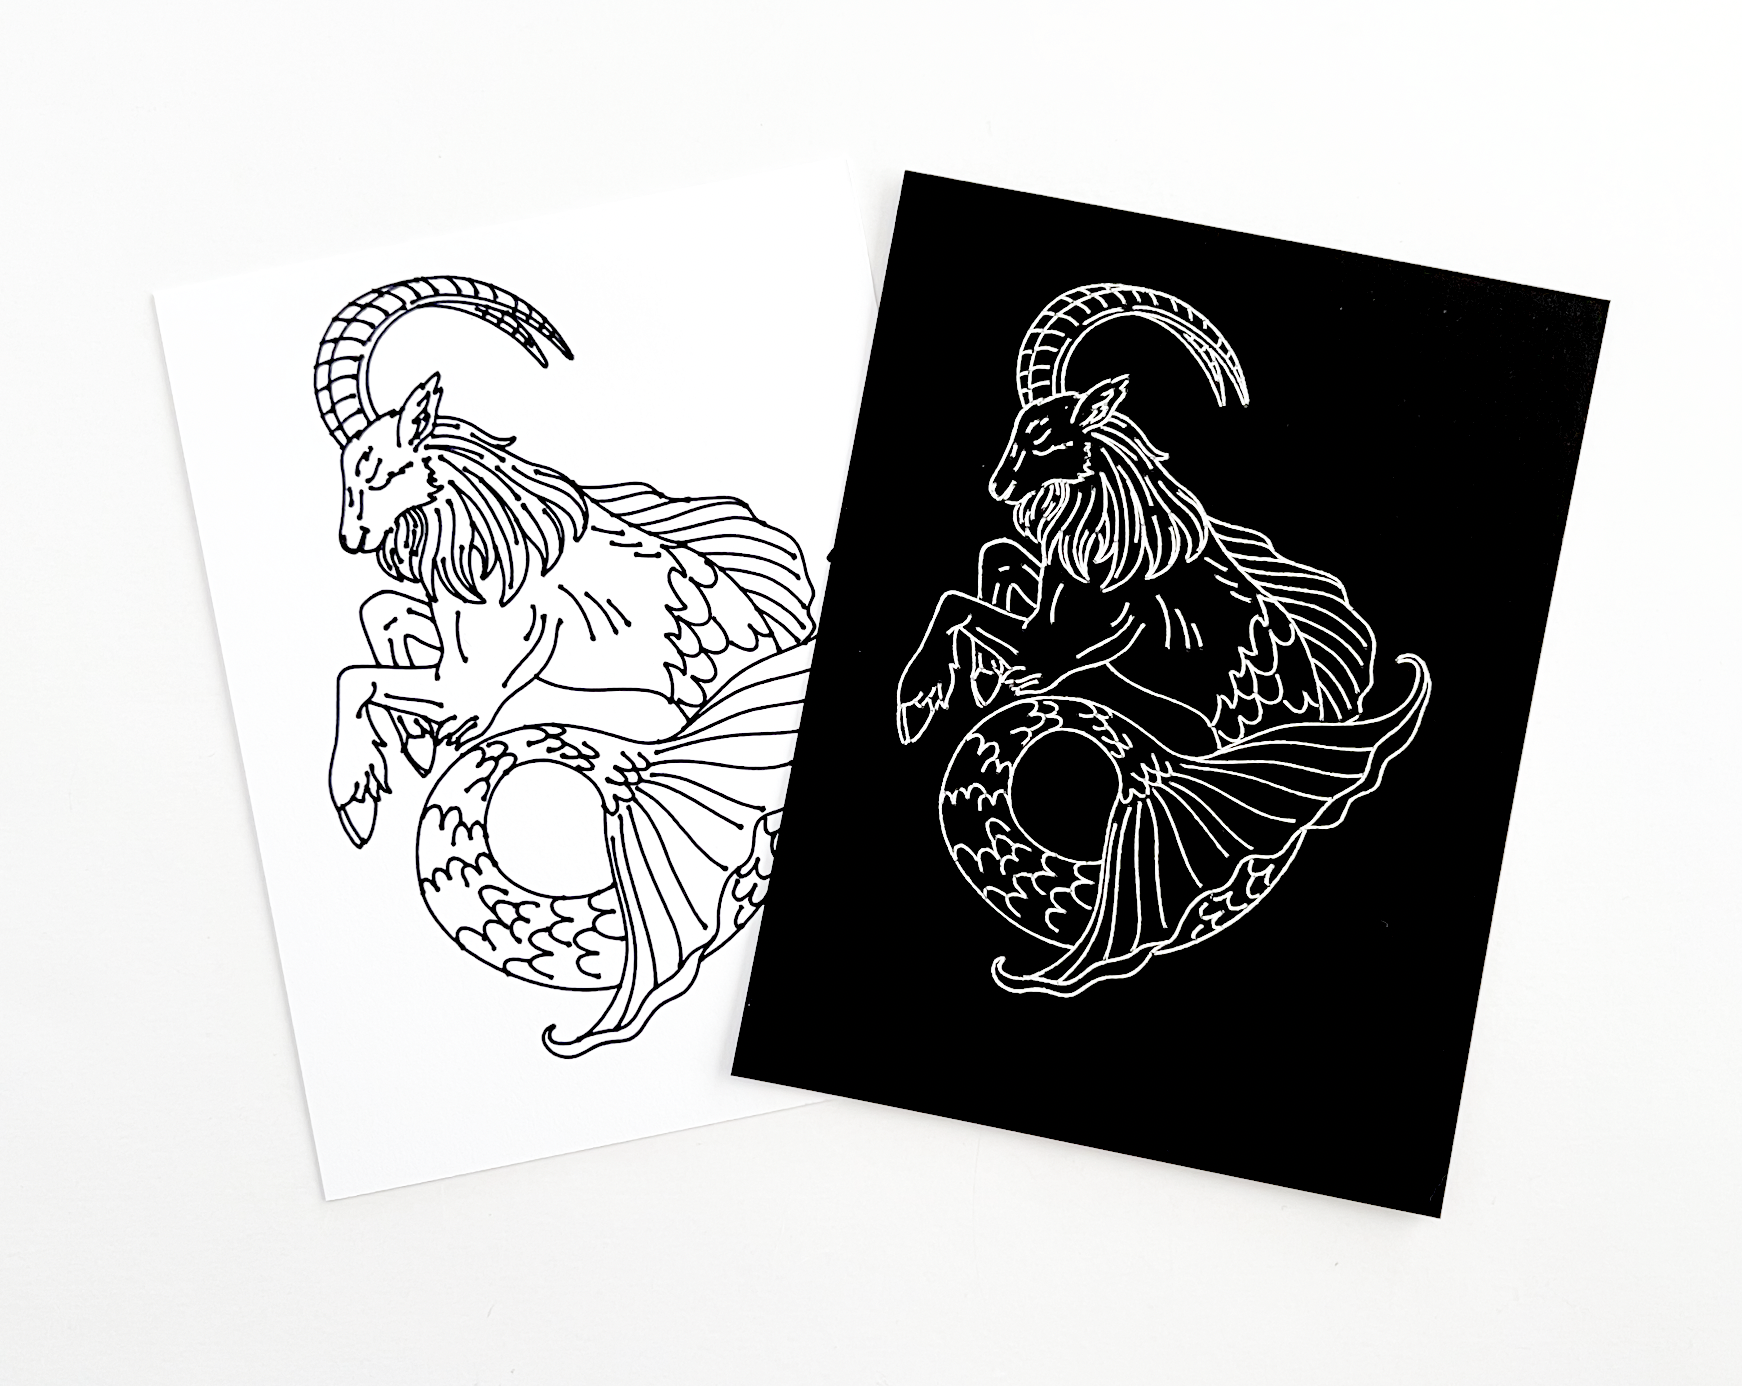
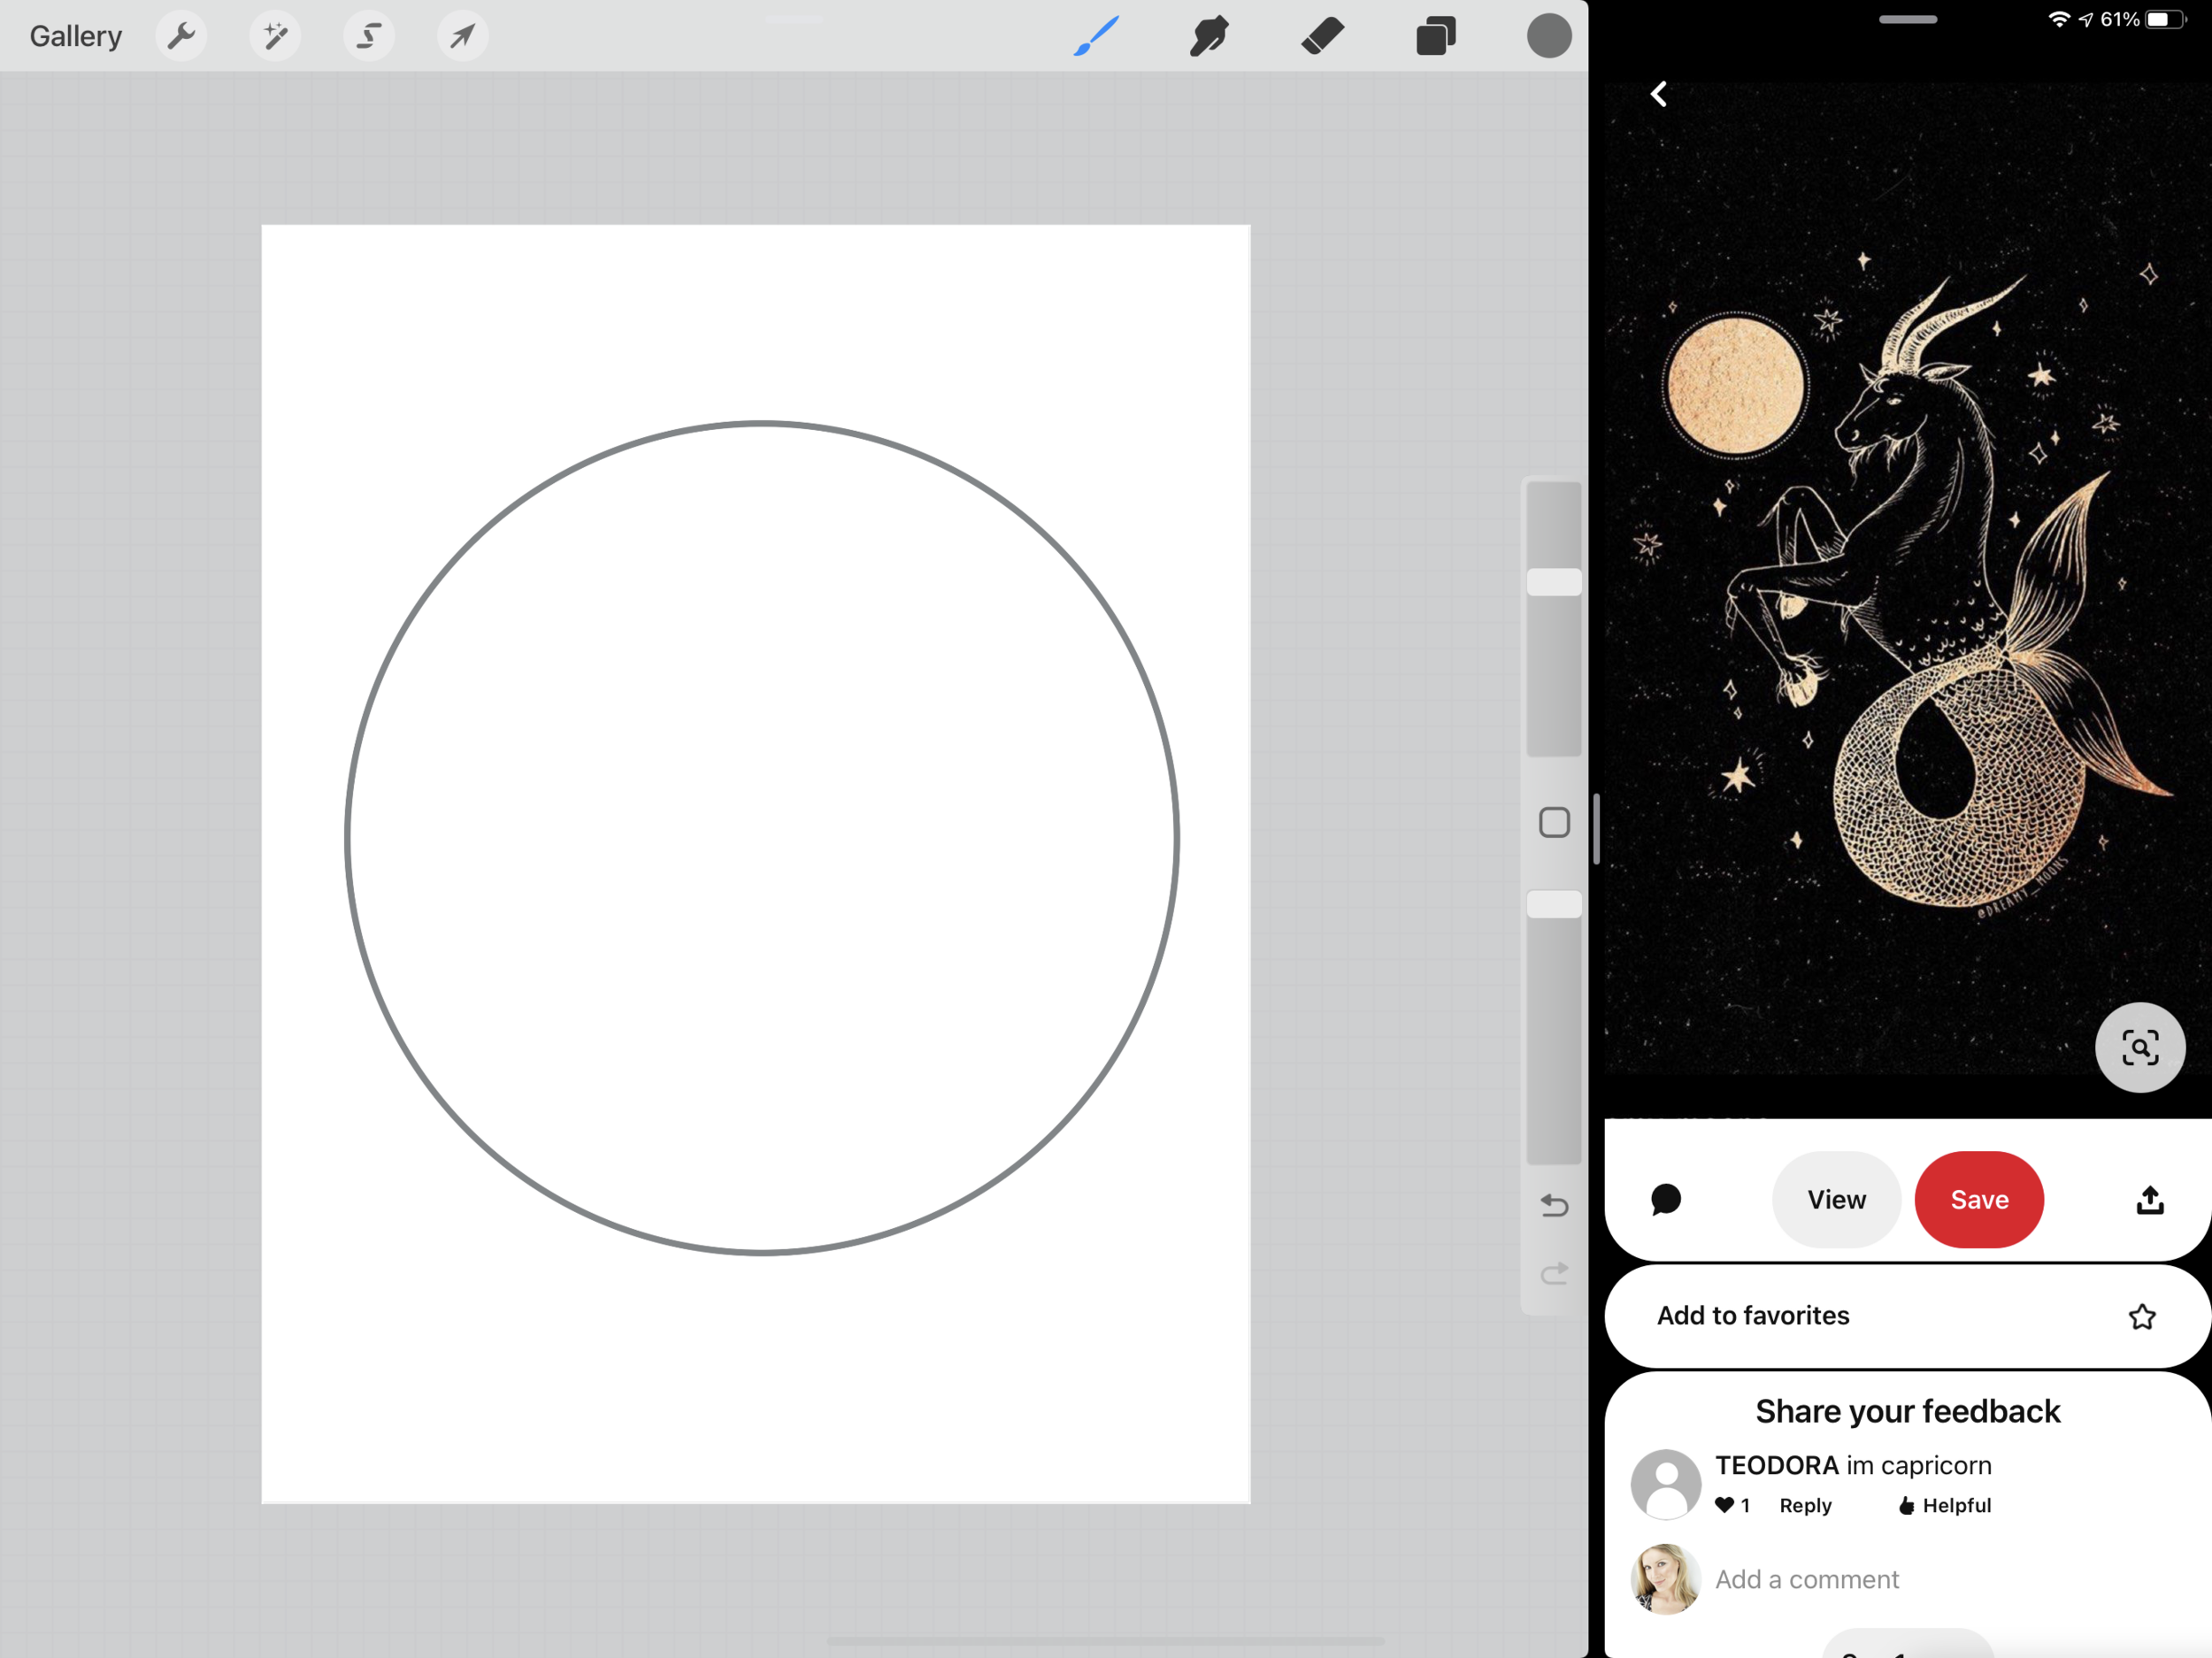
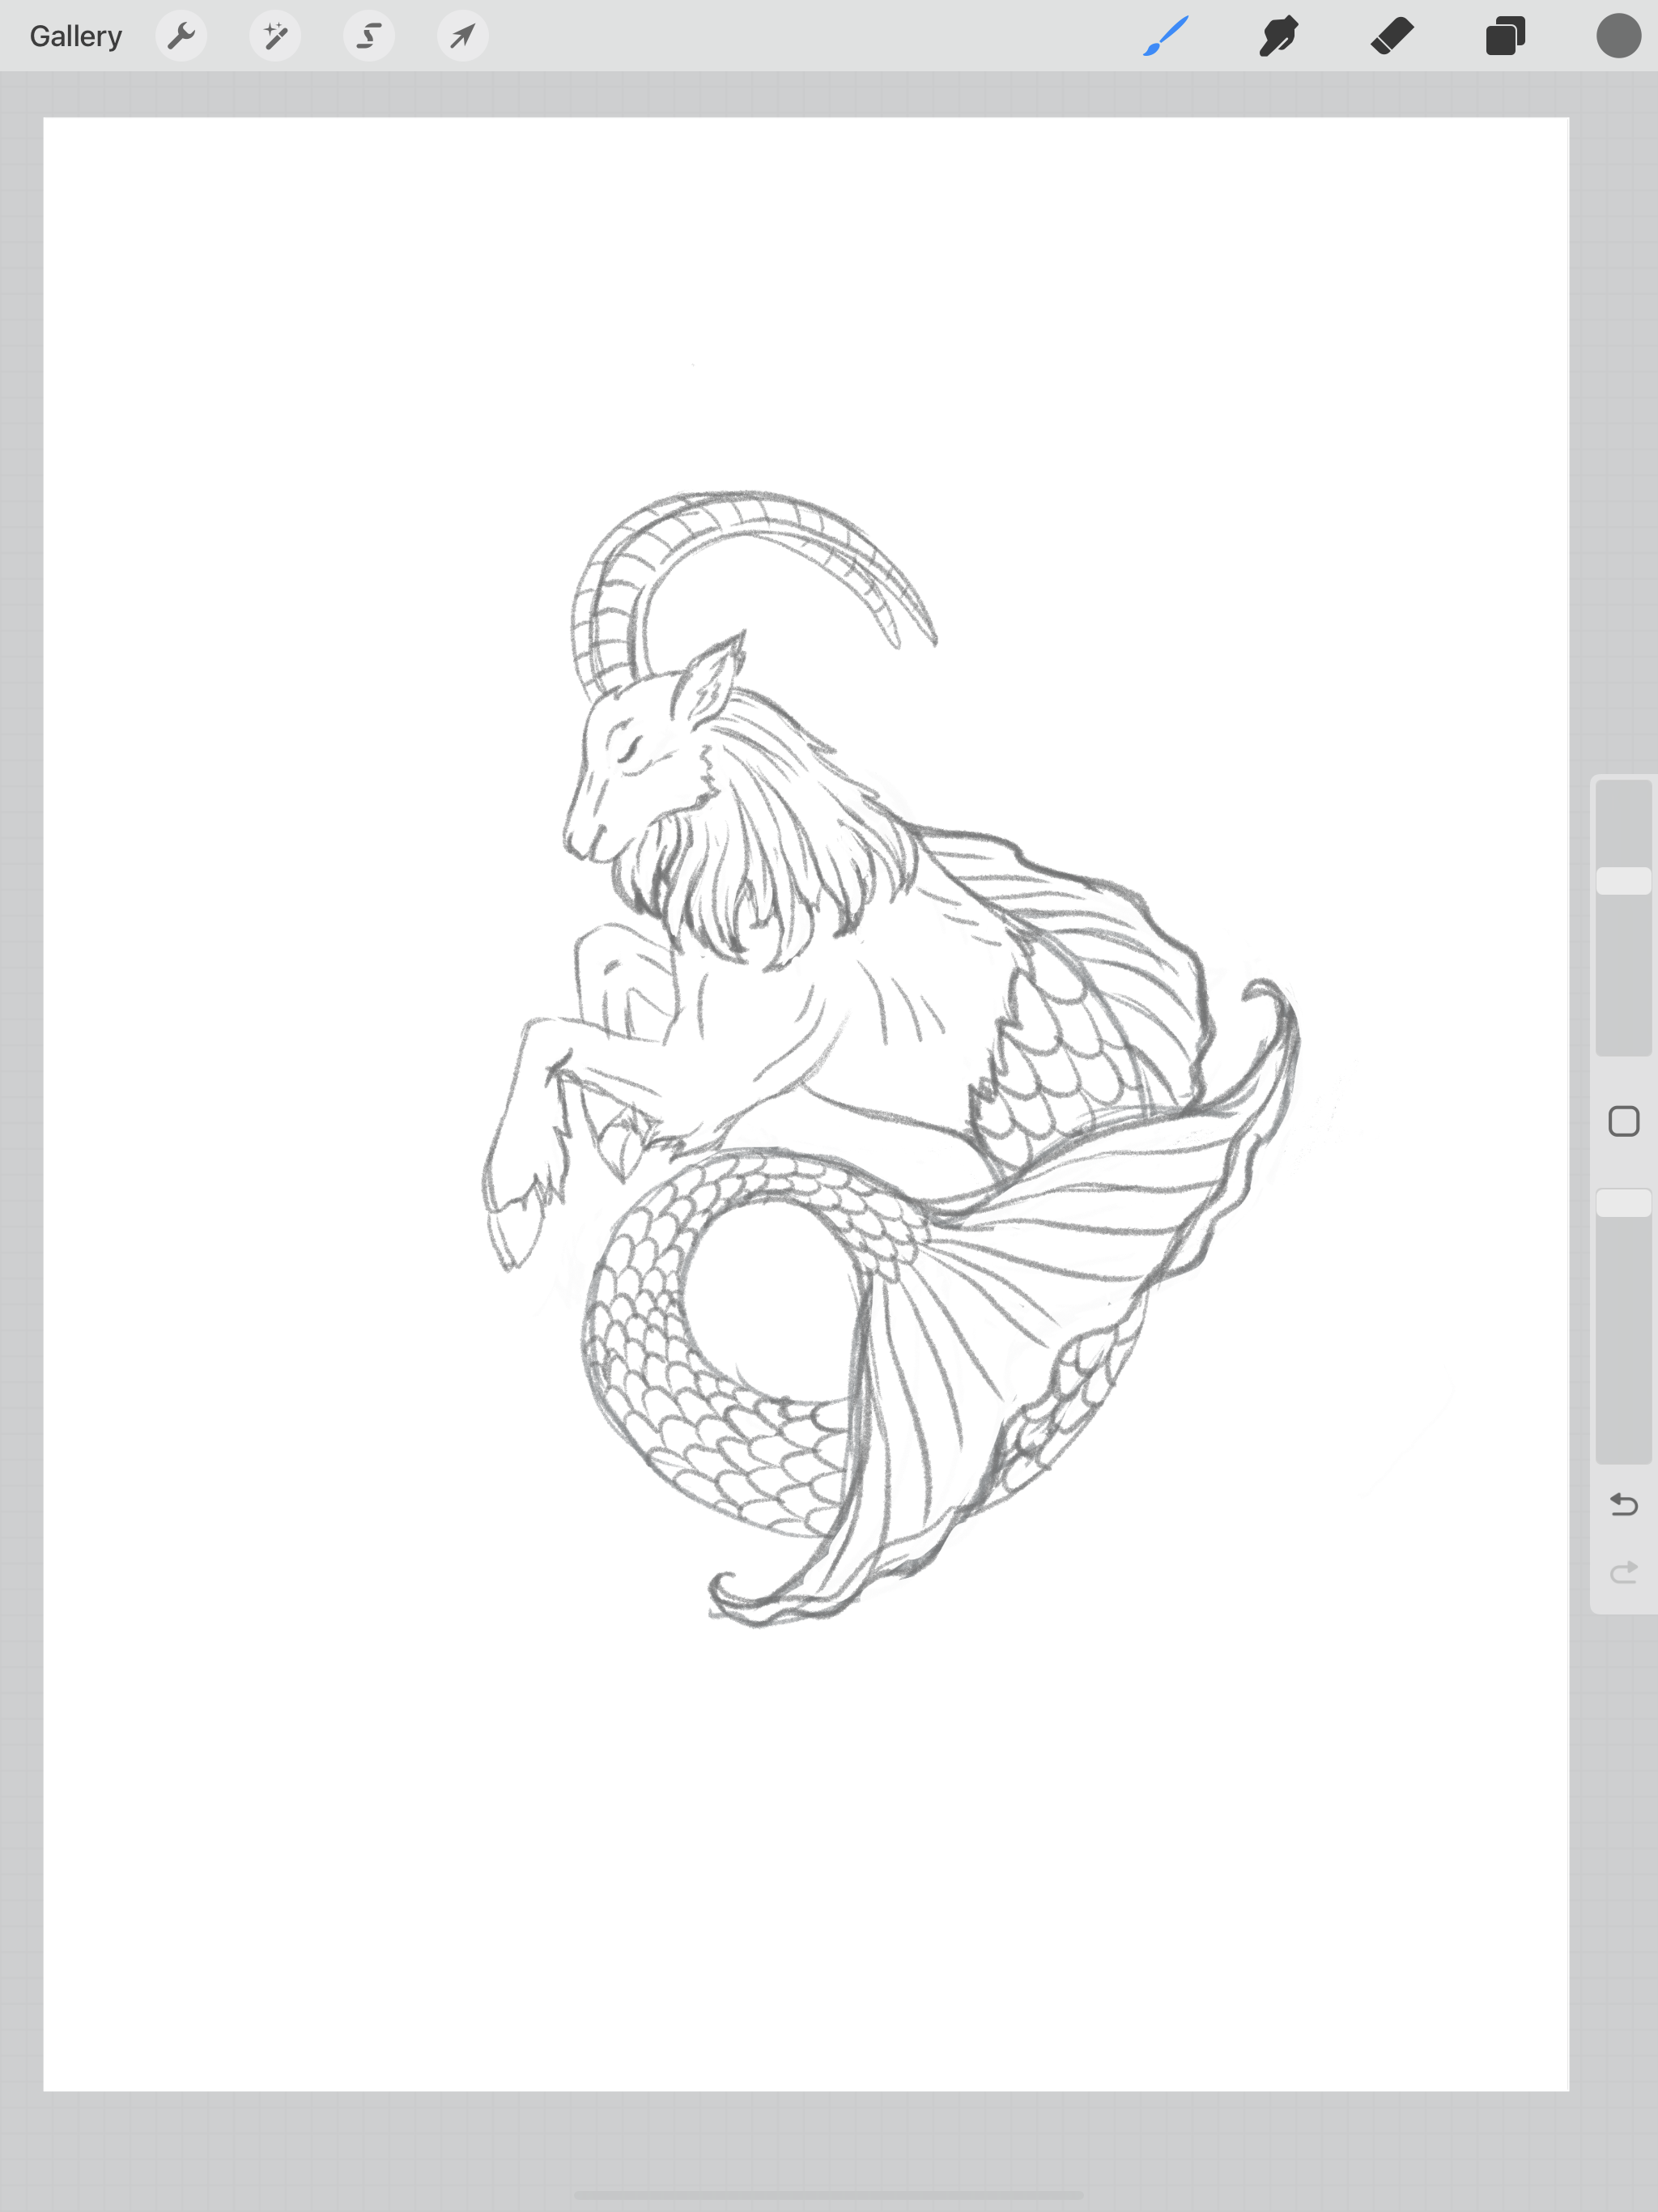
I went back into Procreate and I traced over my rough sketch with Studio Pen brush at 5% for a more refined drawing. The thinner you draw your lines here in Procreate, the better single line file you will get in Illustrator.

line drawing in procreate

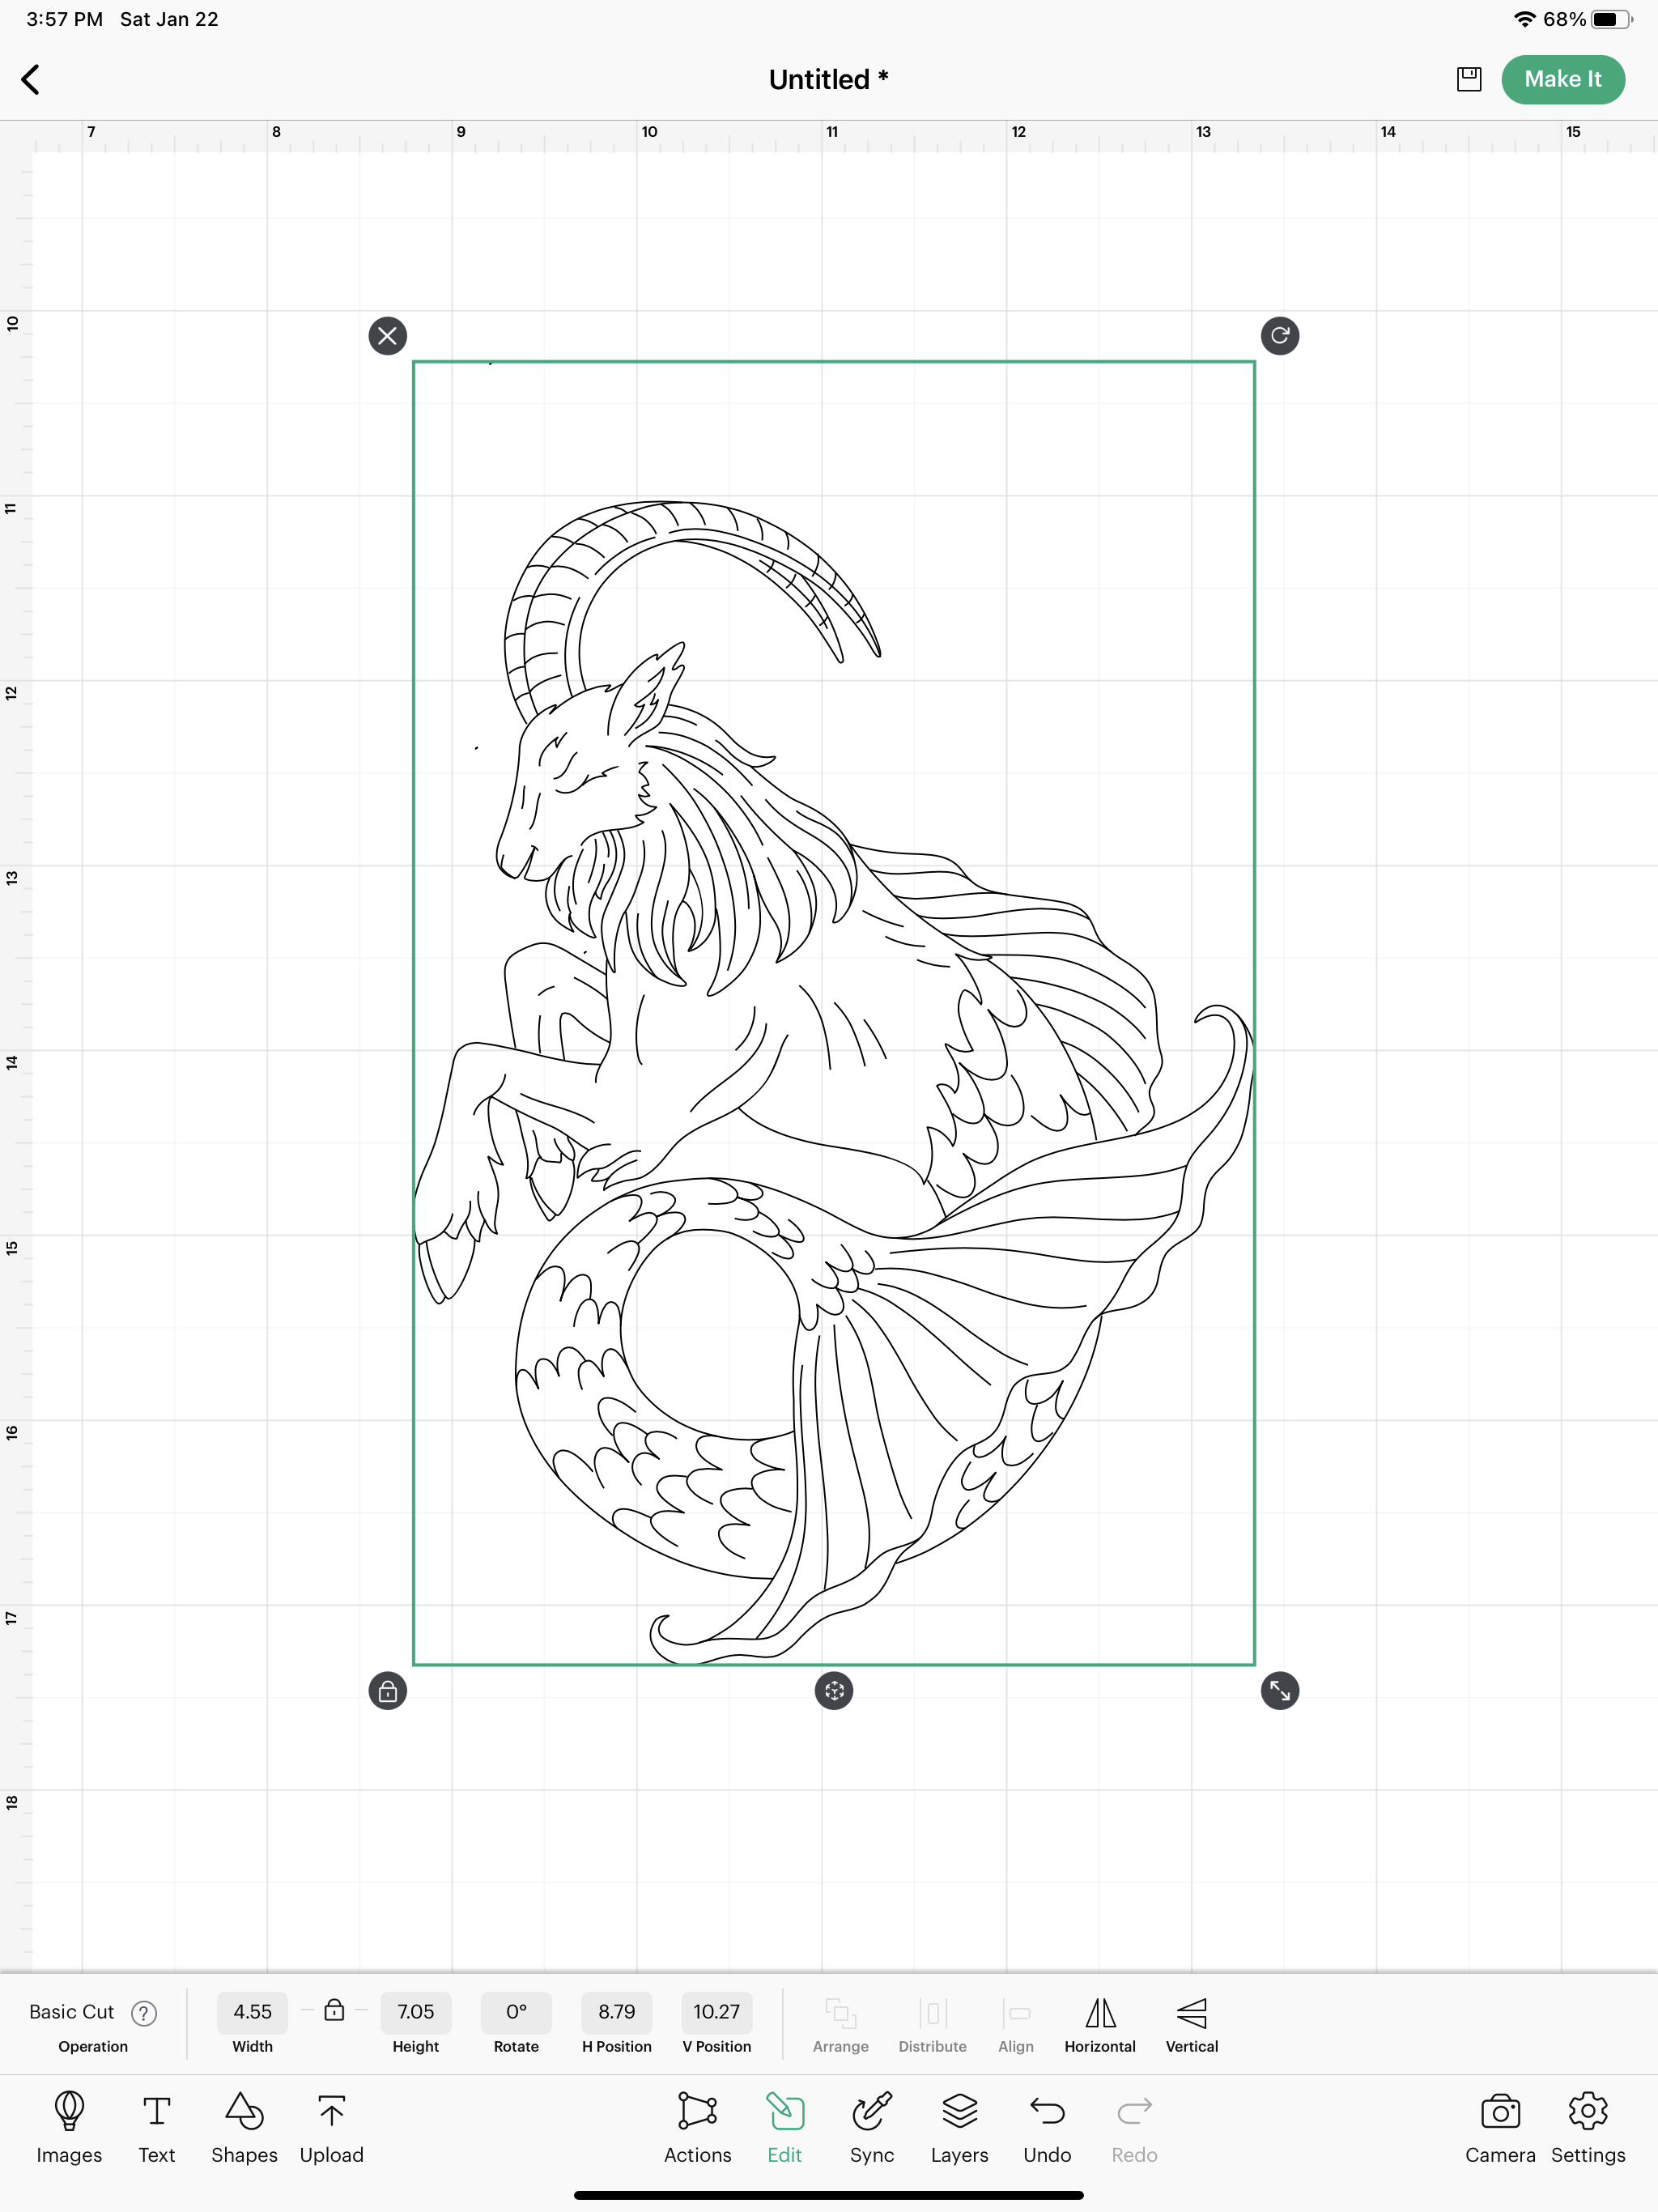
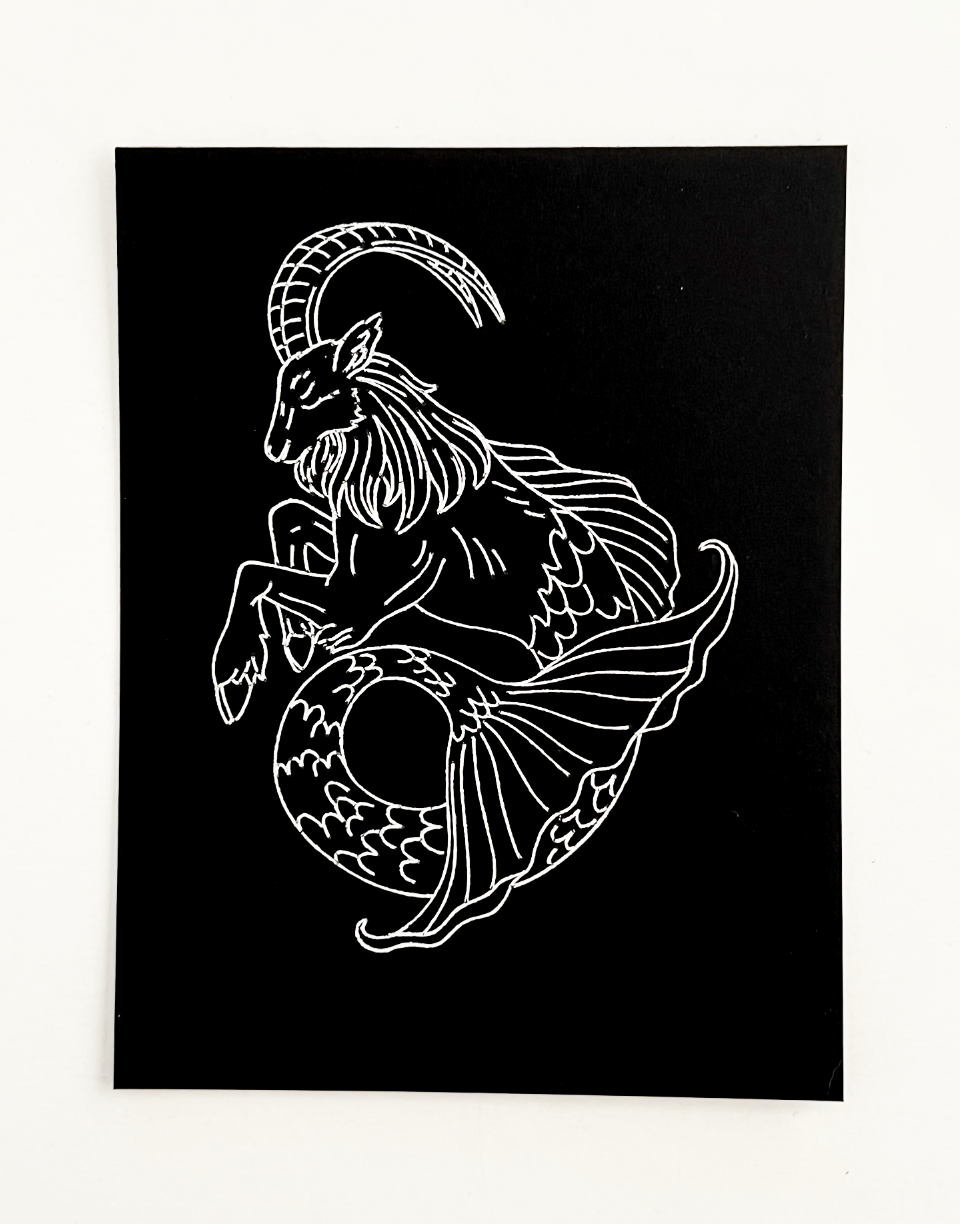
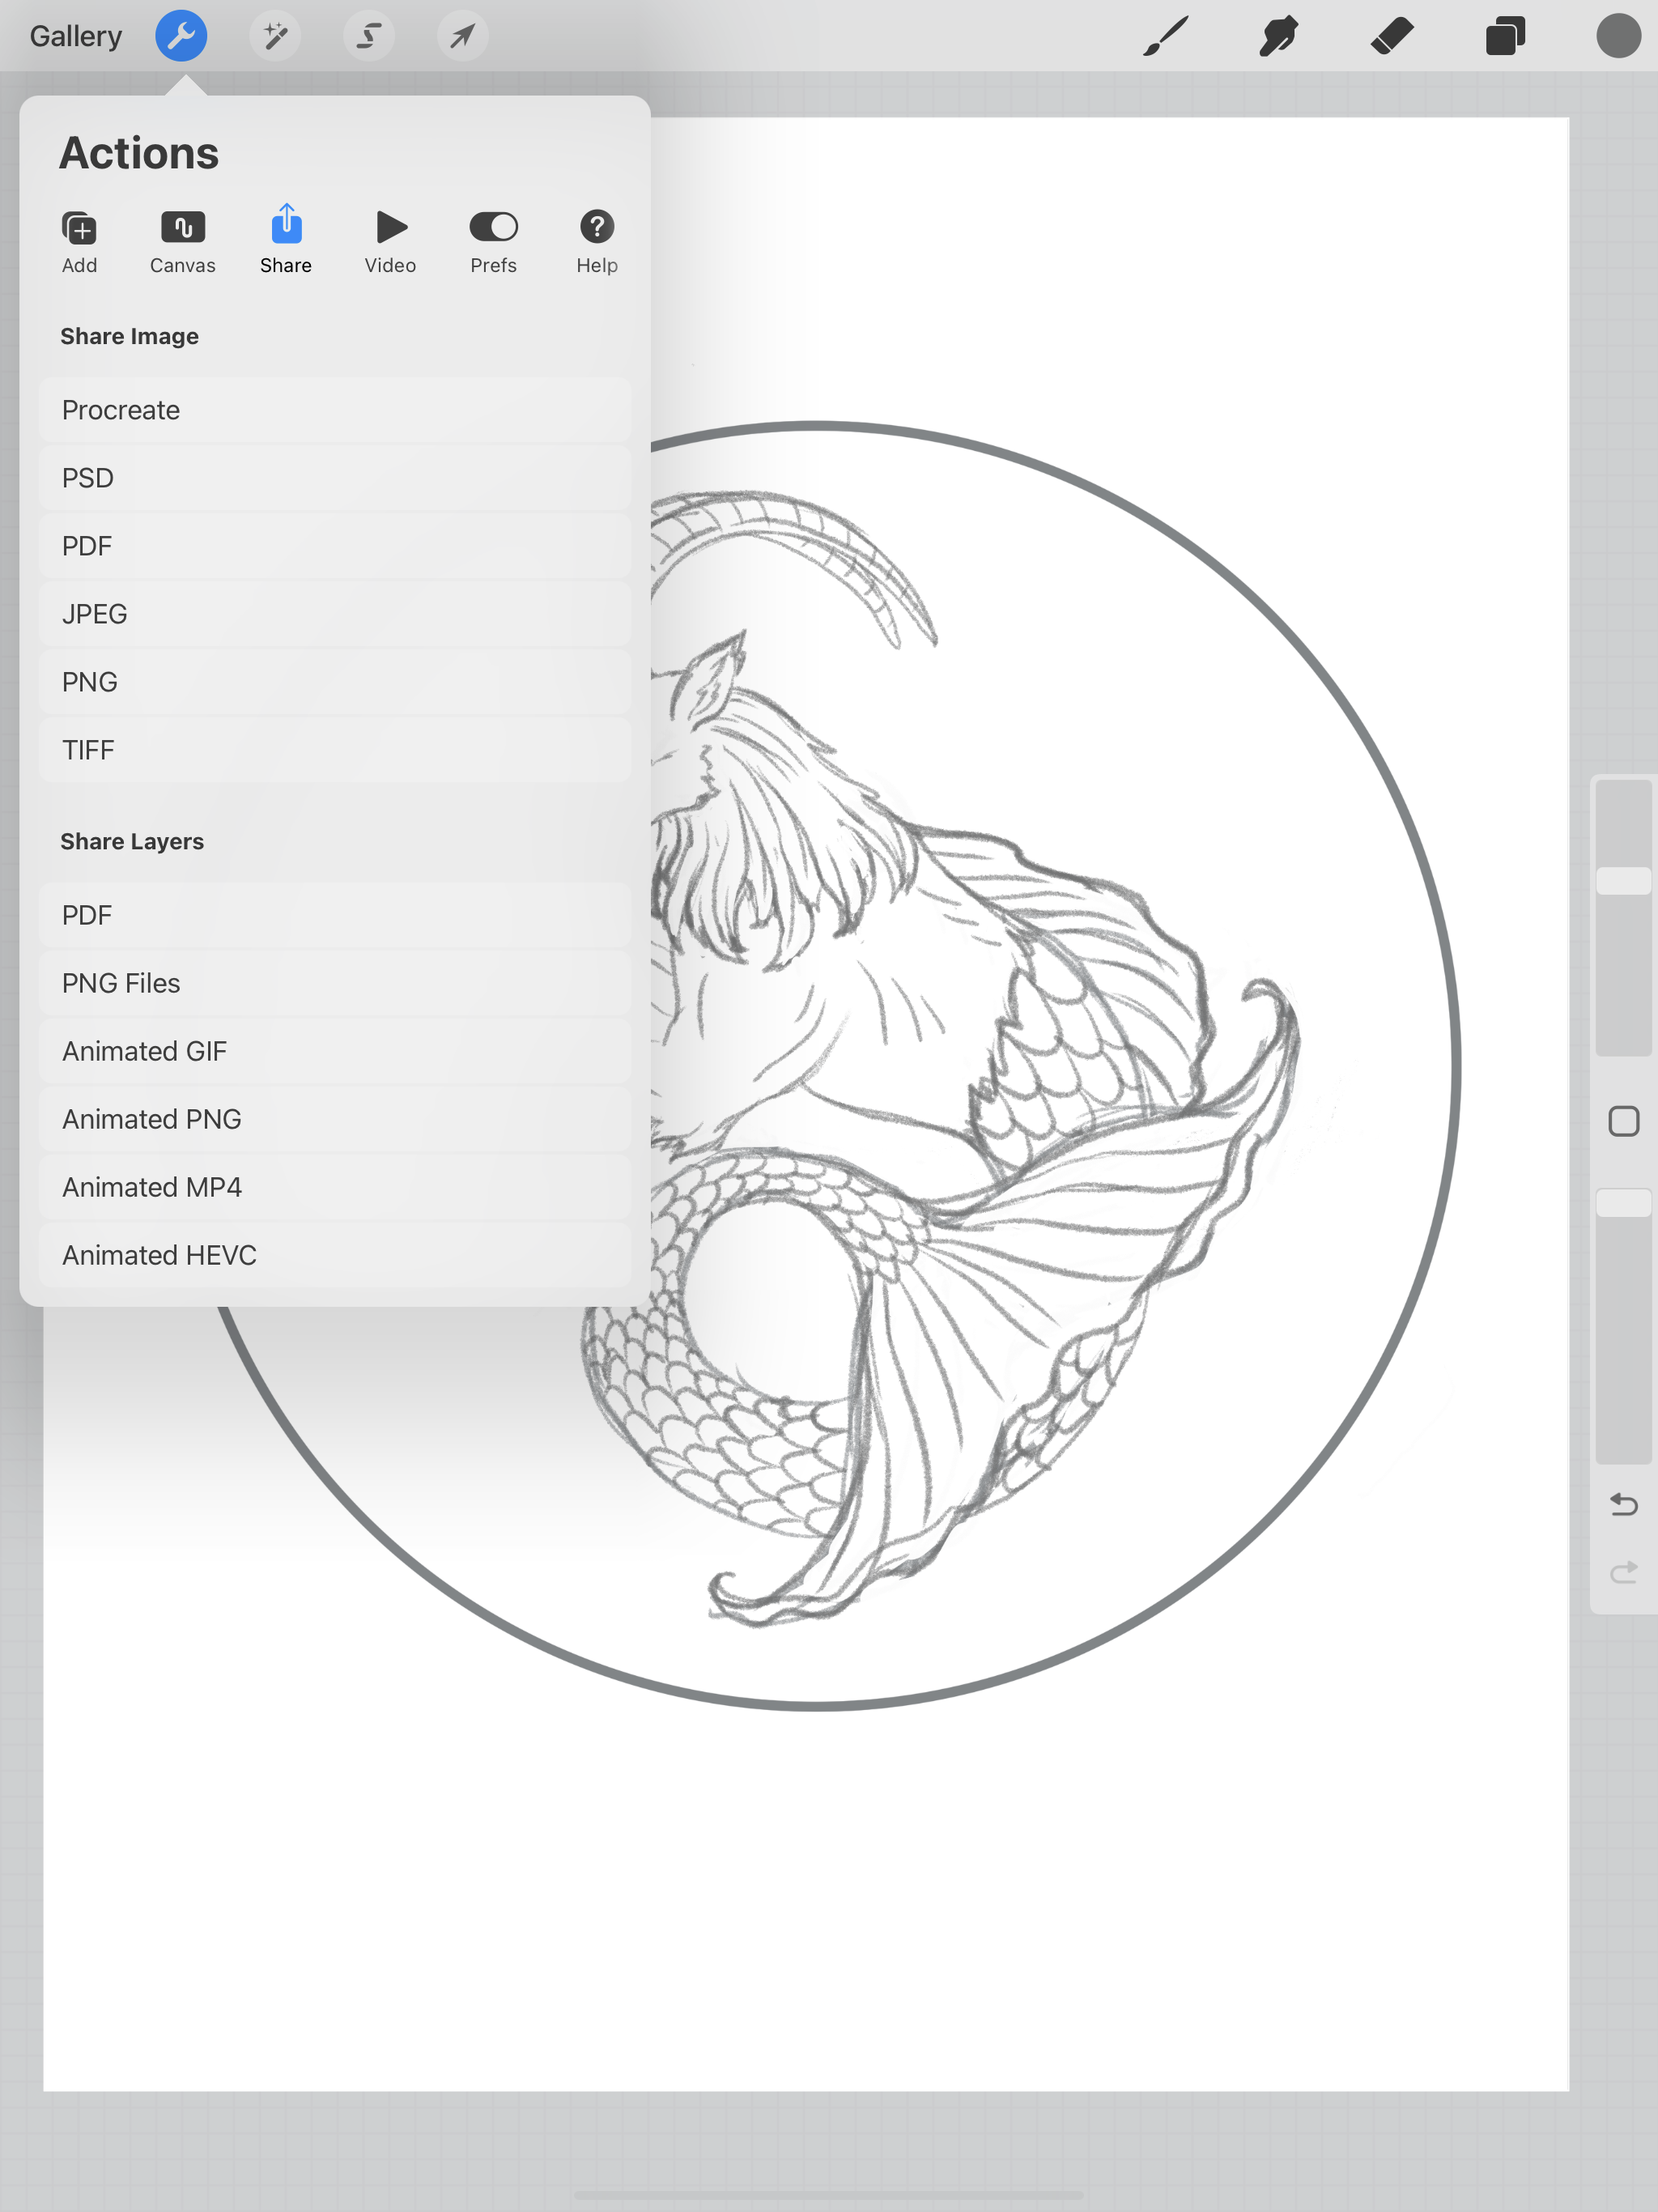
I saved my file as a PNG. At this point, it looks like it would make a good draw file in Cricut Design Space, but that is definitely not the case, you will get the dreaded double lines.

Double line drawing in Cricut Design Space

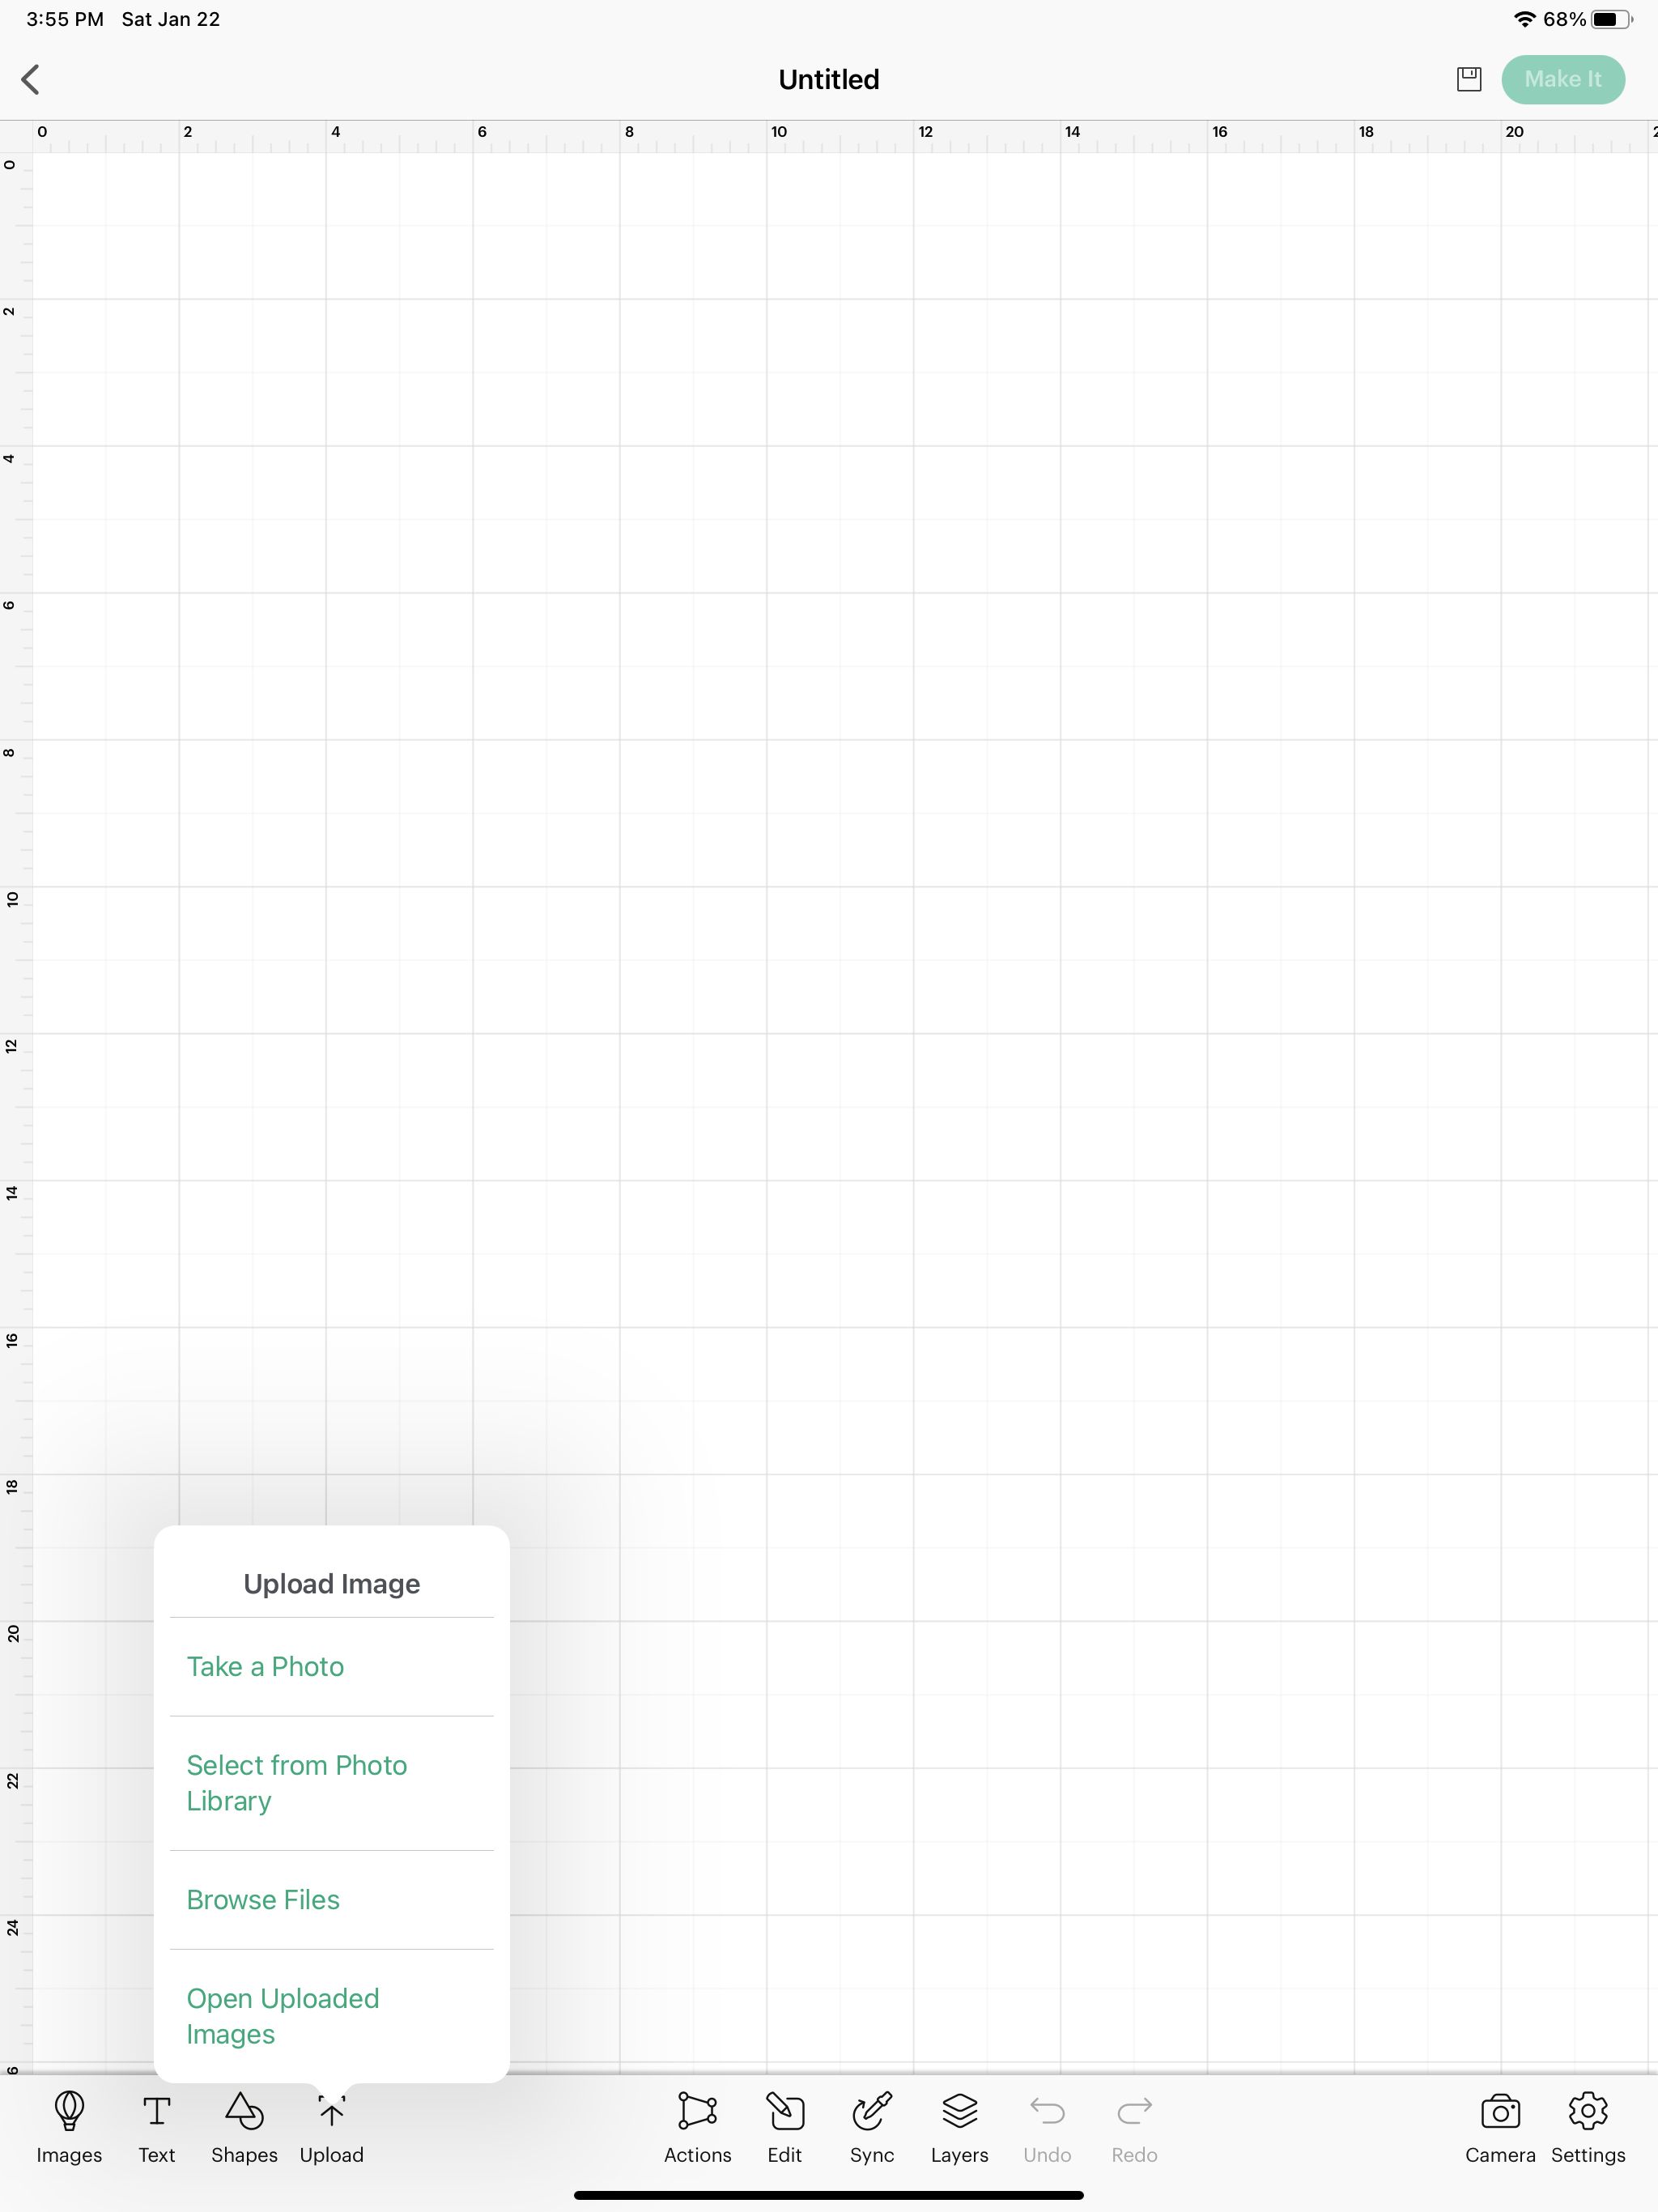
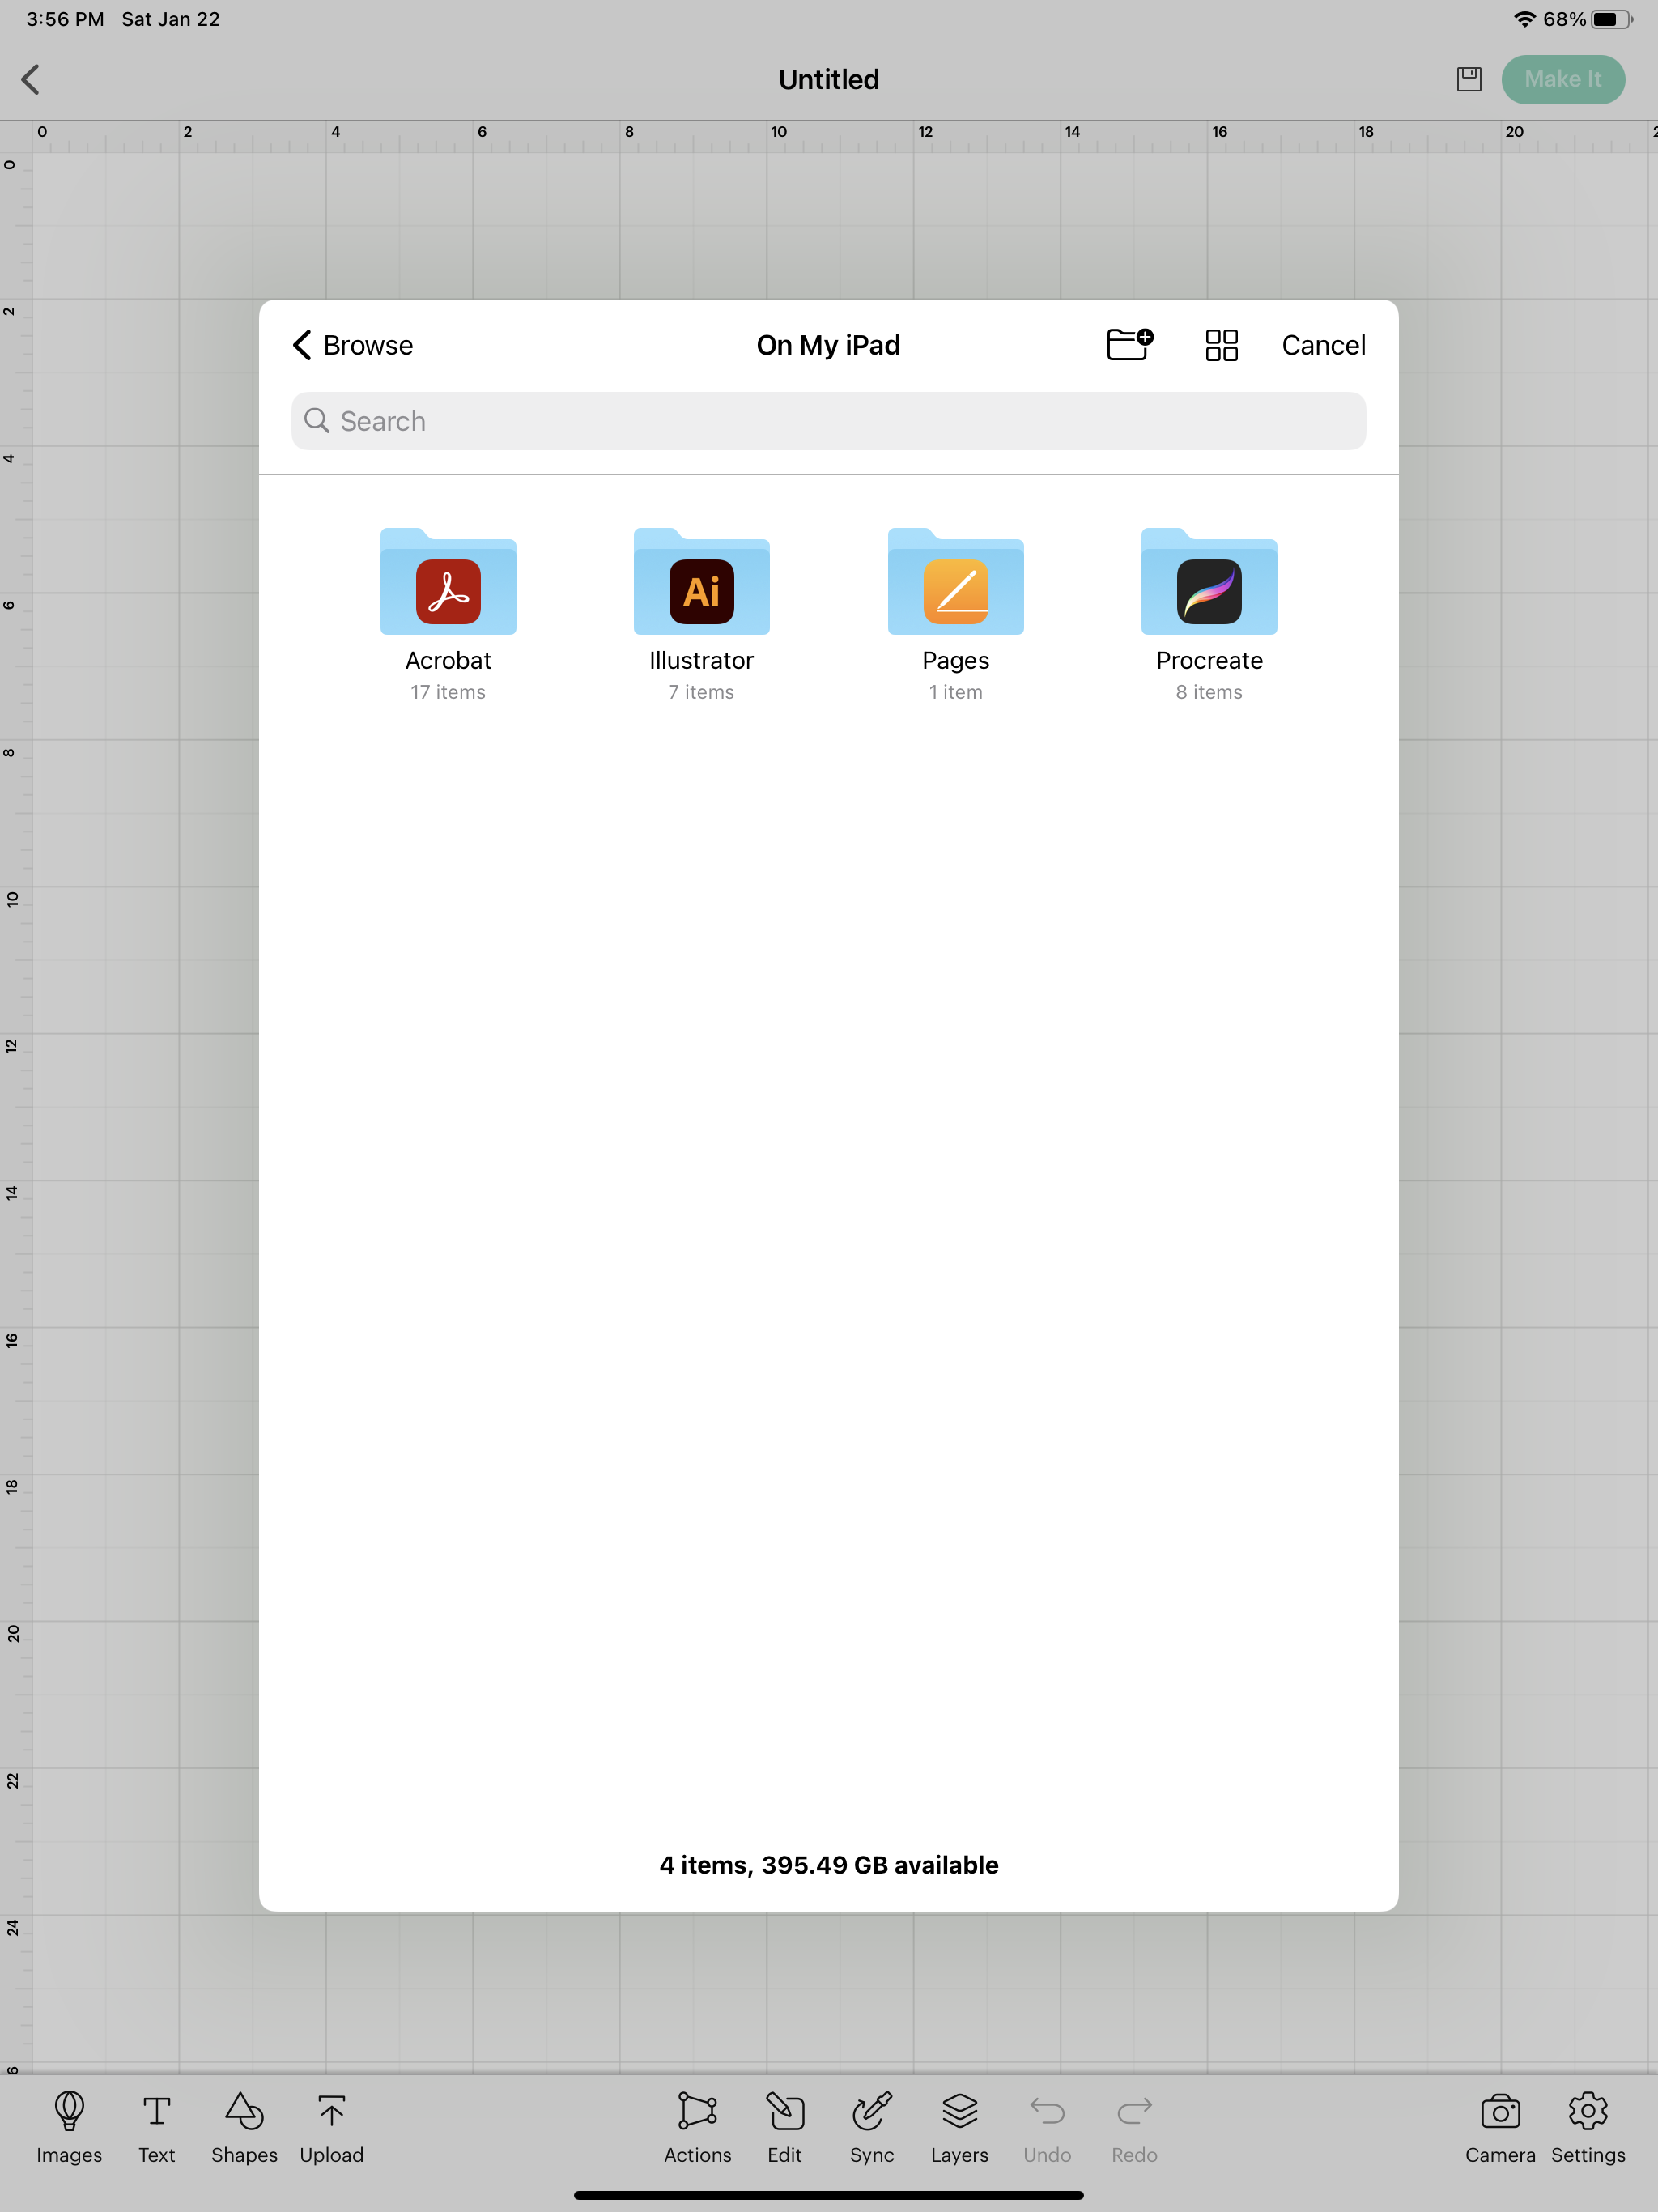
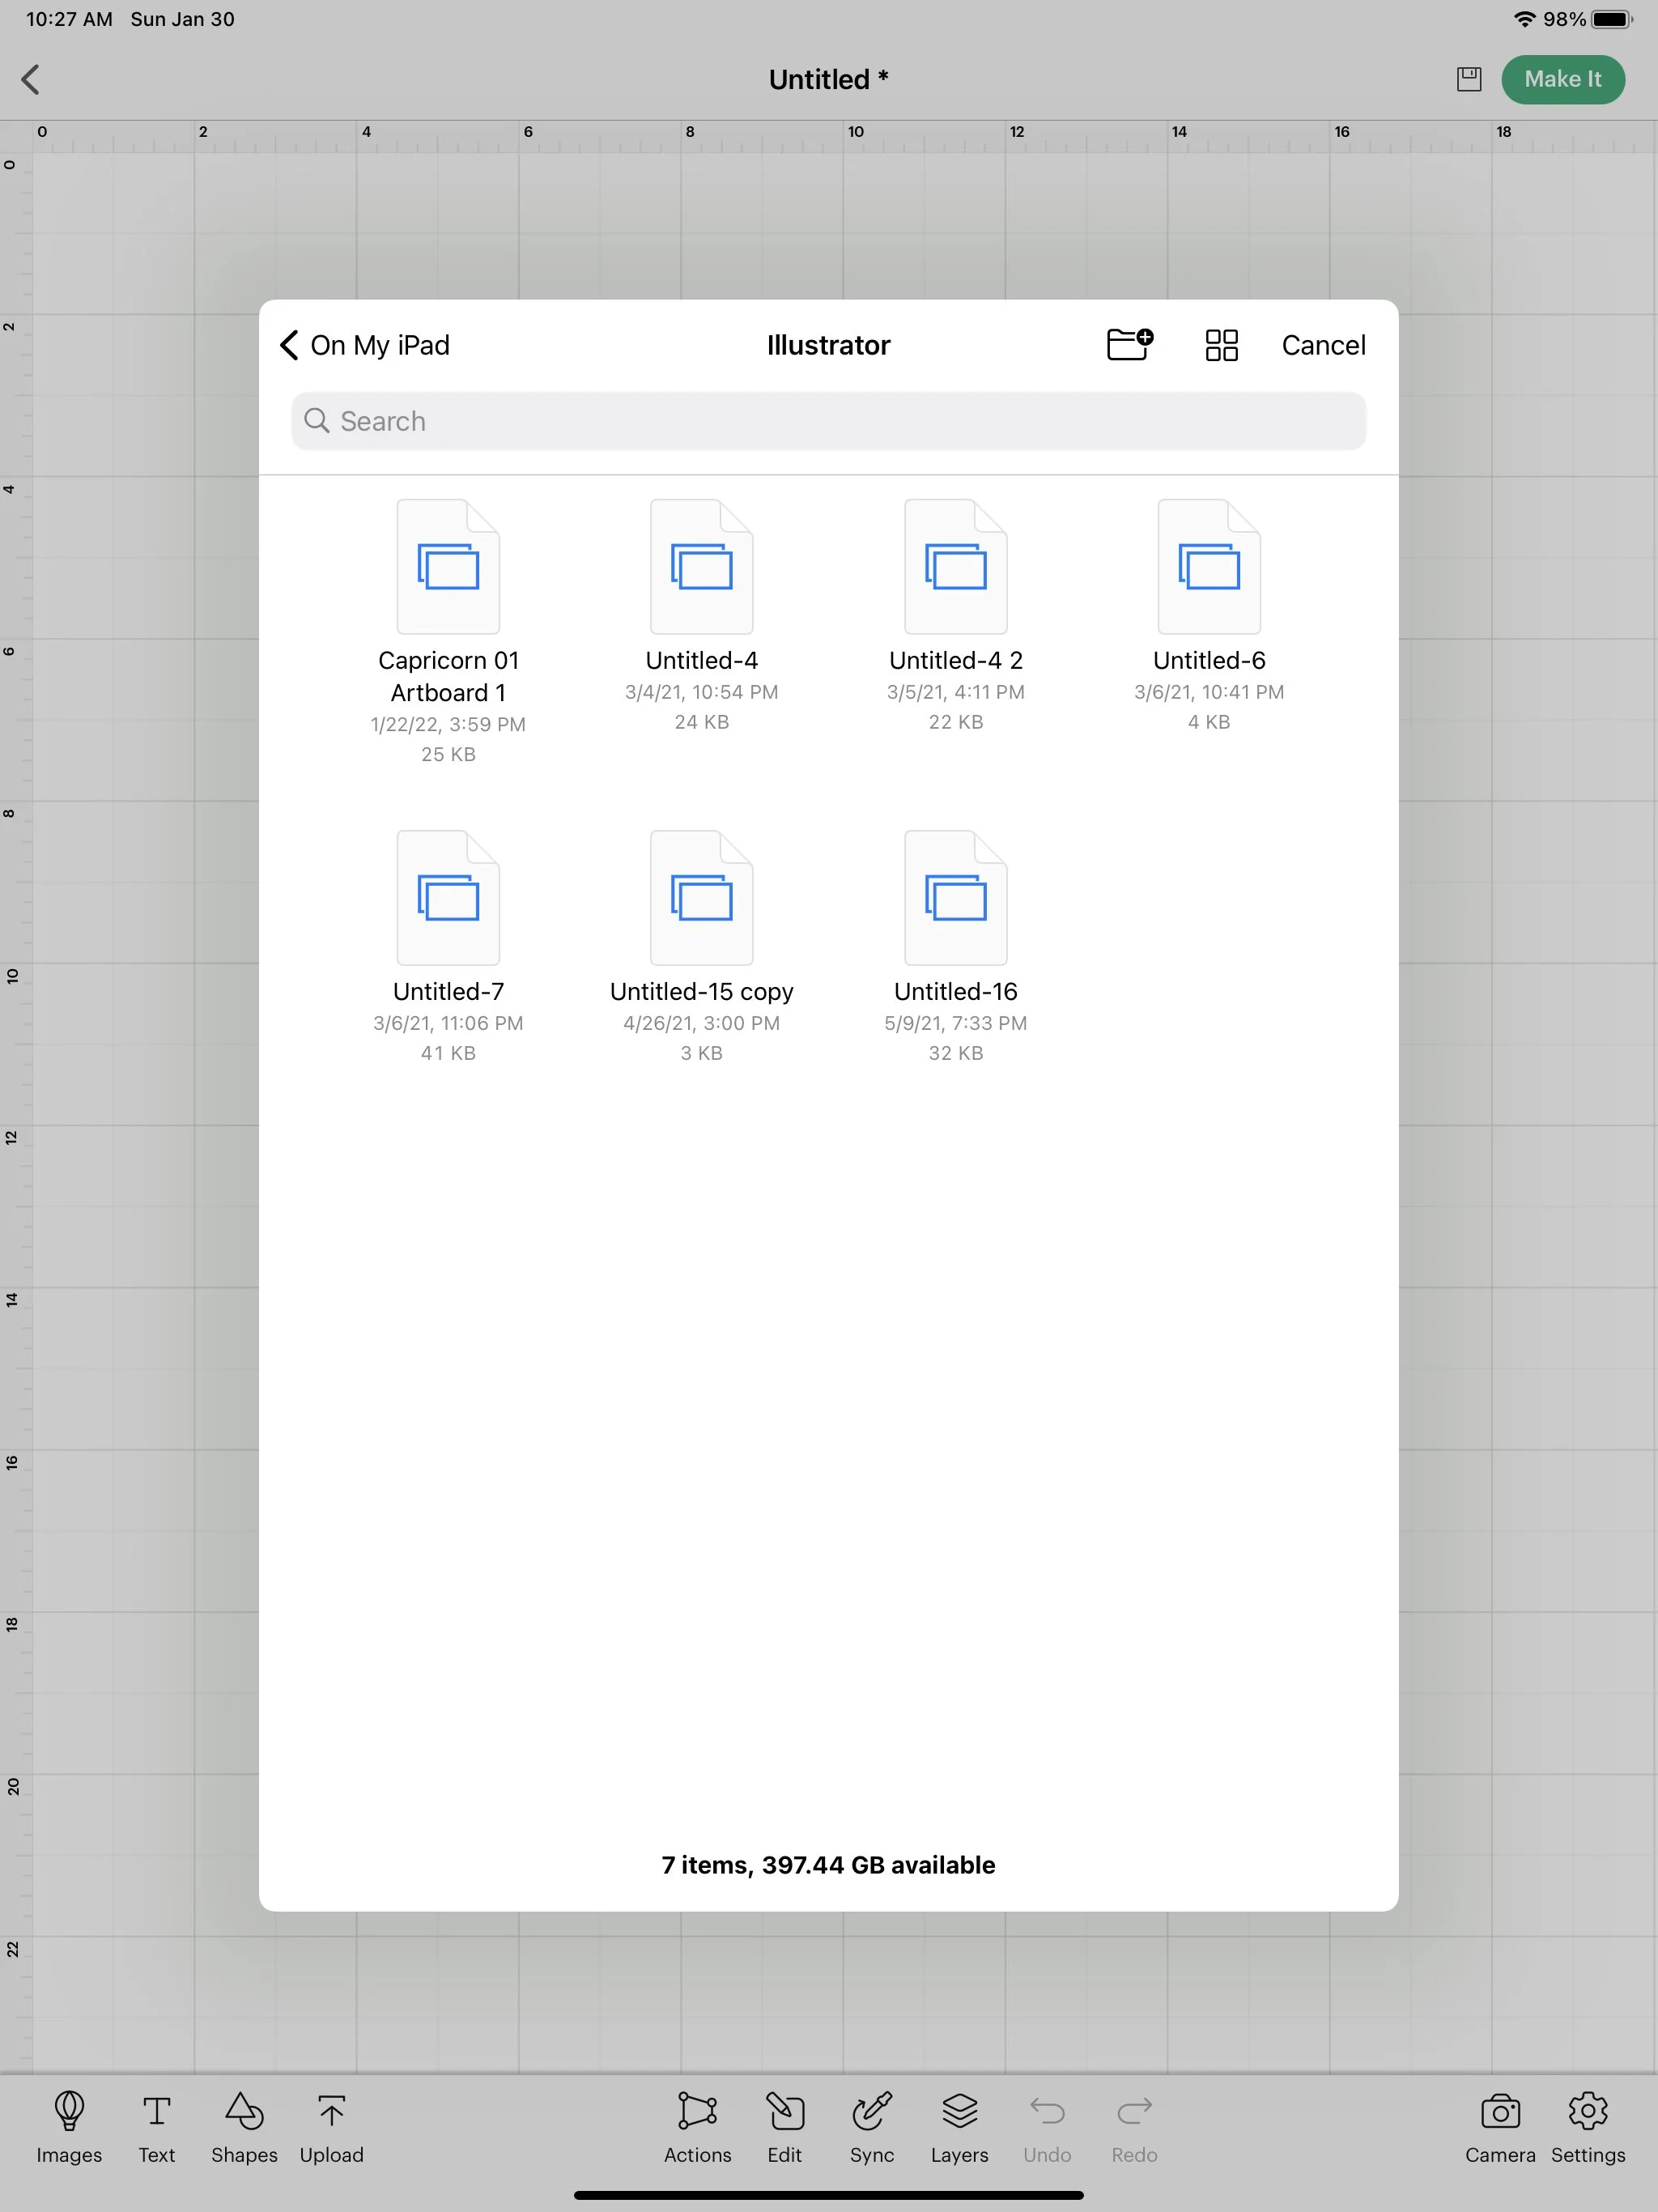
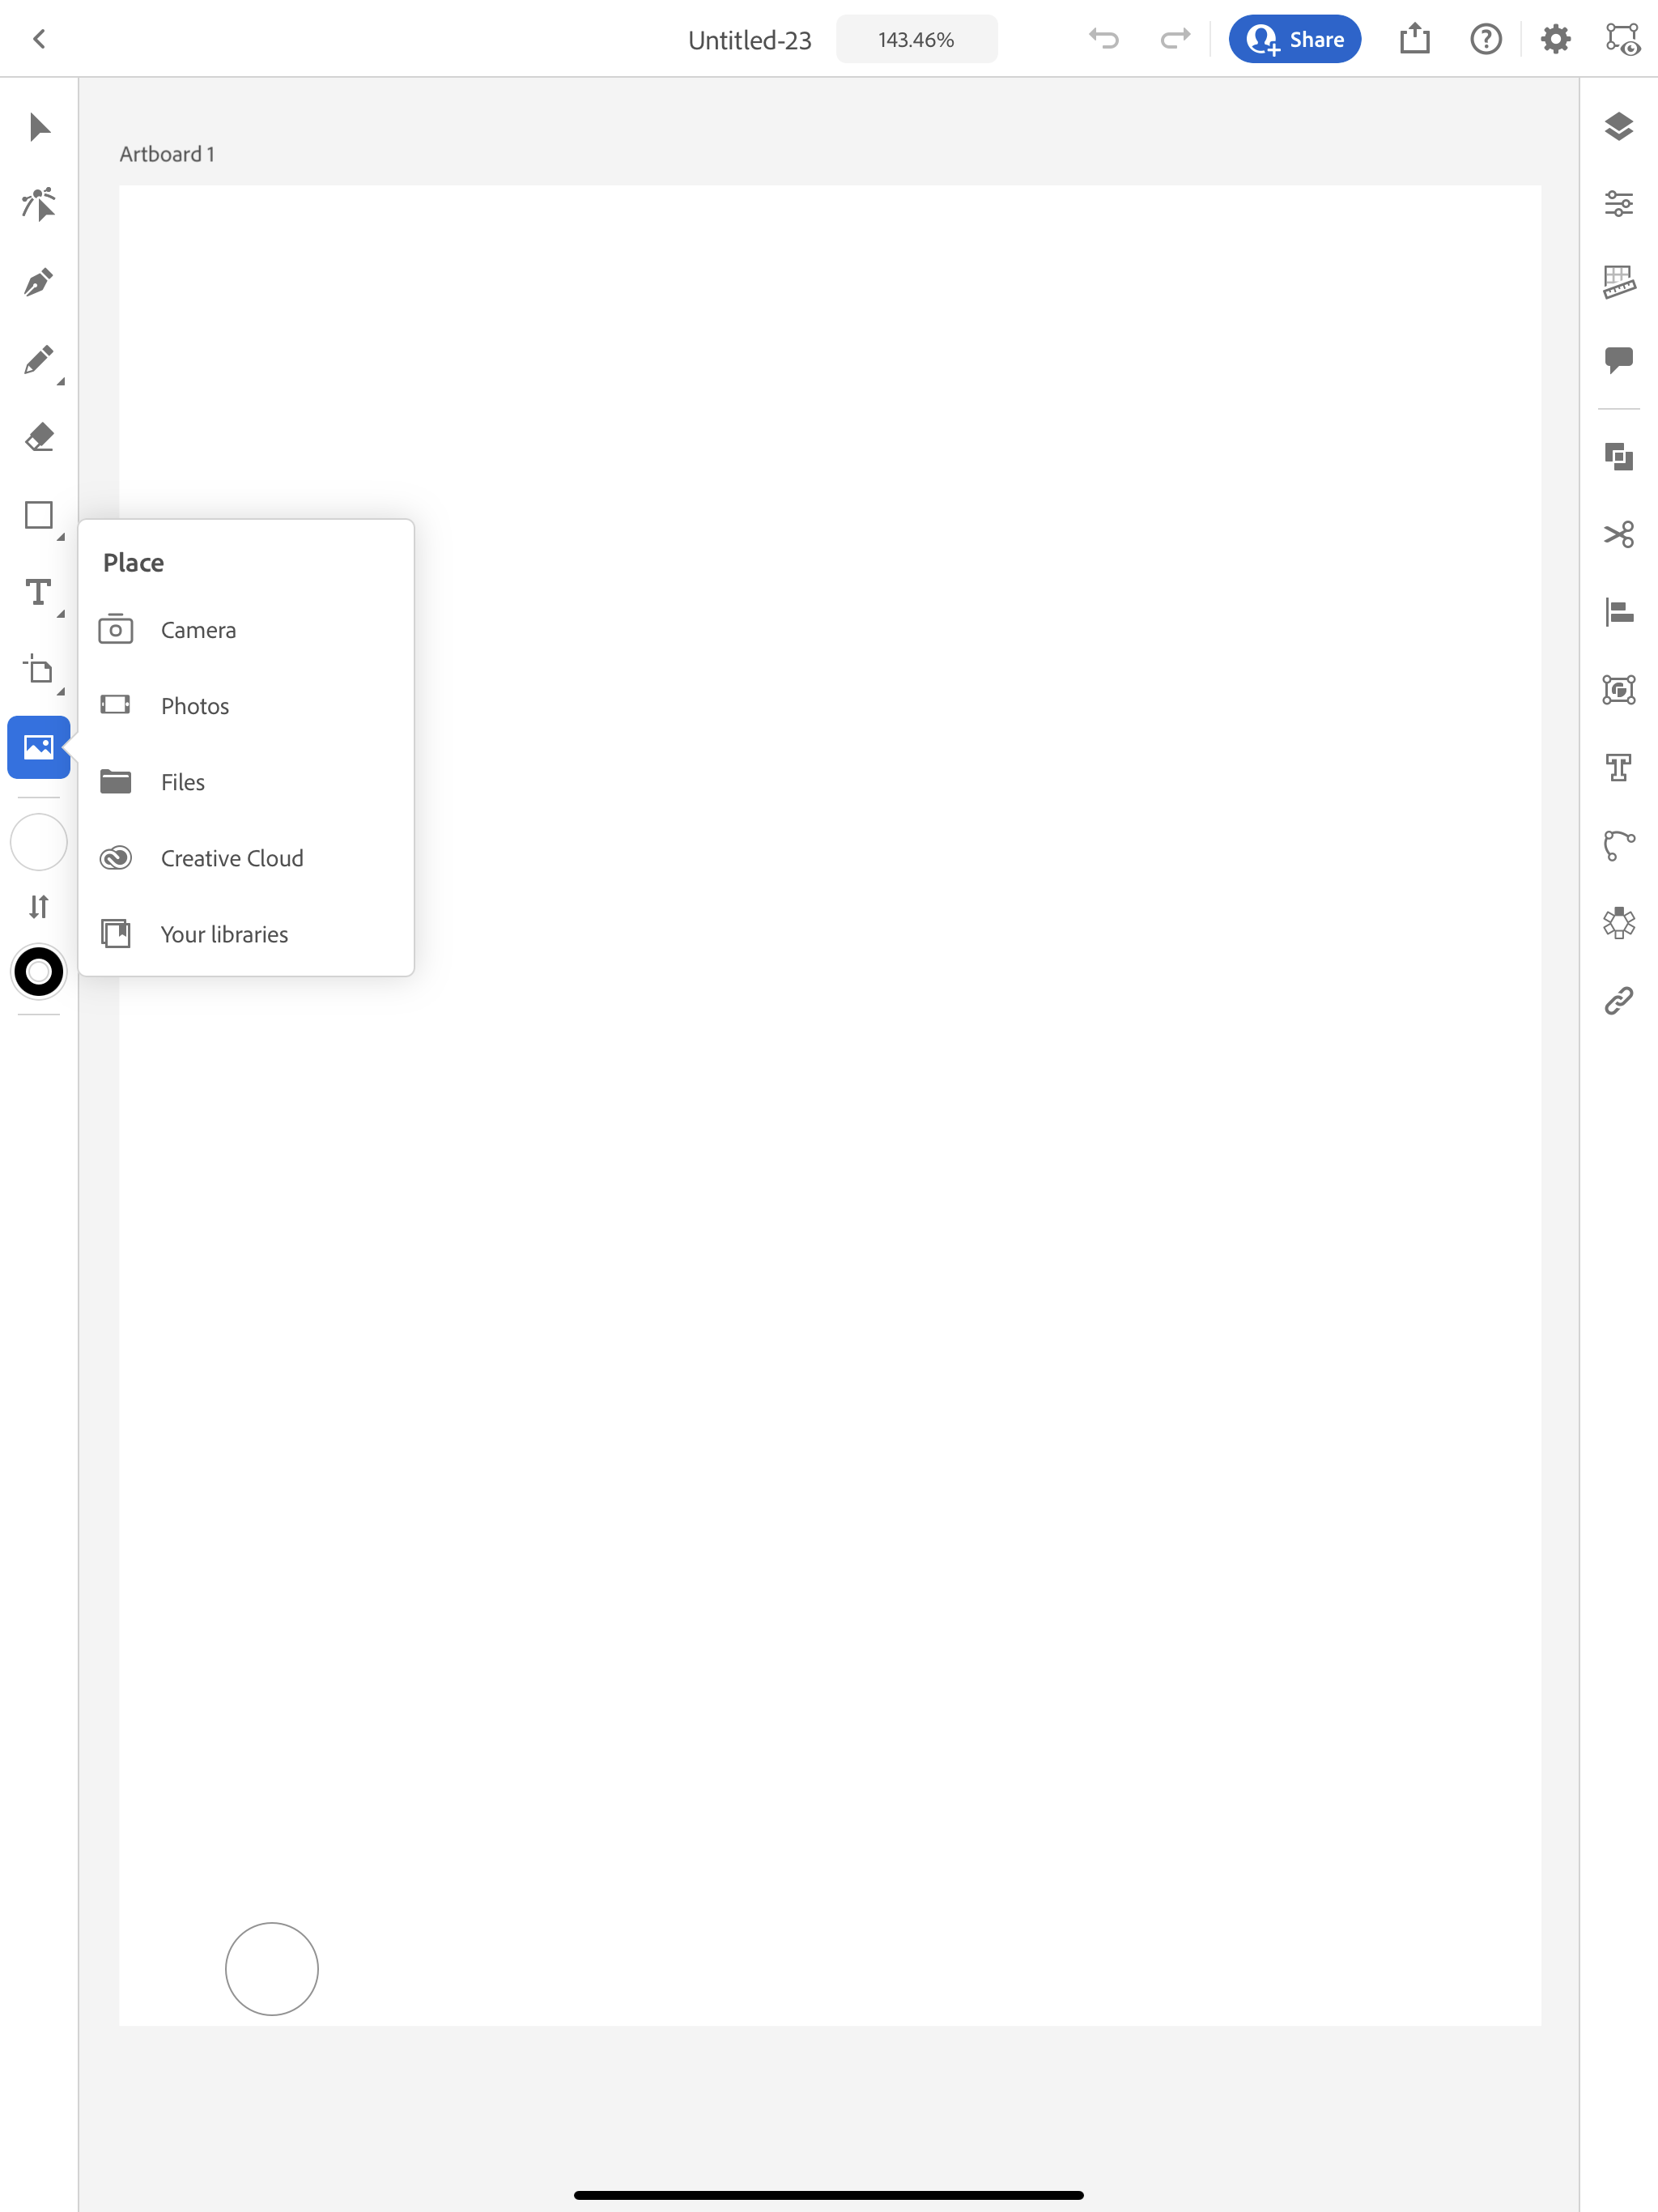
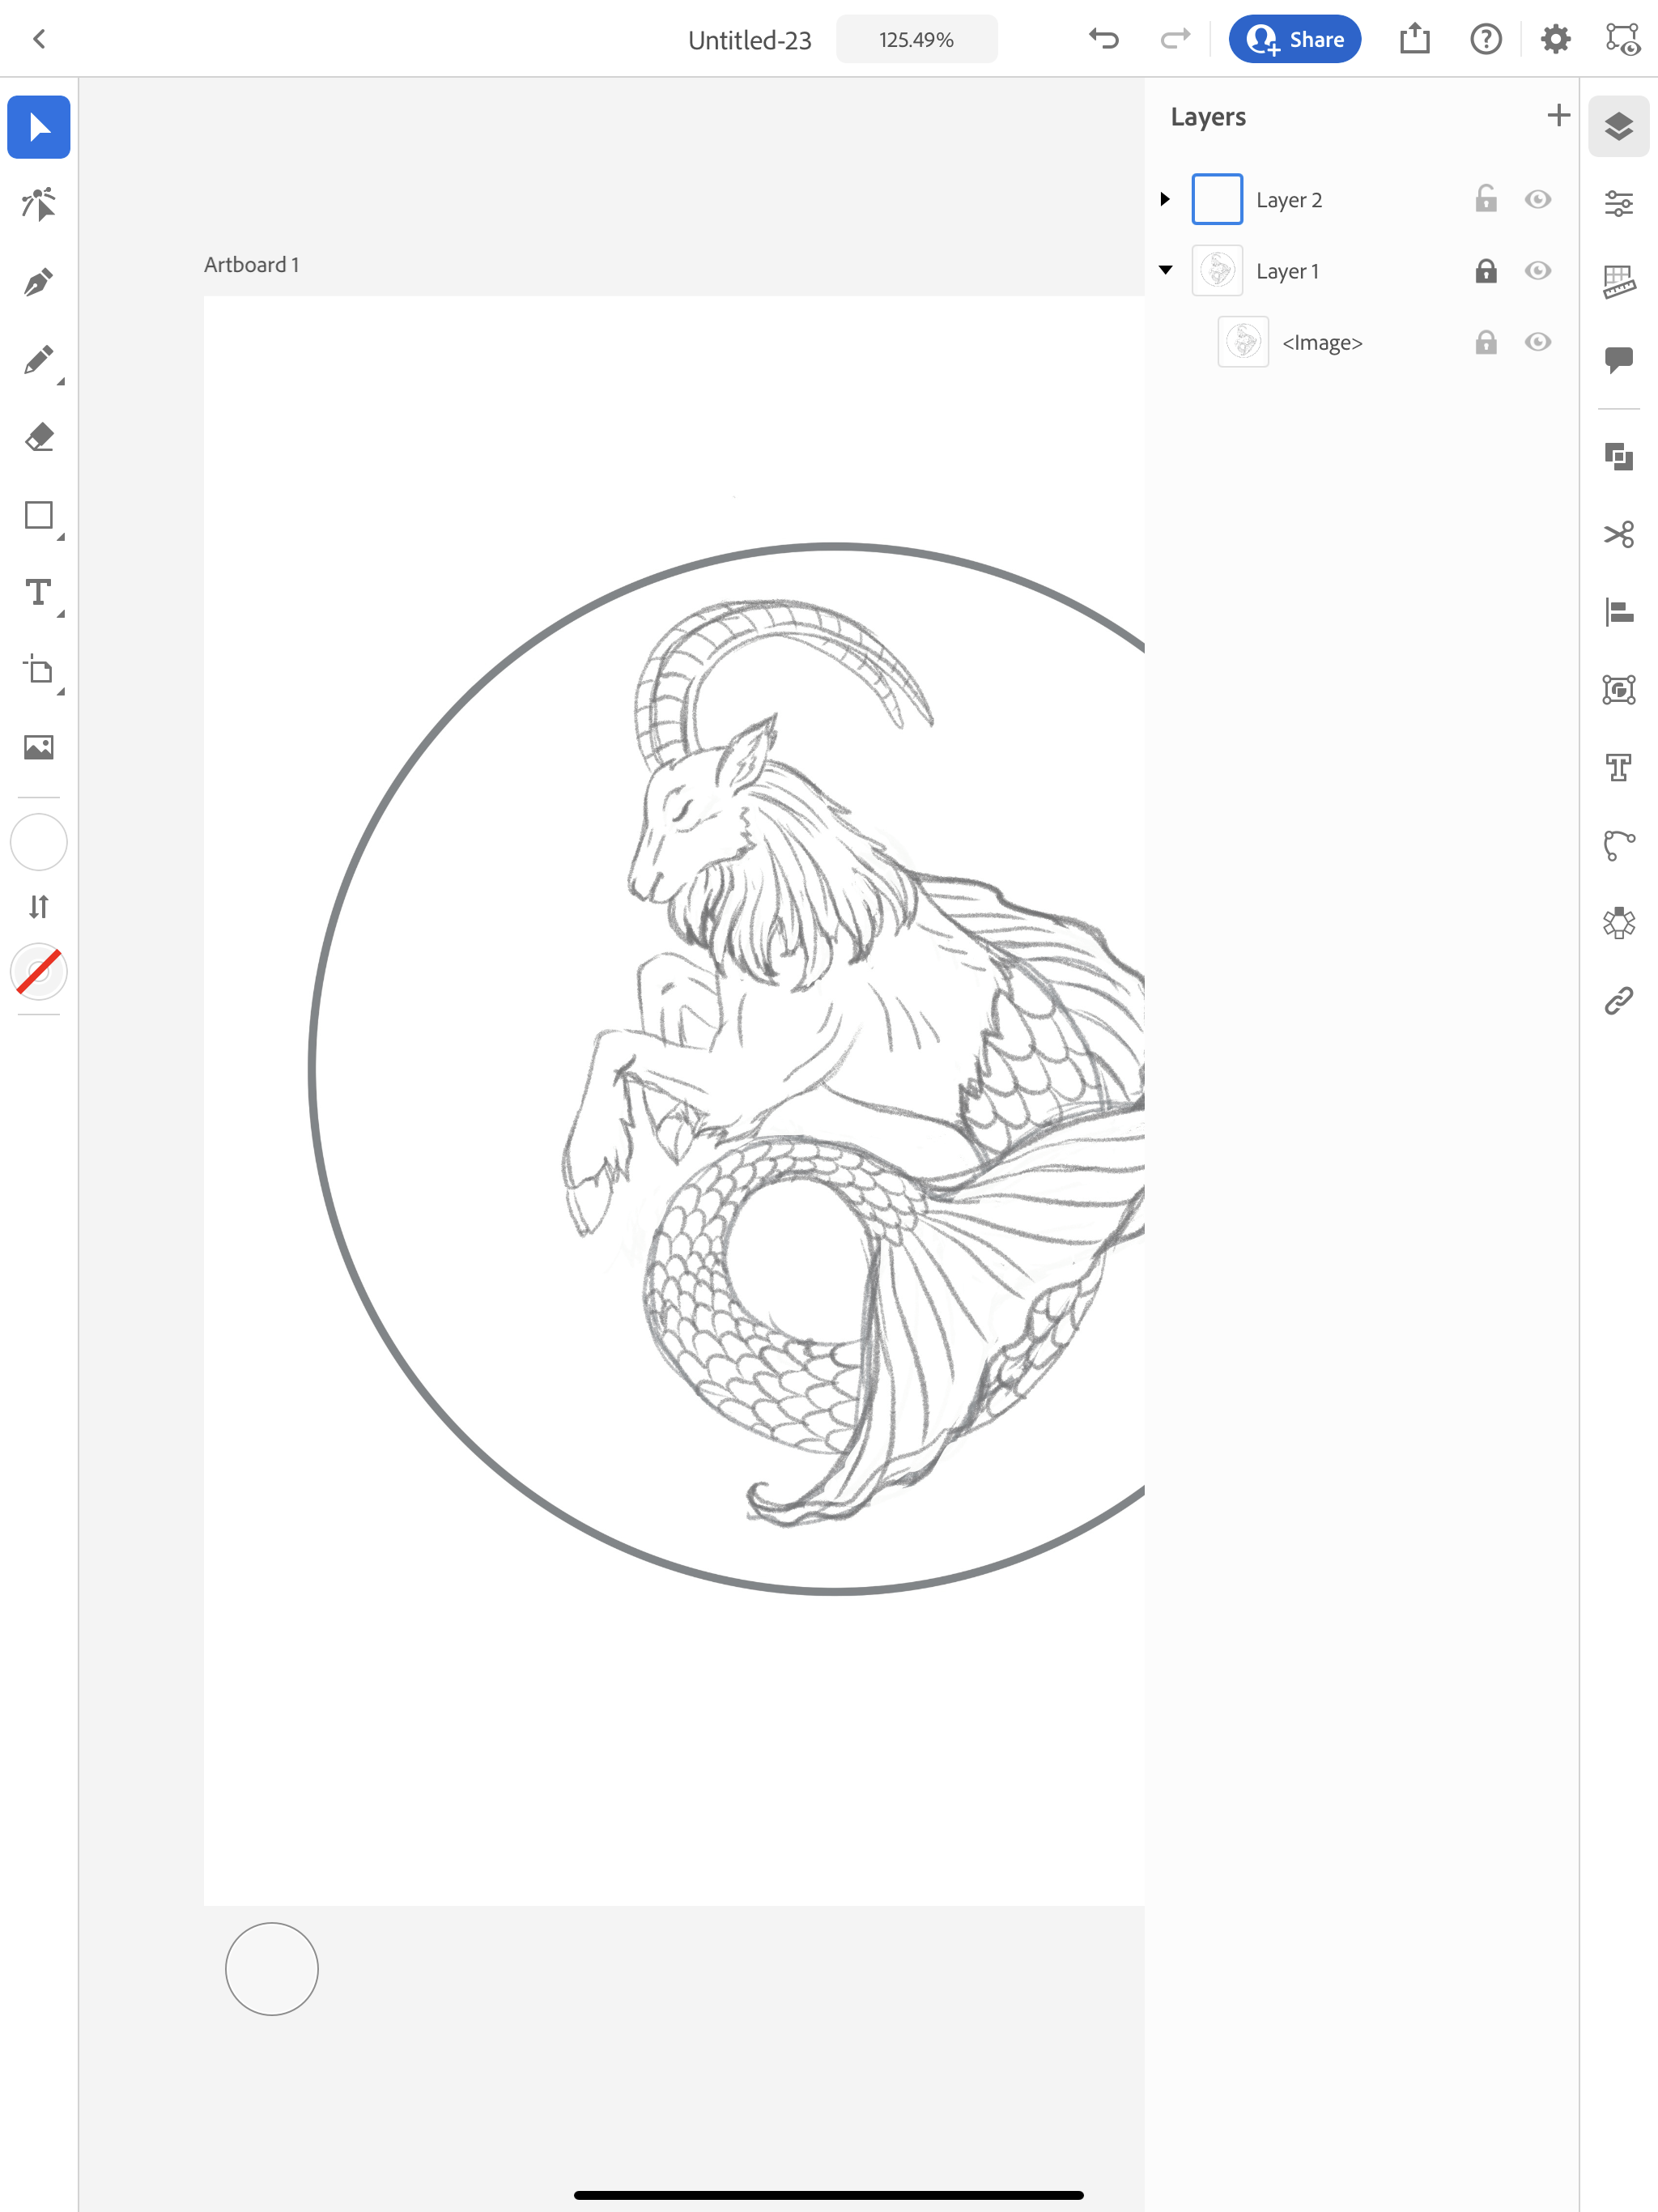
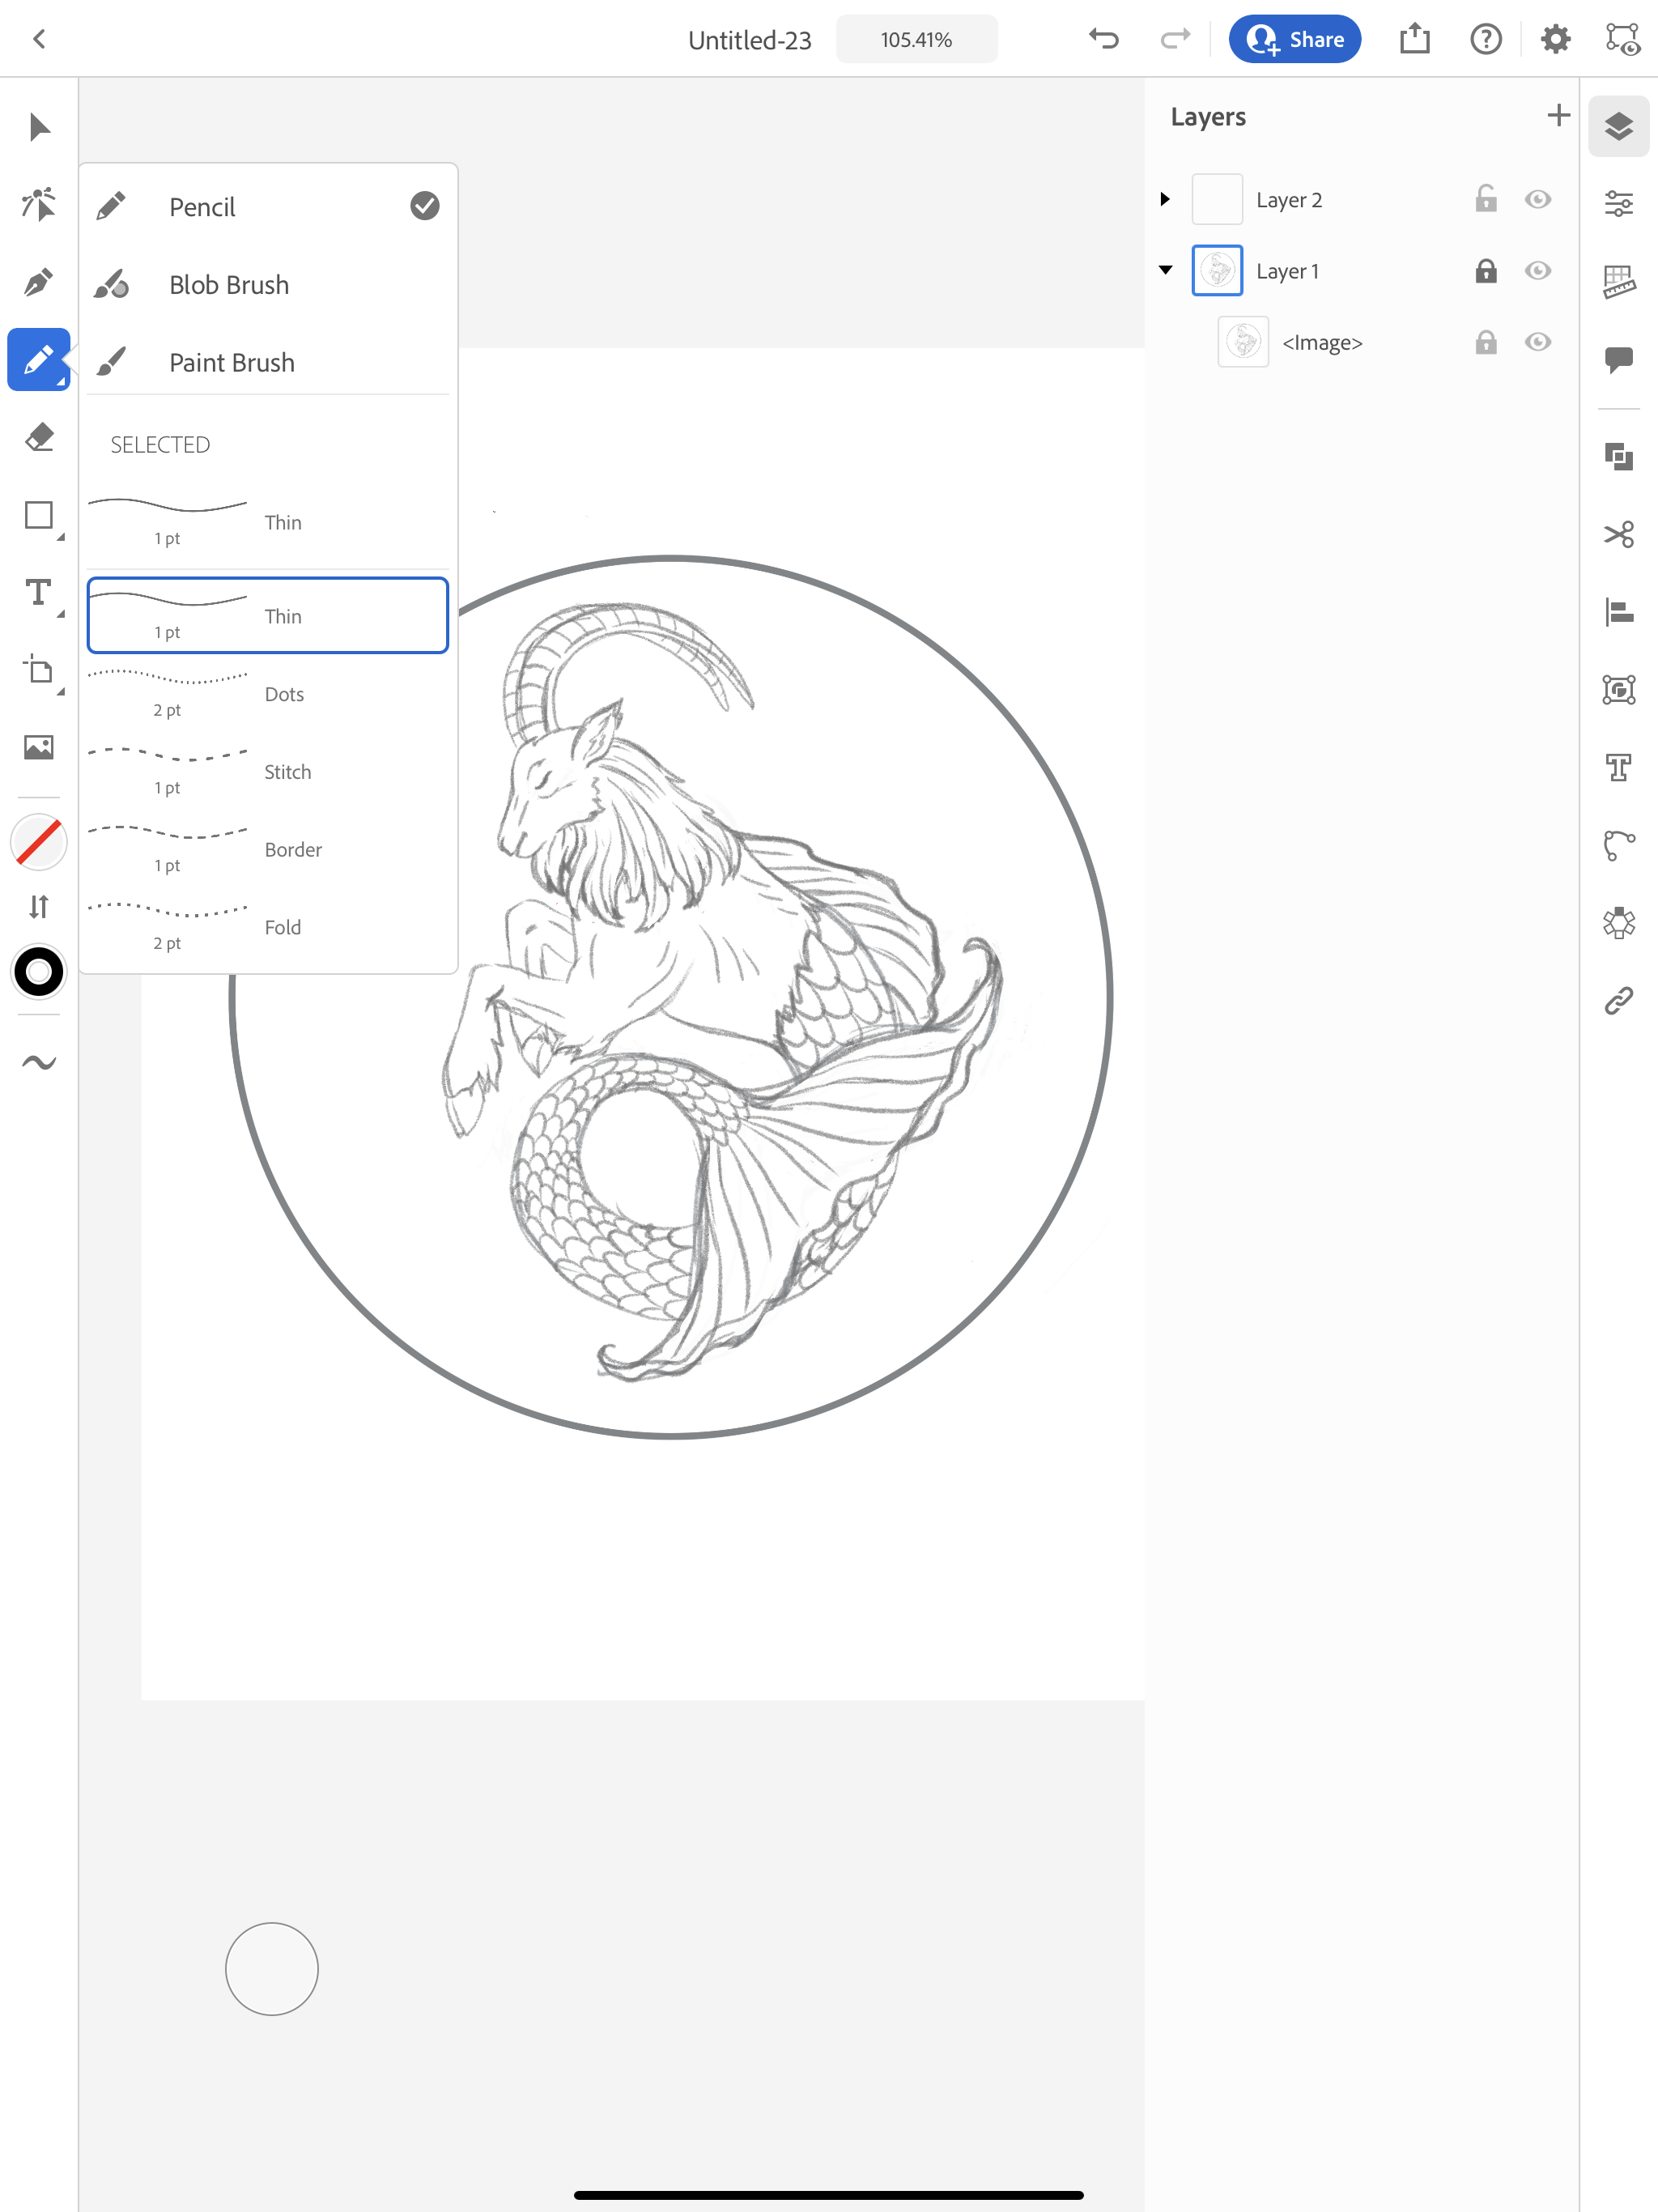
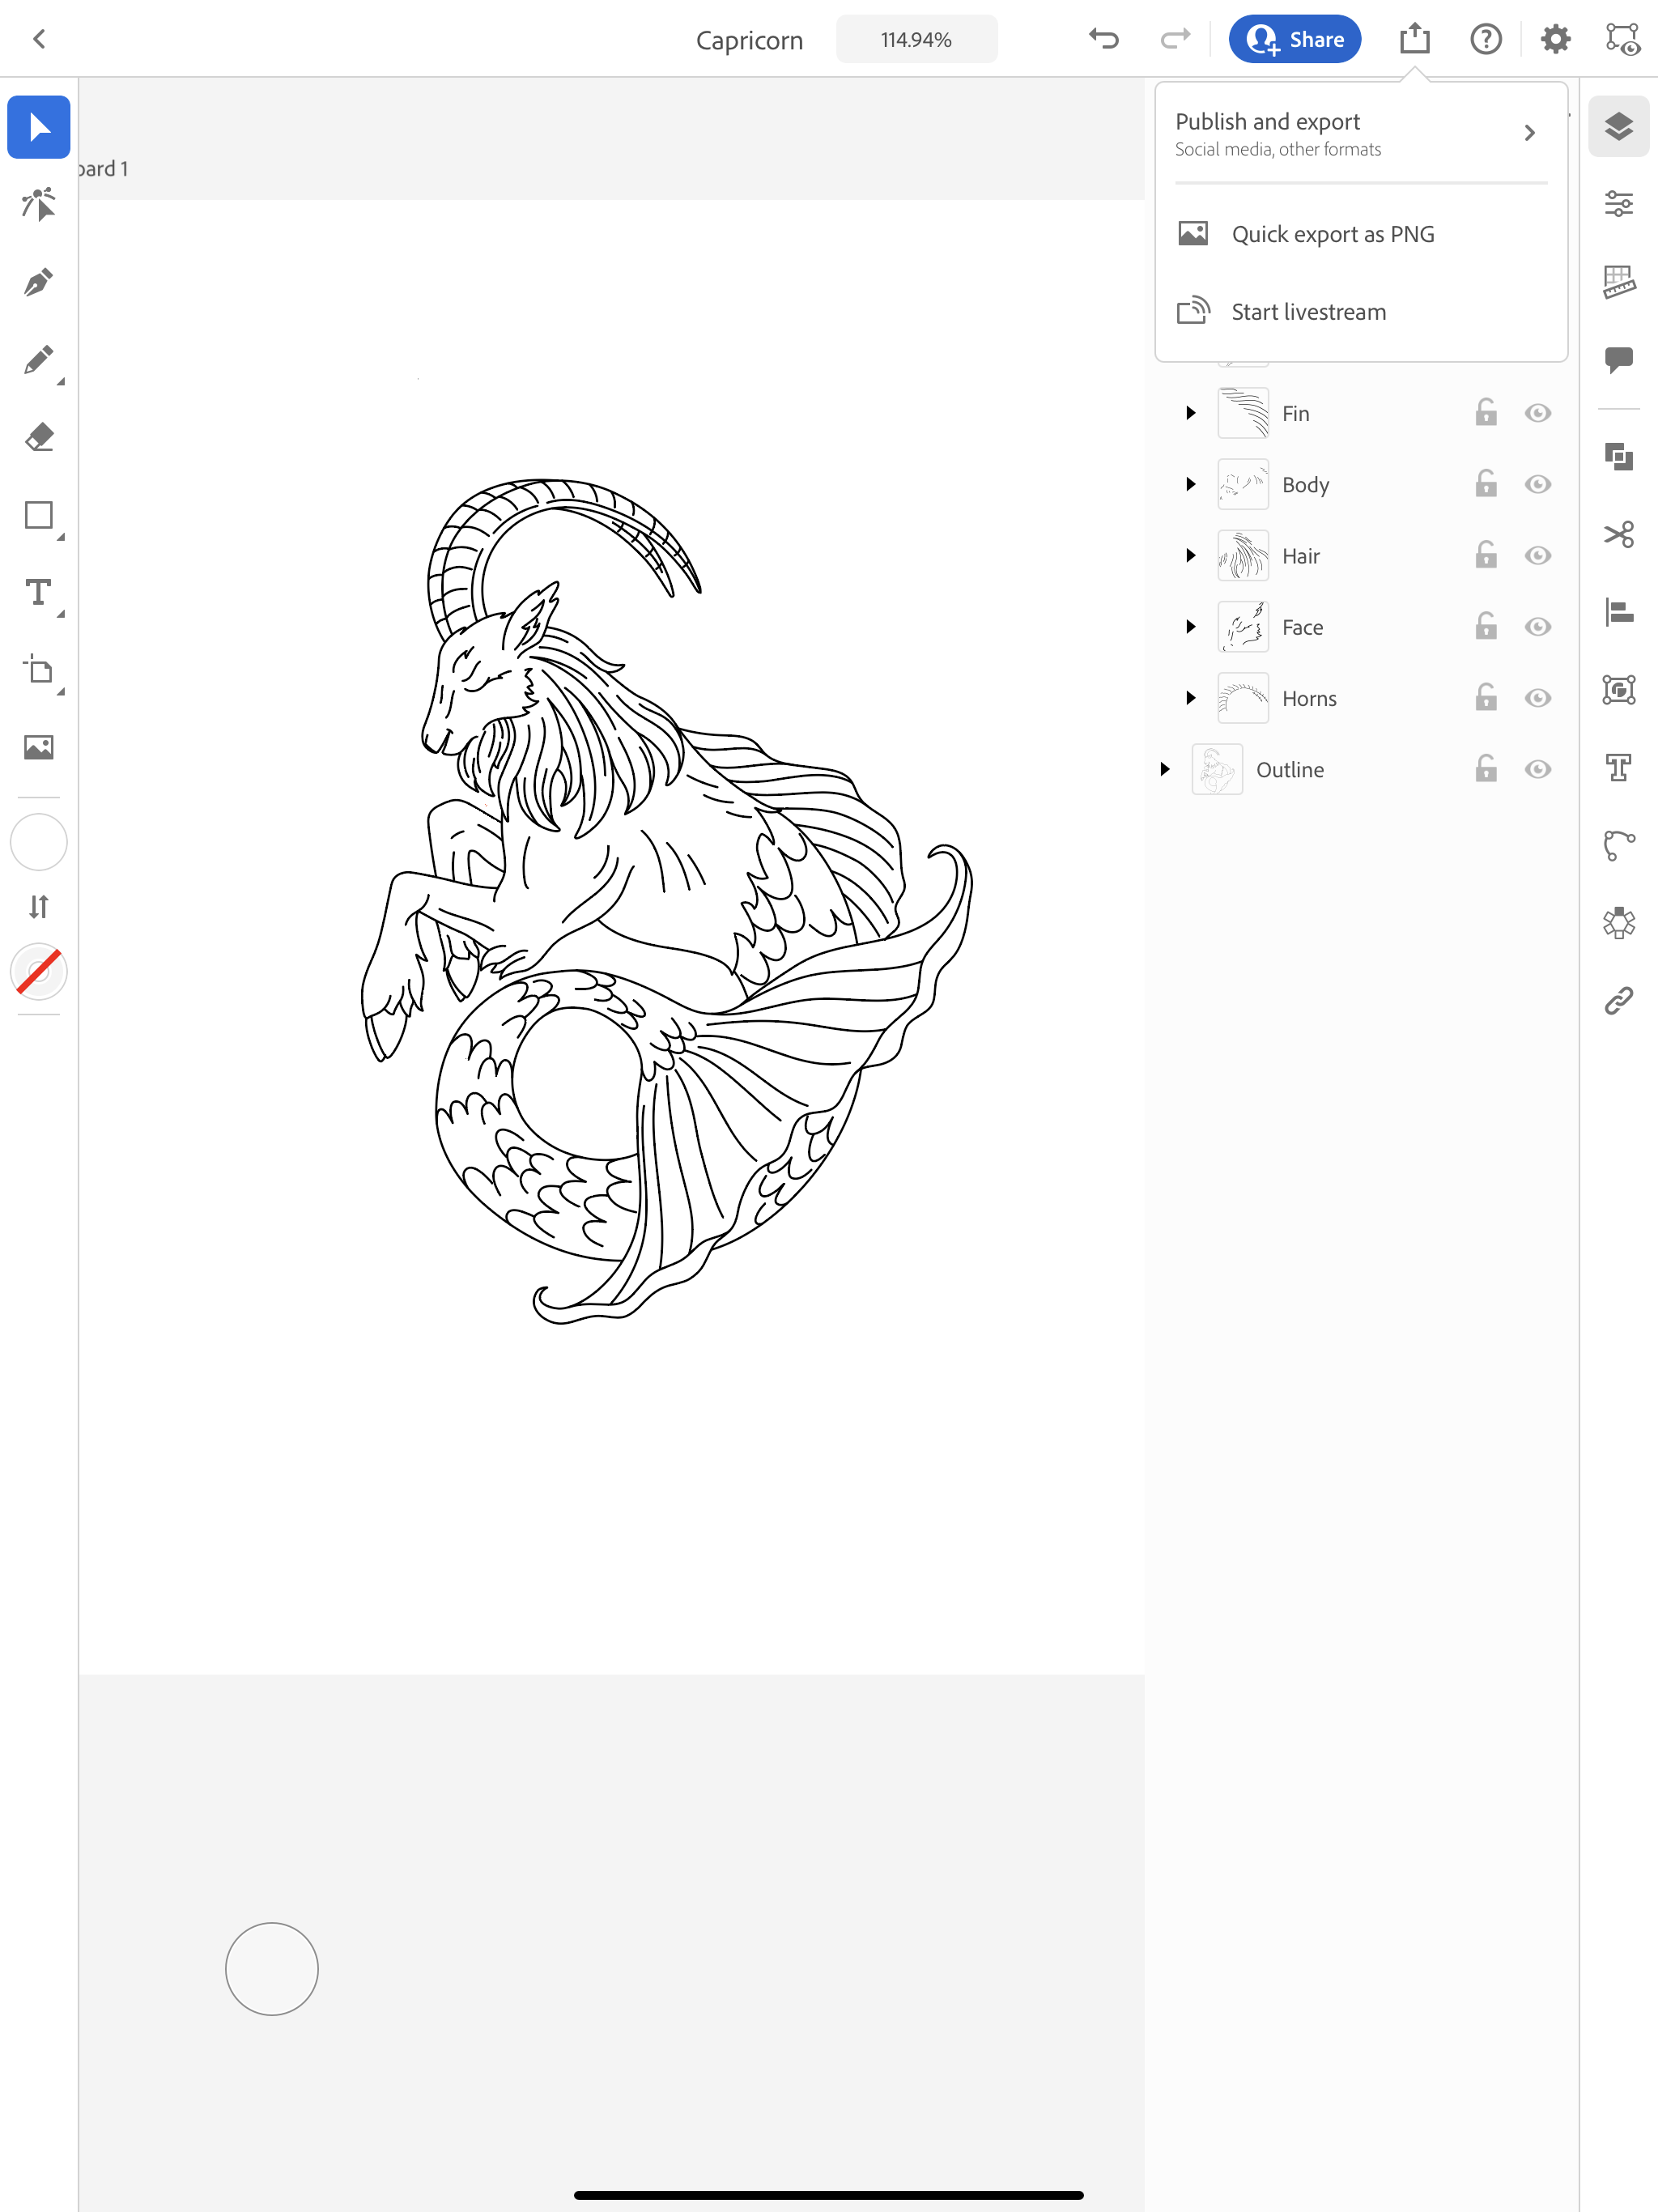
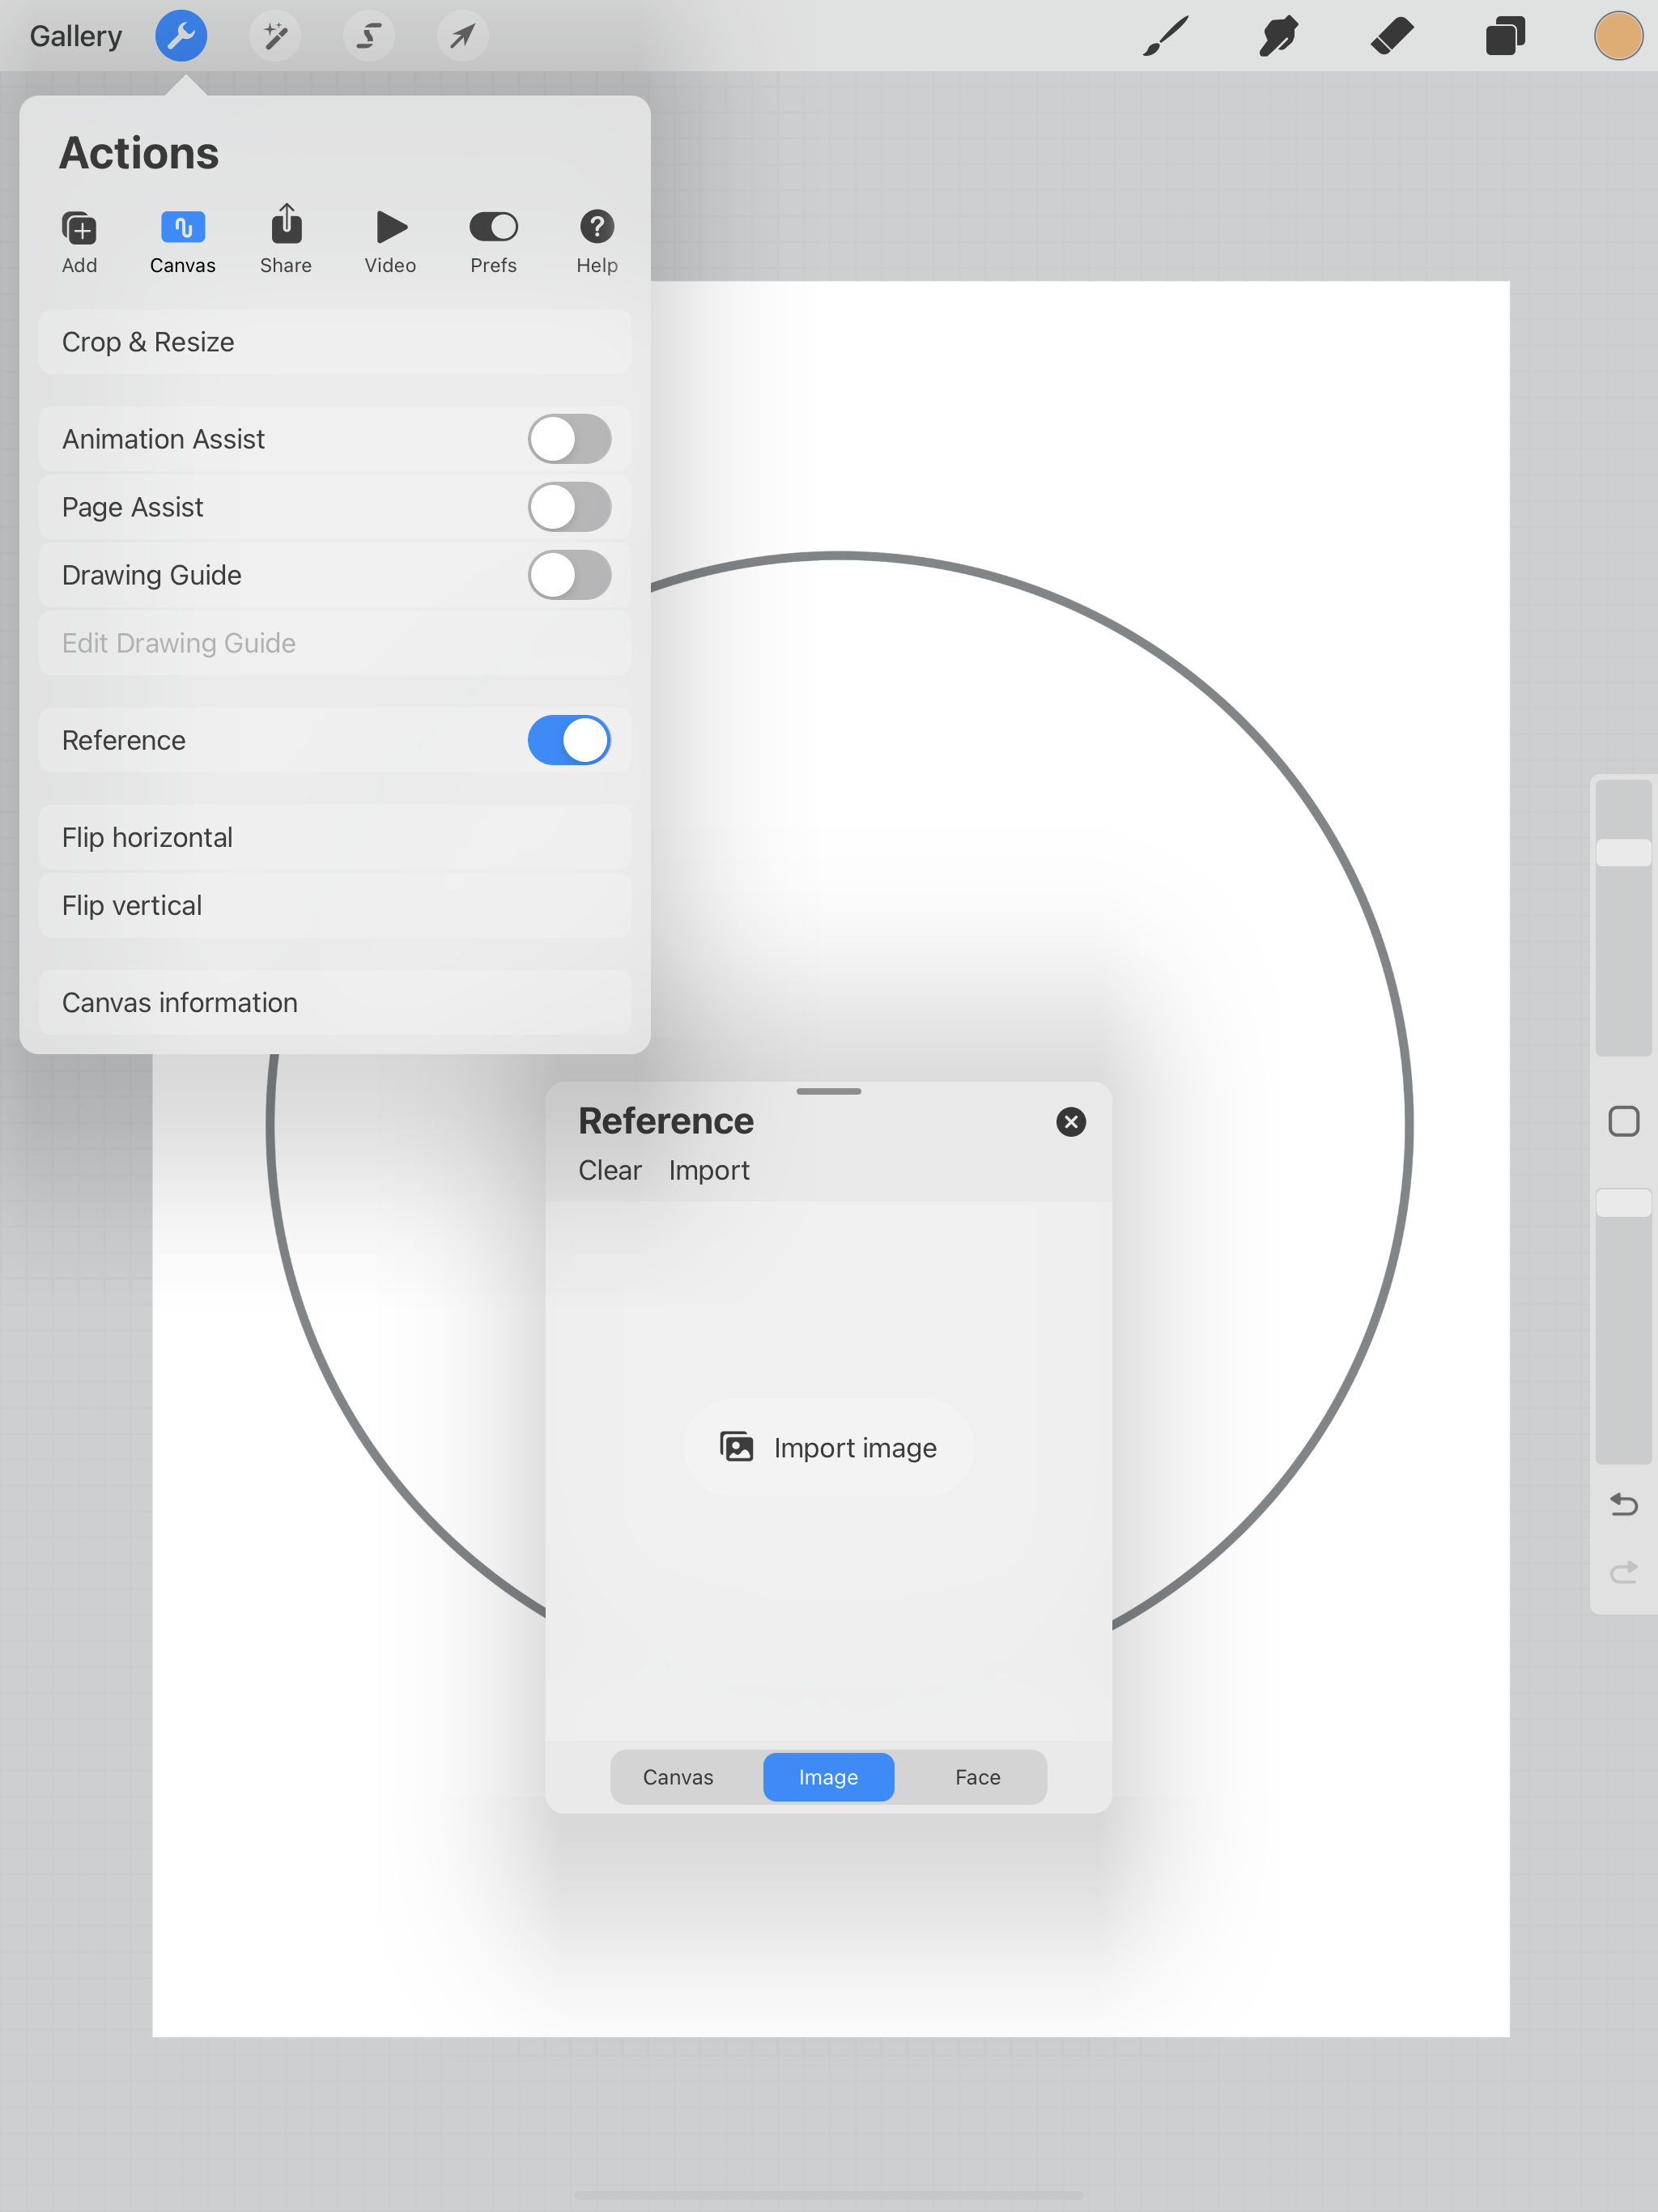
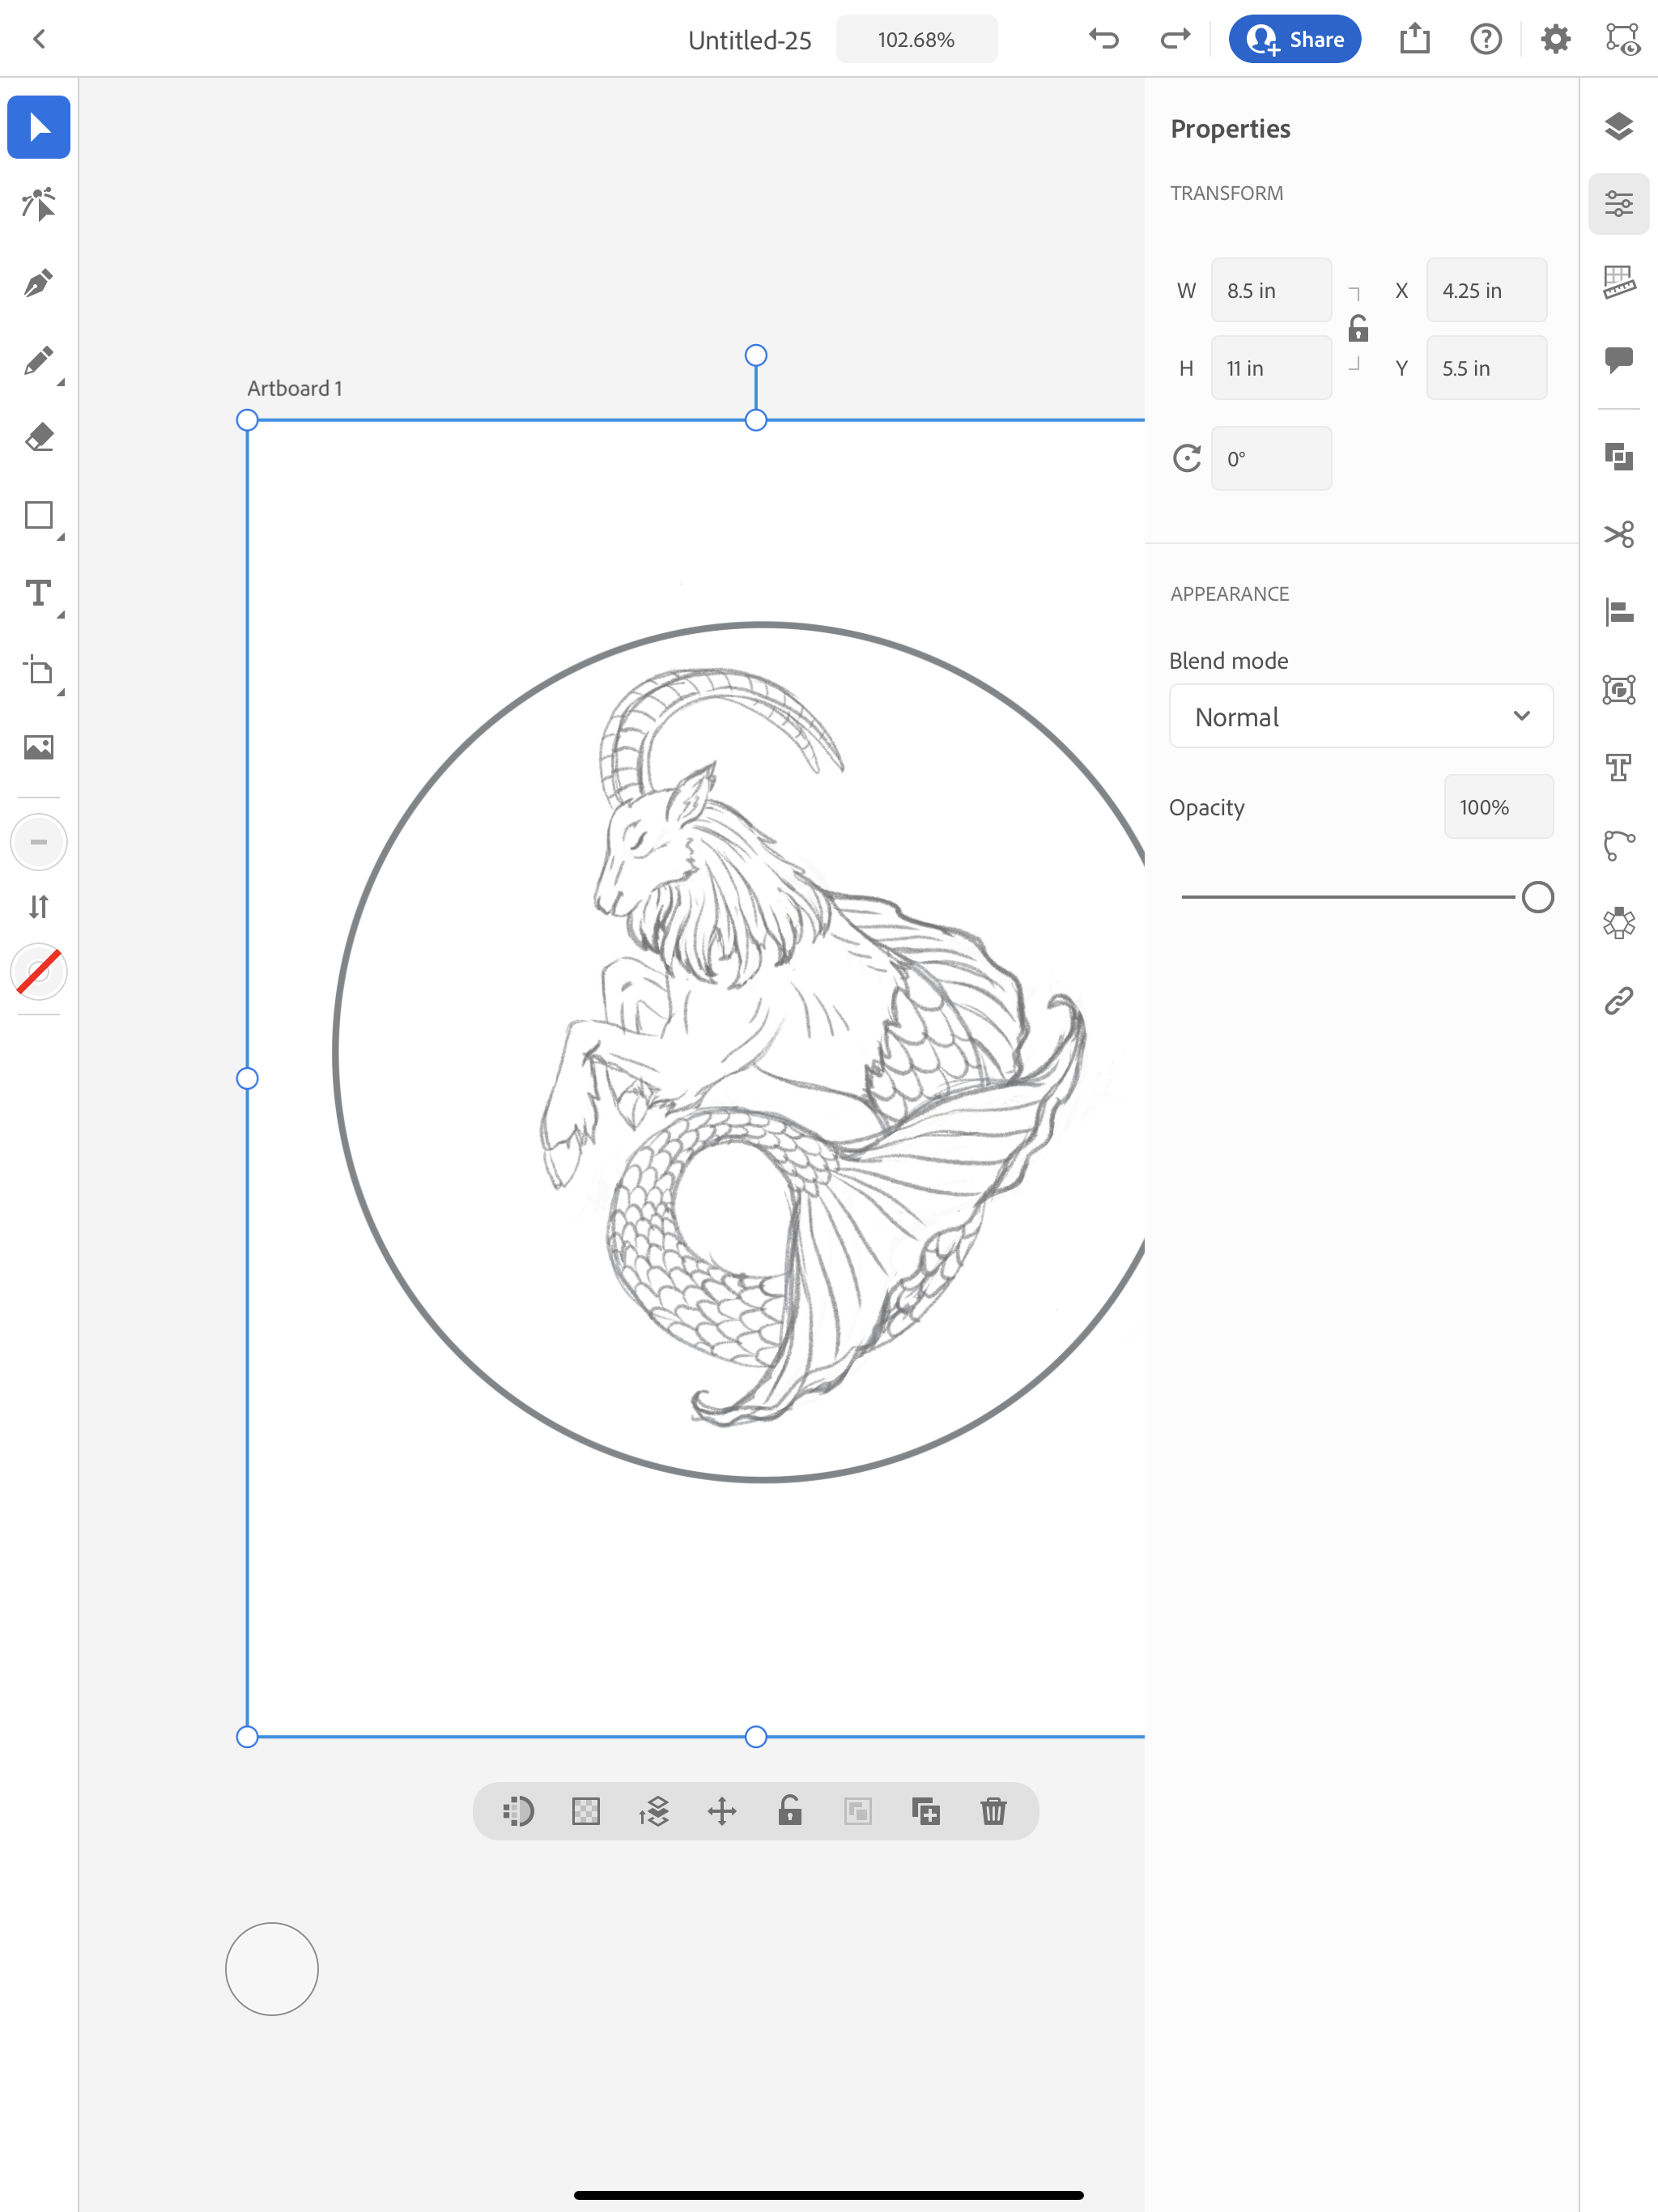
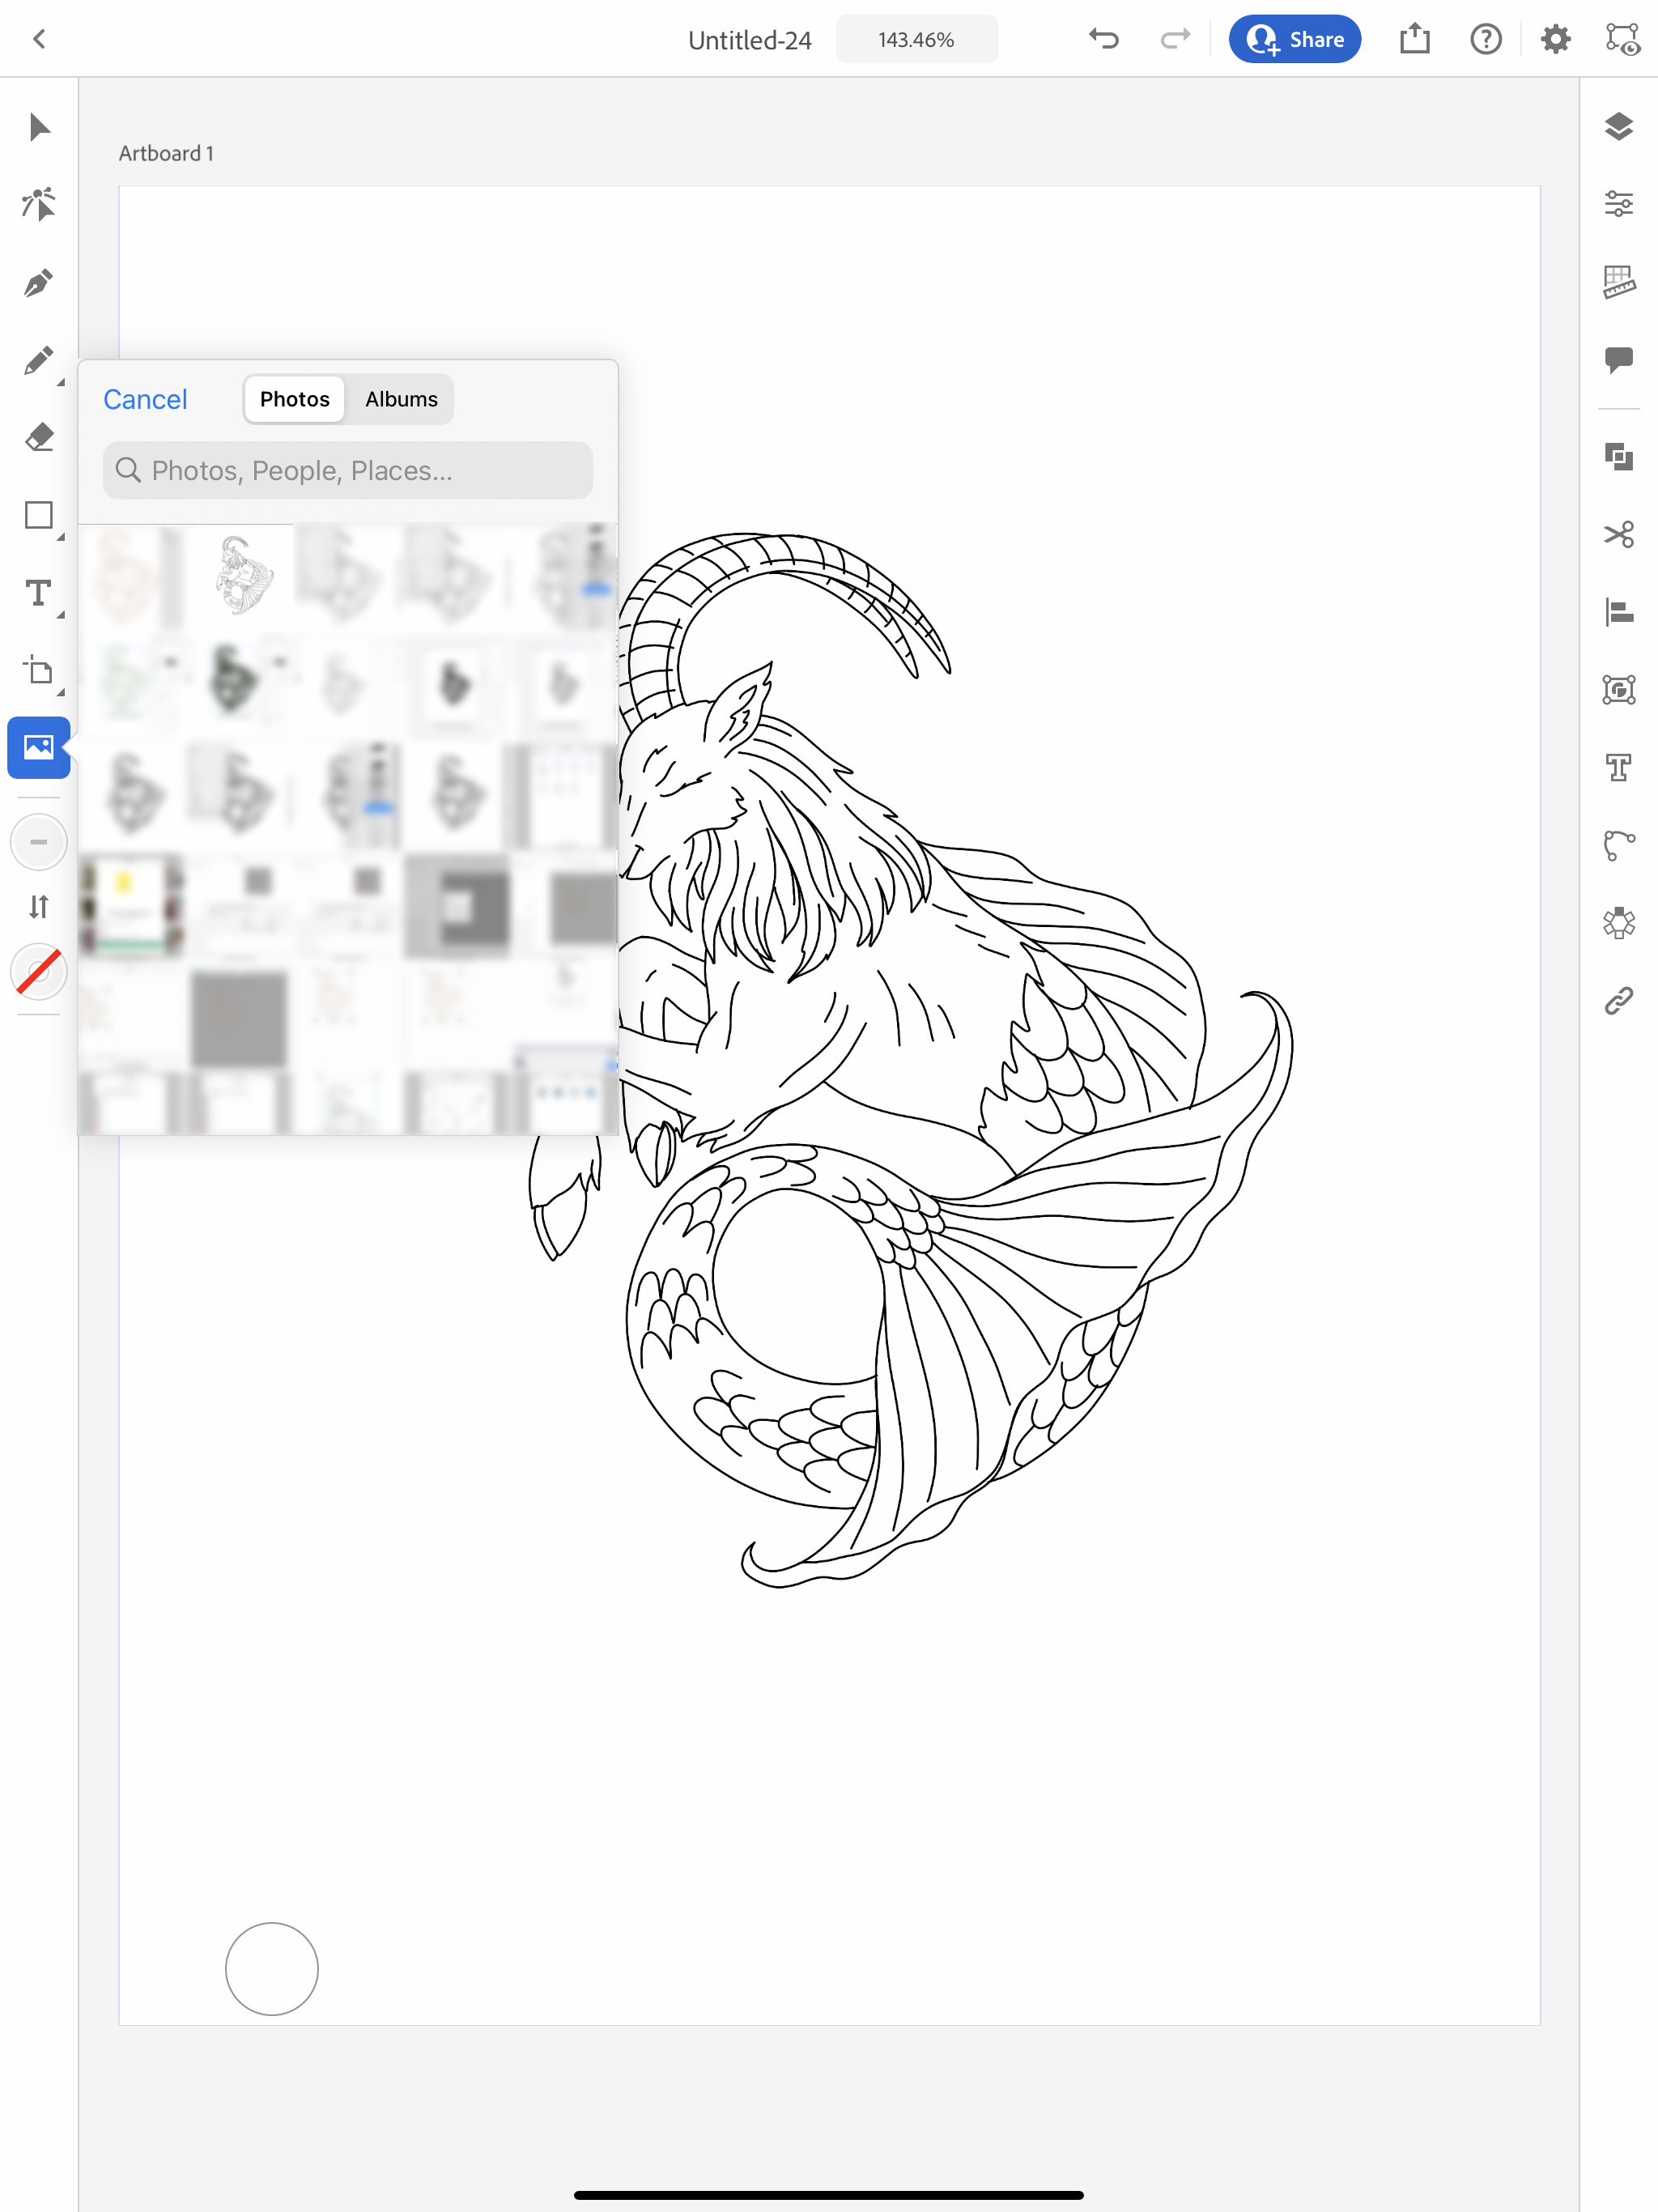
So we will need to do some additional steps in Illustrator to get a proper Draw file. I’m going to import my PNG file into the Illustrator app.

Vectorize a sketch in Illustrator app

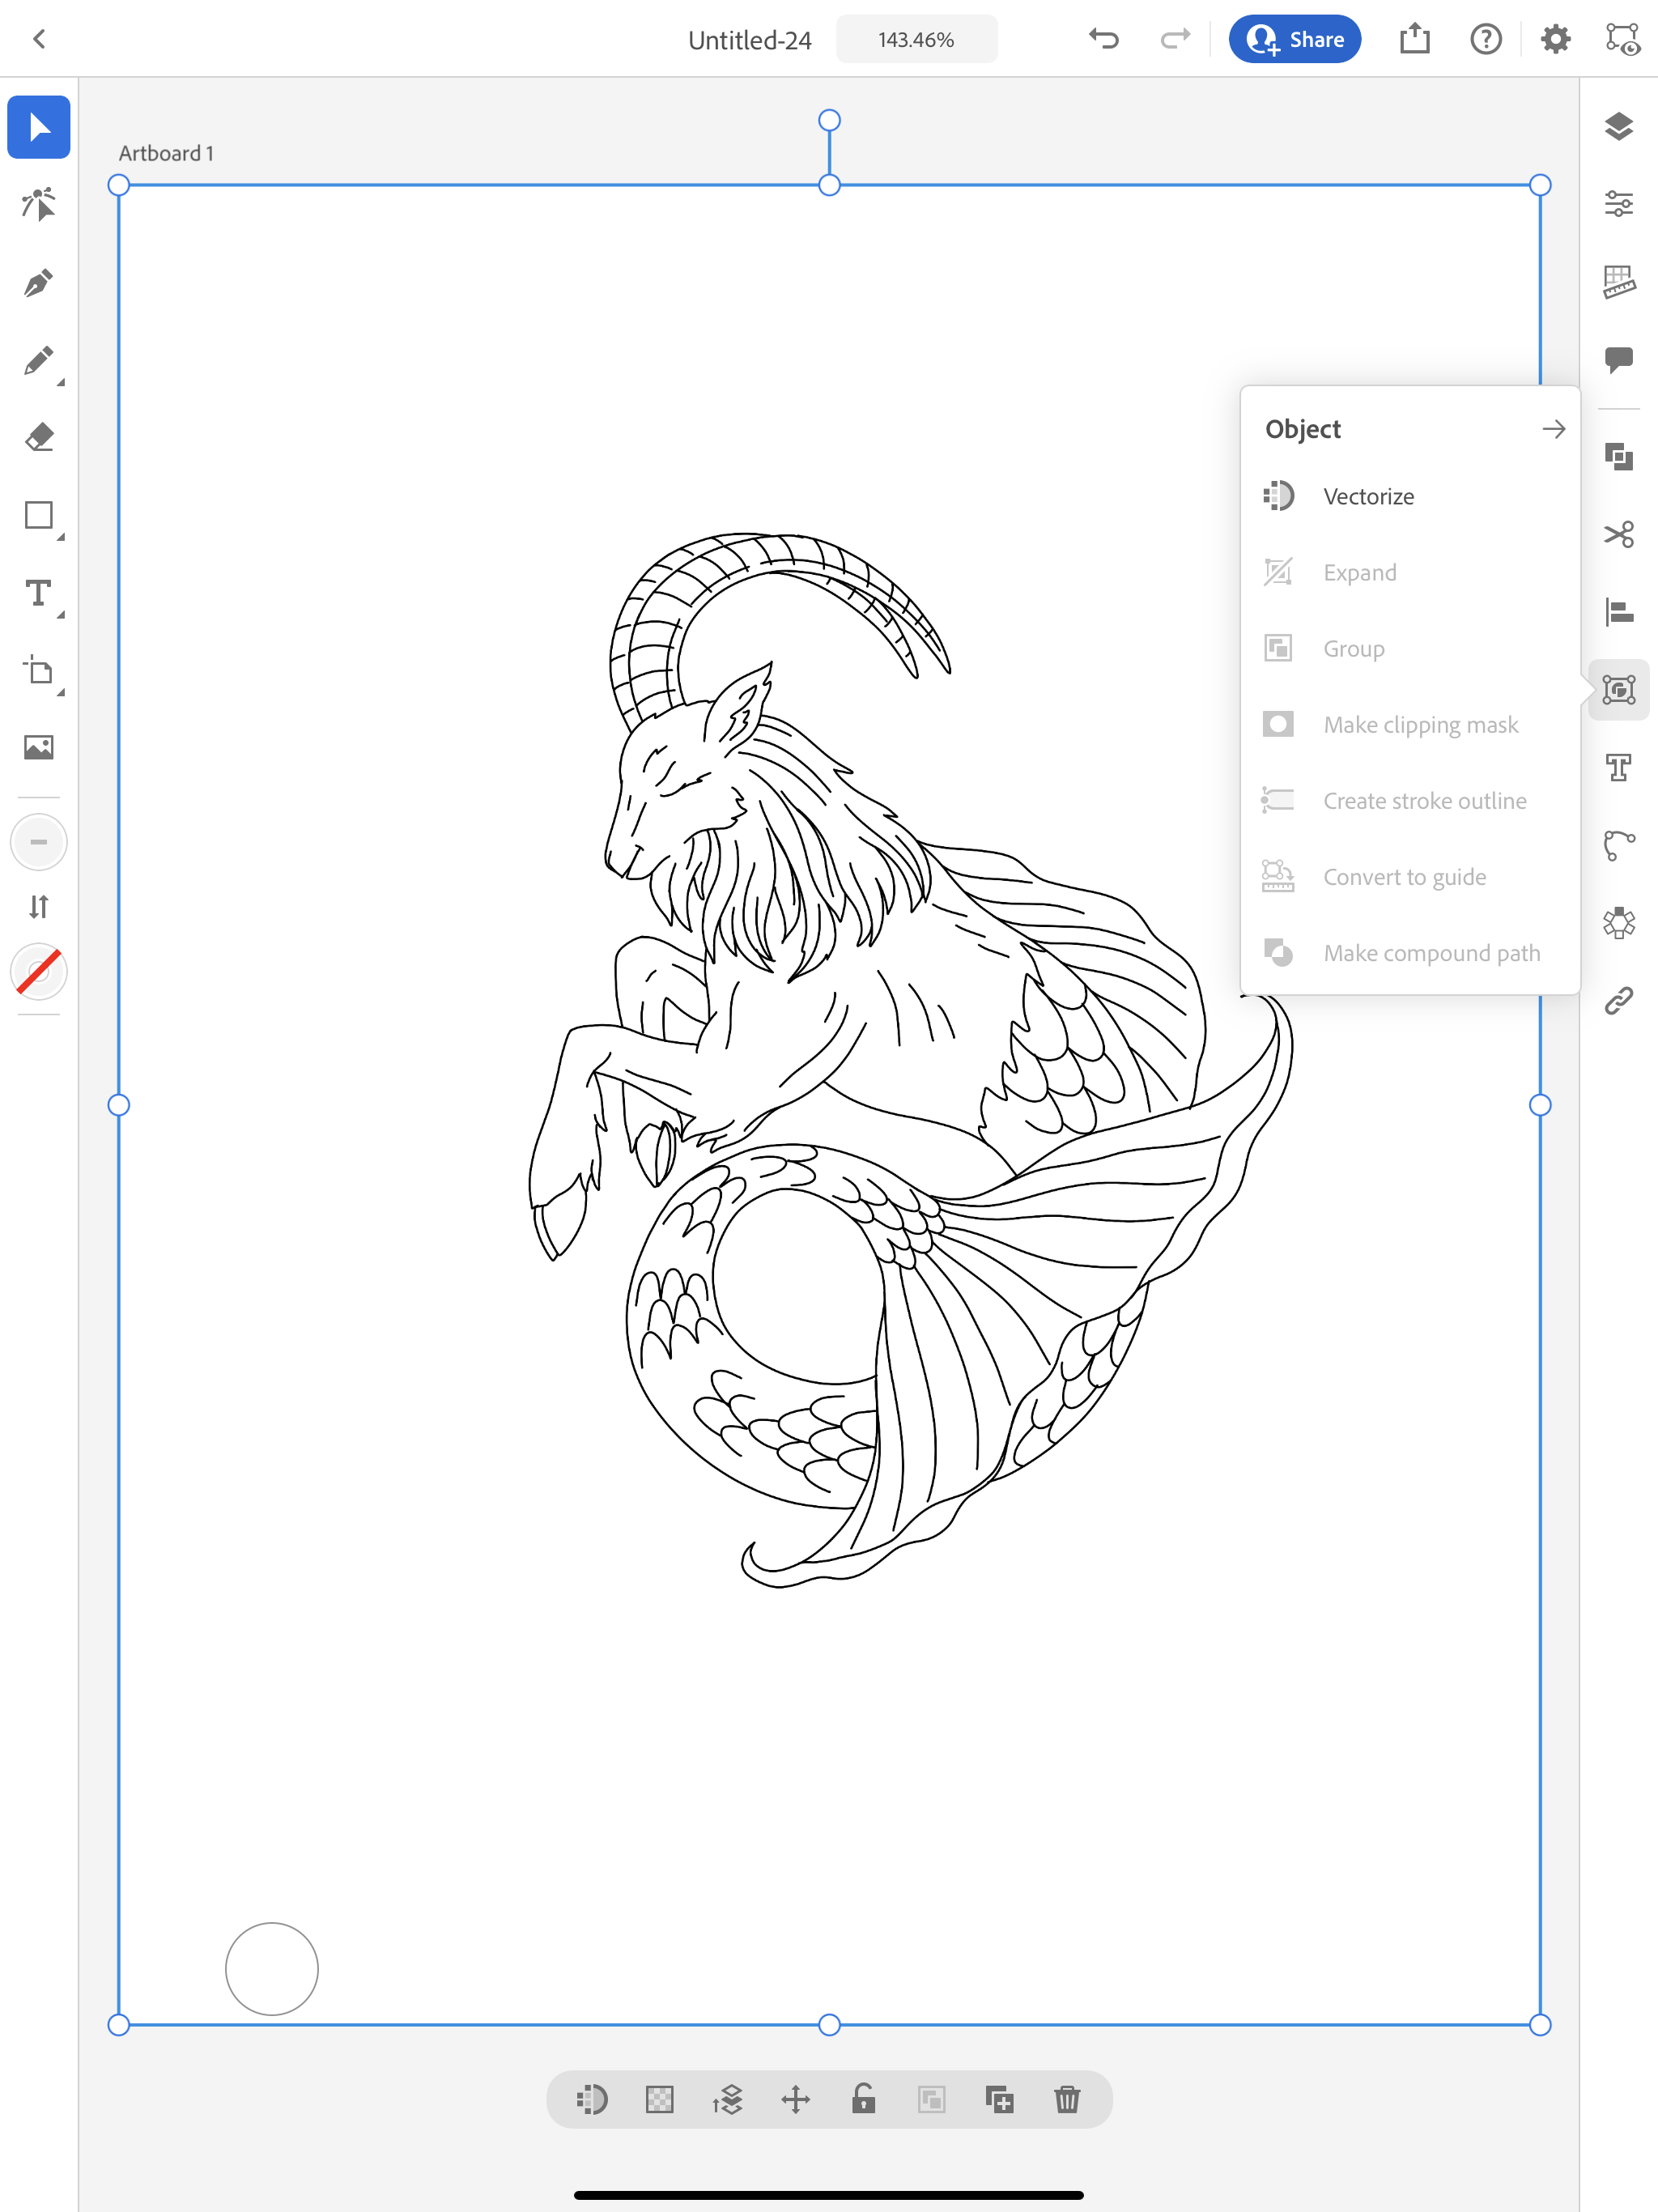
With my image selected, in the tool bar on the right side, I’m going to click on Object and in the dialog box I will select Vectorize.

Vectorize a sketch in Illustrator app

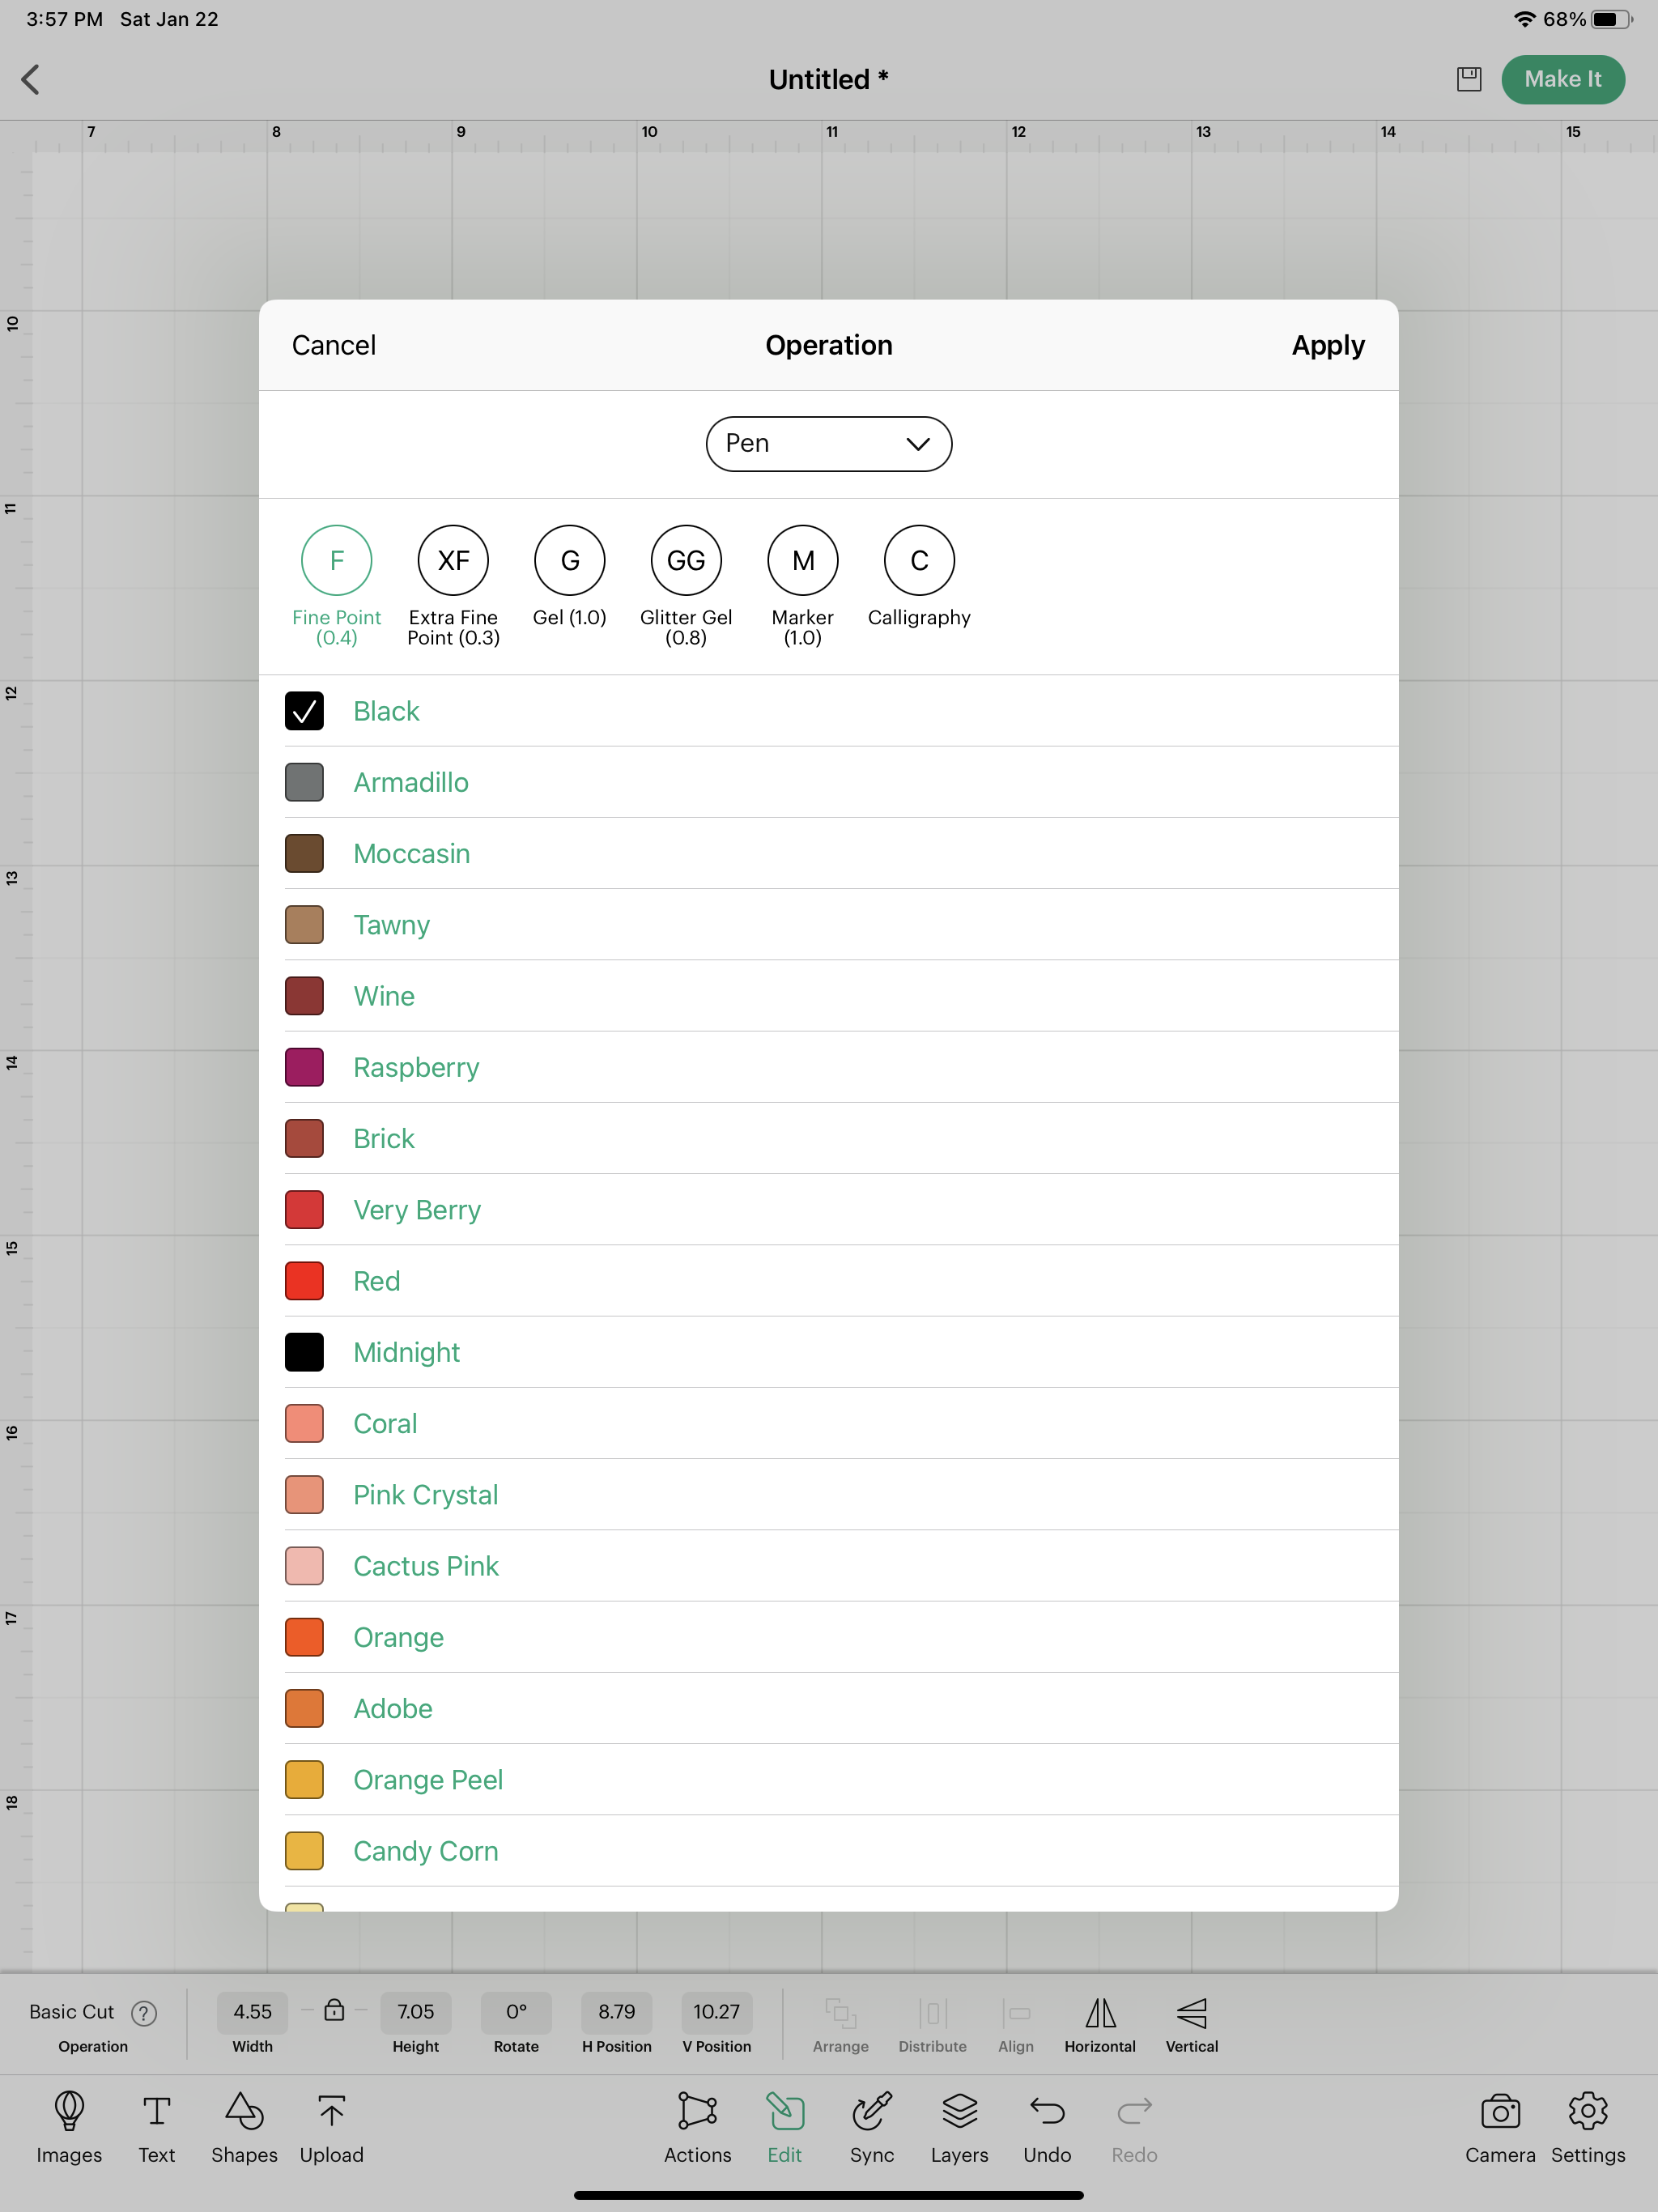
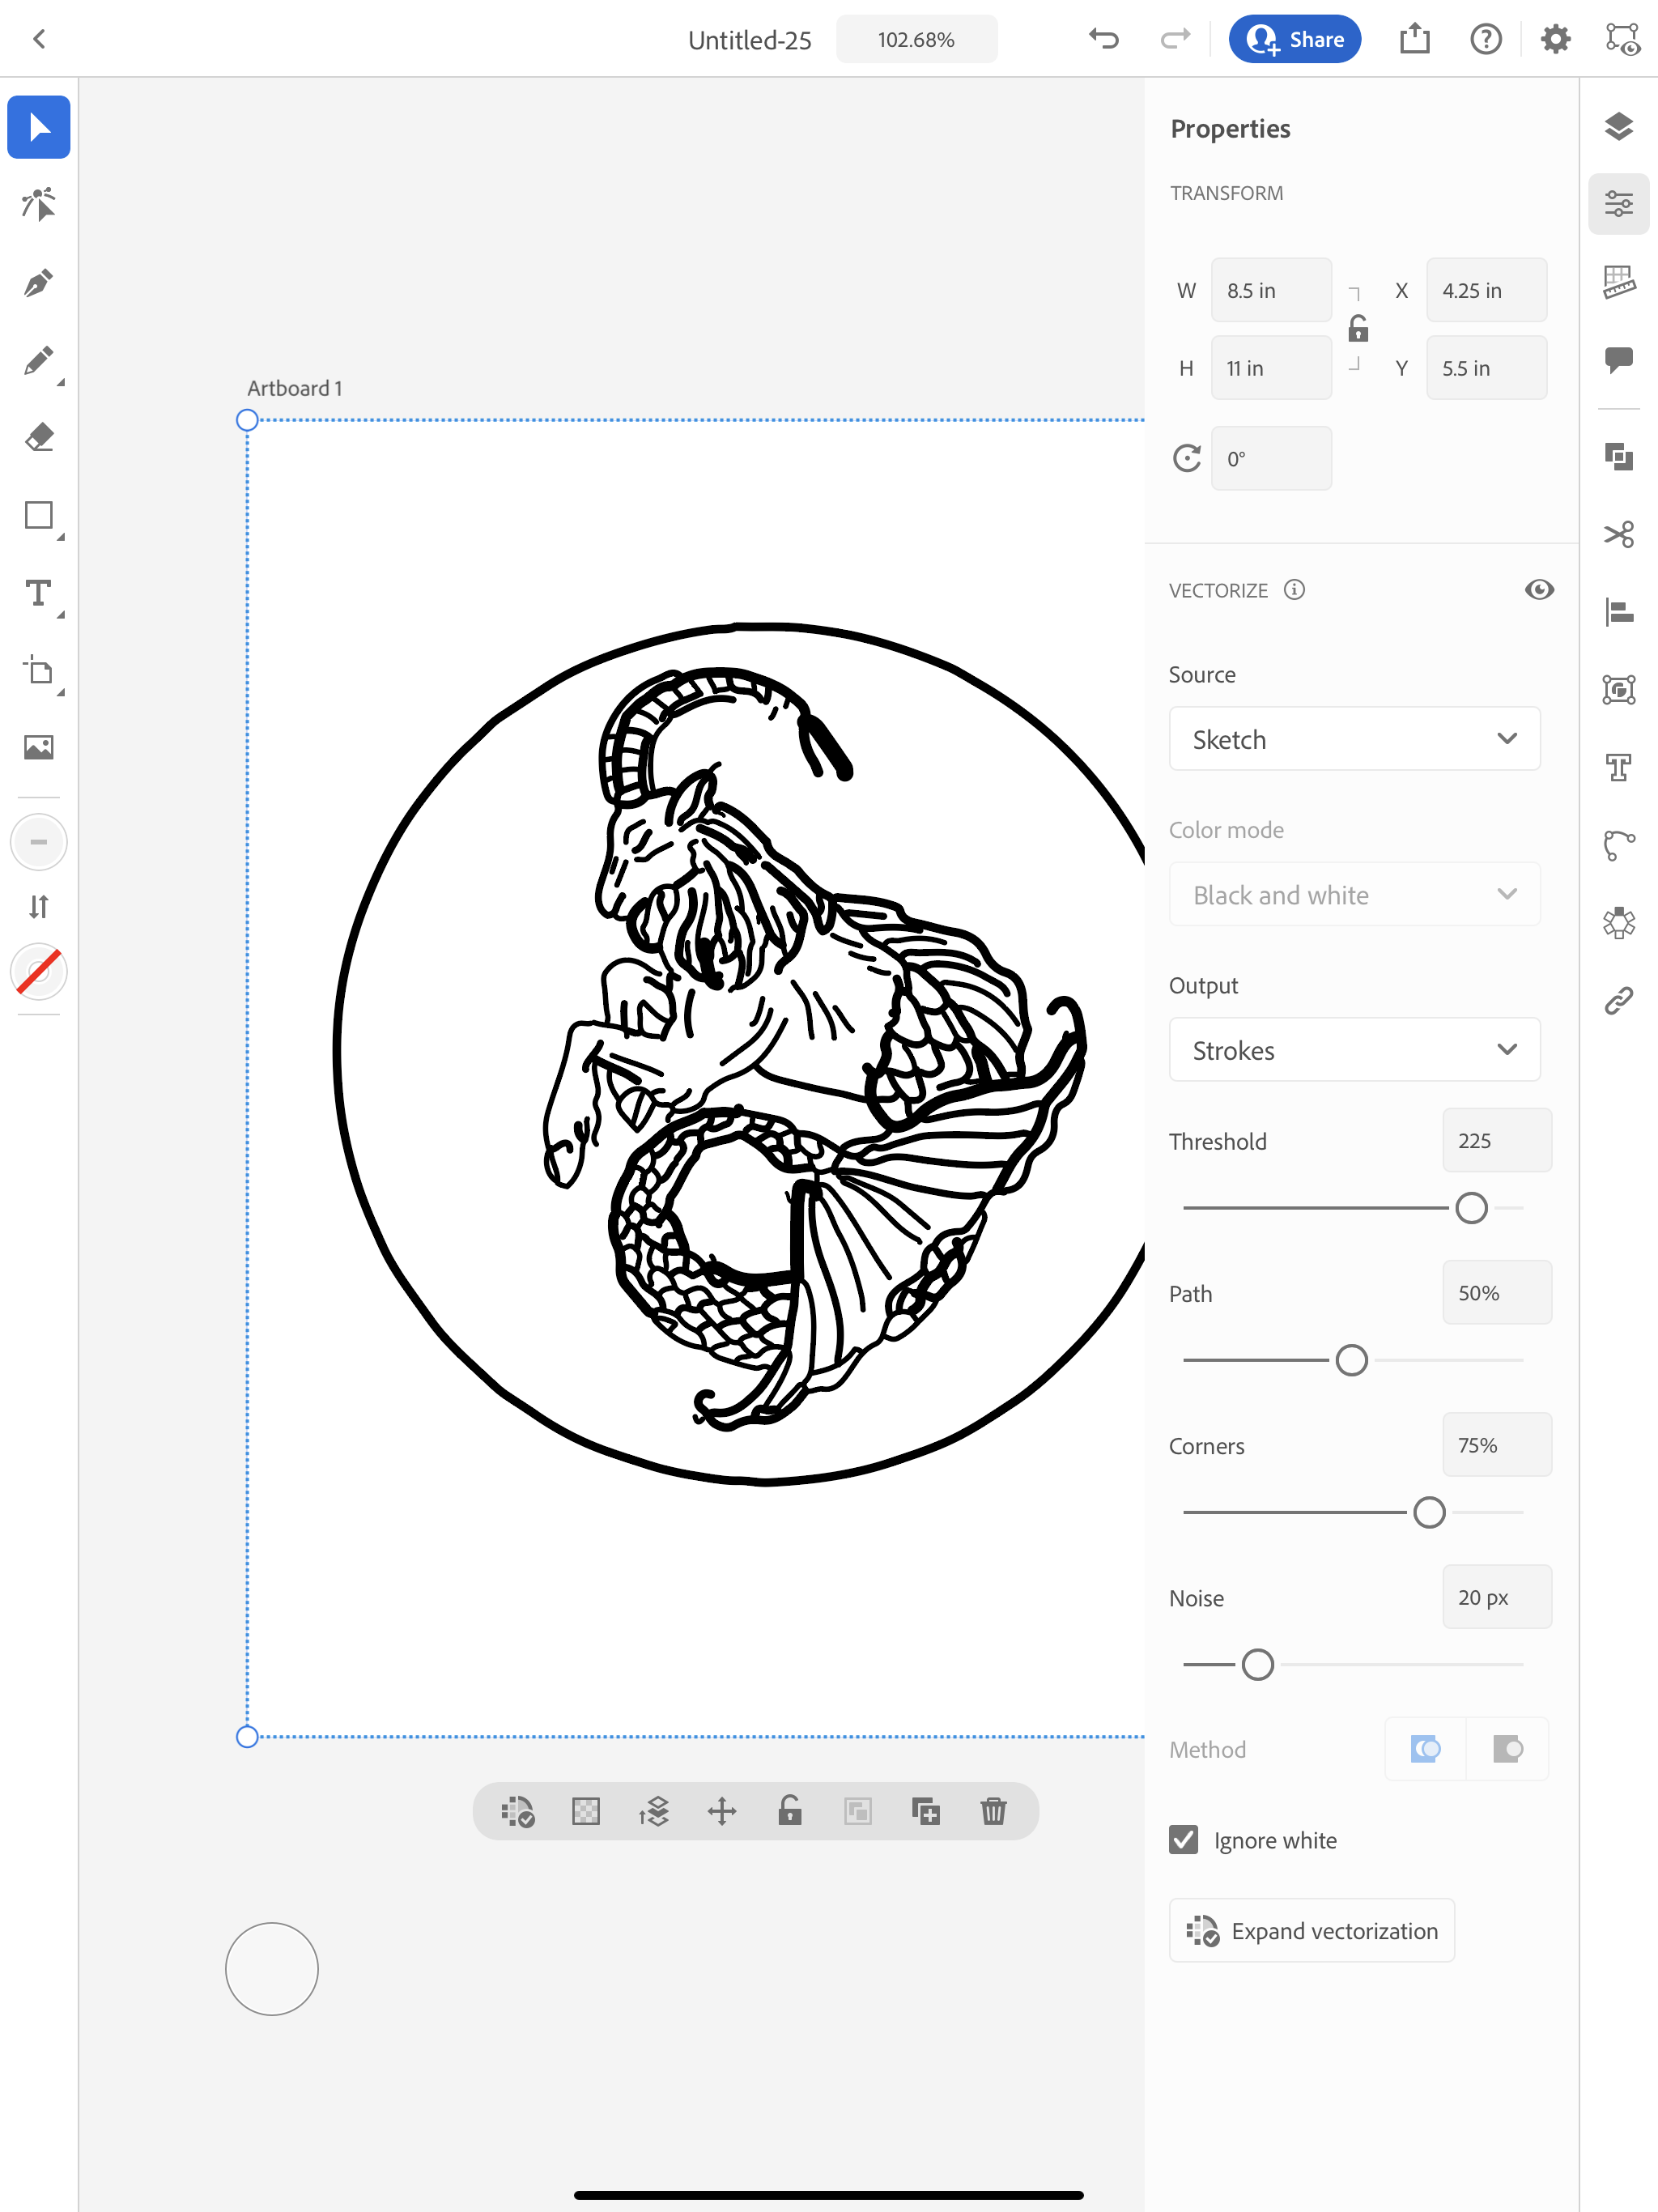
This works a lot like Image Trace in the desktop version of Illustrator. I’m going to make sure I have my color mode set to Black and White and my Output set to Strokes. You can play around with the sliders a little bit to help refine your drawing.

Vectorize a sketch in Illustrator app

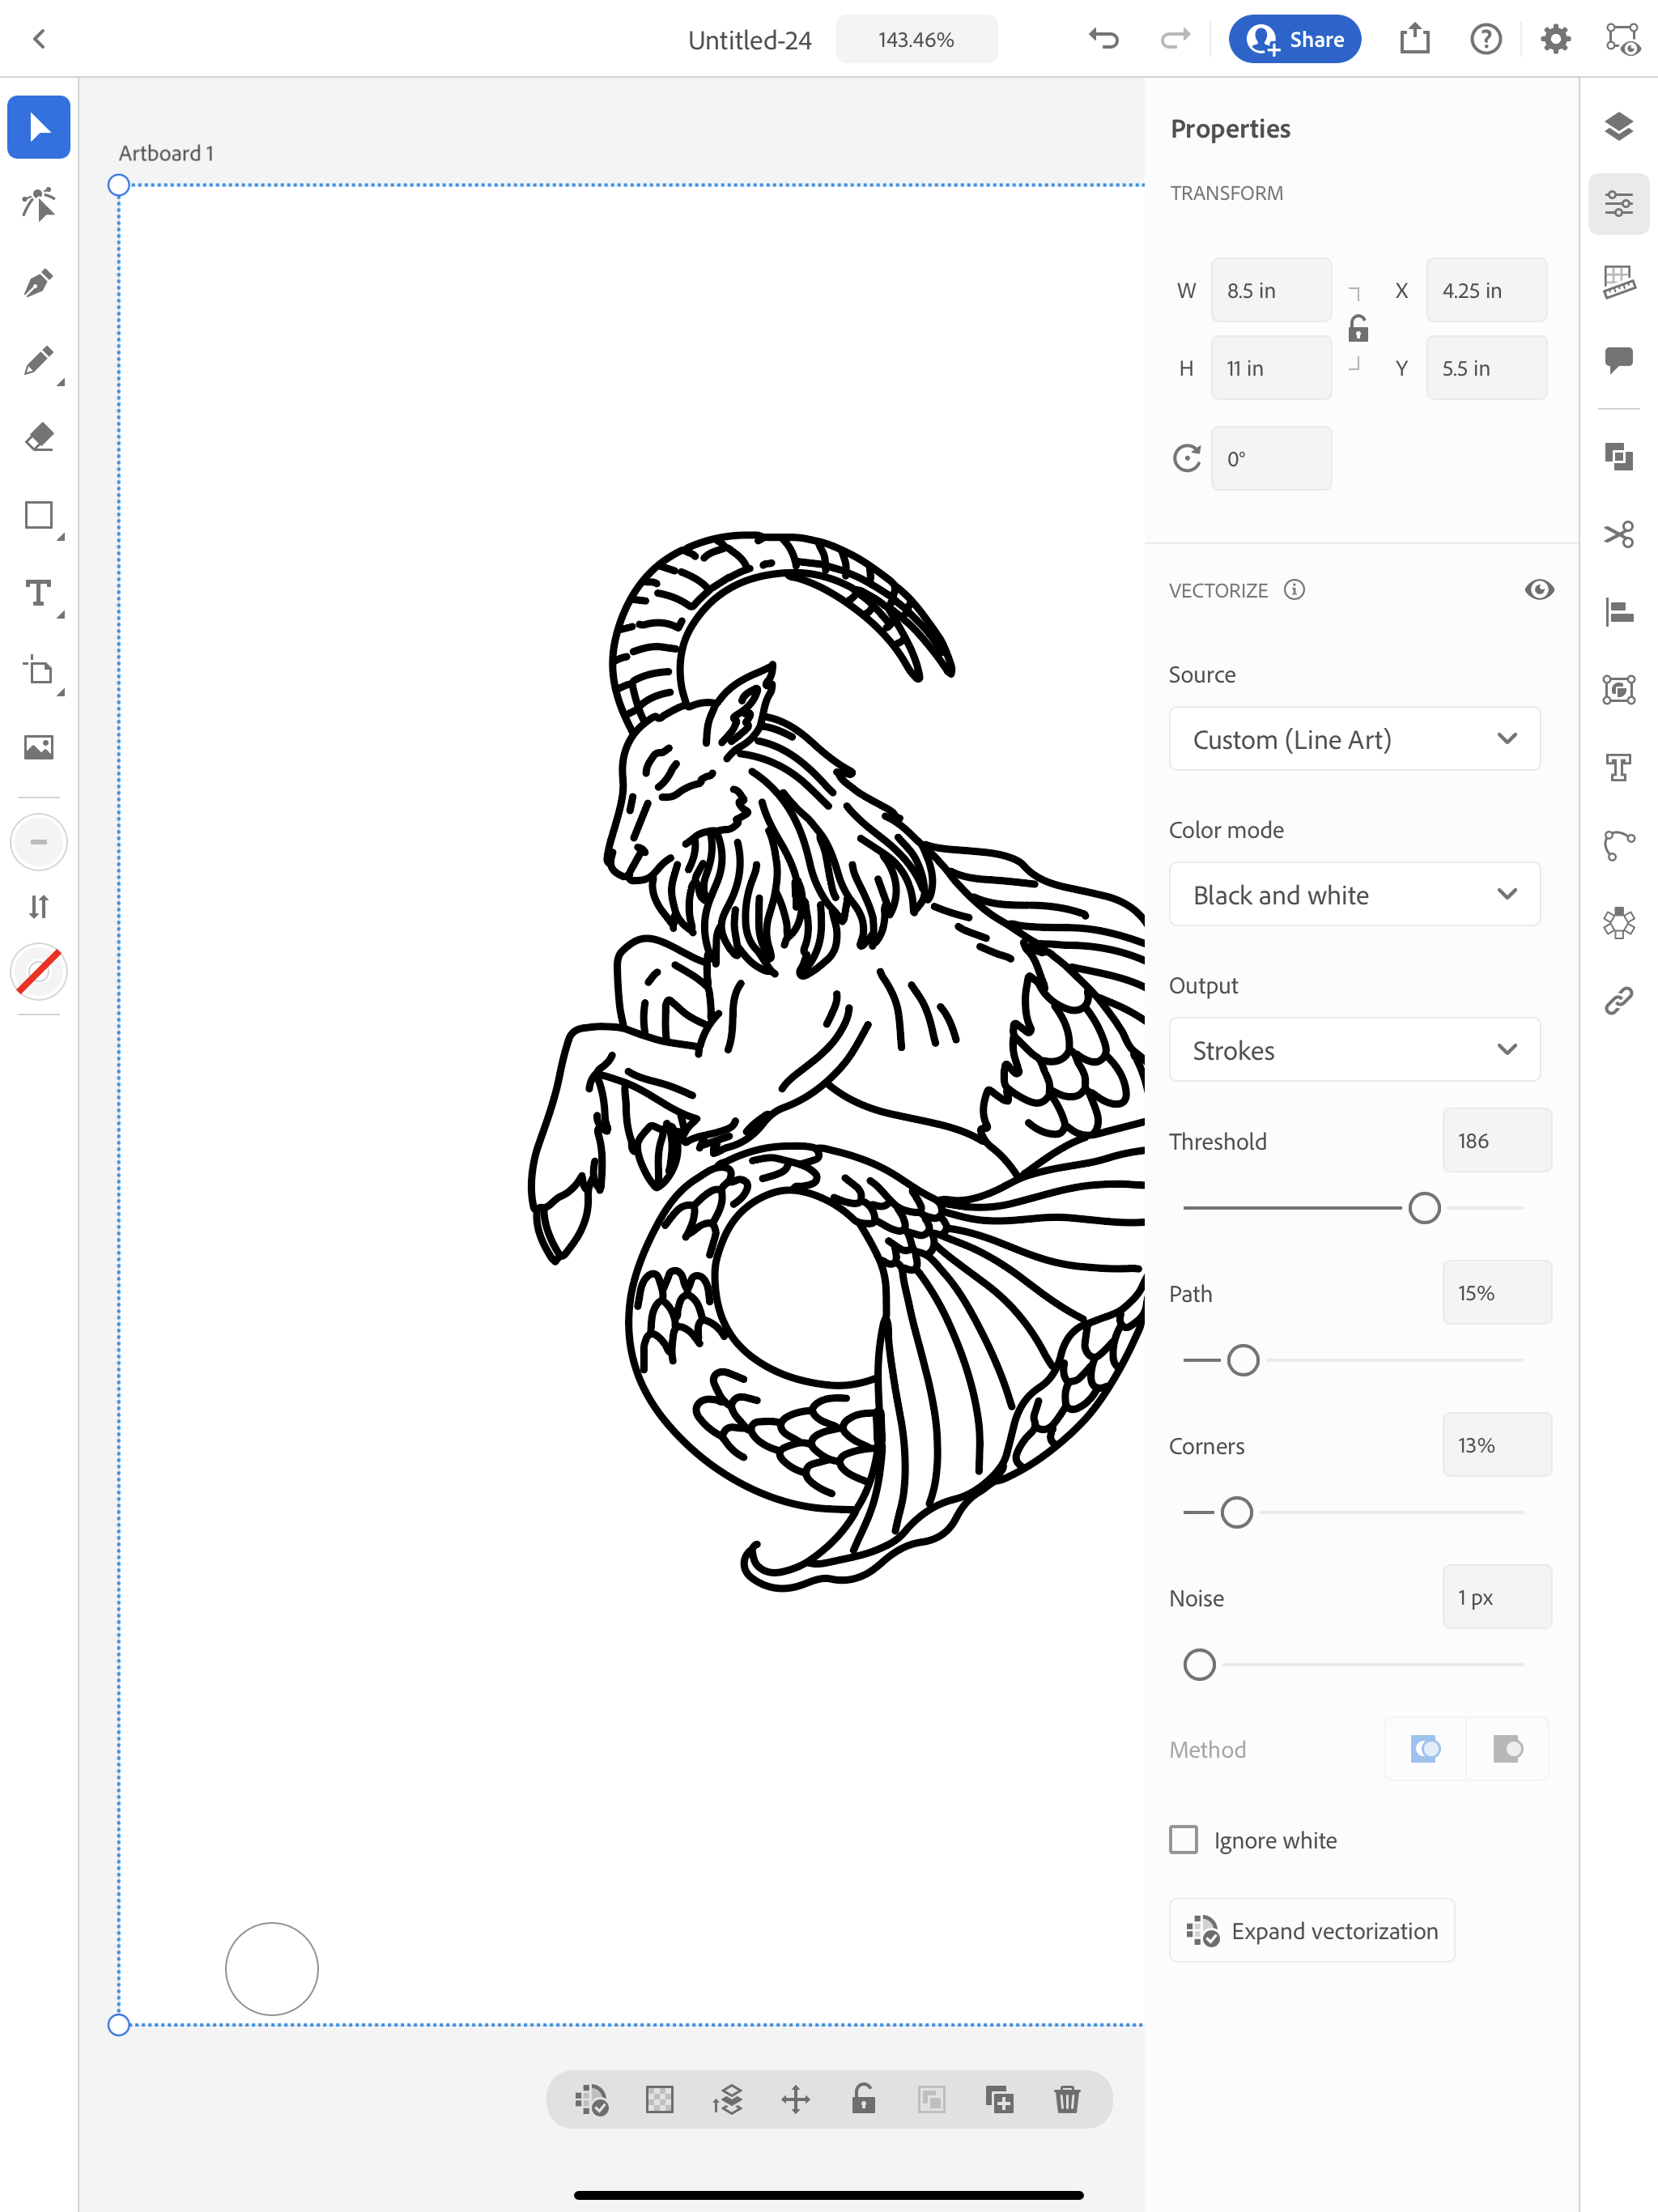
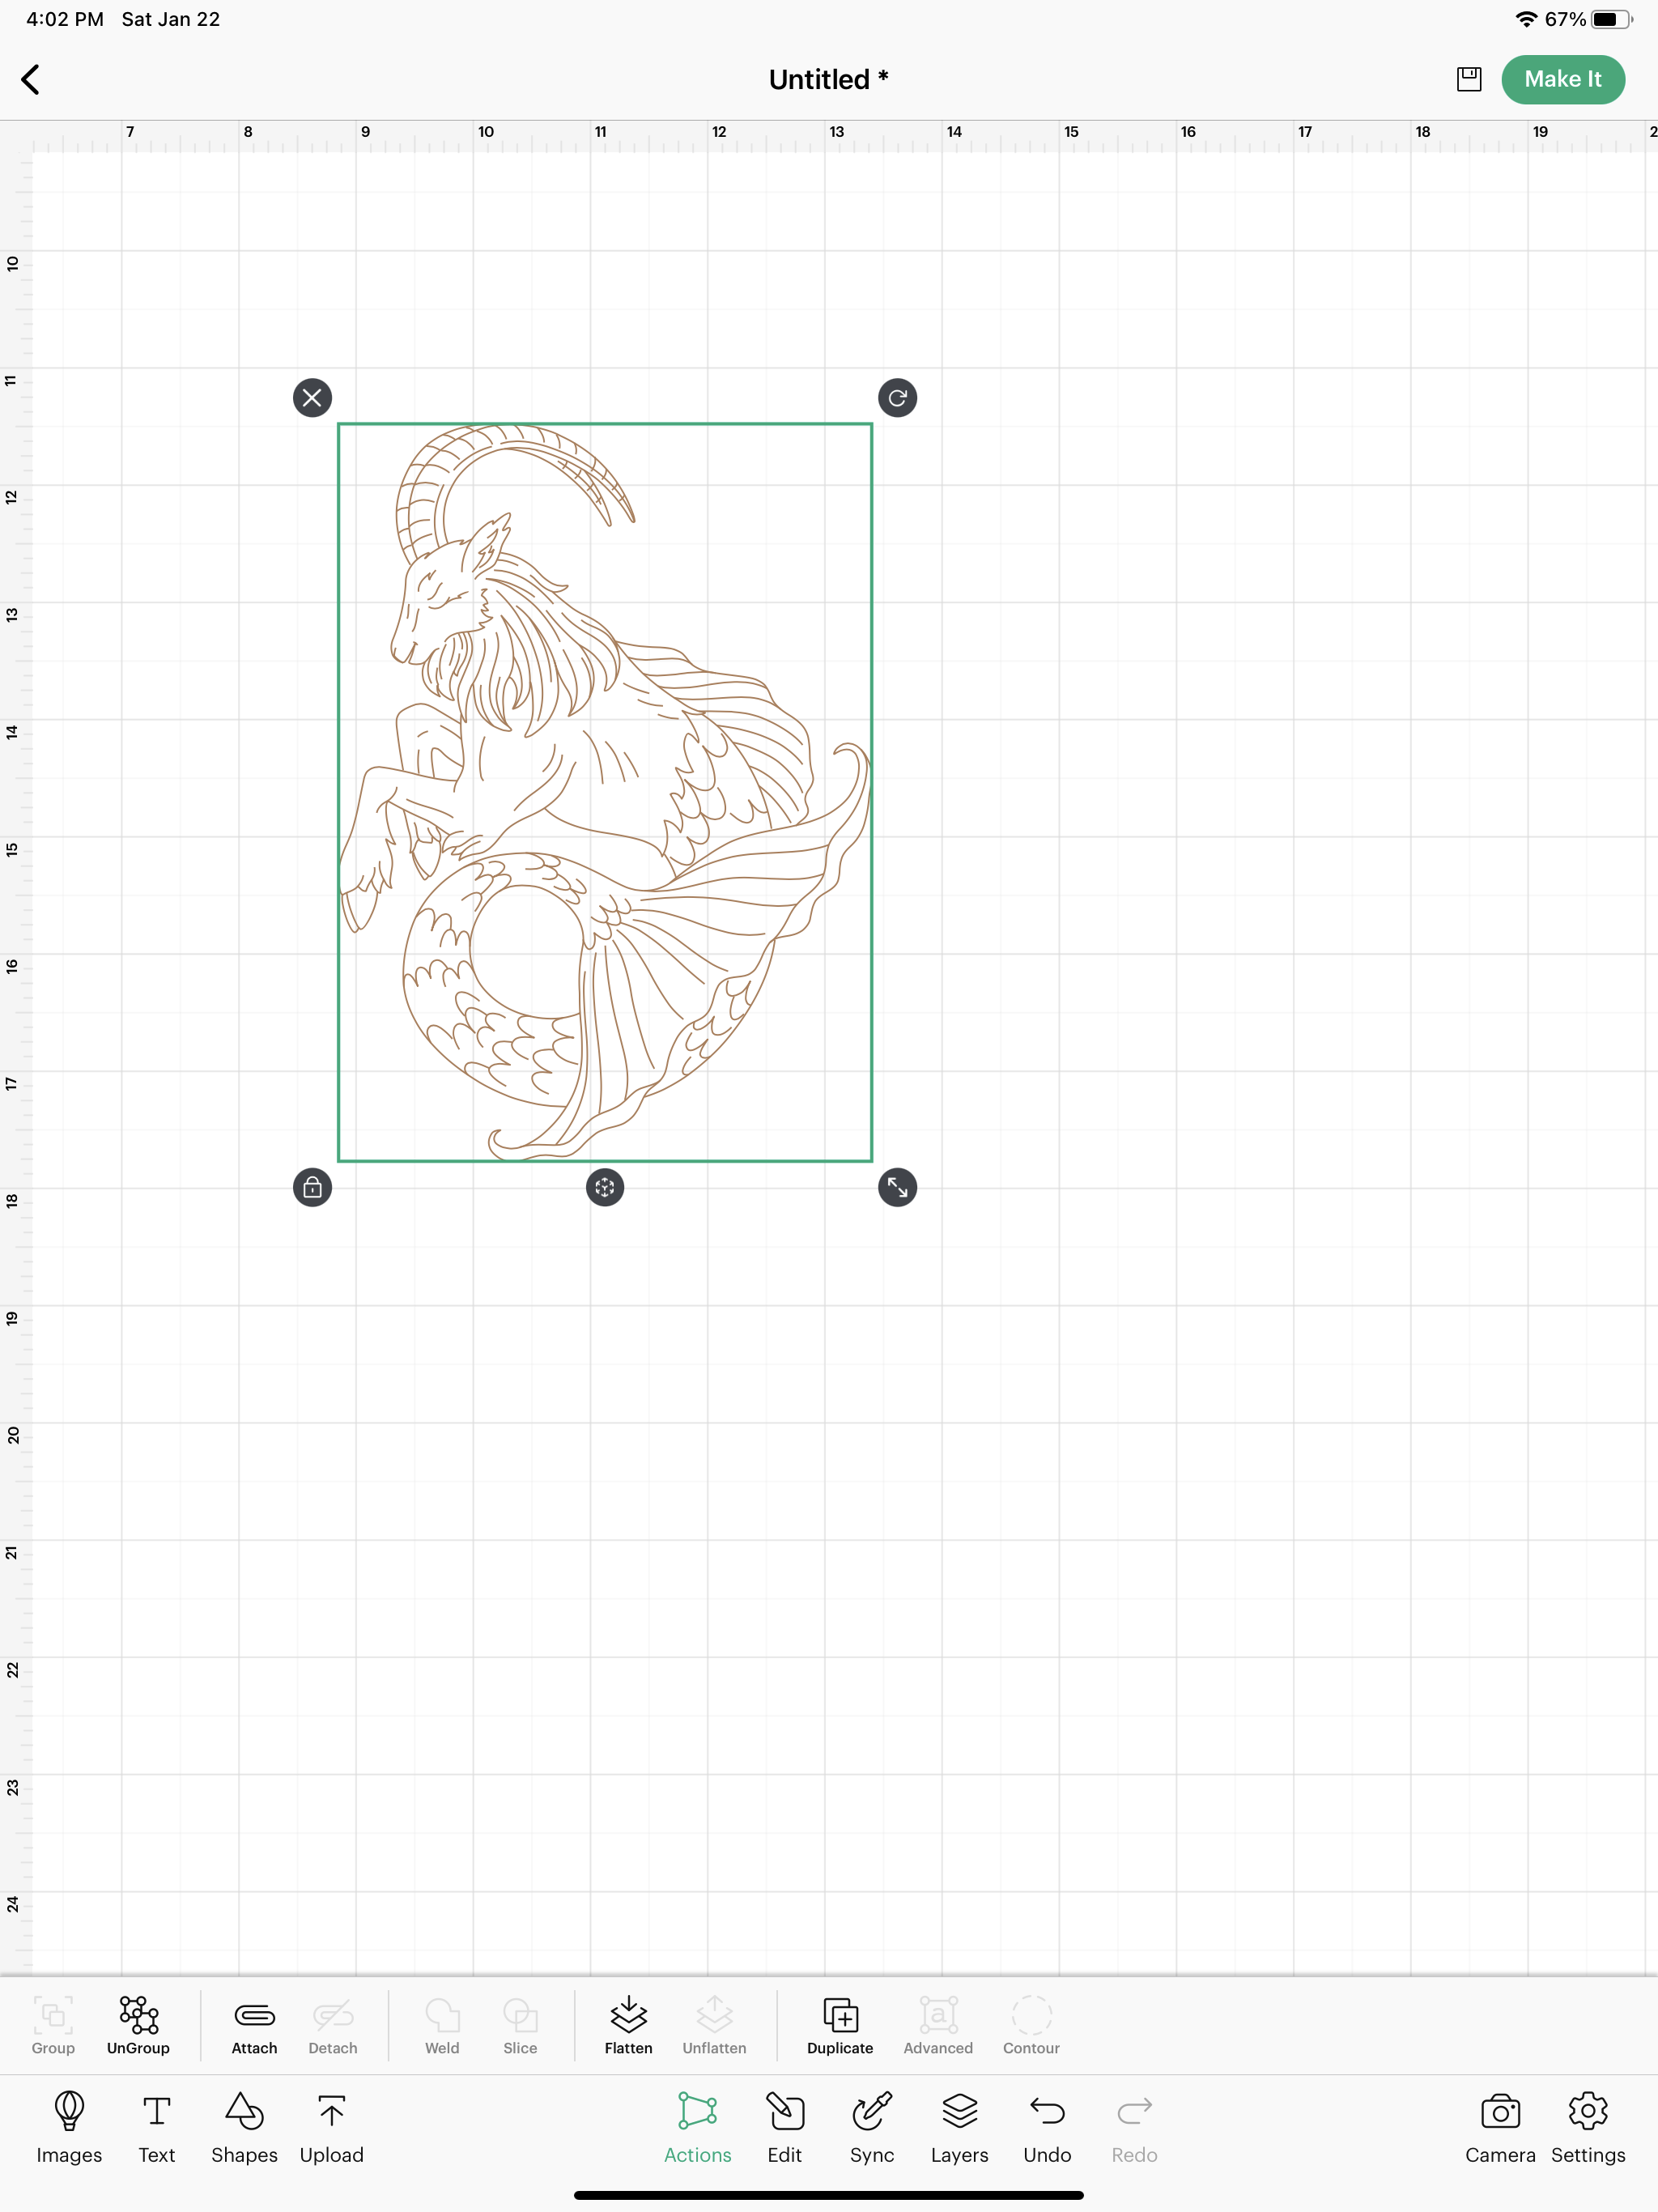
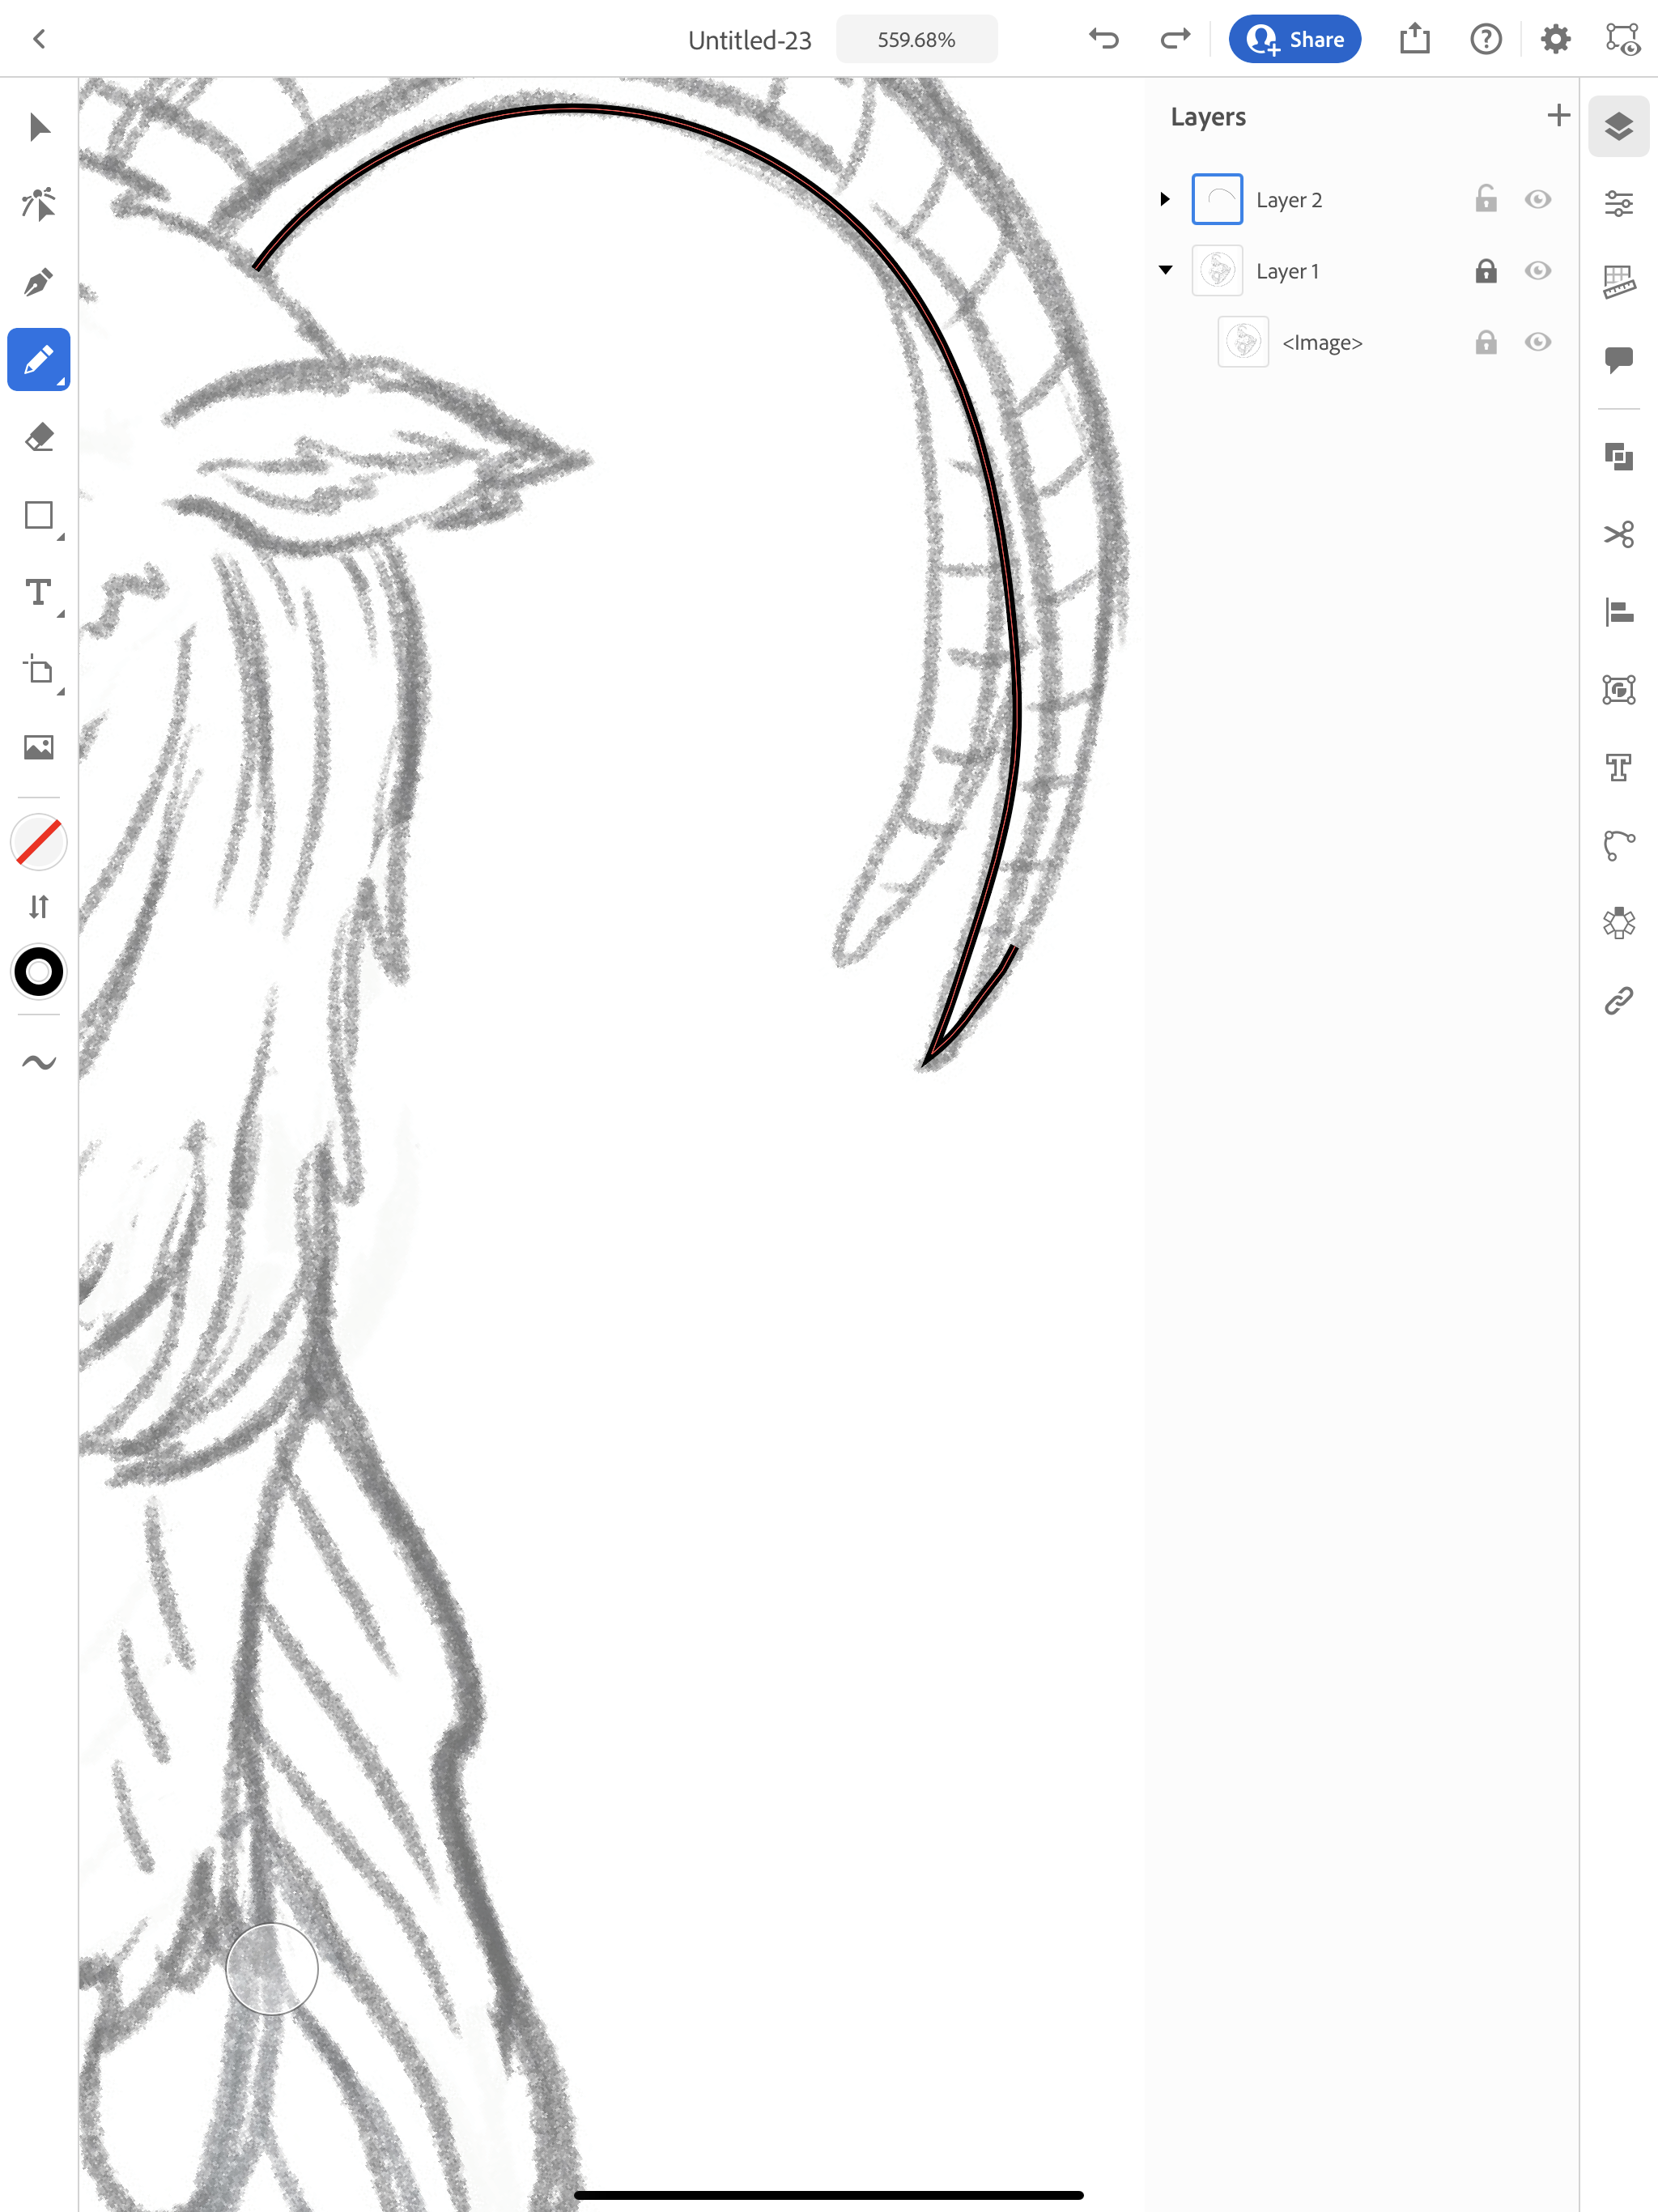
Once you get it to where you like it, you can click Expand Vectorization and now you will have a drawing composed of single line strokes.

Vectorize a sketch in Illustrator app

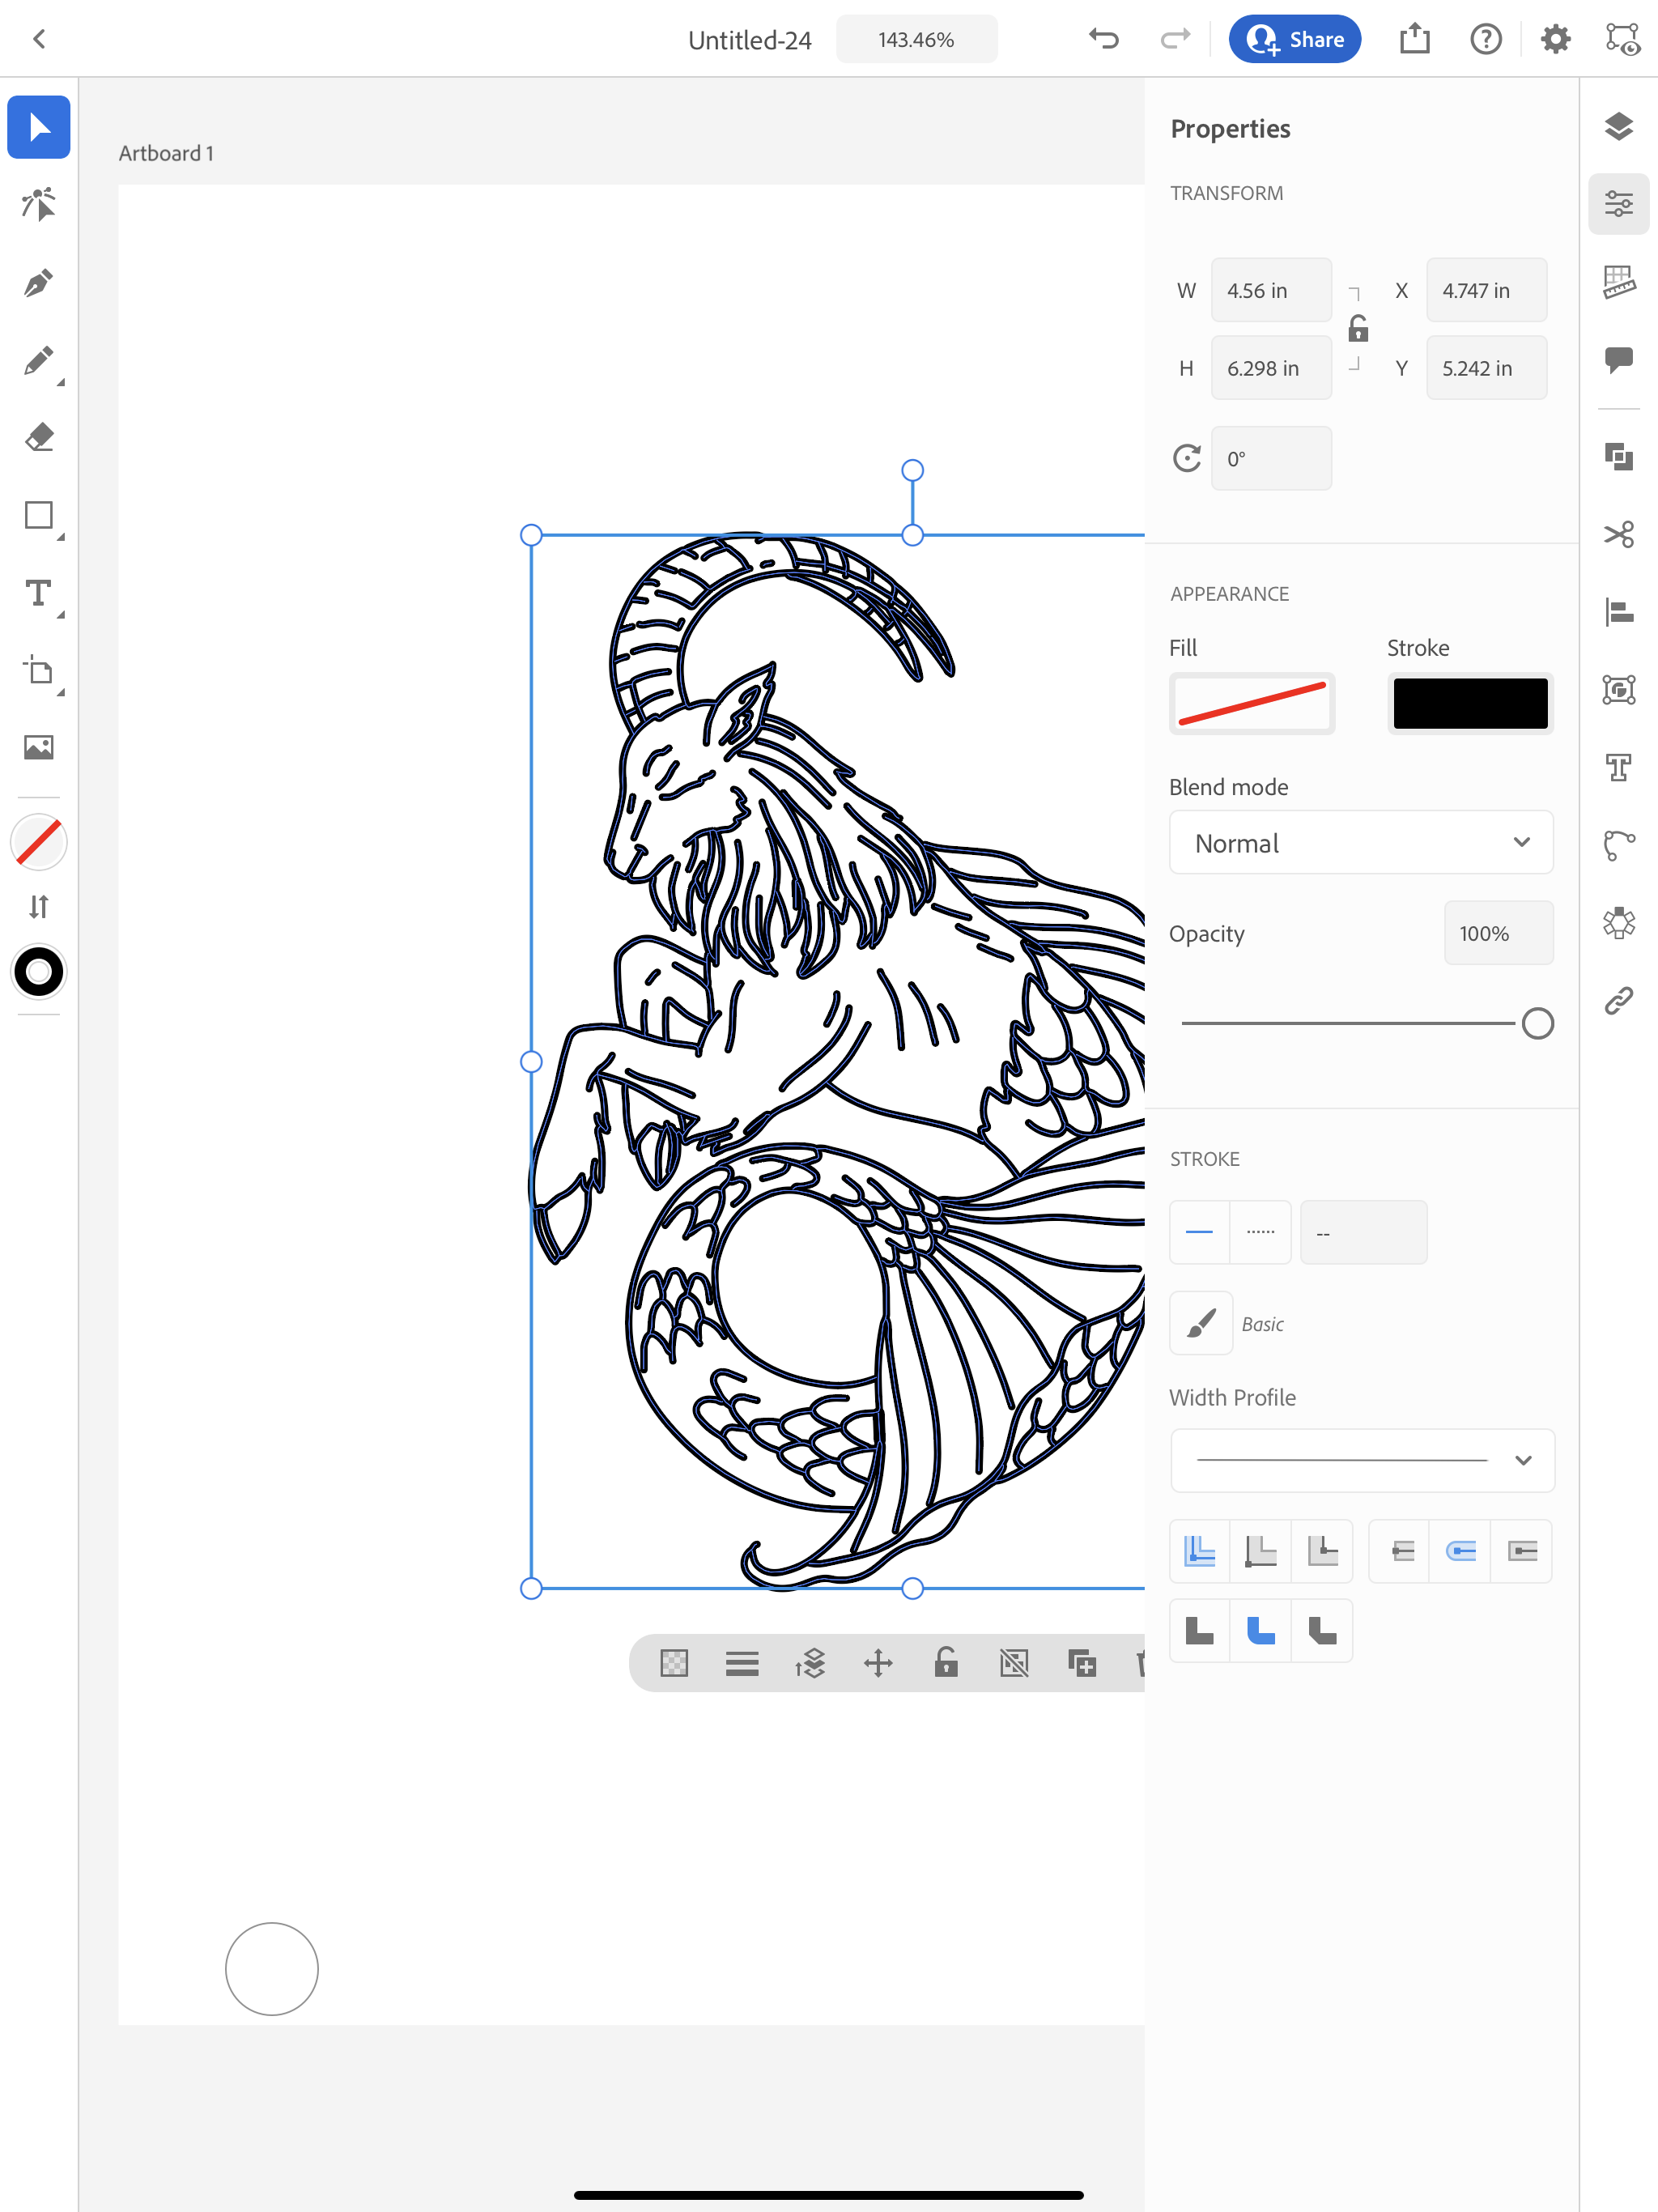
One last thing I’m going to do is make all of my strokes 1pt in width.

Vectorize a sketch in Illustrator app

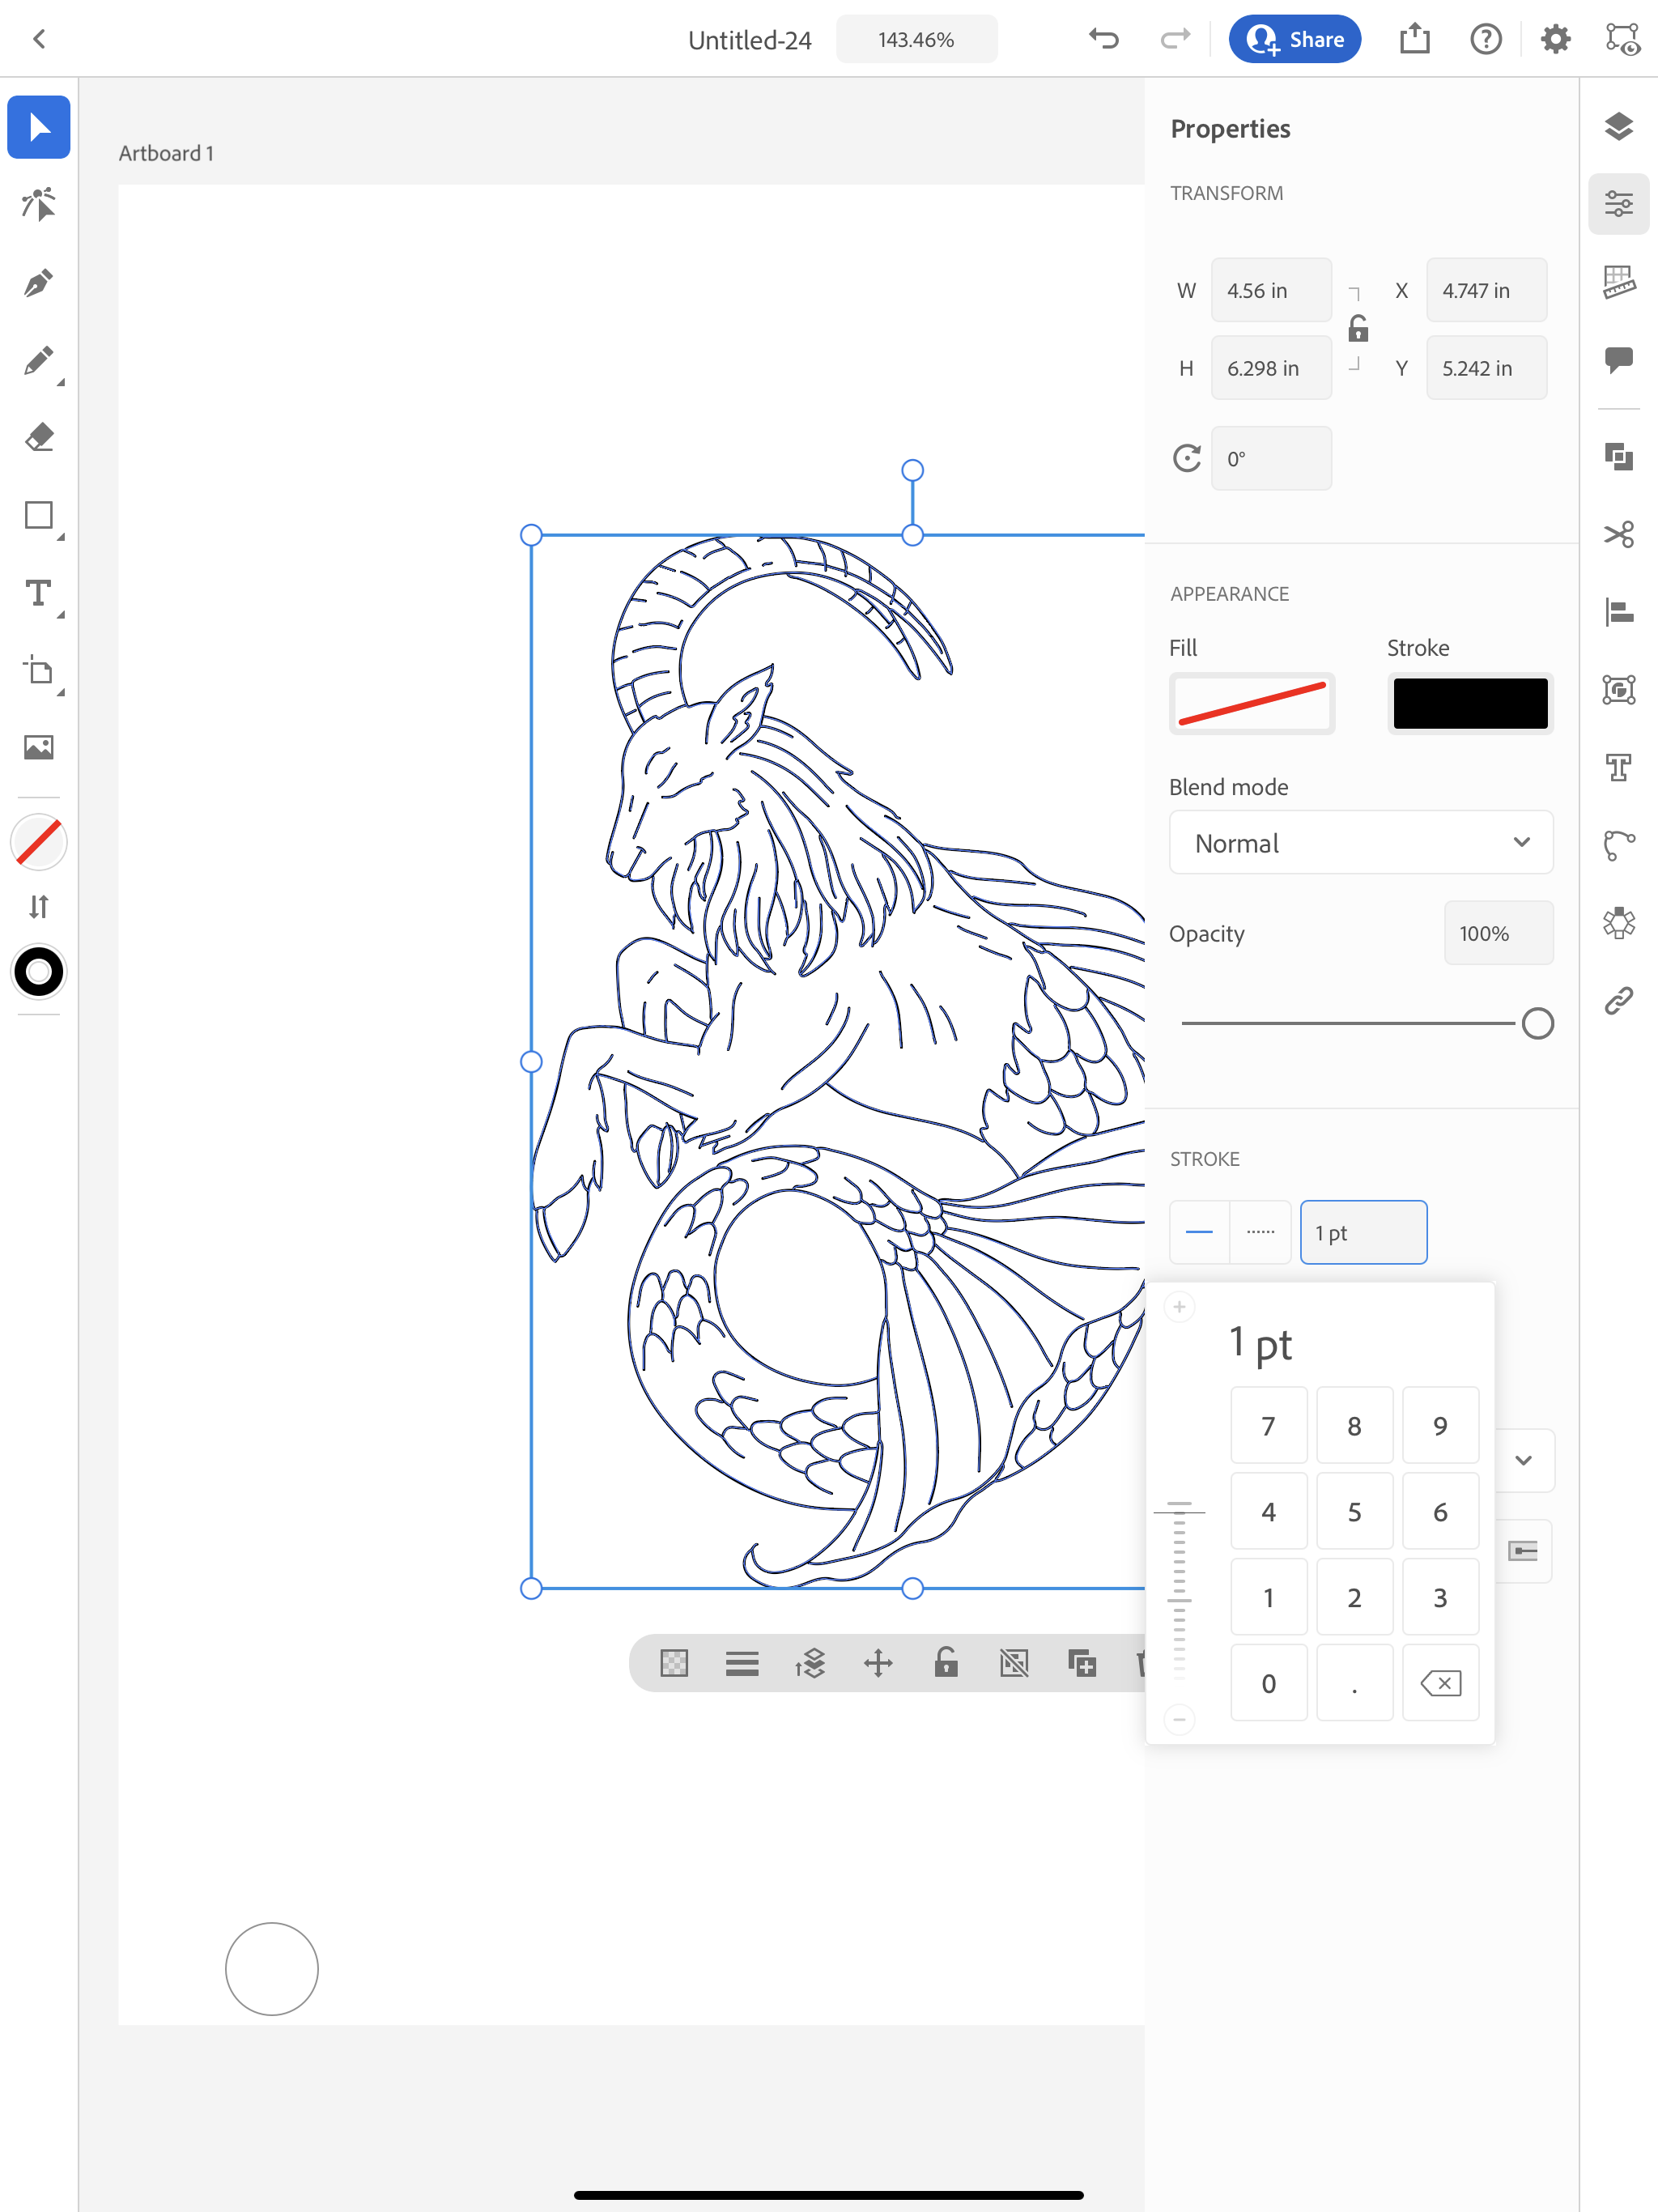
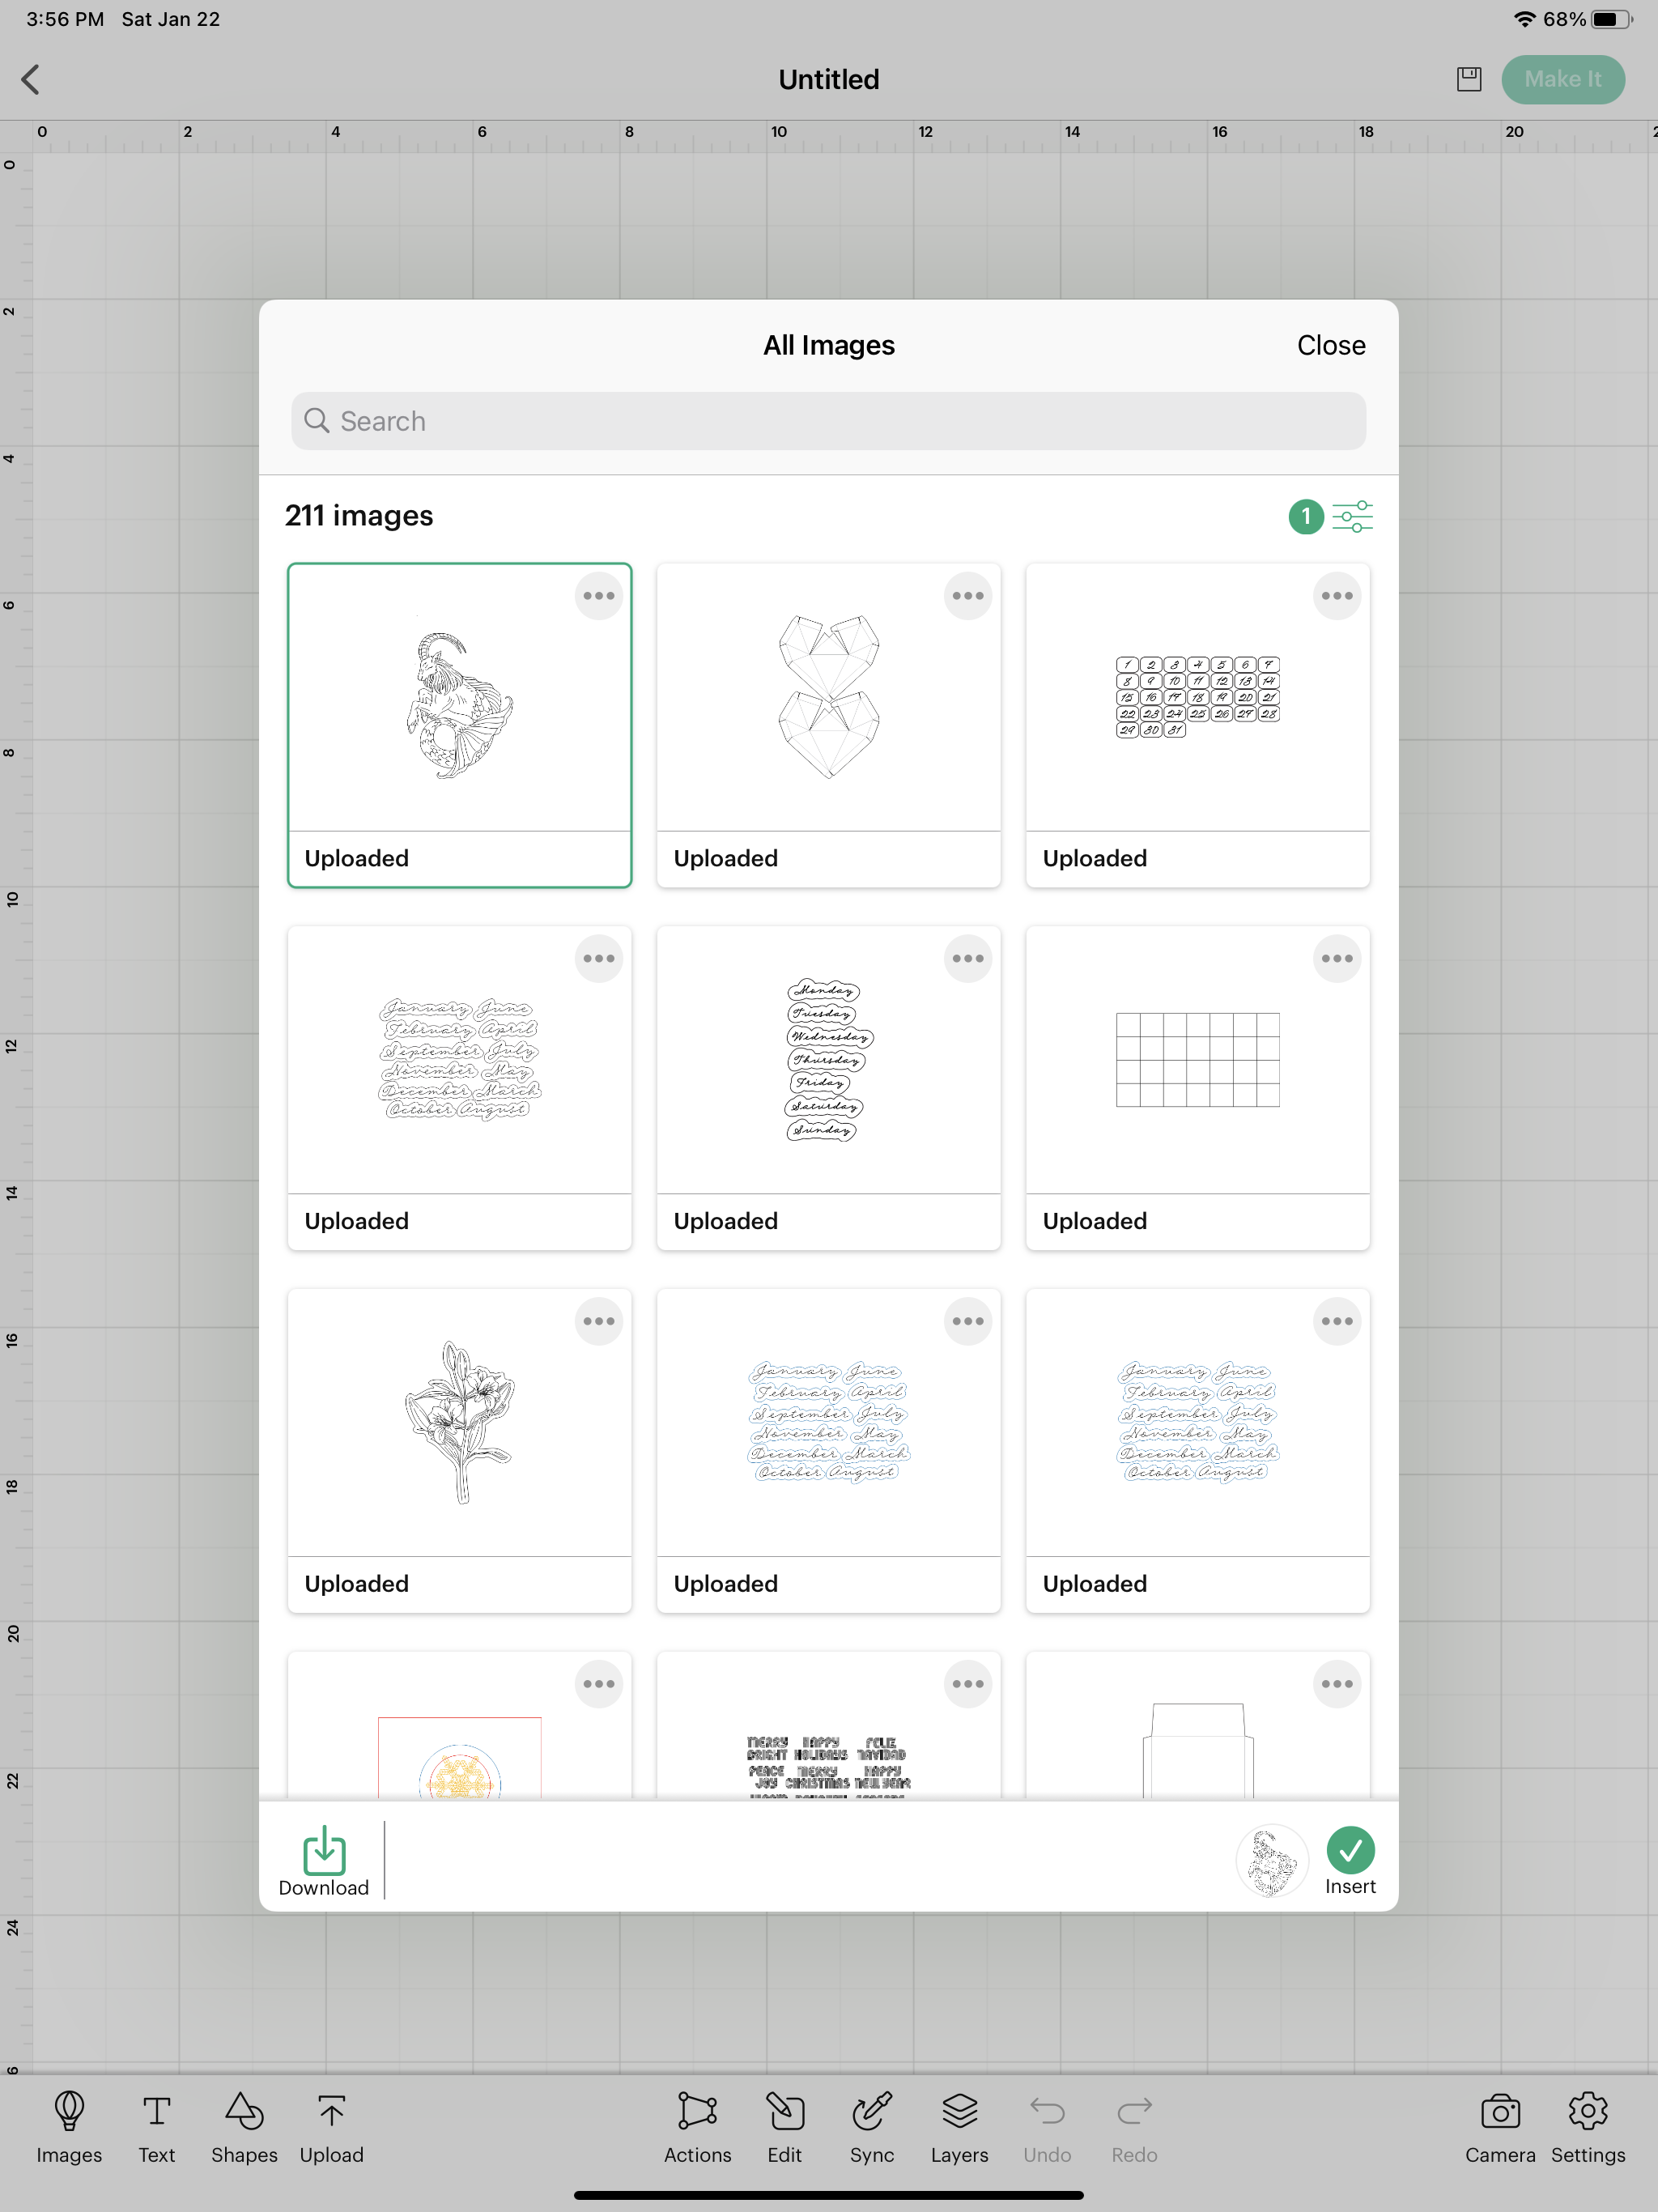
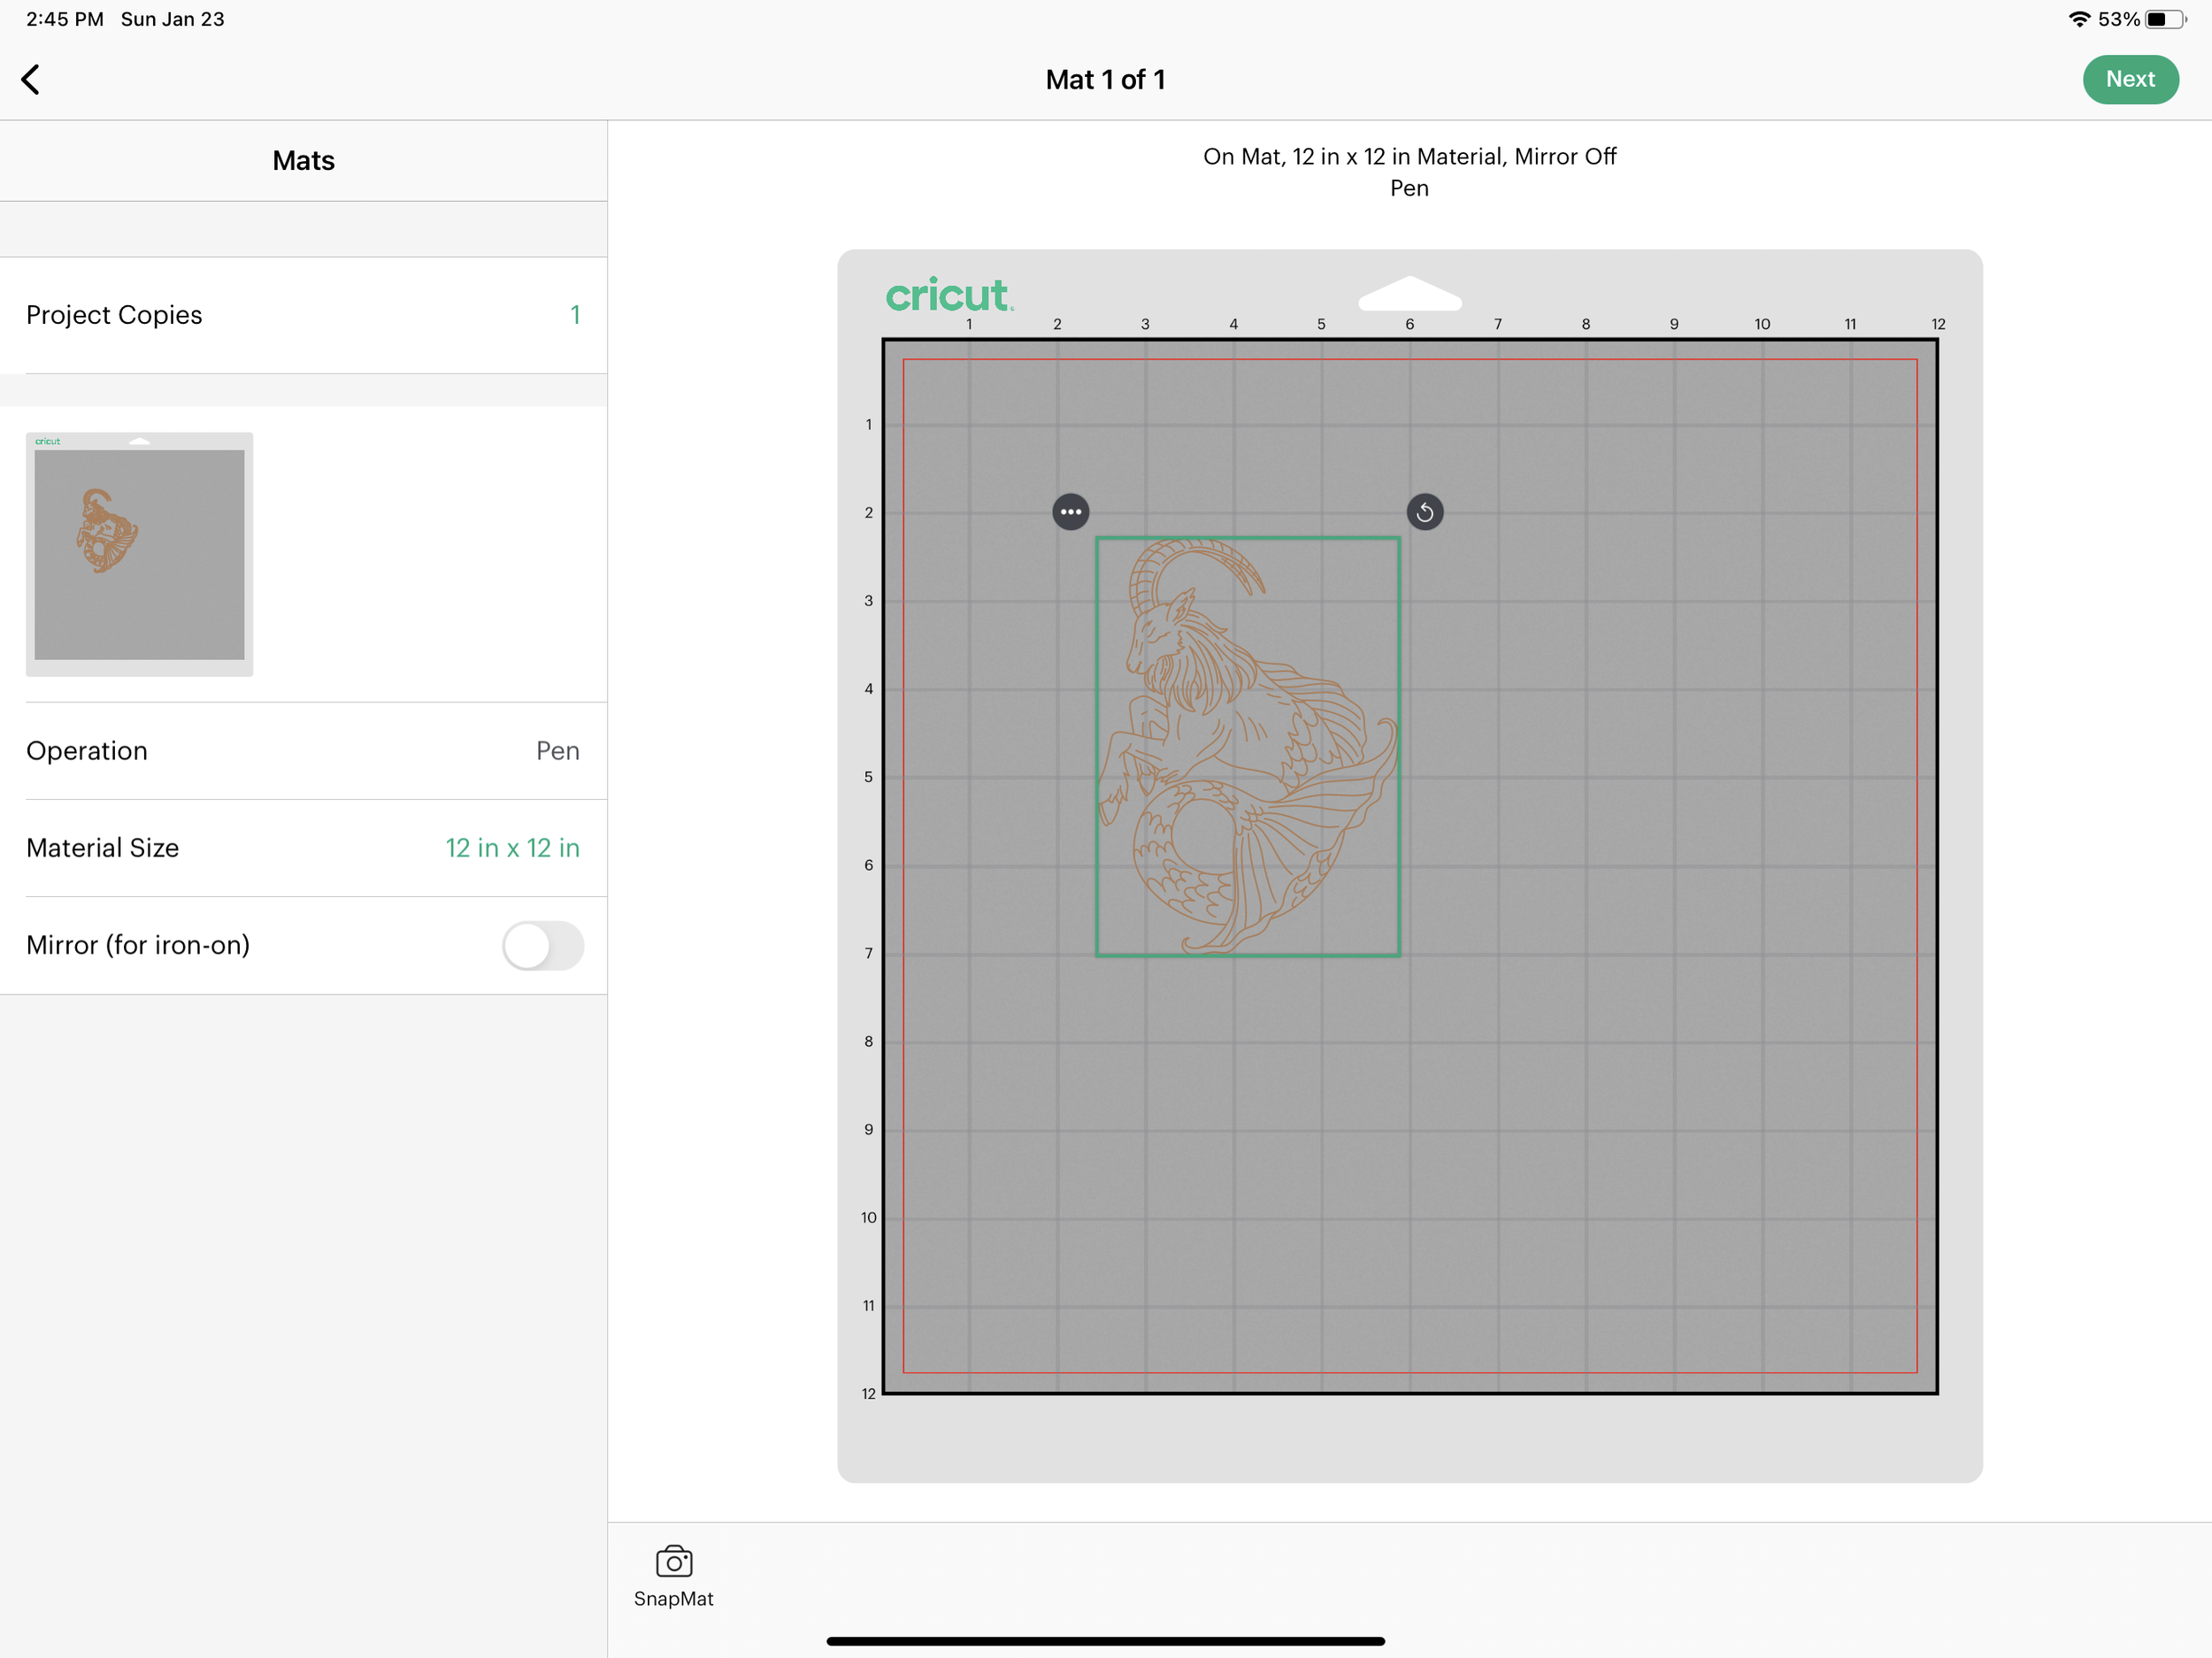
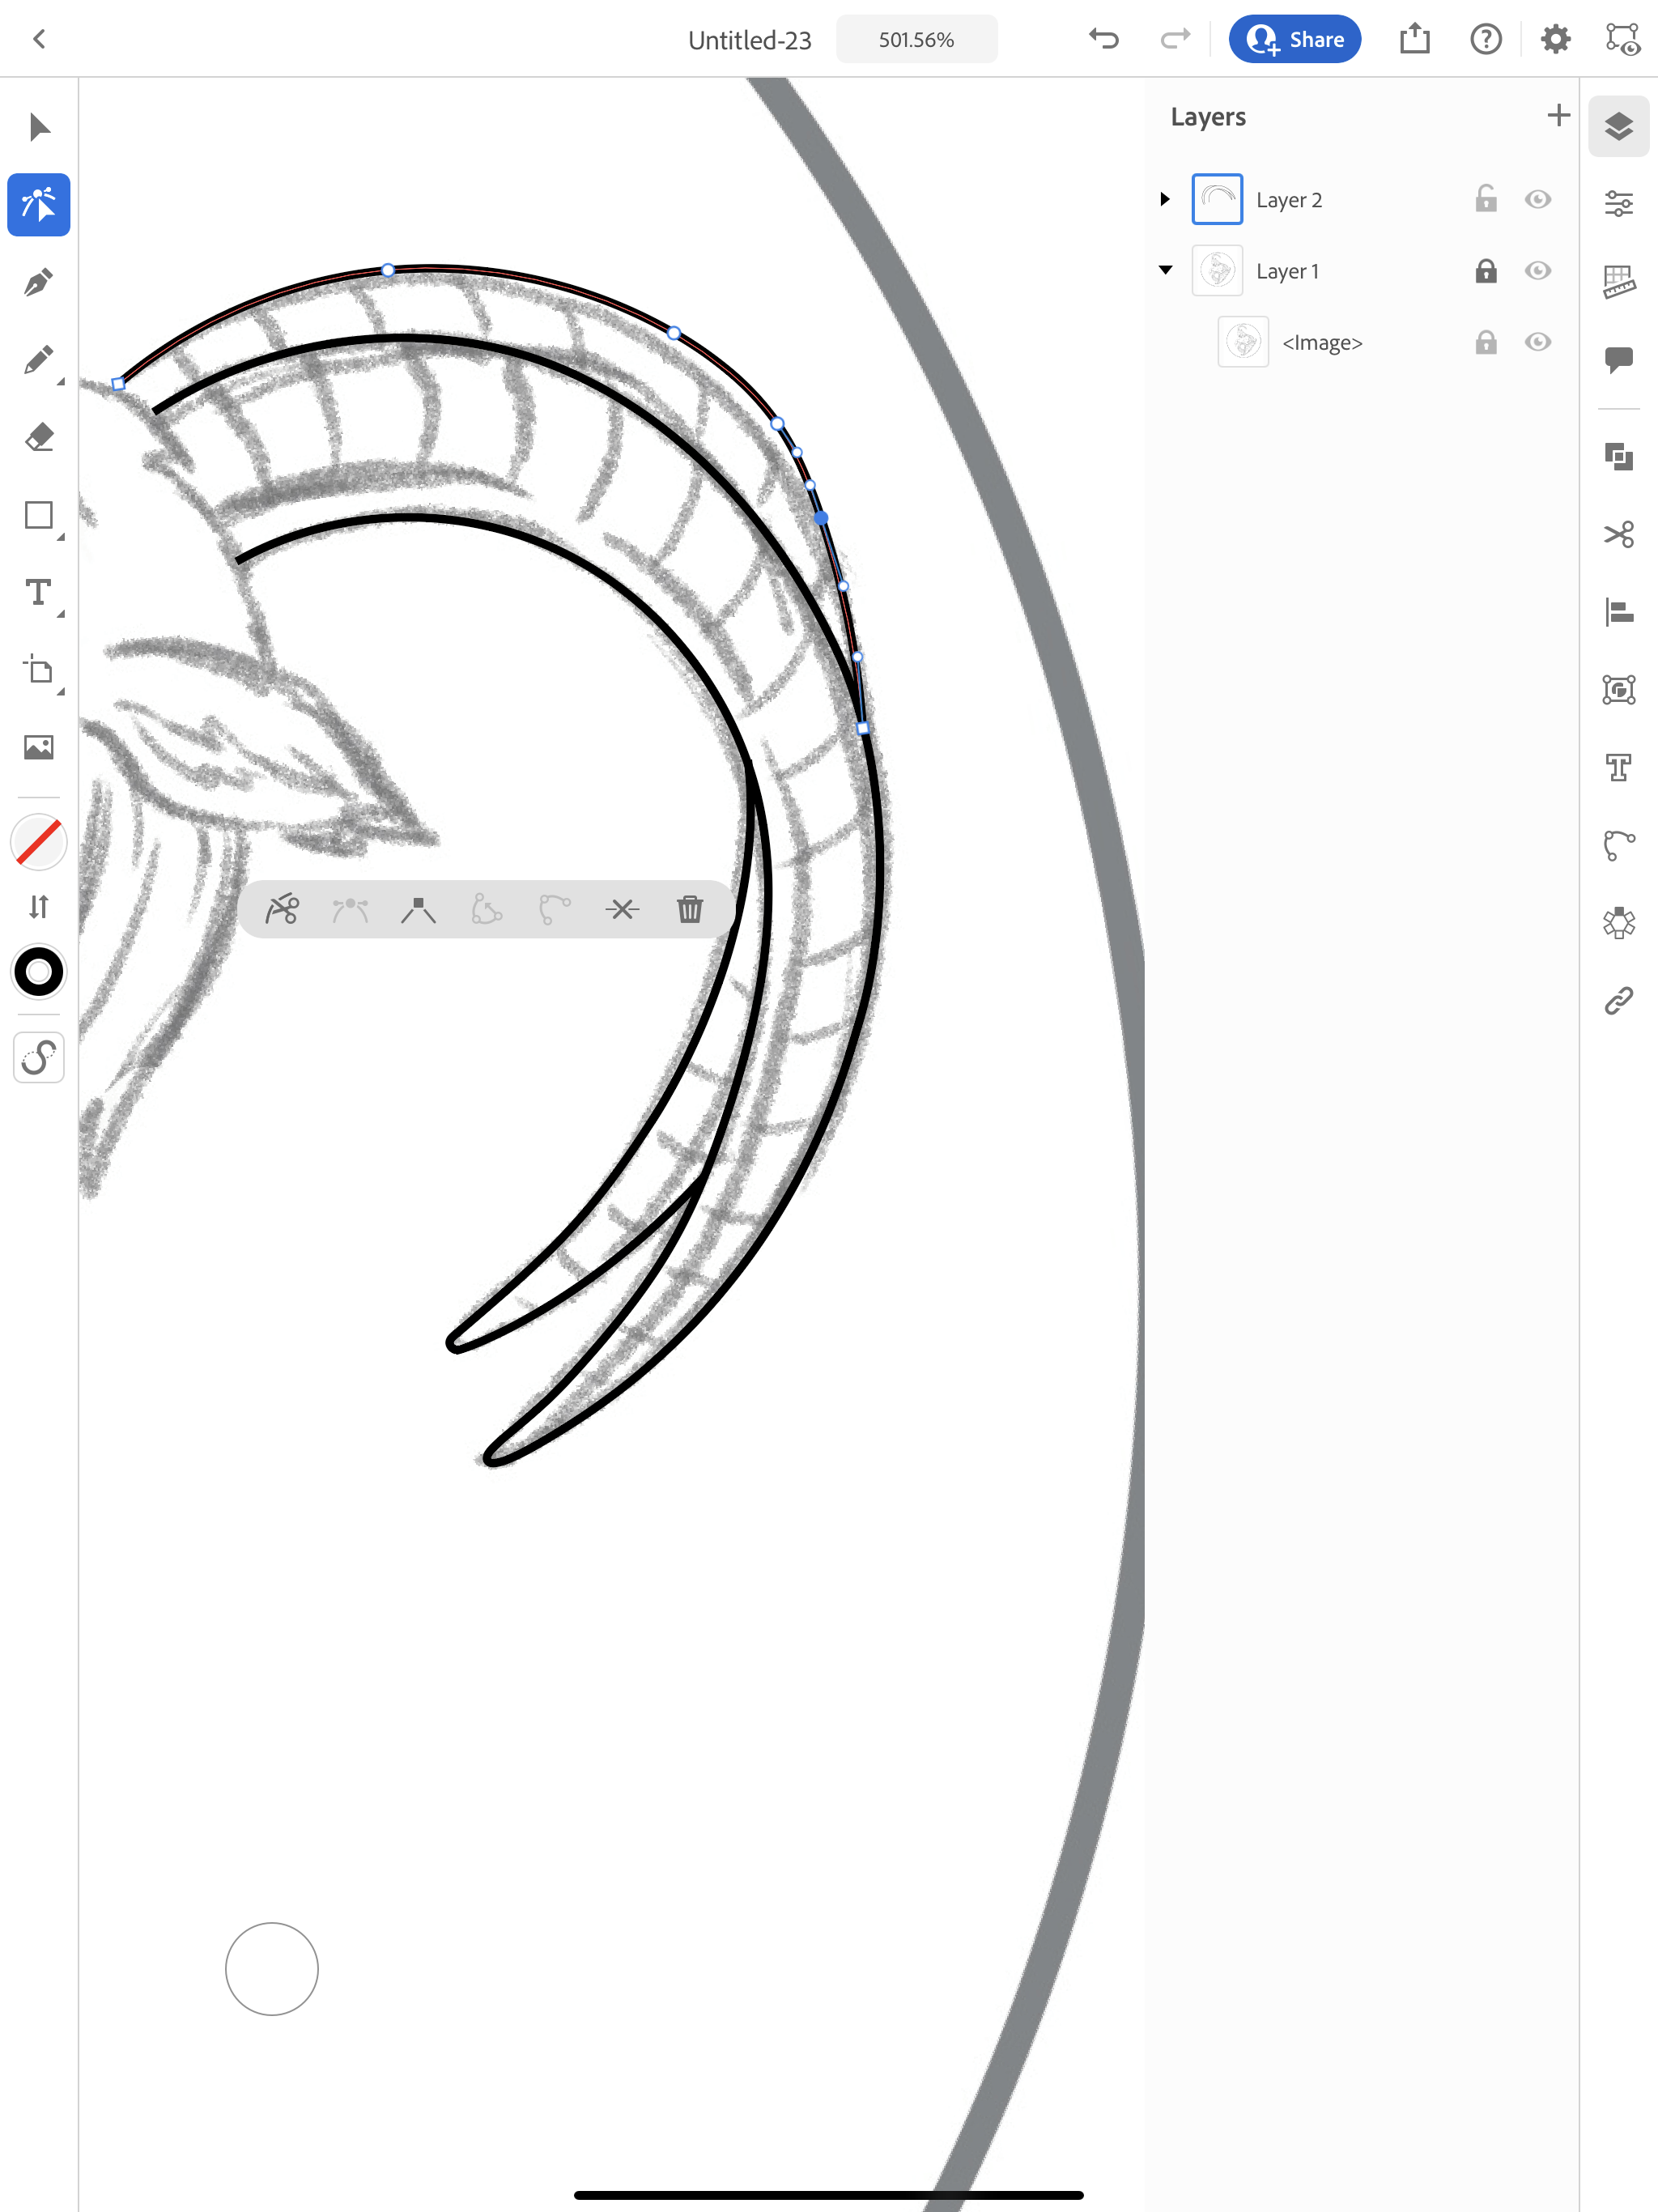
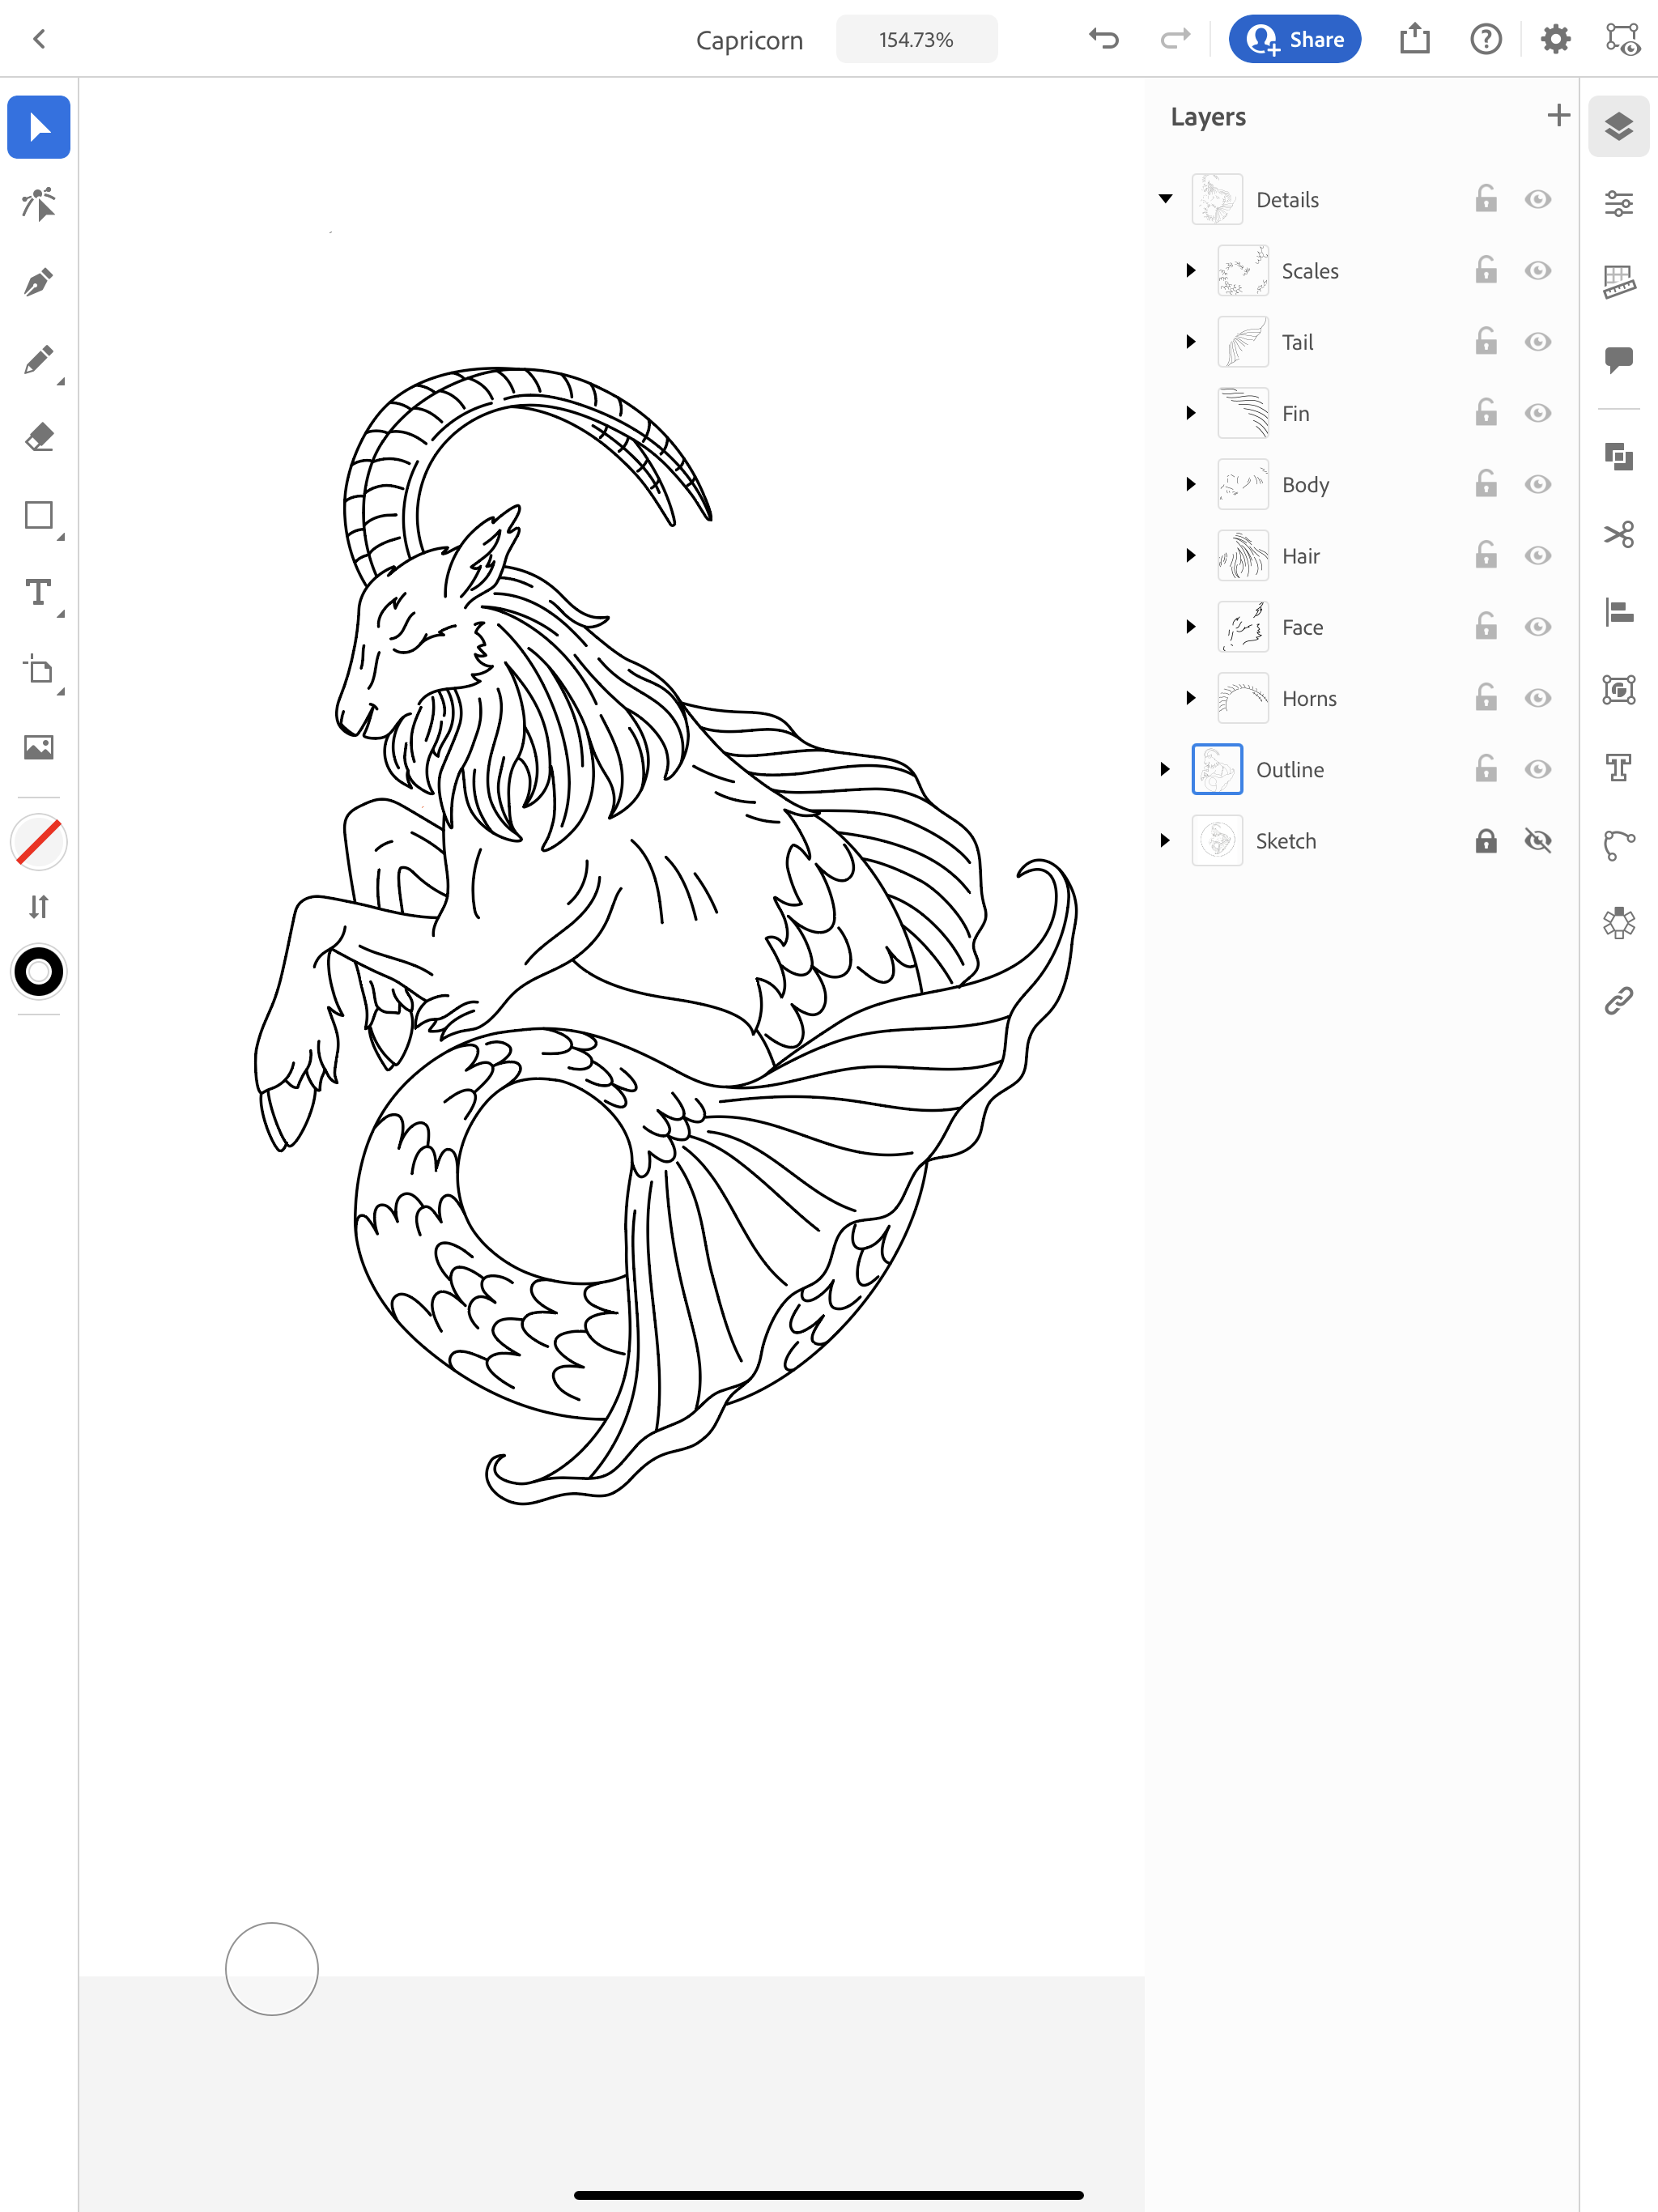
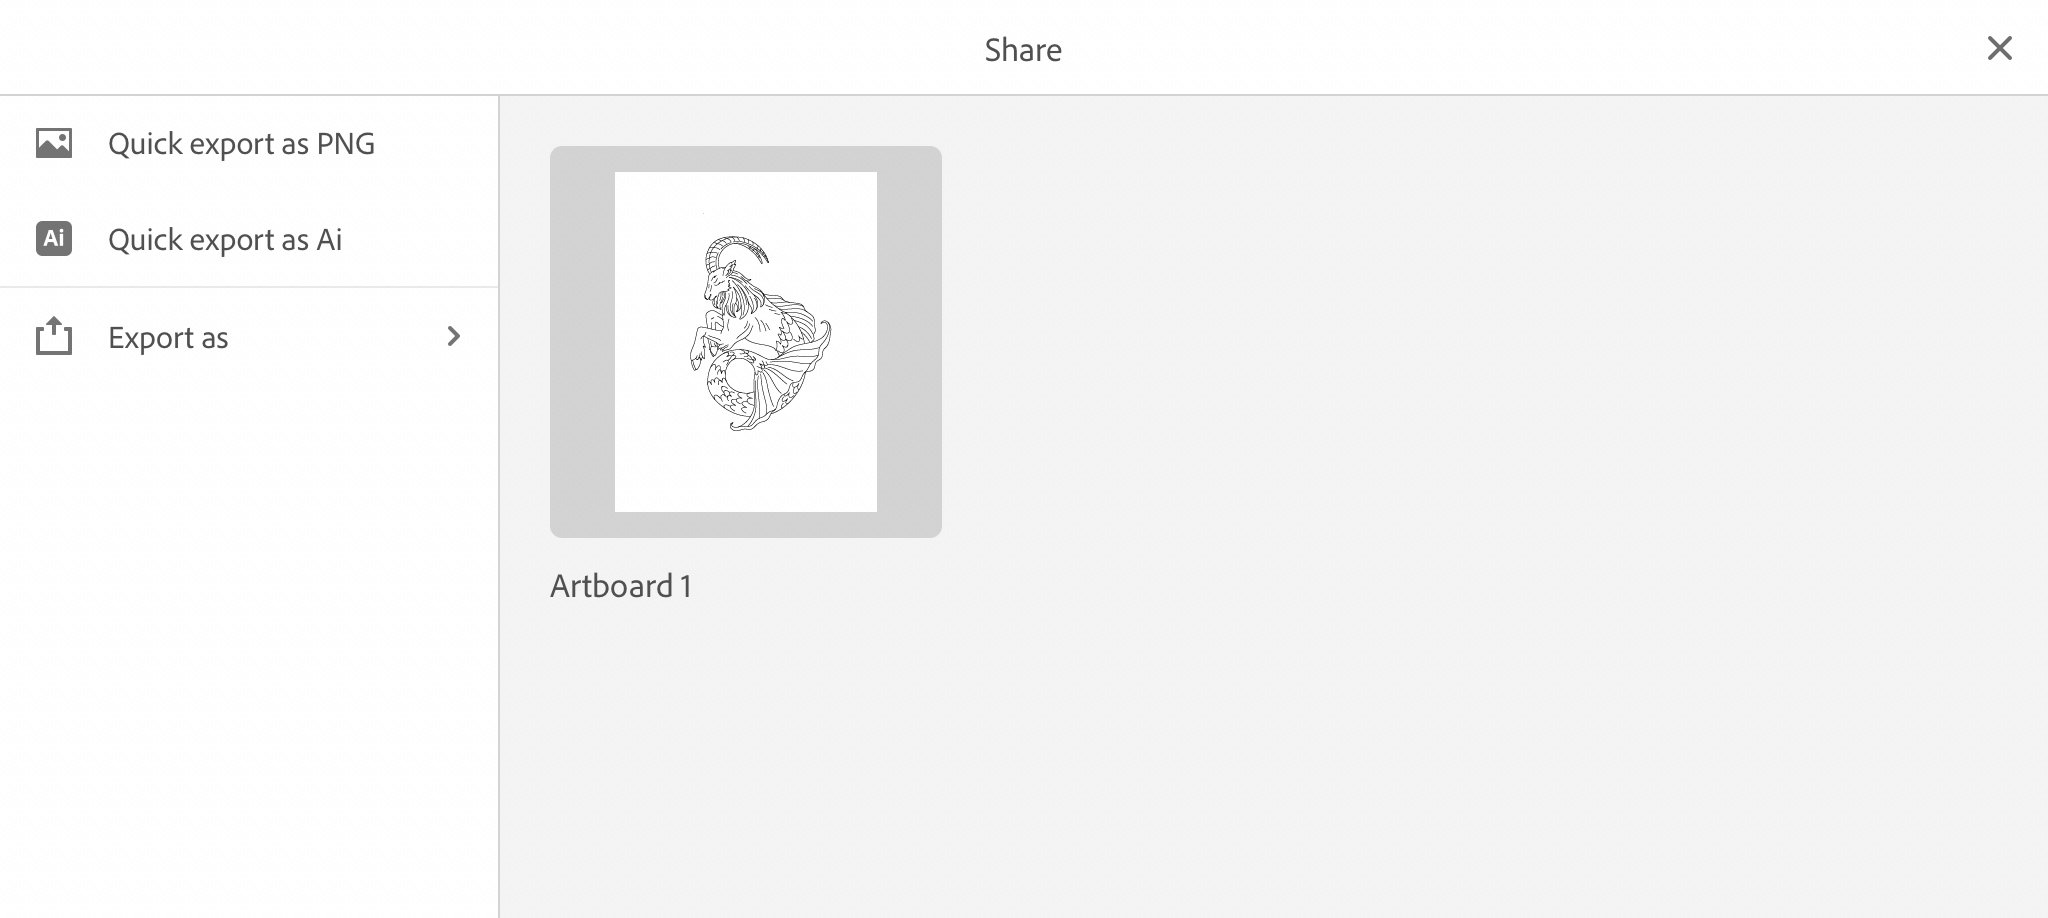
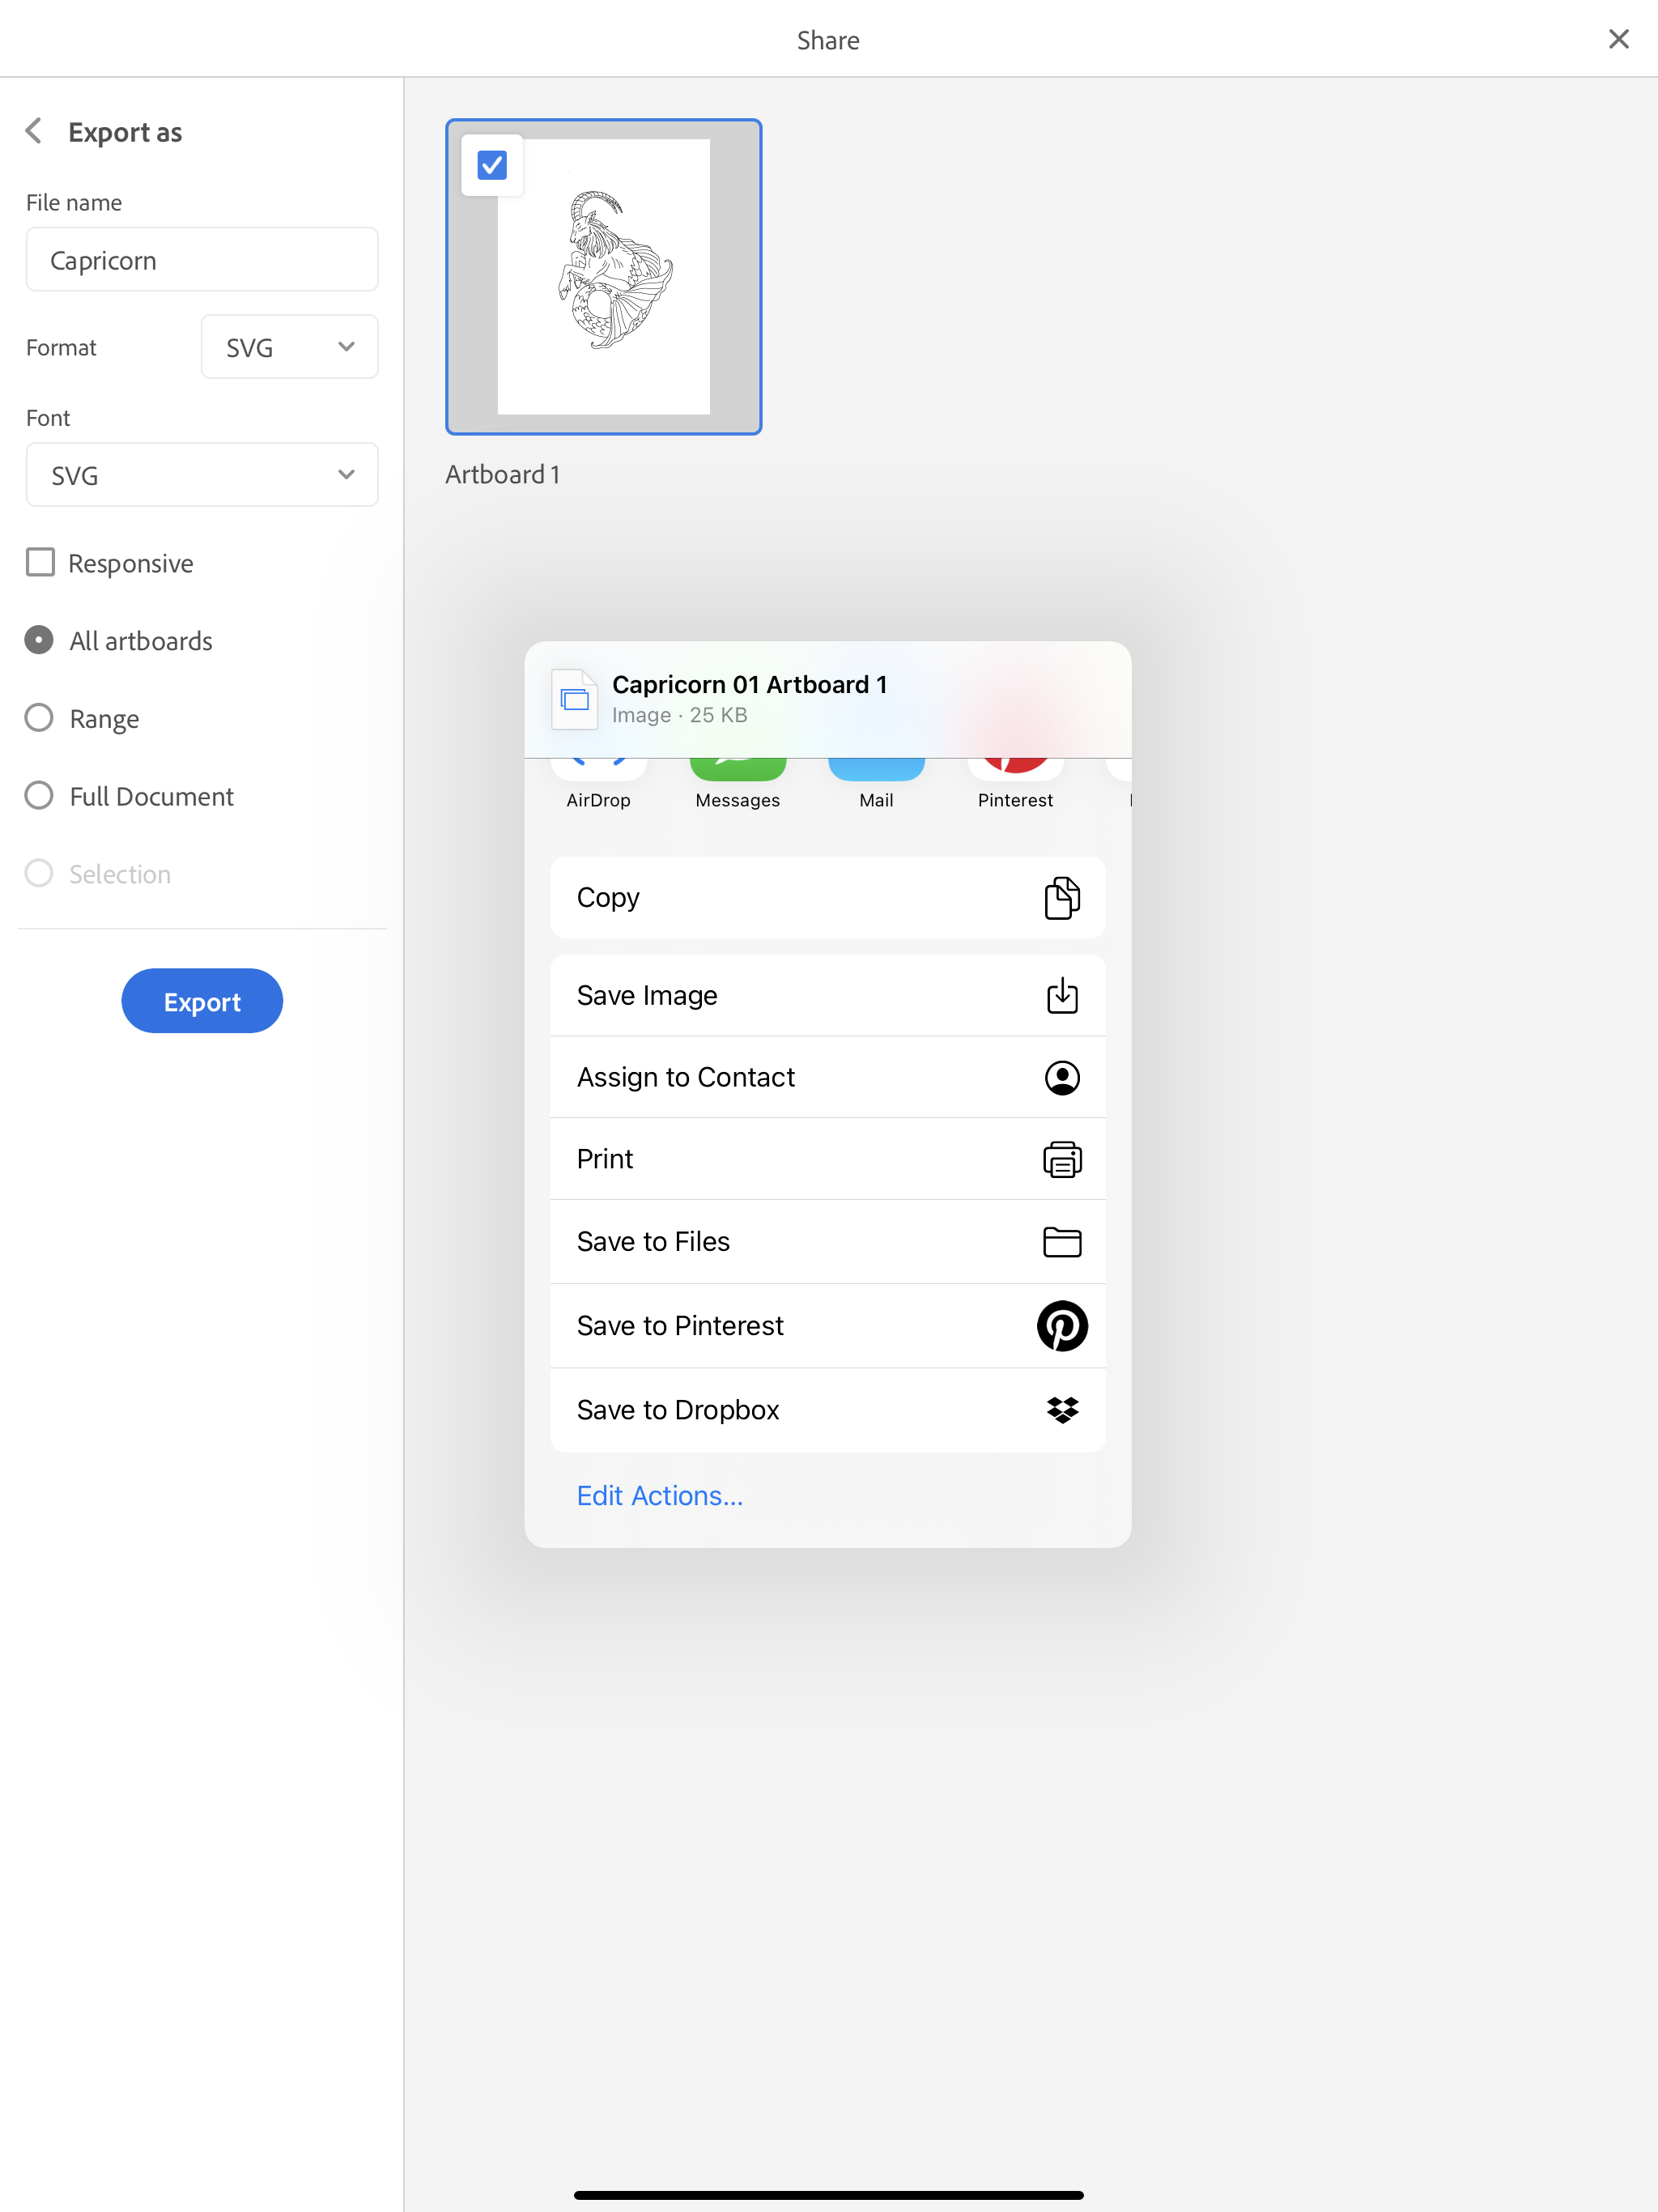
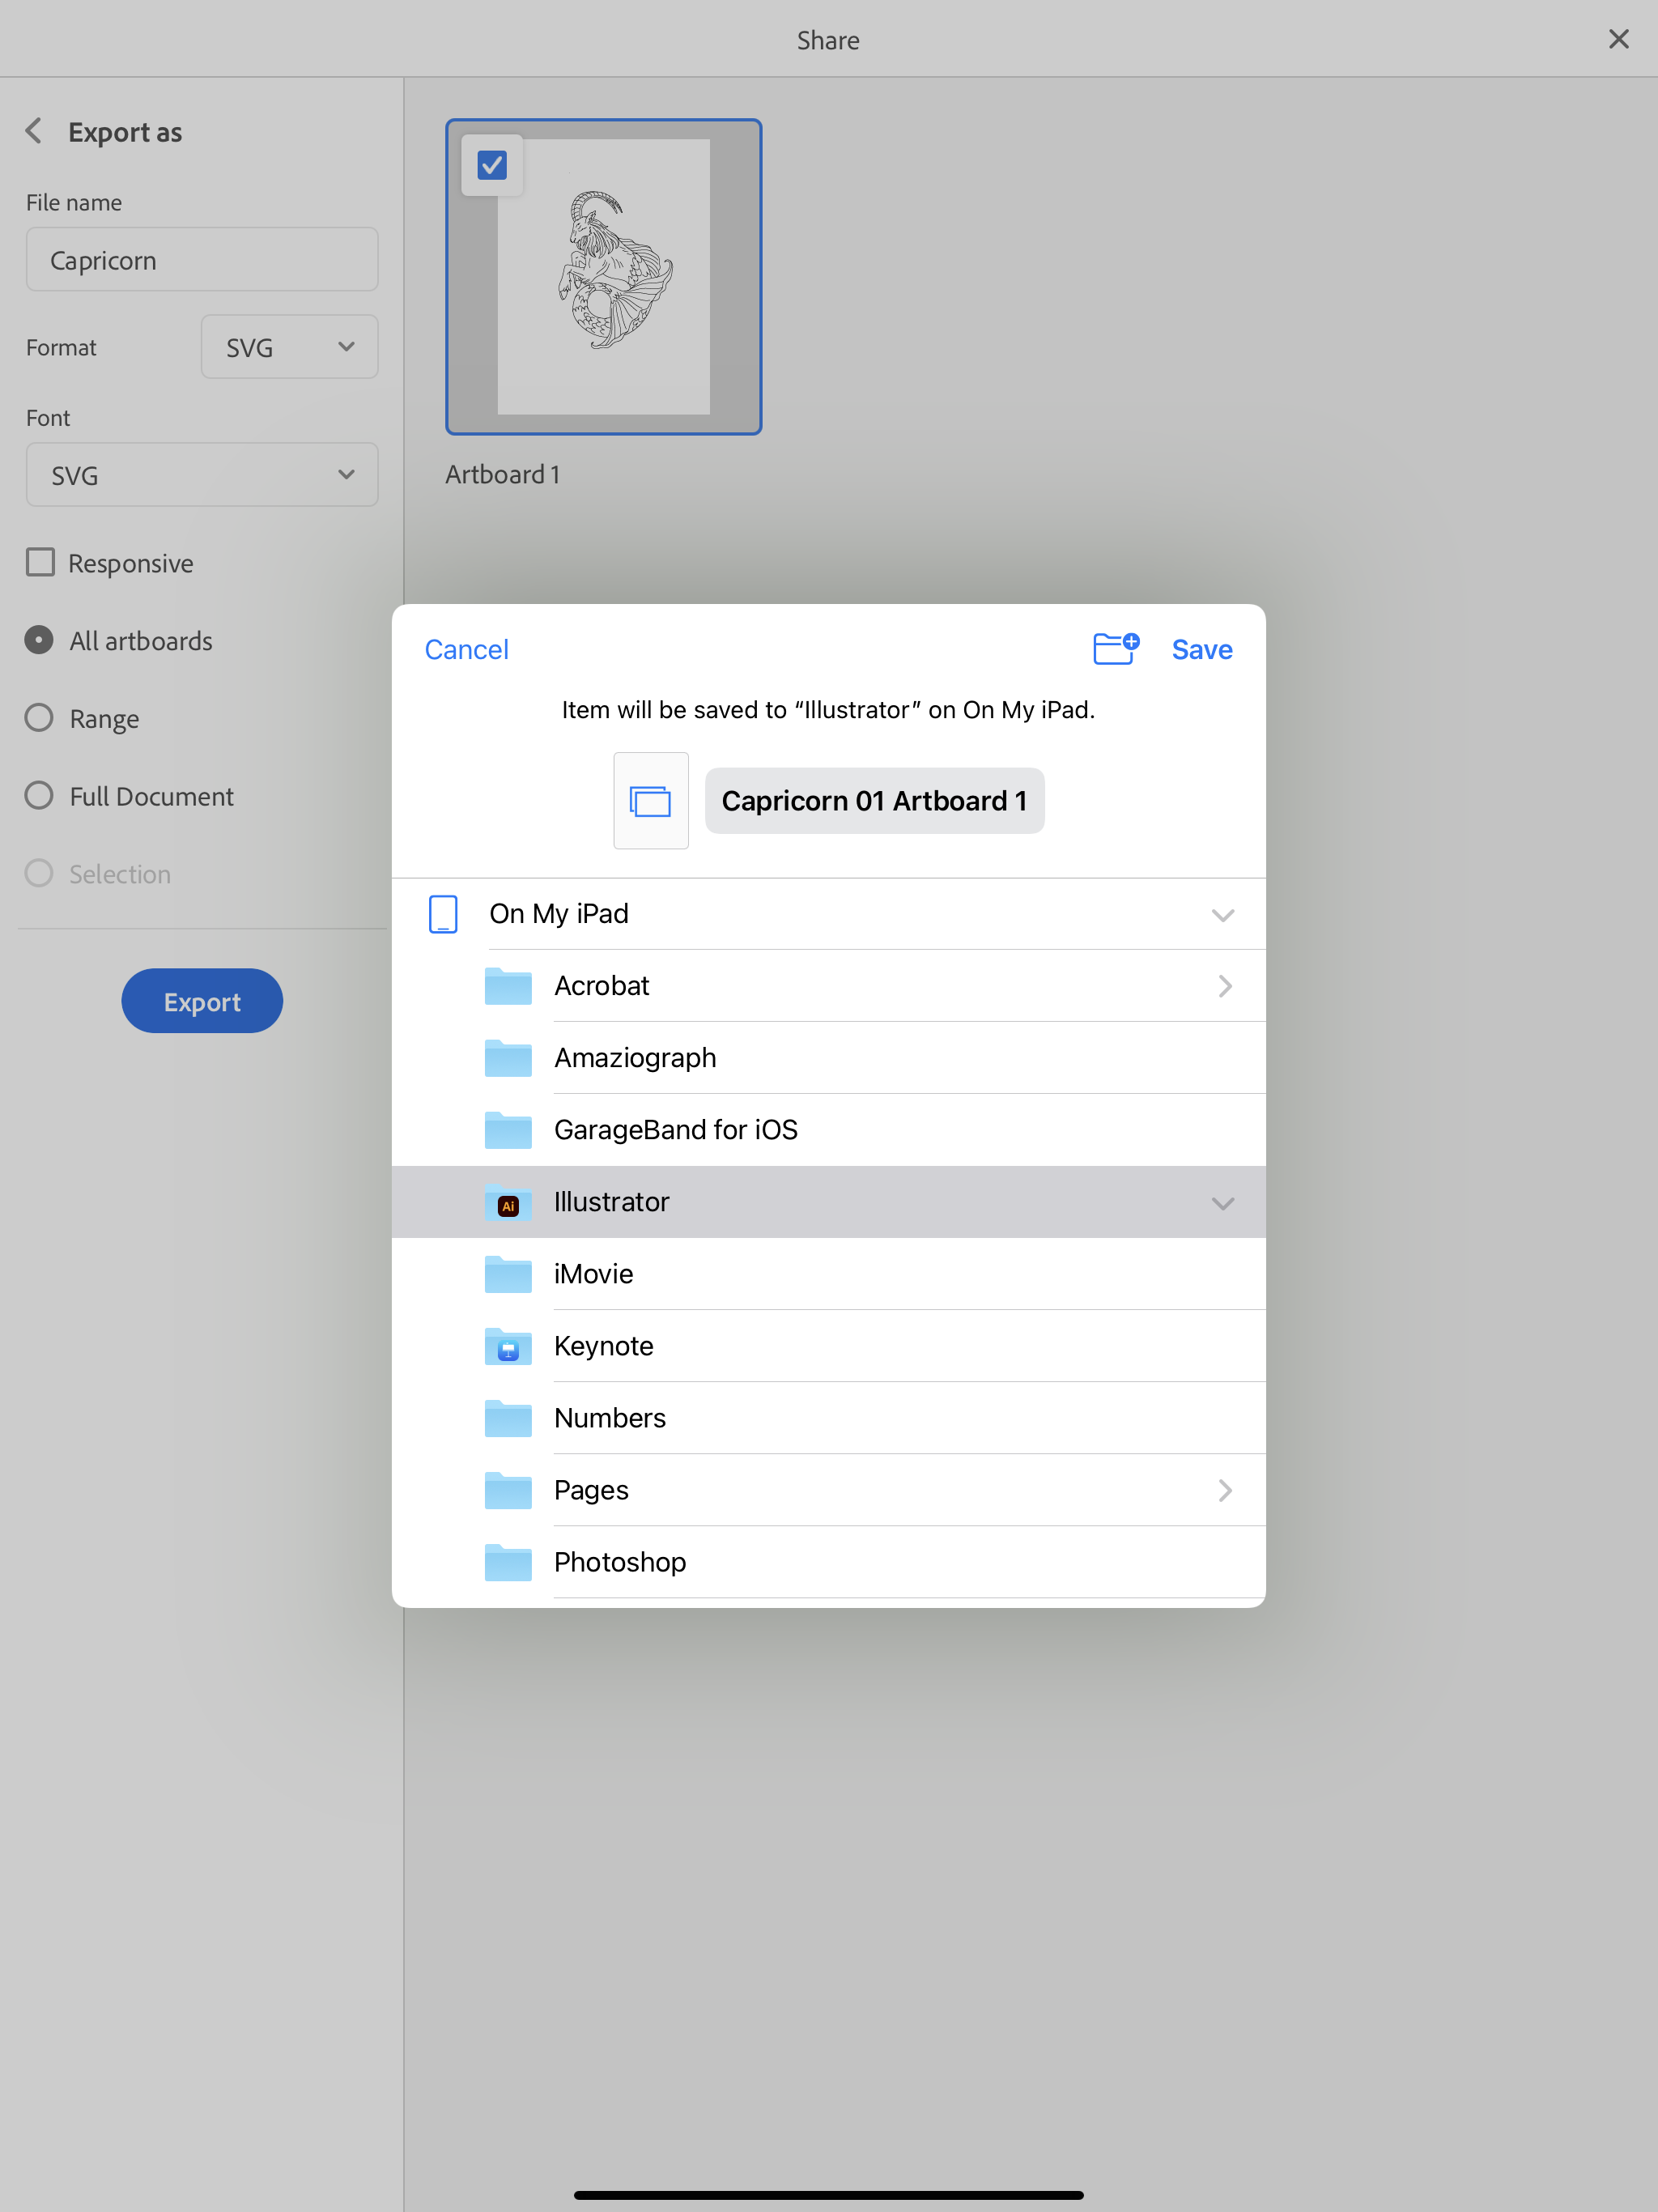
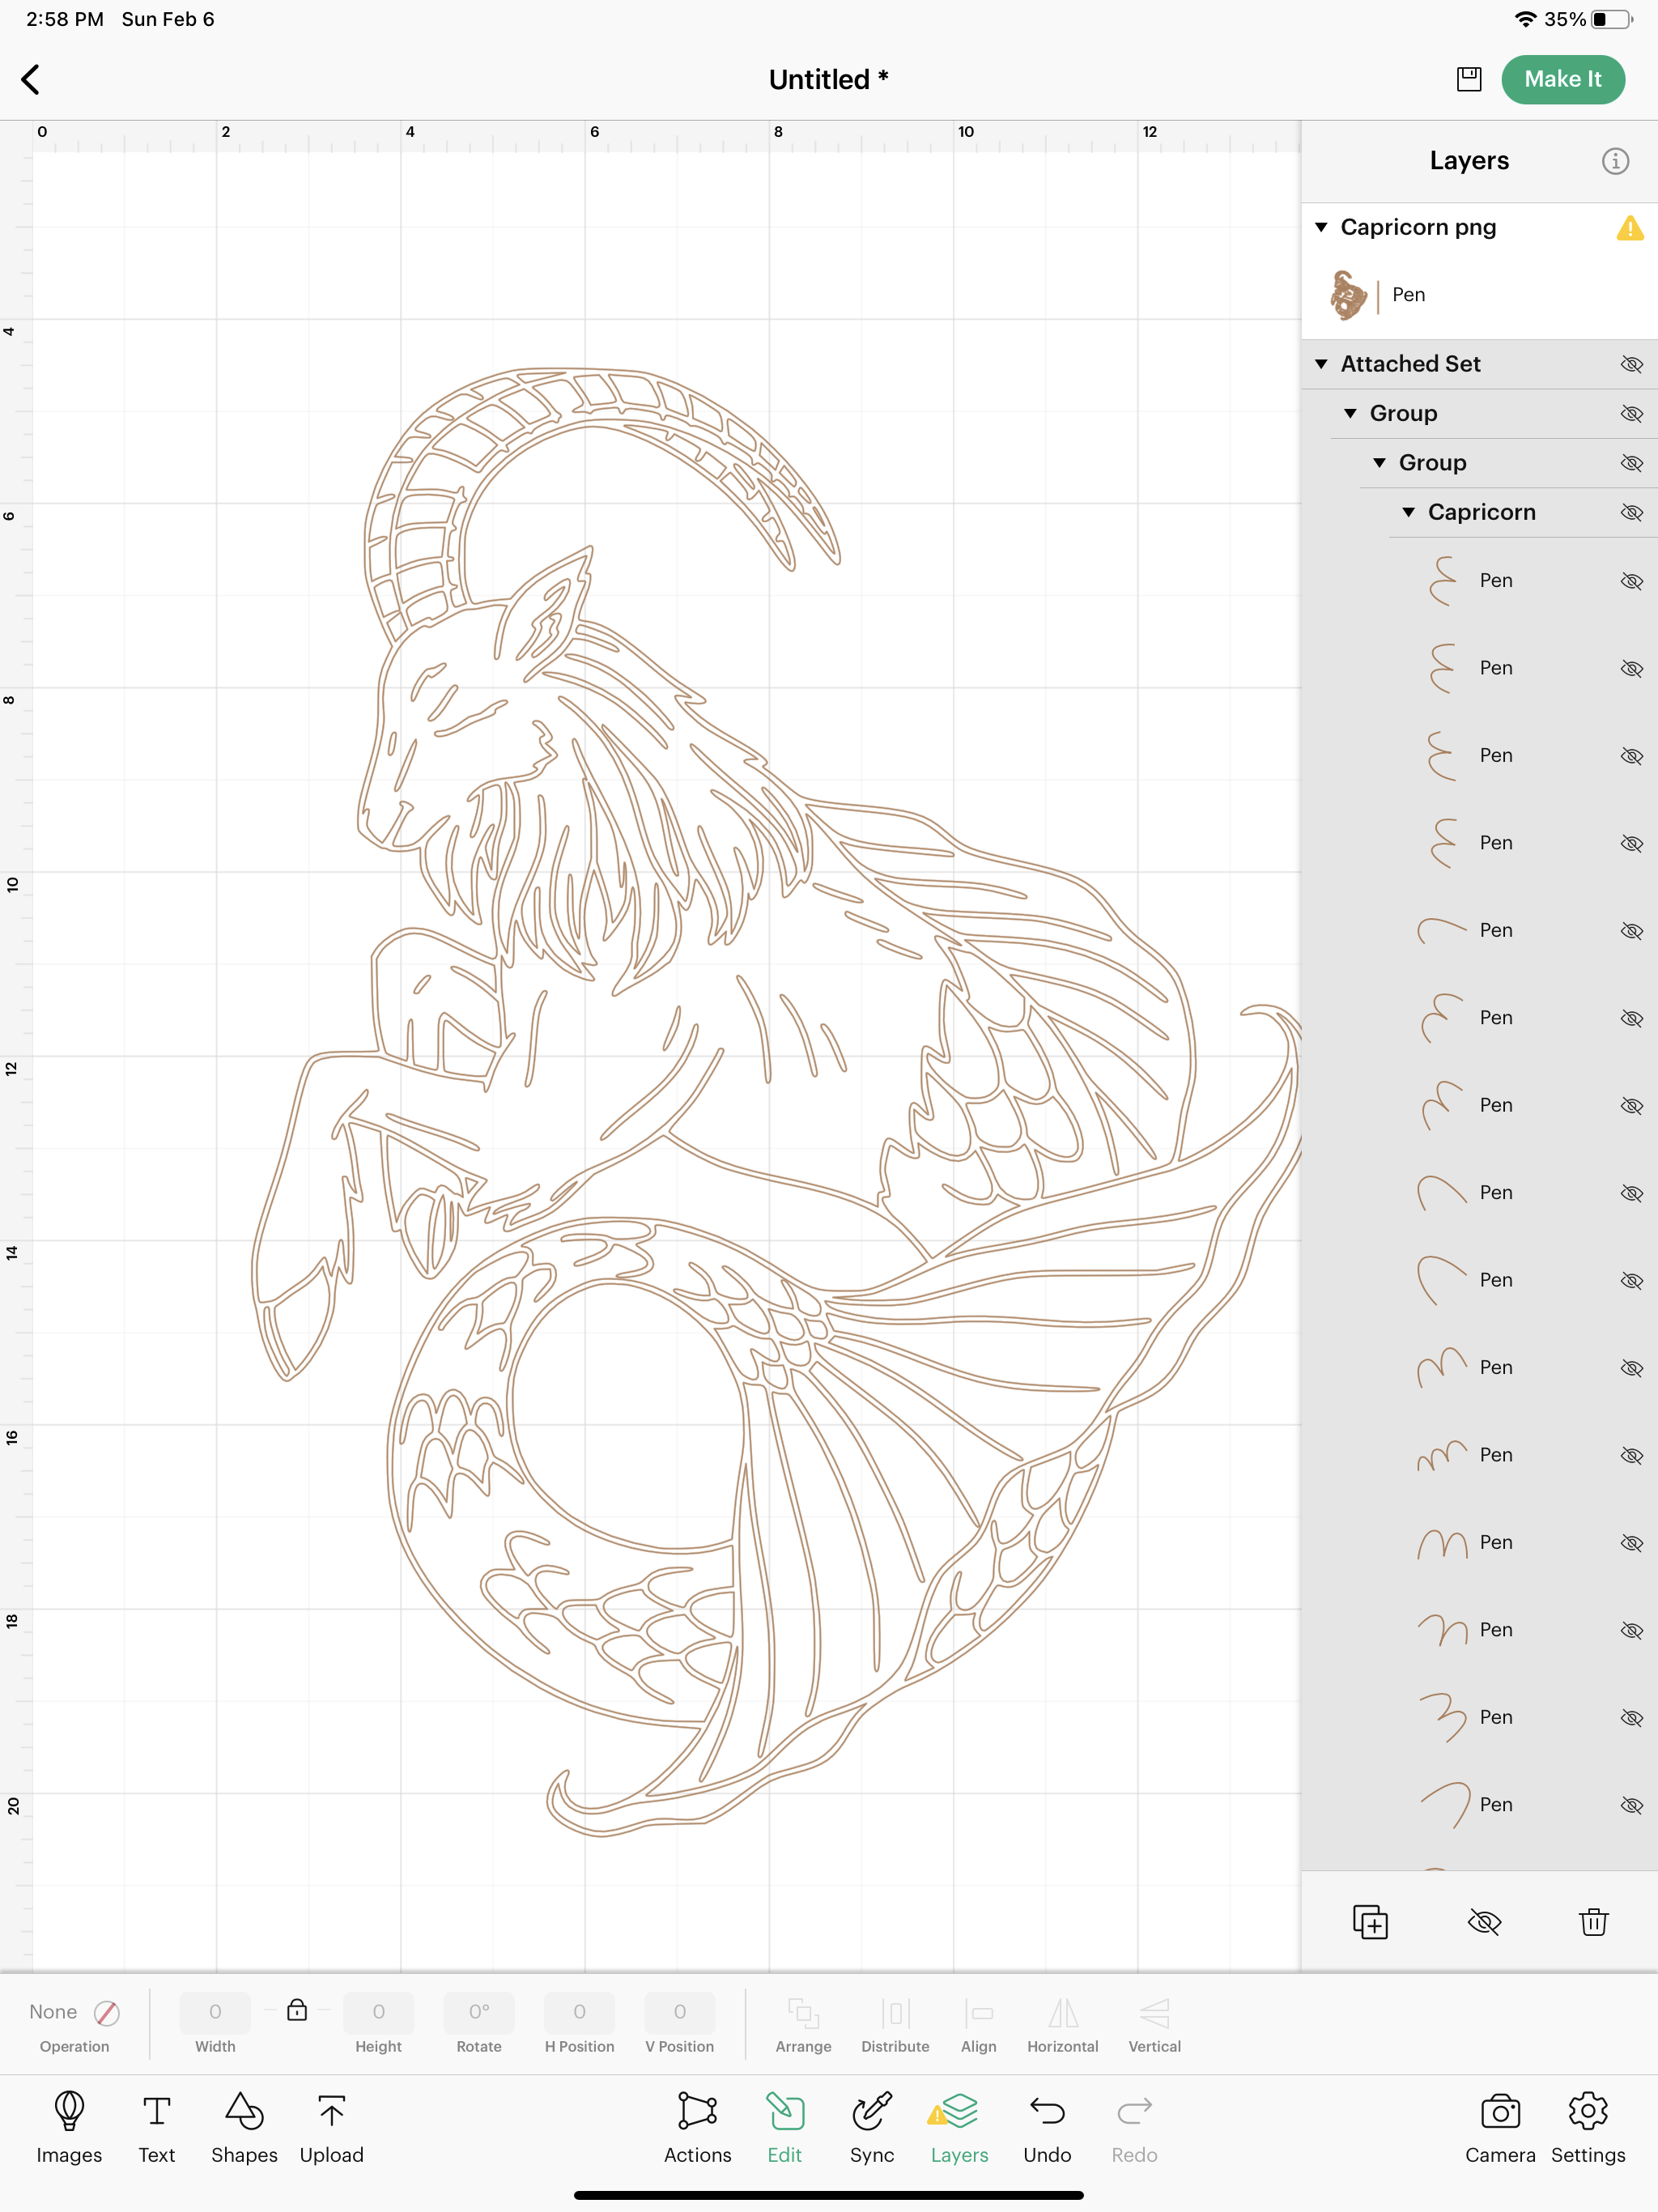
Now I can go through and refine my drawing even more with the direct selection tool and add any parts that may be missing with the pen or pencil tool. Once I’m satisfied with the way it is, I can save this as an SVG and import it into the Cricut Design Space App.

Creating Your Own Single Line SVG File - Part Three

Hi Everyone!

This week I’m going to test the single line SVG file that I created in the Illustrator app last week. I’m going to do this all on my iPad, so I’m going to test it with the Cricut app.

First, I’m going to open the Cricut app and start a new project. Then, down at the bottom of the screen, I’m going to select UPLOAD and BROWSE FILES.

Testing Single Line SVG file in Cricut Design Space

In last week’s tutorial, I saved my design on my iPad as an SVG file. Now. I need to locate that file on my iPad. I saved mine in my Illustrator folder.

Testing Single Line SVG file in Cricut Design Space

Inside the Illustrator folder I select my Capricorn file.

Testing Single Line SVG file in Cricut Design Space

Cricut Design Space will show a preview of the file. It will default to a CUT image. I can’t change it to a DRAW file until it’s uploaded into Design Space. So now, I can name my file and click save in the upper right corner.

Testing Single Line SVG file in Cricut Design Space

After I click save, Design Space will bring up all my uploaded images. I select my Capricorn file and click INSERT down in the bottom right corner.

Testing Single Line SVG file in Cricut Design Space

Now, my file is on my canvas. I’m going to scale it down a little bit, so it fits on the piece of cardstock I will be using to do my test drawing. I’m also going to change this to a DRAW file. Down in the bottom tool bar, select EDIT, then where it says BASIC CUT on the bottom left, select that and change it to DRAW/ Pen.

Testing Single Line SVG file in Cricut Design Space

Here I can change the pen type and color. I’m using my Fine Point Black pen. I’m going to change the color just for visibility purposes in Design Space. My machine cannot determine the actual pen color I’m using, so I can select whatever color I want.

Testing Single Line SVG file in Cricut Design Space

Even though all of my lines are already grouped together, I still need to ATTACH them. Otherwise Design Space will spread them out all weird on the mat when I select Make It. Down in the bottom tool bar I select ACTIONS then I select ATTACH. Now I’m ready to SAVE my file and then select Make It.

Testing Single Line SVG file in Cricut Design Space

I’m going to position my design relative to where I have my piece of cardstock on my actual mat.

Testing Single Line SVG file in Cricut Design Space

Click NEXT and then select my Maker machine.

Testing Single Line SVG file in Cricut Design Space

I’m using a scarp piece of cardstock, so I select Heavy Cardstock as my material. and I load my Black fine point pen and my mat into my machine, and Press GO!!

Testing Single Line SVG file in Cricut Design Space

After my machine is done drawing, I check my design to see if skipped any of my lines. If any parts of your design are missing, try re-uploading your SVG file into Design Space.

Testing Single Line SVG file in Cricut Design Space

It looks like all of my lines are there, now I’m going to try out my design with my WRMK foil quill. I can use my Foil Quill with my iPad because my machine treats it like a pen. I cannot use my Cricut Foil Transfer tool with my iPad, I don’t know why Cricut hasn’t figured that one out yet.

But here it is with silver foil on black cardstock! Now that I’ve tested my file and it works, I can use it for whatever projects I want.

Testing Single Line SVG file in Cricut Design Space

Creating Your Own Single Line SVG Files - Part Two

Hi Everyone!

This week is part two of how to create your own single line SVG files. I’m going to share with you how I take my sketch from Procreate and use the Adobe Illustrator app on my iPad Pro to create the SVG file.

Last week exported my file from Procreate as a JPEG. I’m going to bring that file into the Illustrator app by selecting the picture icon in the tool bar on the left and finding that file on my iPad.

Inserting Image in Illustrator App

You can adjust the size of the image, I typically keep my pretty large at this point. I’m going to add a new layer above my sketch layer, then I’m going to lock my sketch layer.

Inserting Image in Illustrator App

I typically start with a basic out line of my image and then fill in all the little details on a separate layer. You need to use either the pencil tool or the pen tool to create a single line SVG. This is so your image is made up of individual paths and not filled shapes. I’m going to use the pencil tool since it feels most natural when I’m tracing my image using my Apple Pencil.

Pencil tool Illustrator App

I’m going to start tracing the outline of the horns with my pencil. If you need to stop and lift up your pencil, you can continue that same line again by selecting the path and start drawing at one of the end points.

Pencil tool Illustrator App

Now, you can choose the draw the rest of the outline or start refining each section as you go along. I’m going to refine each section as I go along. Using the Direct selection tool, I can delete anchor points, change curved points to sharp angles and vice versa.

Direct Selection tool Illustrator App

After the outline is complete, I will create a new layer for the details.

Creating single line SVGs Illustrator app

I do the details by sections in the drawing. As you can see, I simplified the scales on the fish tale from my original drawing. Now is great time to make any adjustments to your drawing. Once I finish the details, I make each section a subgroup in my layer.

Creating single line SVGs Illustrator app

Now it’s time to export this file as SVG. Click on the box with the arrow in the upper right tool bar across the top in the app. Select “Publish and export.”

Export as SVG Illustrator app

On the left side of the screen, select “Export as.”

Export as SVG Illustrator app

In the drop down next to Format, select SVG and click the blue Export button.

Export as SVG Illustrator app

I’m going to select “Save to Files.”

Export as SVG Illustrator app

Then I select the “Illustrator” folder. Next week I will show you how to test this file using the Cricut App on my iPad.

Export as SVG Illustrator app

Creating Your Own Single Line SVG Files - Part One

Hi Everyone!

One of my goals this year is to create more SVG files to add here and my Etsy shop. There are a lot of SVG cut files available out there, but not as many single line or draw files. I thought I would share my process for how I create my single line SVG files.

I start off by trying to come up with an idea for a collection of files, this year I want to do all of the zodiac symbols. Since we’re still in January, I’m going to start off with Capricorn, which is often depicted as a sea goat.

I love using Pinterest to gather inspiration and I created a board where I’m collecting images of all the different zodiac symbols. I’ll keep adding to this board as I work my way through all the zodiac signs.

After I’ve gathered a few images I go through them and I start to pick out what parts I like from each image.

I really like how the fish tails loop around on these.

I think I want a profile view for the head.

Next, I’m going to start creating a rough sketch on my iPad Pro in one of my favorite apps, Procreate. If you don’t have an iPad, you can also do your sketch the good old fashioned way with pencil and paper.

I would like for these to fit on a round shape like a key ring or coaster, so I’m going to start out. with a circle shape and keep my design within that shape.

I like to sketch with the Peppermint Pencil, it’s one of the brushes that comes with Procreate. It’s almost like sketching with a real pencil!

Another great thing about Procreate is you can have your reference image in a separate little window inside Procreate.

Creating a sketch in Procreate

Or you can do a split screen with Procreate and Pinterest.

Procreate Split Screen

I’m going to work with my reference image in a window in Procreate. So I take some screenshots of my Pinterest images that I will be referencing.

After I work out my sketch, I can either take a screenshot, save it as a JPEG or PNG file to bring into the Illustrator app.

Exporting from Procreate

If you made your sketch on regular paper, you will need to scan you image so you can bring it into Illustrator or another vector program of your choice.

Next week I will share with you how I turn my sketch into vector line art in the Illustrator App on my iPad.

Capricorn sketch Procreate