
Hi Everyone!
This week I’m going to share a watercolor style technique that I like to use in Procreate to make clip art that I can use with my Cricut or Silhouette machine.
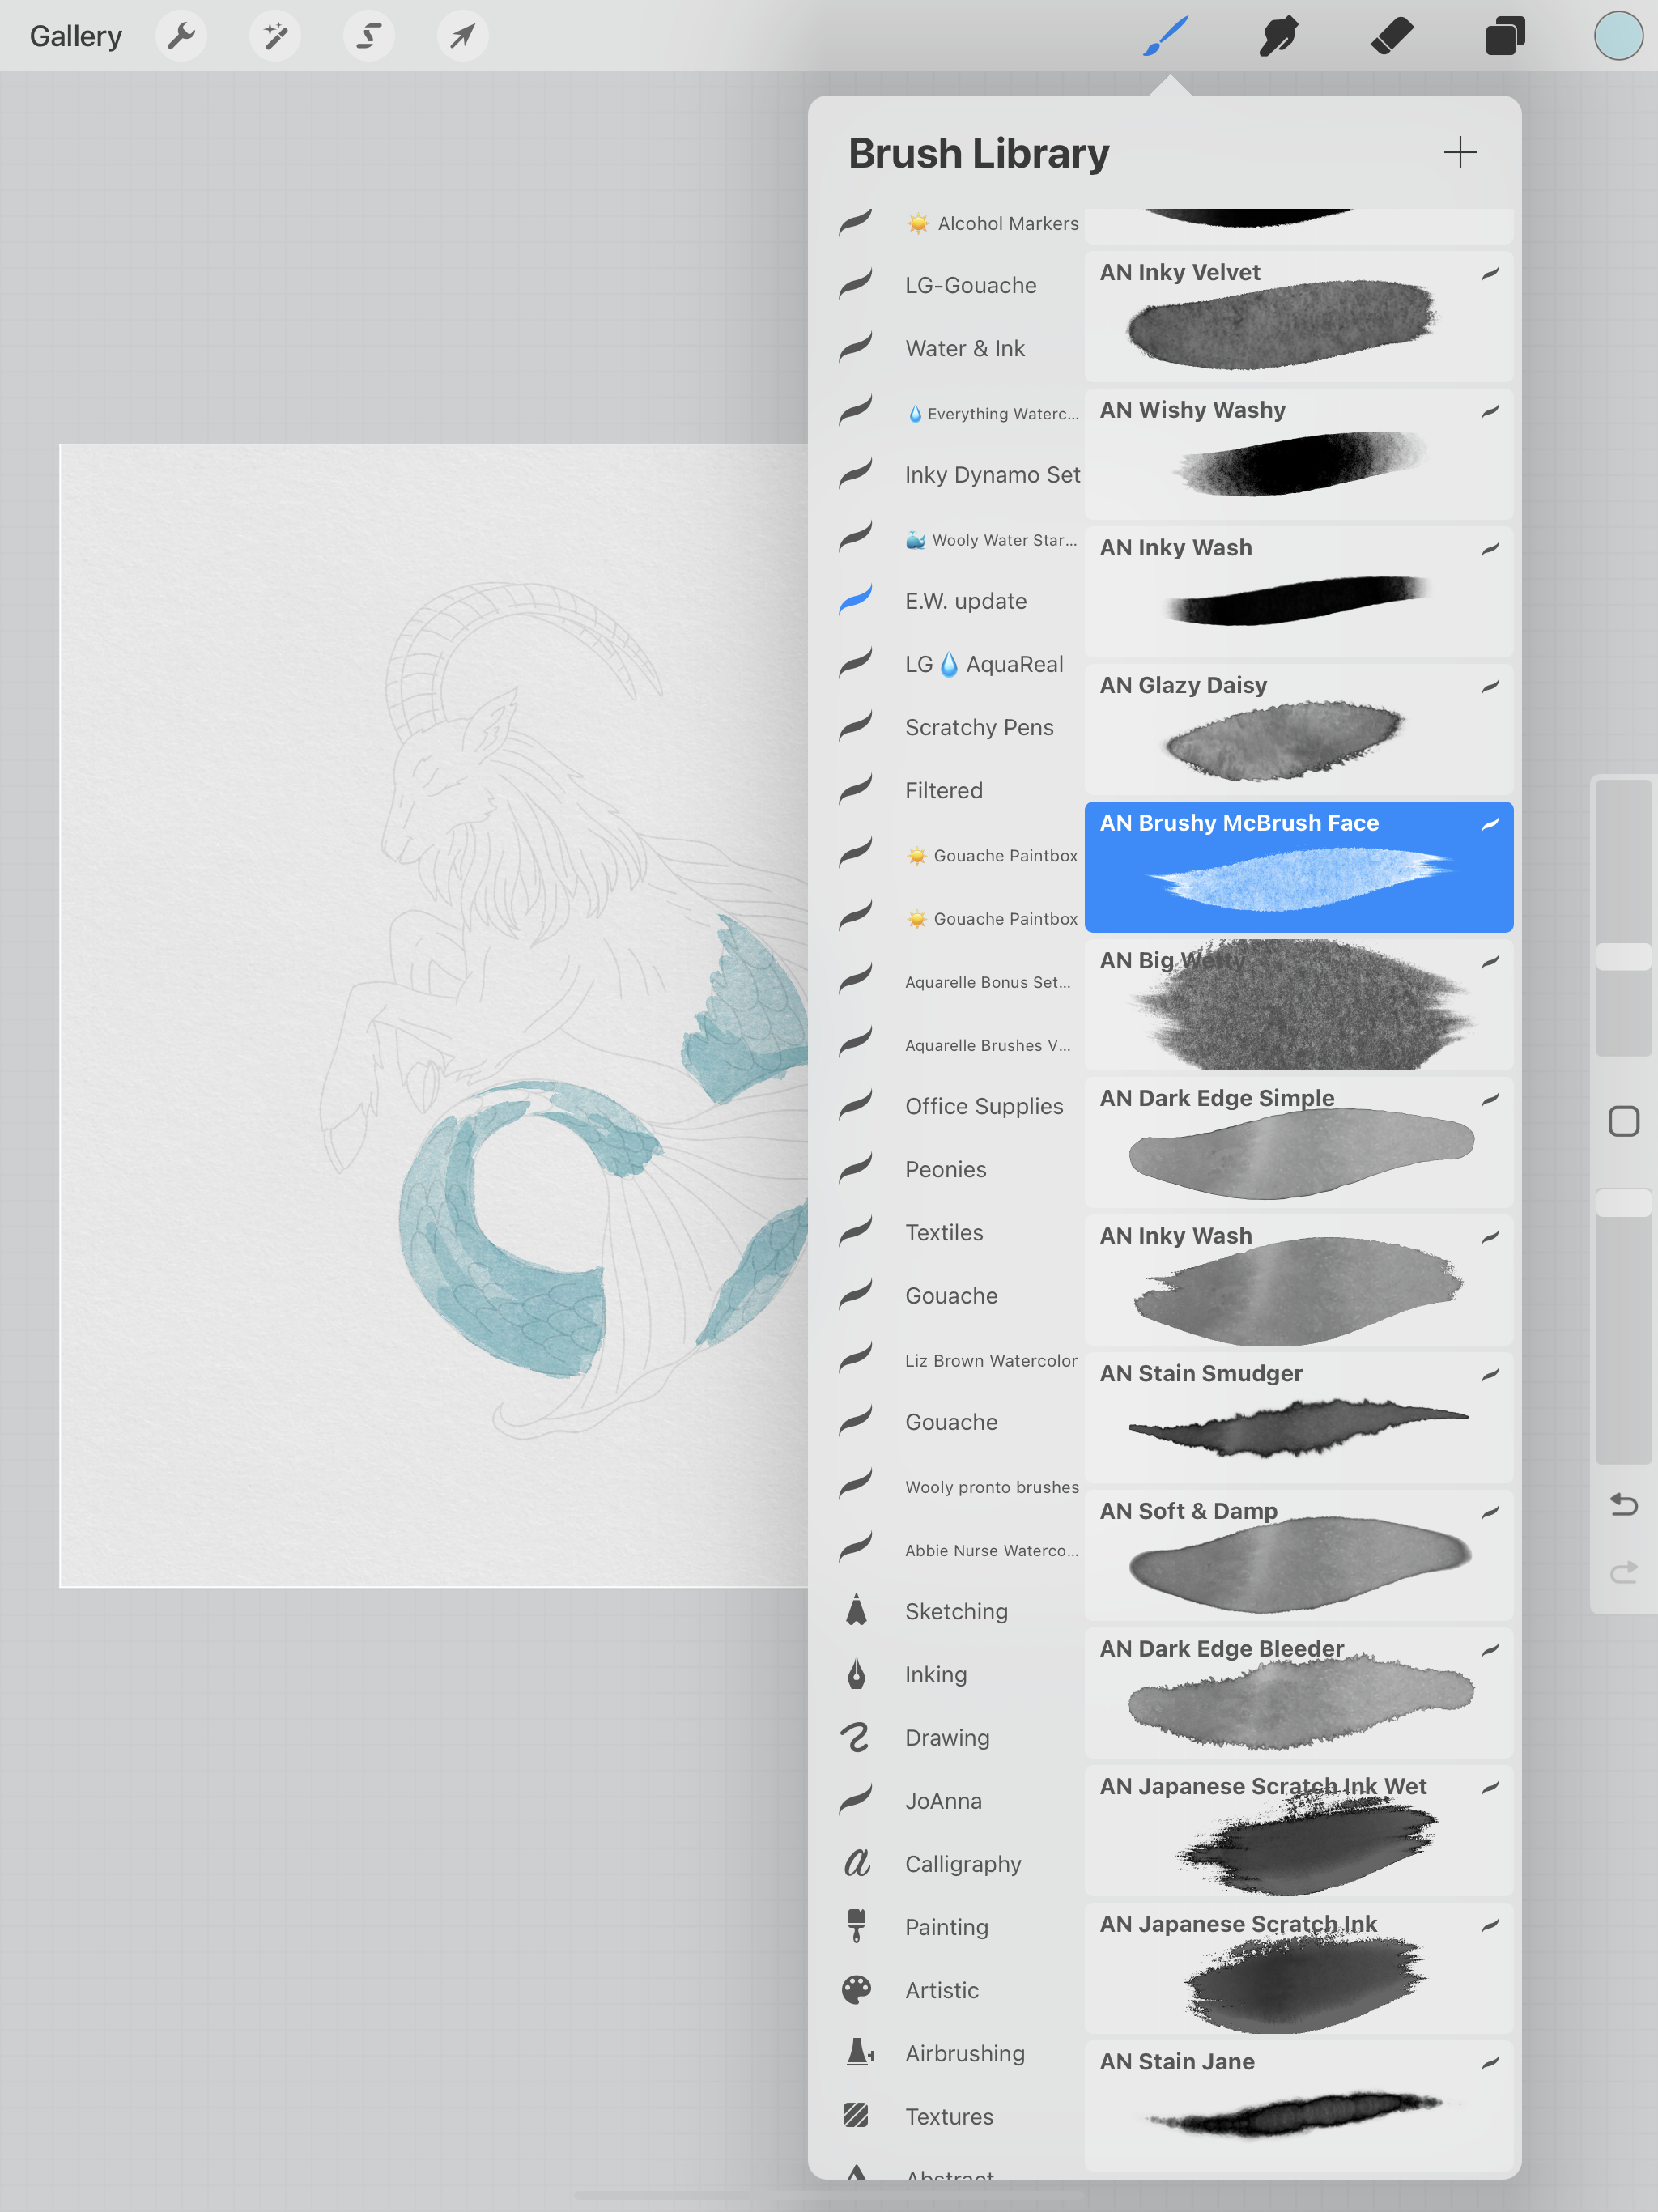
I will be using the Brushy McBrush Face brush from the Everything Watercolor brush set from Uproot Brushes. This is a great set of brushes and it also comes with some very nice paper textures. The paper textures make a huge difference when trying to make convincing digital watercolor artwork.
Let’s get started!
I will be using my same Capricorn line drawing from the past few weeks. In the end you will see all the different ways I’ve used this same base drawing and rendered it different ways. This is also a great way to figure out what kind of drawing/ painting style you prefer to use for your own artwork.
I’m going to be using the Smooth Paper texture canvas that comes with the Everything Watercolor brushes. I will go ahead and delete the others so I can have more layers to work with for my painting.
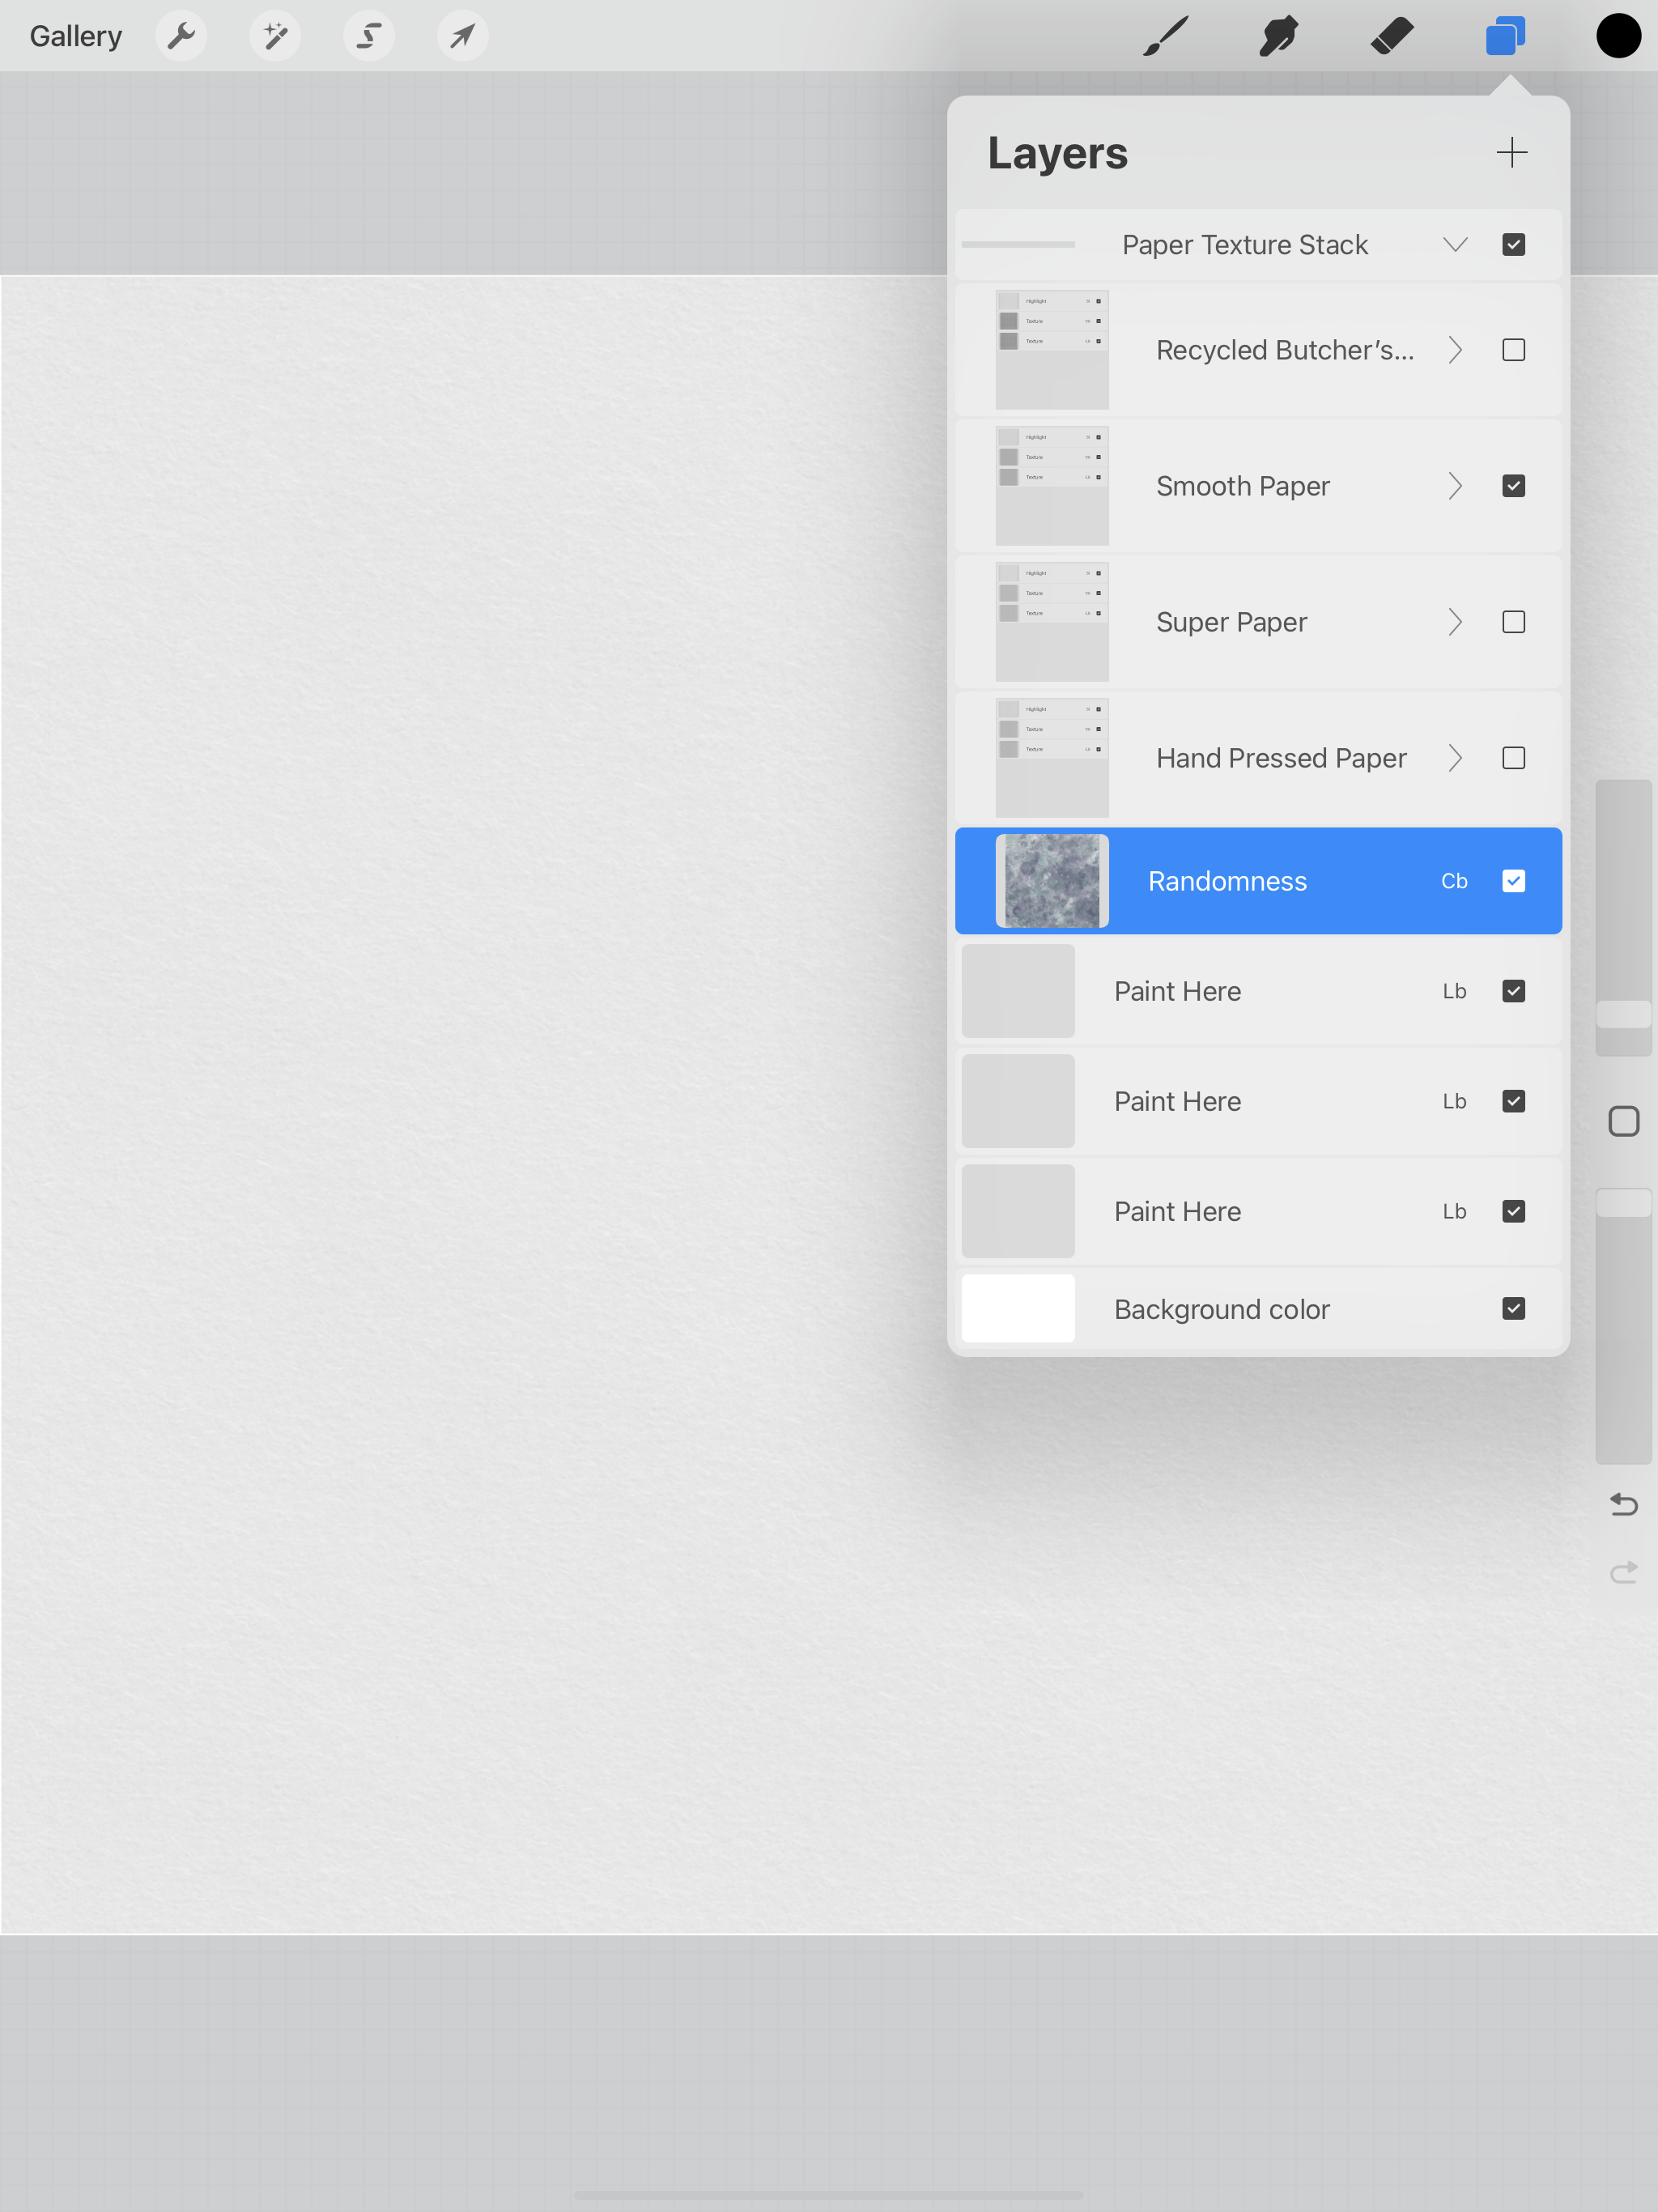
I copy and pasted my Capricorn line drawing and put it underneath the paper texture. I also lowered the opacity of my drawing to where I can barely see it. The paper texture always needs to stay on top, you painting and drawing layers will always be below the texture stack.

There are already some layers labeled “Paint Here”, I’m going to go head and duplicate these while they’re still empty, but you can always add more later.
For simplicity, I’m going to use the same colors that I did last week, and I’m going to start with the tail again. I select my Brushy McBrush Face brush and start painting on one of the “Paint Here” layers. With this brush, once you lift your pencil off the screen, when you draw/ paint over the same area again it will get darker.
I really love the ends and edges of this brush, they’re a little rough so it looks like i’m painting with an actual brush.
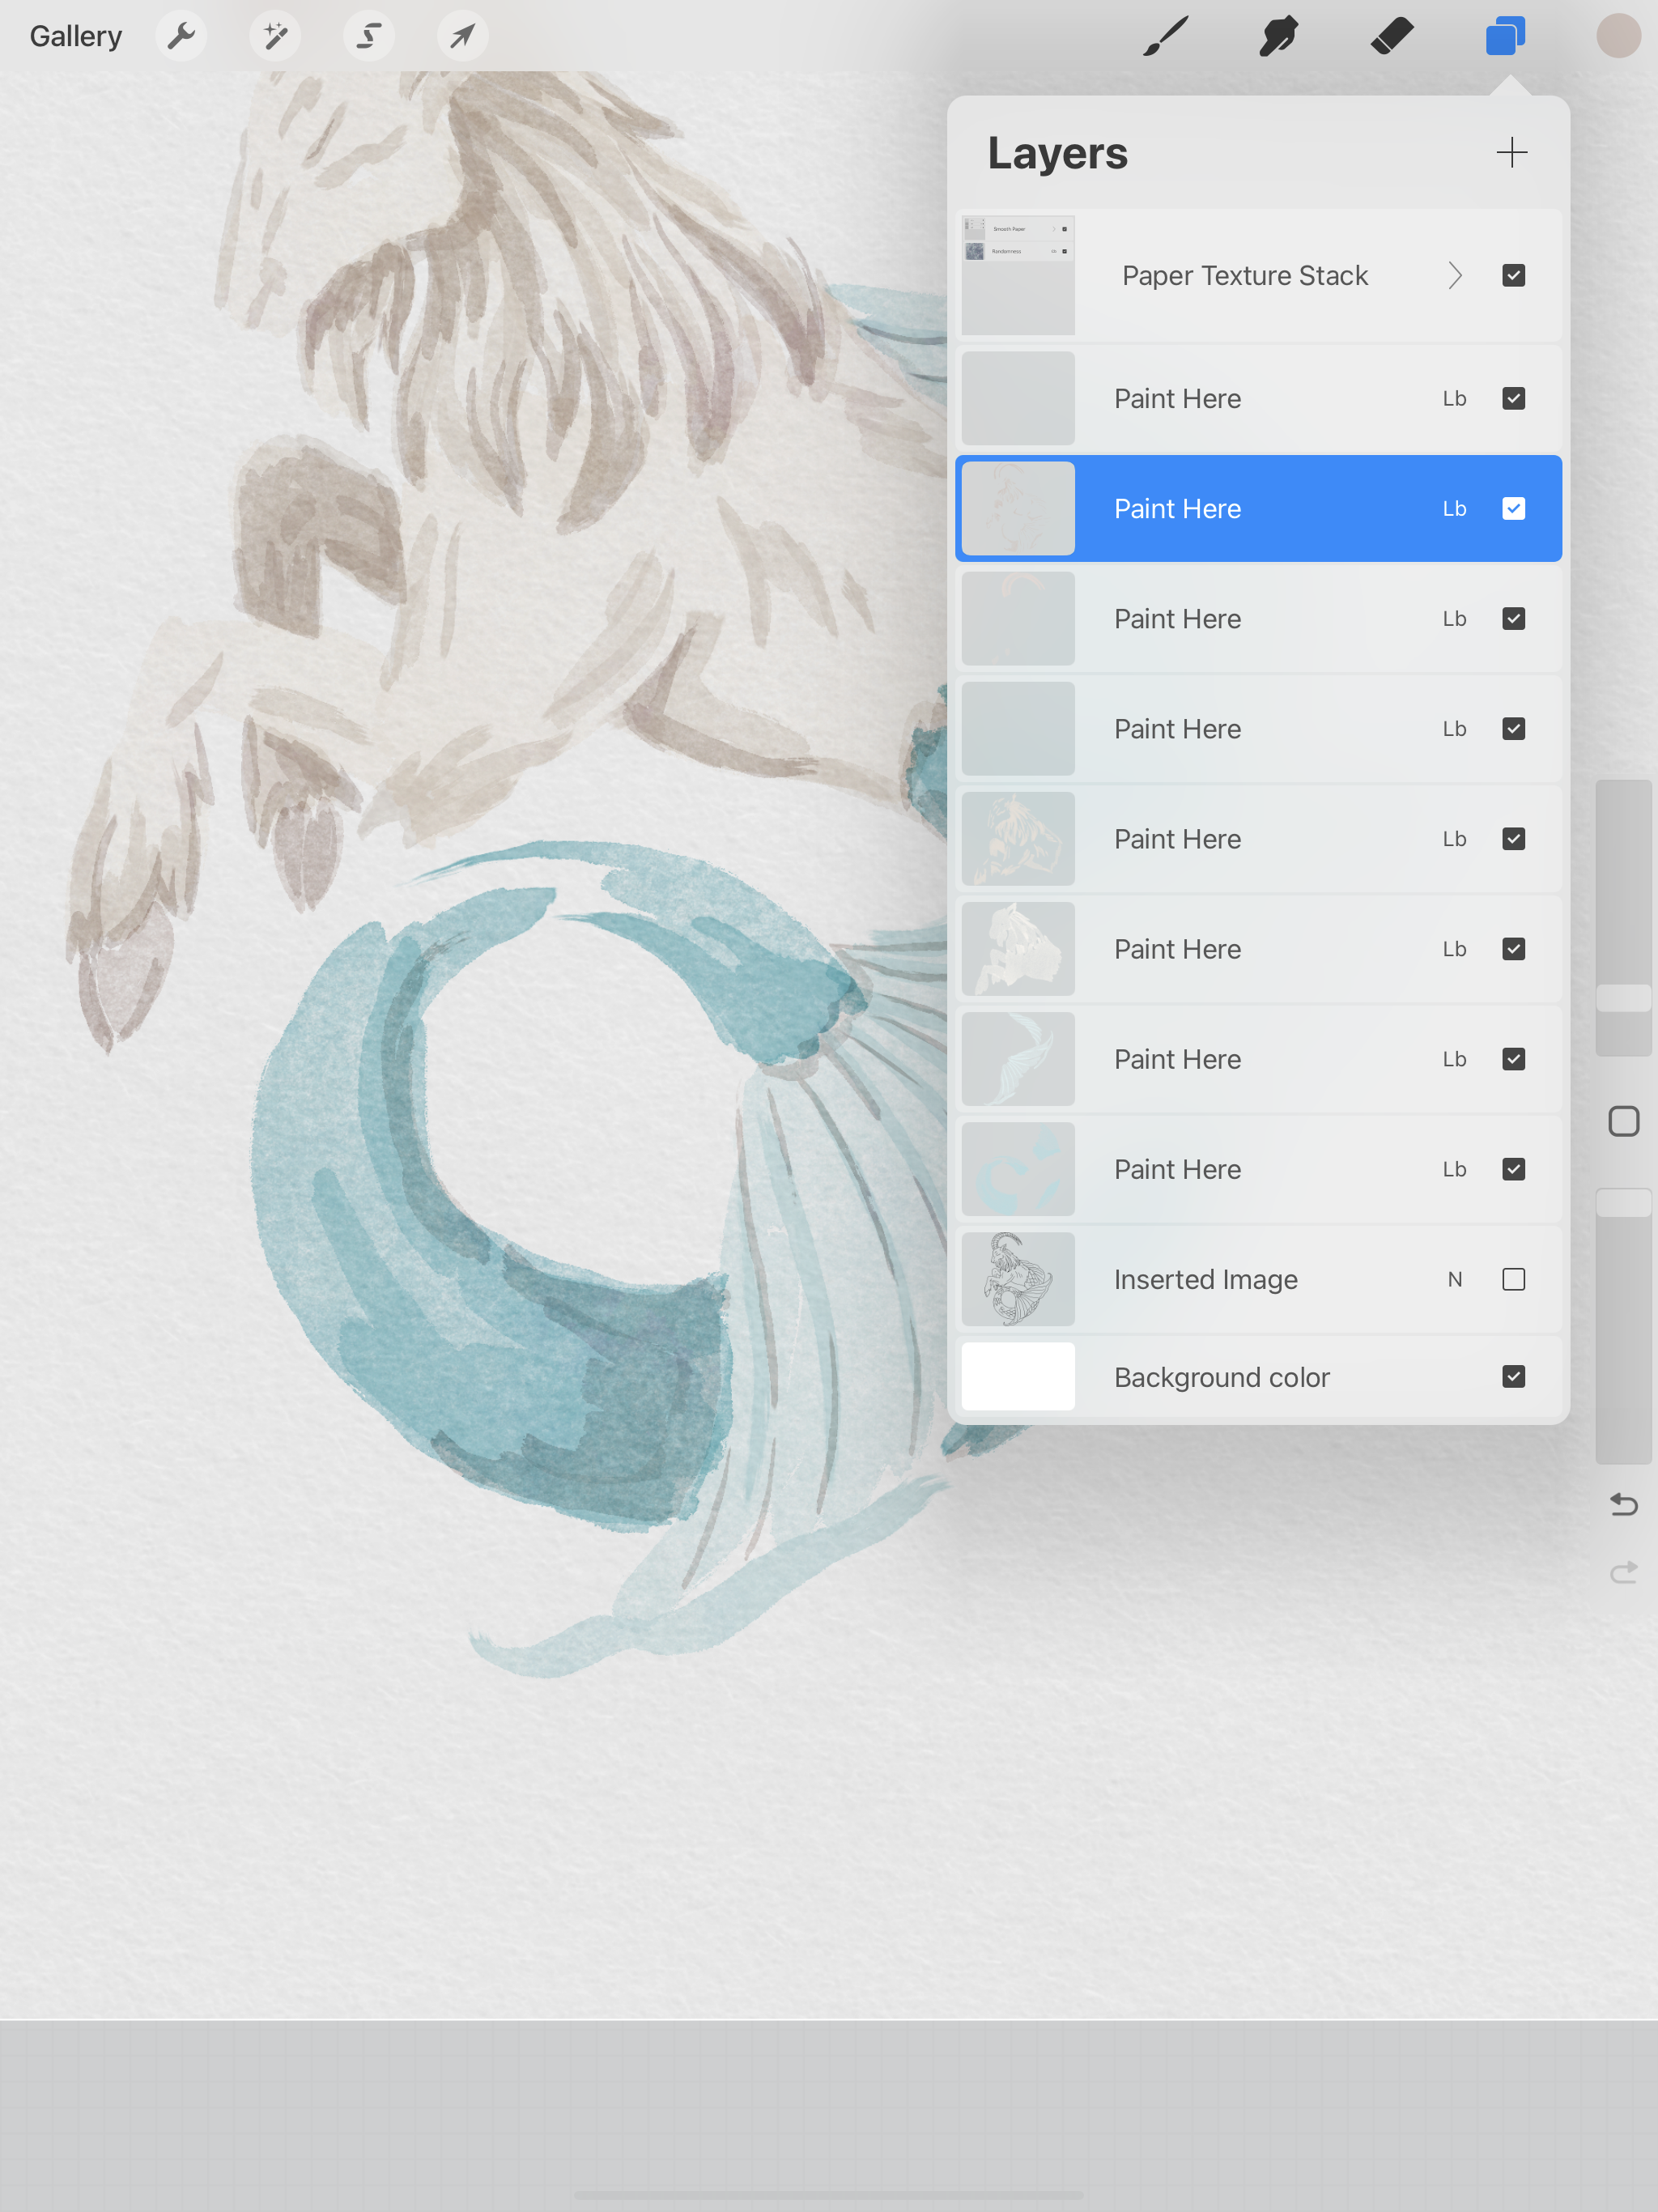
This brush also layers very nicely, once I’ve got my base layer down I can go back in and make some darker areas like with real watercolor.
I still like to keep all of my colors on separate layers, so it’s easier for me to go back and make any color adjustments if needed.
Once I’ve got my base colors down, I’m going to add some more shadows. The color I started out with was little dark, but I ended up adjusting my layer opacity to 50%.
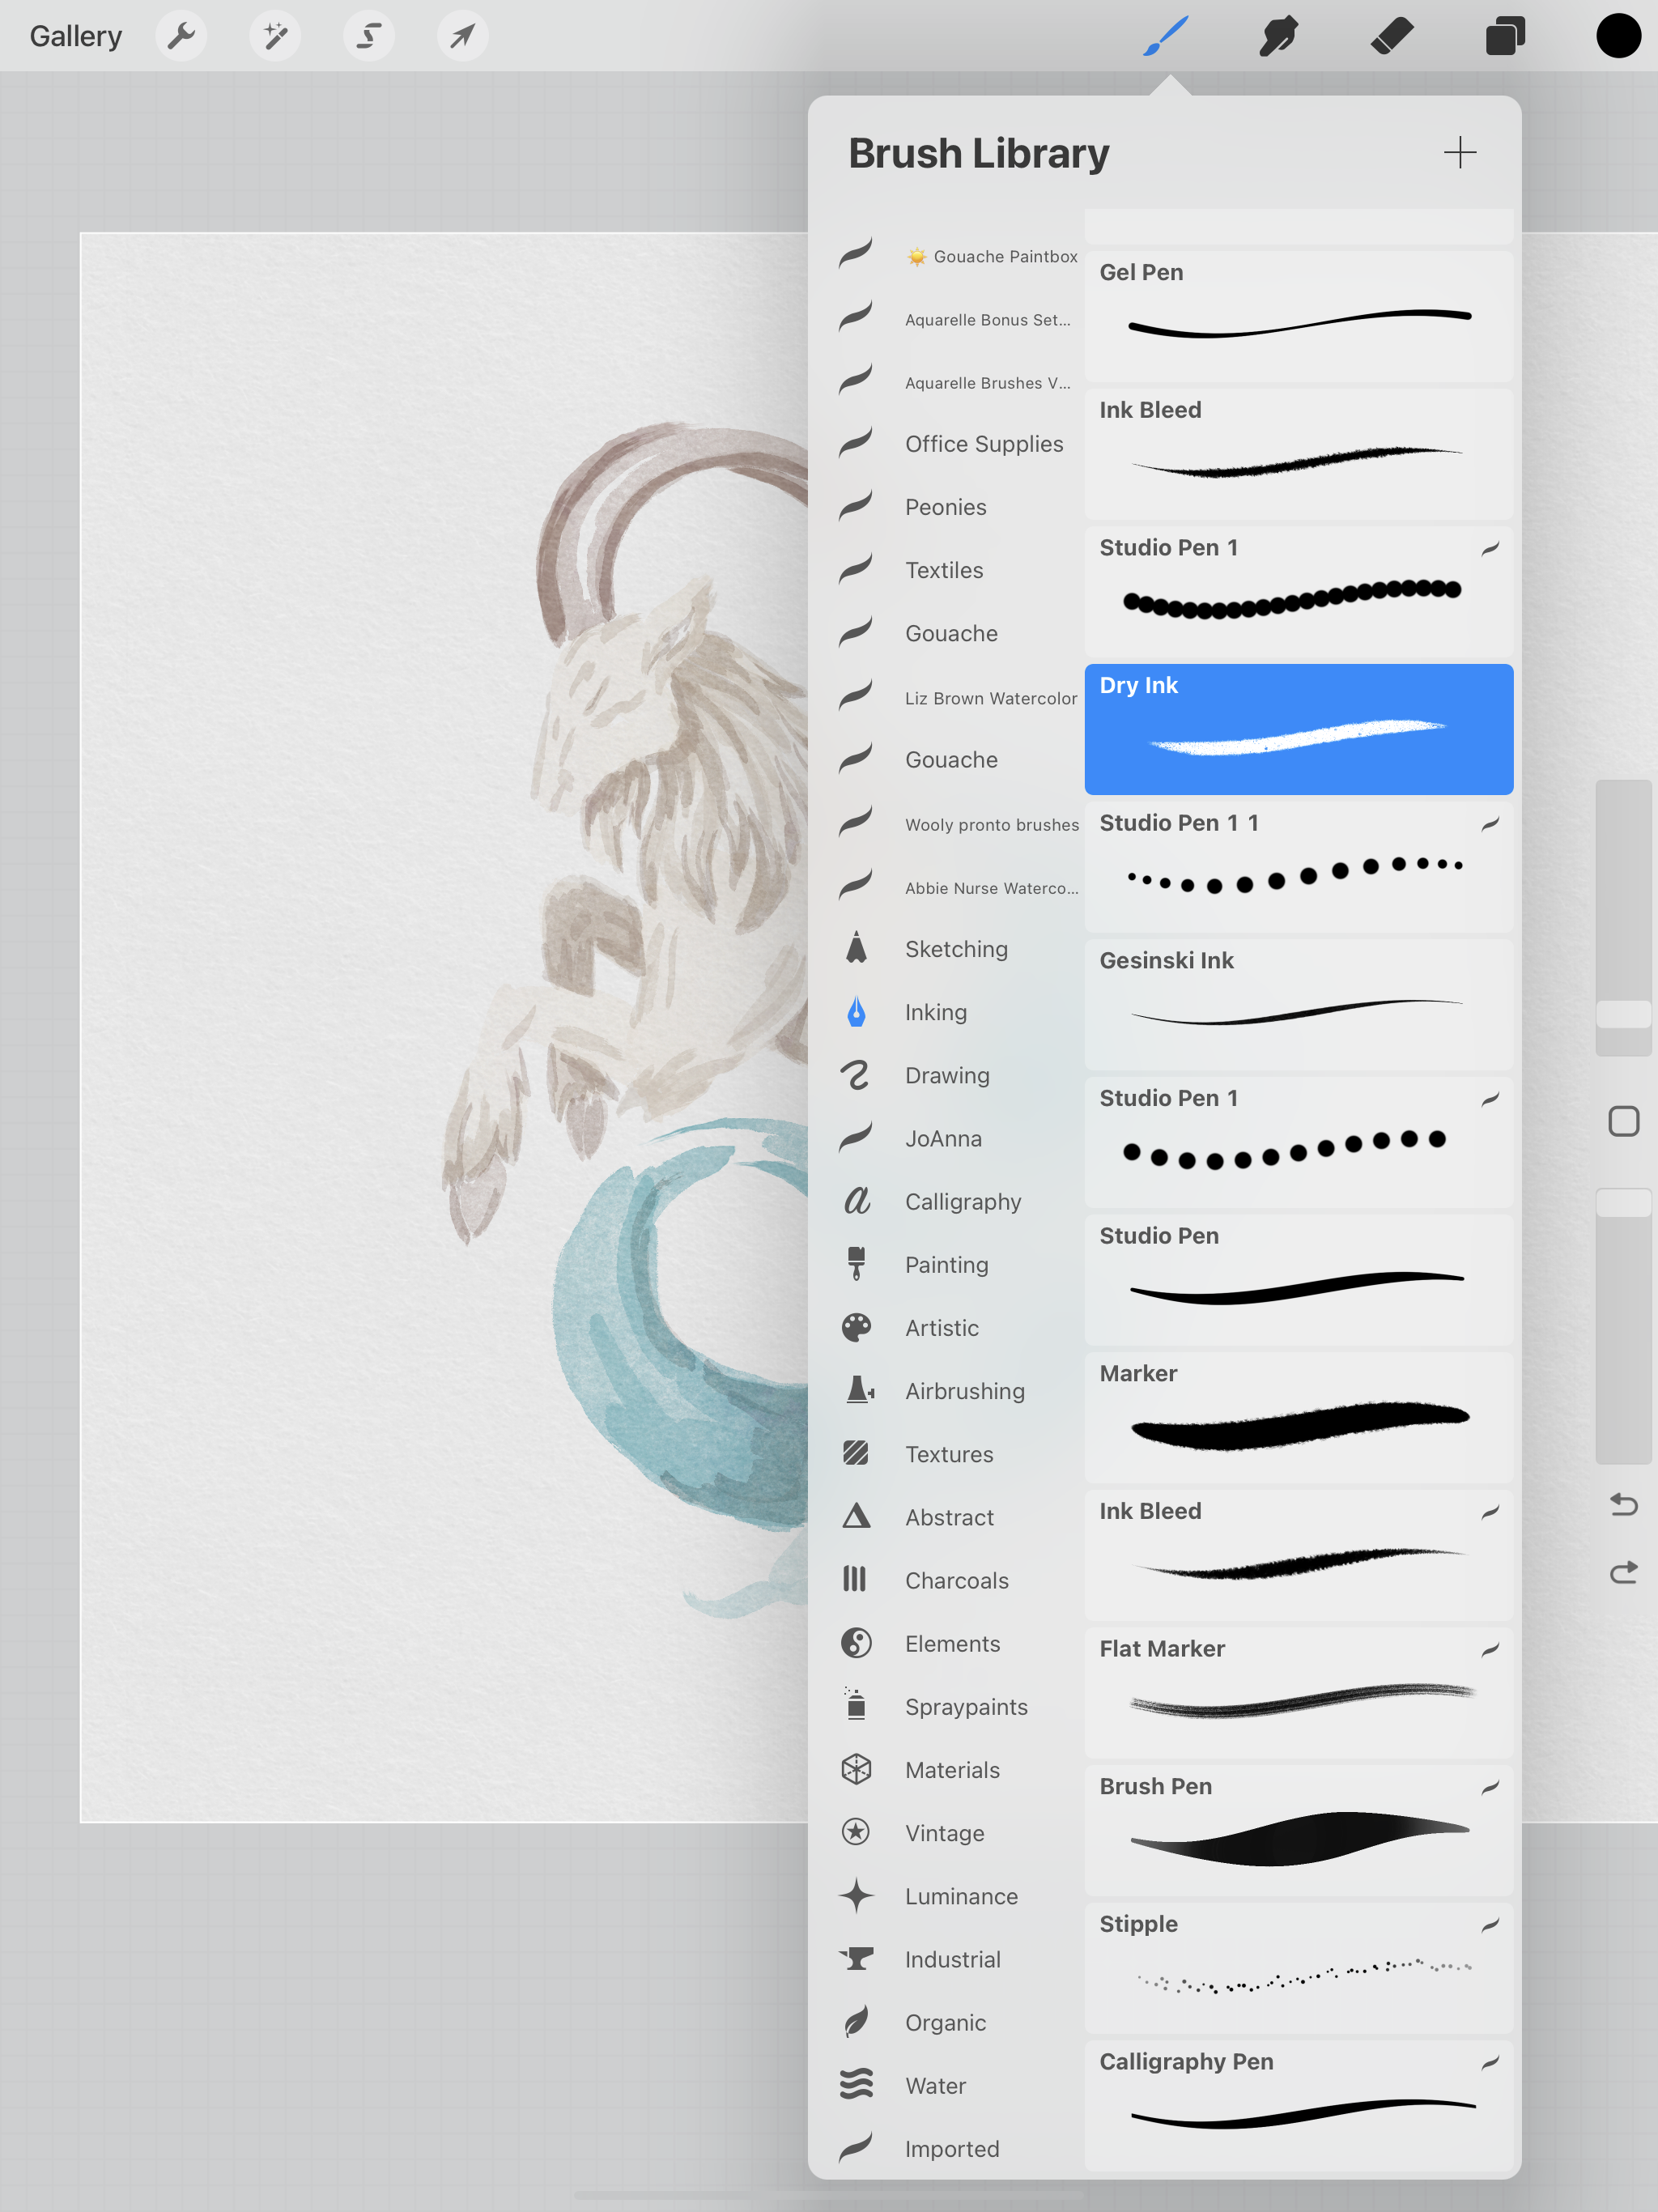
Now for my finishing touch, I’m going to use the Dry Ink pen that comes with Procreate (you can find it in the Inking brushes) I want this to look like I quickly went around it with an old Micron pen. I’m going to loosely trace around my original one drawing, but I’m not going to worry about being too precise. I want this illustration to have a looser feel than my gouache style painting from last week.
Now it’s finished, and here’s a side by side with my painting from last week. I can use these painting as clip art for stickers and I also plan to make some repeating patterns once I have finished all the zodiac signs.
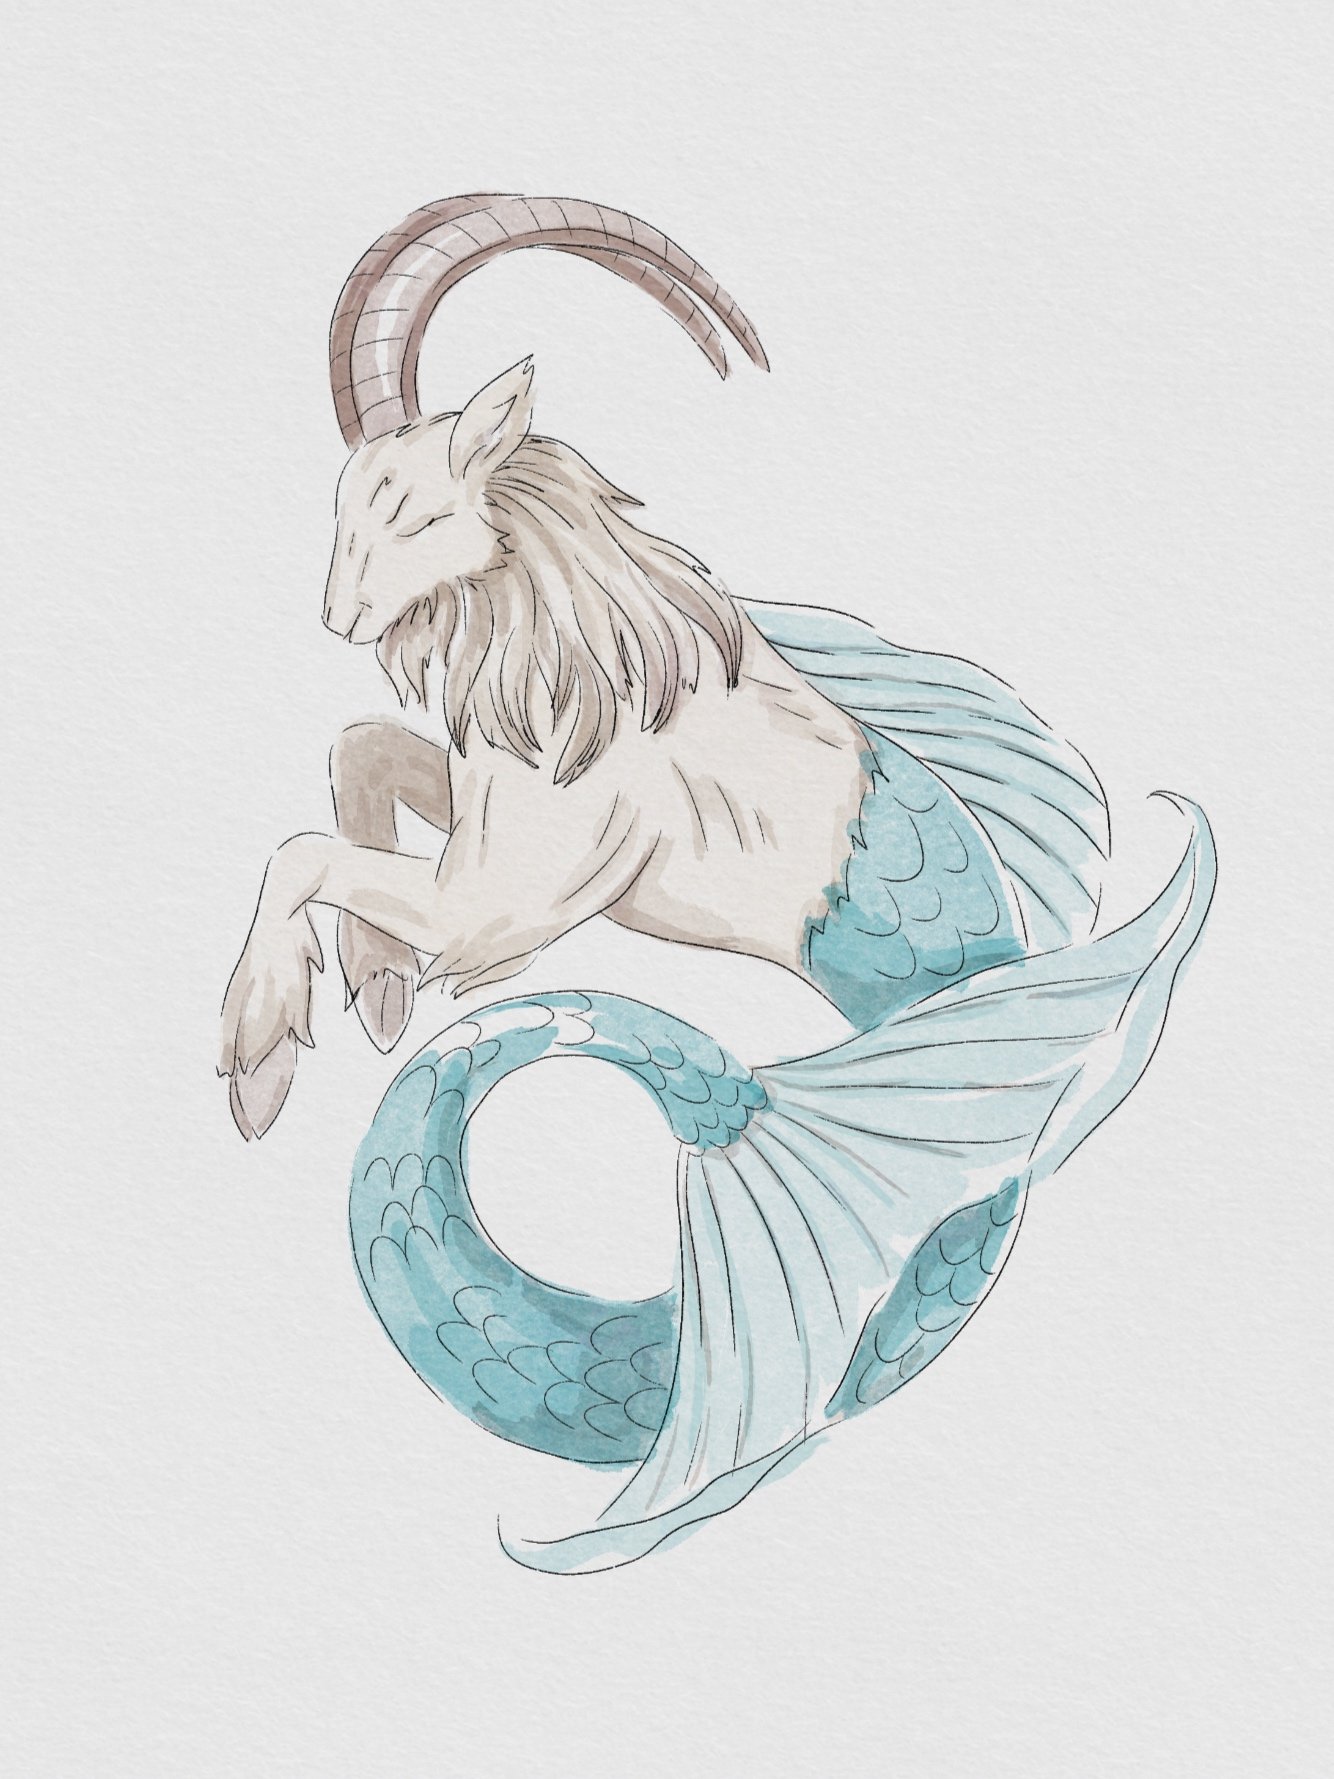
Watercolor style with black ink details
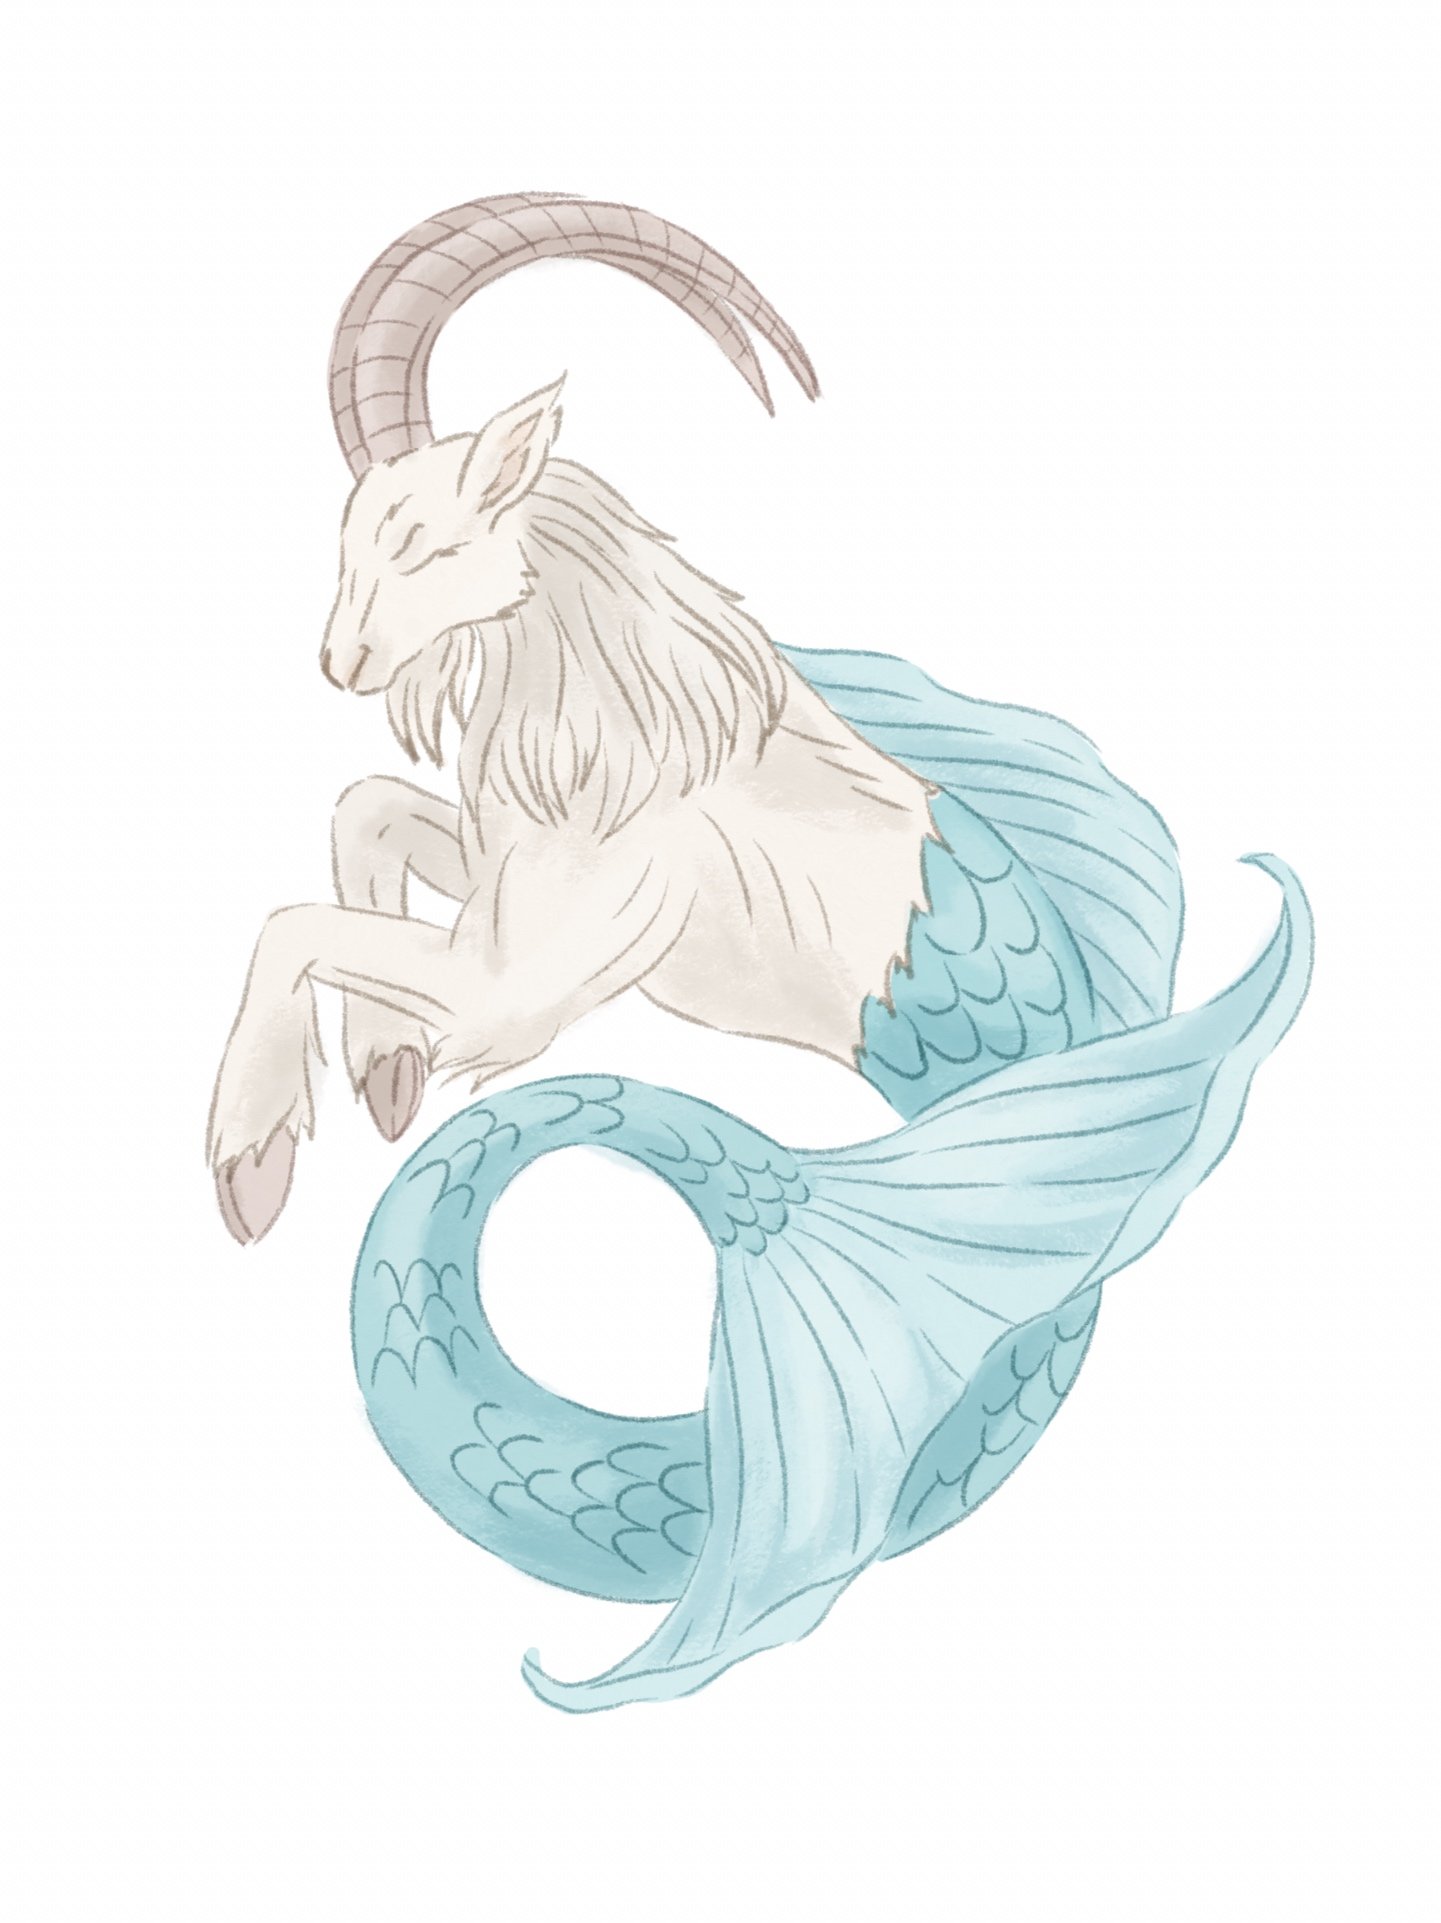
Gouache style with pencil details