
Hi Everyone!
Online, I see suggestions all the time for using the Cricut Snap Mat feature to cut stickers. I’m going to give it try this week! (SPOILER ALERT: This is not one of my preferred methods to cut stickers).
First things first, Snap Mat is only available on the Cricut App, not the desktop version of Design Space. I’m going be using my iPad Pro, but you can also use your phone.
I’m going to try cutting the same kitty stickers I’ve been cutting the last few weeks so we can also compare the results.
I’m going to test this out initially on plain paper so I don’t waste my sticker paper. I’ve got a test sheet already printed on plain paper and I’m going to place it on my mat. For this feature, I should be able to place it anywhere on the mat.
In order to access the Snap Mat feature, you need to have your cutlines already created in Design Space or uploaded into Design Space from Illustrator or other software. I’m going to open the cutlines for the kitty stickers that I already have uploaded from Illustrator and saved to Design Space.

Then I’m going to tap the little green Make It in the bottom right corner.
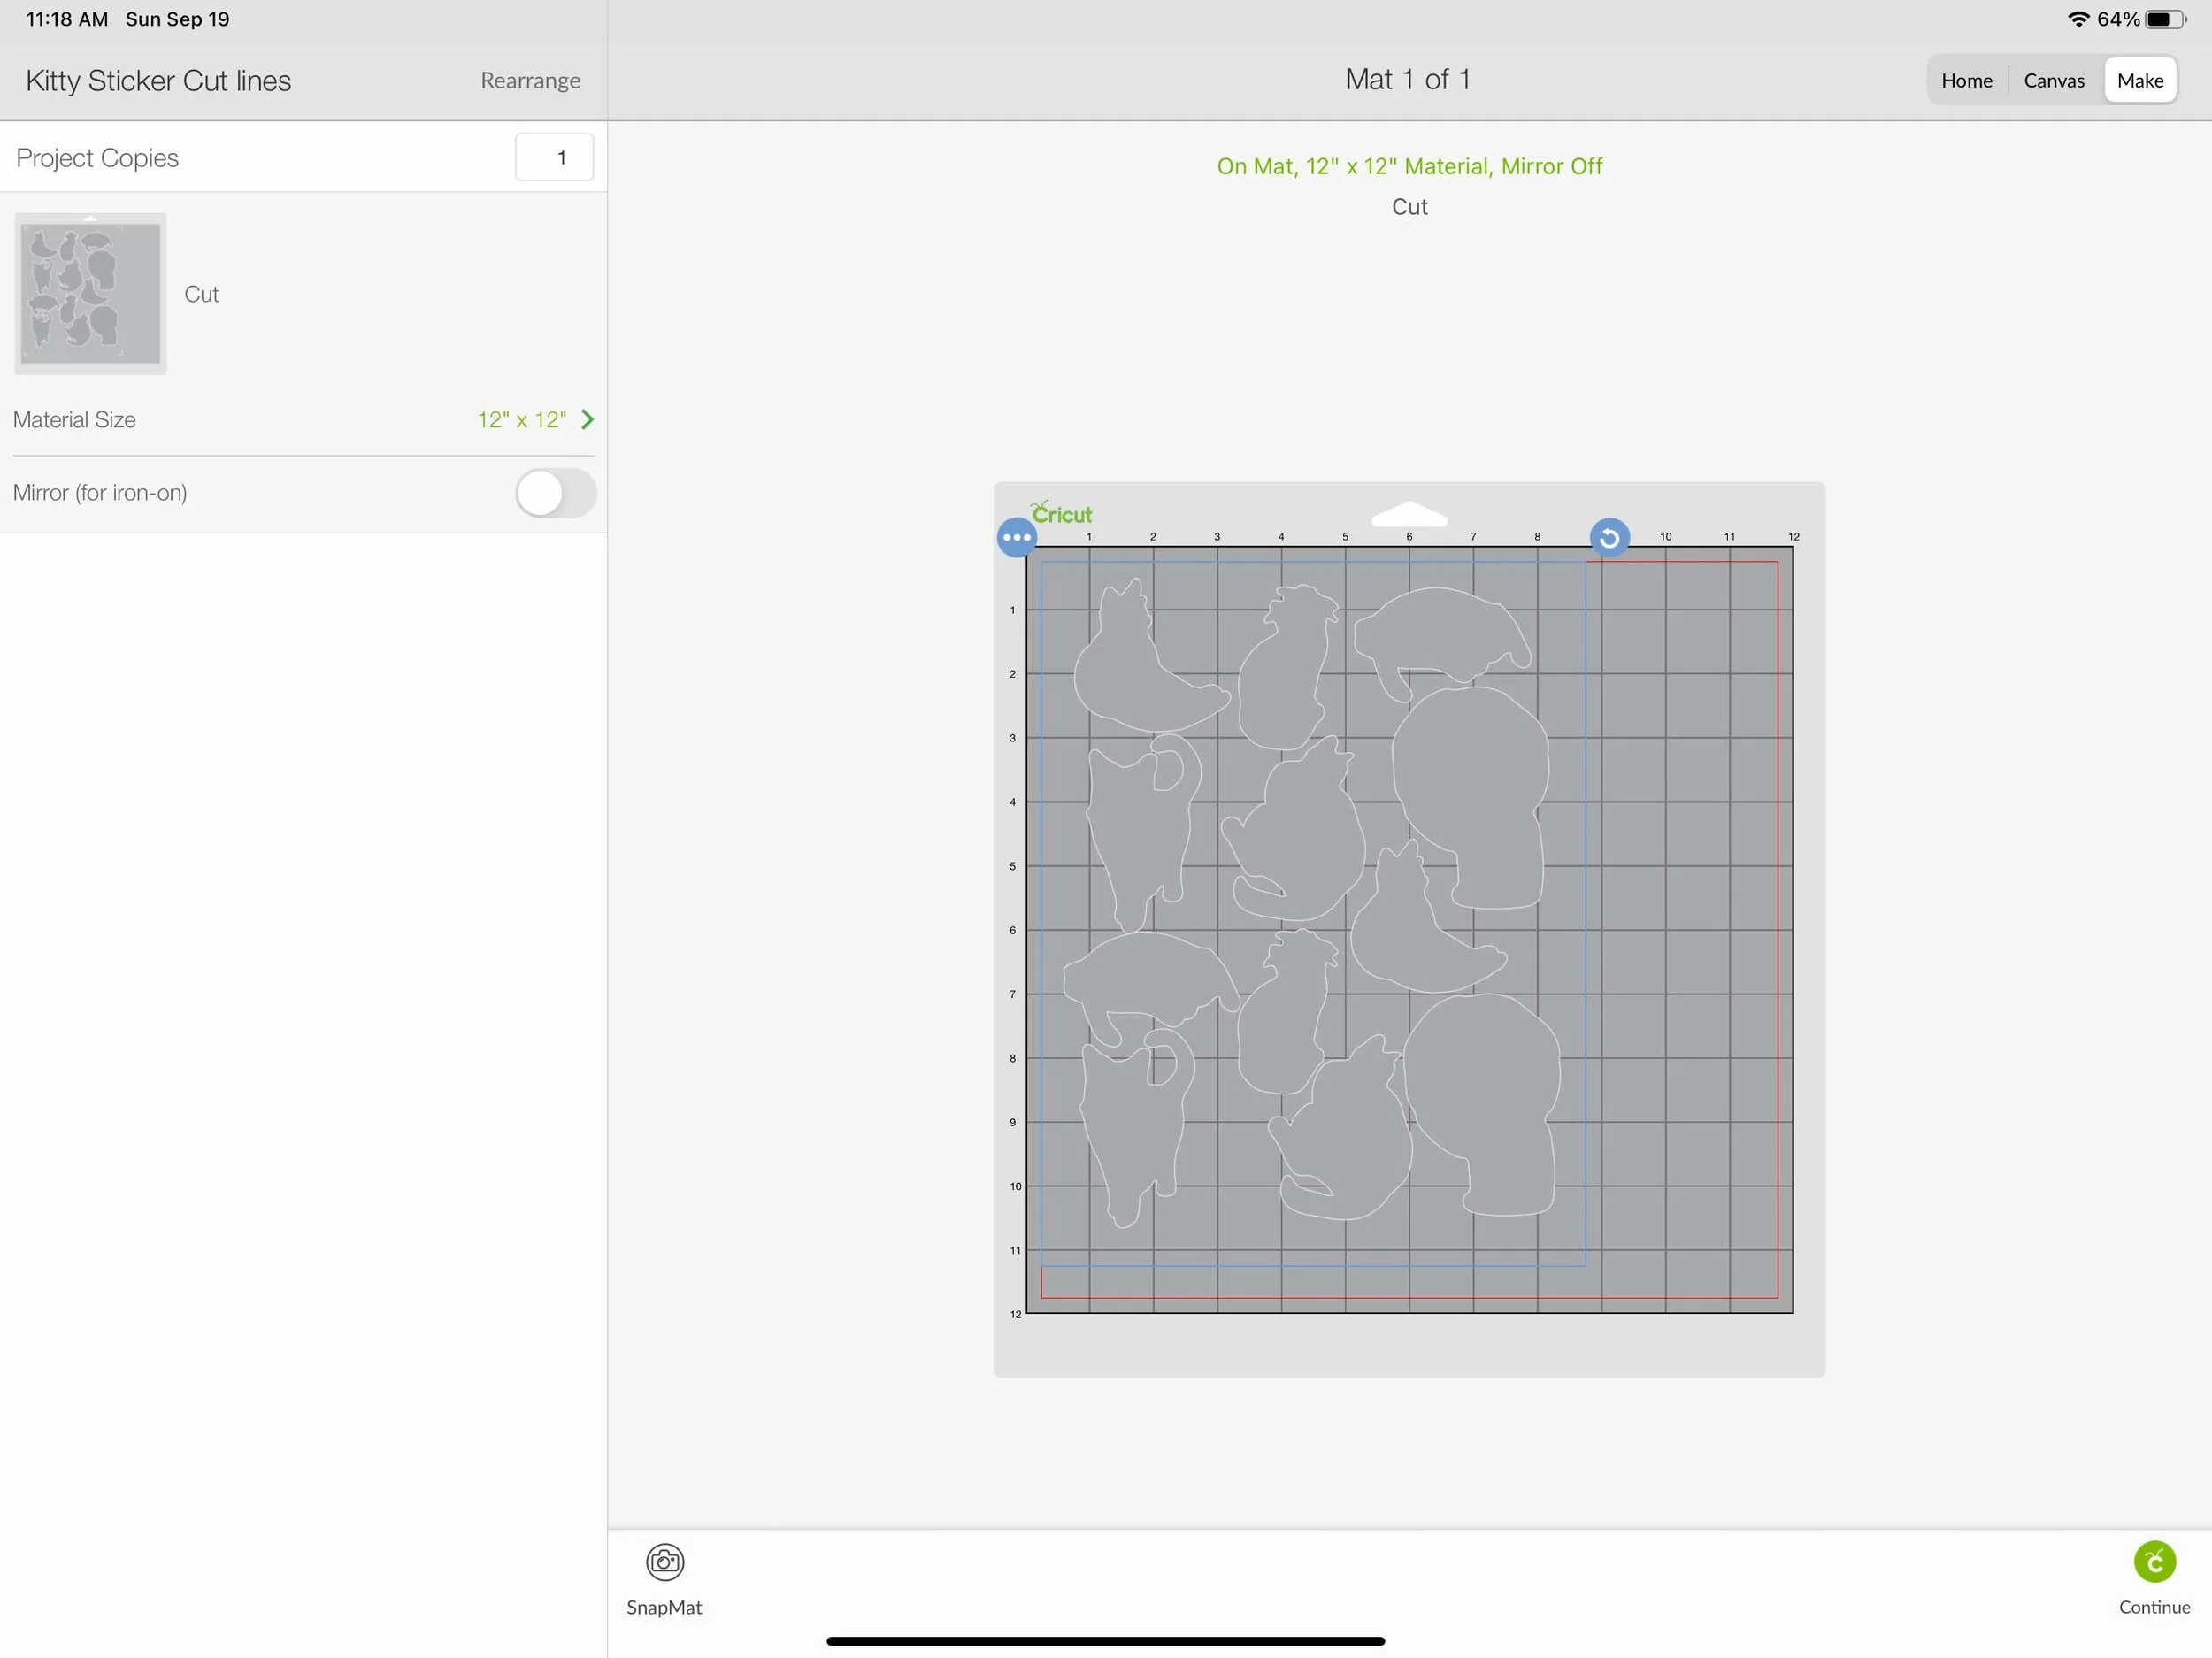
It takes me to the Make It screen, and down in the bottom left corner there is a little camera icon. Press the camera icon and it’s going to bring us into the Snap Mat feature.
I’ve got my mat with my print out already placed. I am holding my iPad above the mat and trying to get the entire mat within the frame. (It can be little difficult to do if you just finished your morning coffee, like me). It need up being easier to put my mat on the floor and stand over it with my iPad.
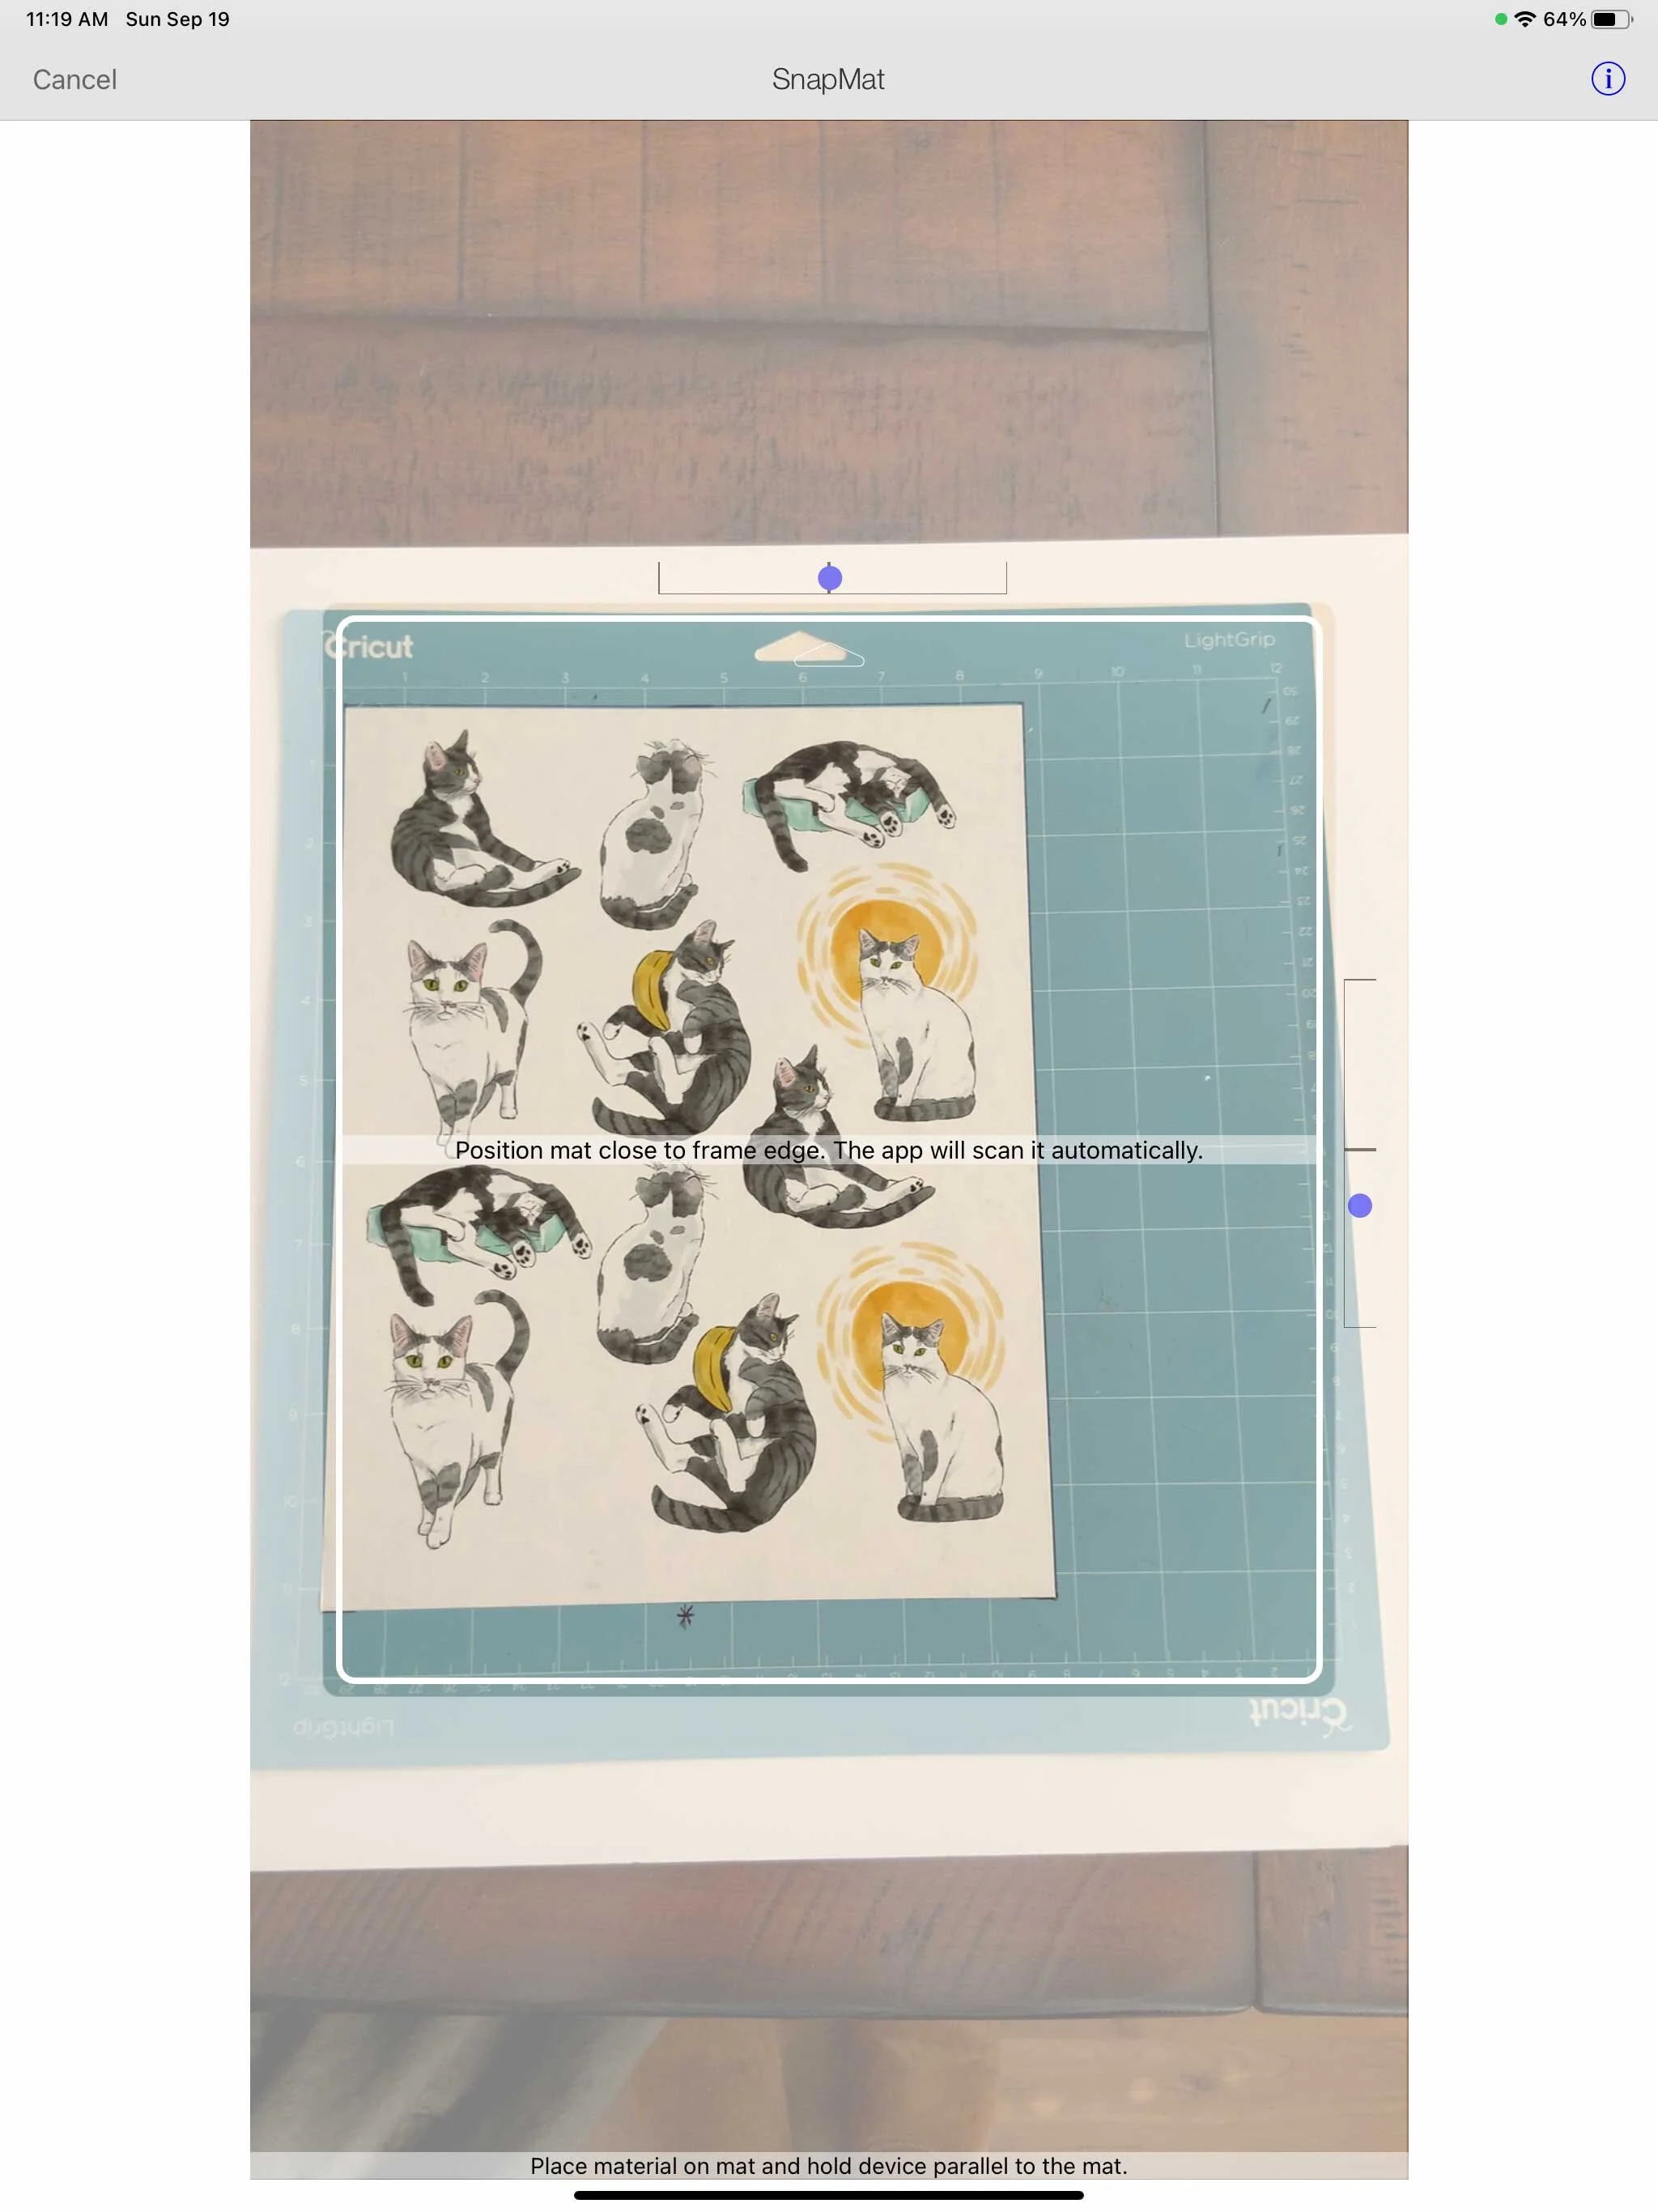
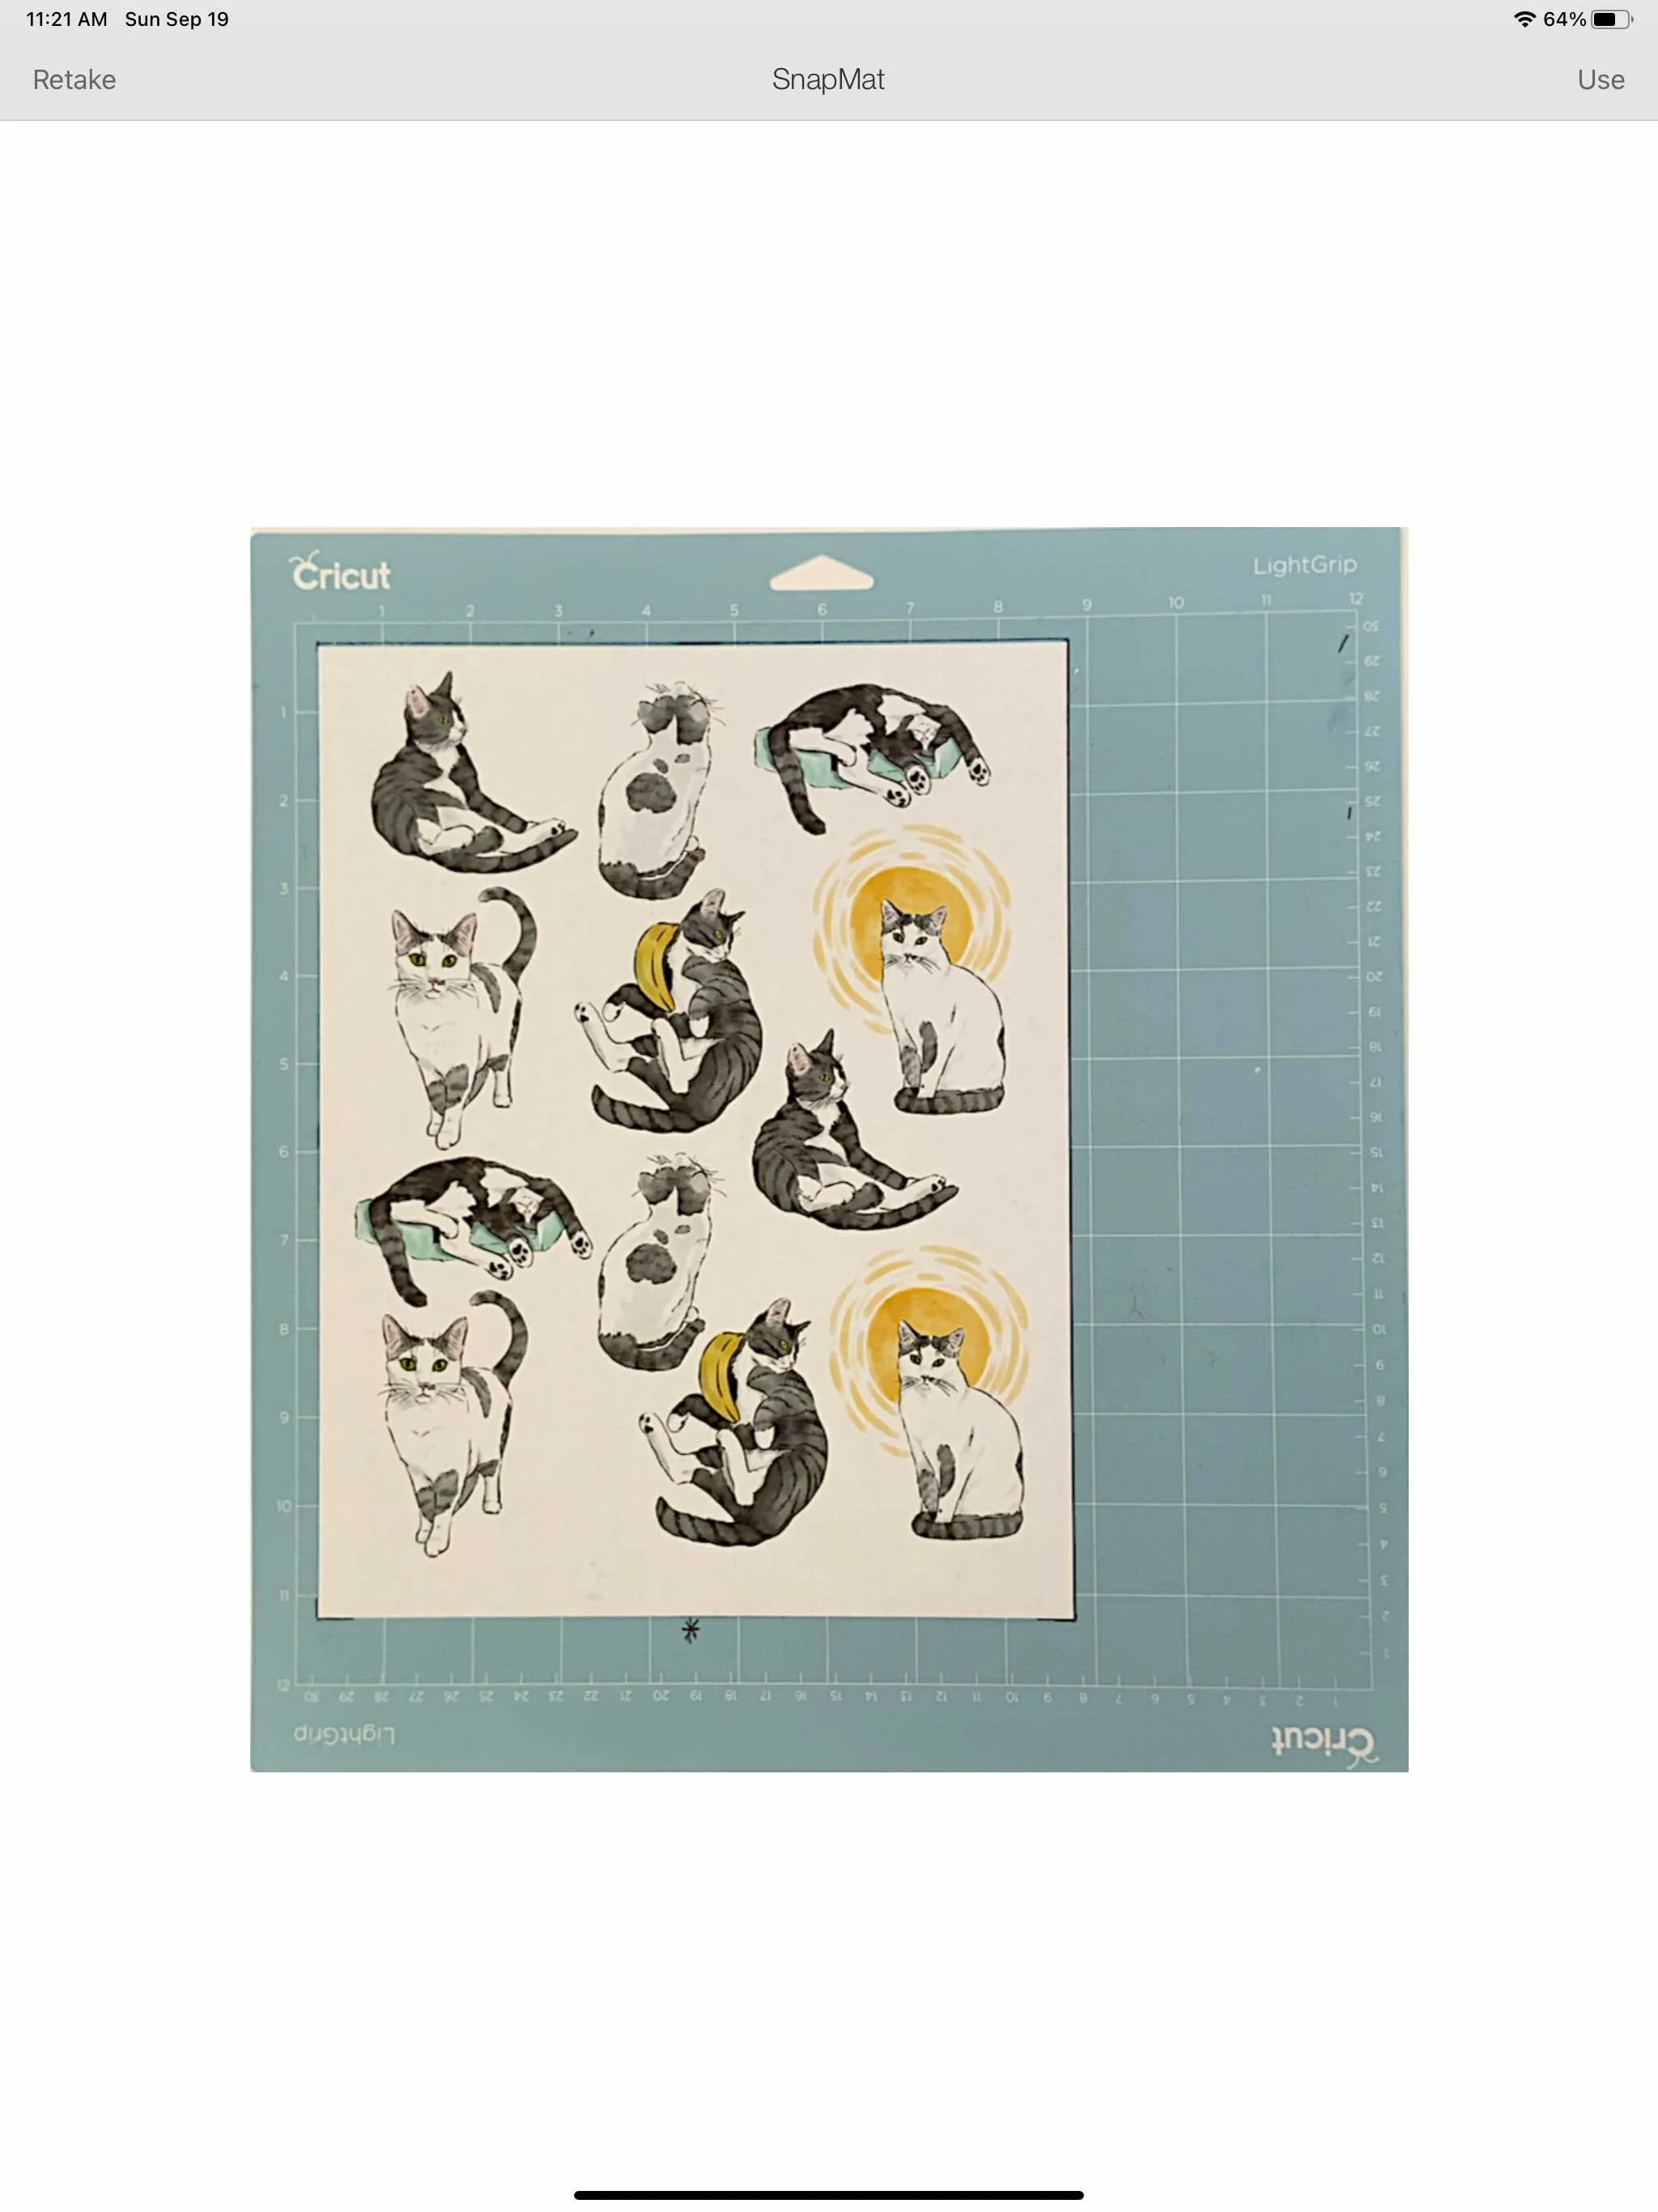
Once the mat is in a position the program thinks will be acceptable it will take a photo and bring it up on your screen. You can decide if you want to use the photo it just took or retake it. I try to make sure my mat is pretty straight and there’s not a lot of “non-mat” area around the edges pf my photo.
Once I get one that I think will work ok, I select Use.
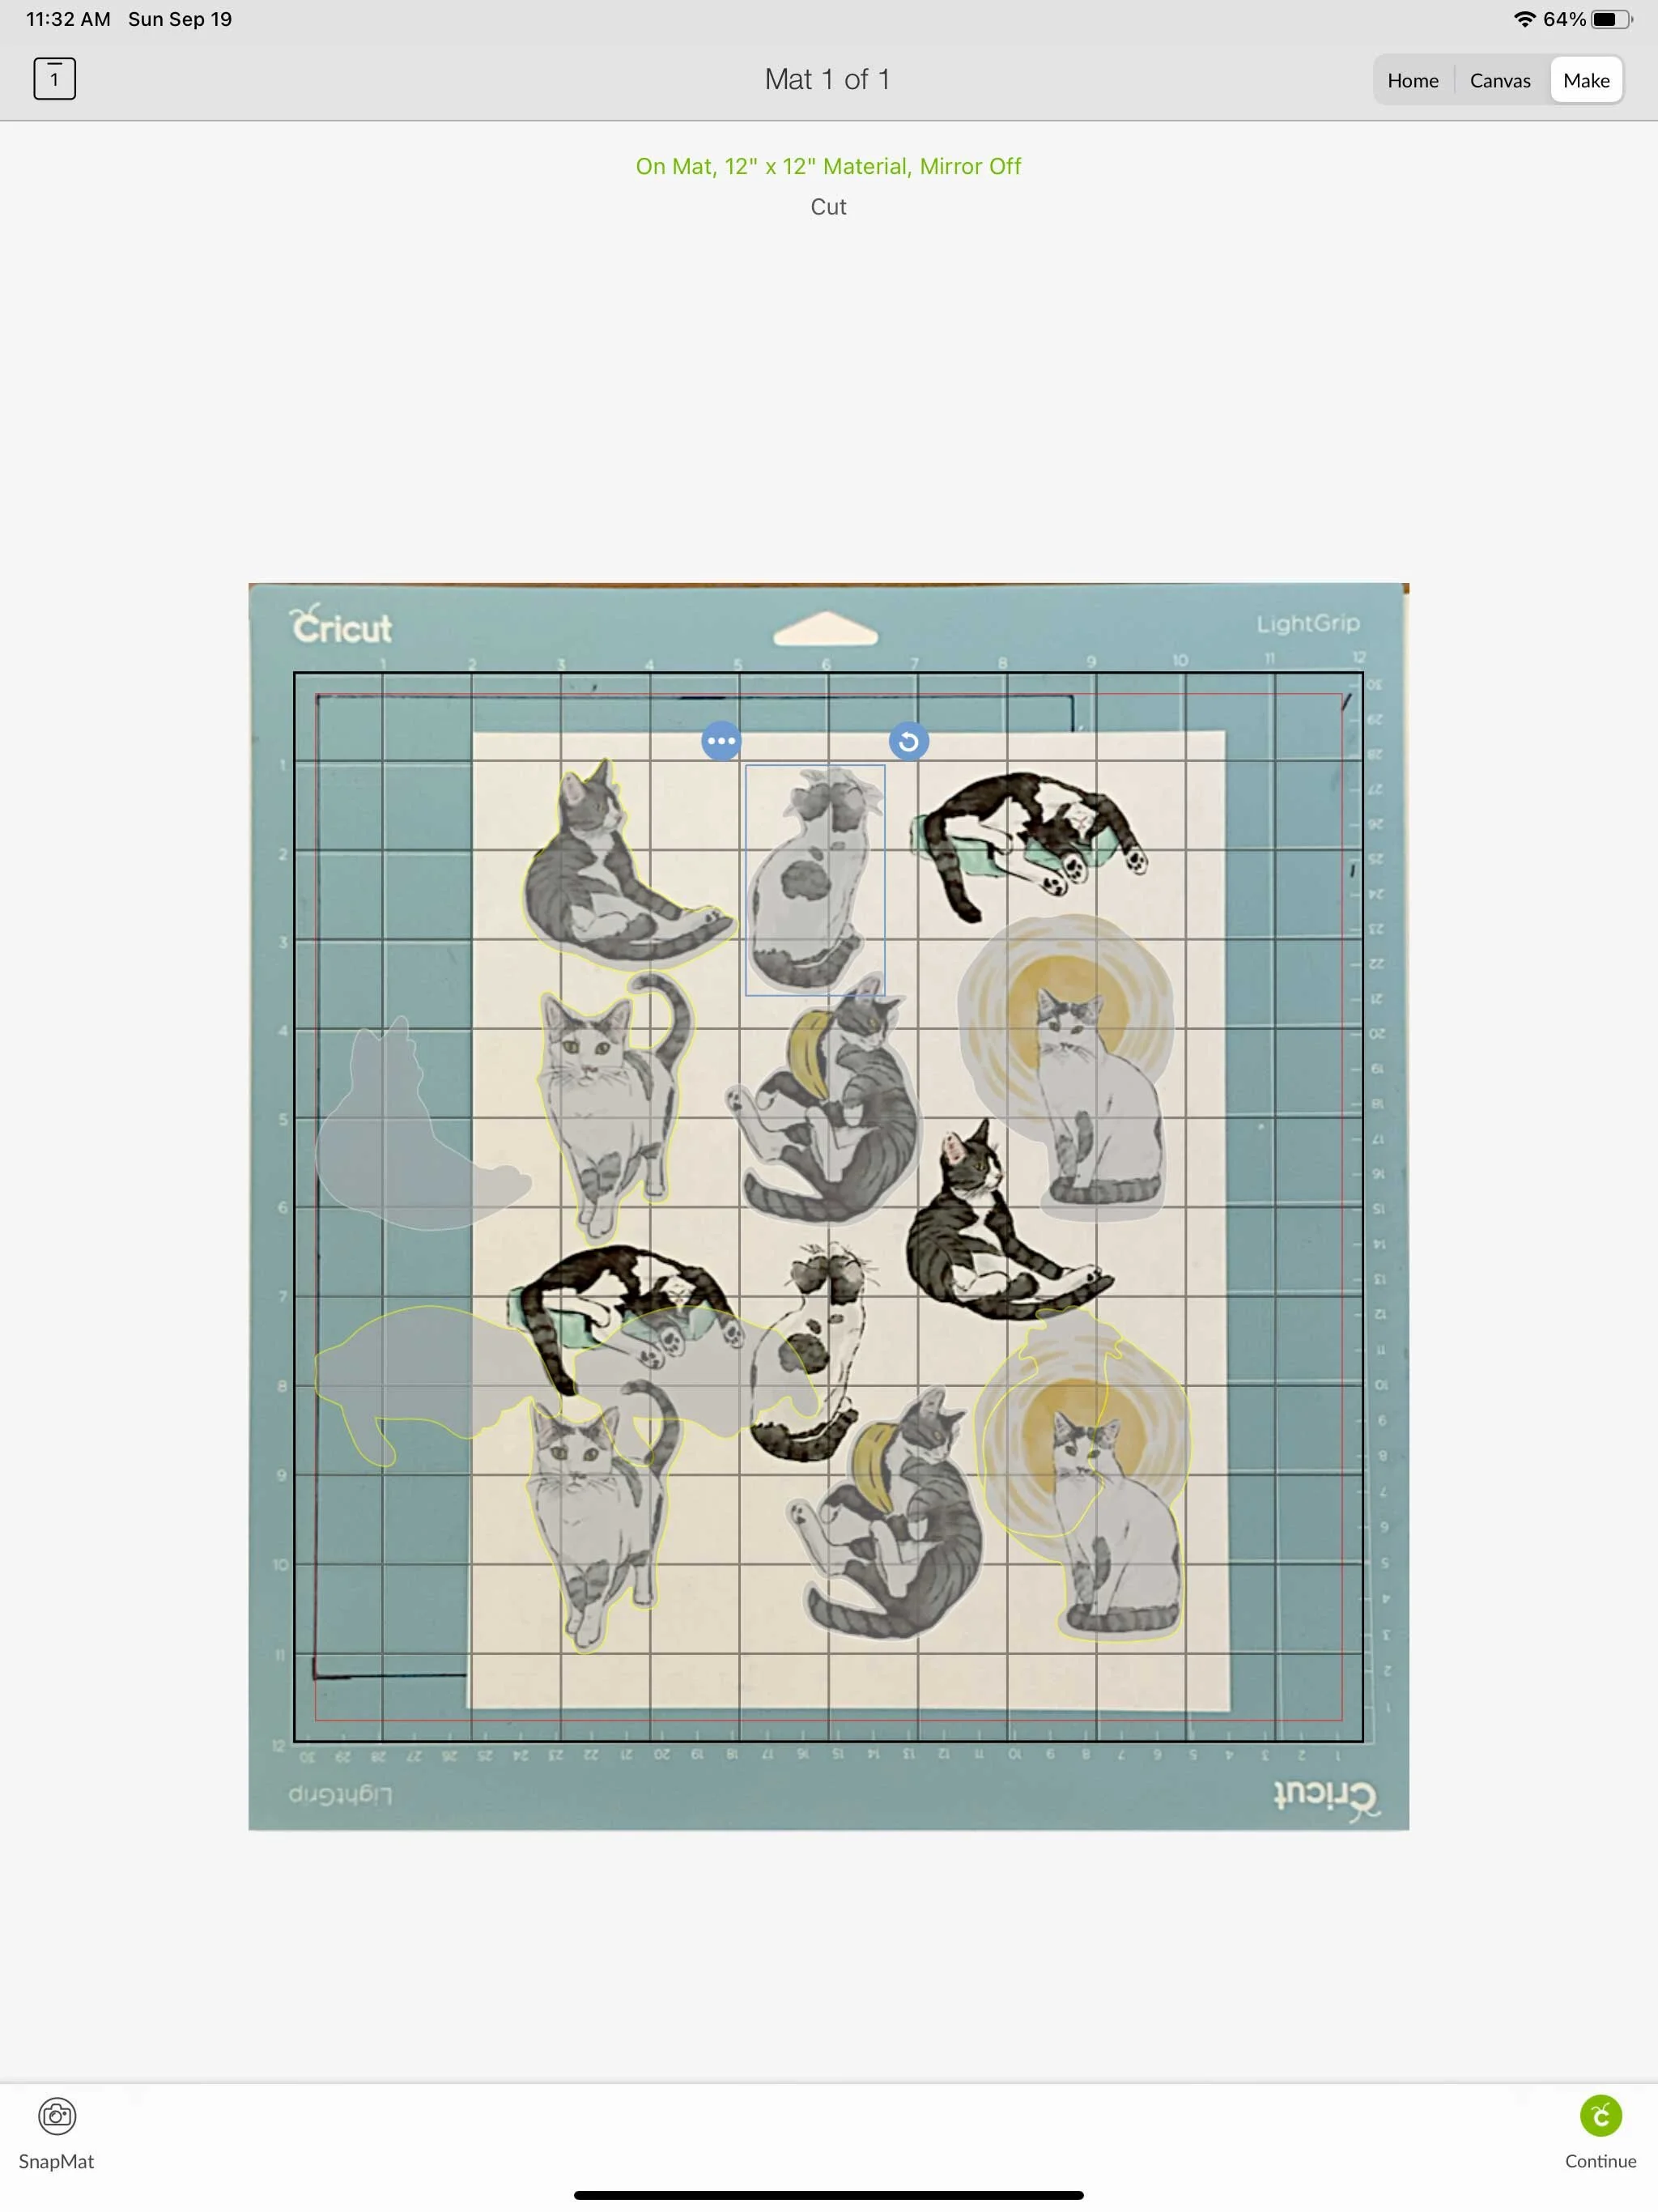
It brings me back to the Make It screen and now I need to position my cut lines. Originally I had all of my cut lines attached so it was all one big group that I could move around. I could get the lines pretty well aligned in some areas, but not in others.
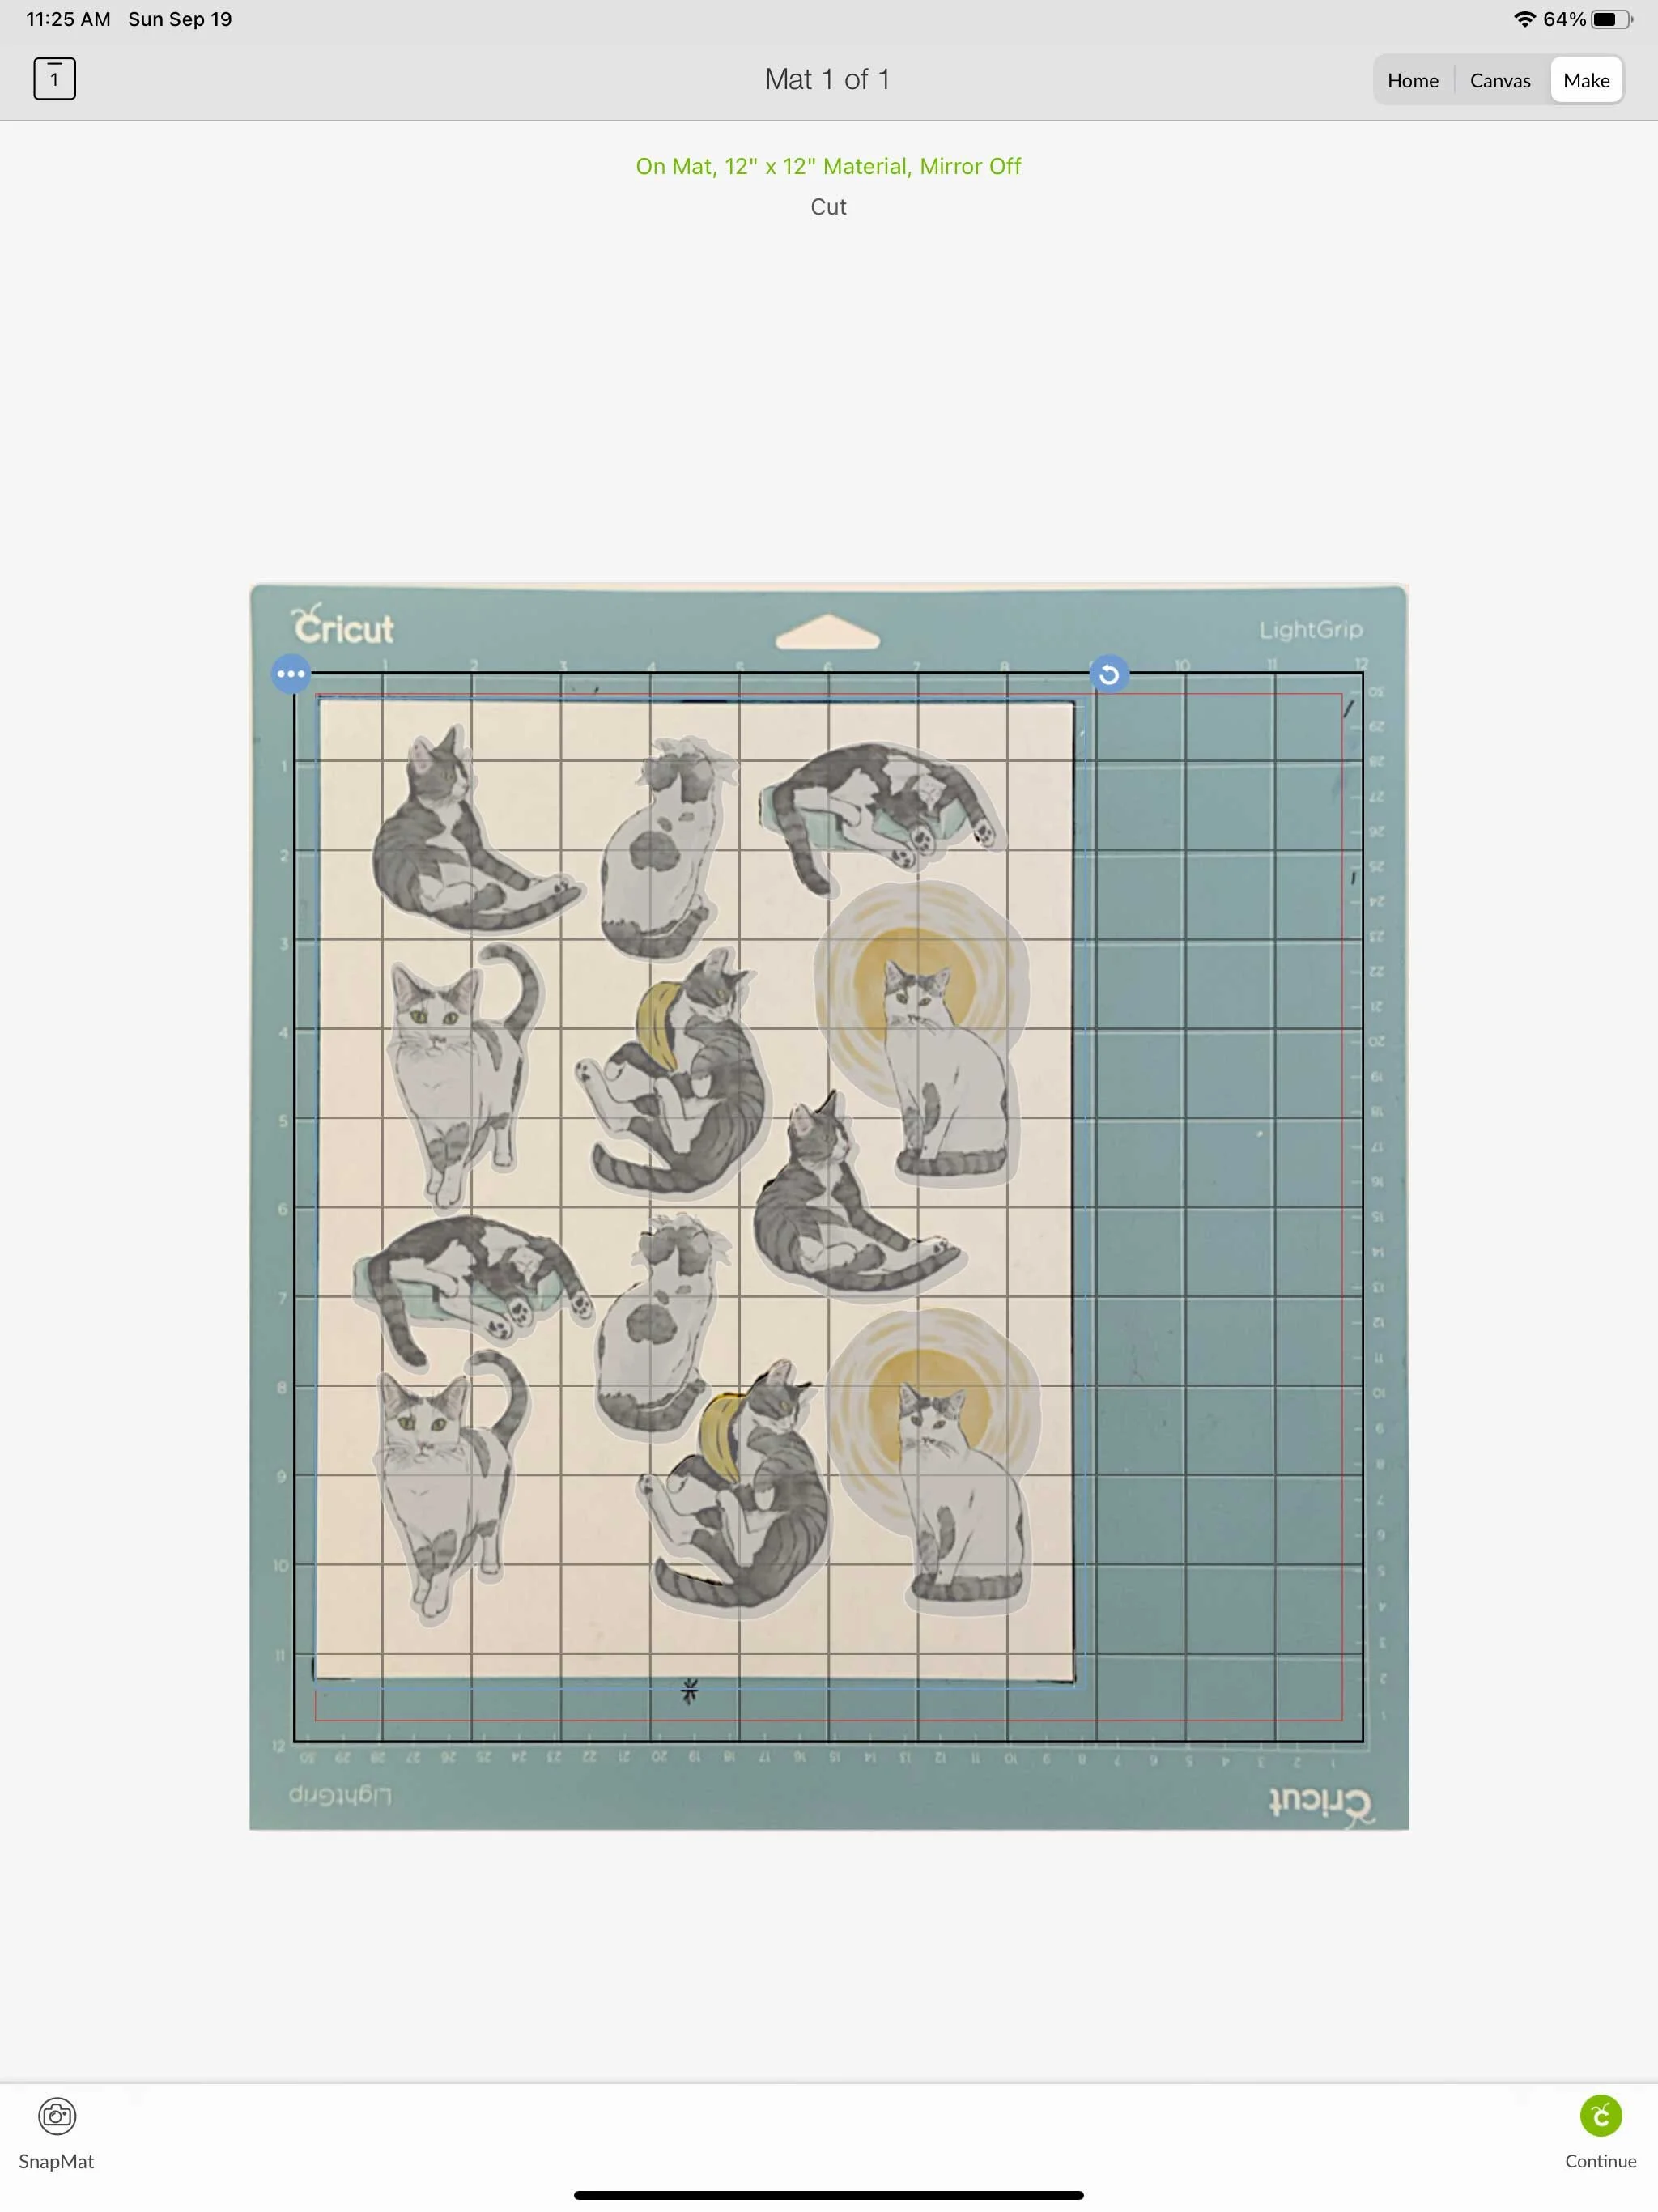
So I ended up going back to my canvas and unattaching all of the sticker outlines. Now I can move them around individually on the Make It screen. (Slightly tedious). I also moved my print on my mat so it’s closer to the middle and I have more space to move my cut lines around
Once I get my cut lines all positioned, I press make it and send to my machine.

I am loading my mat how I showed you in Part One of cutting full sticker sheets - mat all the way against the left bracket, and push up against the black rubber rollers. I don’t know if it really affects this method, but I try to always load my mat this way, just out of habit.
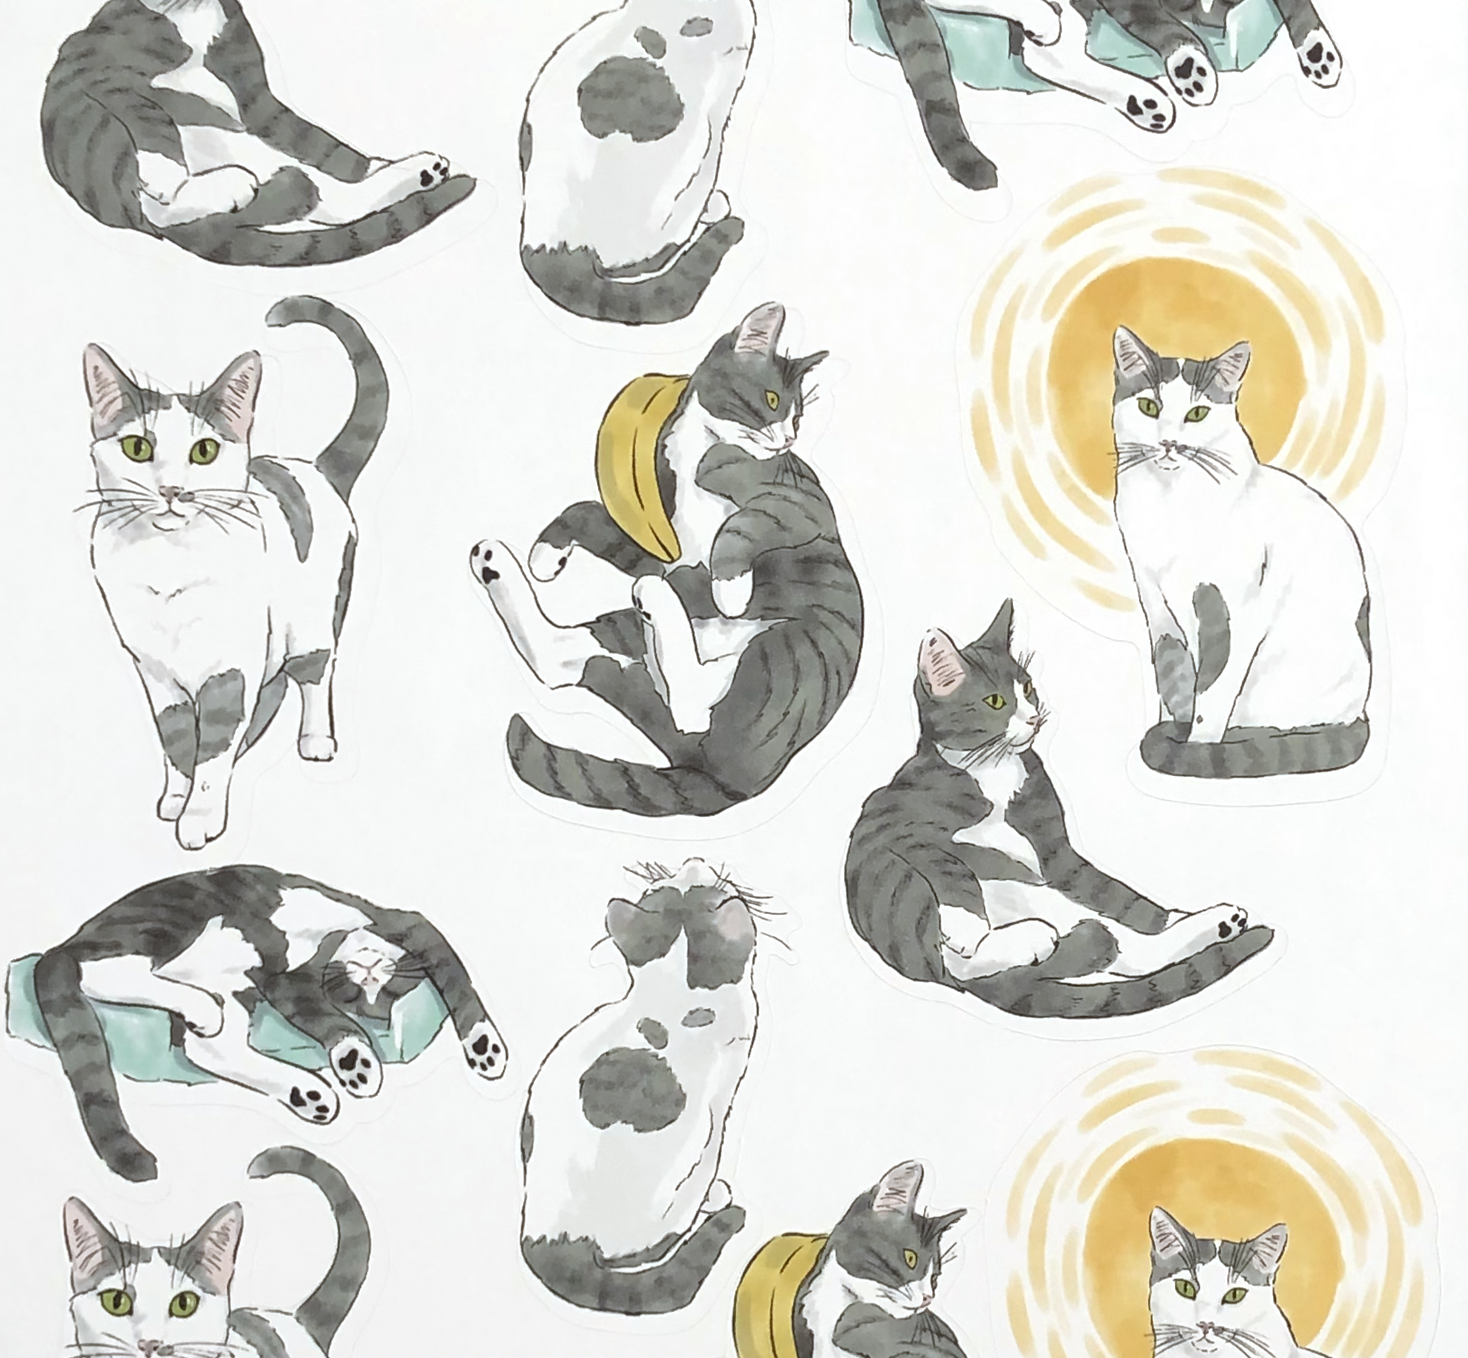
I press go, and once the machine is done cutting I check my cut. Not super perfect, but it still looks pretty good. Much better than the last time I tried to use this feature.

Now, I’m going to try with my sticker paper. I place my sticker sheet on my mat.
I have to use the Snap Mat button take another photo of my mat because my placement is most likely not the same as my test cut.
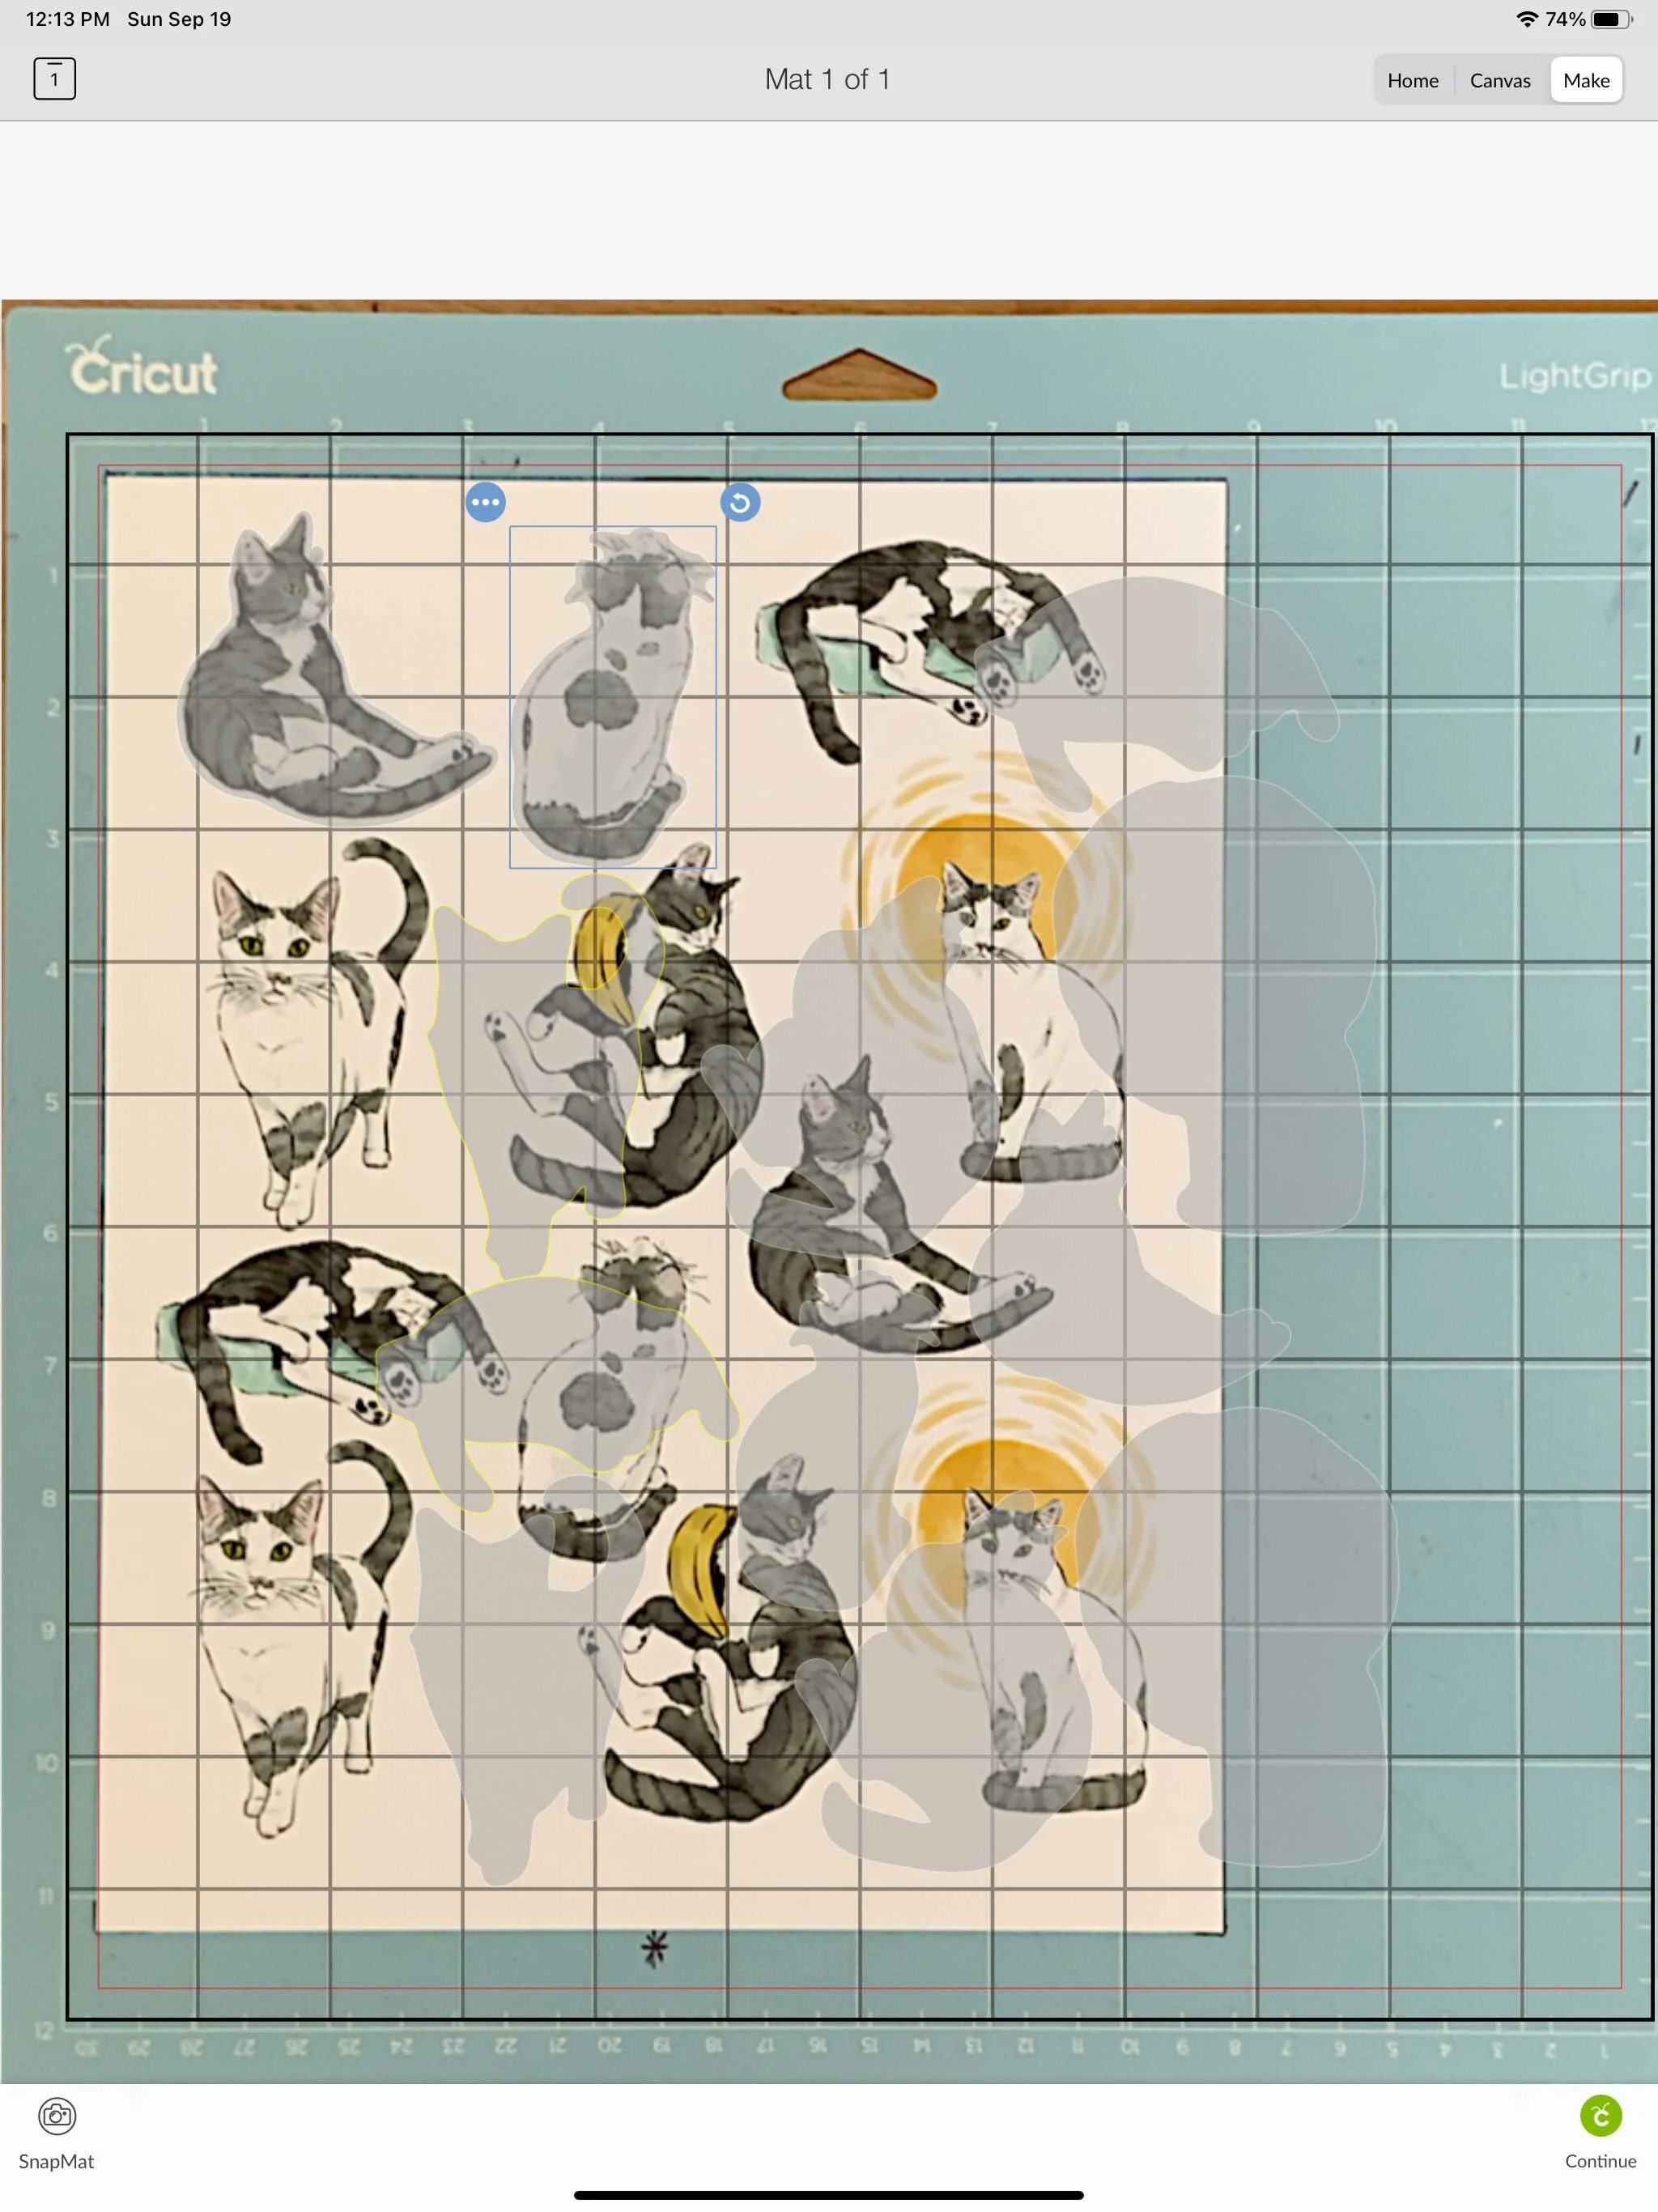
I need to move my cut lines around to match the new photo. Once they’re in place, I press Continue.
I’m going to do these as a kiss cut, so I select Washi Sheet as my Material. I load my mat into my machine and I press GO!
Uh Oh! Something’s not right and my cut lines are shifted too far down from my artwork.
I’m going to try another sticker sheet to see if I can get better results. I load another sticker sheet onto my mat. Go through all the Snap Mat steps again. Load my machine and press go.
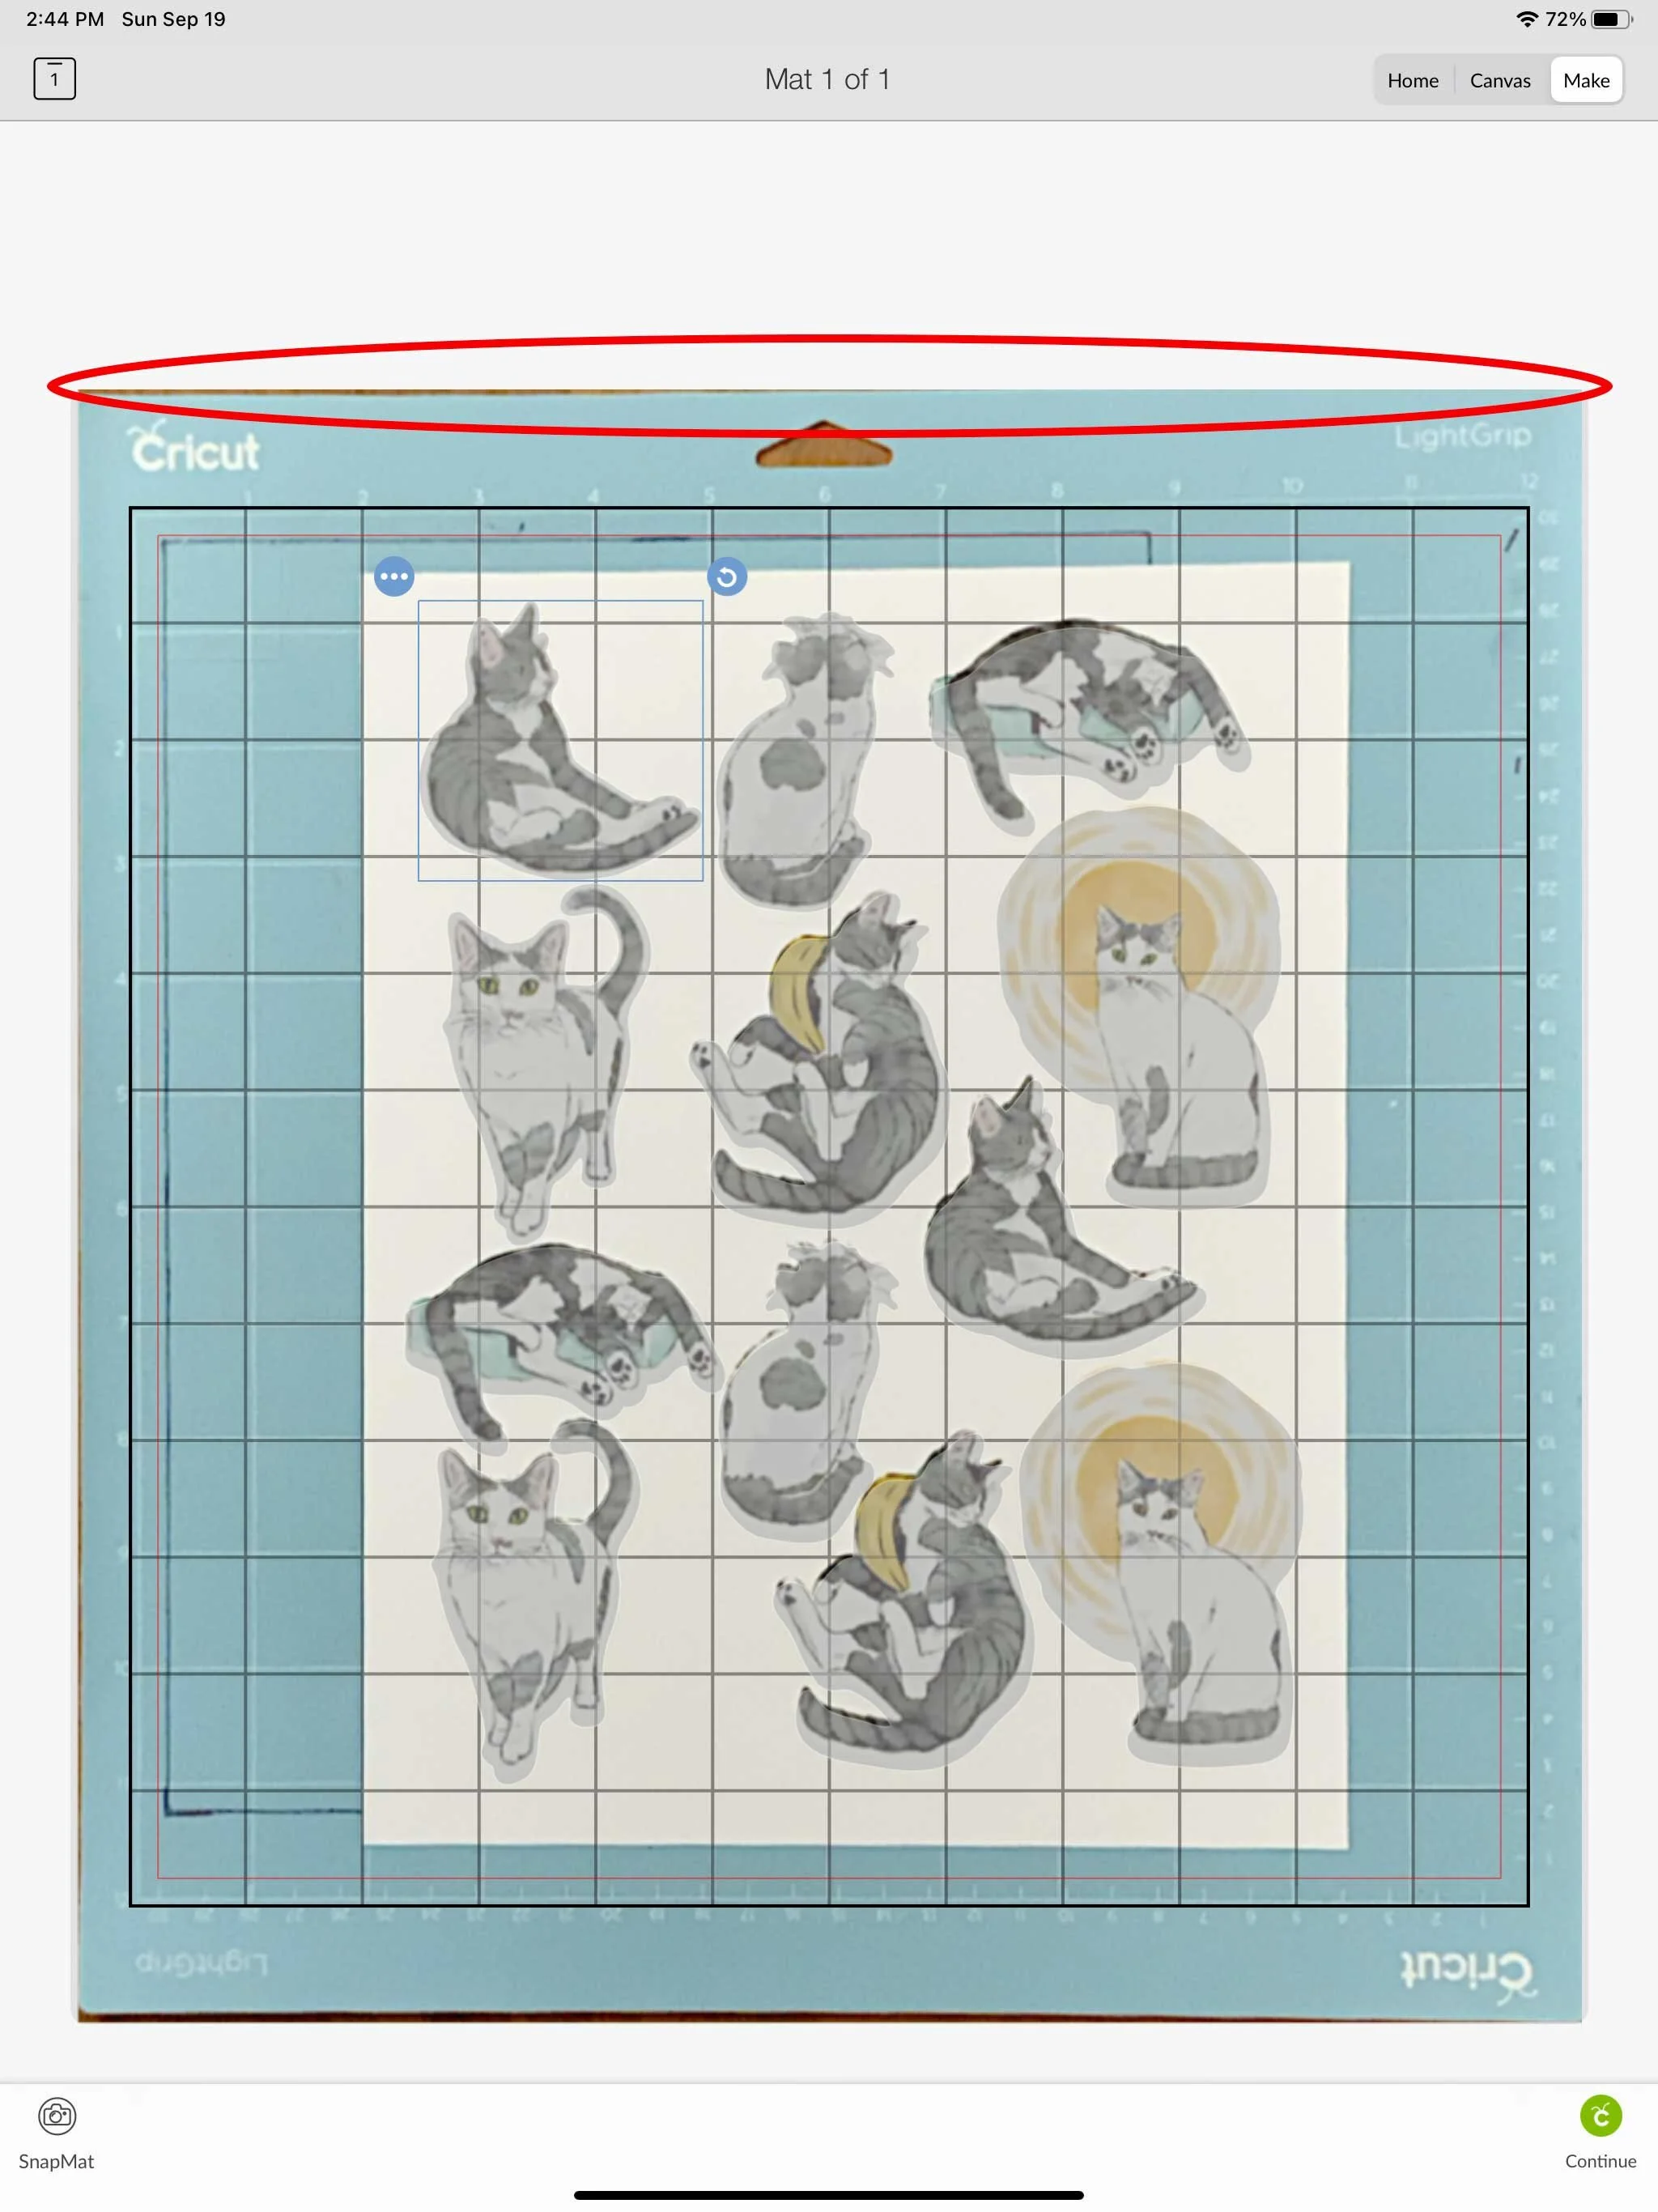
My cut is still too far down. I’m thinking I have too much of my floor showing at the top of the mat when I am taking the photo of my mat. I’m going try again, but I’m going to leave the same sticker sheet on my mat for now.

I do another photo of my mat with the snap mat feature, I’m trying to get as little floor showing at the top of the mat as possible. It’s a little tricky to do since the program automatically takes the photo, so I have to retake it several times before I get one that I want to try to use.
I load my mat into my machine and cut the sticker sheet again. The results were better this time, but still not super great.
Overall, I would not use this method if you are trying to mass produce stickers. It can be pretty tedious, and it’s not a super accurate or consistent method. I would only potentially use the Snap Mat feature if I was trying to use up scraps of materials and I don’t need super precise alignment. It’s also very time consuming to have to reposition the cut lines for every sticker sheet you want to cut