Hi Everyone!
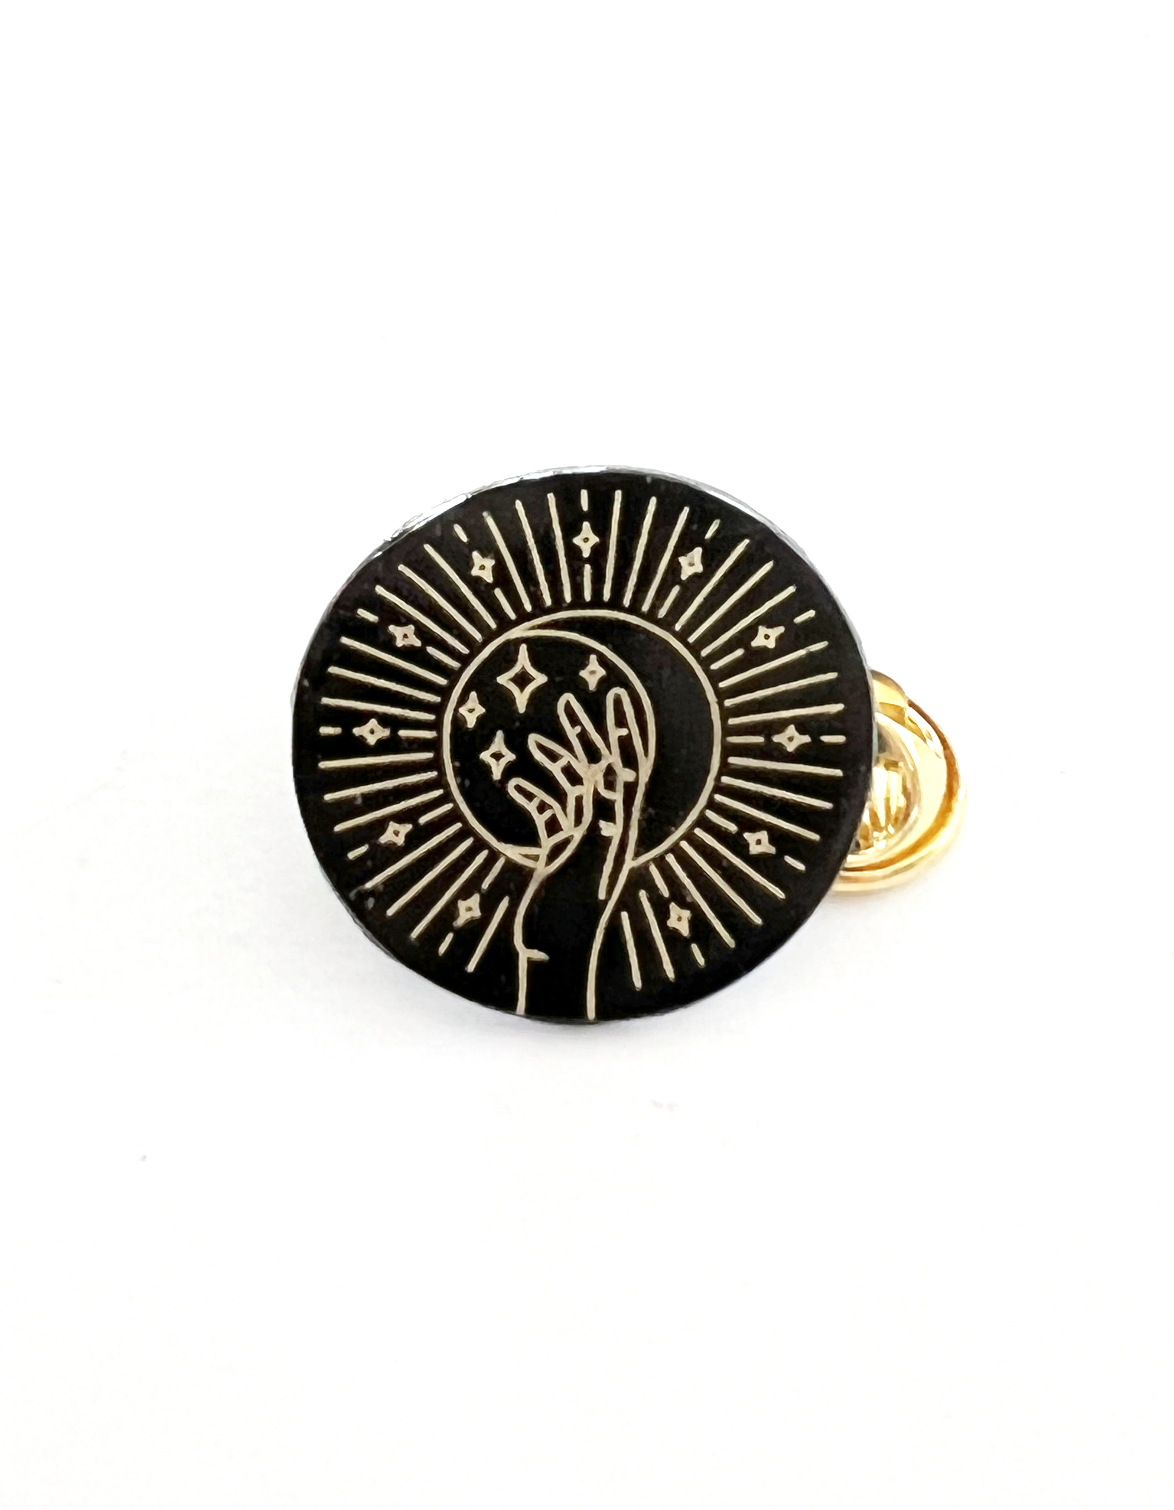
St. Patrick’s day is this week, I wanted to try making a little four leaf clover pin using shrink plastic and gold foil for good luck!
Since my Portrait 3 doesn’t quite cut all the way through my shrink plastic sheets, I thought I would give my Cricut Maker a try. It’s got more cutting force than my Portrait 3, but I was also quickly reminded how much I HATE Cricut Design Space. I really wish instead of releasing ridiculously priced heat presses they would invest in better software. I really love Silhouette Studio (it works how I’ve always dreamed Design Space should work) and I think I see a Silhouette Cameo 4 replacing my Cricut Maker in the near future!
Ok, rant over. Here’s how I did it on my Cricut (Note: this DOES NOT work with the Cricut Foil Transfer tool):
Supplies:
Four leaf clover single line SVG from my Good Luck Charm bundle
Deep Cut Blade (the black one)
WRMK Foil Quill Medium Tip with C adapter
Heat Gun on Toaster Oven
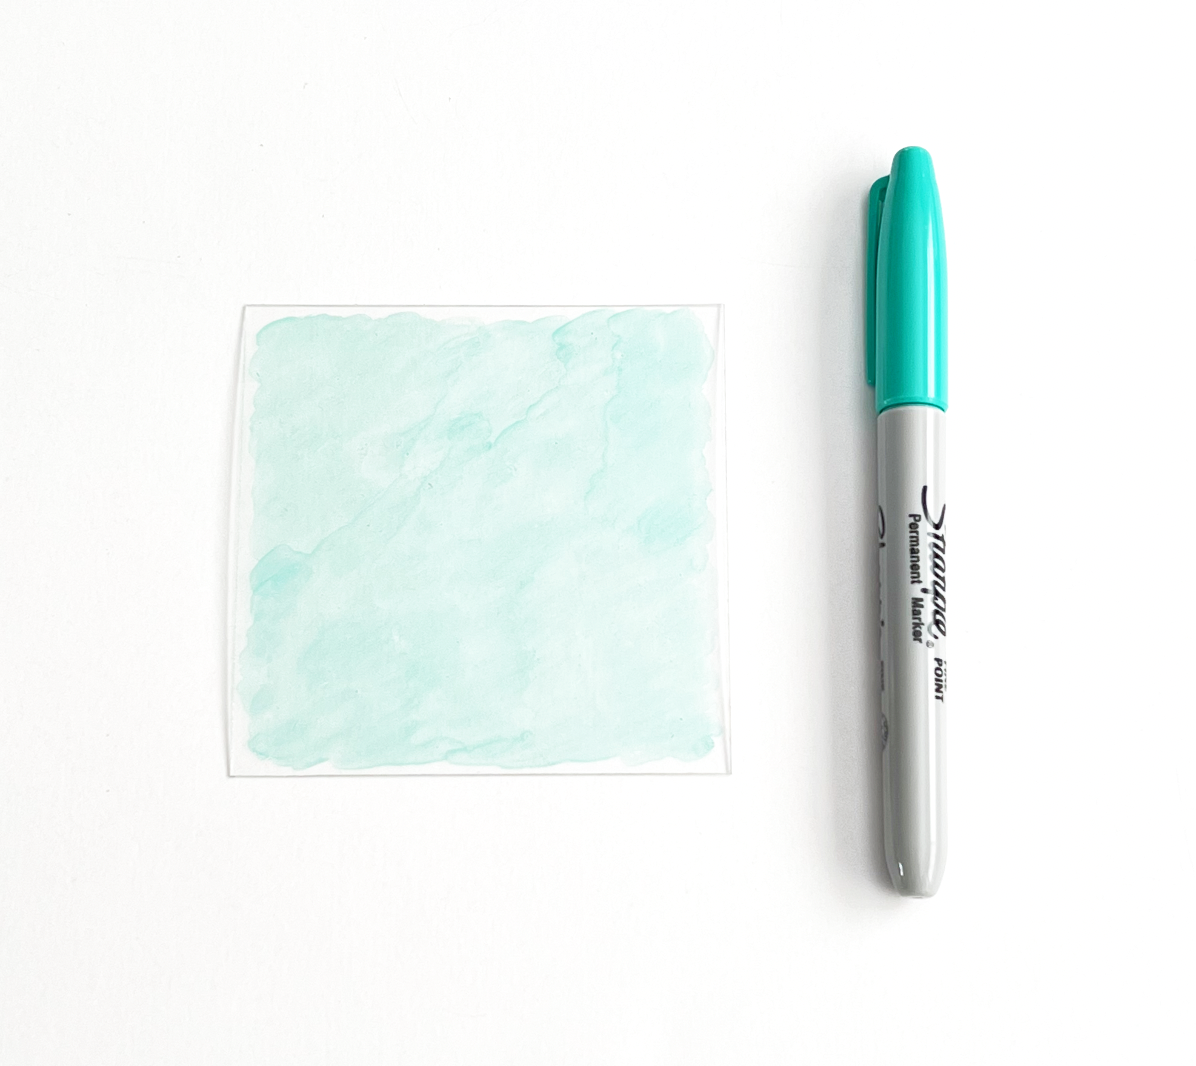
First I cut down my shrink plastic sheet into smaller squares, mine are about 3.5 x 3.5 inches. Then I colored the squares with the green Sharpie.
Tip: The Sharpie blended better when I used small circular strokes.
I set my green squares aside to dry for a little bit. Now I’m going to set up my project in Cricut Design Space.
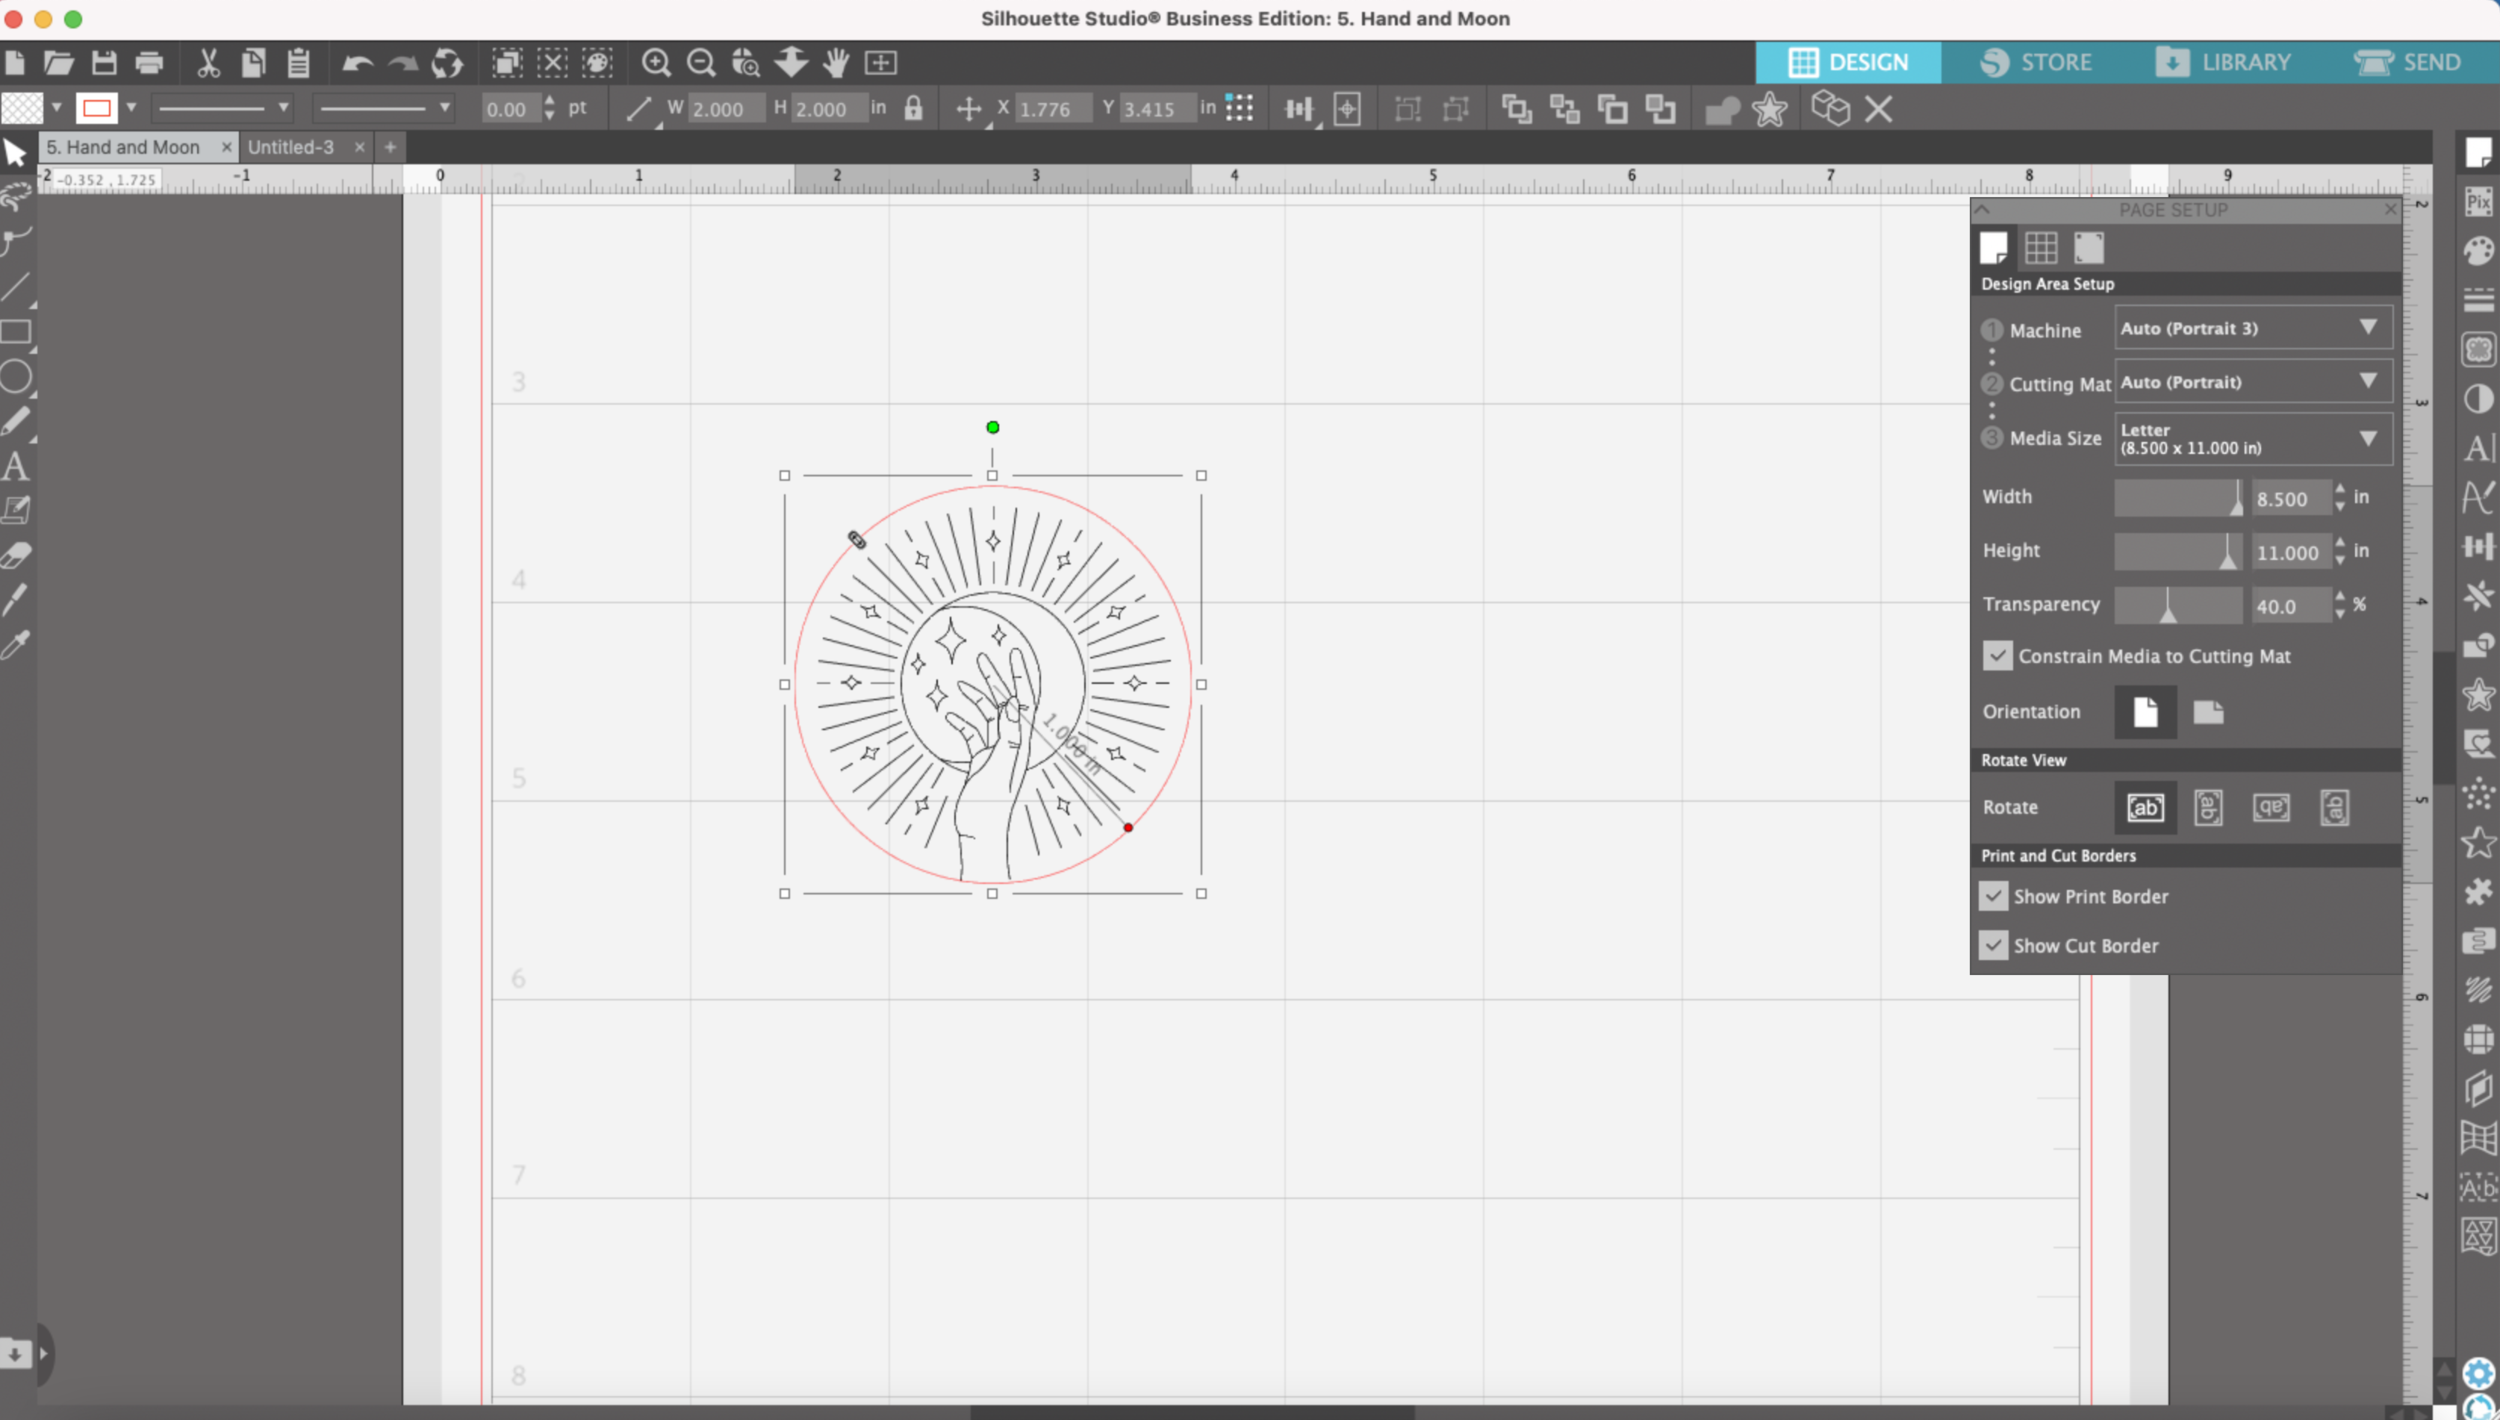
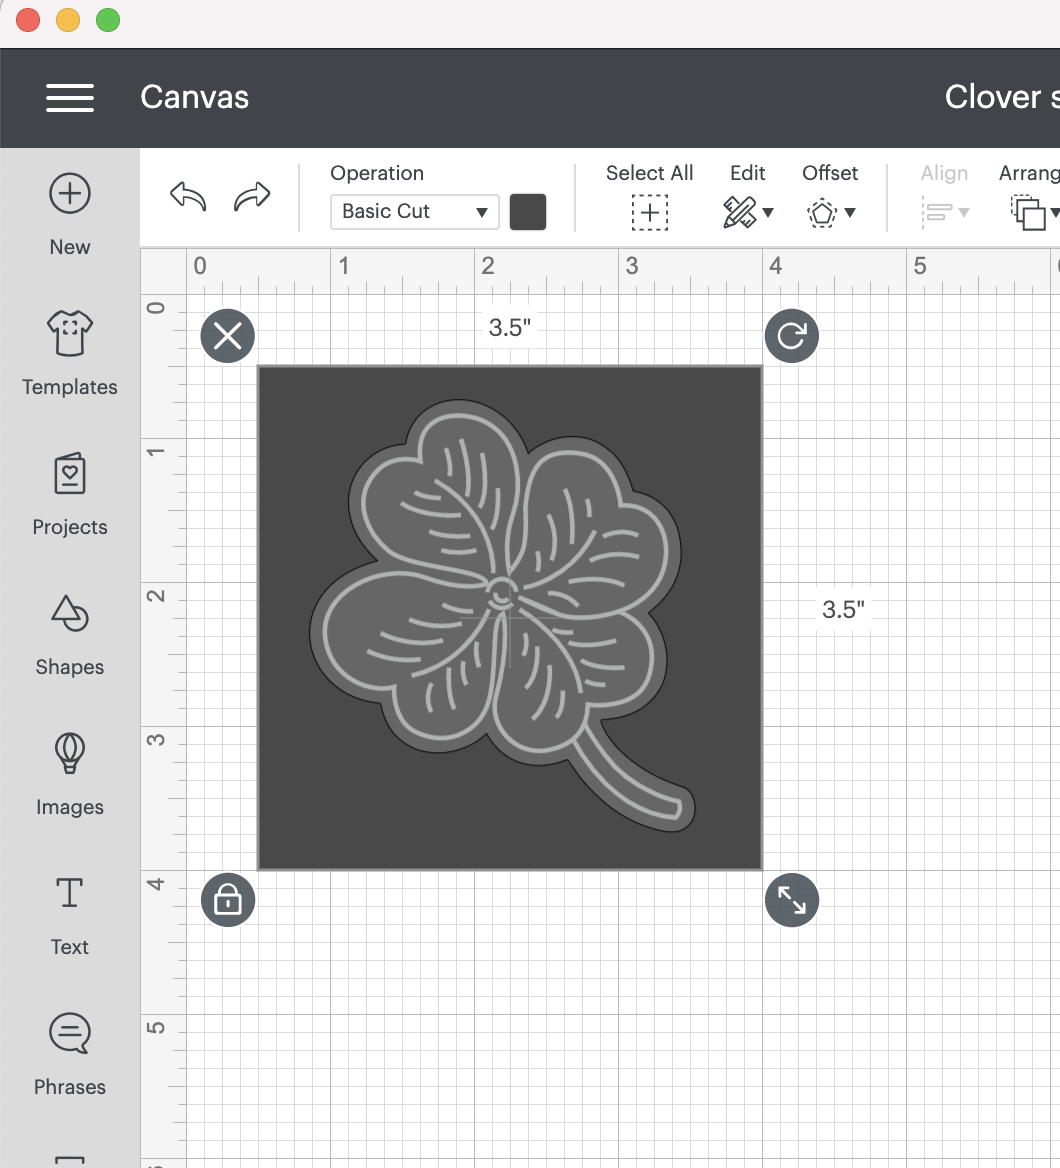
I’ve got my four leaf clover single line SVG uploaded into design space. I made a 3.5 x 3.5 inch square (the same size as my shrink plastic squares) and I scaled my four leaf clover to fit inside the square. I left a little border around the edges since I will be taping my shrink plastic to my mat.
I’m also going to add a random little square to my file so I will be able to pause and remove the foil before cutting.
You’re probably saying “Just use the Pause button on your machine!” Well, unless my machine is faulty, my machine won’t pause until it has already started to cut with the blade.
I’m also doing this because Cricut has eliminated the ability to just skip unloading the mat and continuing with your cut. If you don’t eject your mat, don’t worry, your machine will do it for you! So I’ve gotta keep coming up with new ways to outsmart the Cricut!
Once I have my Cameo 4, I will make a version of this project using it so you can see why I like the Silhouette software so much better!
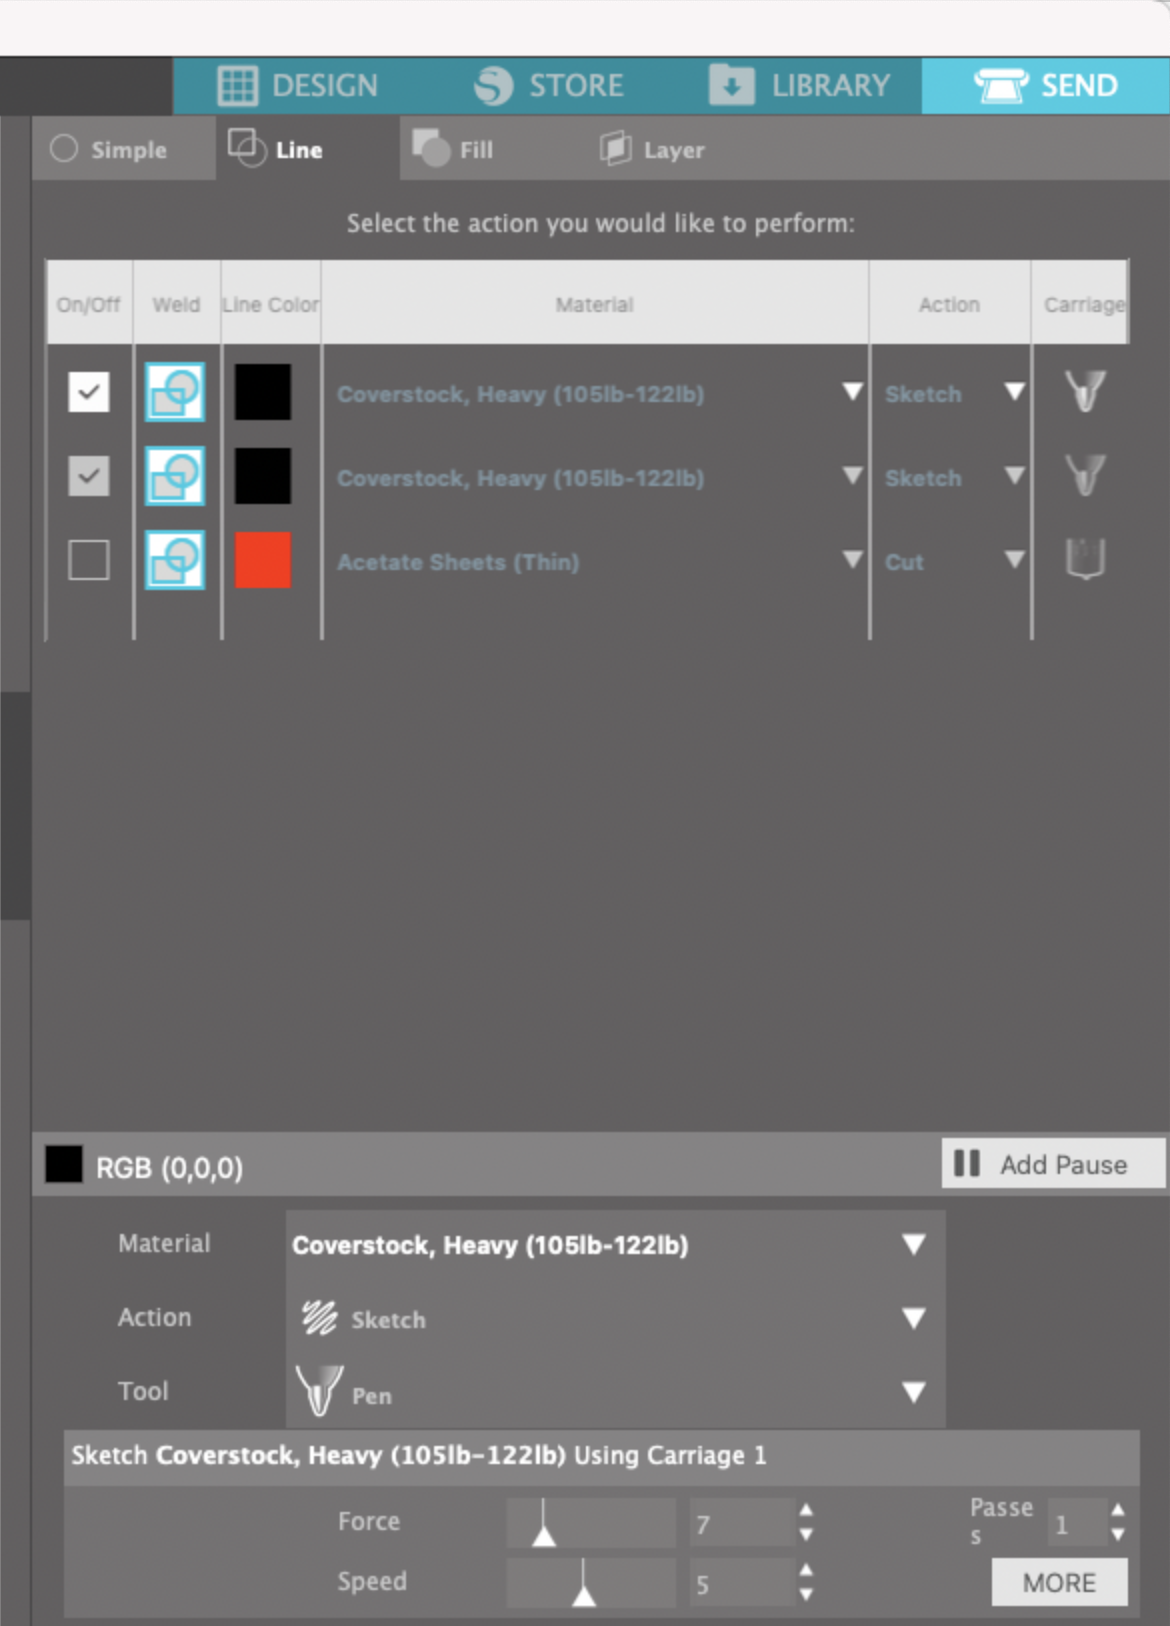
Make sure the operation for the foil portion of the four leaf clover is set to Draw/ Pen. The operation for the offset line around the clover should be set to Basic Cut.
I set the operation for my random square to Draw/ Pen. Make sure you select a different color from the clover drawing. Fingers crossed that my machine will request the gold pen after the silver pen!
Now, I’m going to attach all of my clover pieces together, DO NOT attach the squares.

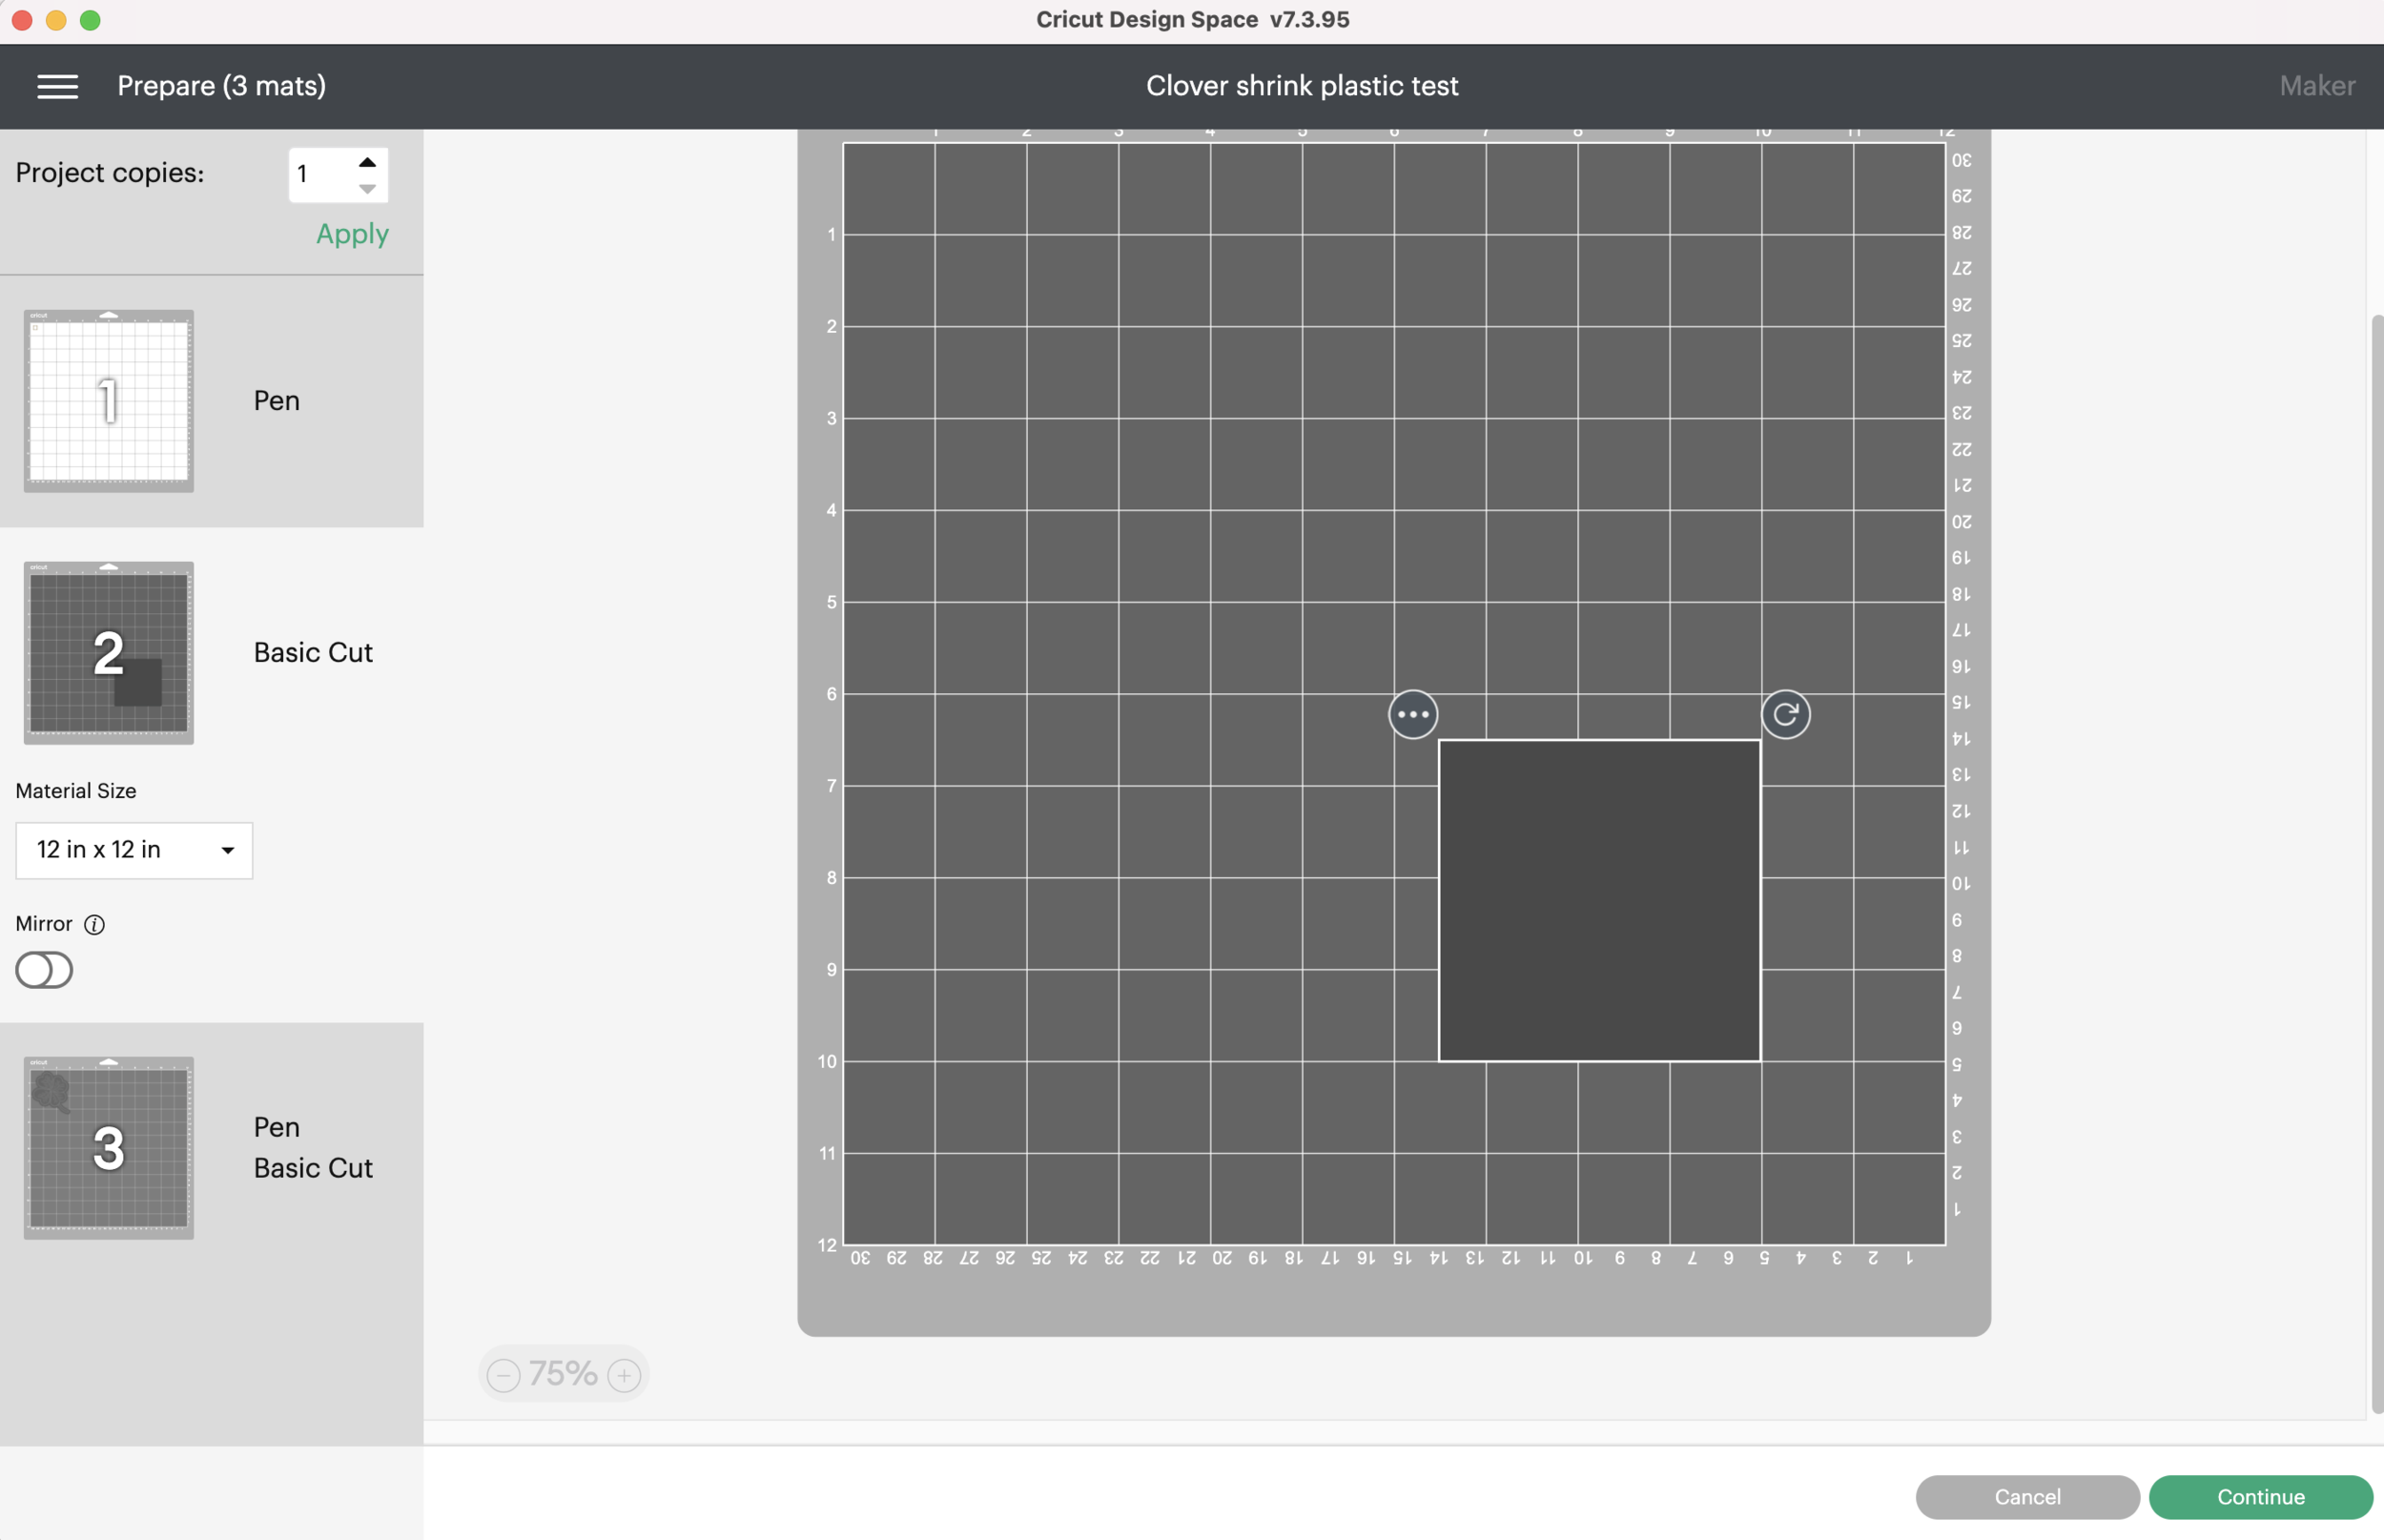
Don’t forget to Save your project. Then click Make It.
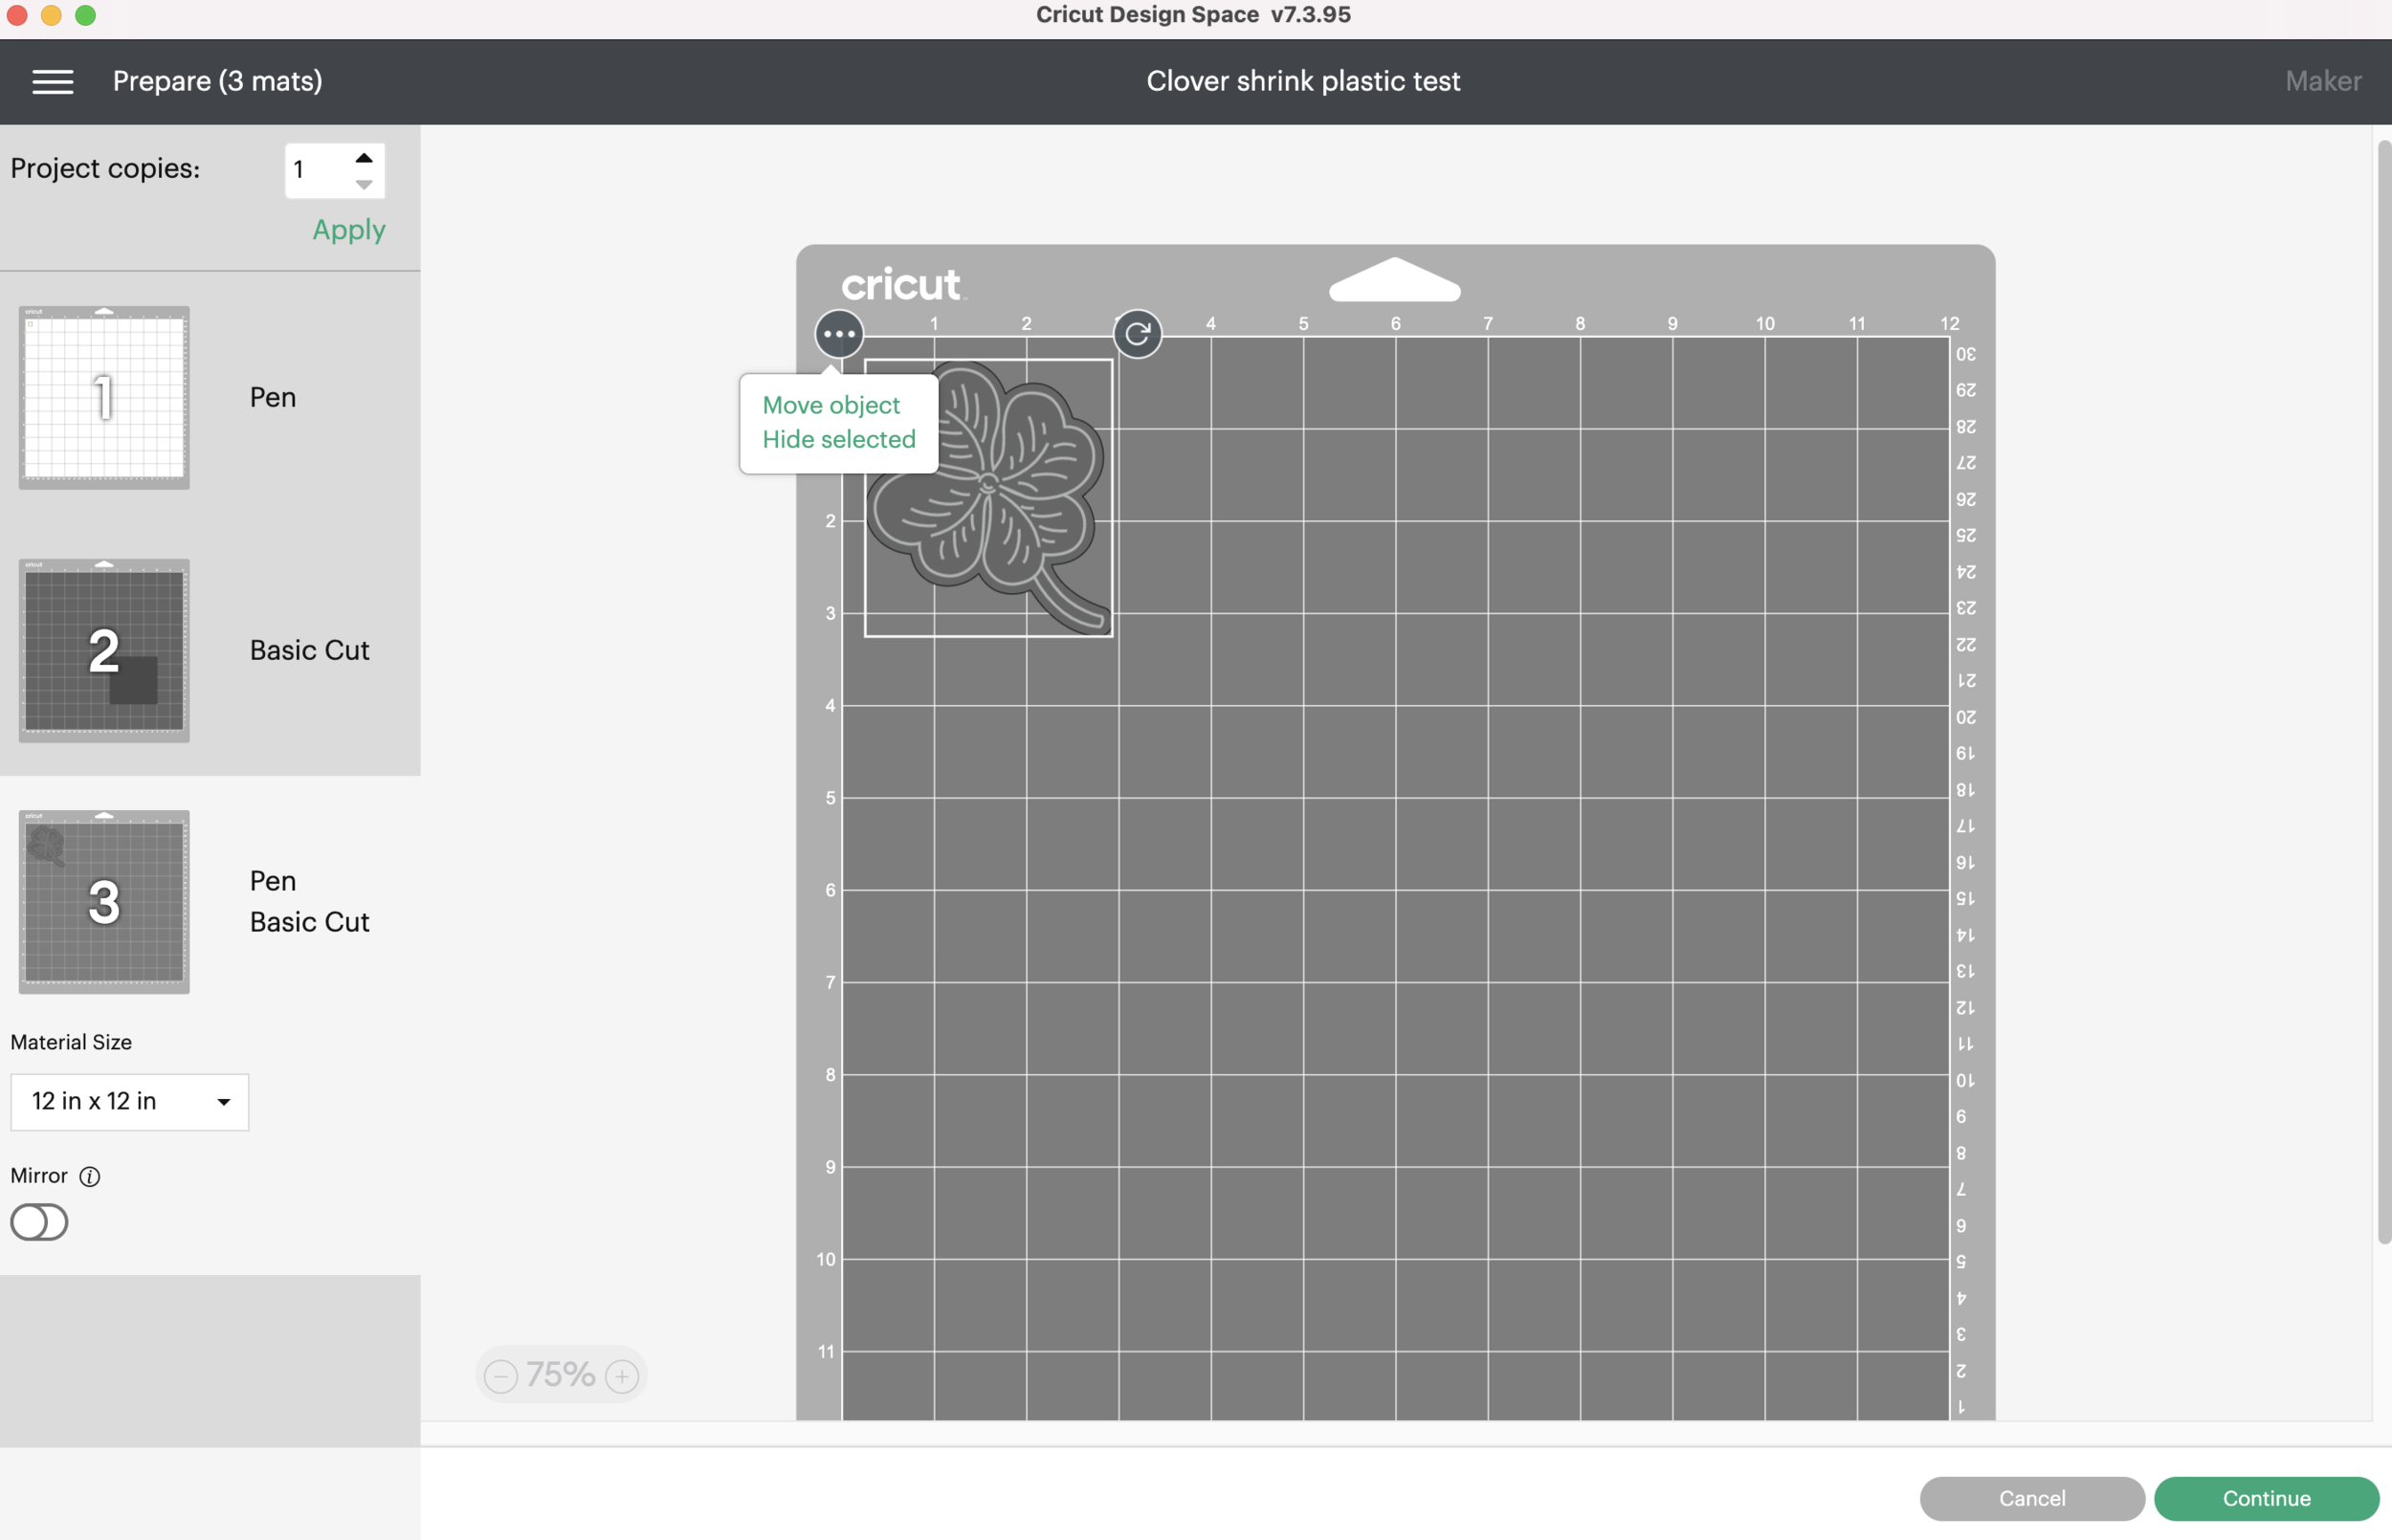
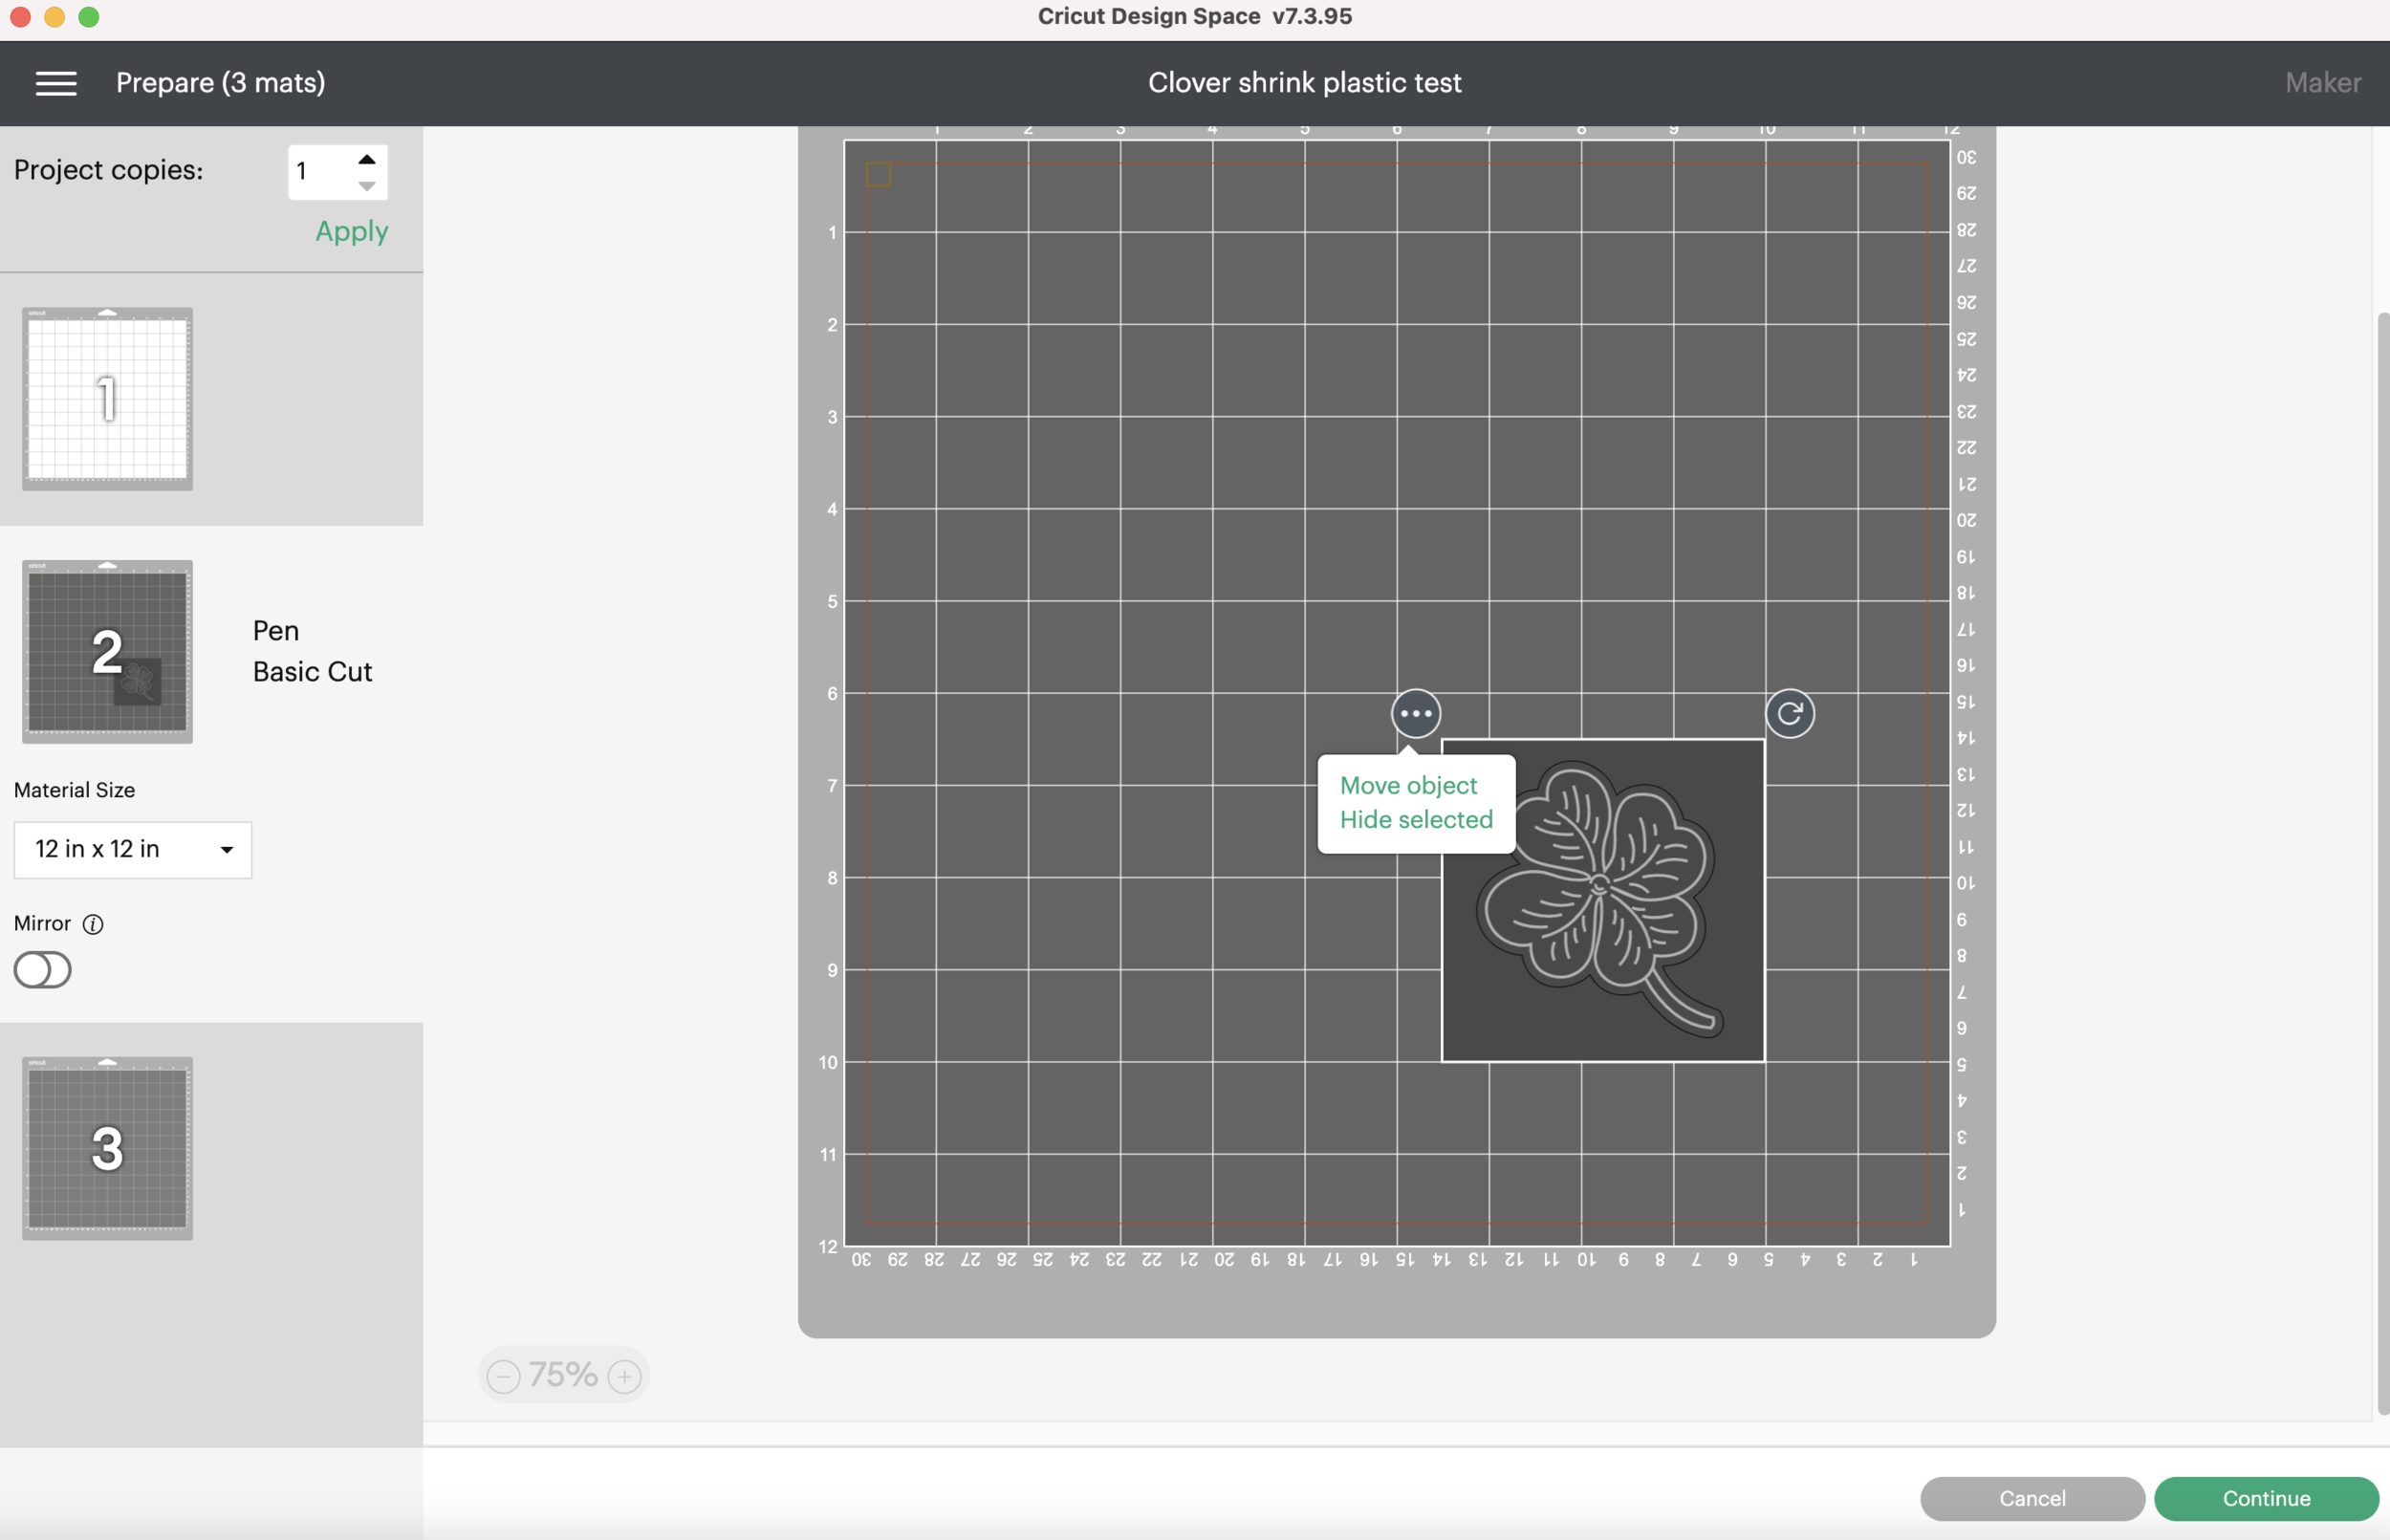
It’s set up for 3 separate mats at the moment. In mat number 2, I’m going to move my square down and over so it’s toward the bottom of my mat.
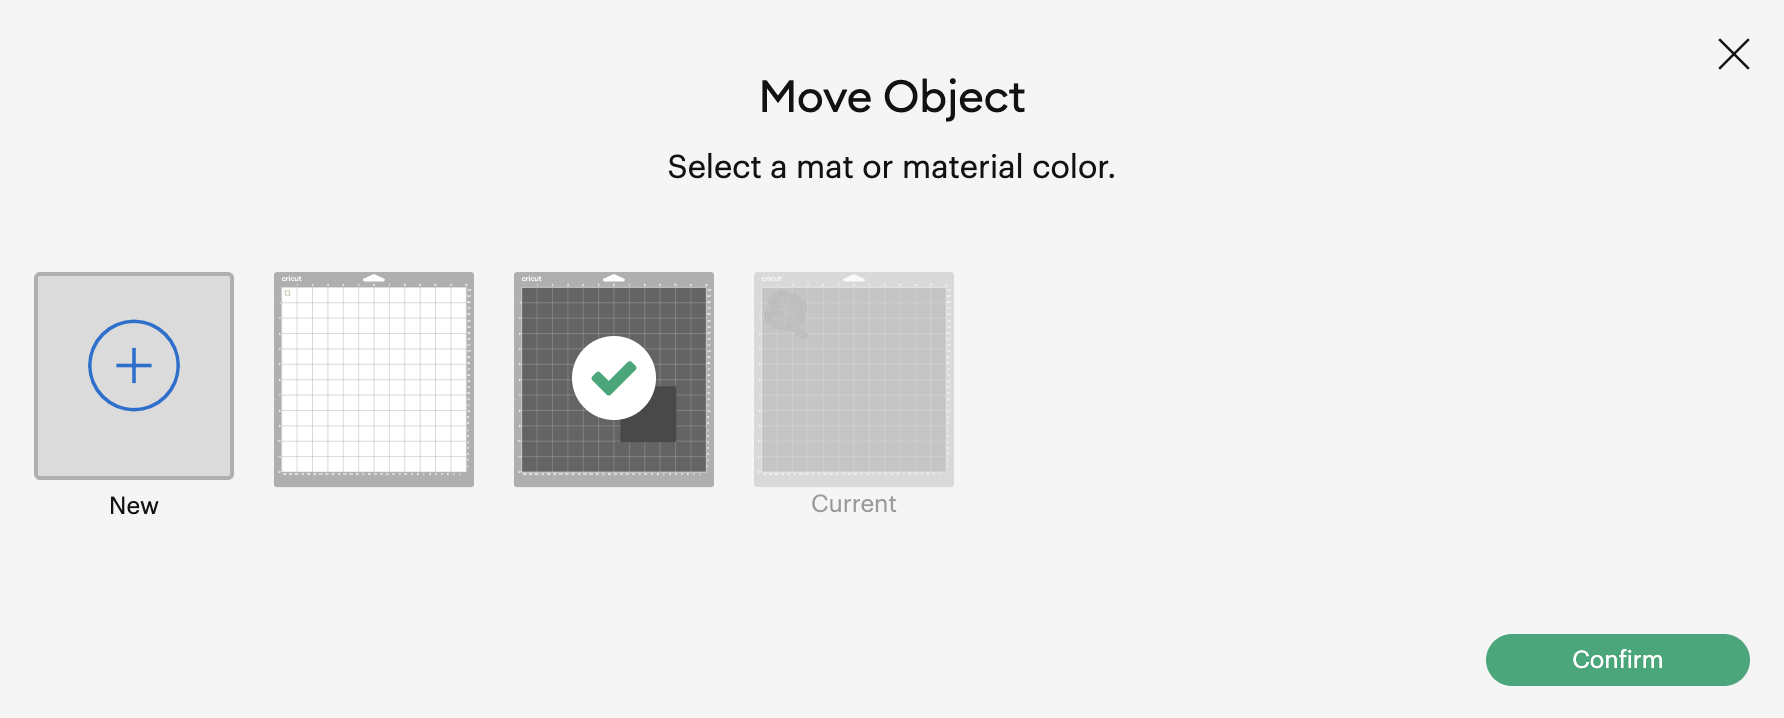
Next, I’m going to select mat number 3. Click on the 3 little dots in the corner and select Move Object.
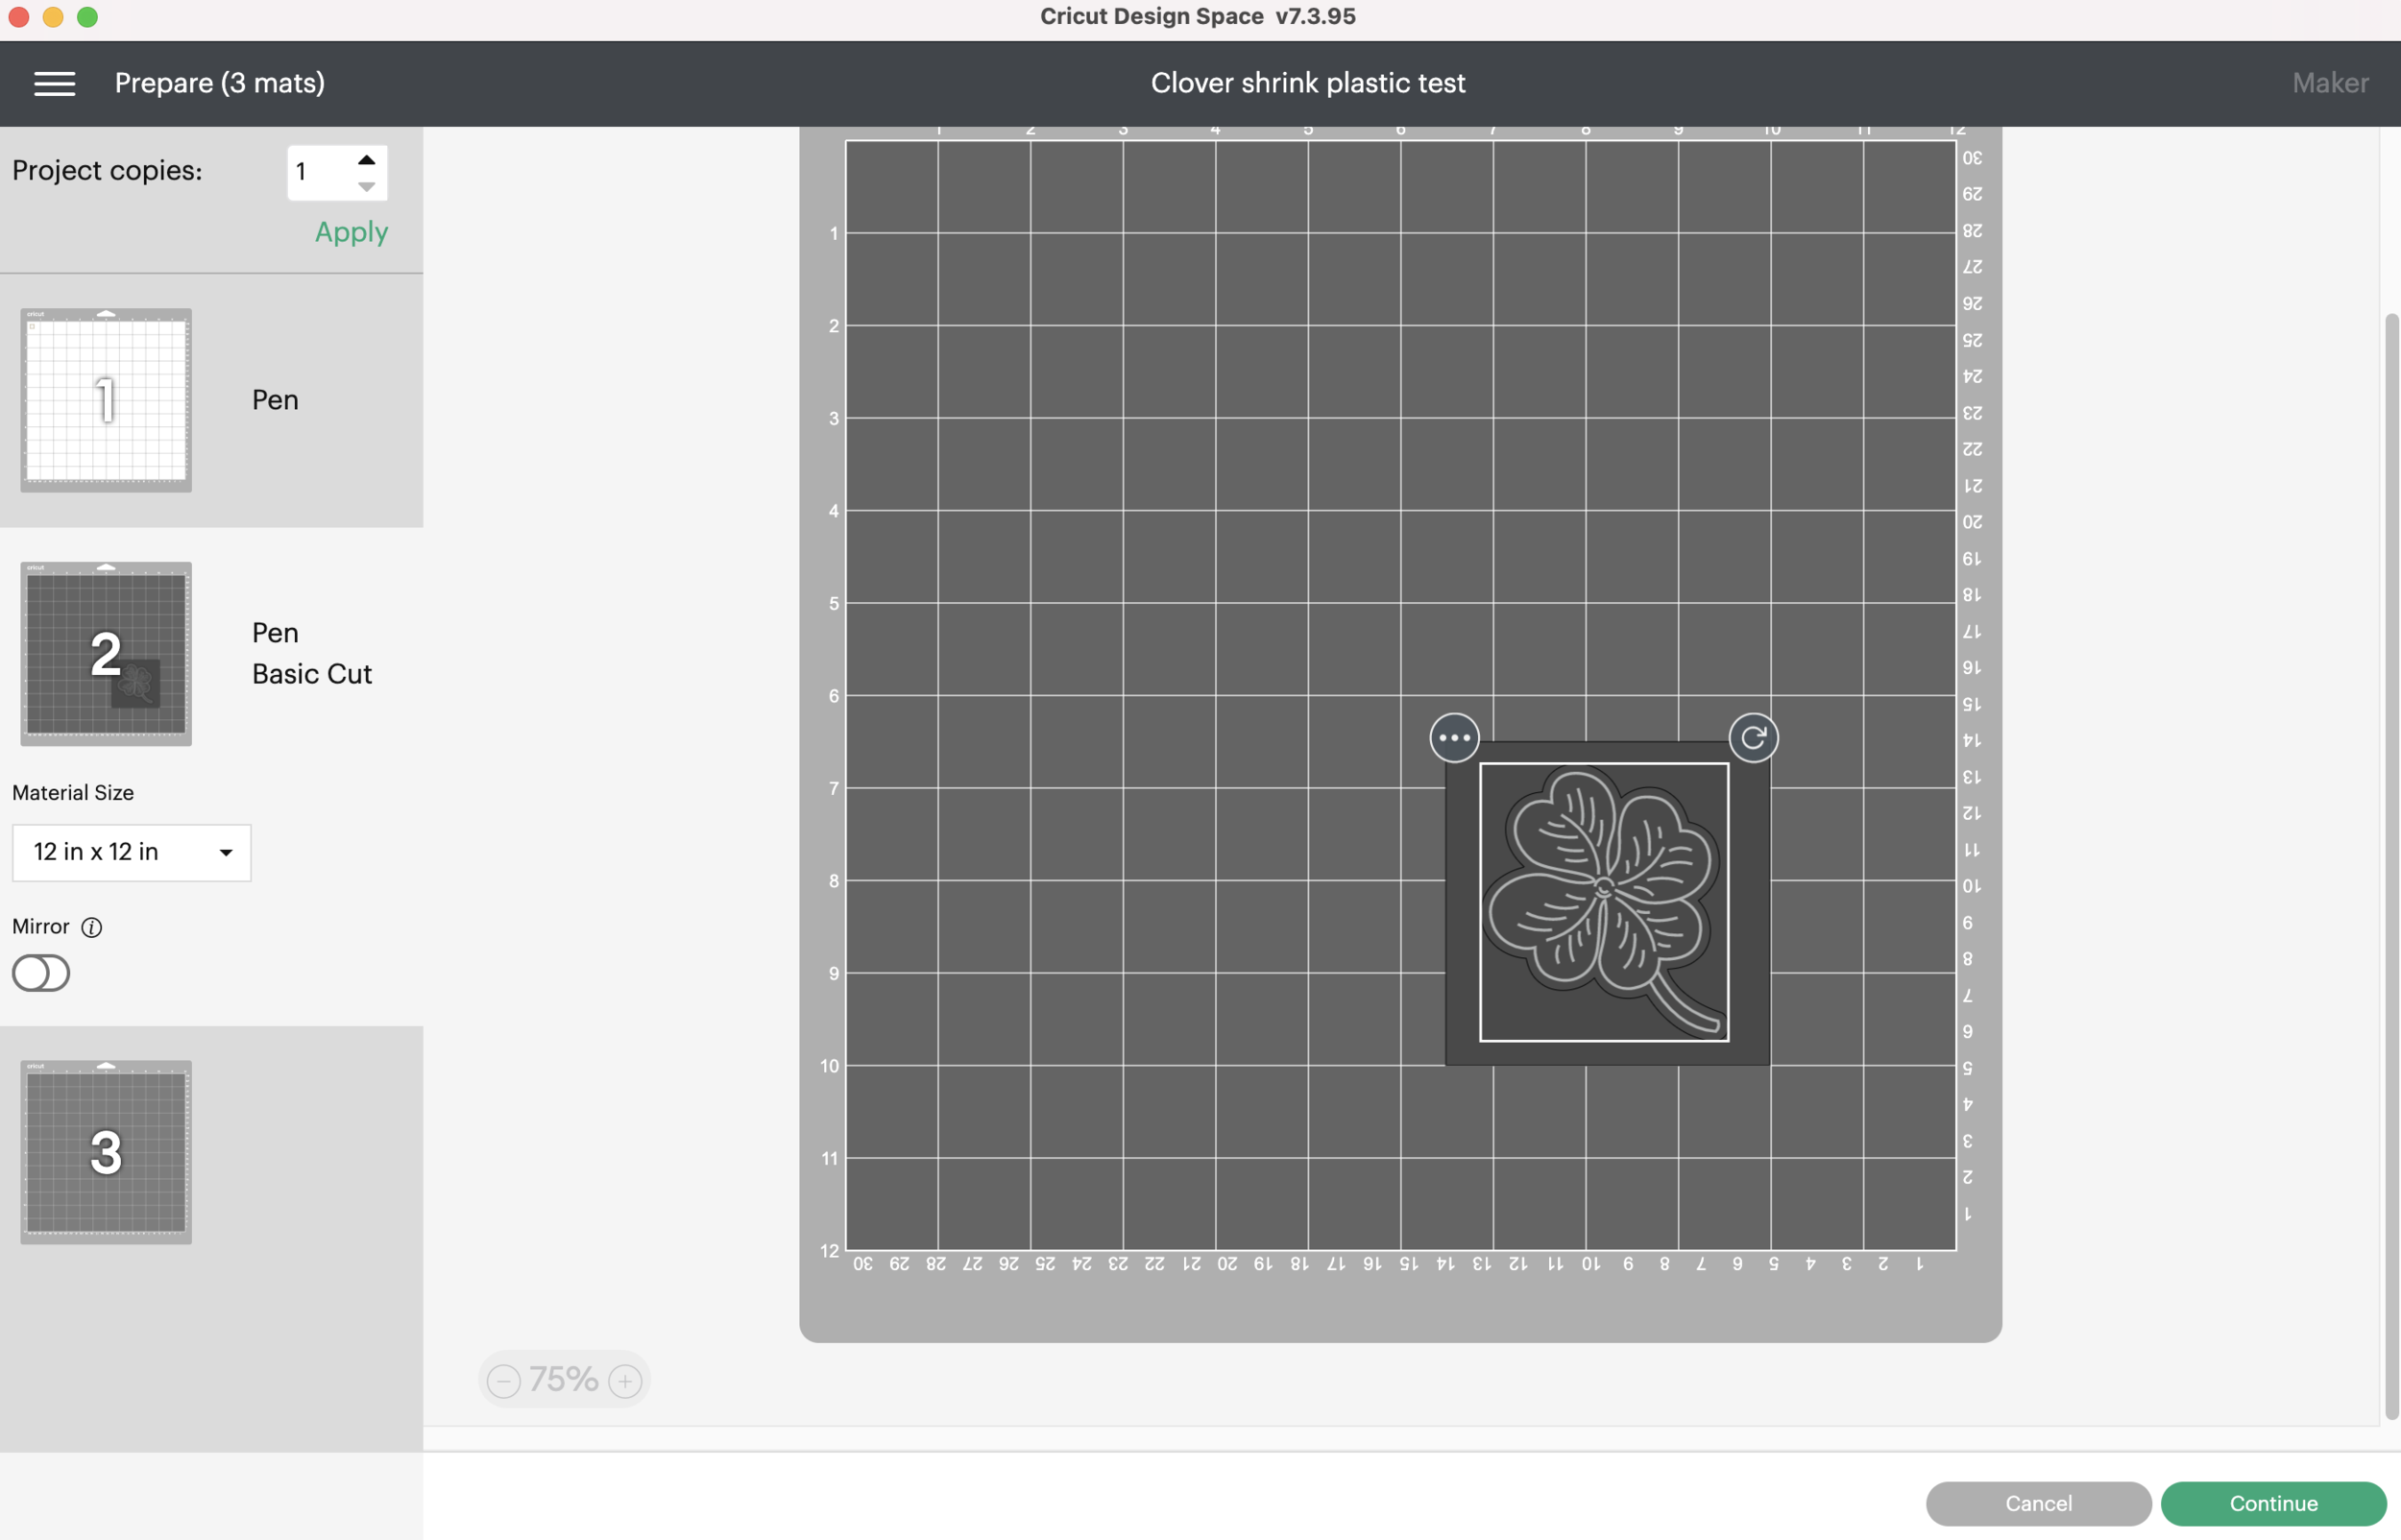
Select the mat with the big square and click Confirm.
Now I’m going to place my clover over the big square.
Then I’m going to select mat 1, click the 3 little dots and move the small square to mat 2 with everything else. But I’m going to keep it in the upper left corner. So now, everything is on mat 2. Isn’t this such a pain?!!
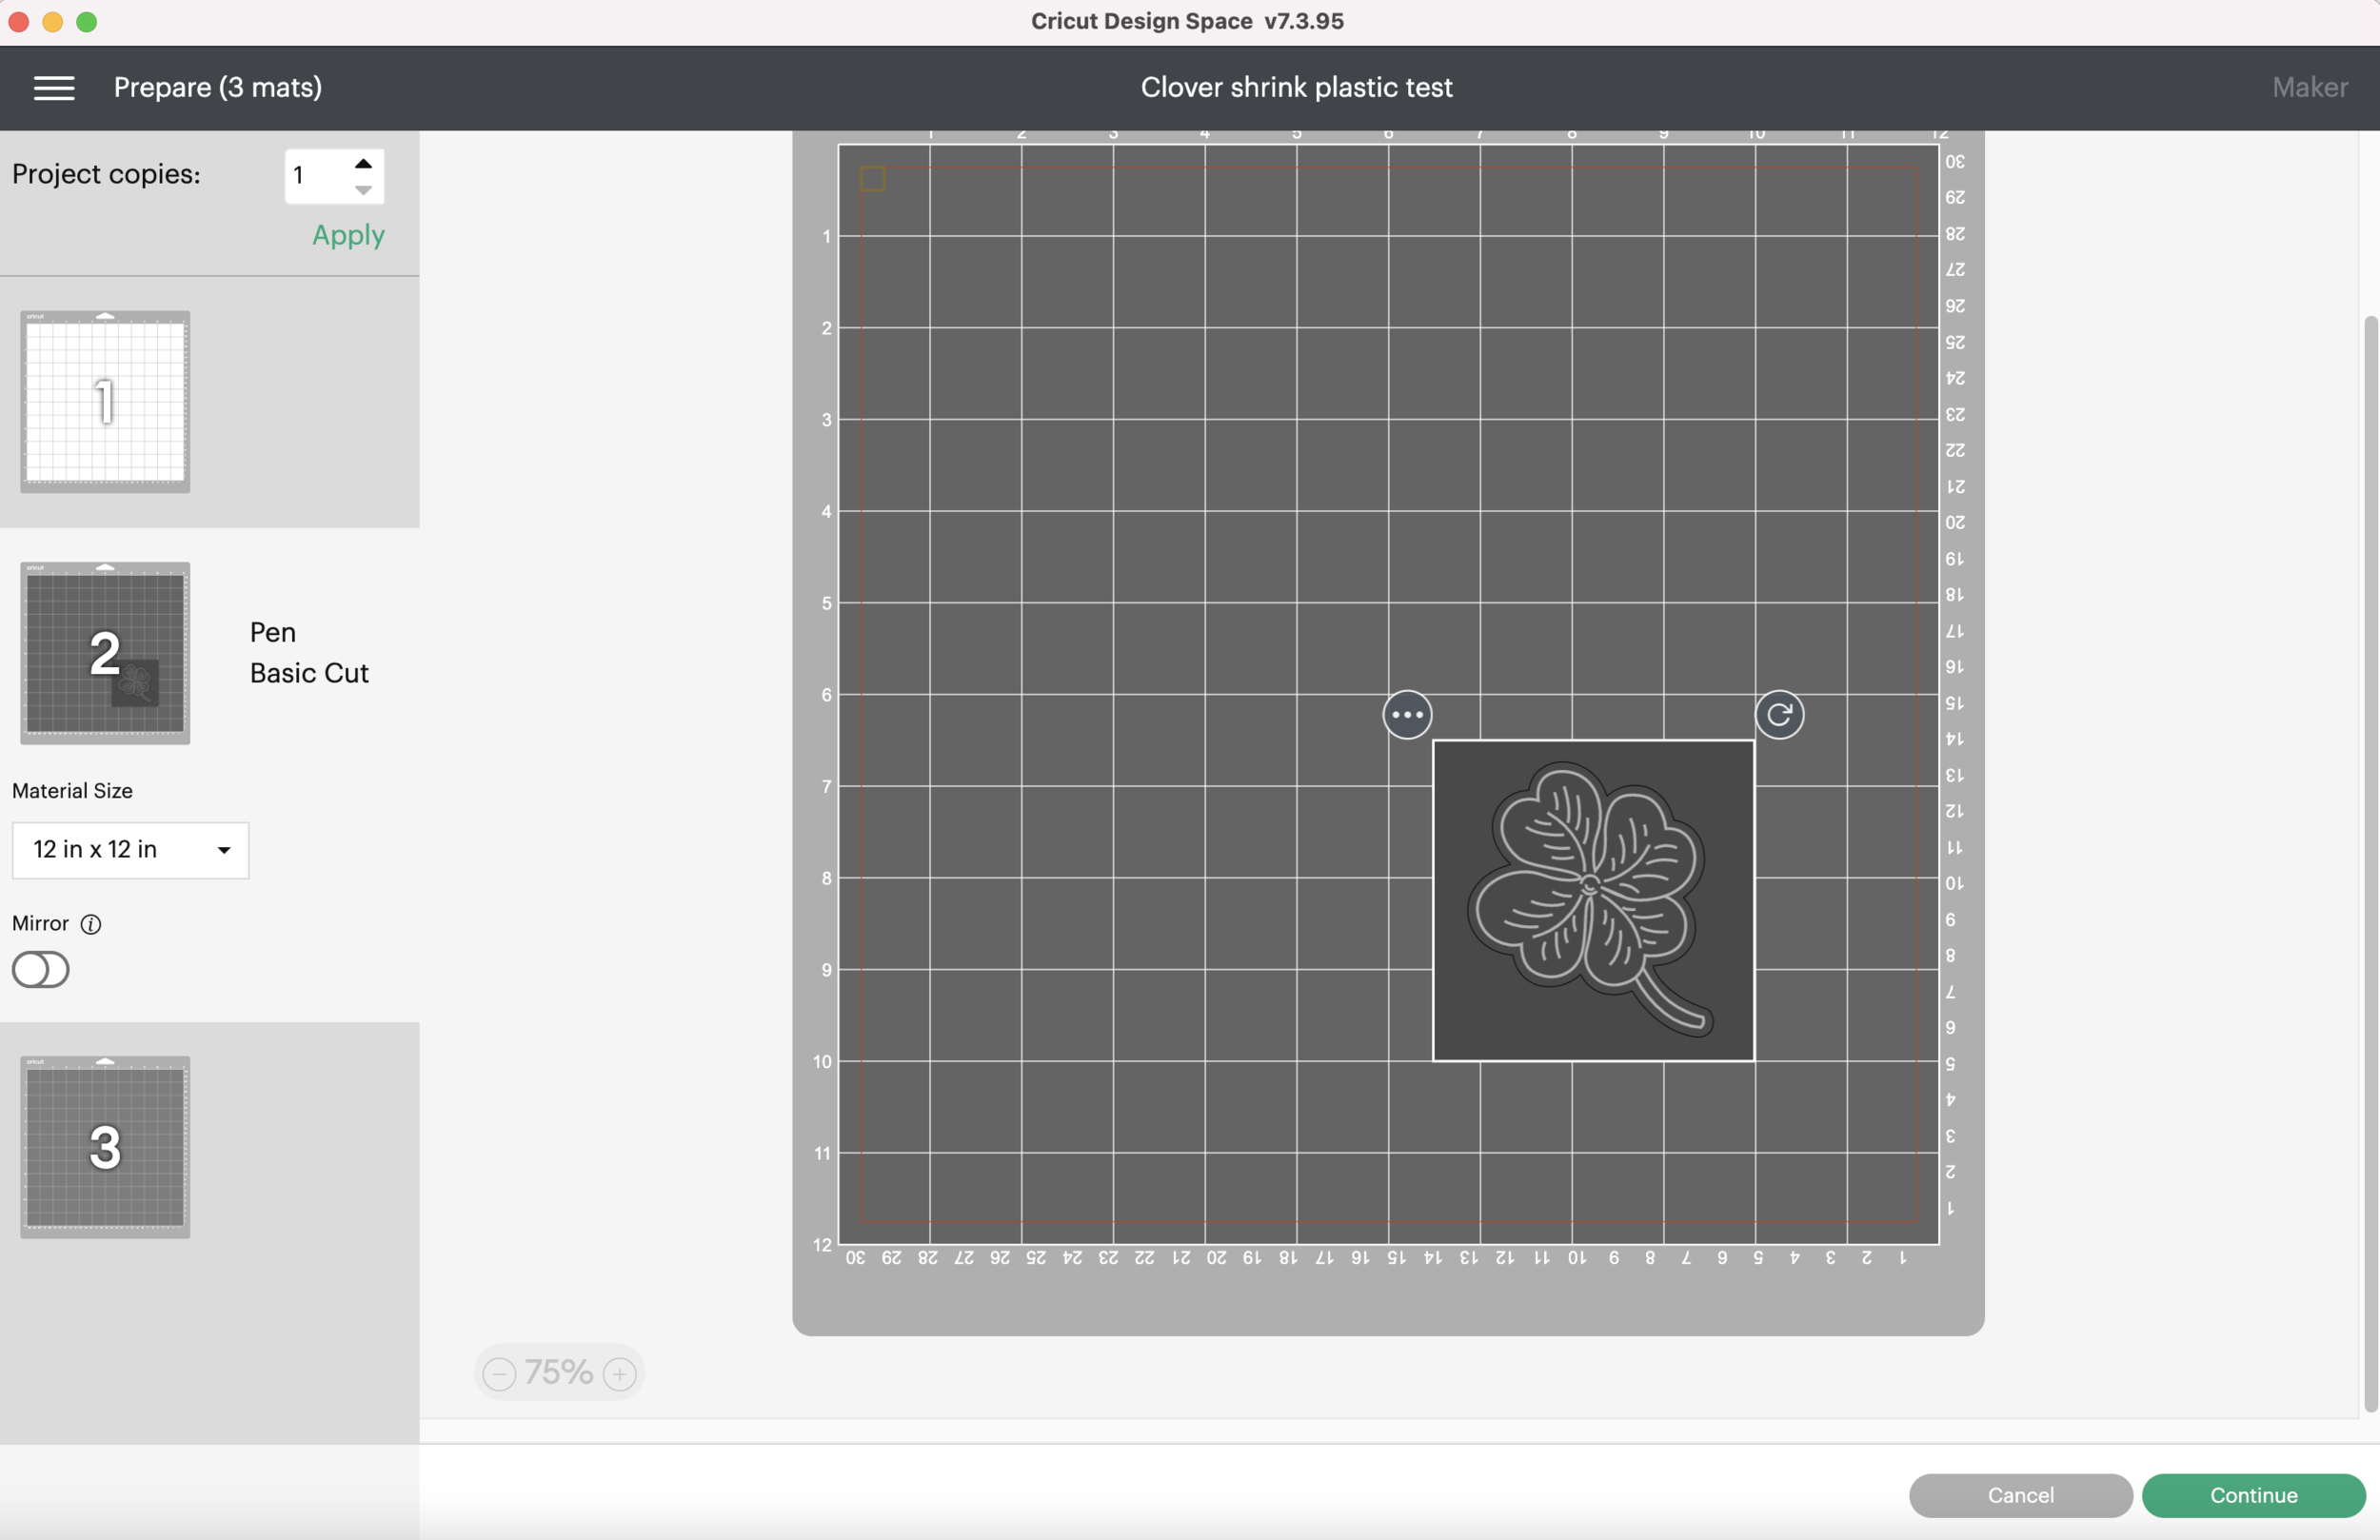
Now I will select the 3 dots and hide the large square. It was only there so I could put my clover in the correct place on the mat
It’s probably a good time to plug in your Foil Quill to get it warmed up!
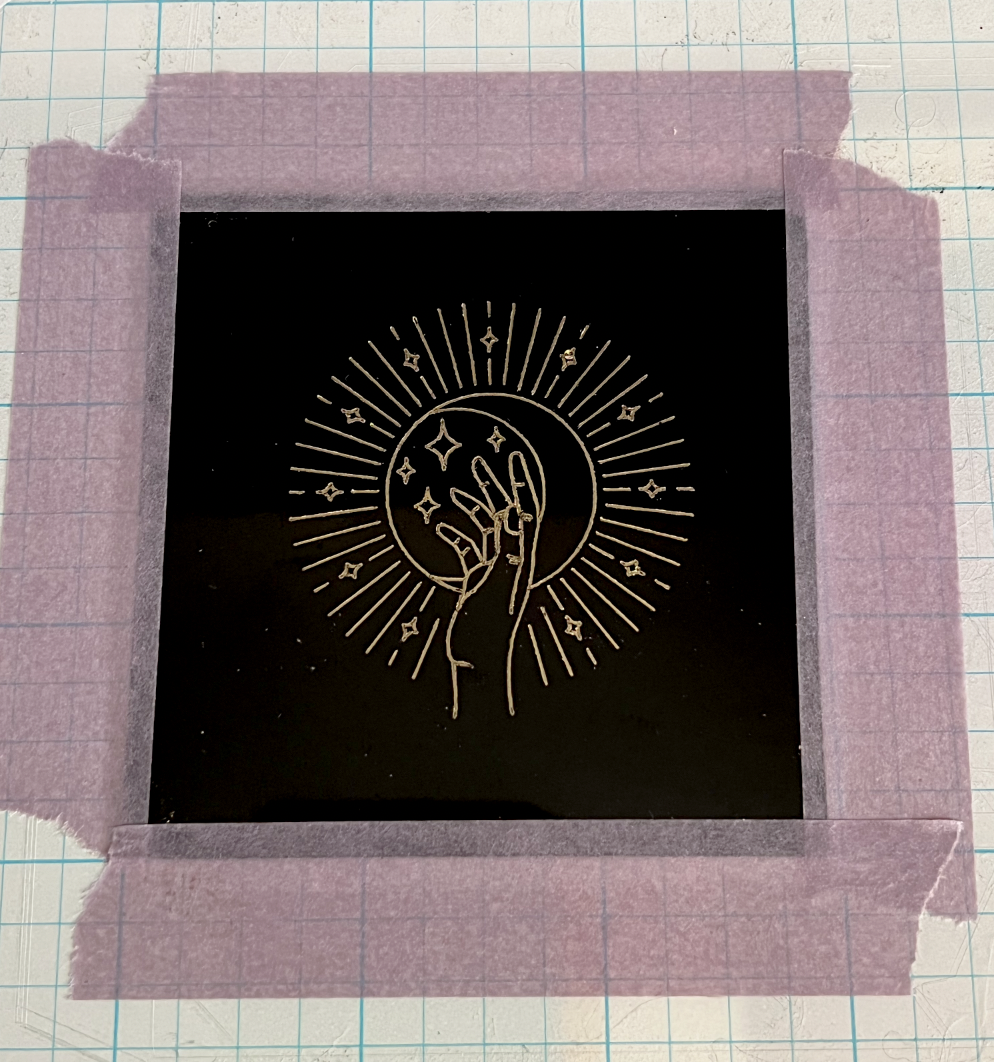
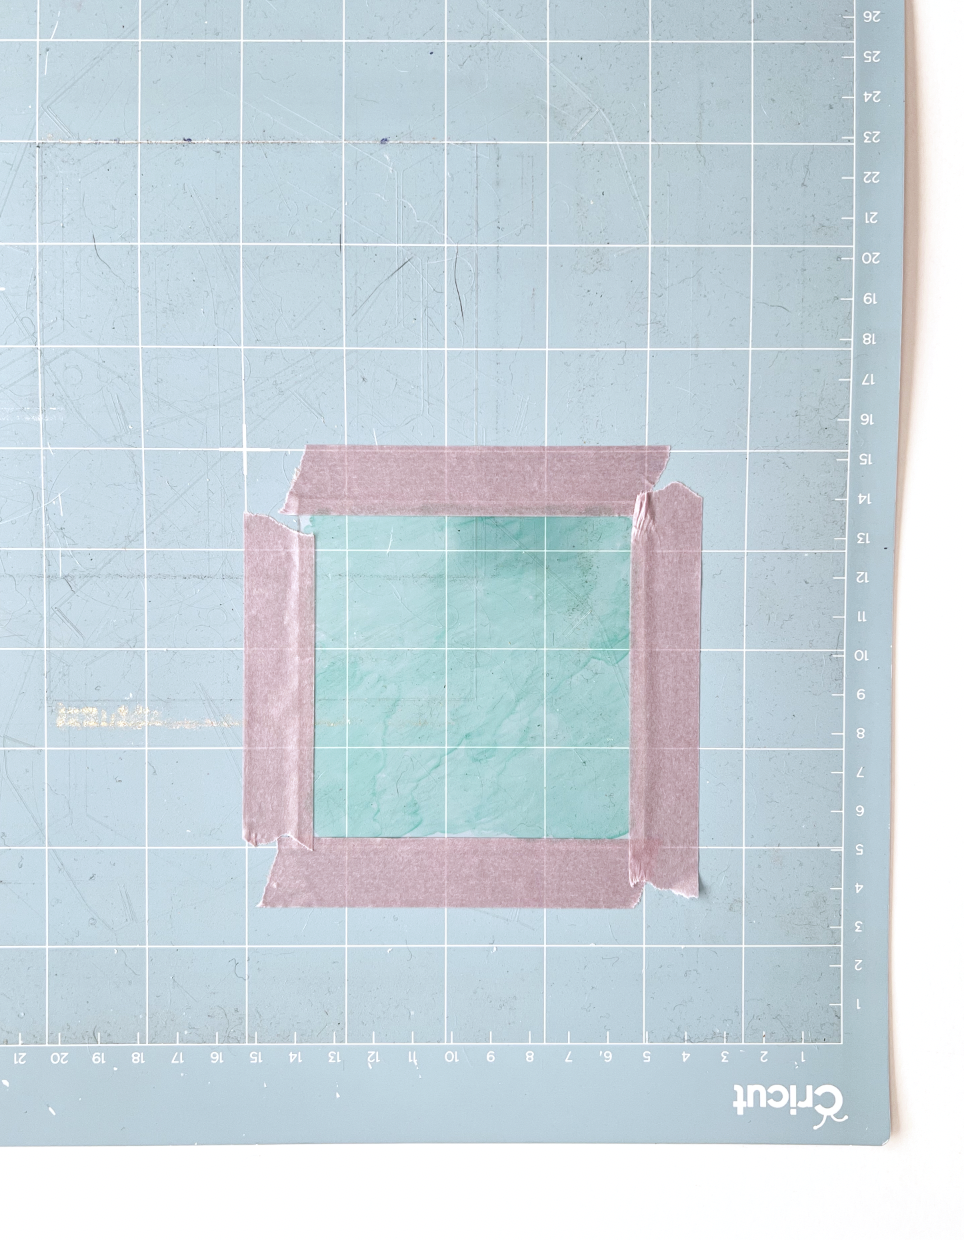
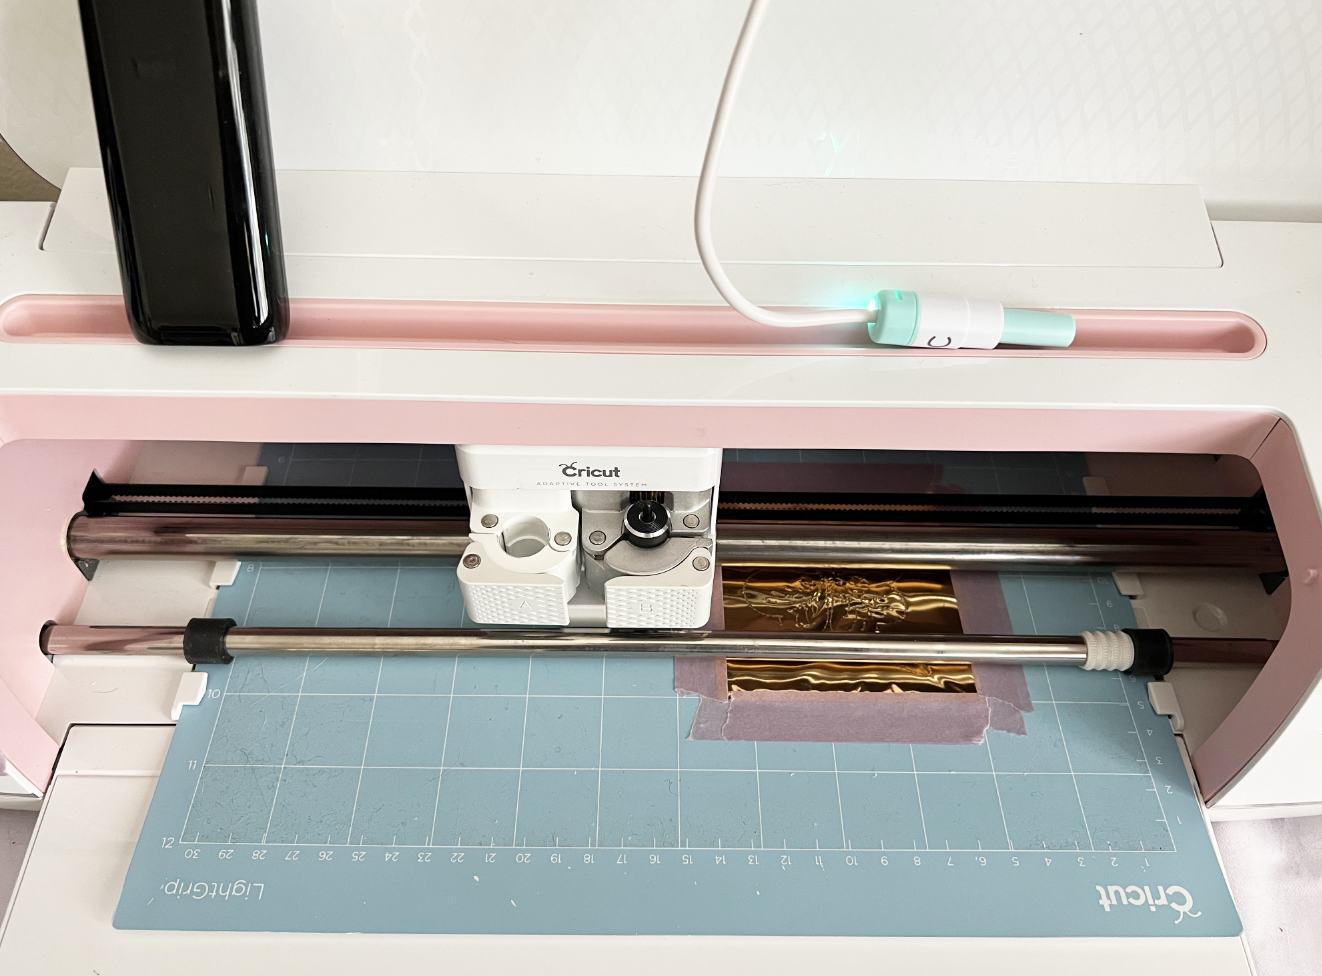
Now I’m going to tape my shrink plastic square on my mat on all four sides. It’s in the same position on my mat as the 3.5 x 3.5 square was in Design Space.
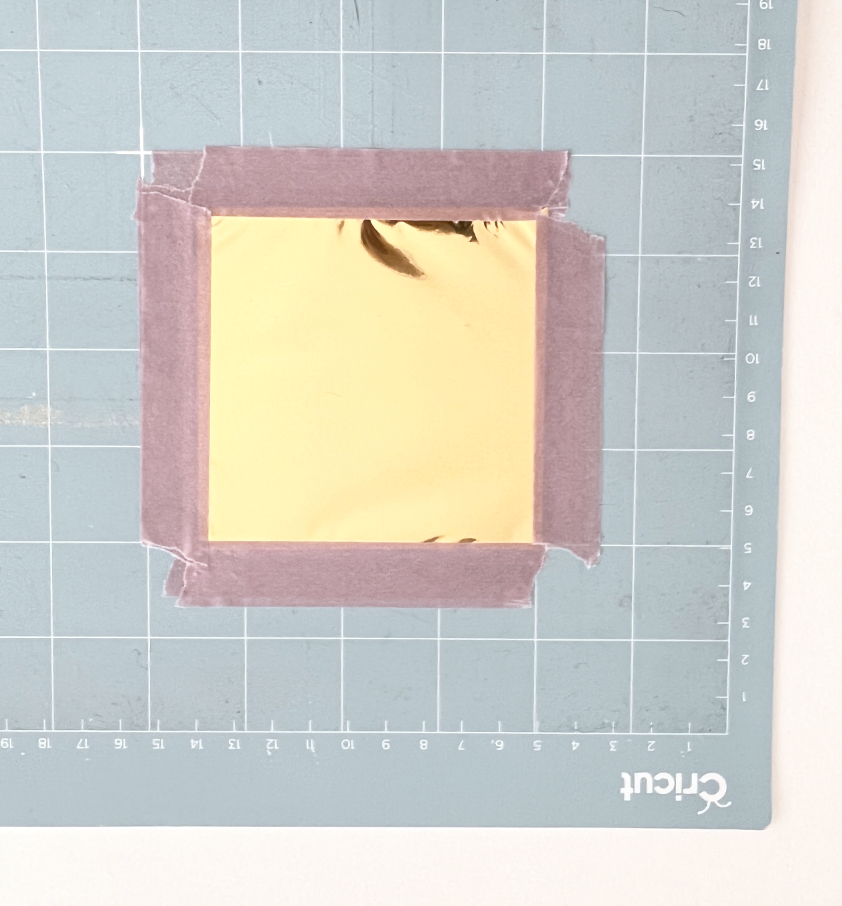
Then I’m going to tape my foil on top of the shrink plastic on all four sides.
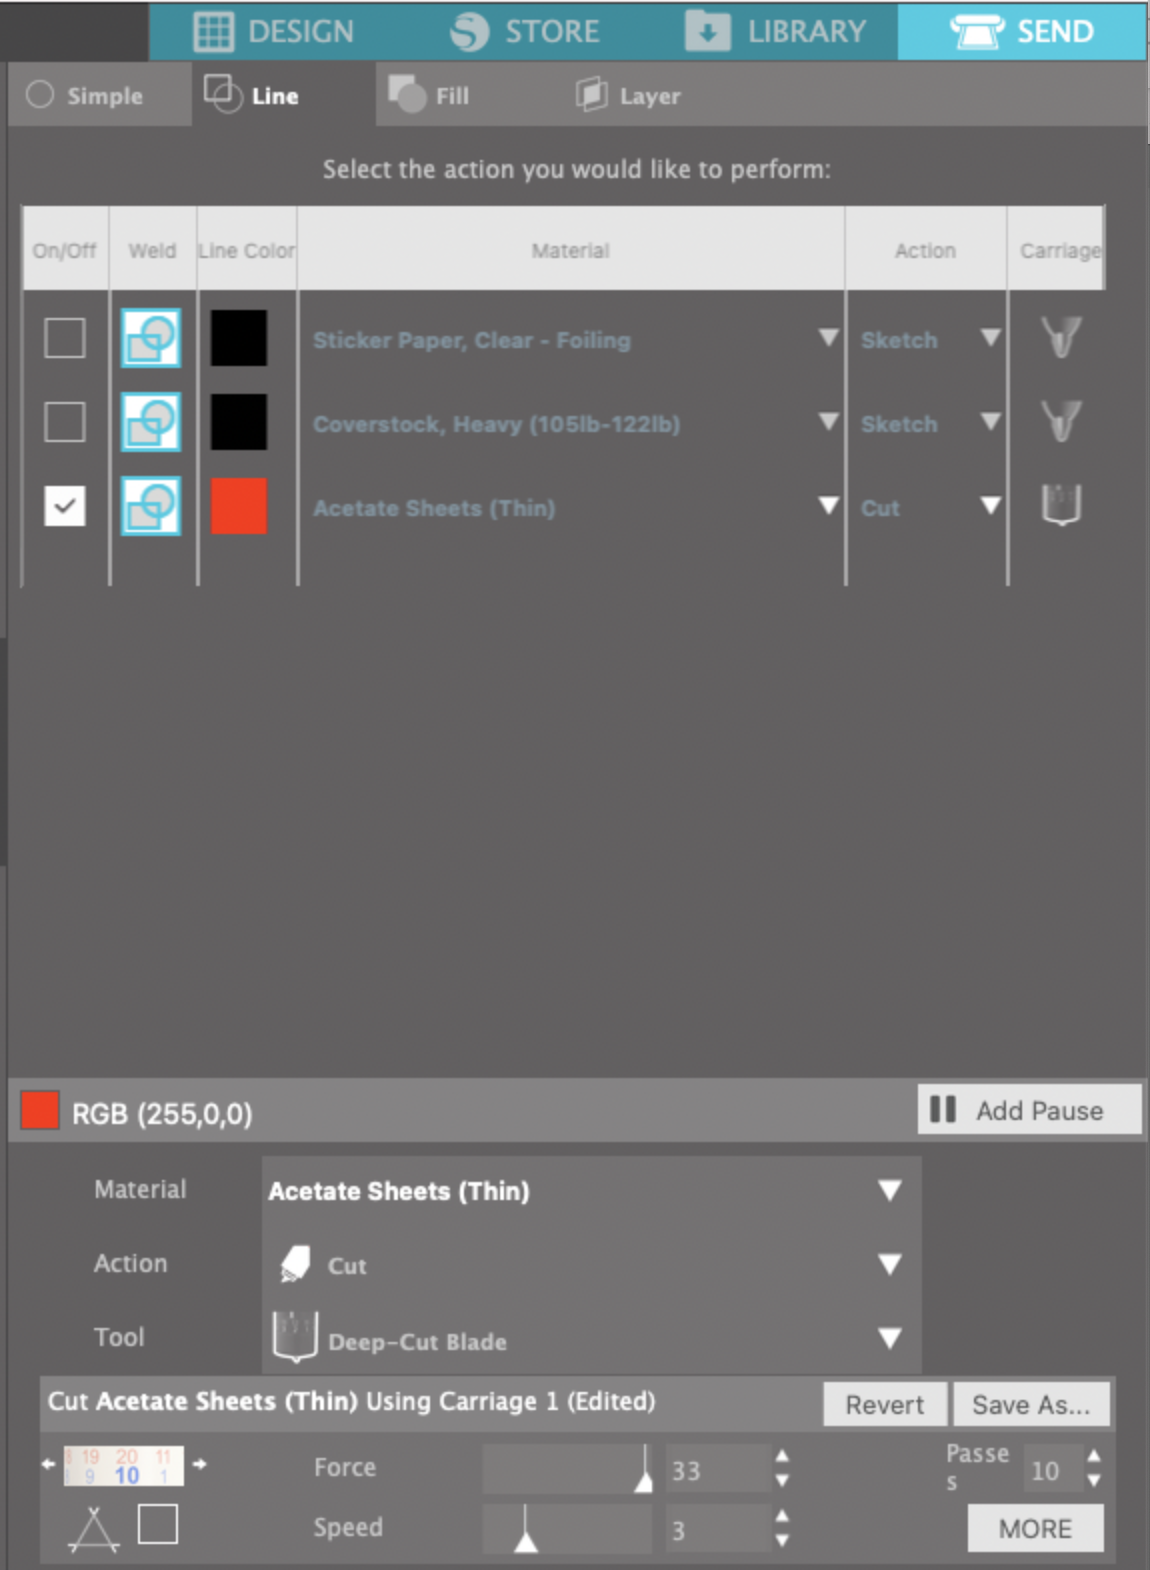
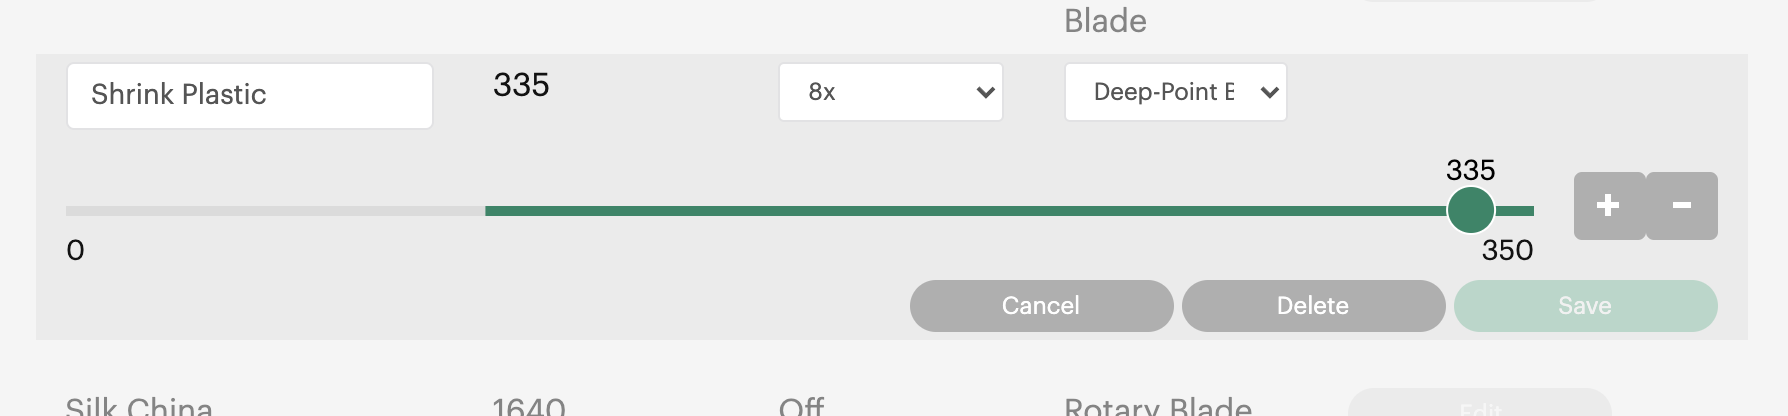
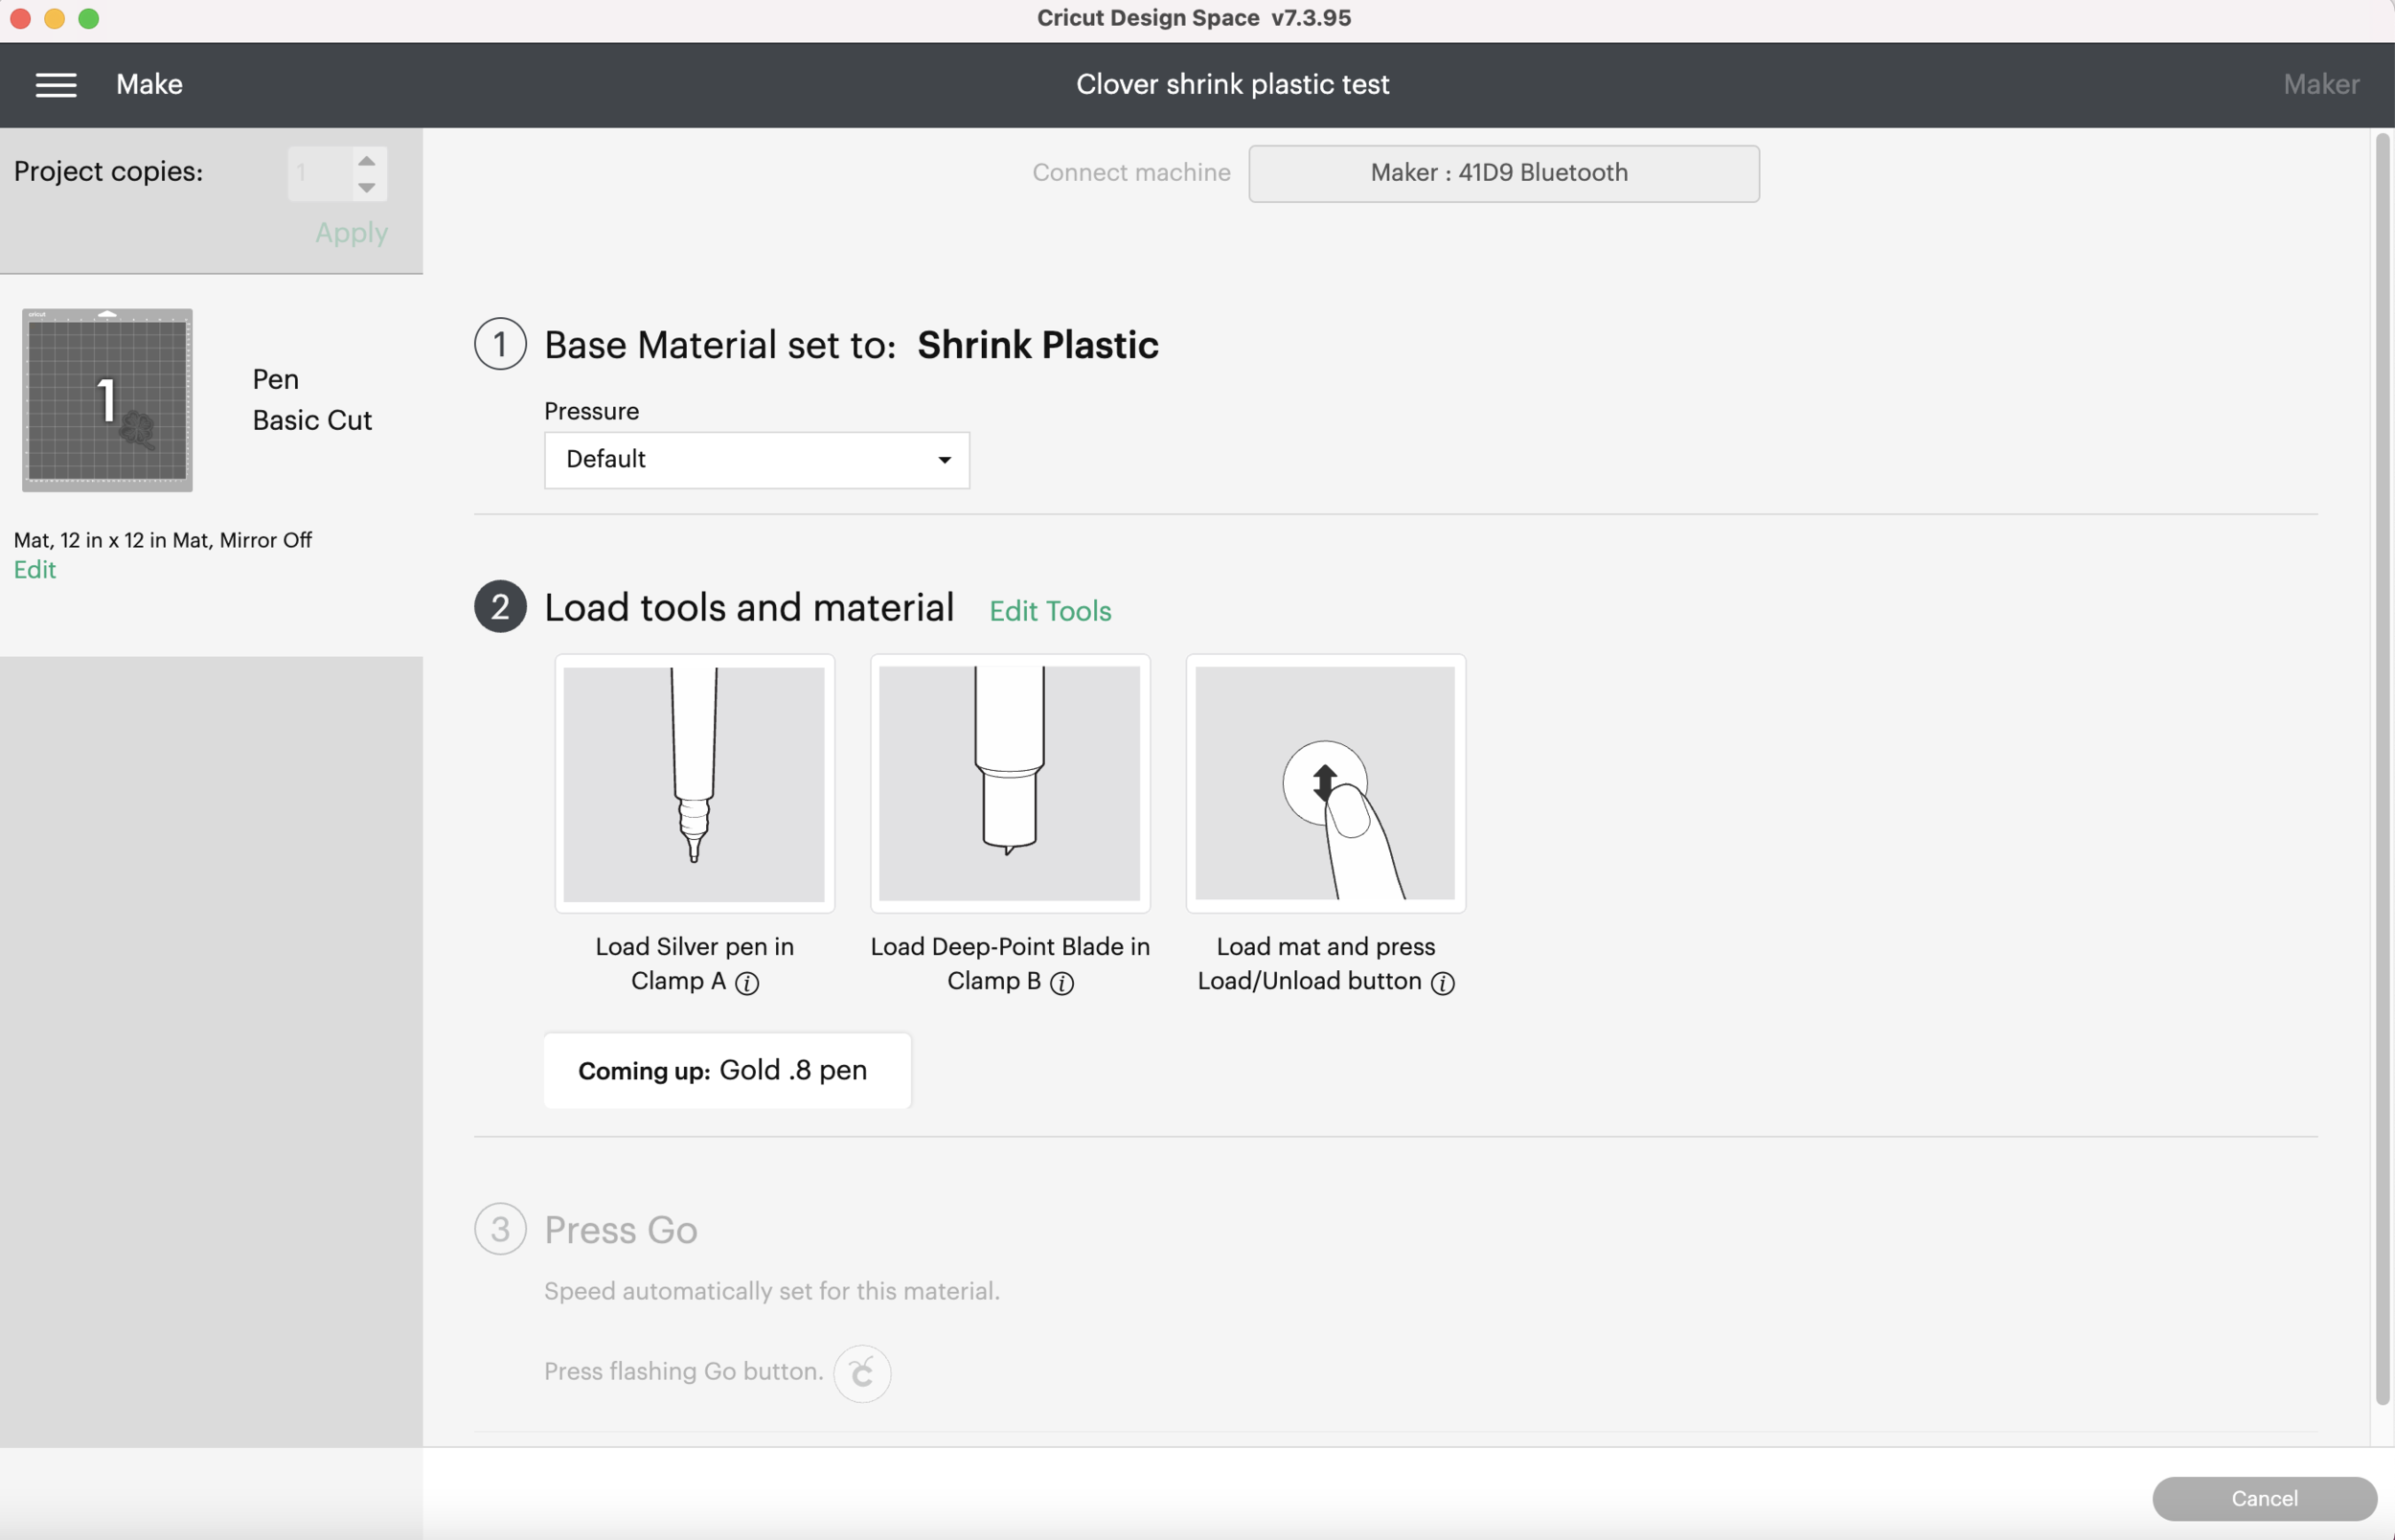
Back in Design Space, I’m going to click Continue. I tested some shrink plastic a while ago and I ended up making my own custom material setting that I named “Shrink Plastic.” (real original, I know). I’m going to search the materials and find my Shrink Plastic setting. (For some reason Cricut Design Space won’t allow me to save it as a favorite, I just get an error.)
Design Space is prompting me to load the silver pen in clamp A. I'm using my foil quill in clamp A instead. I don’t have anything loaded into clamp B. I load my mat into my machine and I press the Go button.
After the machine is done foiling, my design is still under the rollers so I can’t remove the foil. (What a pain! This is why I have the little square up in the corner of my mat).
It’s going to prompt me to load the gold pen into clamp A. I’m actually going to remove the foil quill (Careful, that tip is hot!) and load the Deep Cut blade into Clamp B. Press go on my machine.
My machine is going to move to the top of the mat to “Draw” the little square. I need to QUICKLY press the Pause button on my machine. Now I can easily remove the foil from my design.

Once I press the Pause button again, my machine will continue with the Deep Cut blade.
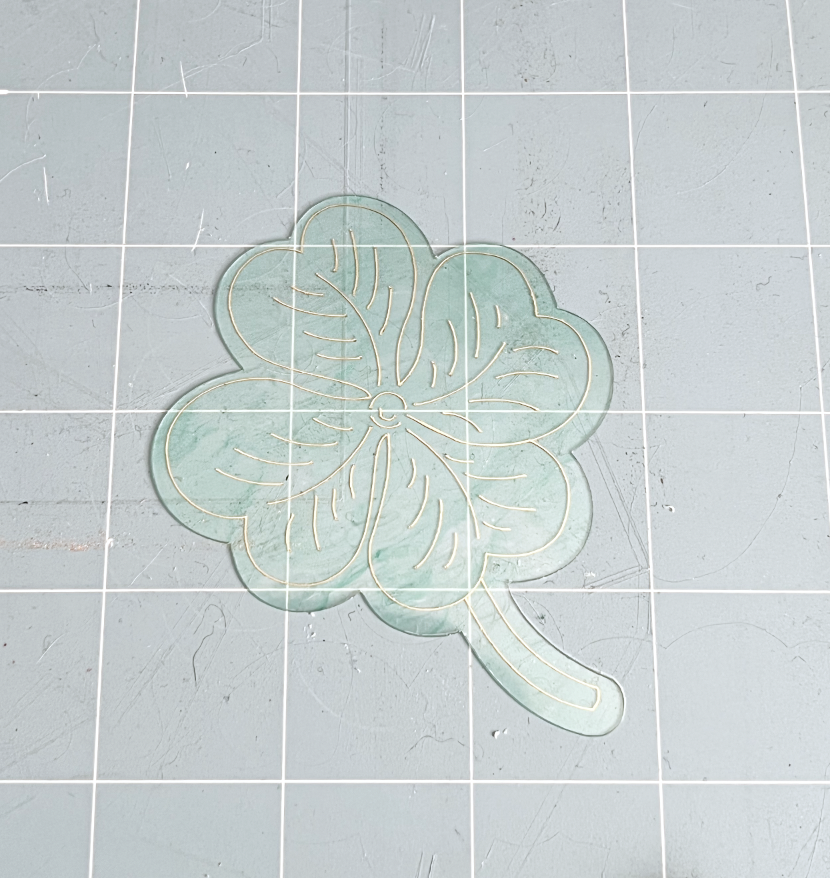
My cutline and drawing aren’t quite centered, so I may have to calibrate my machine. I’m going to go ahead and use this piece anyway since it won’t be as obvious once I shrink it.
Now it’s time to shrink! I’m using my heat gun, but you can also use a toaster oven and follow the instructions from your shrink plastic manufacturer.
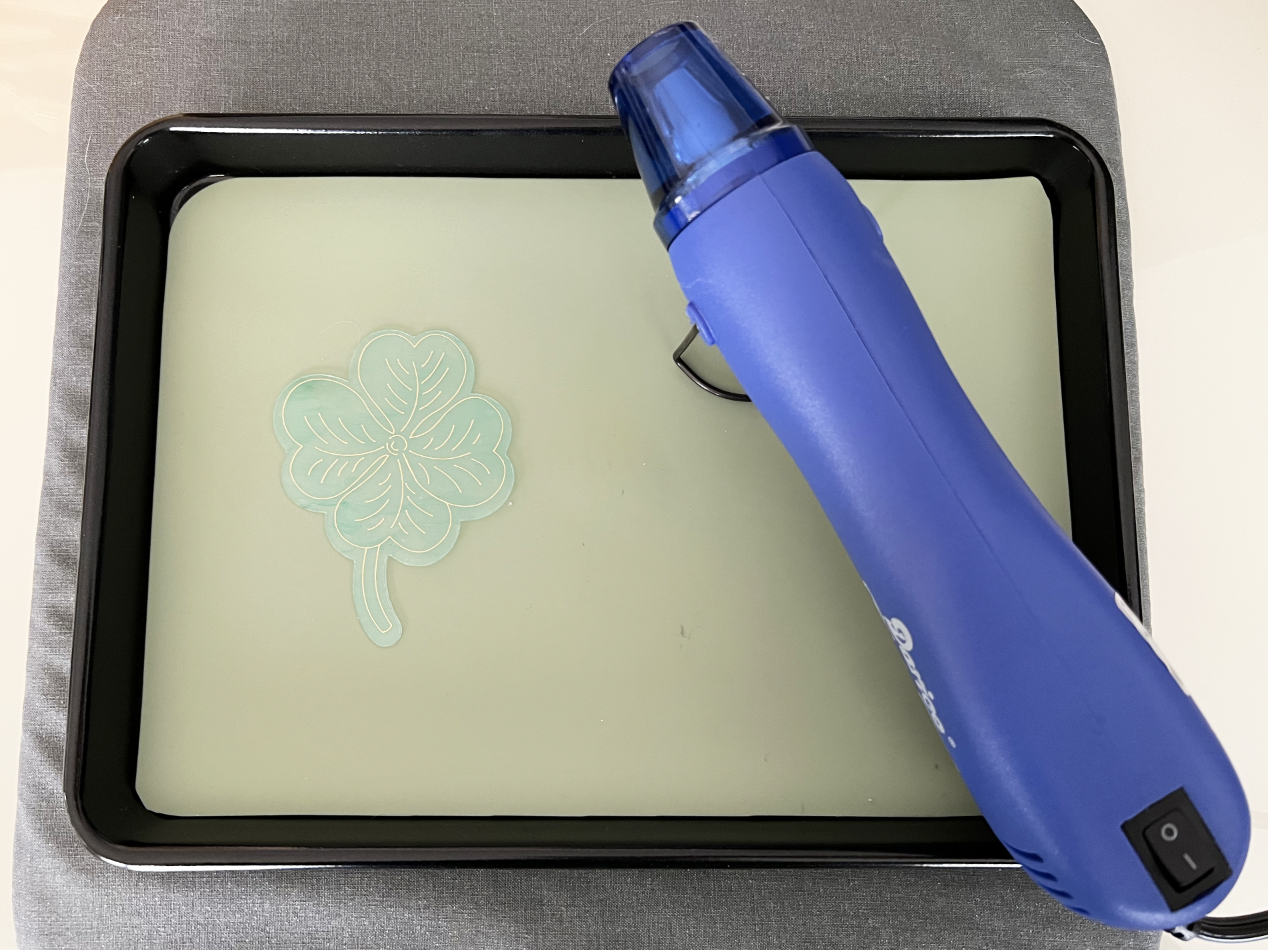
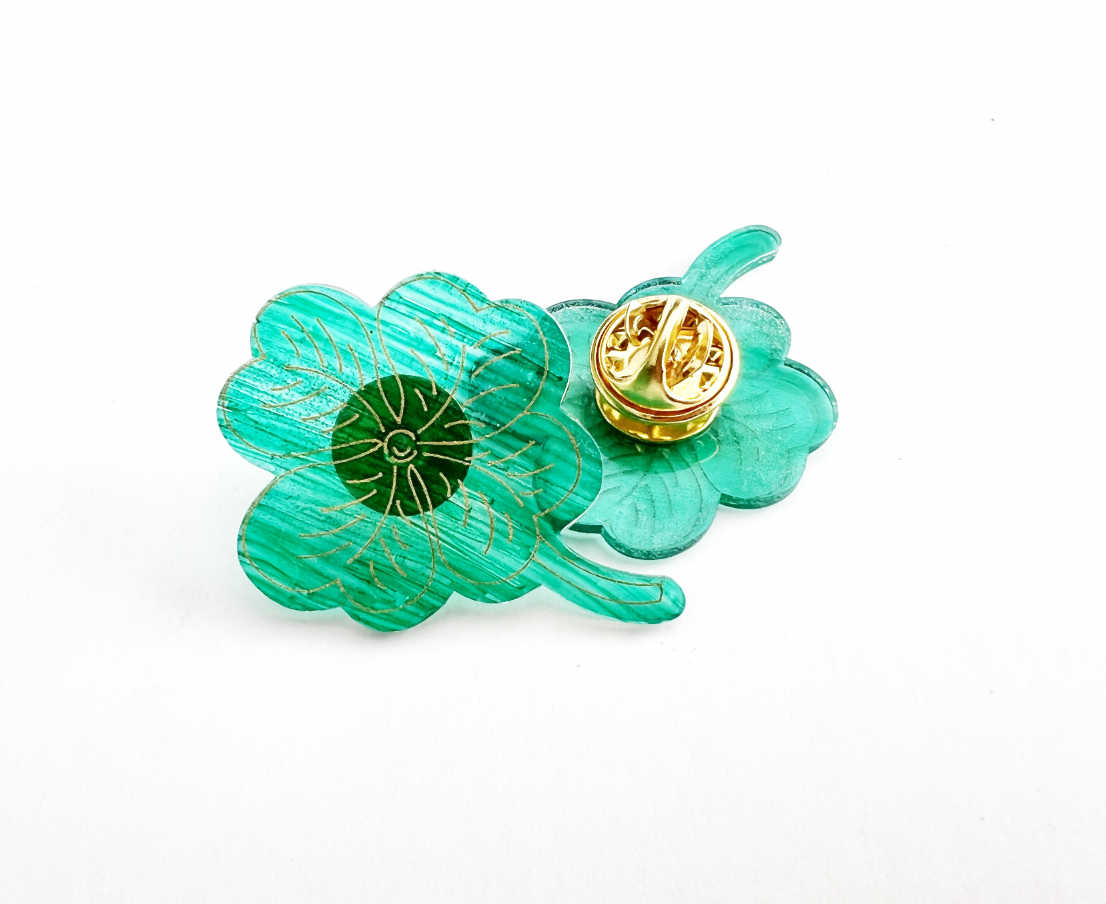
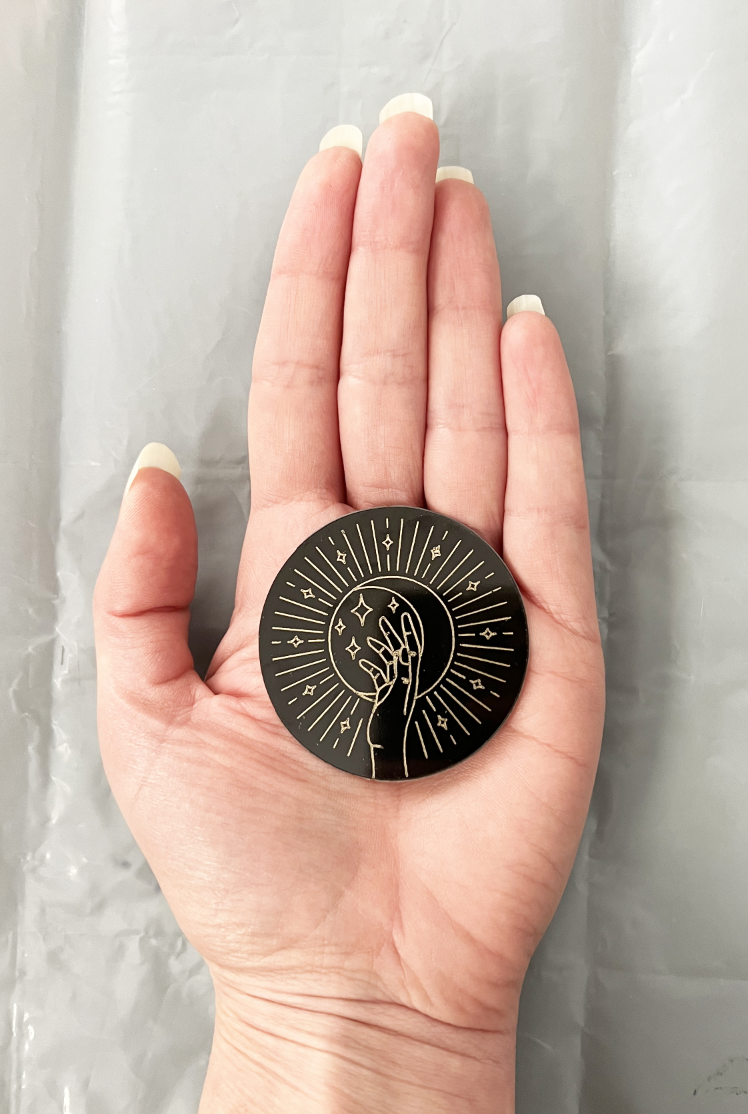
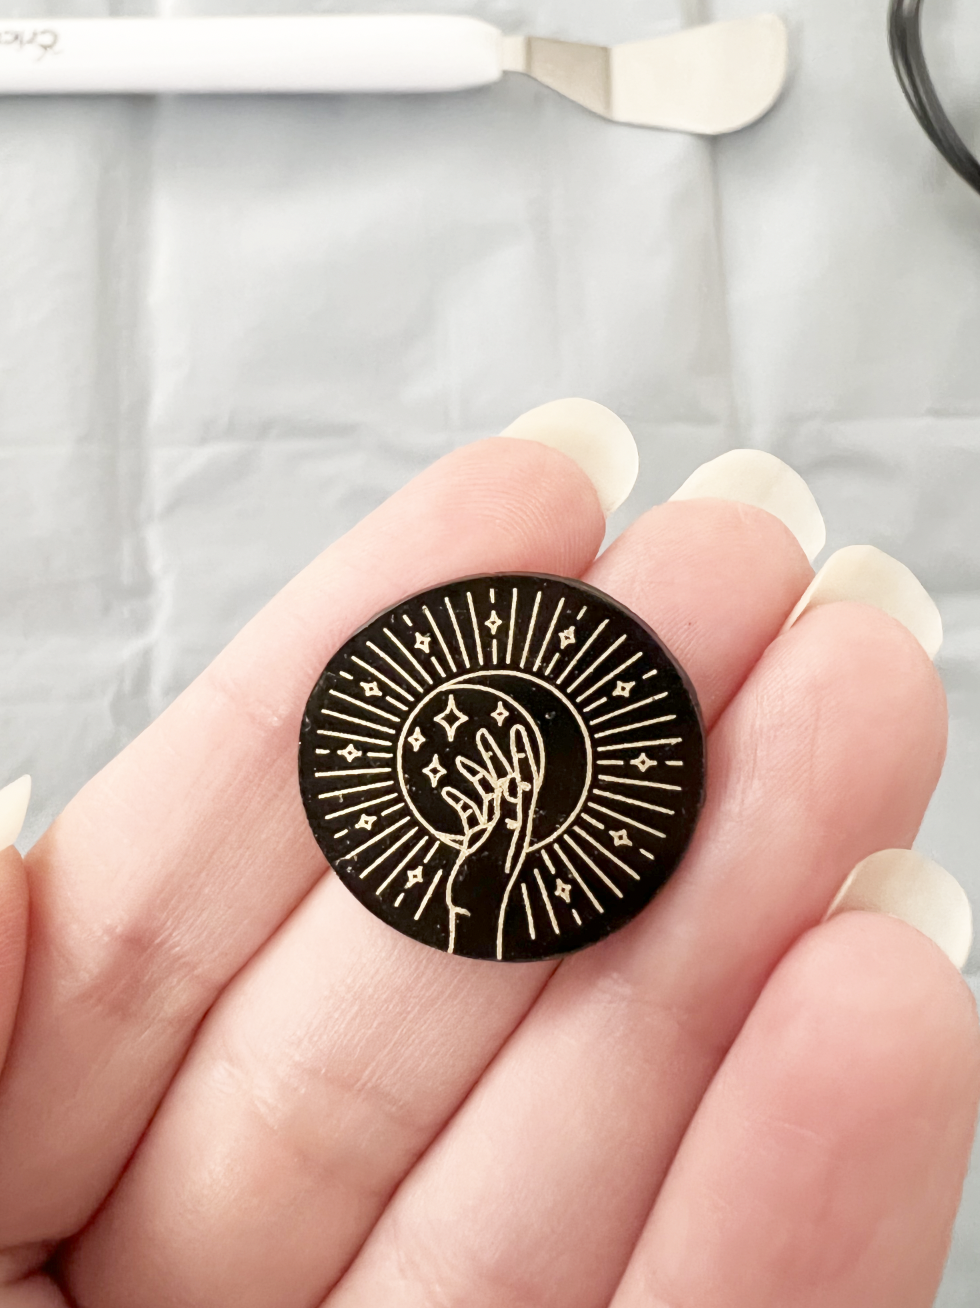
Be careful when it’s shrinking. If it curls up on itself too much the foil might transfer to another part of the design, like the left side of my clover in the photo below.

After it’s done shrinking, I glue a pin back on the back, and it’s ready to wear for St. Patrick’s day! If you don’t like the pin back showing through the shrink plastic you can also use this technique on the white shrink plastic.