
Hi Everyone! It’s almost the end of 2021, this year has flown by! I’ve been spending the past couple of weeks planning new projects and files to share on my website and Etsy shop. Christmas may be over, but it’s still winter in some parts of the world, so I thought I would share part of a project I’ve been working on. It’s a pretty simple one you can do on a snowy afternoon!
Supplies:
(links below may be affiliate links)
Cutting machine (I will be using my Portrait 3, but you can also use a Cricut or other cutting machine)
Snowflake cut file (You can download the one I’m using here for free)
Lightweight cardstock (I’m using foil cardstock, 2 different colors)
Ribbon, twine or fishing line to hang the snowflakes
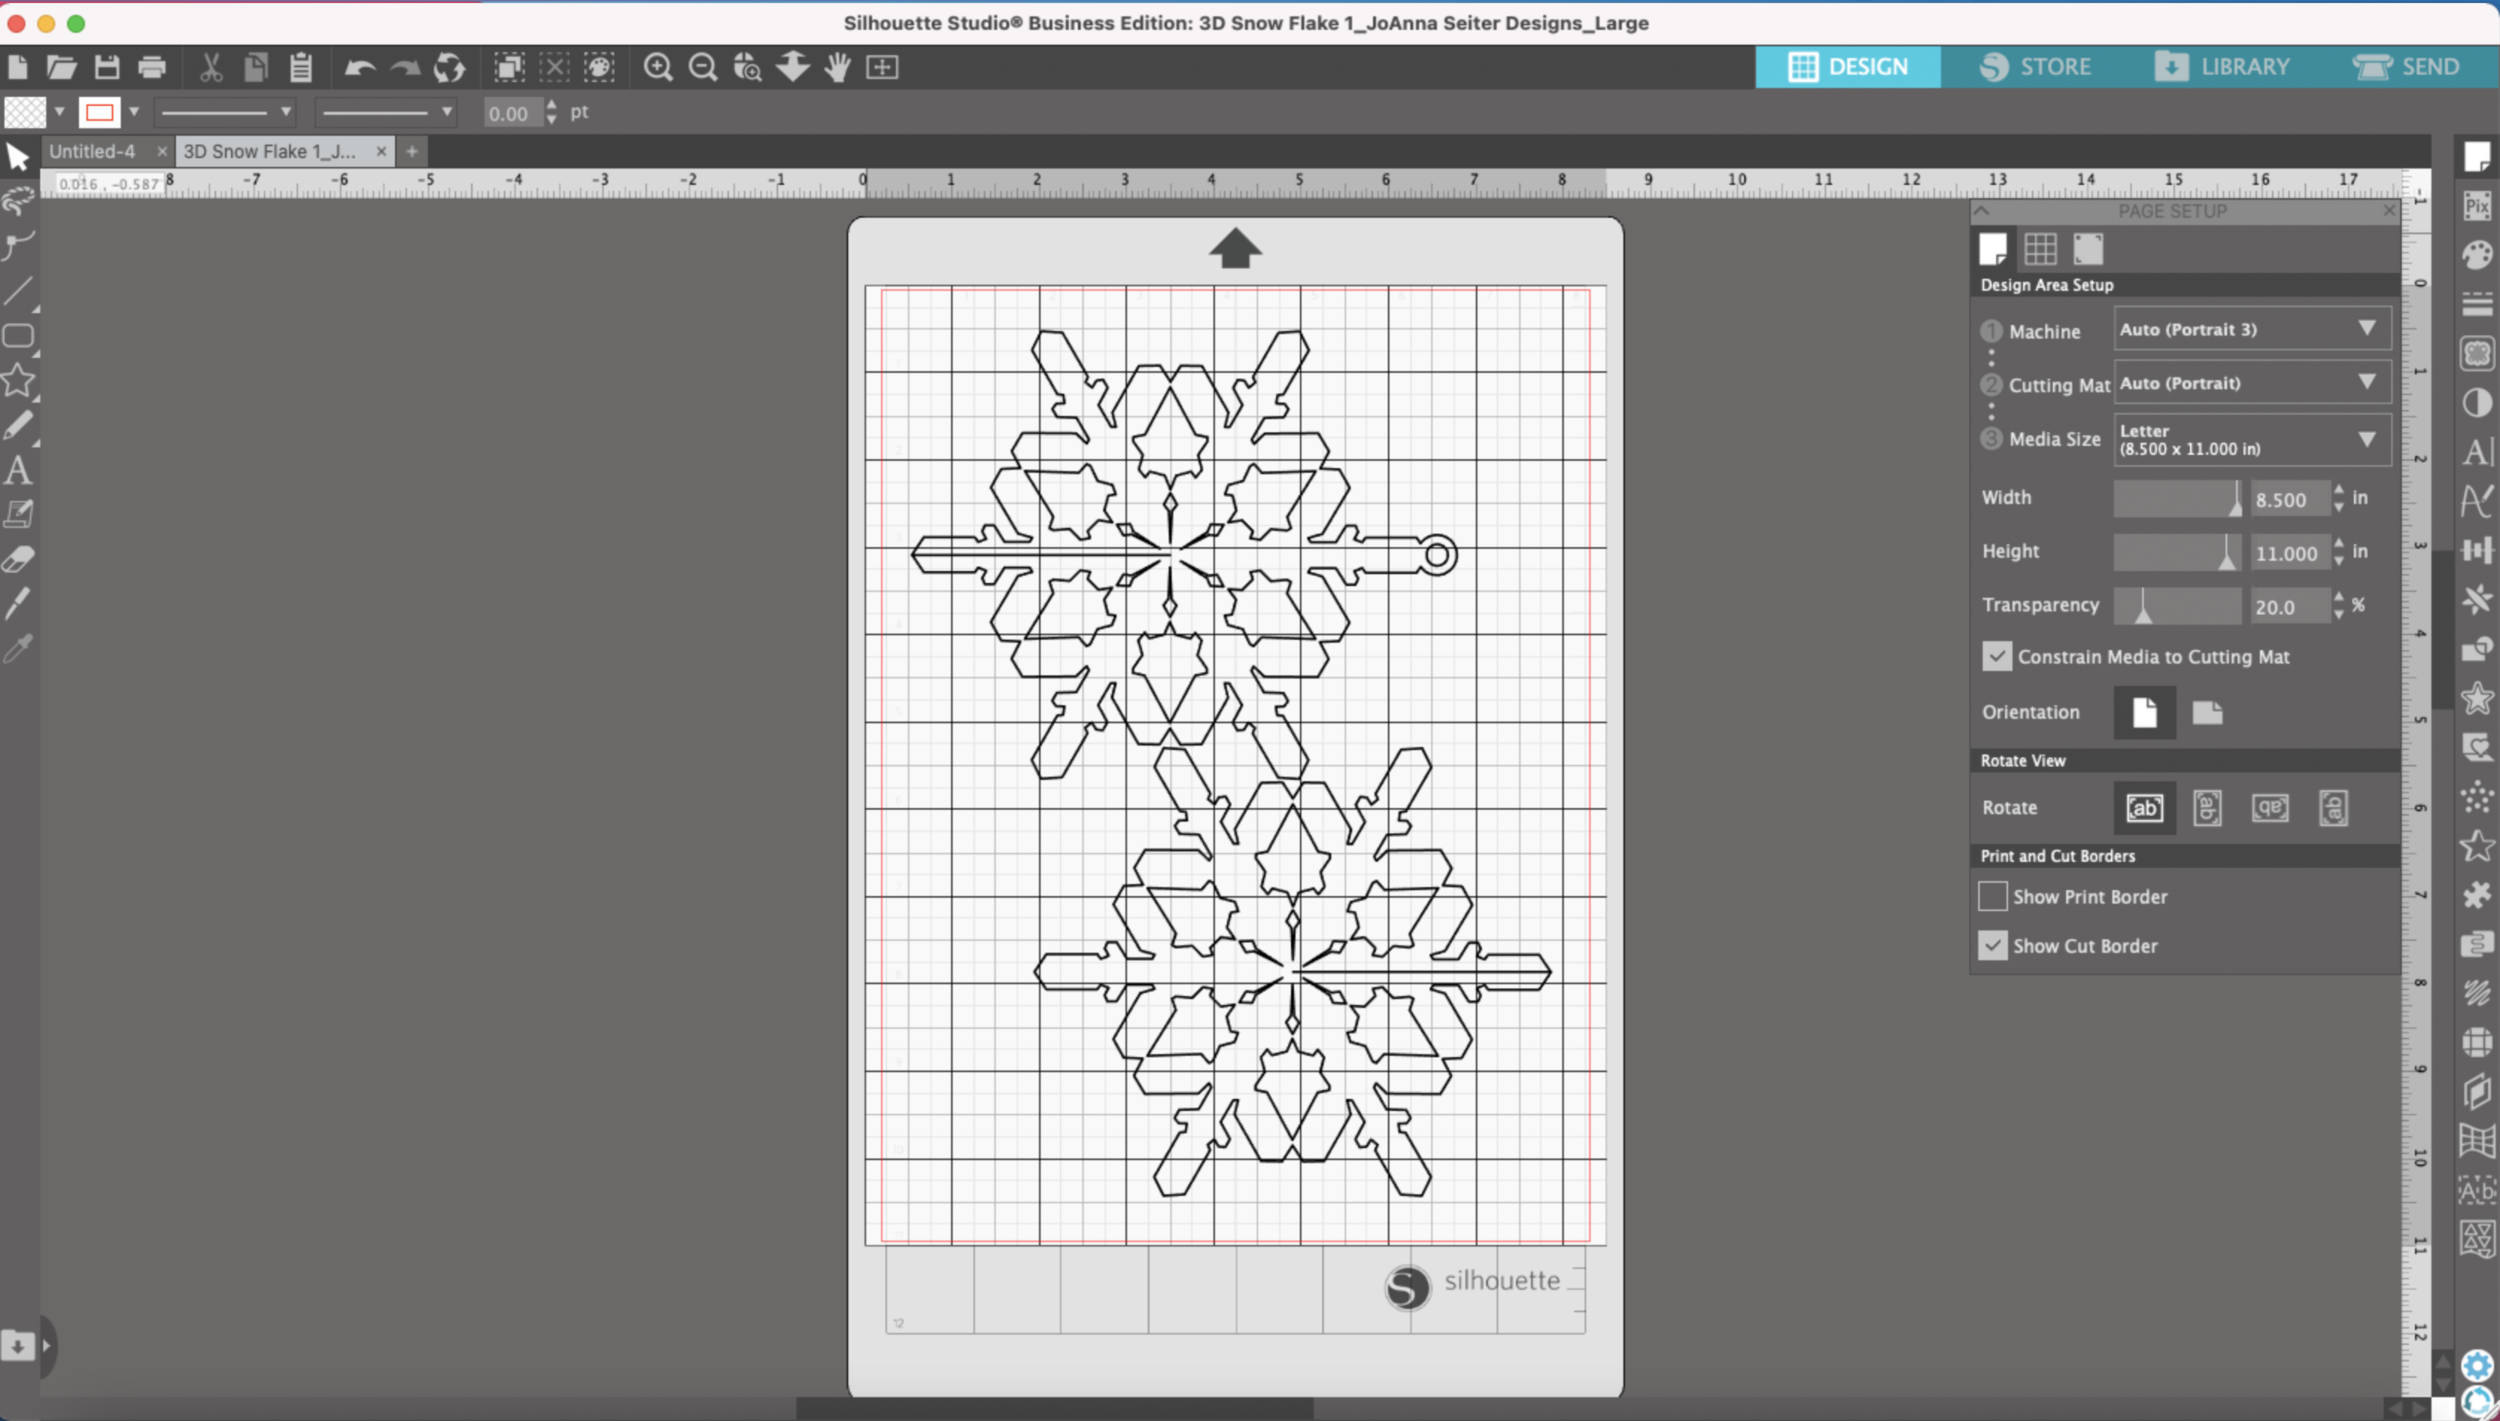
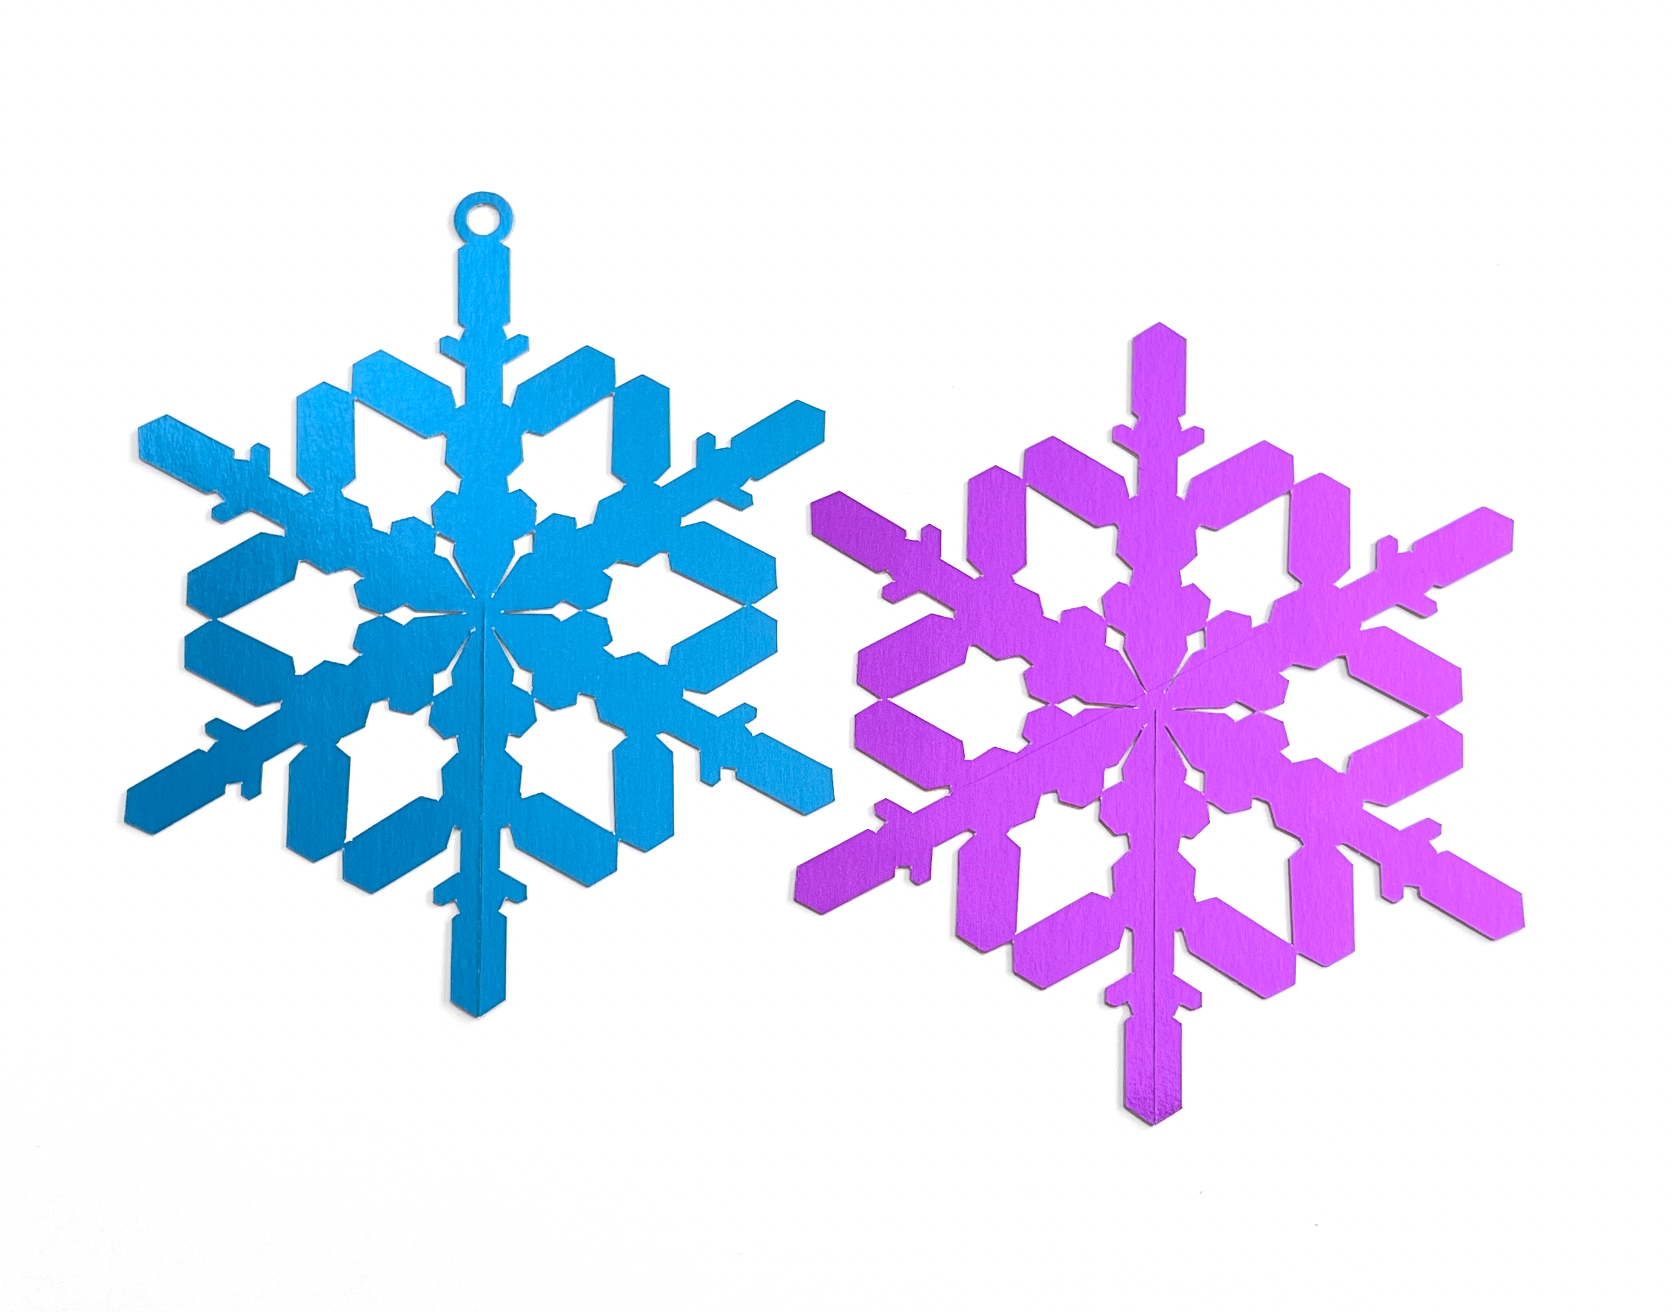
First open the SVG file in Silhouette Studio and adjust the size of the snowflake to your liking and will fit to your materials. Since I’m using two different colors of cardstock, I’m making my snowflakes pretty large.
I have one snowflake with a hole added at the top for hanging and one snowflake without the hole at the top.
I’m using my light grip cutting mat. I initially tried to do the matless, but the angles are a little too tight to get a nice pop out cut.
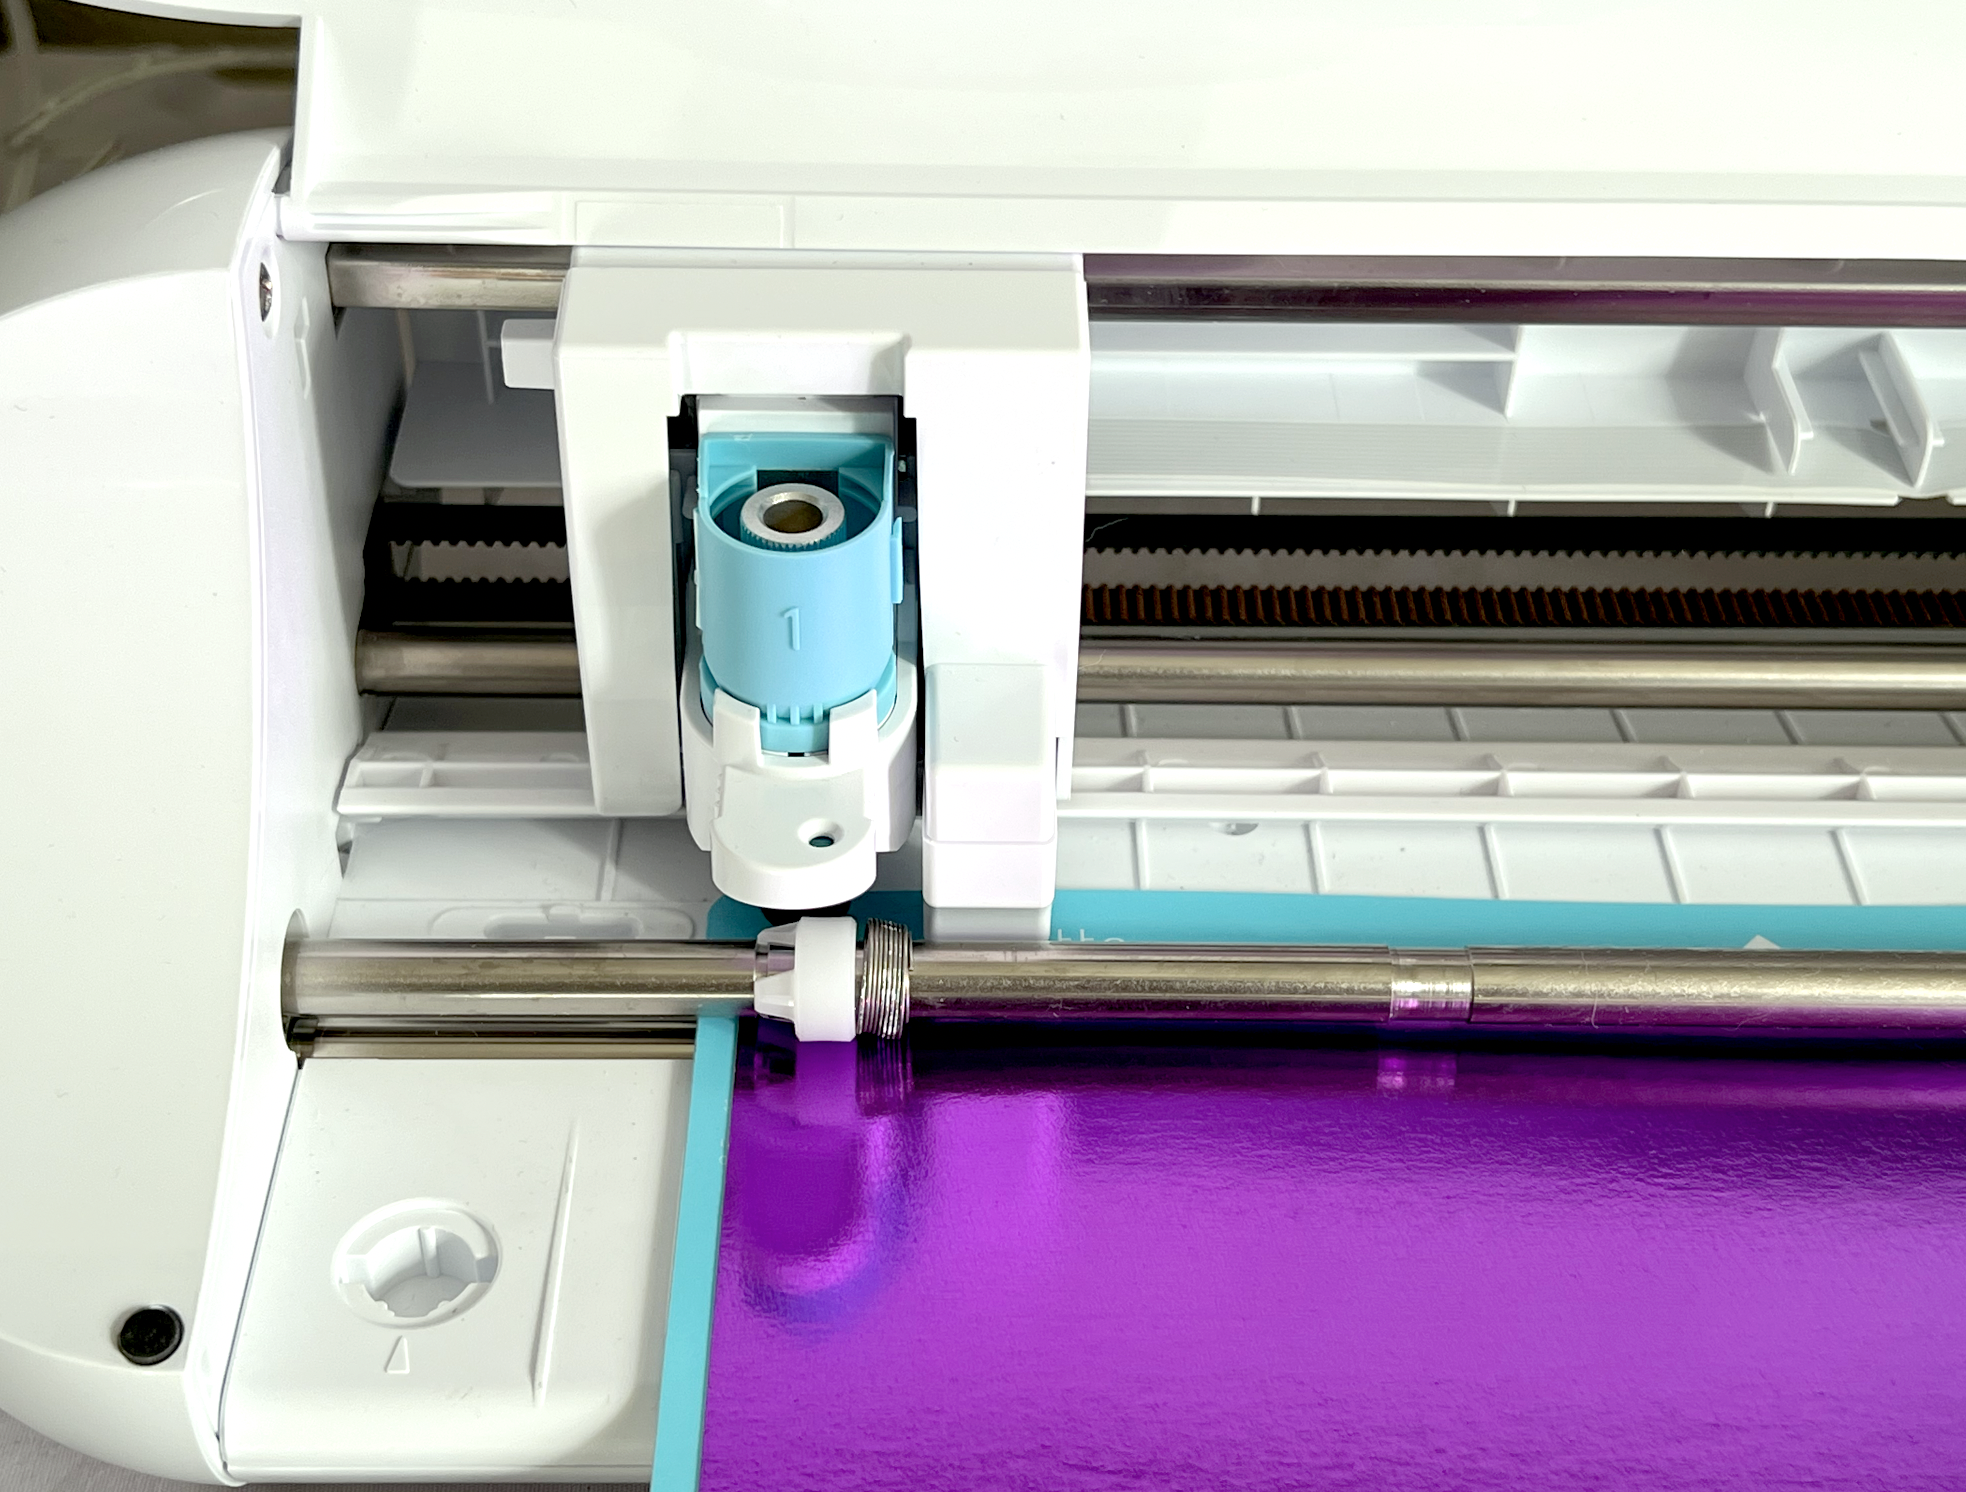
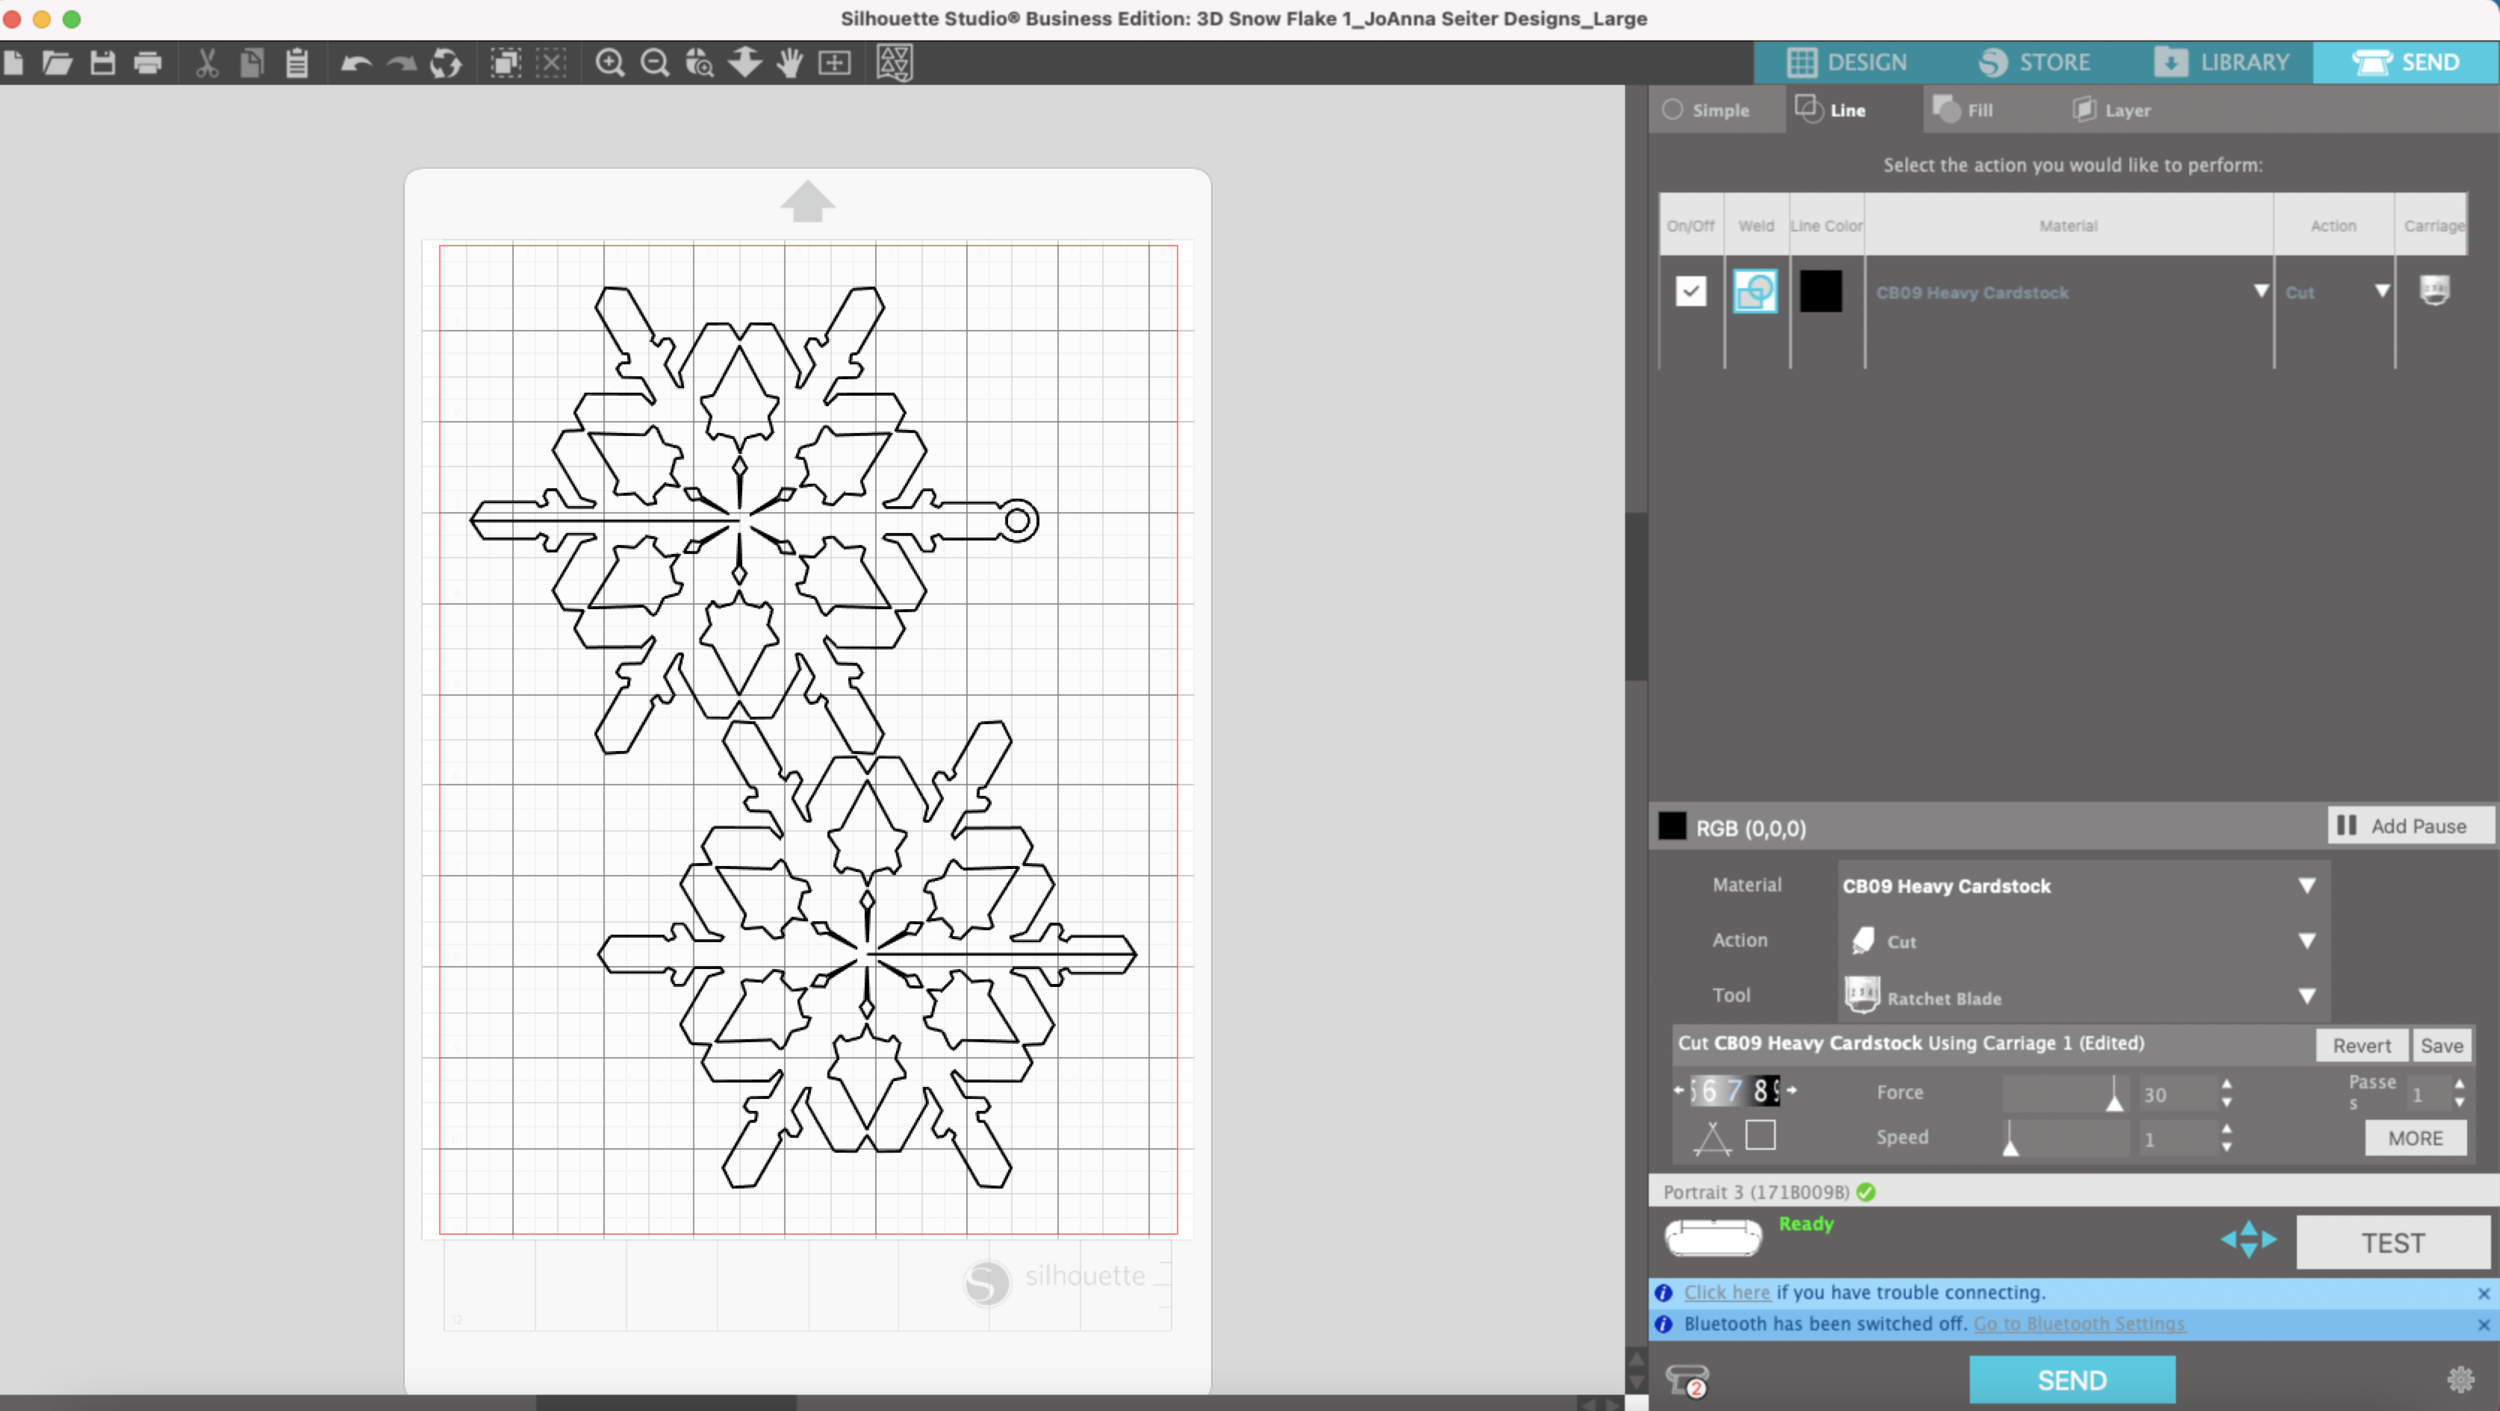
My foil cardstock feels a little heavier than my regular 65lb cardstock and the lightweight cardstock settings didn’t cut all the way through with my test cut. I got the best cut results using the Heavy Coverstock settings. The settings you see are for my CB09 blade since my auto blade is a little too dull to cut cardstock. You can use the default auto blade settings for Heavy Coverstock if you are using your auto blade.
I cut one color first, then I cut the same shapes from the 2nd color.
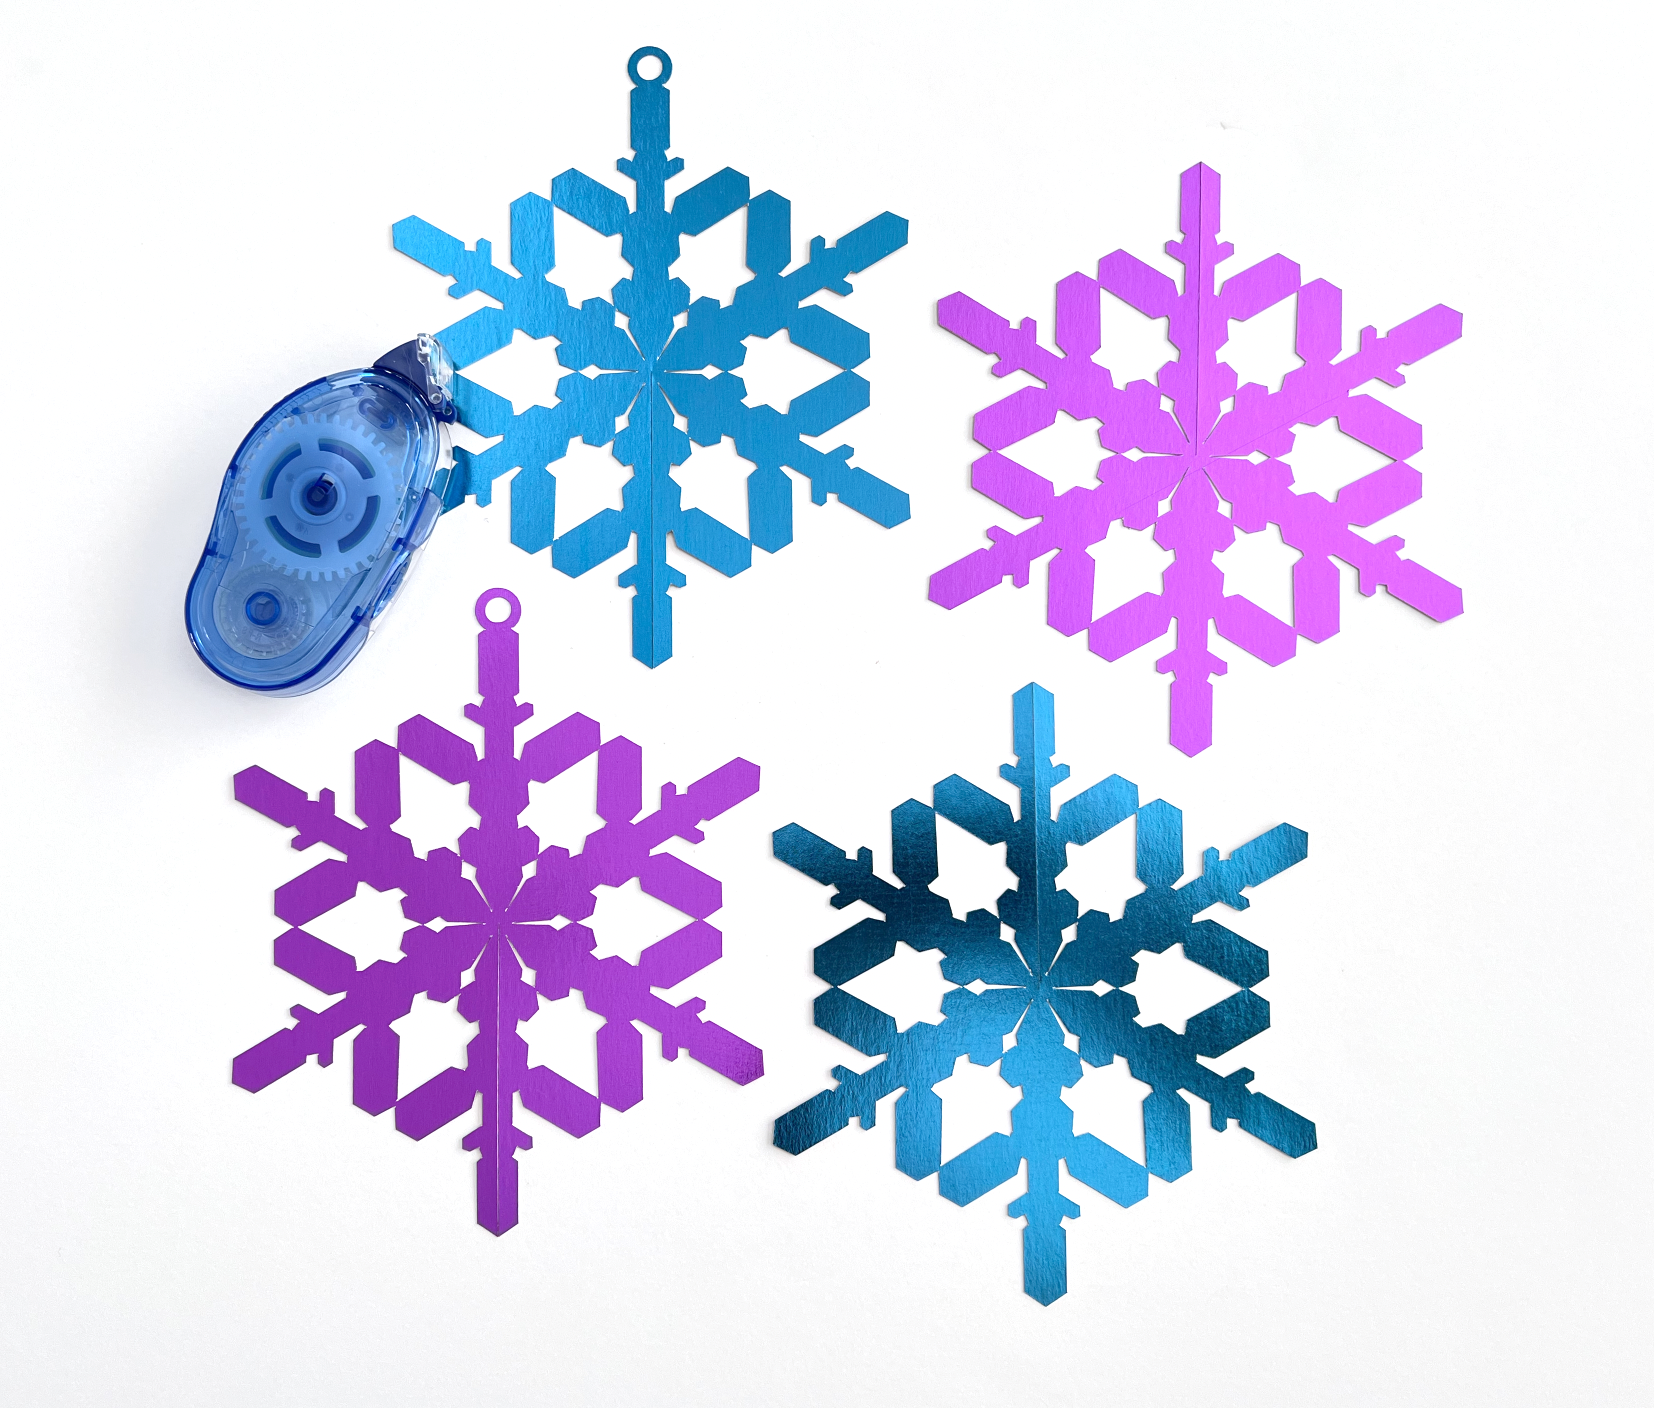
Next, I’m going to glue my pieces together, I’m using my tape runner, but you could also use a glue stick. I’m going to glue the two pieces with the hole at the top together. Then I’m going to glue the two pieces without the hole in the top together. Make sure the slit lines match up on the two pieces without the hole in the top.
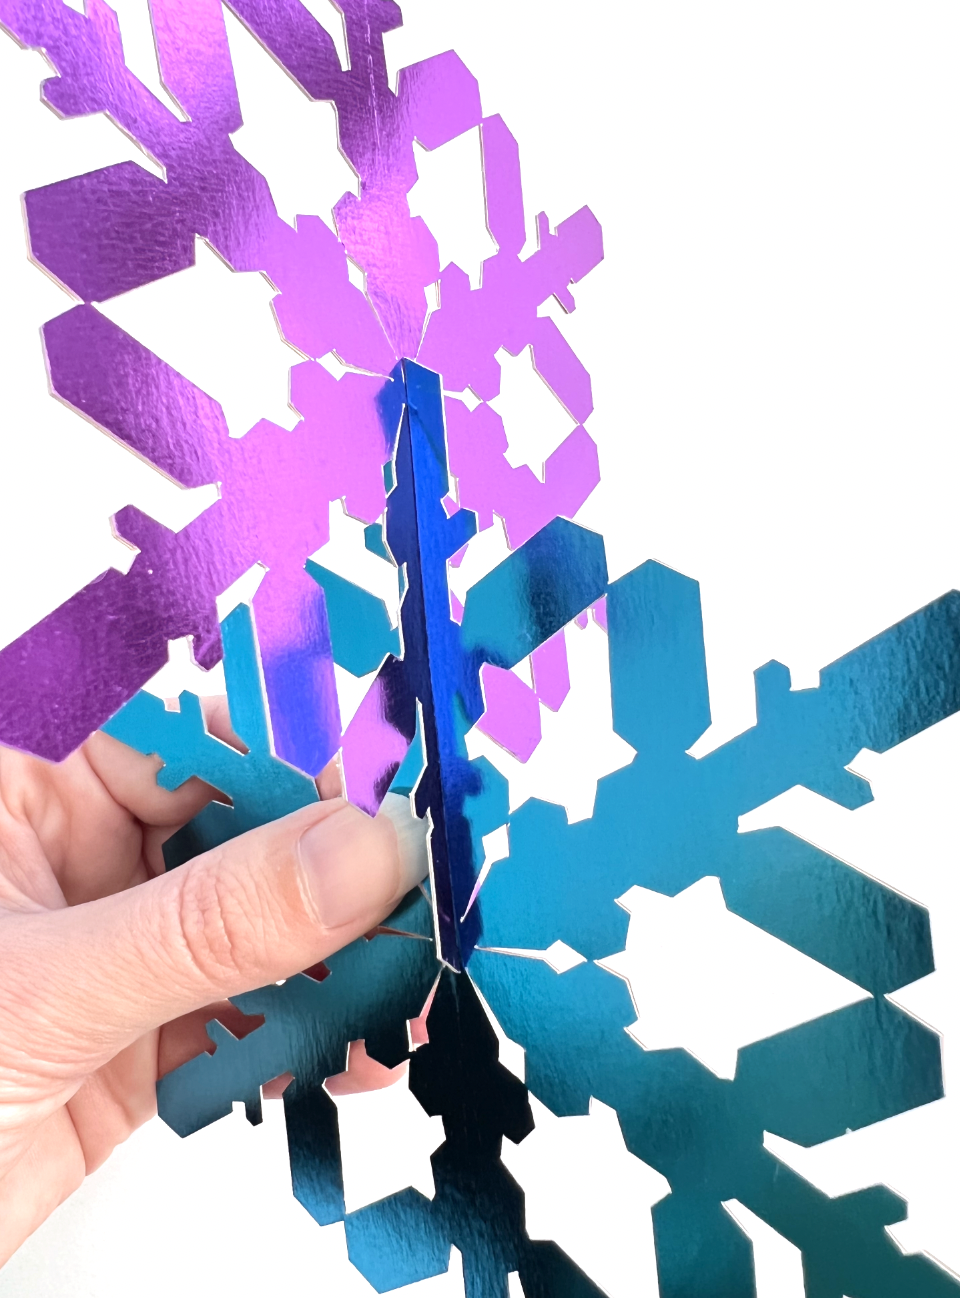
Then I’m going to slide the two pieces together along the slits until they meet in the middle.
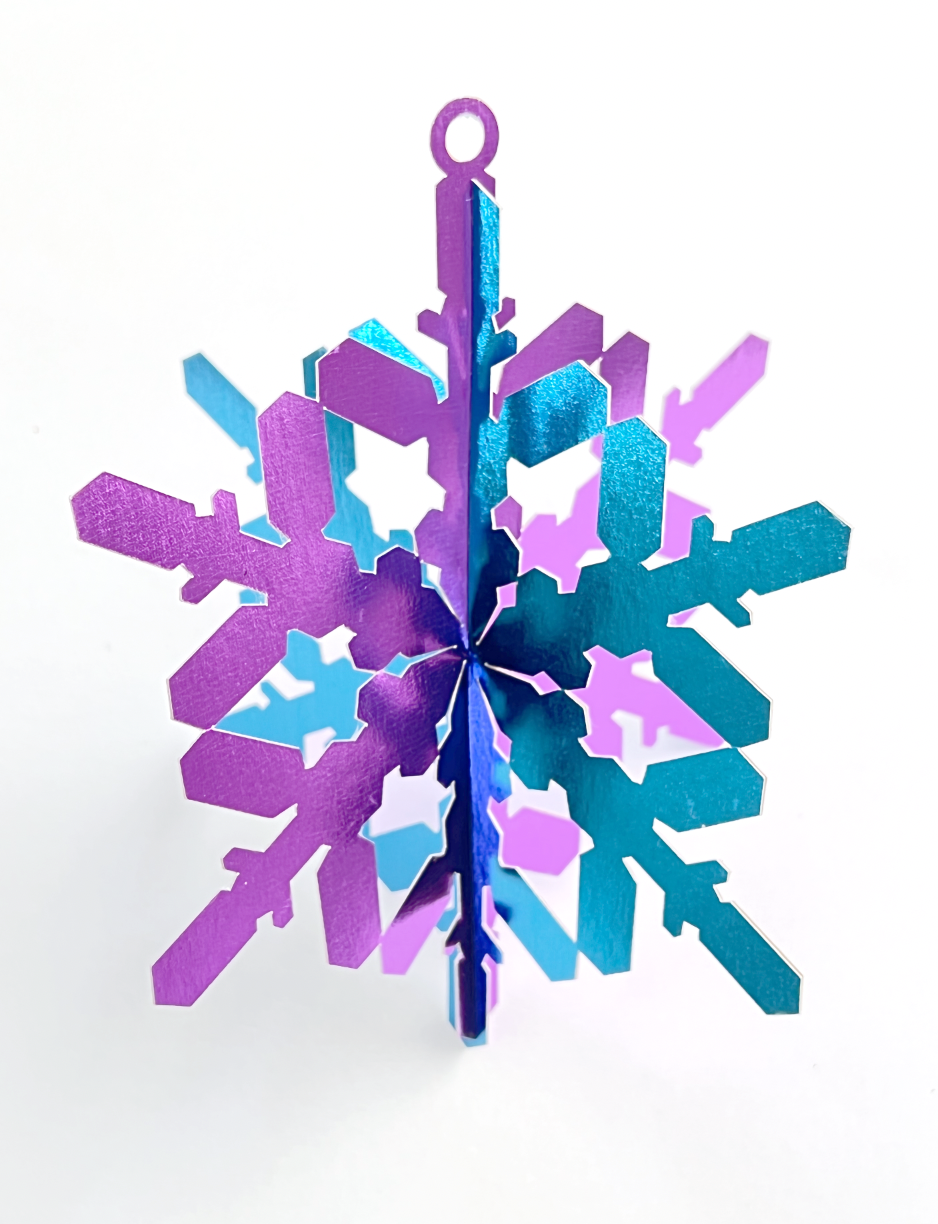
Now you can add ribbon, twine, or fishing line through the hole at the top to hang your snowflake!