gift card envelope

DIY Gift Card Envelopes

Hi Everyone! This week I want to share a quick and easy way to make gift card envelopes.

DIY Gift Card Envelopes

Supplies:

(Links below may be affiliate links)

Silhouette Portrait 3 or other cutting machine

Portrait 3 Light grip mat

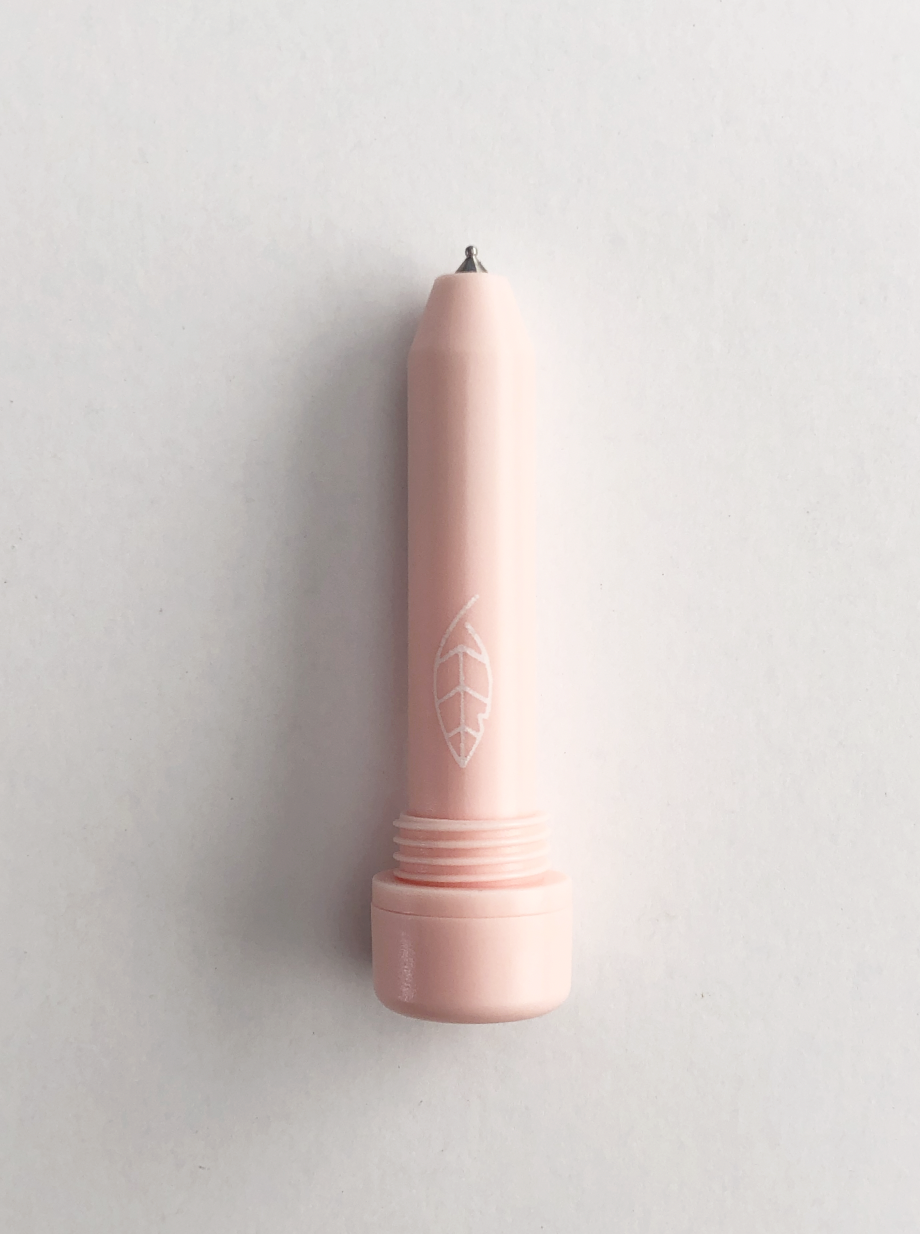
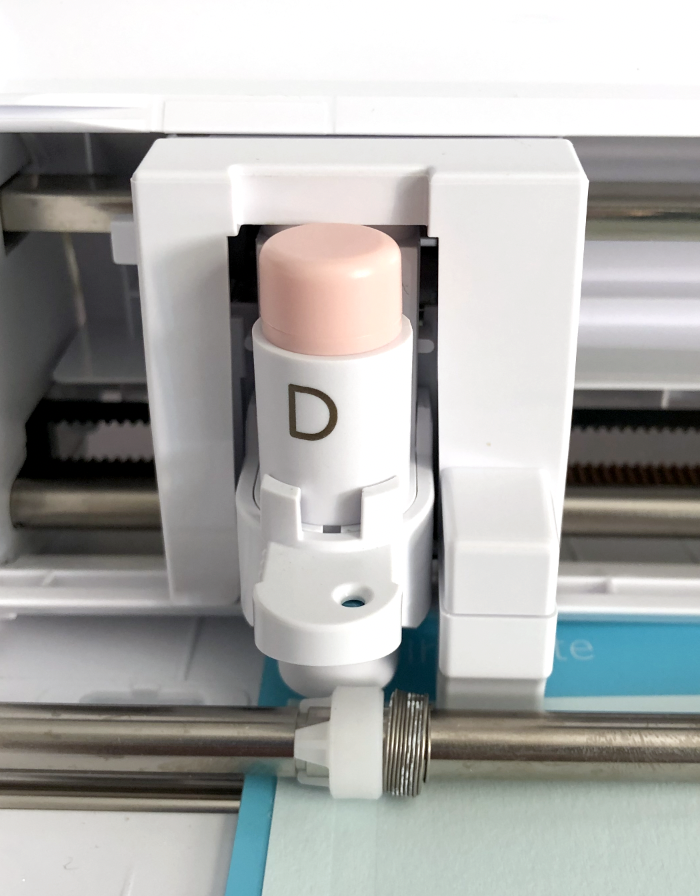
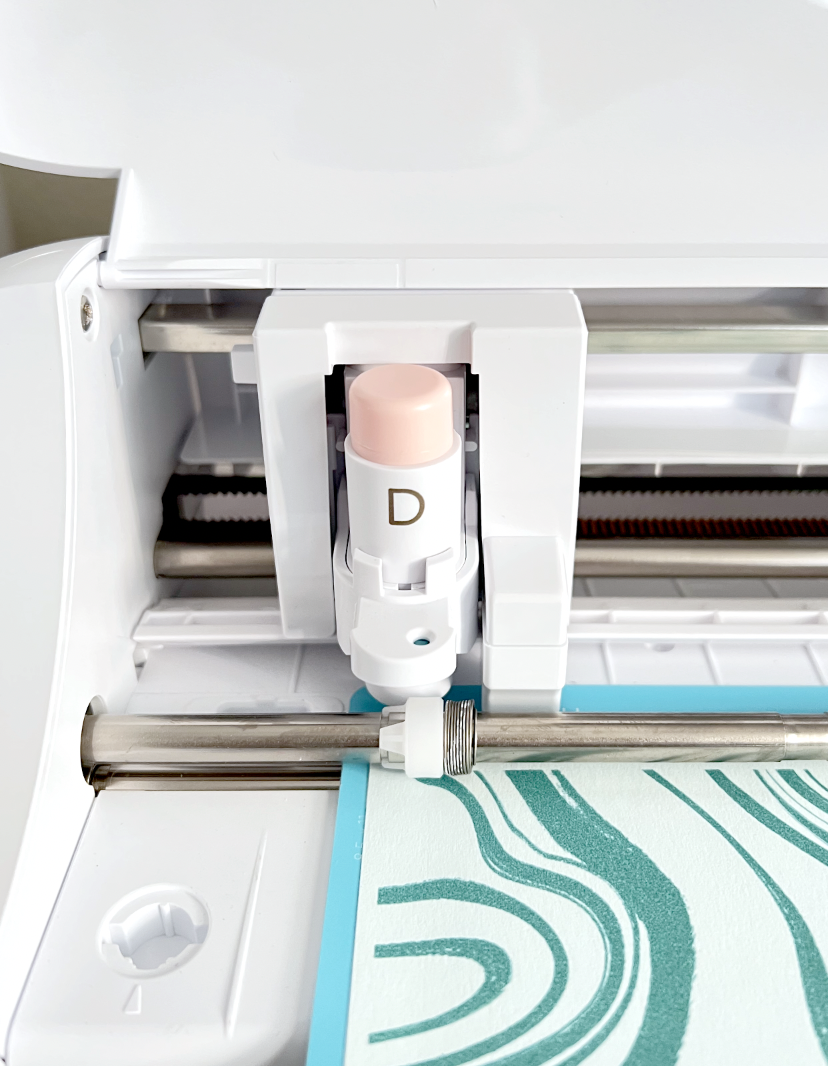
Bevel quill with D adapter from Foil Quill or scoring stylus with Silhouette Pen adapter

Auto Blade

My A2 Envelope template or any other envelope template you may have

Lightweight printed or plain cardstock

Gold adhesive foil or any adhesive vinyl of your choice

Vinyl transfer Tape

Glue or tape

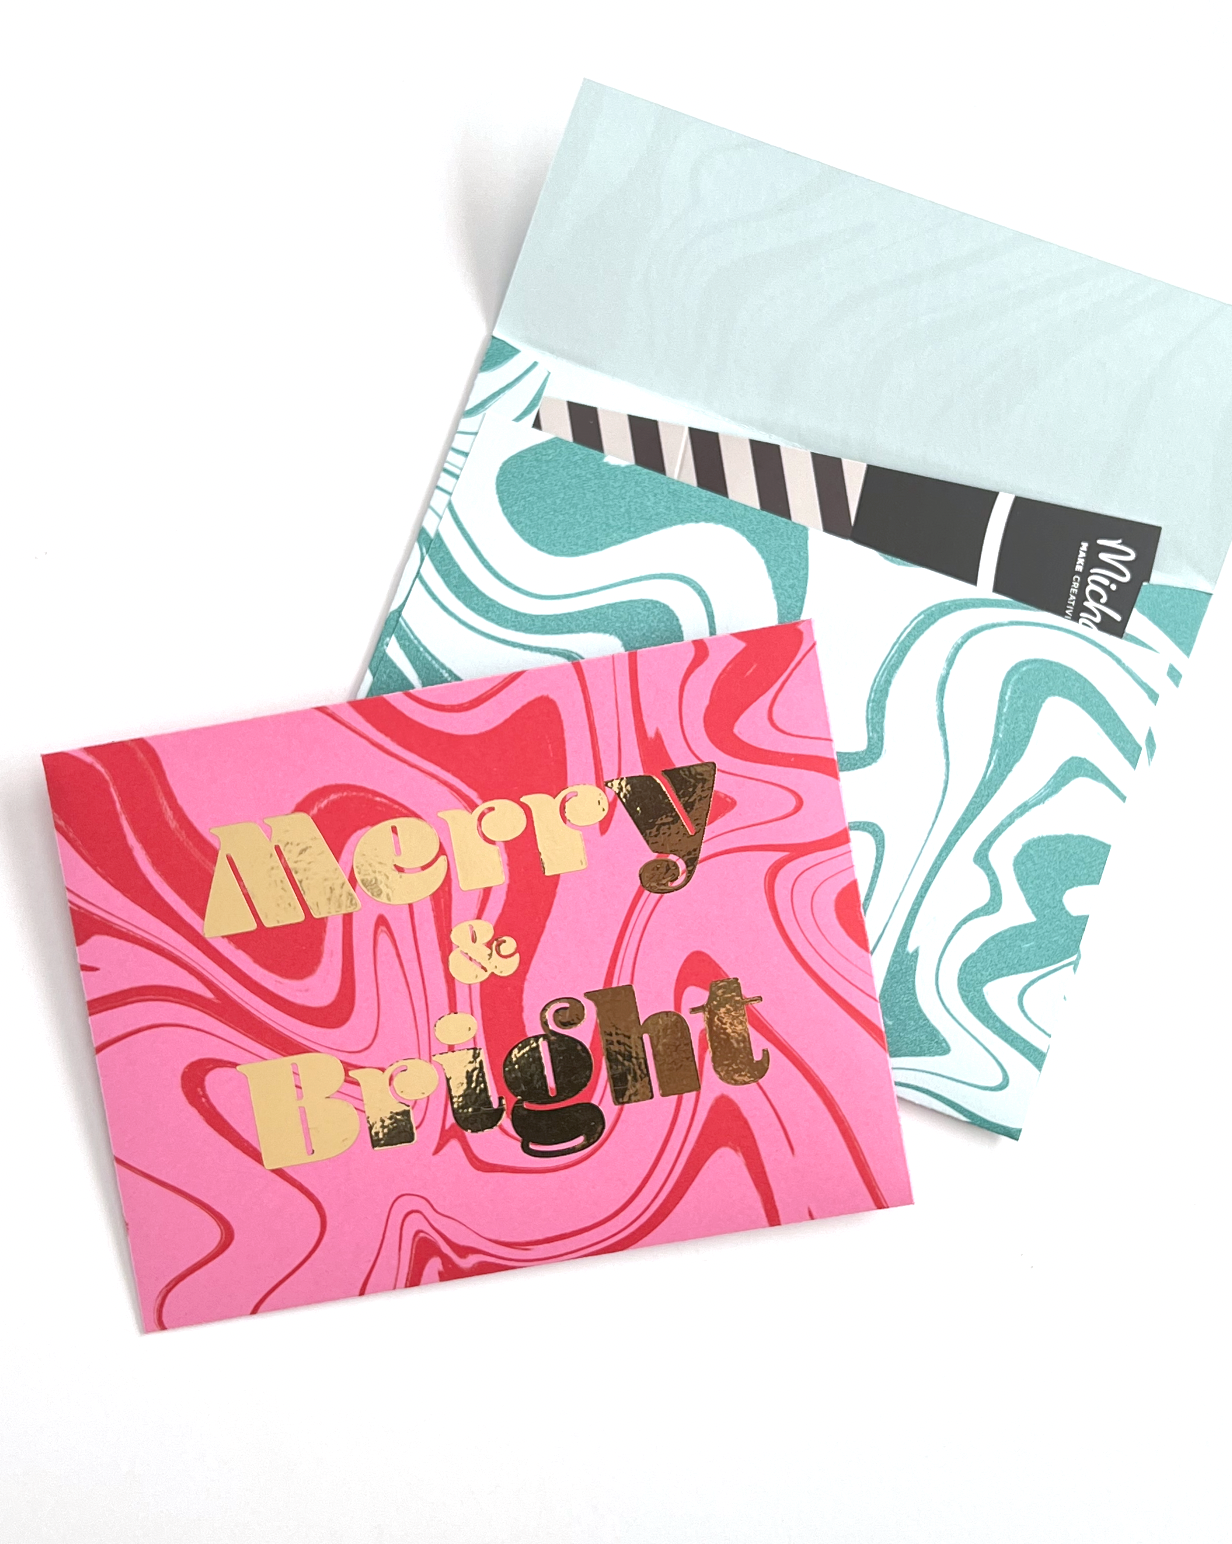
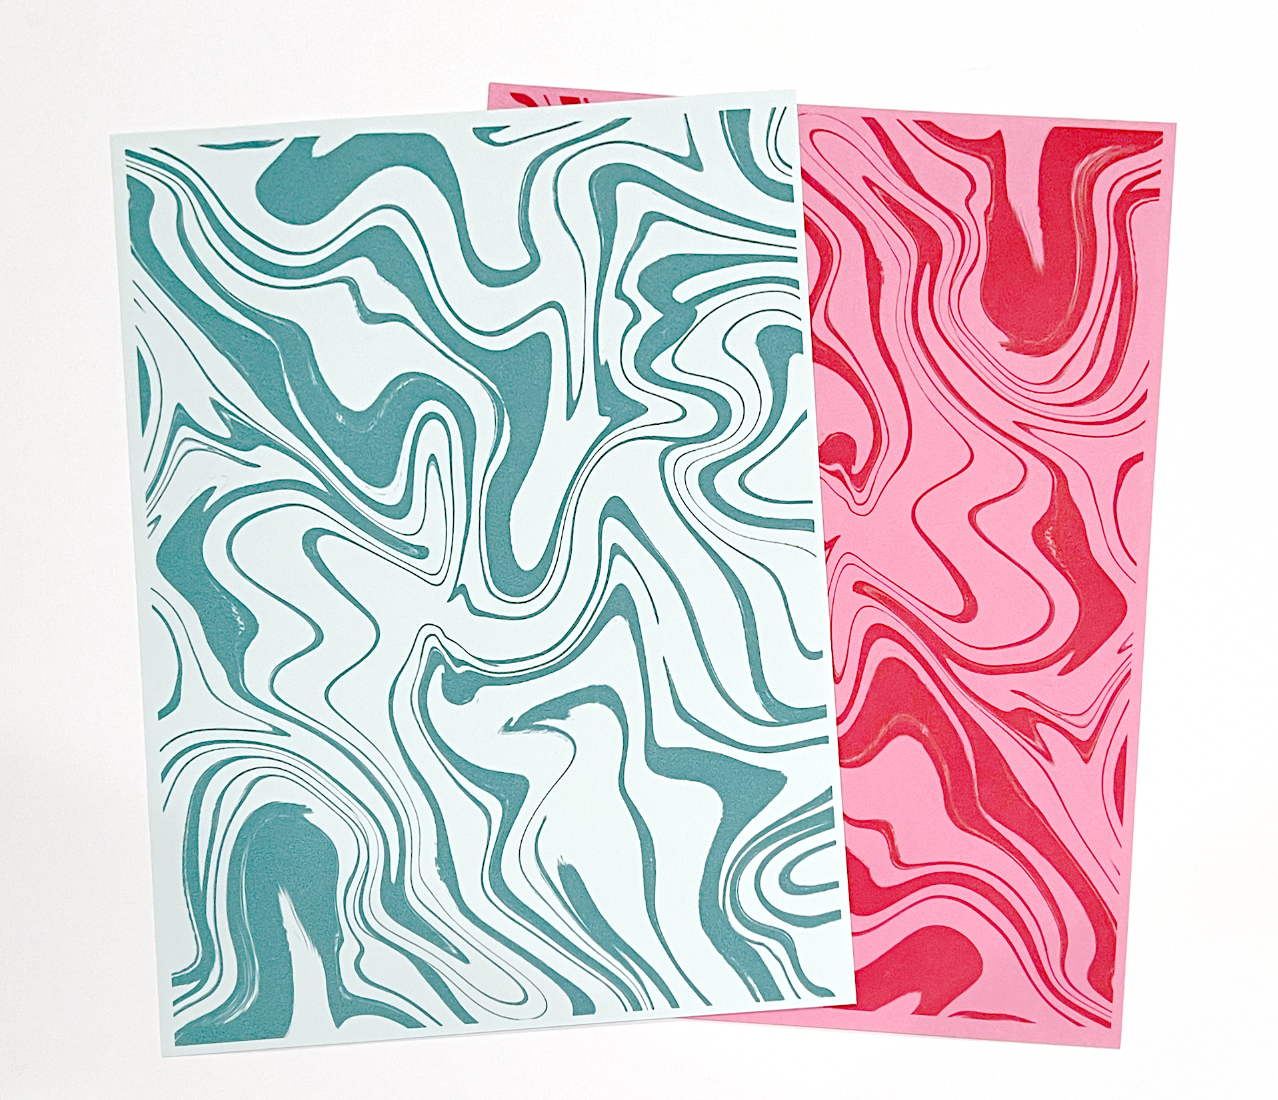
To start, I overprinted some of my 65lb lightweight cardstock with a marble design I created in Procreate. You can use plain cardstock or any printed cardstock you already have on hand.

DIY Gift Card Envelopes

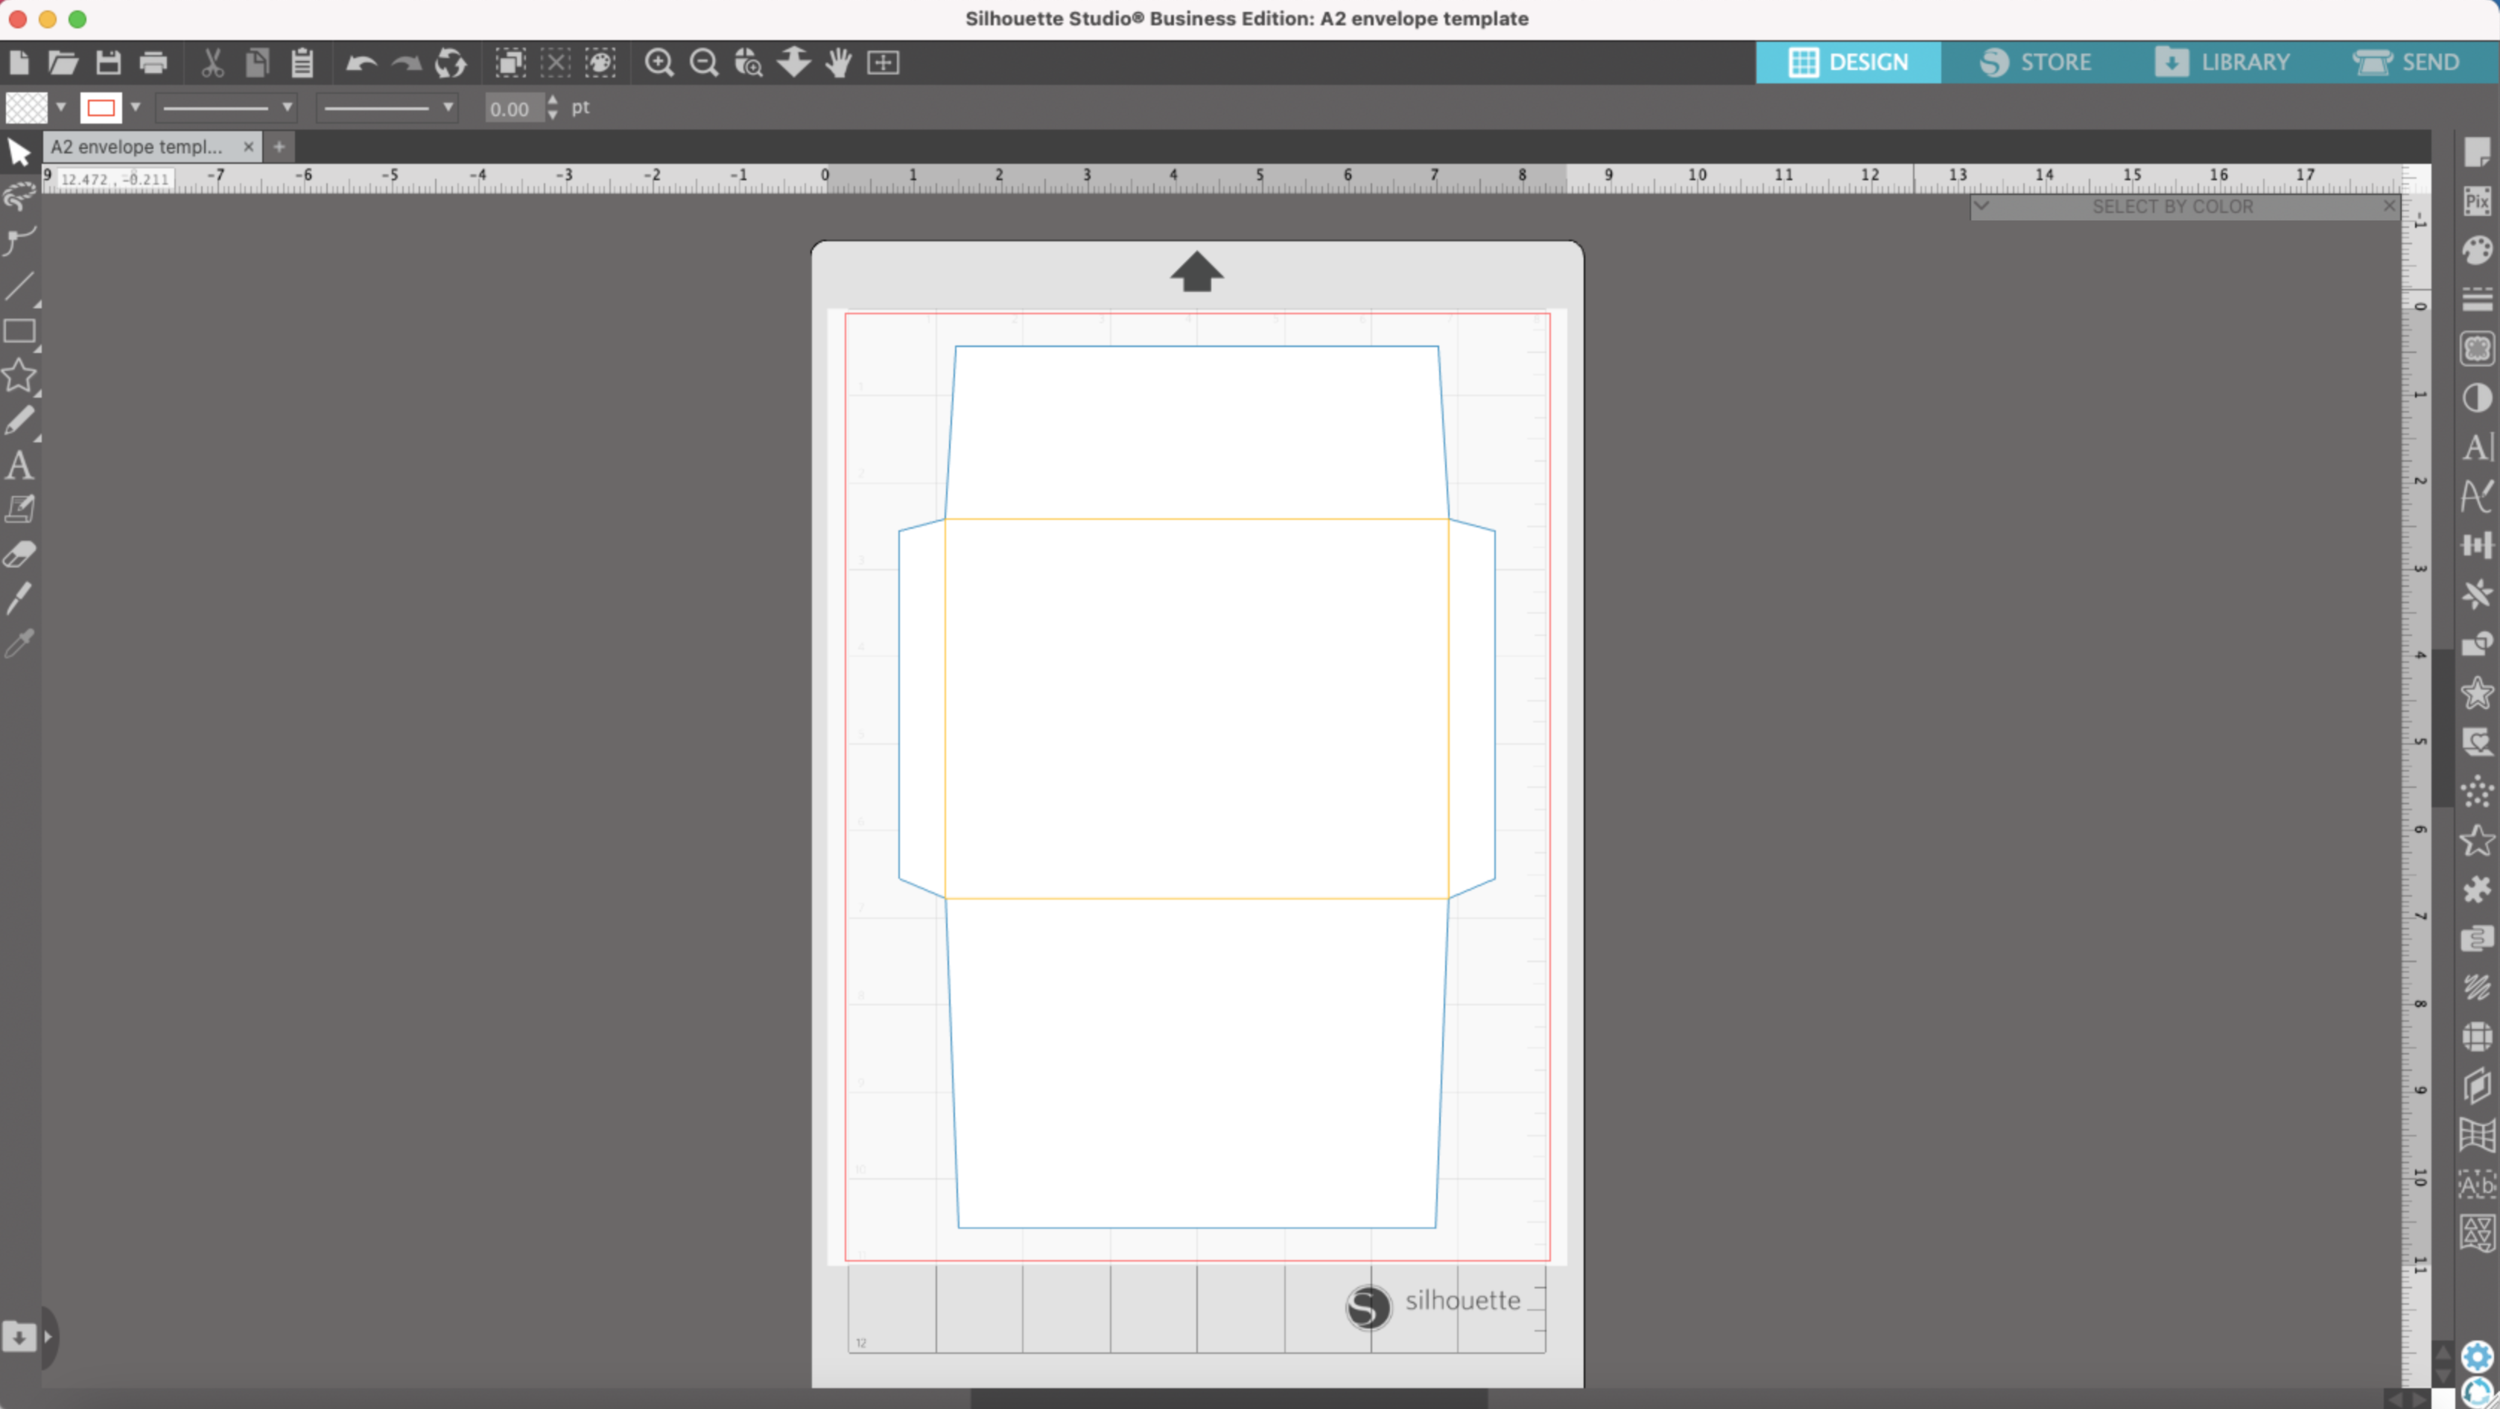
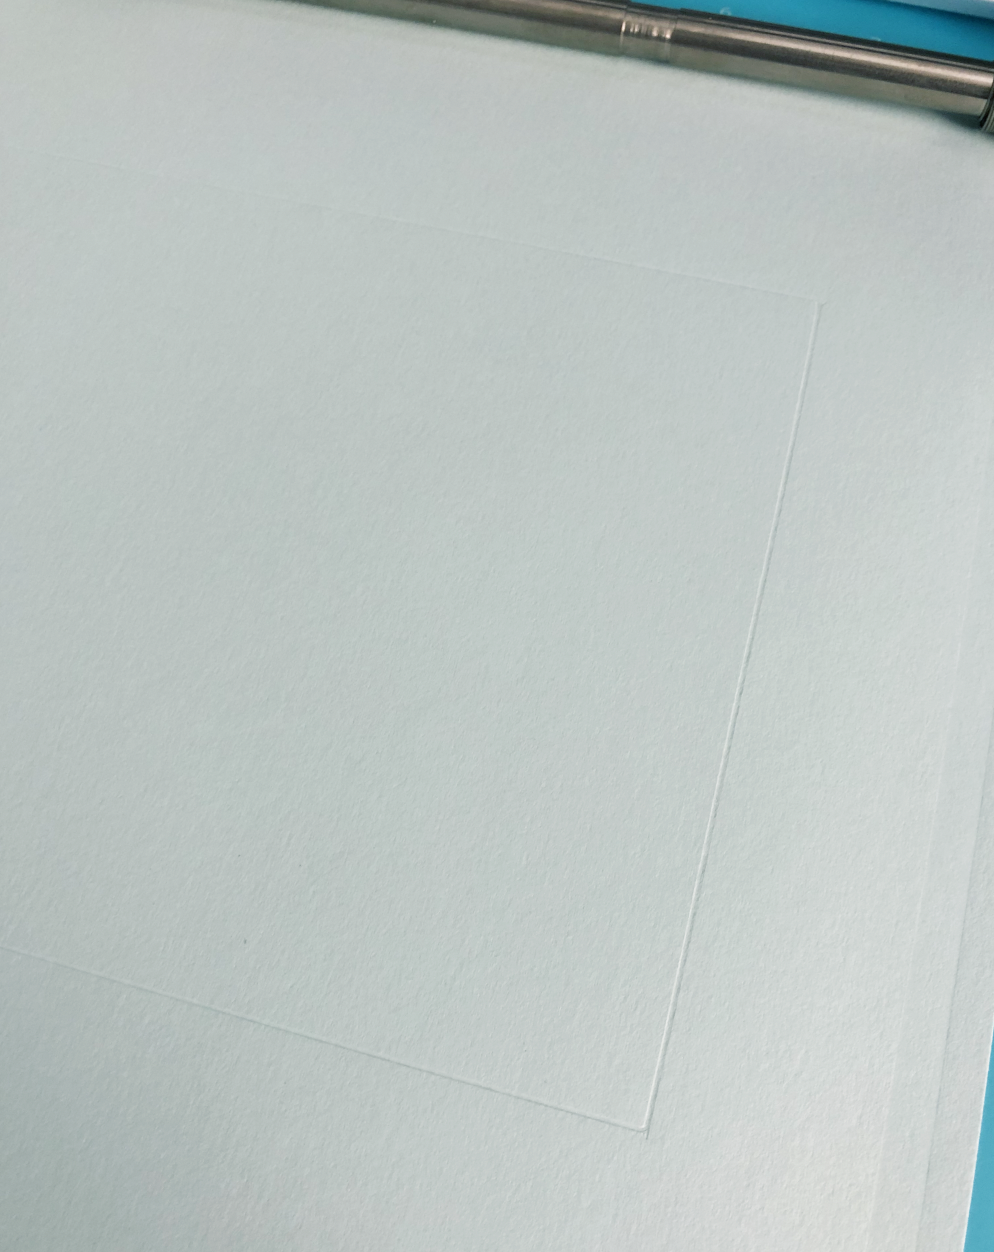
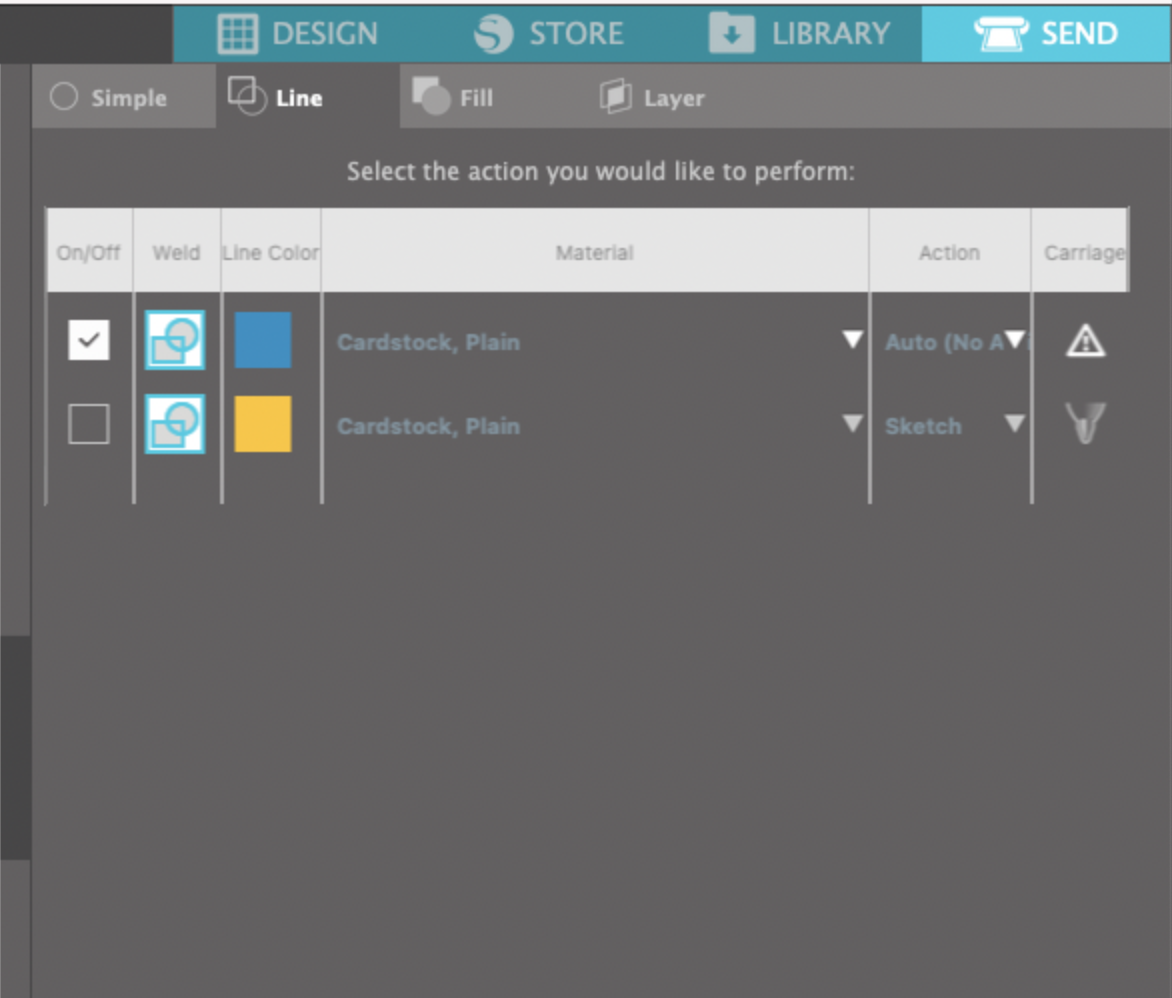
I’ve got the A2 envelope SVG already uploaded into Silhouette Studio. I have my score lines in Blue and my Cut lines in Red.

DIY Gift Card Envelopes

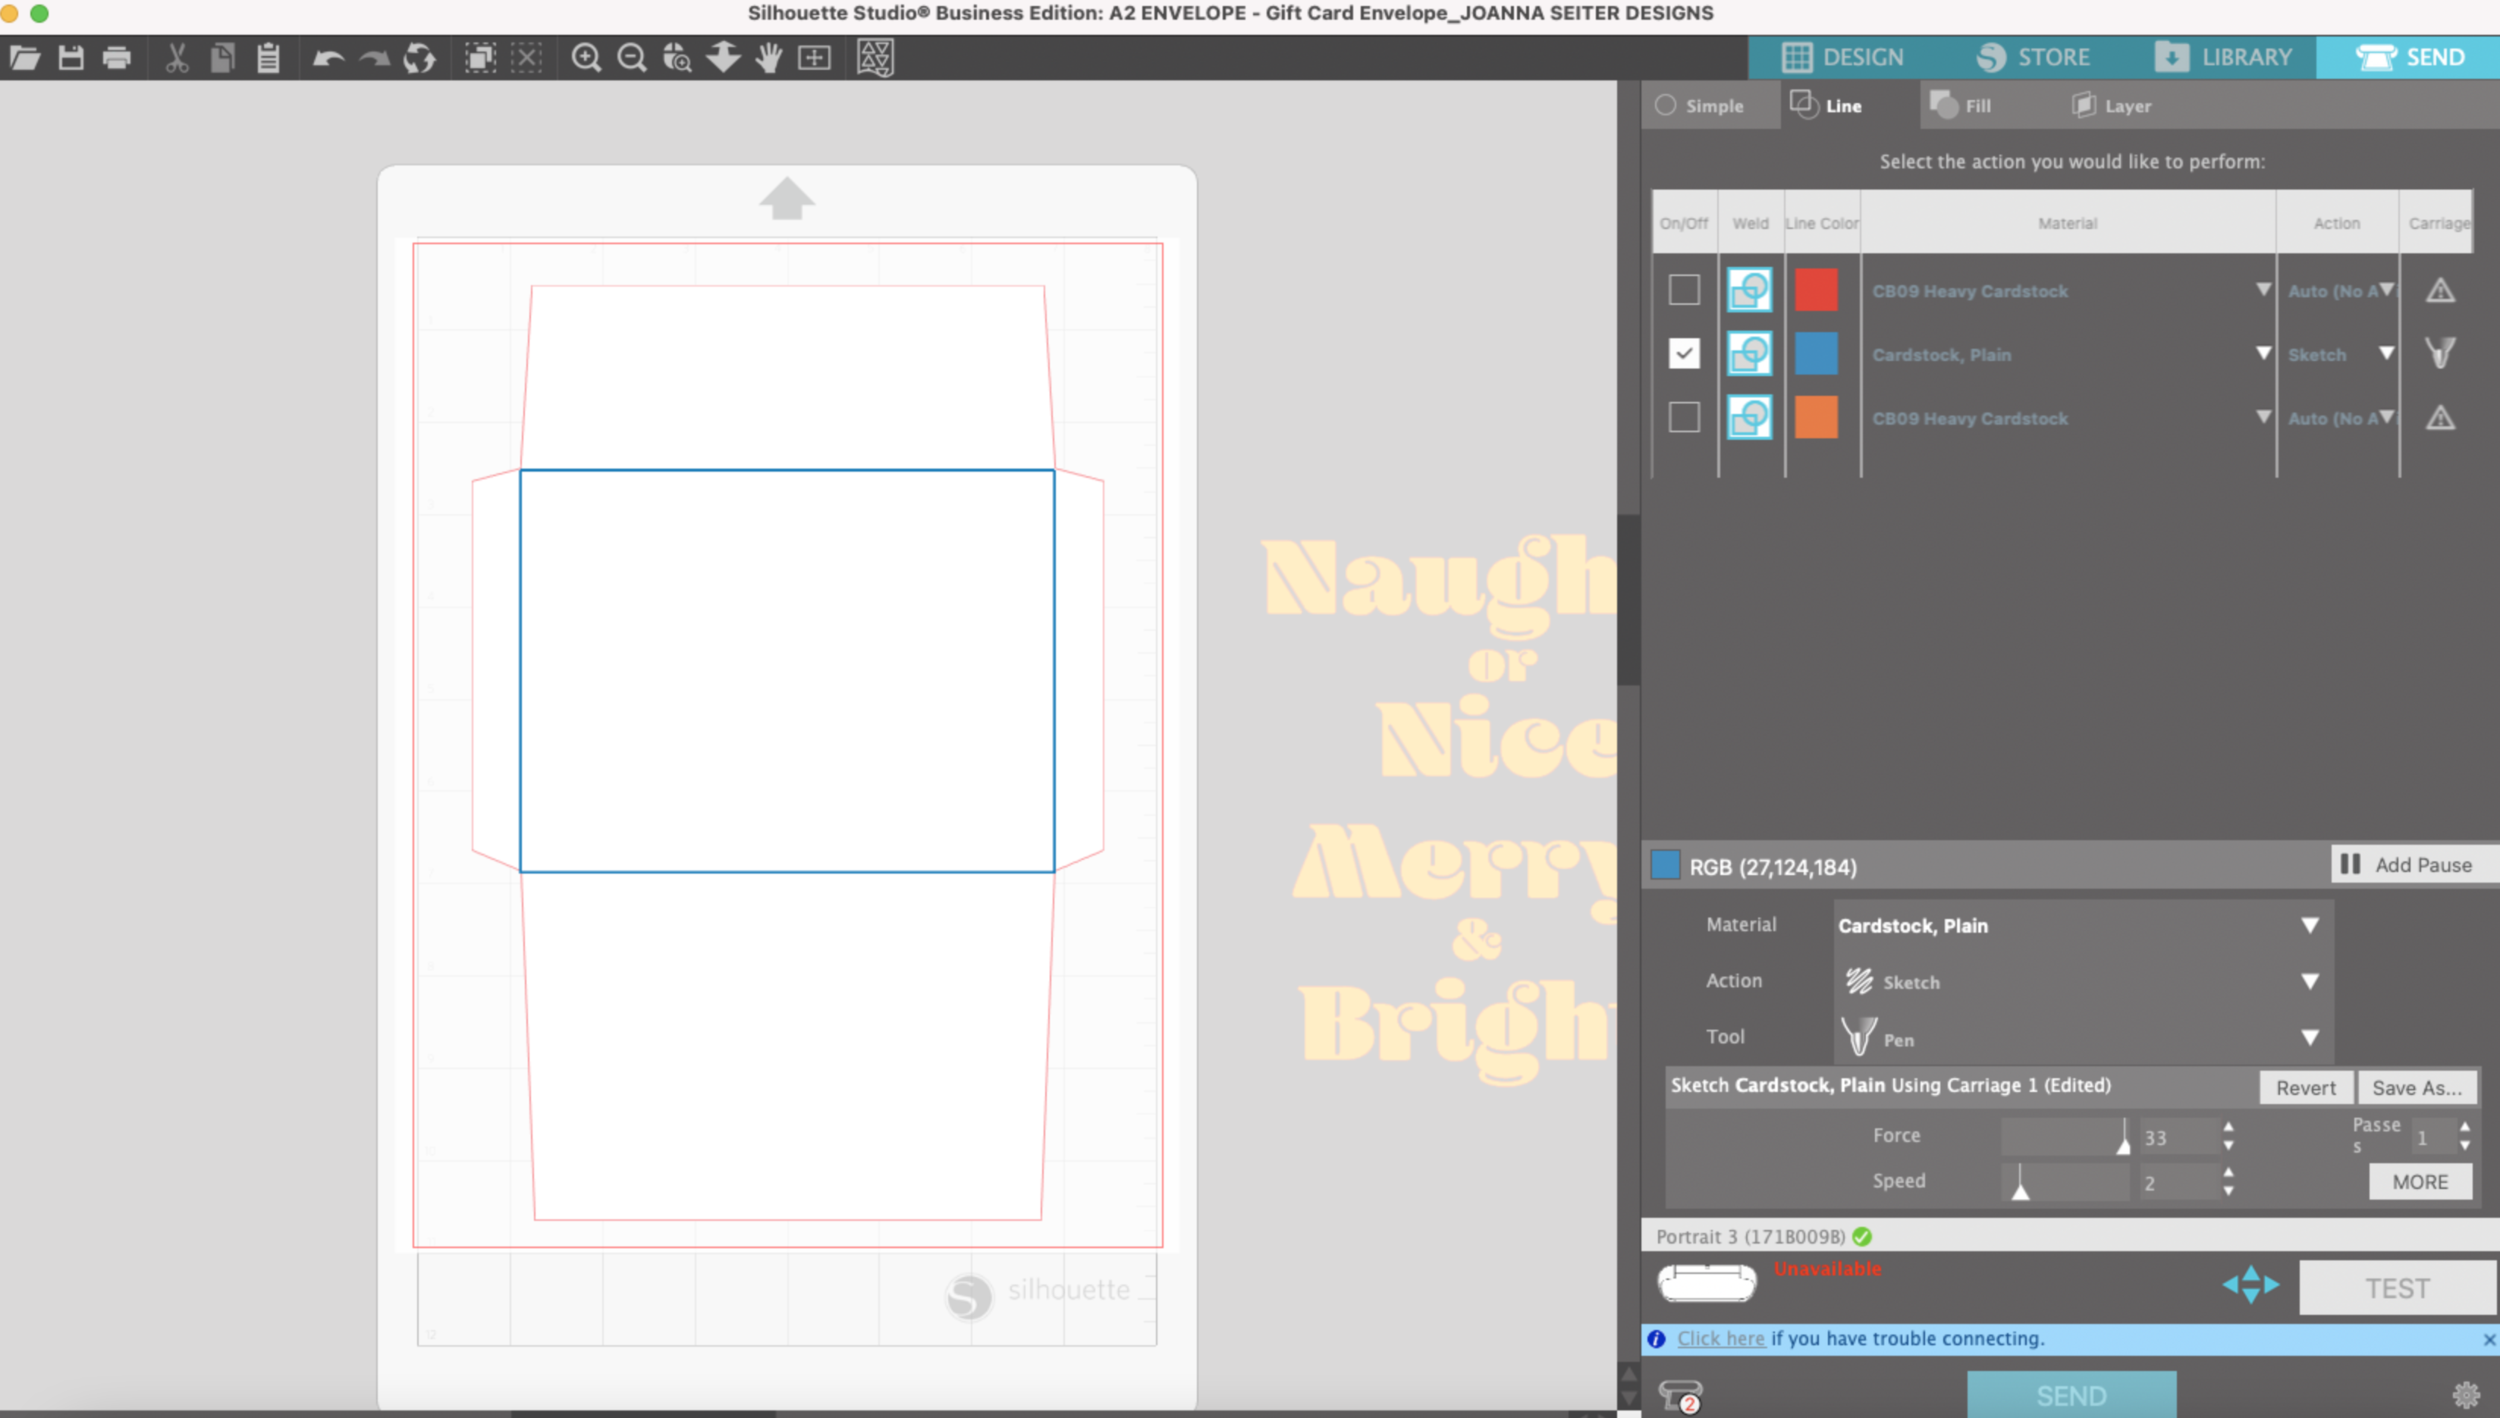
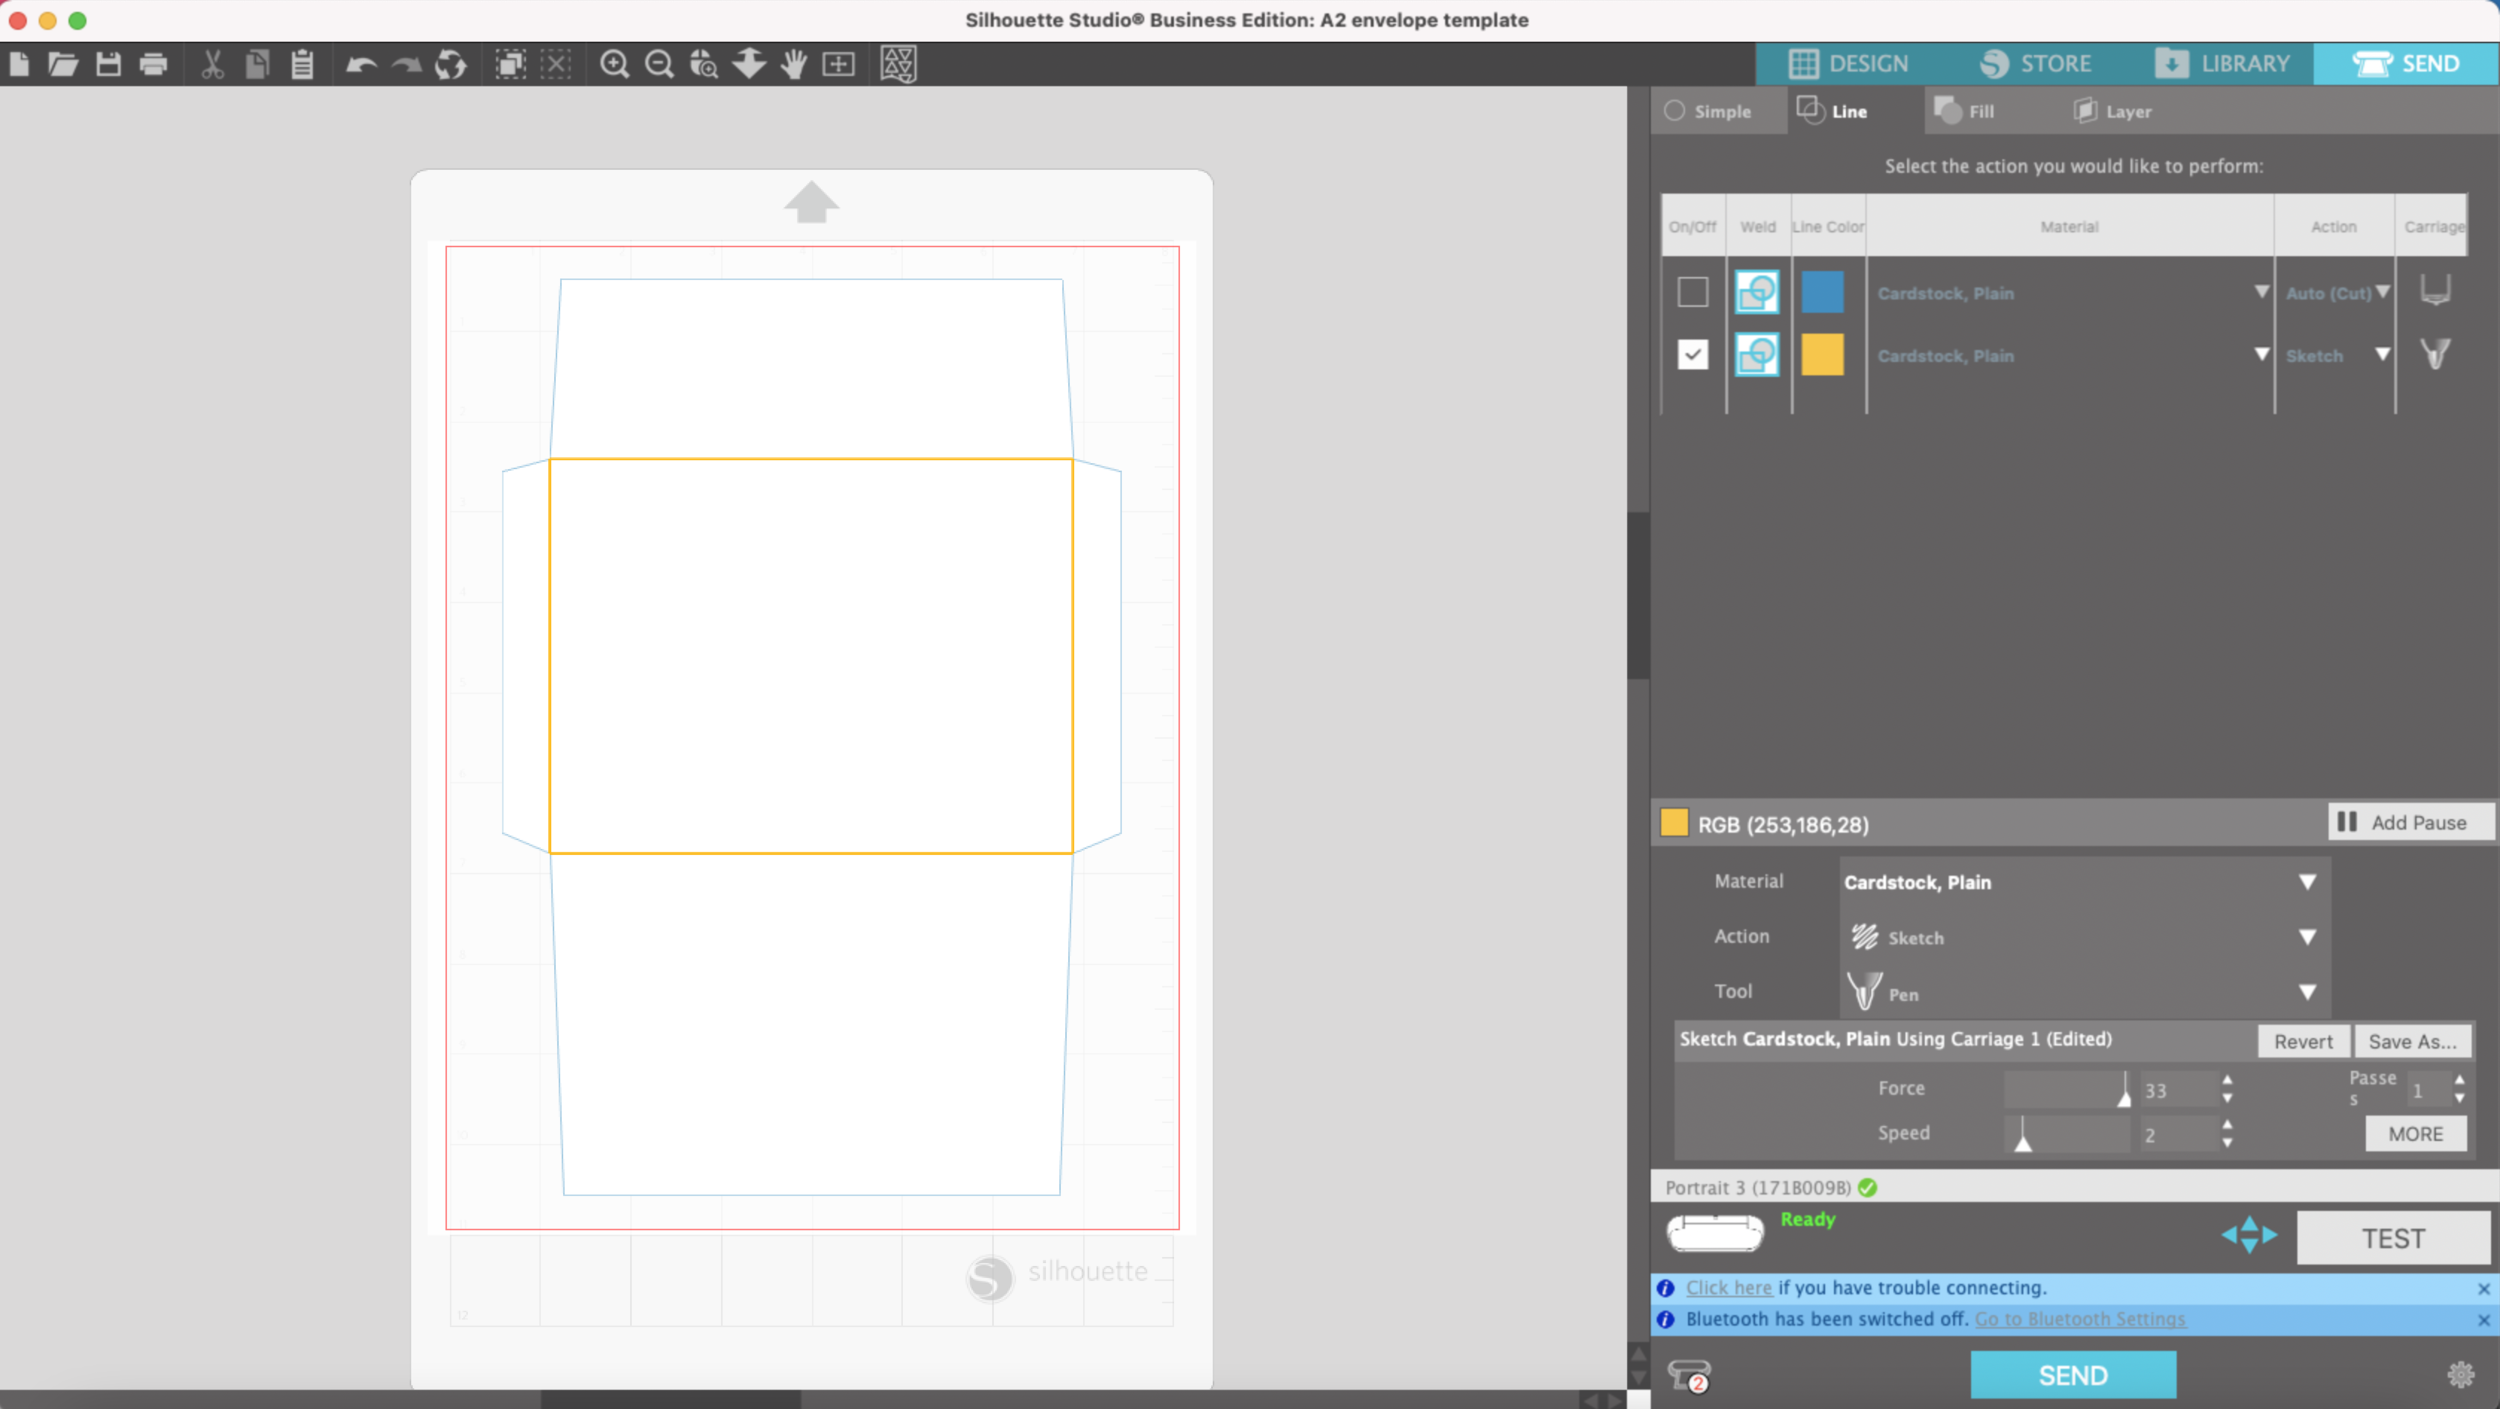
I will do the score lines first, so I’ve got my Bevel quill loaded with the D adapter from my Foil Quill. Settings are Sketch action, Force of 33, Speed 2. Your settings may vary depending on your materials

DIY Gift Card Envelopes

After it’s done scoring, I will use my Autoblade to cut the red lines. Settings are Plain Cardstock, Blade depth 4, Force 20, Speed 4

DIY Gift Card Envelopes

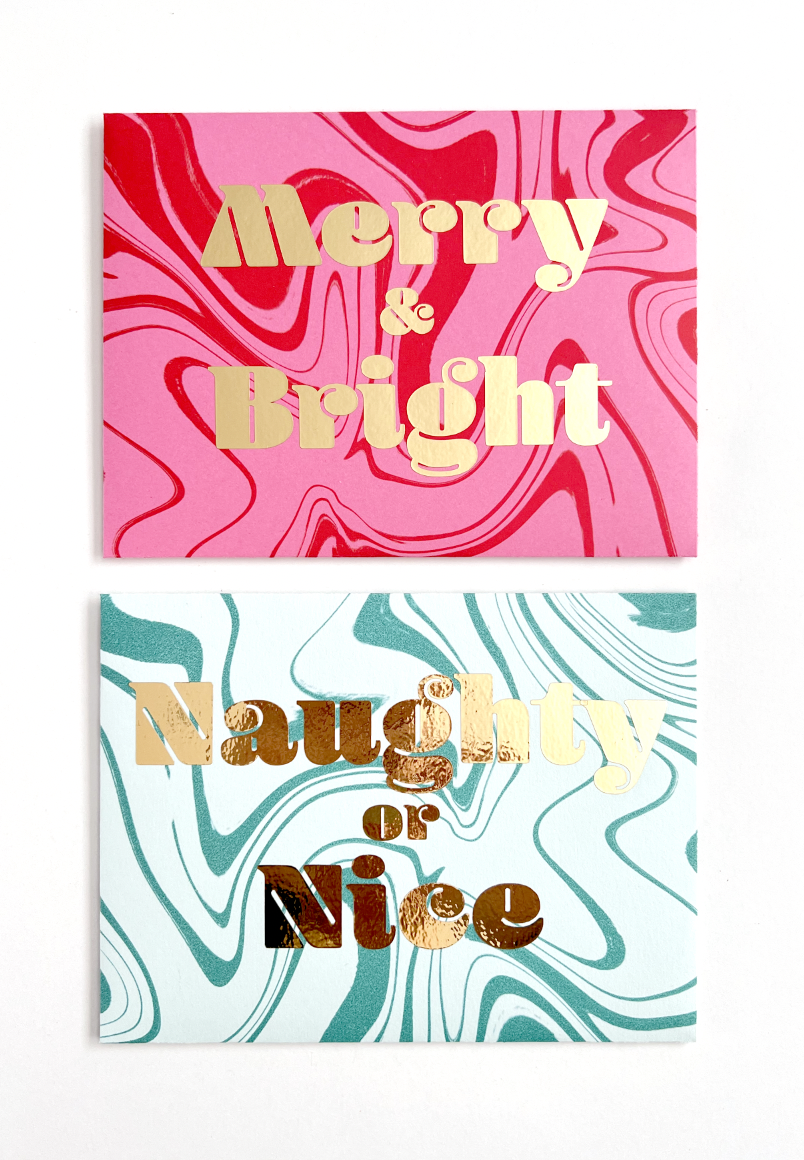
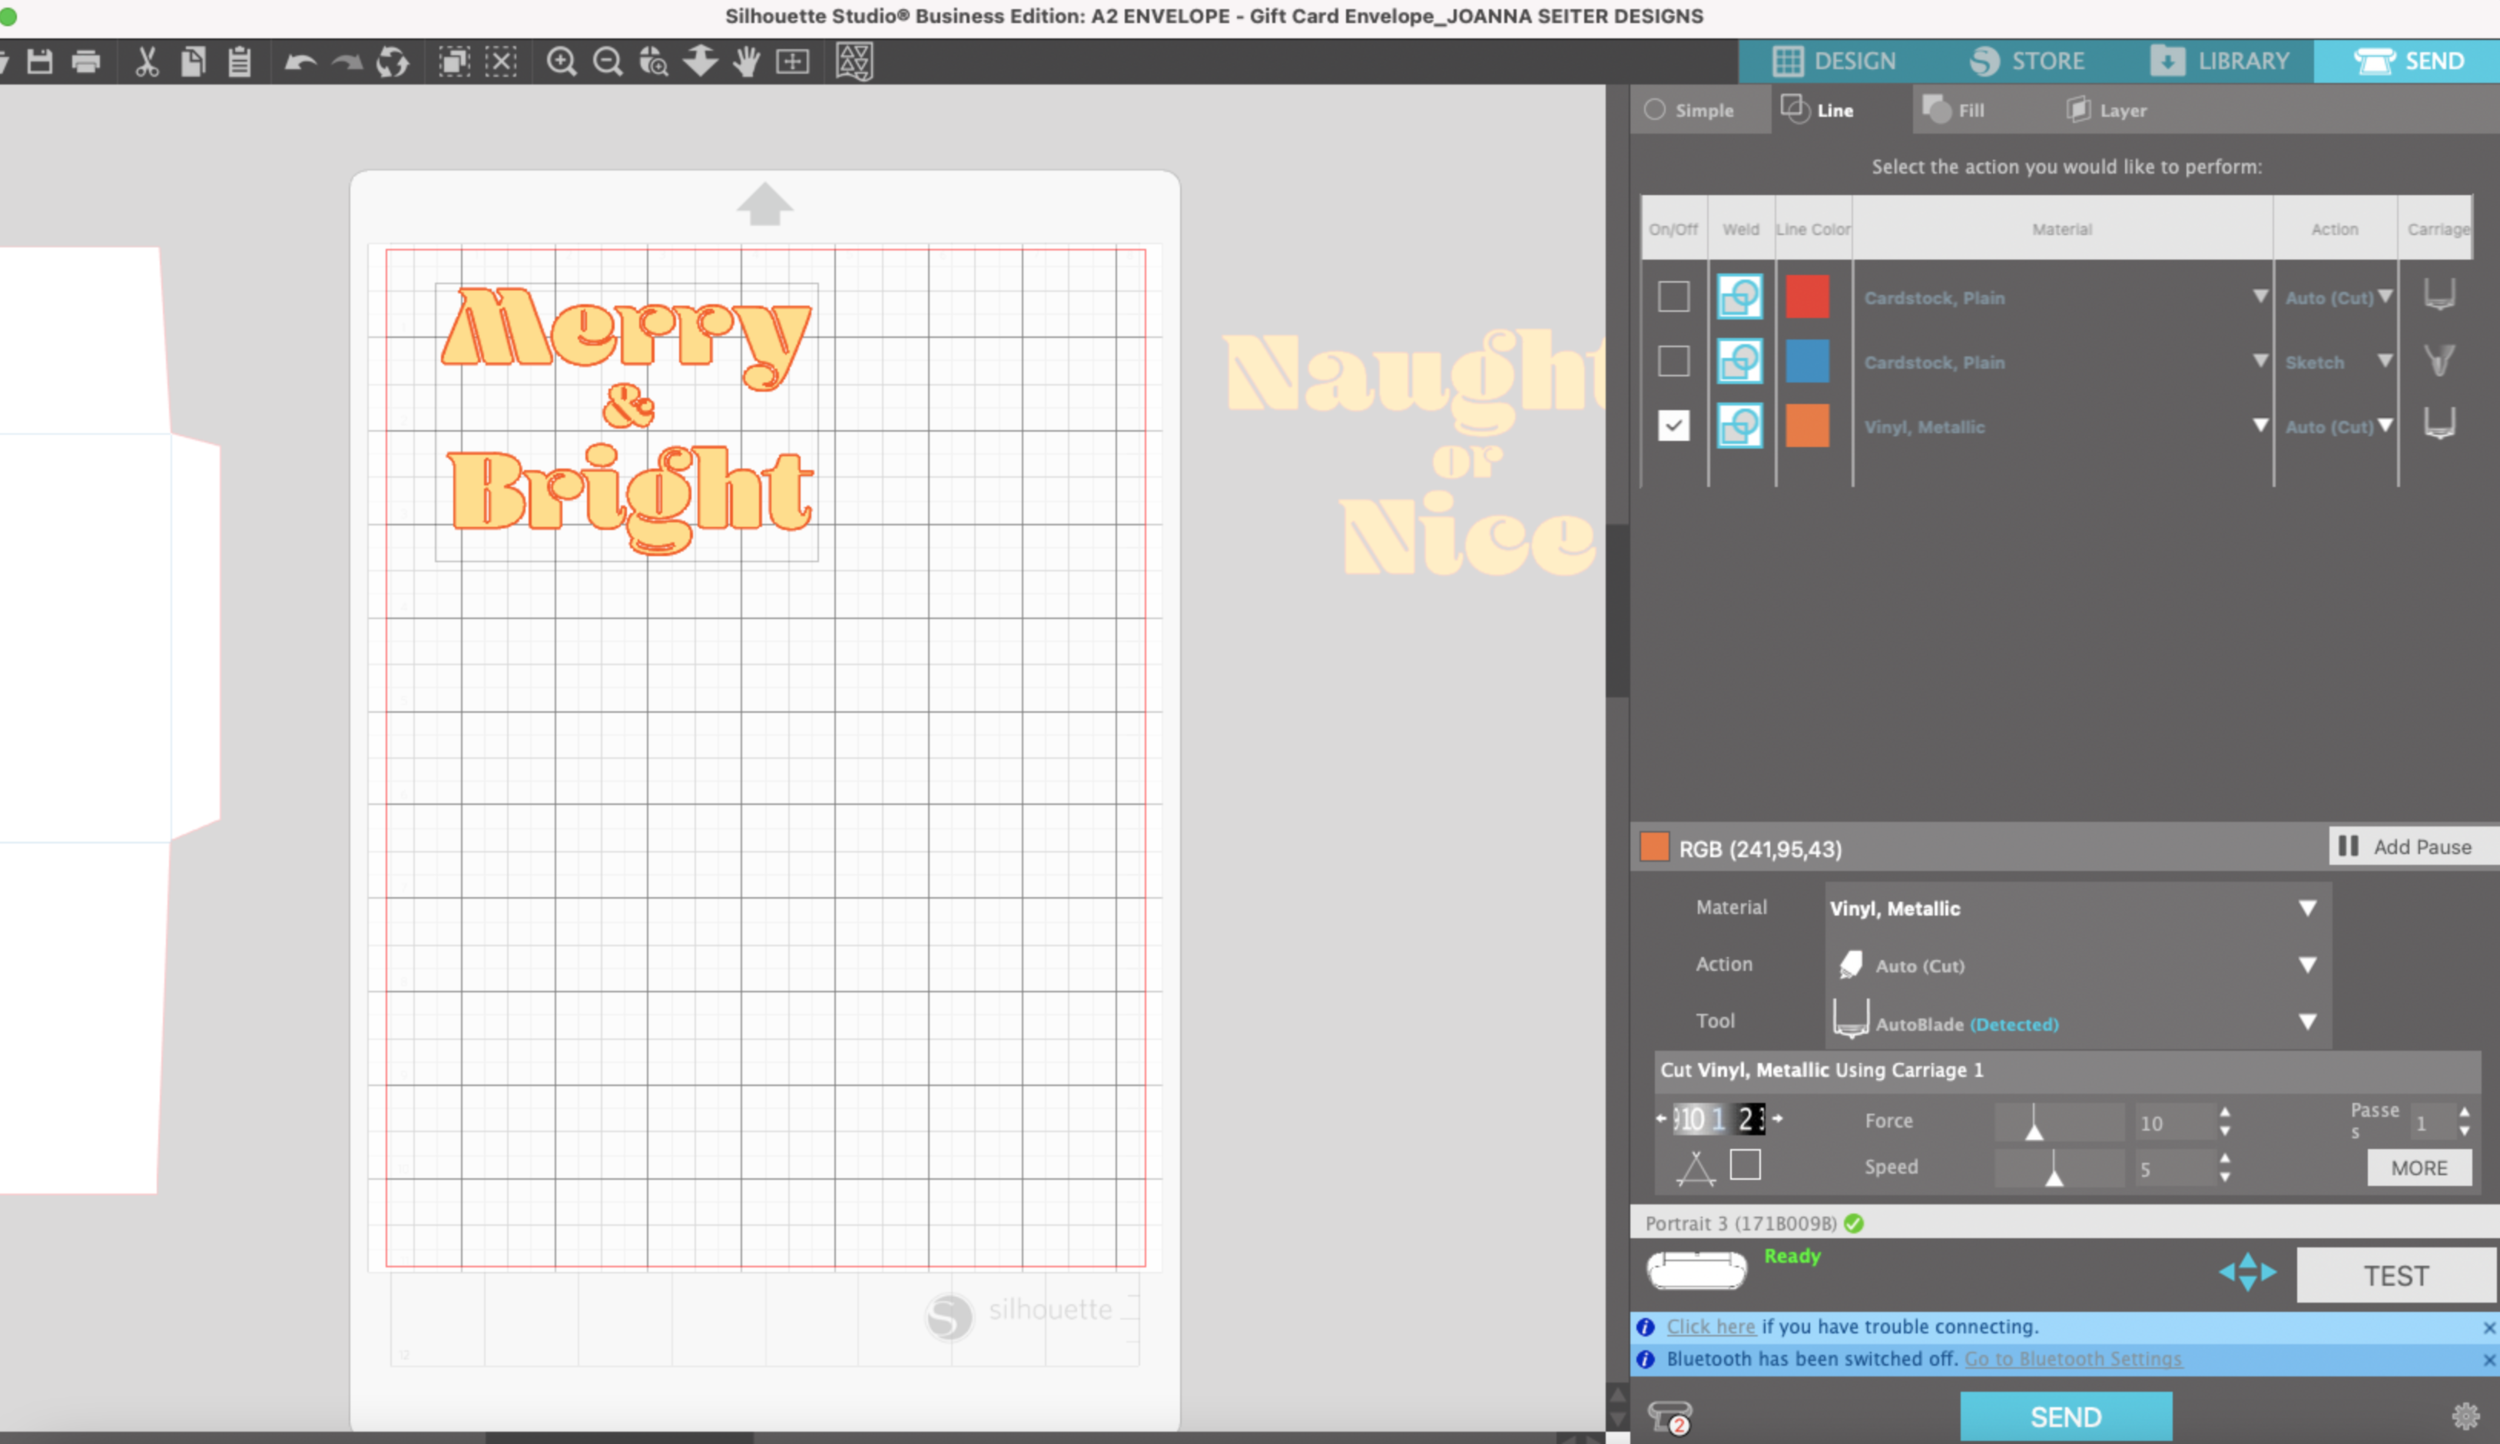
Next I created my word layout in Adobe Illustrator using the font Blenny Black. I outlined my letters and saved them as an SVG so I can import my file into Silhouette Studio. (I’m using the Business version).

You can use another font that you already have and you can also create your lettering directly in Silhouette Studio.

I’m going to cut my letters out my adhesive gold foil with my Auto Blade set to Vinyl, Metallic Material; Blade Depth 1; Force 10; Speed 5. Depending on what type of vinyl you use, your settings may vary.

DIY Gift Card Envelopes

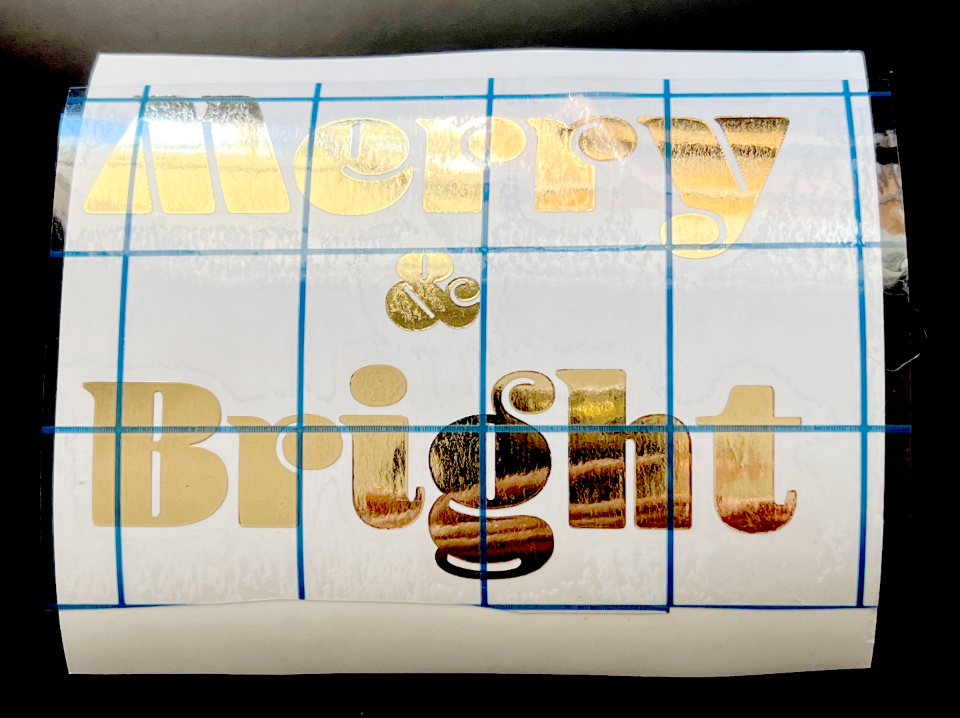
After cutting, I weed out the excess foil and apply the transfer tape to the foil.

DIY Gift Card Envelopes

I’m going to peel off the backing of the foil letters and center my design on the front of the envelope (Just eyeballed it, but you can lightly mark on your cardstock with a pencil if you want to be more precise).

Carefully remove the transfer tape and make sure my letters are secured onto the cardstock.

DIY Gift Card Envelopes

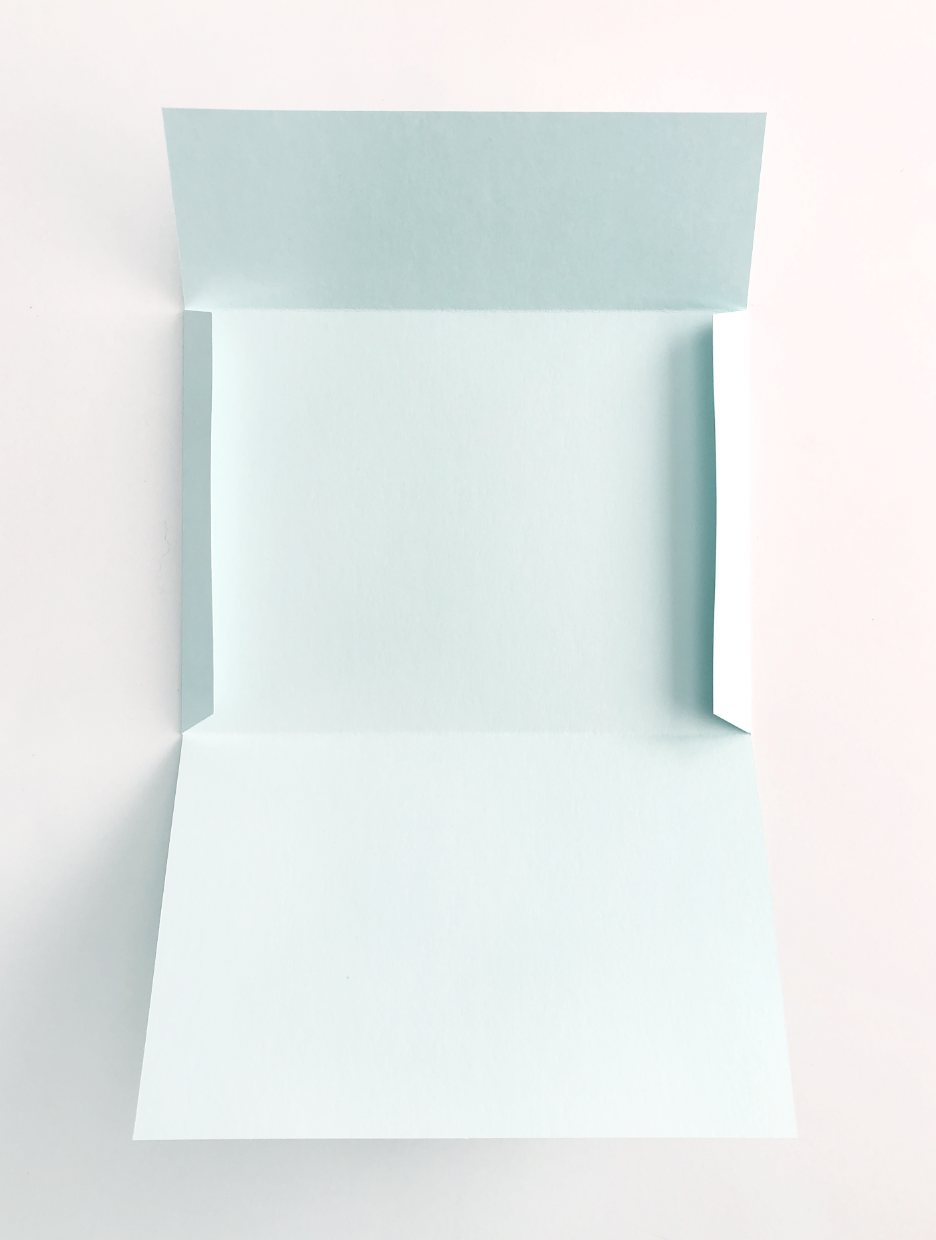
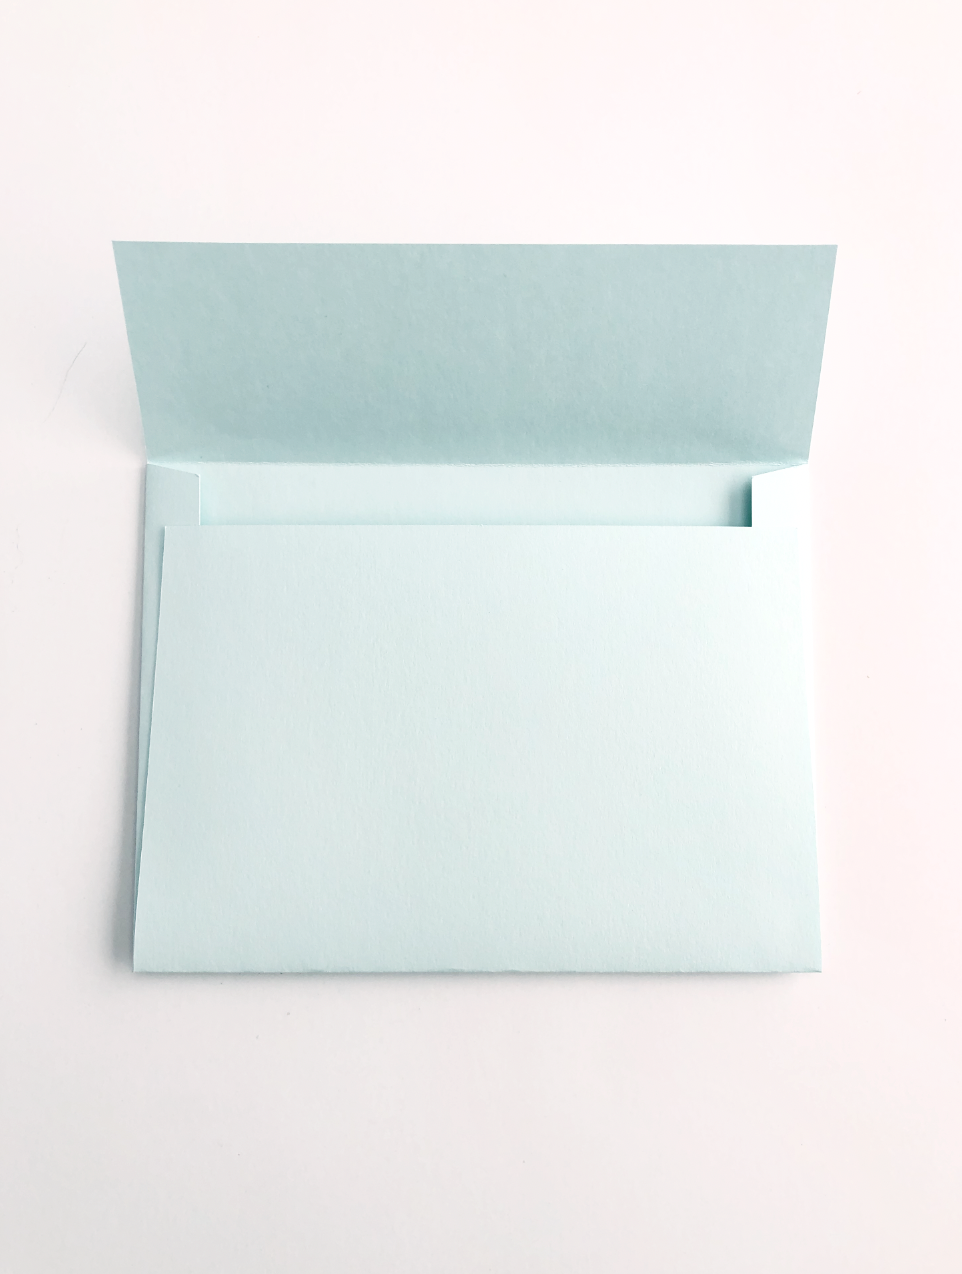
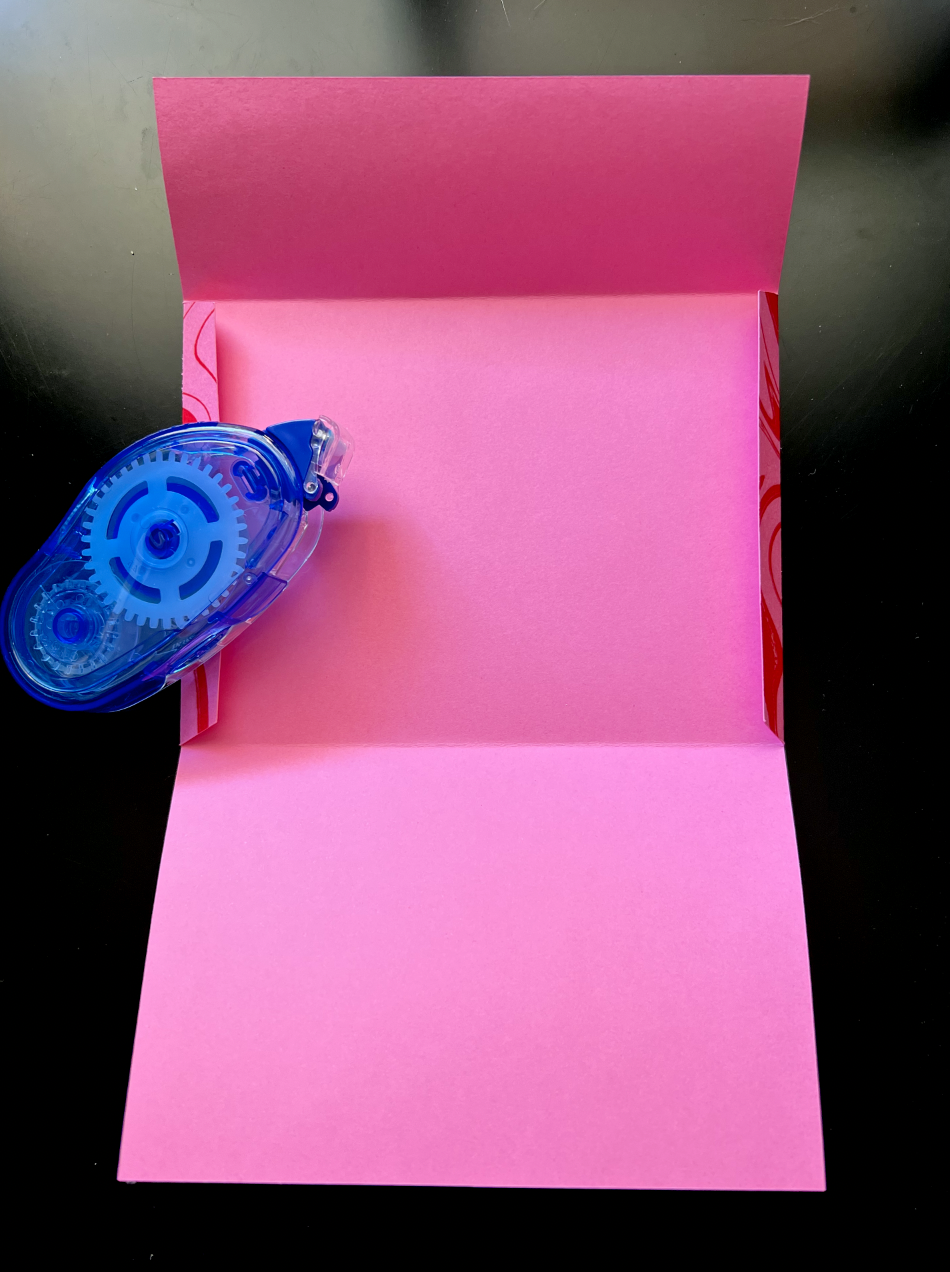
Then I’m going to fold along the score lines and use my tape runner to seal the edges of the envelope.

DIY Gift Card Envelopes

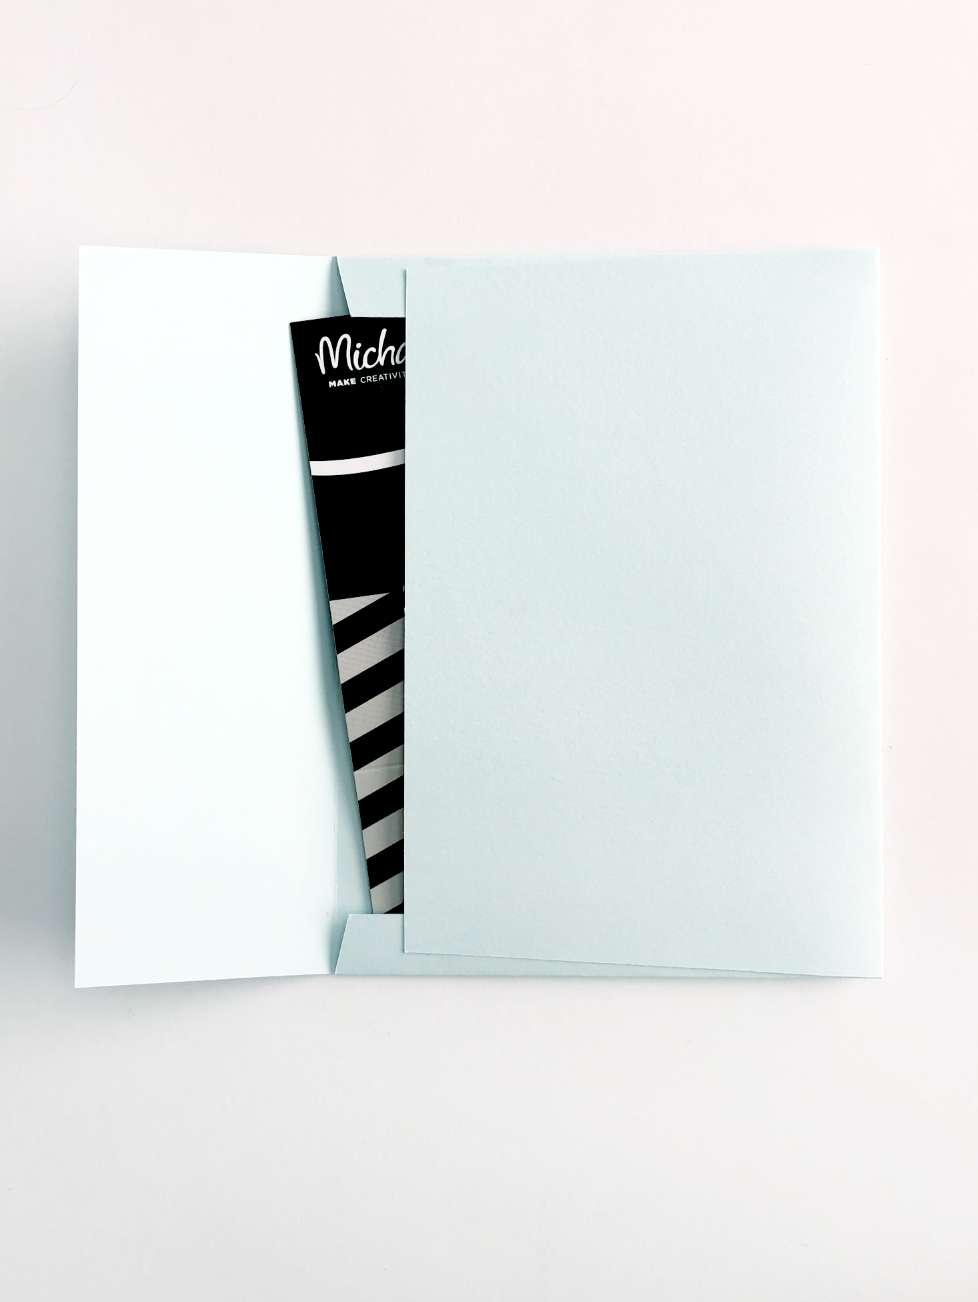
Add your gift card, close the envelope with either glue, a tape runner, or a sticker and it’s ready for gifting!

DIY Gift Card Envelopes

Silhouette Portrait 3 Scoring with the Bevel Quill

Hi Everyone!

I like to make special little envelopes for birthdays or Christmas and I sometimes decorate them with my Silhouette Portrait 3 machine using pens or the foil quill. In order to make the envelopes I need to create score lines as well as cut lines. Unfortunately, I don’t really like the little dashed lines that are the default score lines for Silhouette. I’m also not really of fan of the solid score line using the auto blade or ratchet blade because it does cut into your paper or cardstock slightly and if you’re using a printed or colored paper it can leave a very visible line.

I’ve been experimenting with some of the different little tools I have for my machine and so far I’ve liked the scoring results best when I use my WRMK Bevel Quill.

Silhouette Portrait 3 Scoring with Bevel Quill

This little tool has never quite reached the popularity of the foil quill, so it might be slightly difficult to find if you don’t already have it. I managed to get one on clearance from my local JoAnn’s and it looks like they’re still available on Amazon.

I’m going to be useing my A2 envelope template. A gift card from the kiosks that you see at the grocery stores fits perfectly into this envelope!

I have my template open in Silhouette studio, I’m going to change the line color of the inner rectangle to yellow (you can pick any color) since those are the lines that I will need to score.

Silhouette Portrait 3 Scoring with Bevel Quill

I go to the send tab in Studio and I’m going to work by line color. I made my score lines yellow, my cut lines are blue. The little box next to the the yellow is checked as I will be scoring first, then cutting. Instead of SCORE, I actually have SKETCH selected as my action, Force 33, Speed 2.

Silhouette Portrait 3 Scoring with Bevel Quill

I’m using a lightweight 65lb cardstock to make my envelope and I will also be using my Light tack mat since it’s a little thicker than the standard mat.

I have my Bevel Quill loaded into my machine. Note: I am using the D adapter that came with the Foil Quill. The D adapter that came with the bevel quill doesn’t fit as tightly into my machine and the quill pops up and out of place once it’s pressed down onto the cardstock.

Silhouette Portrait 3 Scoring with Bevel Quill

I load my mat and press send. The little Bevel Quill did it’s magic.

Silhouette Portrait 3 Scoring with Bevel Quill

I’m going to swap it out for my auto blade to do the cut around the outer edge. I uncheck the box for the yellow line & I check the box for the blue line in Silhouette Studio.

Silhouette Portrait 3 Scoring with Bevel Quill

Once it’s done cutting, I fold along the score lines, add some glue tape along the sides. Now I have a perfect little envelope!

Silhouette Portrait 3 Scoring with Bevel Quill