etching on acrylic

How to Set Up Your Template on Your Cutting Mat for Silhouette Users

Hi Everyone!

The past 2 weeks I have shared 2 projects that I am using a chipboard template with a 3 inch circle cut out to help keep my acrylic discs in place while I’m foiling or engraving. This week I’m going to share my method for how I align my template when starting a new project or coming back to my project after I’ve unloaded my mat from my machine.

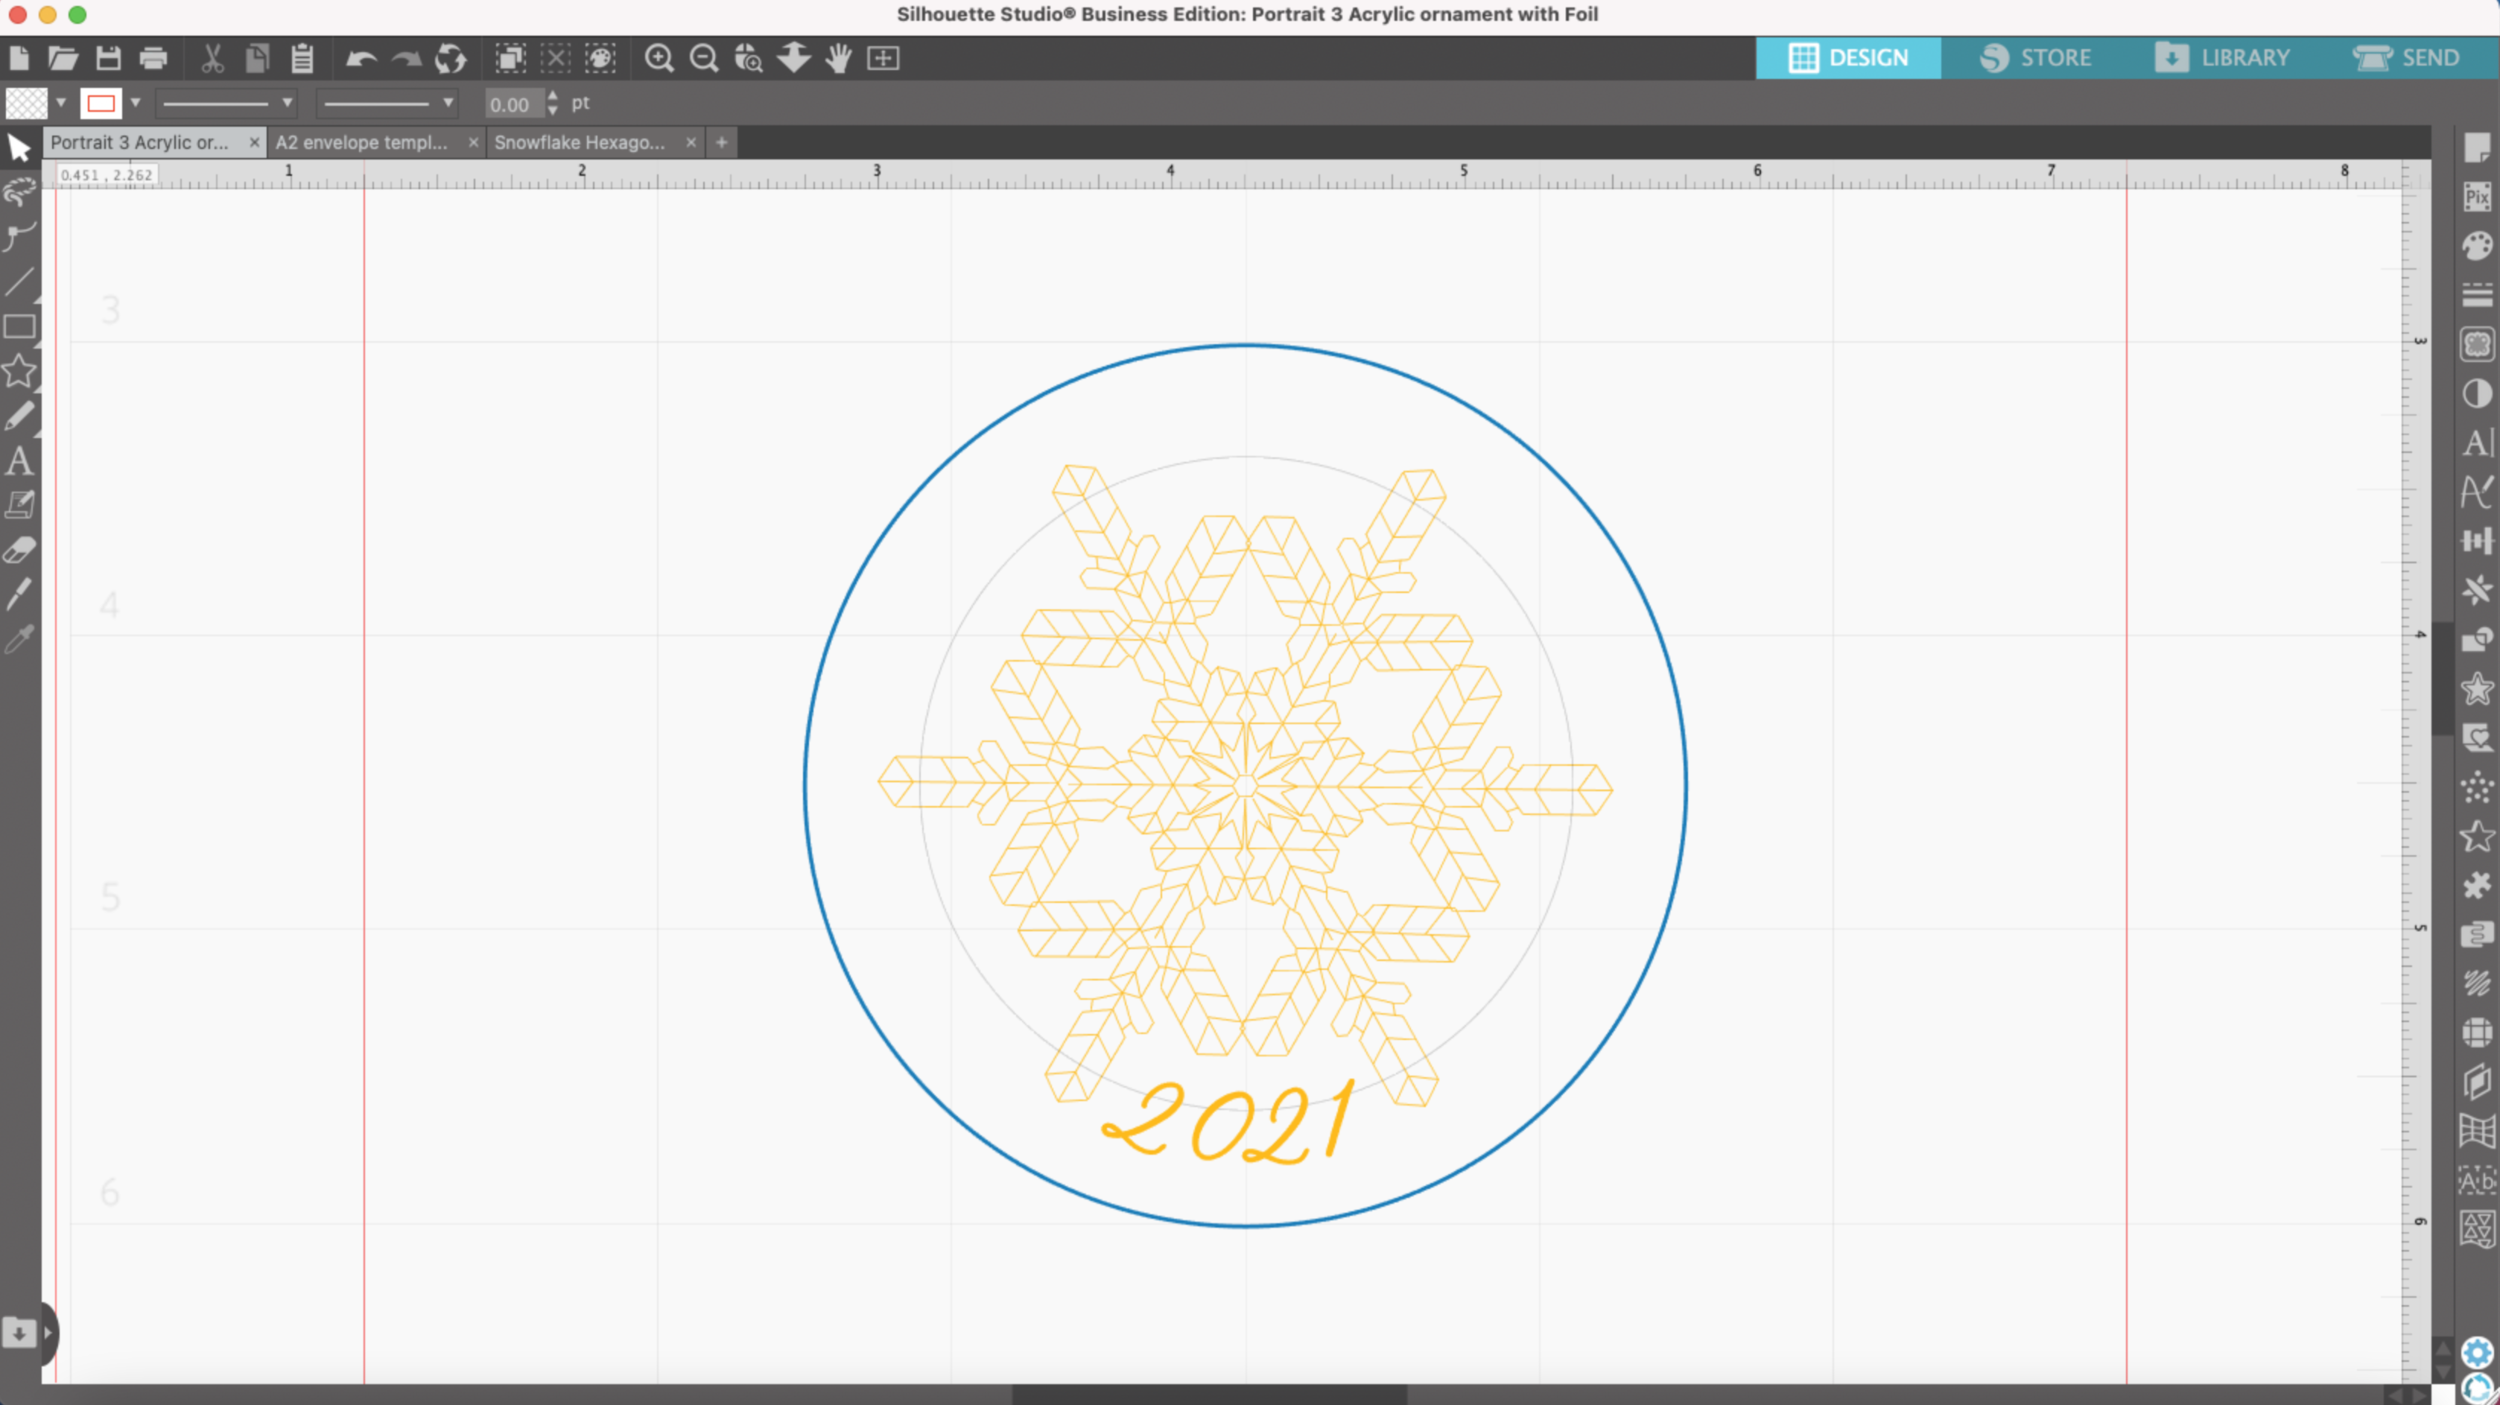
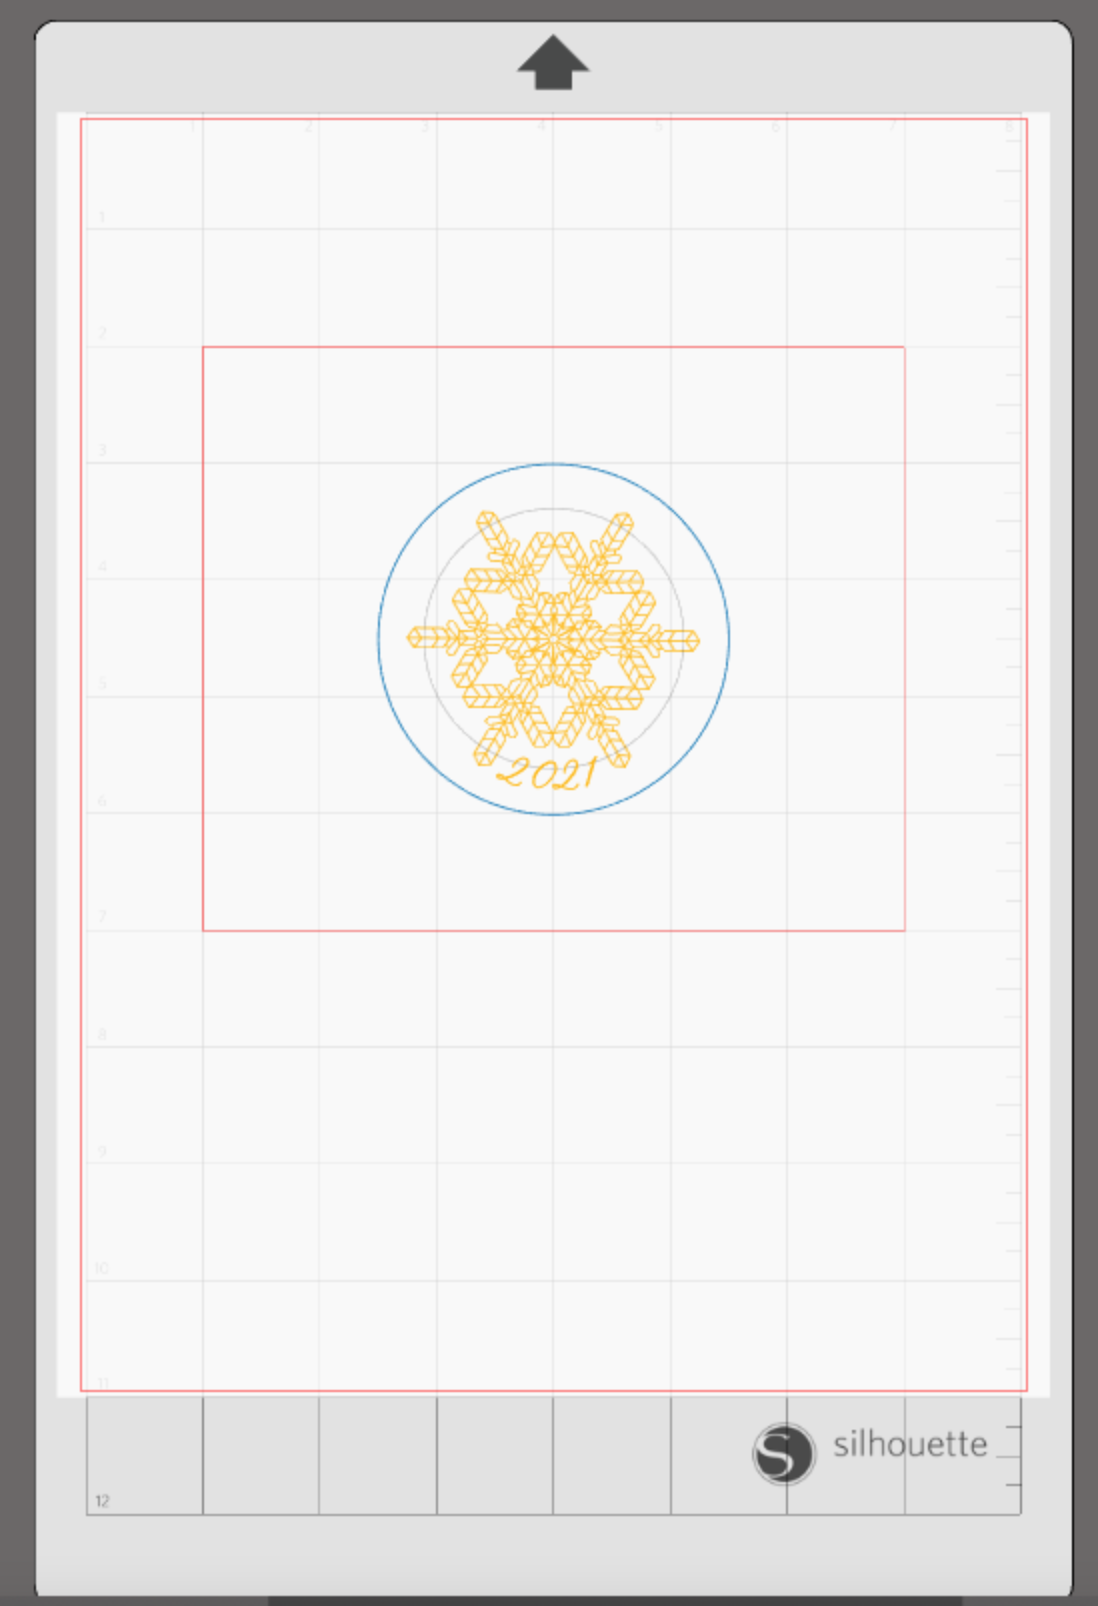
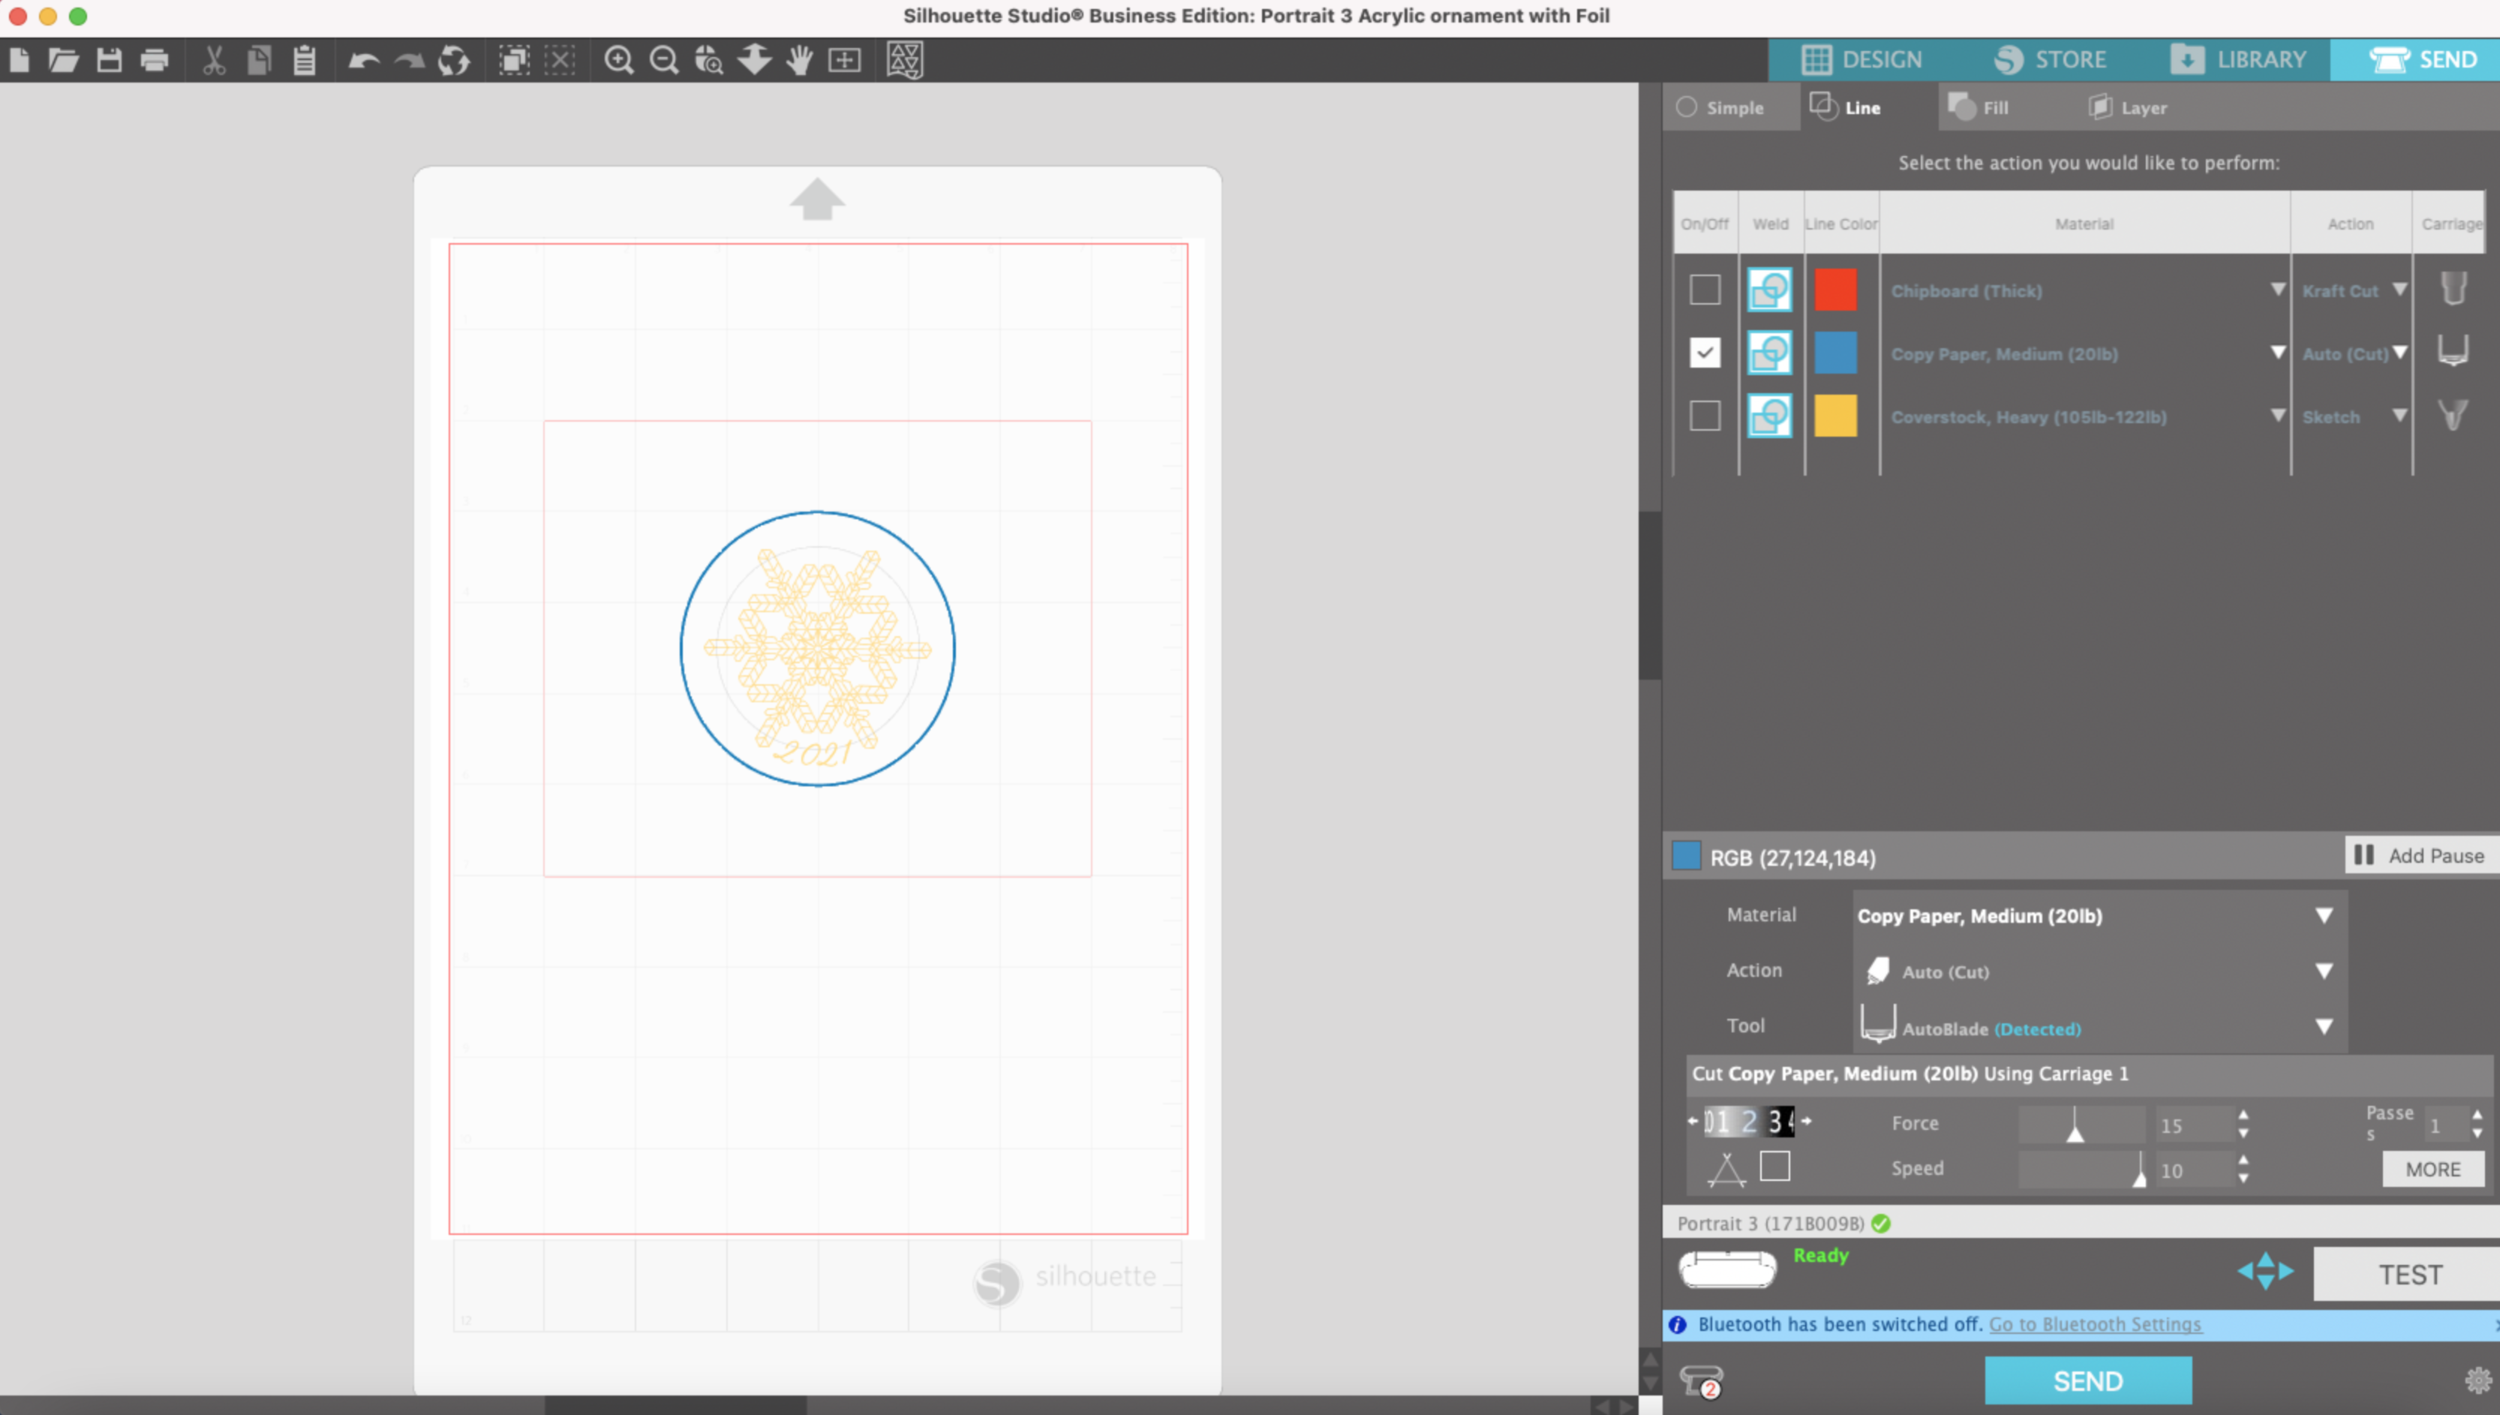
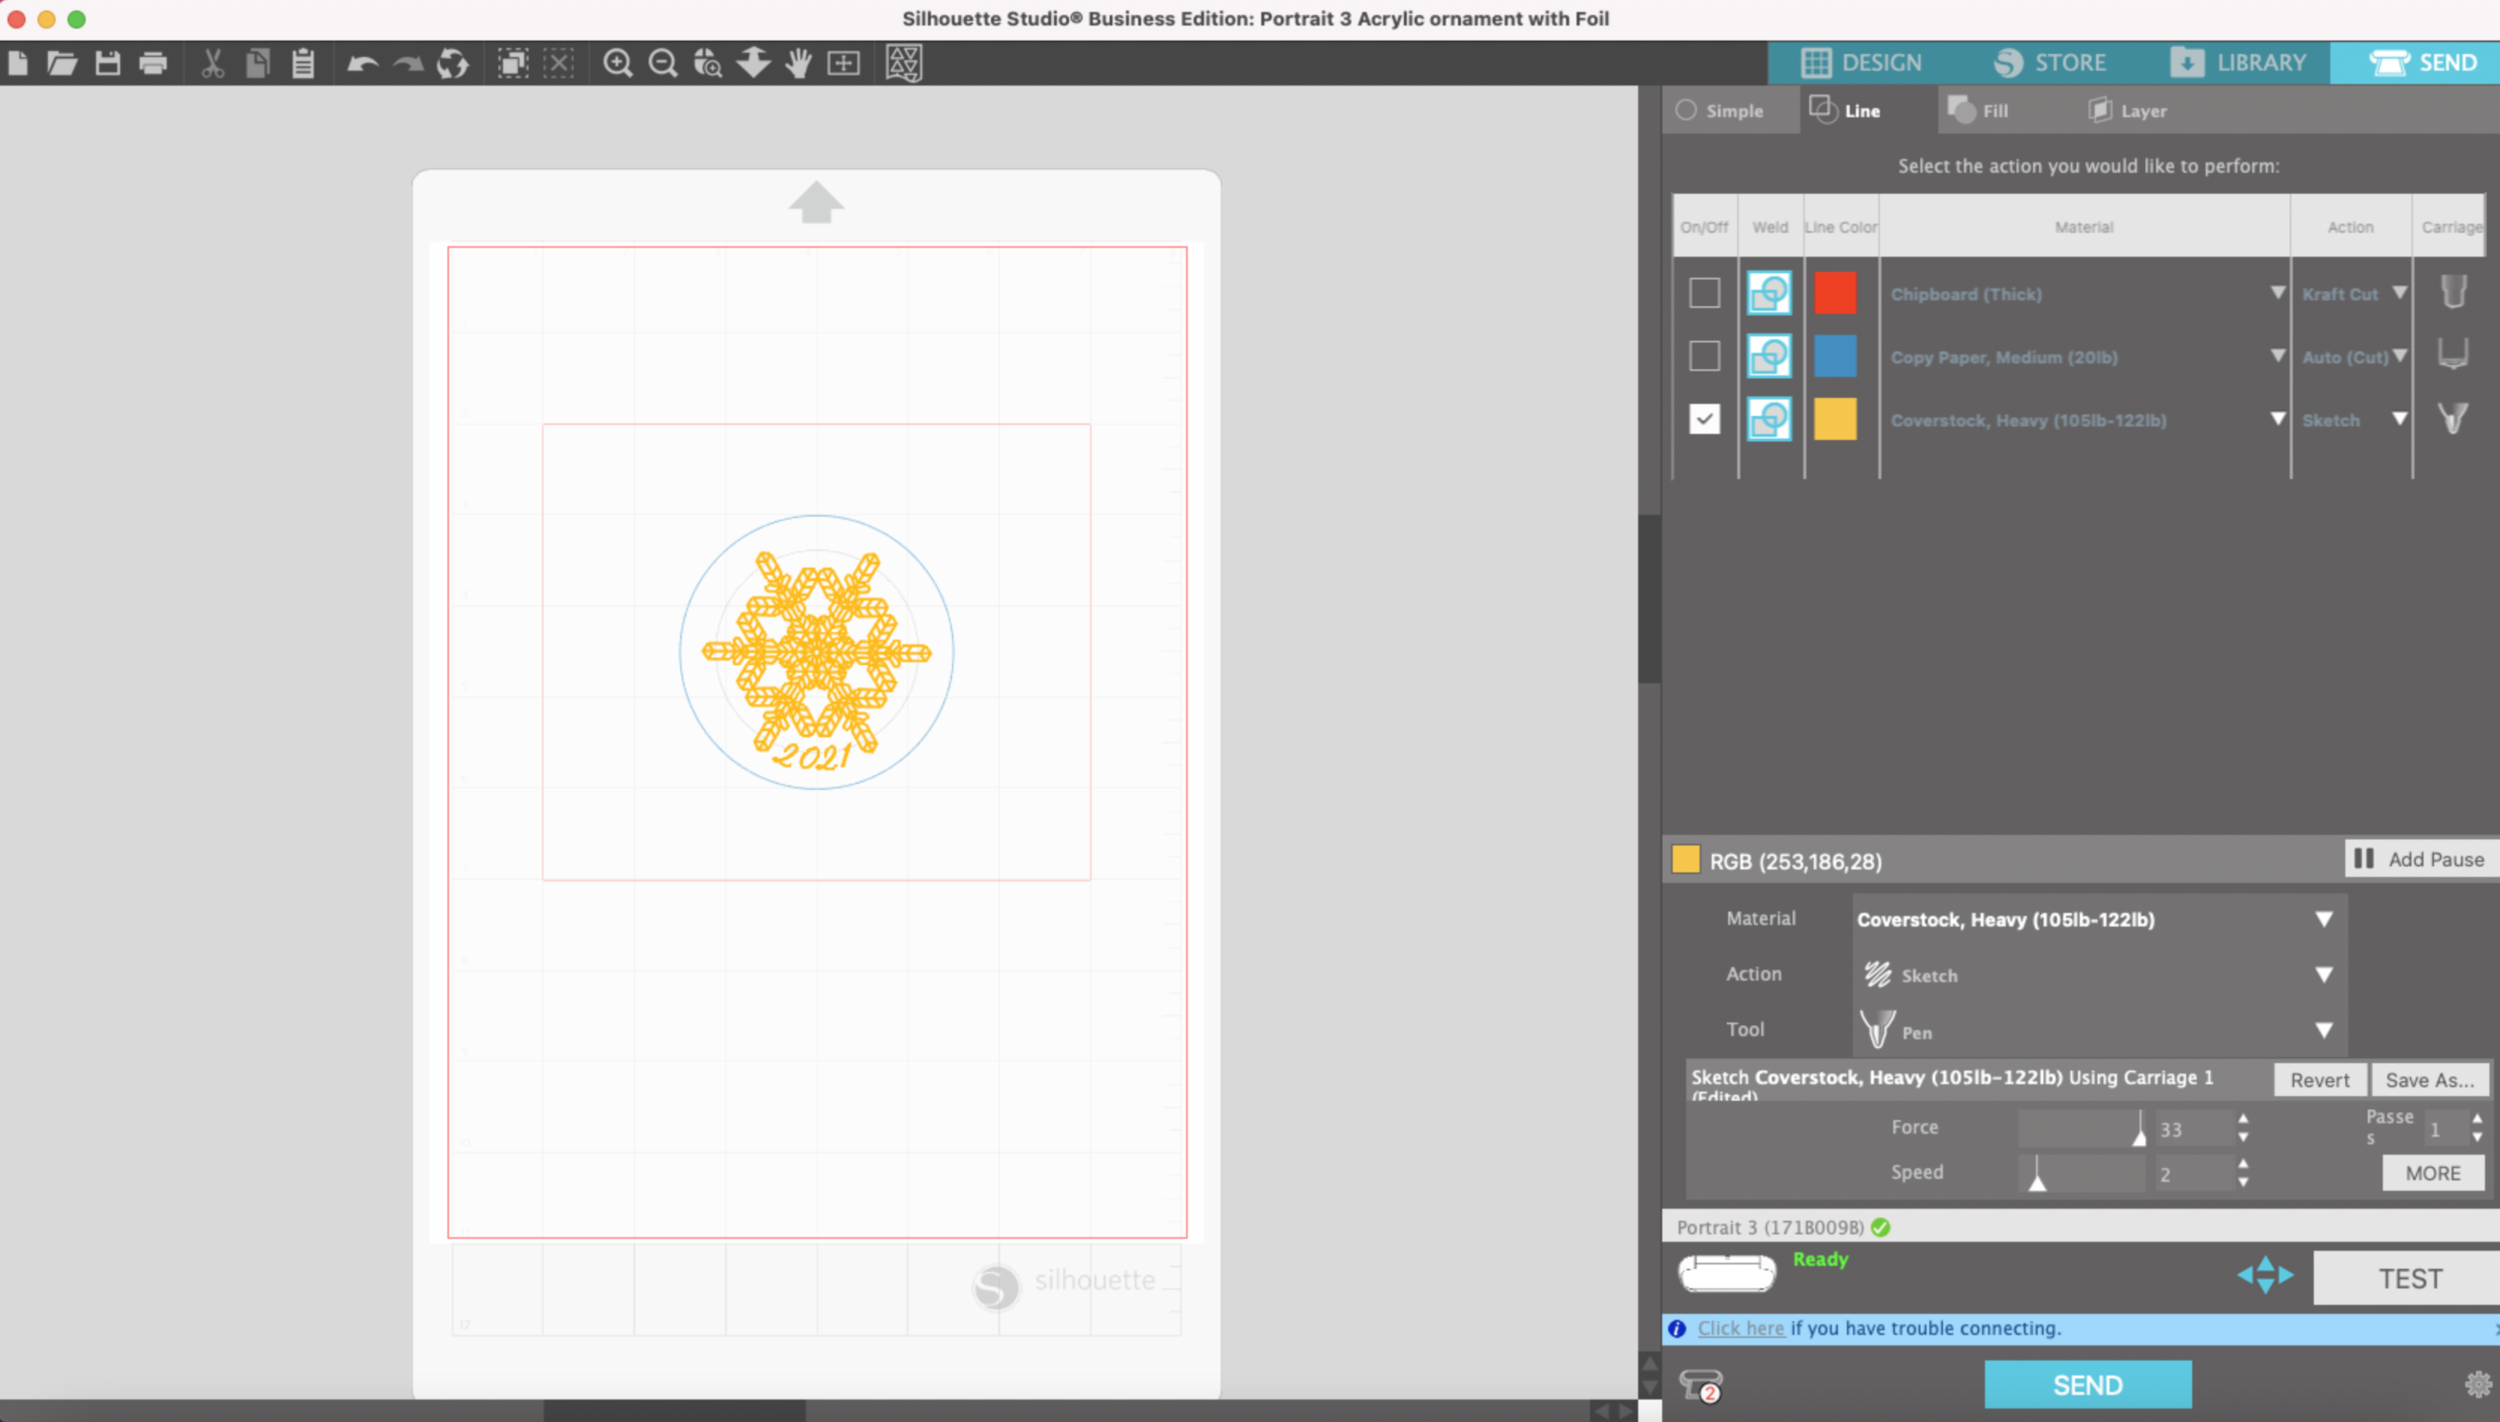
In Silhouette Studio I’ve got my project already designed and set up to cut/ sketch by line. I’ve placed my design toward the middle of my mat so it’s easier to place the template while the mat is in the machine and so my template will NOT go under the rollers on the edges of my machine.

Portrait 3 Template set up in Silhouette Studio

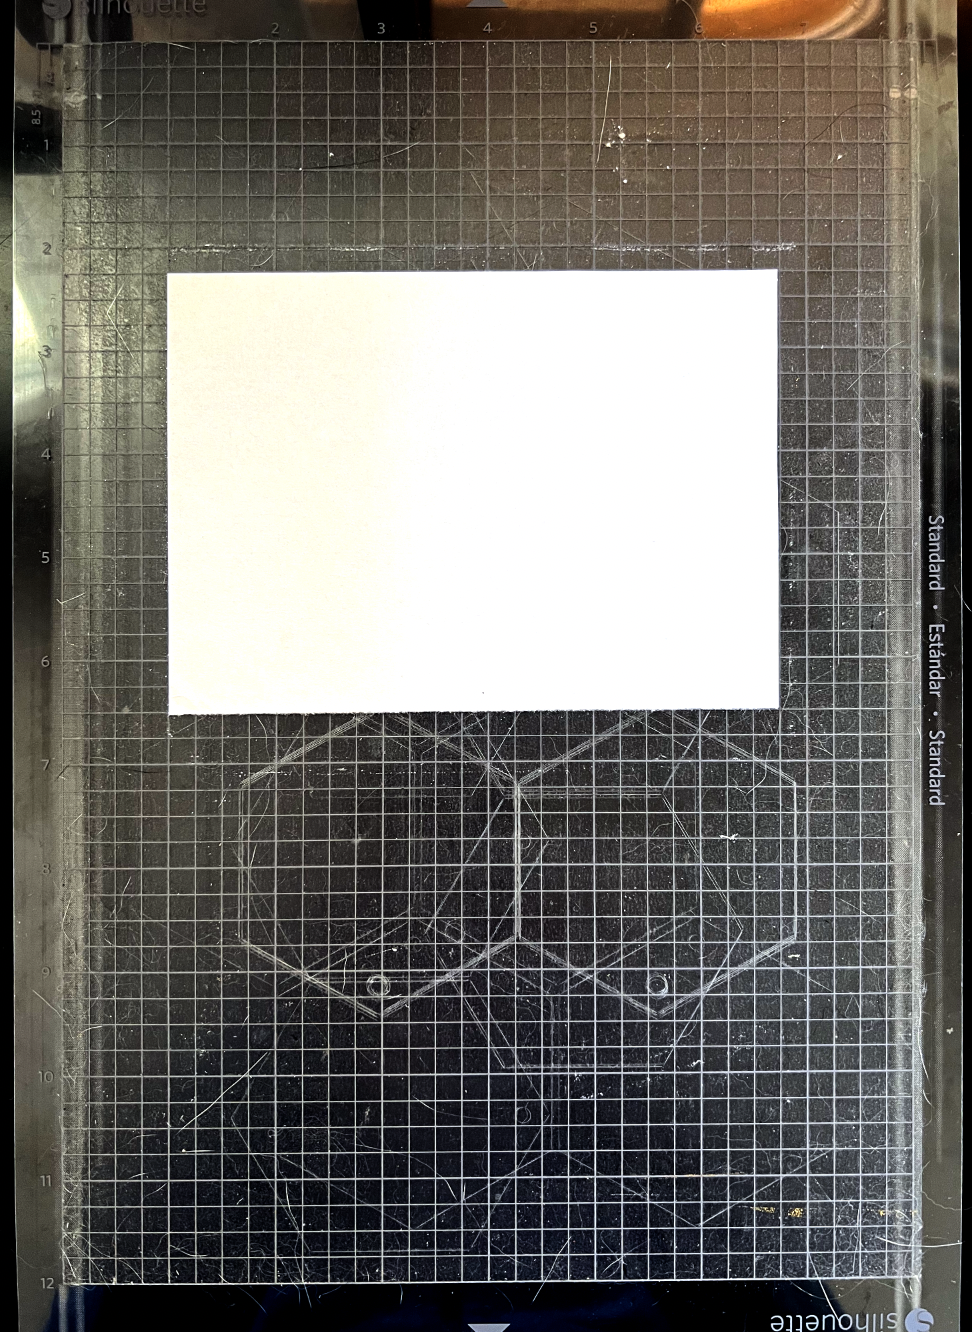
On my actual mat I’m going to place a regular piece of printer paper approximately where my design should be.

Portrait 3 Template Alignment

I’m going to cut just the circle part of my design, so I select just the blue line, load my mat and send it to machine.

Portrait 3 Template Alignment

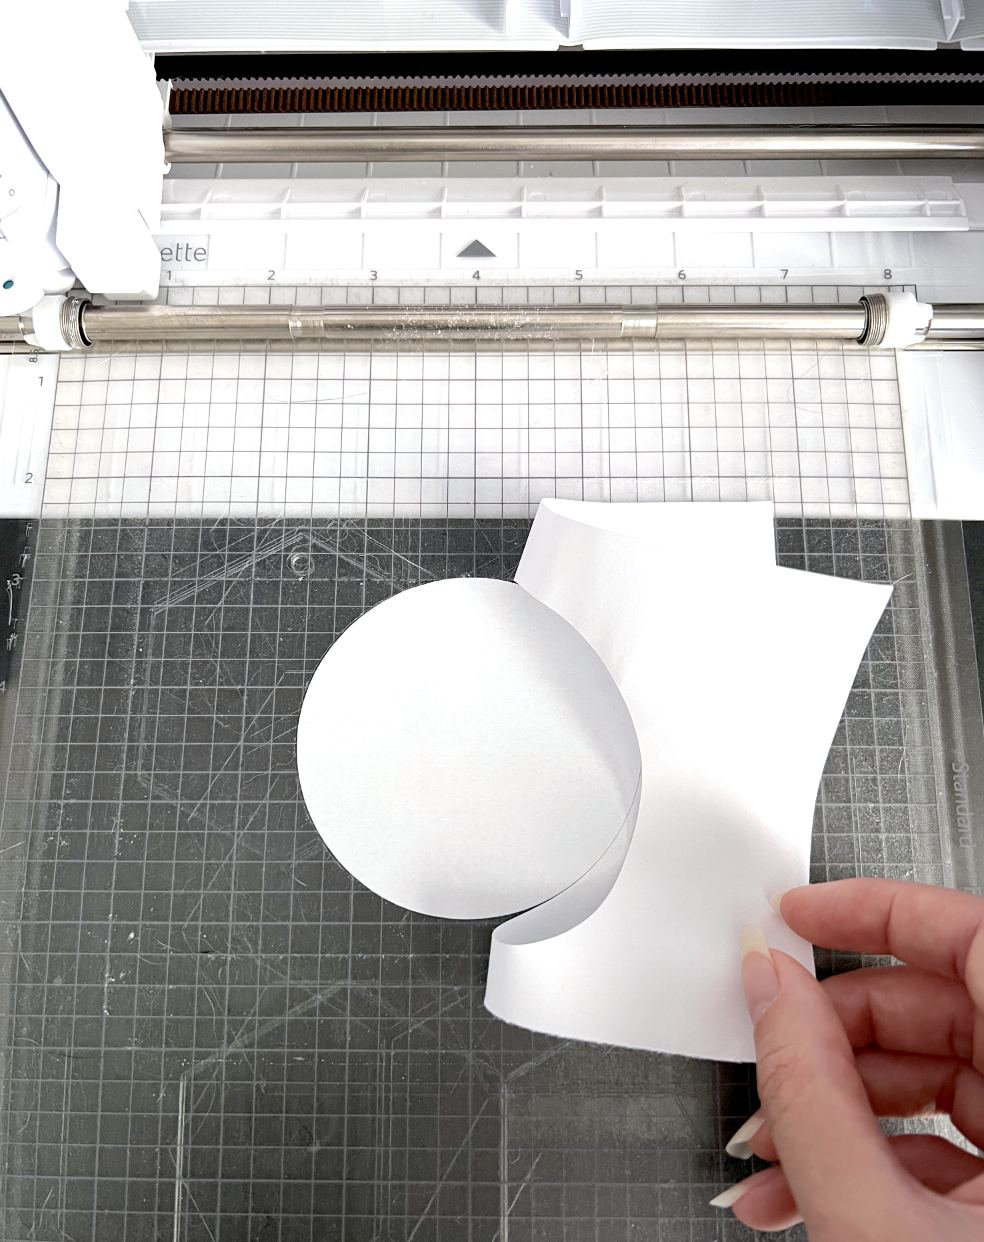
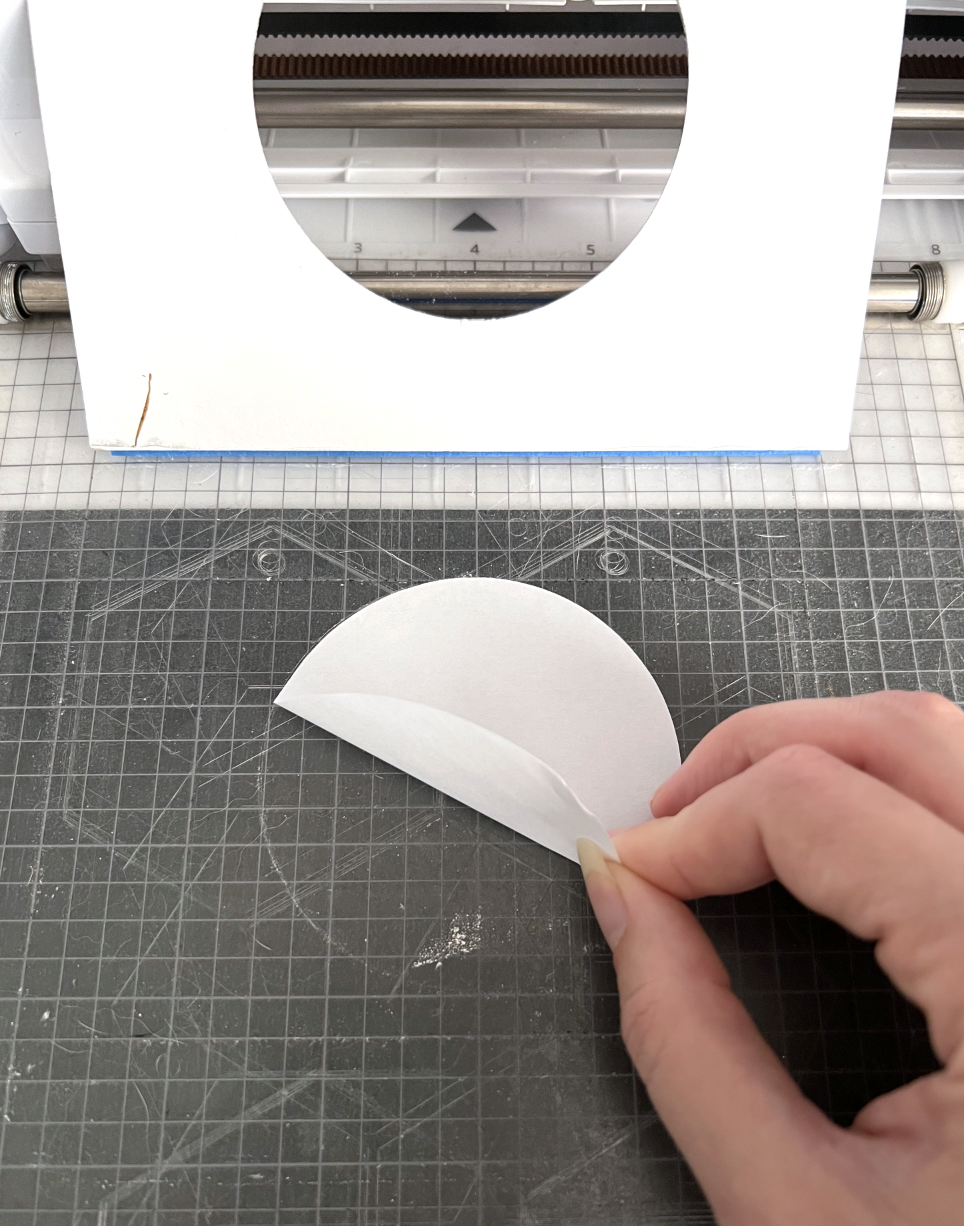
After the machine is done cutting, DO NOT UNLOAD the mat!! Carefully remove the excess paper from around the circle.

Portrait 3 Template Alignment

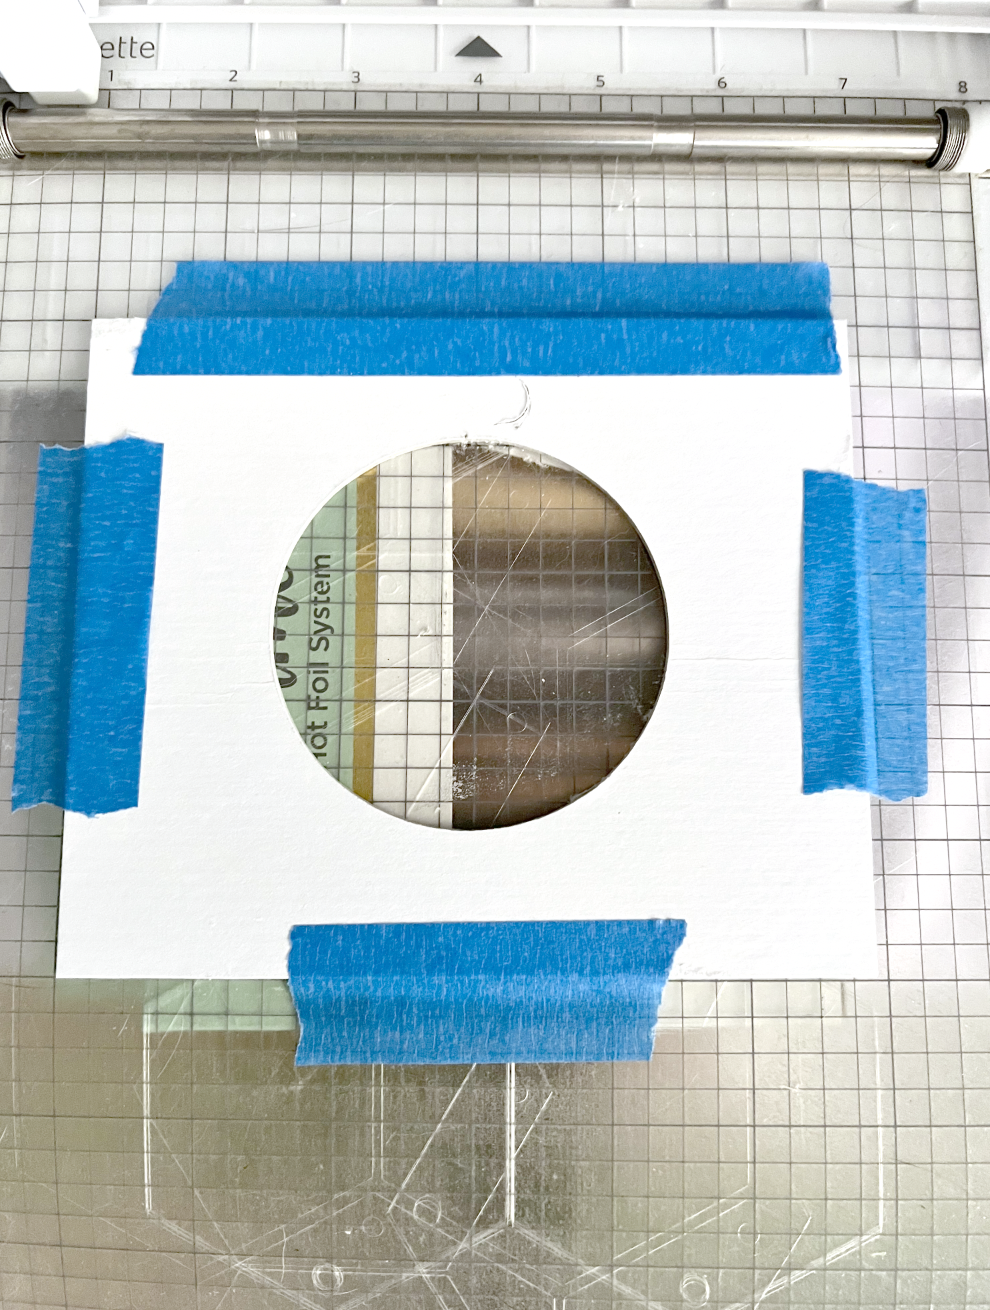
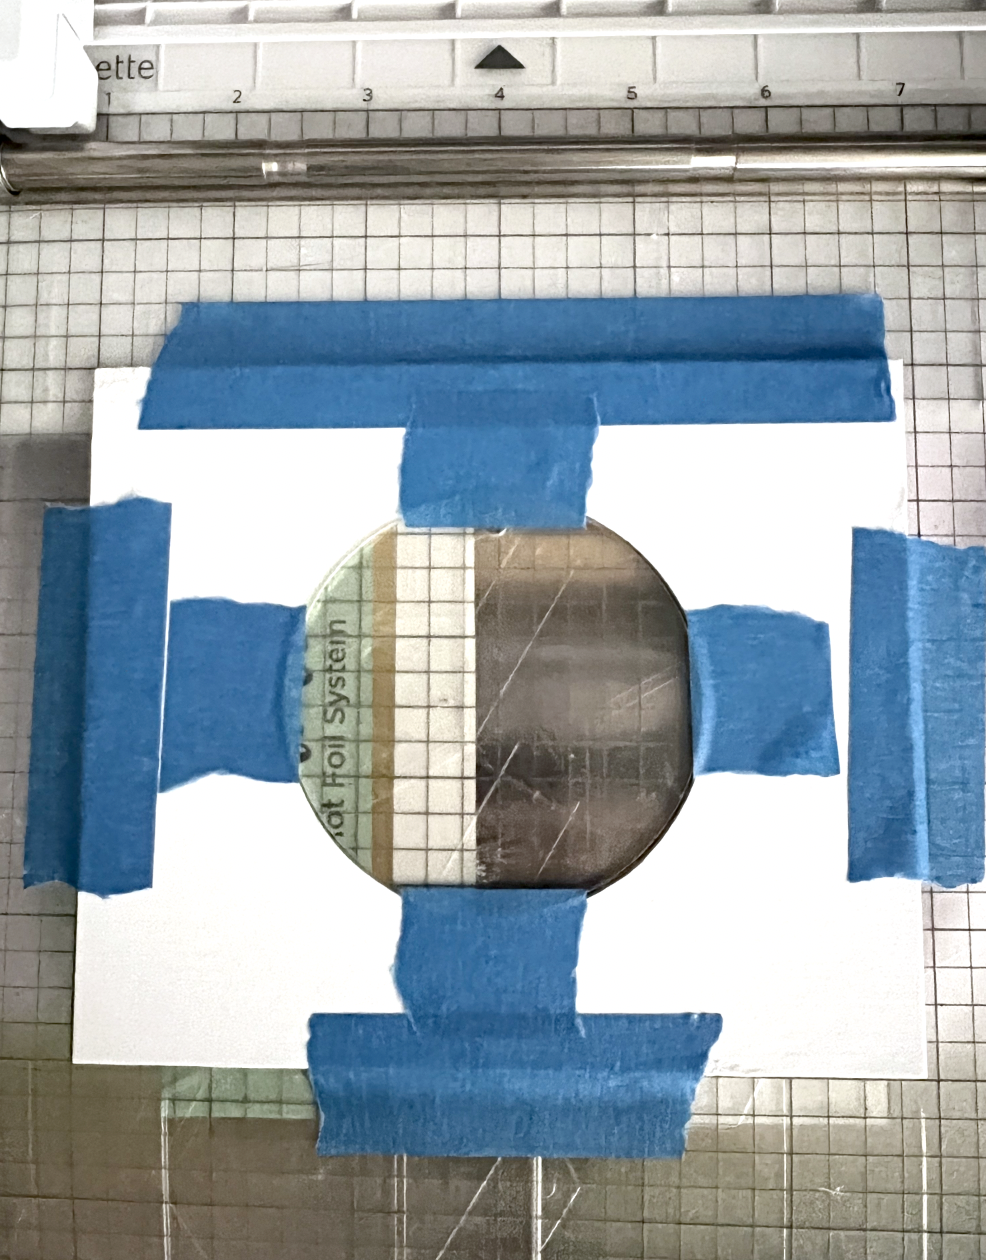
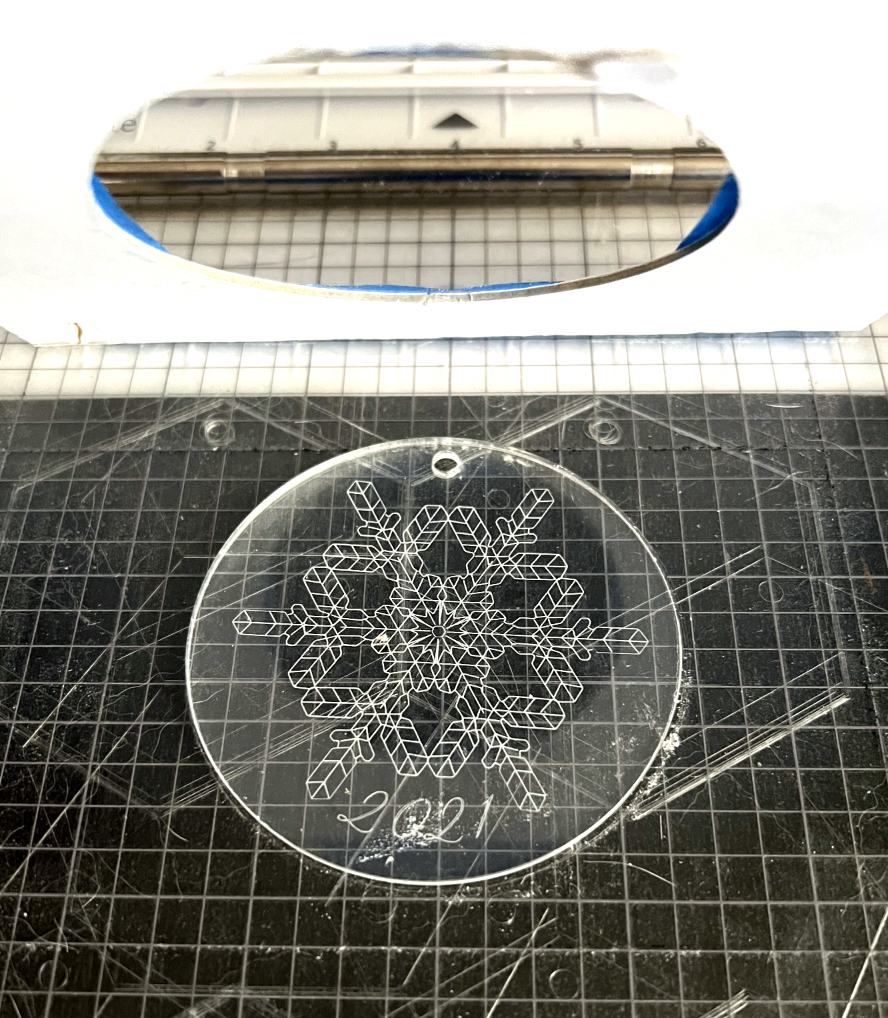
Now I’m going to take my template and place it over the circle so all of my edges are aligned.

Portrait 3 Template Alignment

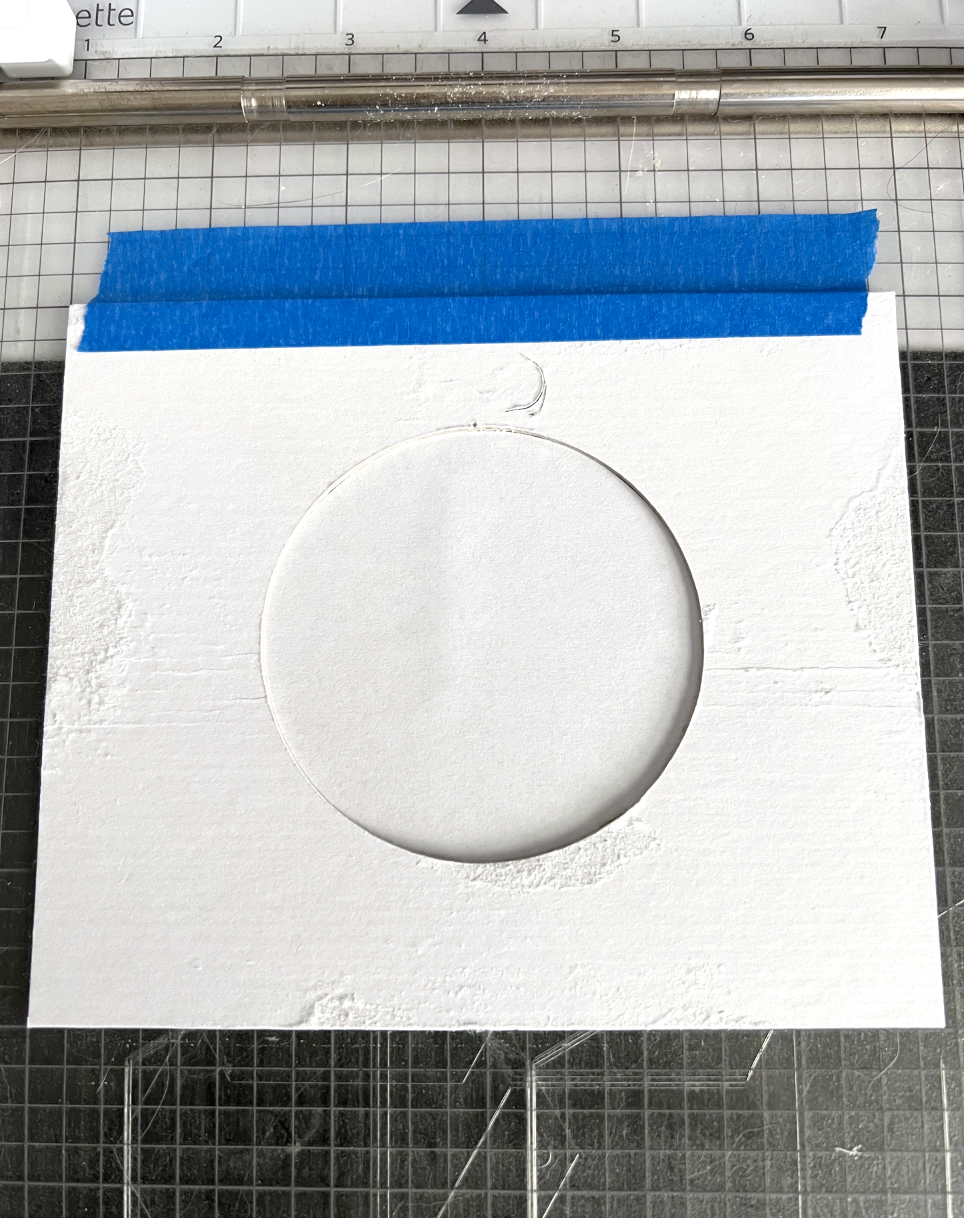
I tape down the top edge of the template to my mat and carefully lift the template, hinging at the tape along the top edge.

Portrait 3 template set up

I remove the paper circle from my mat and place the template down again. I place some more tape around the edges of the template to help keep it in place. Now my template is ready to load an acrylic disc!

Portrait 3 template set up

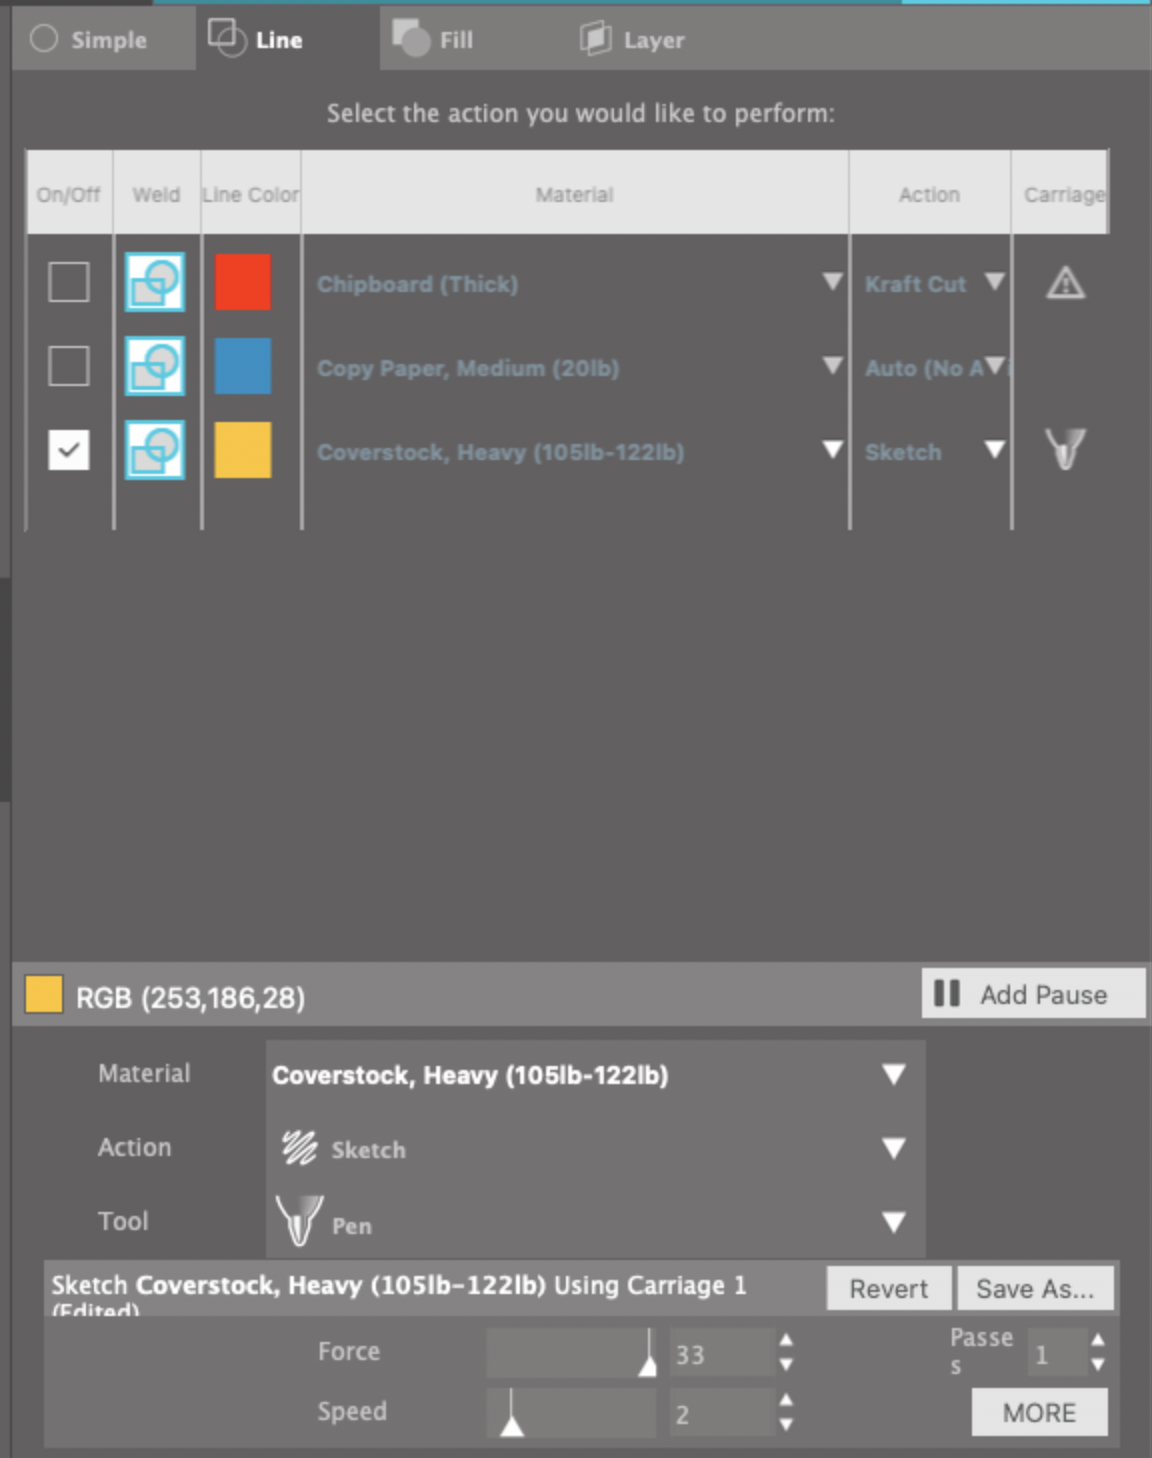
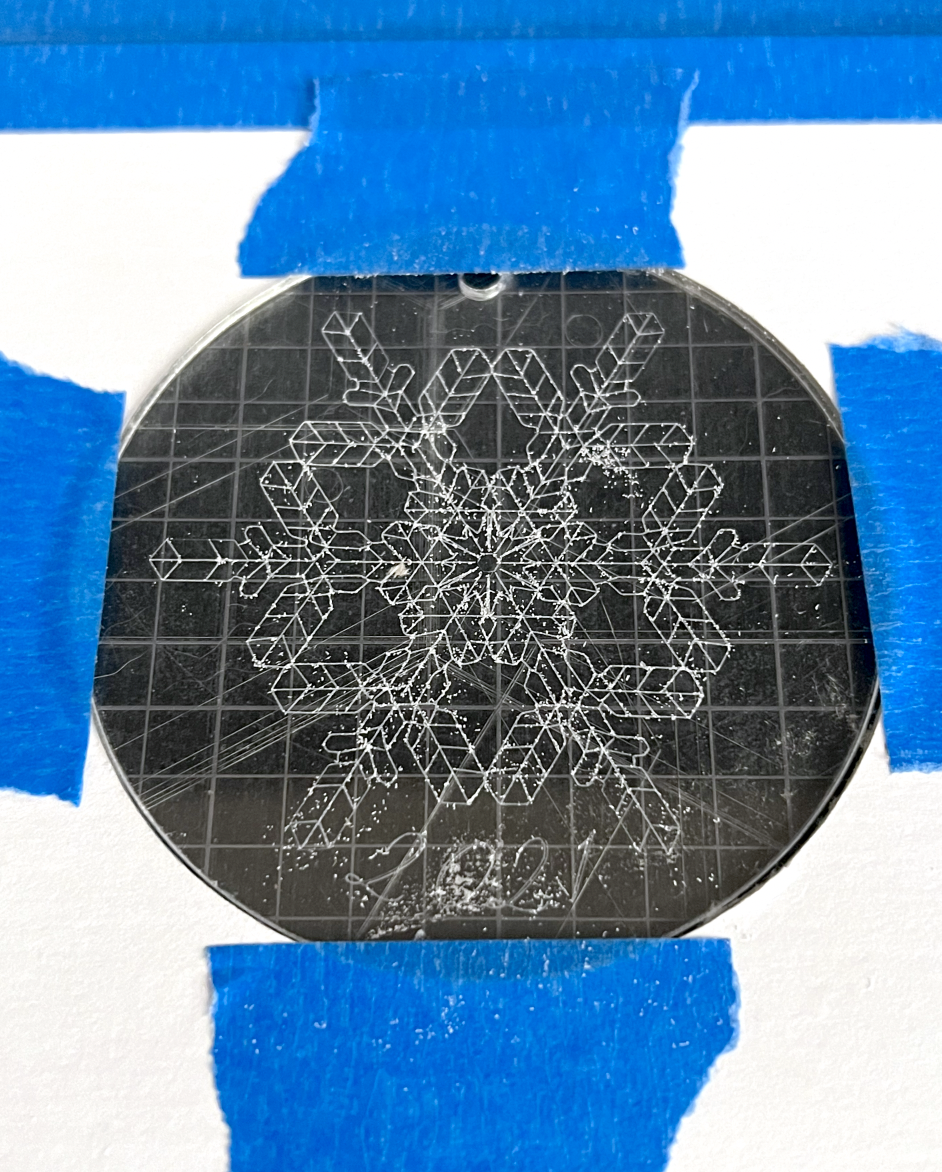
Back in Silhouette Studio in the send screen, I uncheck the box for the blue circle. I select my yellow lines to sketch, foil, or etch and it’s ready for me to press send to my machine.

Portrait 3 template set up

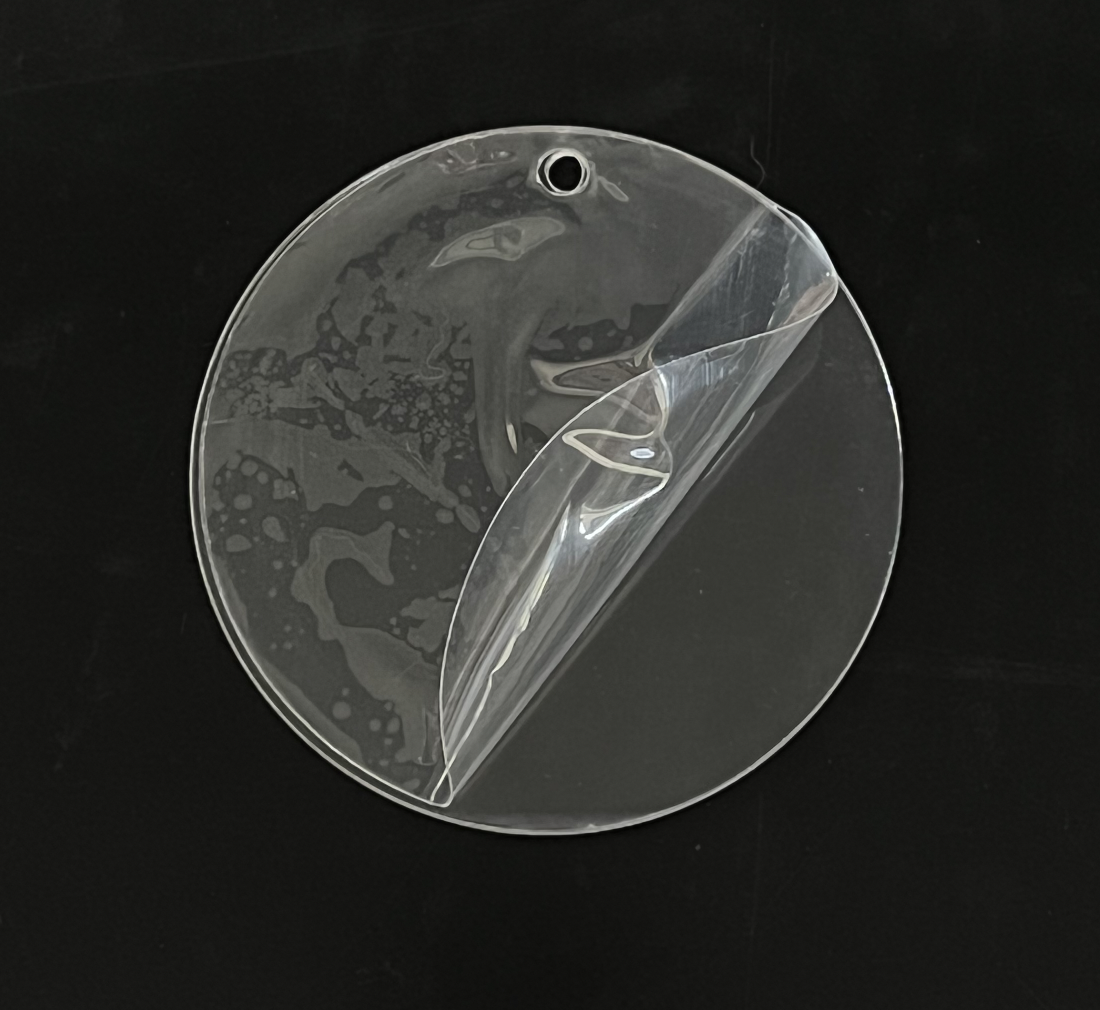
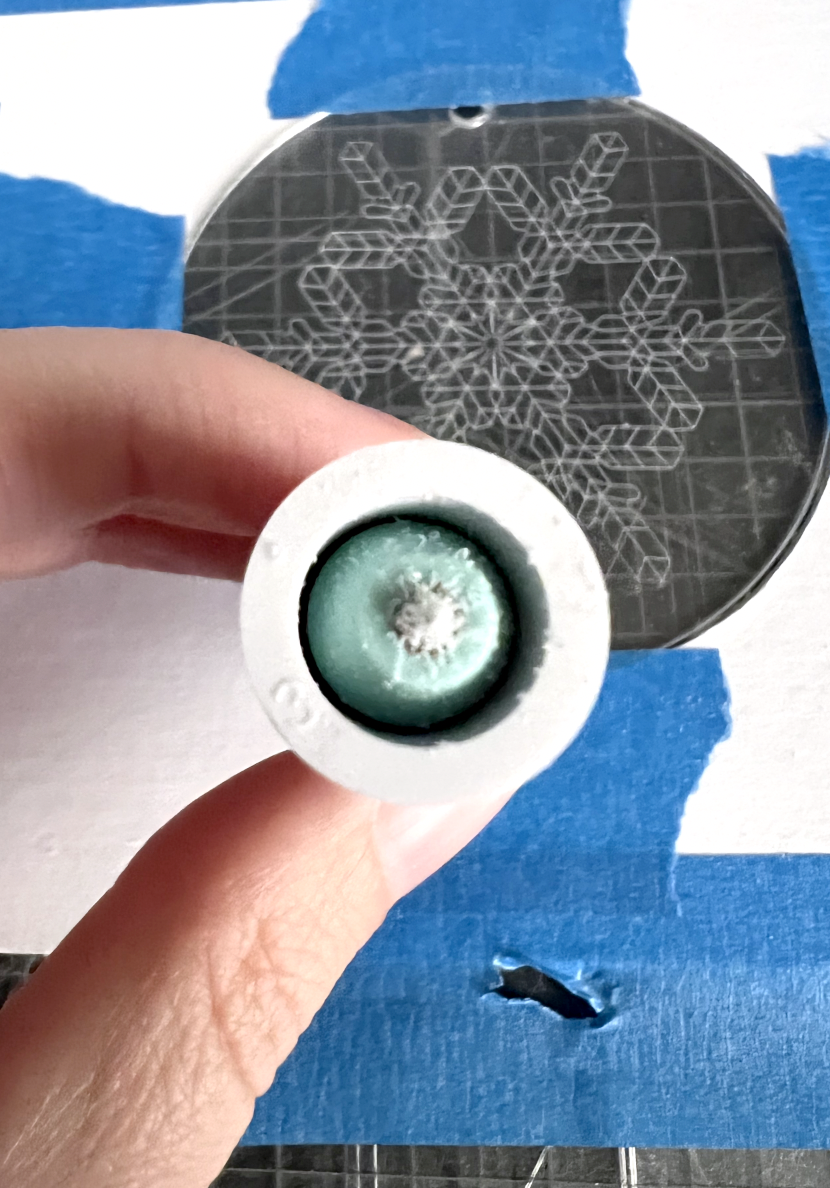
As long as I don’t unload my mat, I can place another acrylic disc in the template once my first one is done.

If you accidentally unload your mat, you can repeat the same process above to realign your template again.

Etching on Acrylic with the Silhouette Portrait 3

Hi Everyone!

This week I’m going to share another technique you can use to decorate some acrylic blanks for holiday ornaments. I’m going to use my WRMK Etch Quill to engrave my design into the acrylic. If you see settings for etching, embossing, debossing, etc in Silhouette Studio, those are meant for the Curio machine. The Portrait 3 really isn’t designed to etch, that’s why I’m using the 3rd party etching tool.

WRMK Etch Quill

Let’s get started!

Supplies:

(Links below may be affiliate links)

Silhouette Portrait 3

Standard Grip Mat

Chipboard with 3” circle cutout (optional)

3 inch round 2mm thick acrylic ornament blanks

WRMK Etch Quill (with D adapter from Foil Quill)

9-12 inch length of ribbon or twine

Project:

I’m using the same 3” round snowflake design that I used last week. However, I did need to make some minor tweaks to the layout of this design. I rotated the snowflake 45 degrees so it’s not so close to the hole in the top of the acrylic. During my first attempt, the tip of the etch quill got stuck in the hole and it couldn’t move around to make the design properly. So lesson learned!

I already have the updated design saved in Silhouette Studio.

Snowflake artwork to etch on Portrait 3

I’ve got my chipboard template already set up on my mat (I will create another post showing you how to line up your template on your mat so you can use it over and over again even after you have removed it from your mat).

Template for acrylic blank

Peel off the layer of plastic on the side of the acrylic that you will be etching on. Leave the plastic on the back side of the acrylic to protect the acrylic from the stickiness of the cutting mat. You will peel the plastic from the back once the design is completed.

Acrylic blank for etching

I place my acrylic disc in the hole cut out on my template with the small hole at the very top. I also put some small pieces of tape on the edges of the acrylic to make sure it doesn’t shift around while it’s being etched. Make sure the tape doesn’t overlap any part of your design.

Silhouette Portrait 3 etching on acrylic

I select the yellow lines in the send tab. I have my material set for Heavy Coverstock, Action is Sketch, Force 33, Speed 2.

Settings for etching on acrylic

I click send and my little machine does it’s magic! I ended up doing 3 passes for this design. Depending on your design, you may need to do more or less passes to get the etching deep enough that it’s visible.

Silhouette Portrait 3 etching on acrylic

I use some tape to lift off the little acrylic dust bits before I remove the disc from my mat.

If you are doing a lot of etching, make sure you remove the tip every now and then to clean off the acrylic bits that have built up.

Silhouette Portrait 3 etching on acrylic

If you leave your mat in the machine, you can do this design again on another blank disc. To remove my ornament I just lift up the template, keeping it still attached to my mat the the top edge. I lay the template back down on my mat and now I can place another disc inside the template.

Silhouette Portrait 3 etching on acrylic

I remove the plastic from the back of the ornament and then tie my ribbon through the little hole in the top.

It’s definitely more subtle that the foil on the acrylic, but it’s another nice way to create custom holiday ornaments or gift tags.

Finished etched acrylic ornament
Detail of finished etched acrylic ornament