
Hi Everyone!
I’ve been cutting a lot of gift tags the past few weeks and I noticed my Auto Blade that came with my machine is getting dull. I searched on Amazon for a replacement and one single Autoblade is $16.99, yikes!! You have to replace the whole thing, not just the little blade inside.
So I did a little research and I found this CB09 blade that should work with the Portrait 3 and Cameo 4, you just need to put it in the Blue Tool Adapter, before inserting it into your machine.
**Links may be affiliate links and I may earn a small commission if items are purchased via the links.

I got mine a couple of days ago and I decided to try it out. It is a little bit of a process to set it up, but it seems like it’s going to be well worth it.
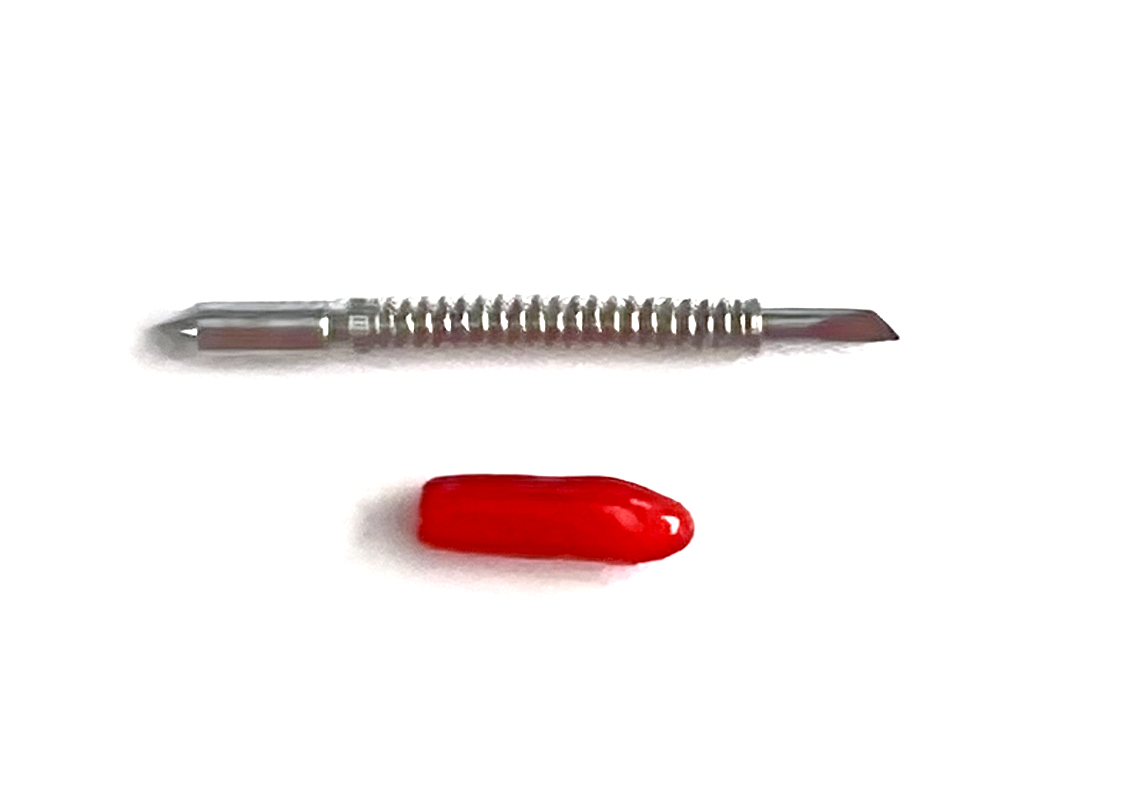
I’m going to test on some of my heavy cardstock, so I’m going to use one of the 45 degree blades with the red tip. I also need one of the little springs that comes with the blades.
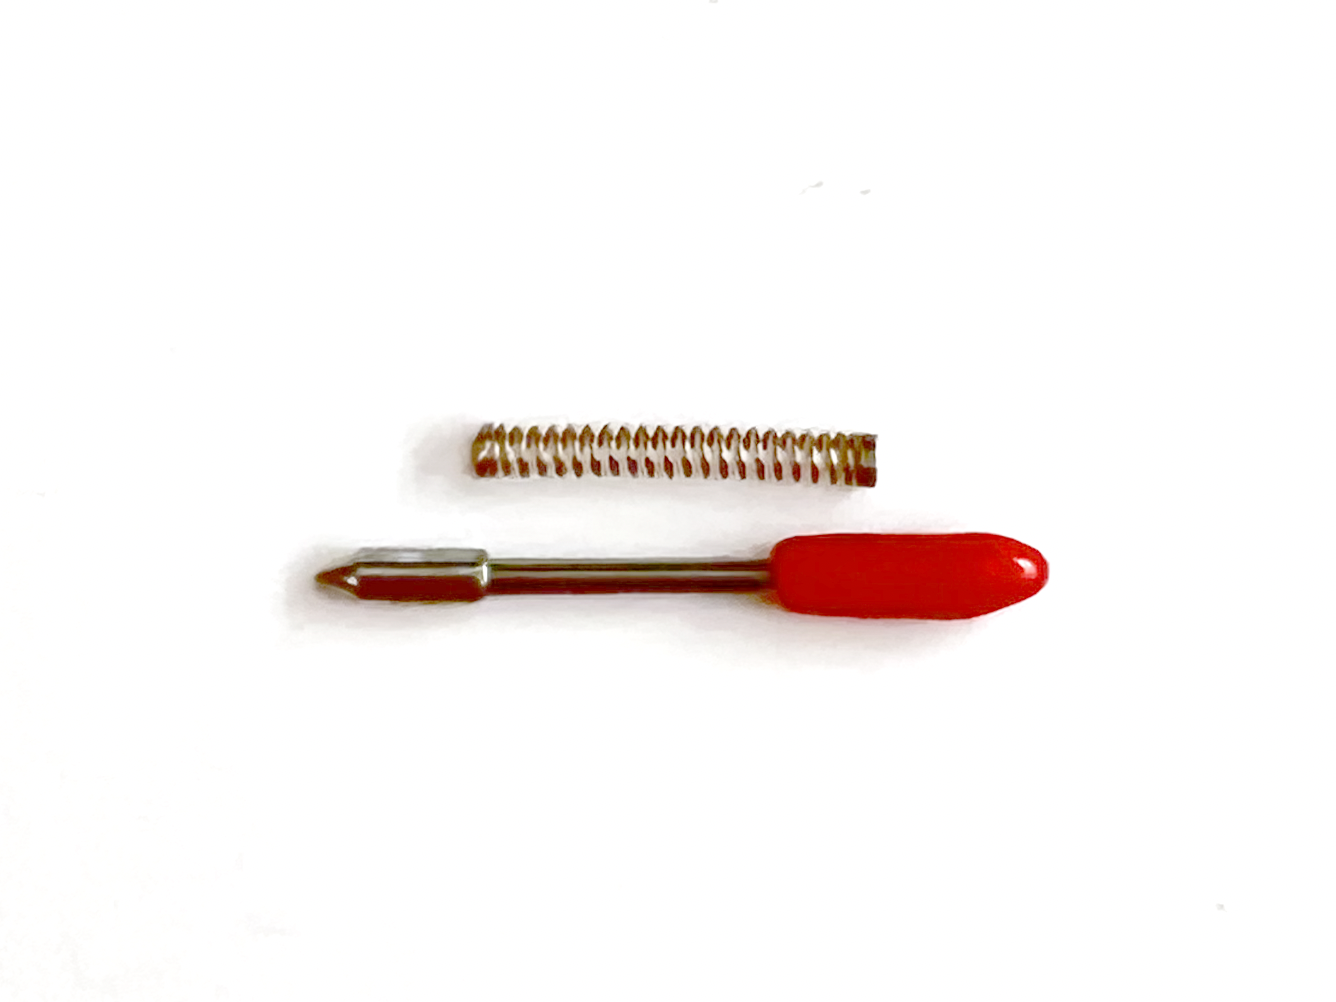
Carefully remove the red rubber tip and slide the tiny spring onto the blade.
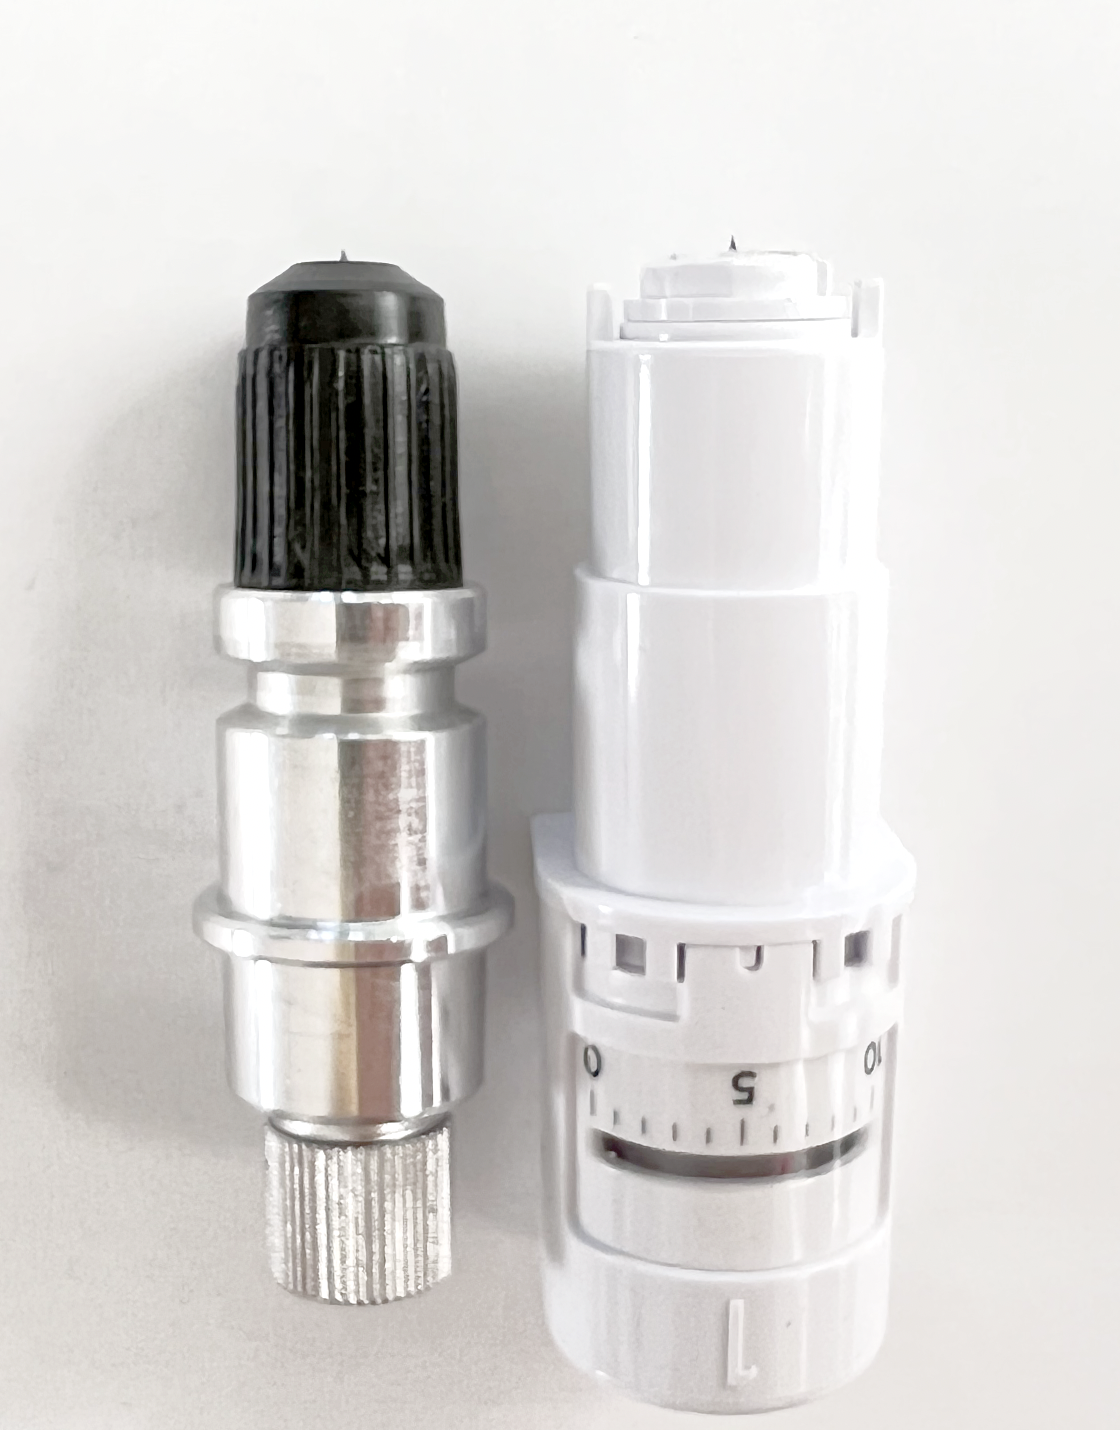
Then, unscrew with black plastic barrel on the blade holder. Insert the blade with the spring into the body of the holder. There’s a small hole with a magnet inside that will grab the blade when you insert it into the holder.

Screw the black plastic barrel back onto the holder.

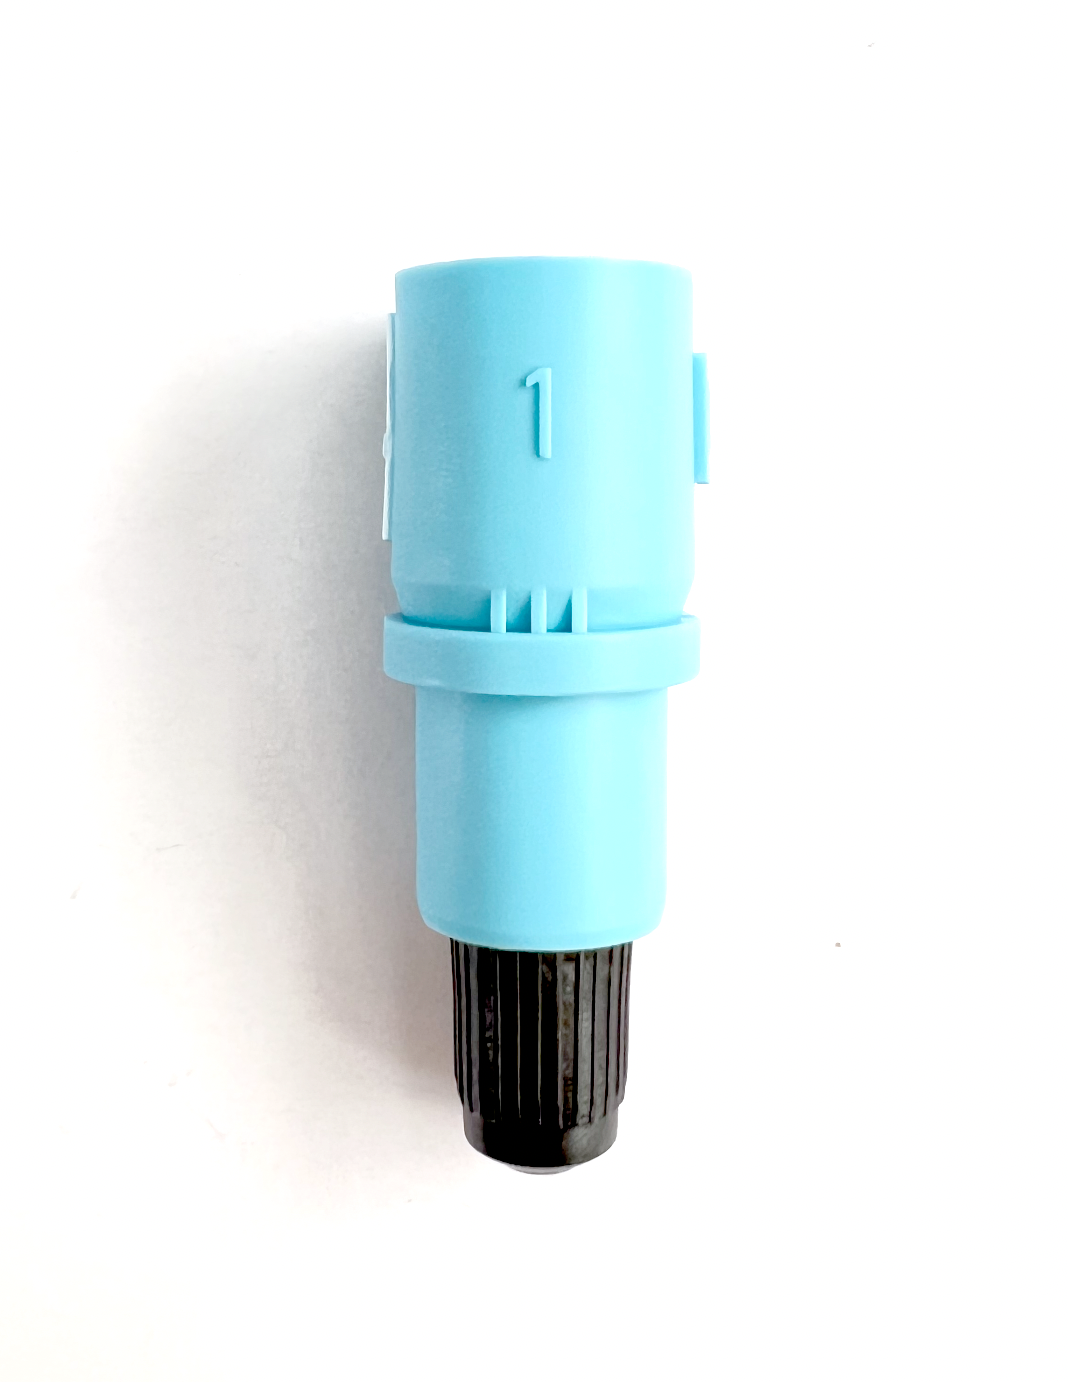
I still have my dull auto blade and the blade depth is set to 7 which is what I use for my heavy cardstock. I’m going to twist the ridged silver metal portion of the holder so the blade is peeking out at approximately the same distance as my auto blade. It’s barely showing at the tip of the holder.
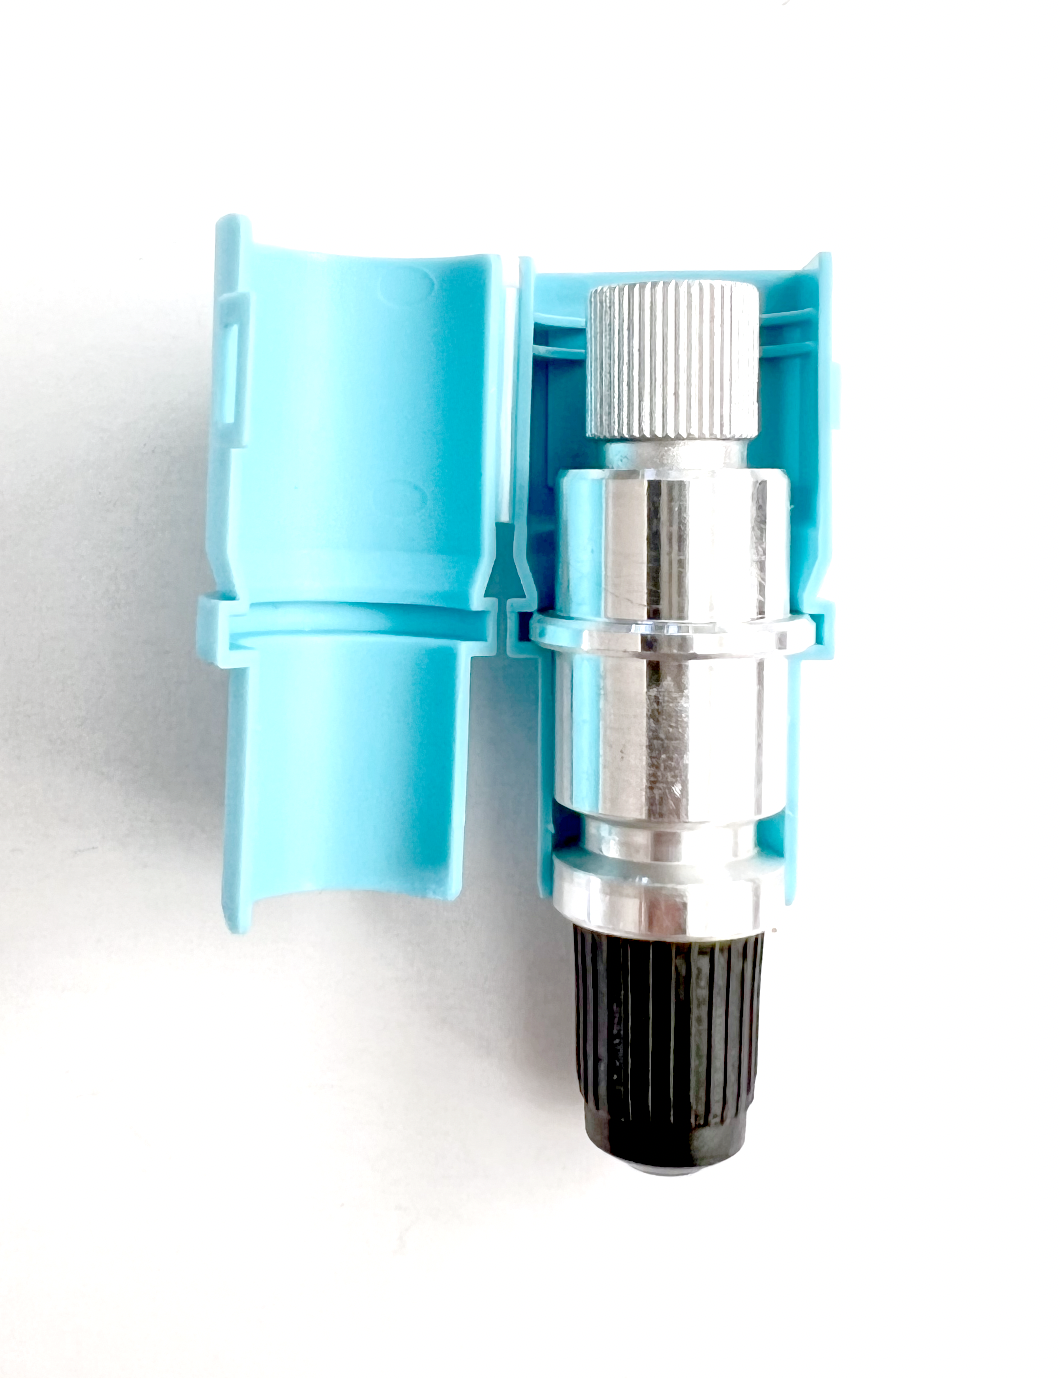
Now I’m going to put the entire holder into the Blue tool adapter, and snap it closed.
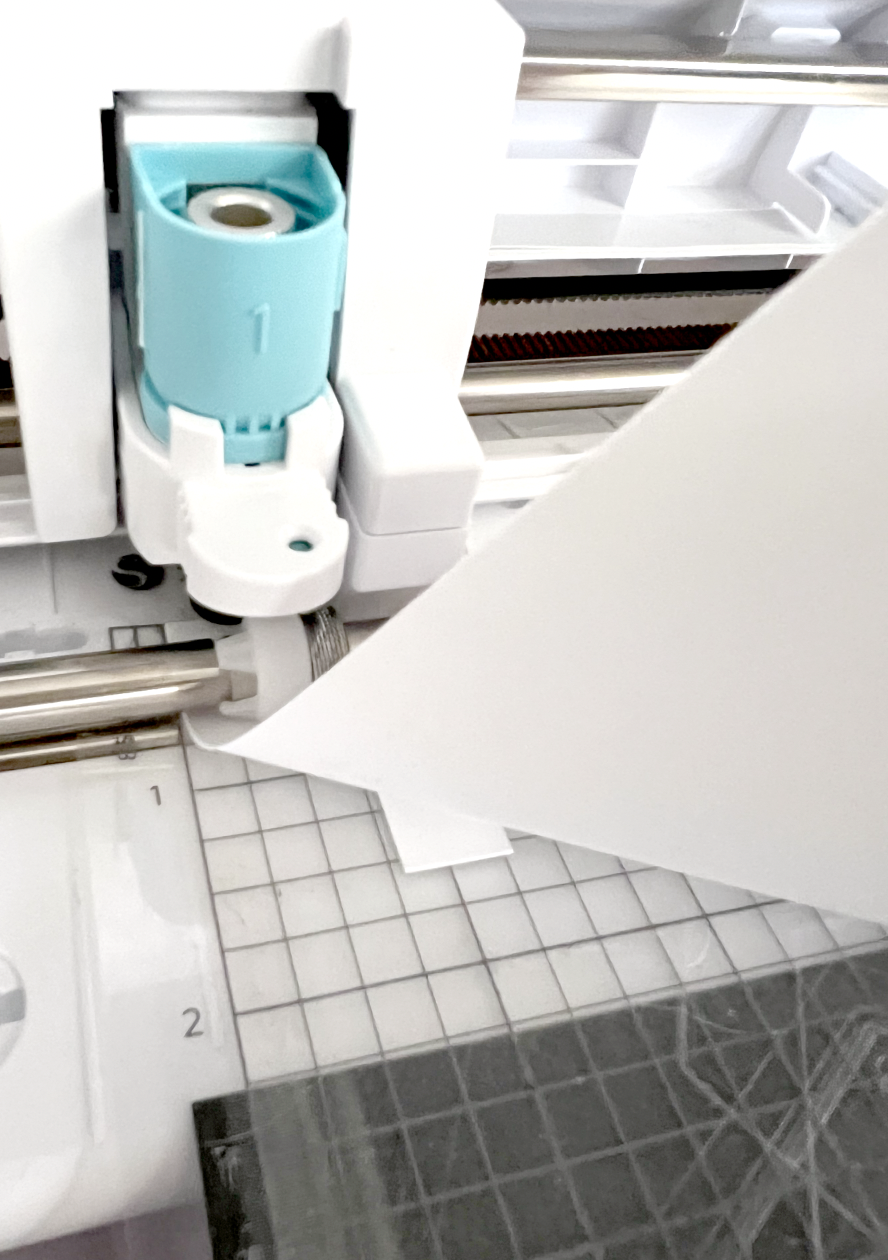
Time to load it into my Portrait 3 machine!
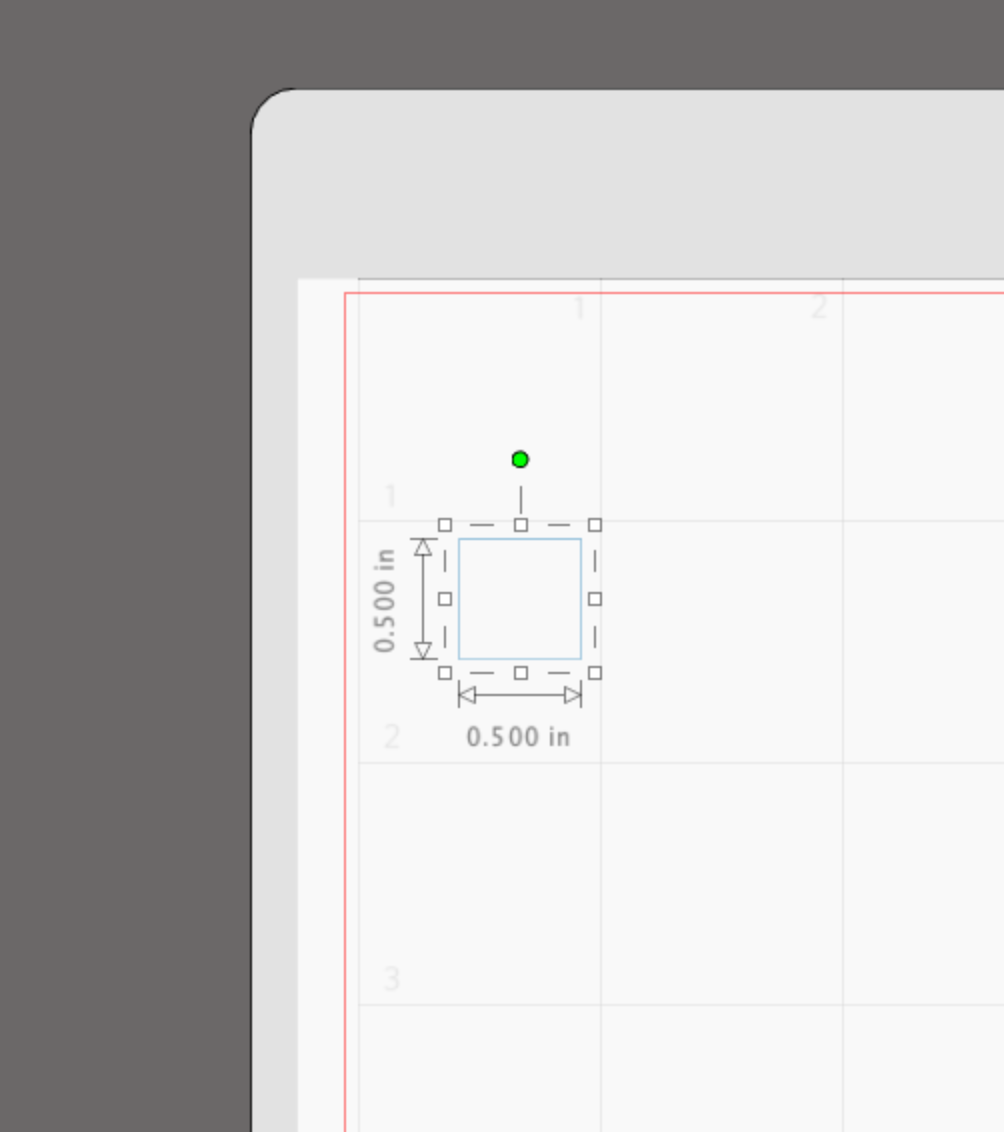
In Silhouette Studio I made a small 0.5 inch square to test.
In the send tab, I’m going to select Heavy Coverstock as my material and Ratchet blade as my tool. I want to try my blade depth on 7, Force of 30 and 1 pass.

I load my mat and send it through my machine. I lifted my cardstock off the mat to see if the cut went all the way through. It didn’t quite cut all the way, so I will try one more pass.

After the second pass, it cut all the way through. So now I’m going to save these material settings in Silhouette Studio.
So now my blade is set up to cut heavy cardstock. If I want to cut other materials, I will need to adjust the blade depth by turning the ridged silver part of the CB09 holder. There are no markings on the holder, so I will probably add a sticker and draw some lines on it so I know where I had my blade set for different materials.
This blade did a very nice cut, and with all the replacement blades it came with, it’s a fraction of the cost of the Auto Blade. I’m excited to see how long these blades last!